
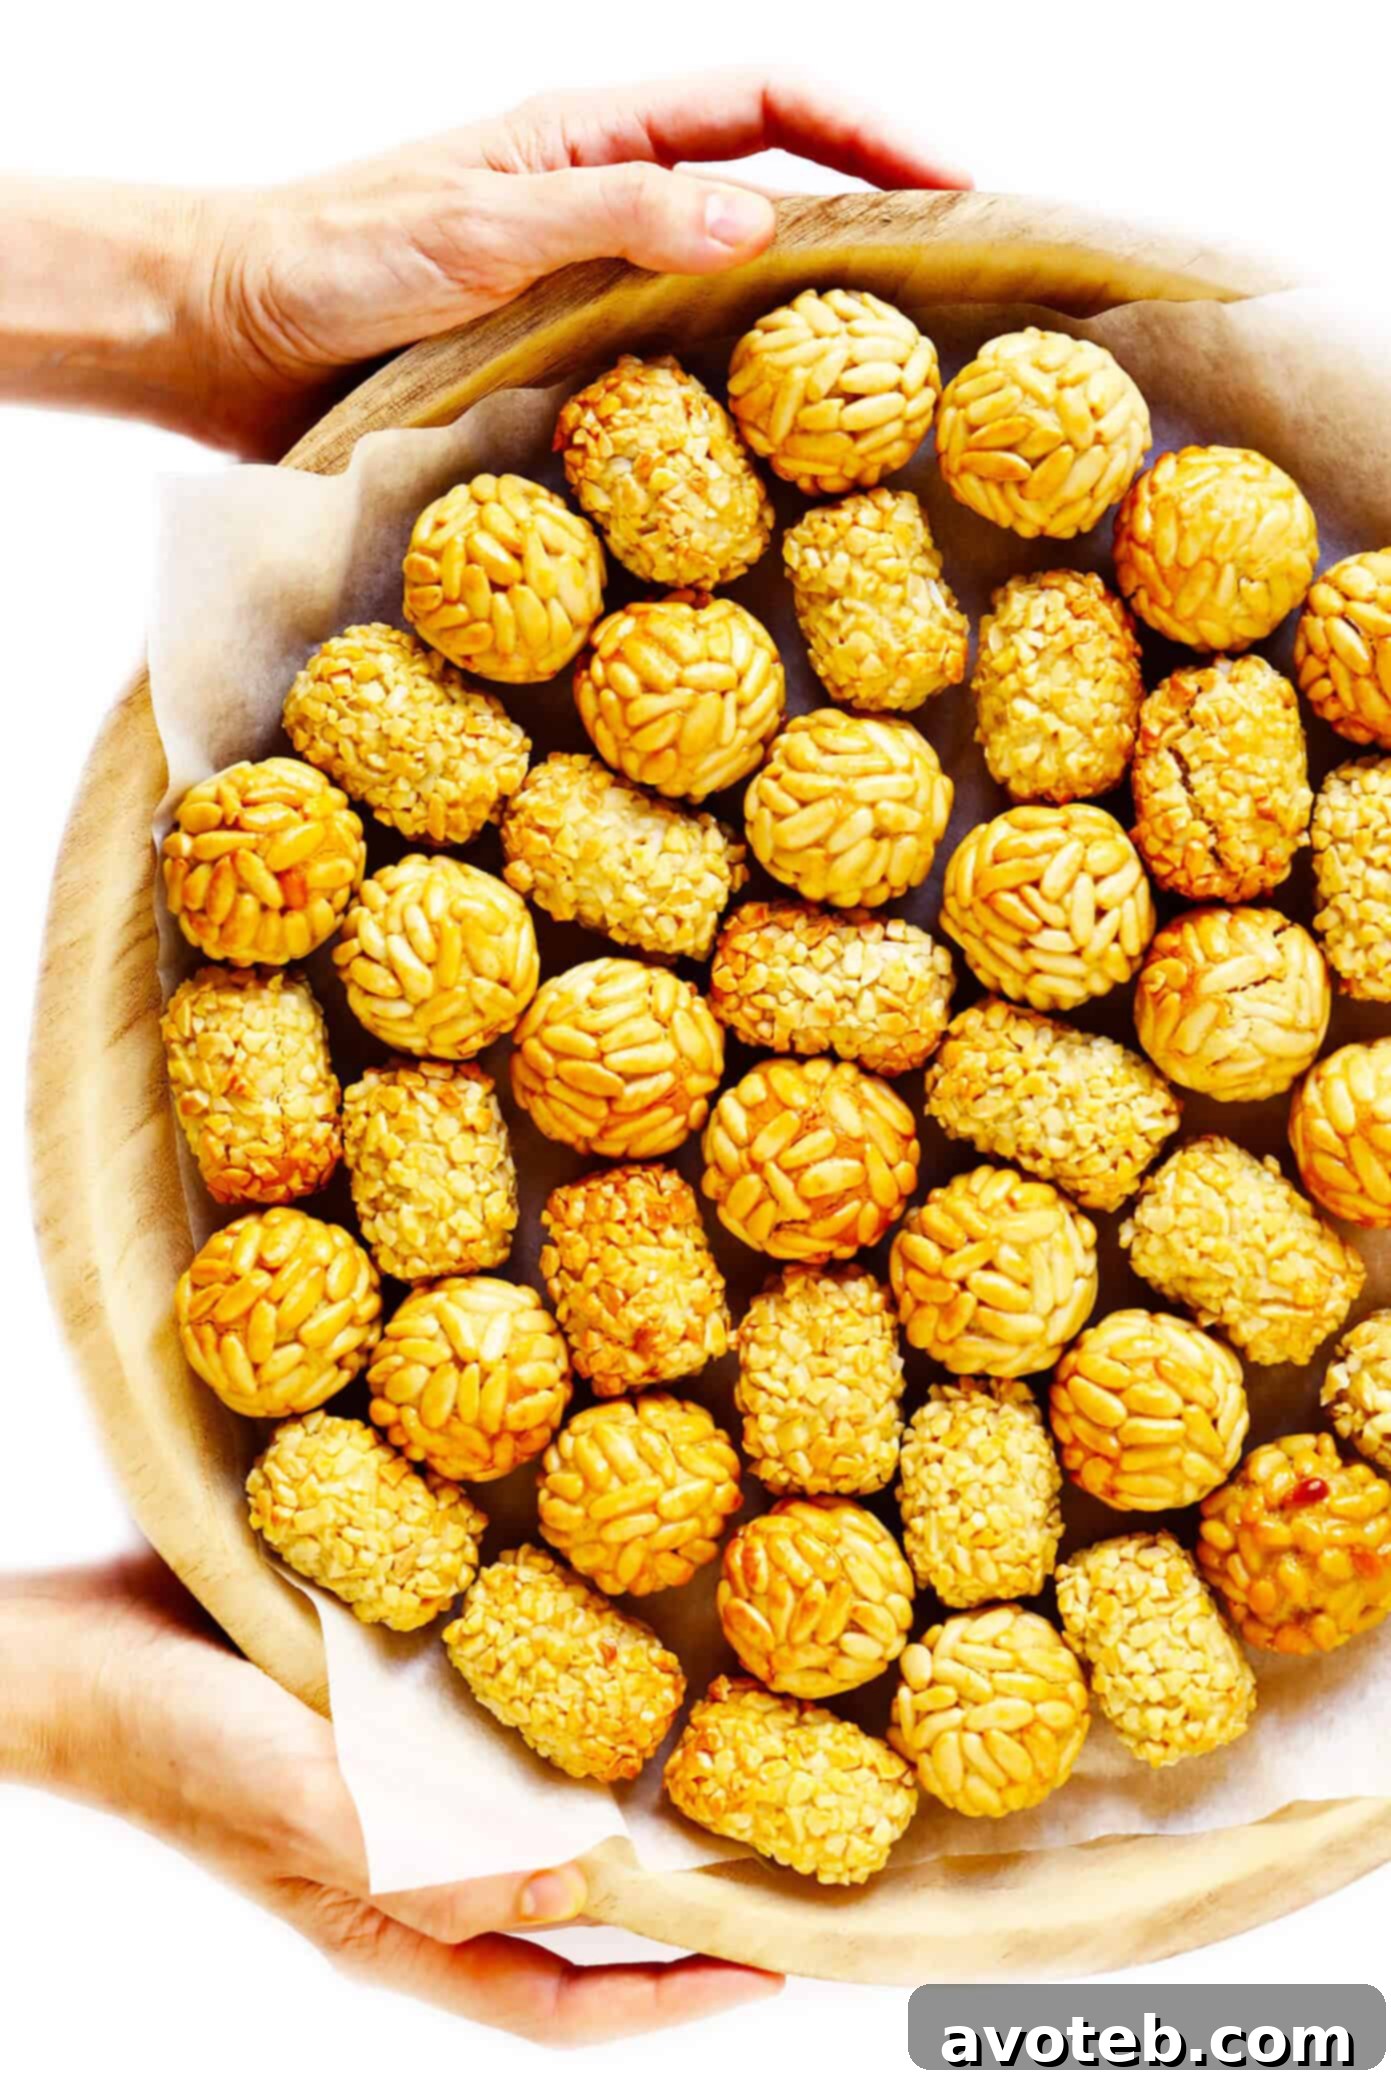
Uncover the delightful tradition of Panellets with this easy-to-follow, authentic Catalan recipe. Made with just a few core ingredients, these sweet marzipan treats are perfect for customizing and celebrating!
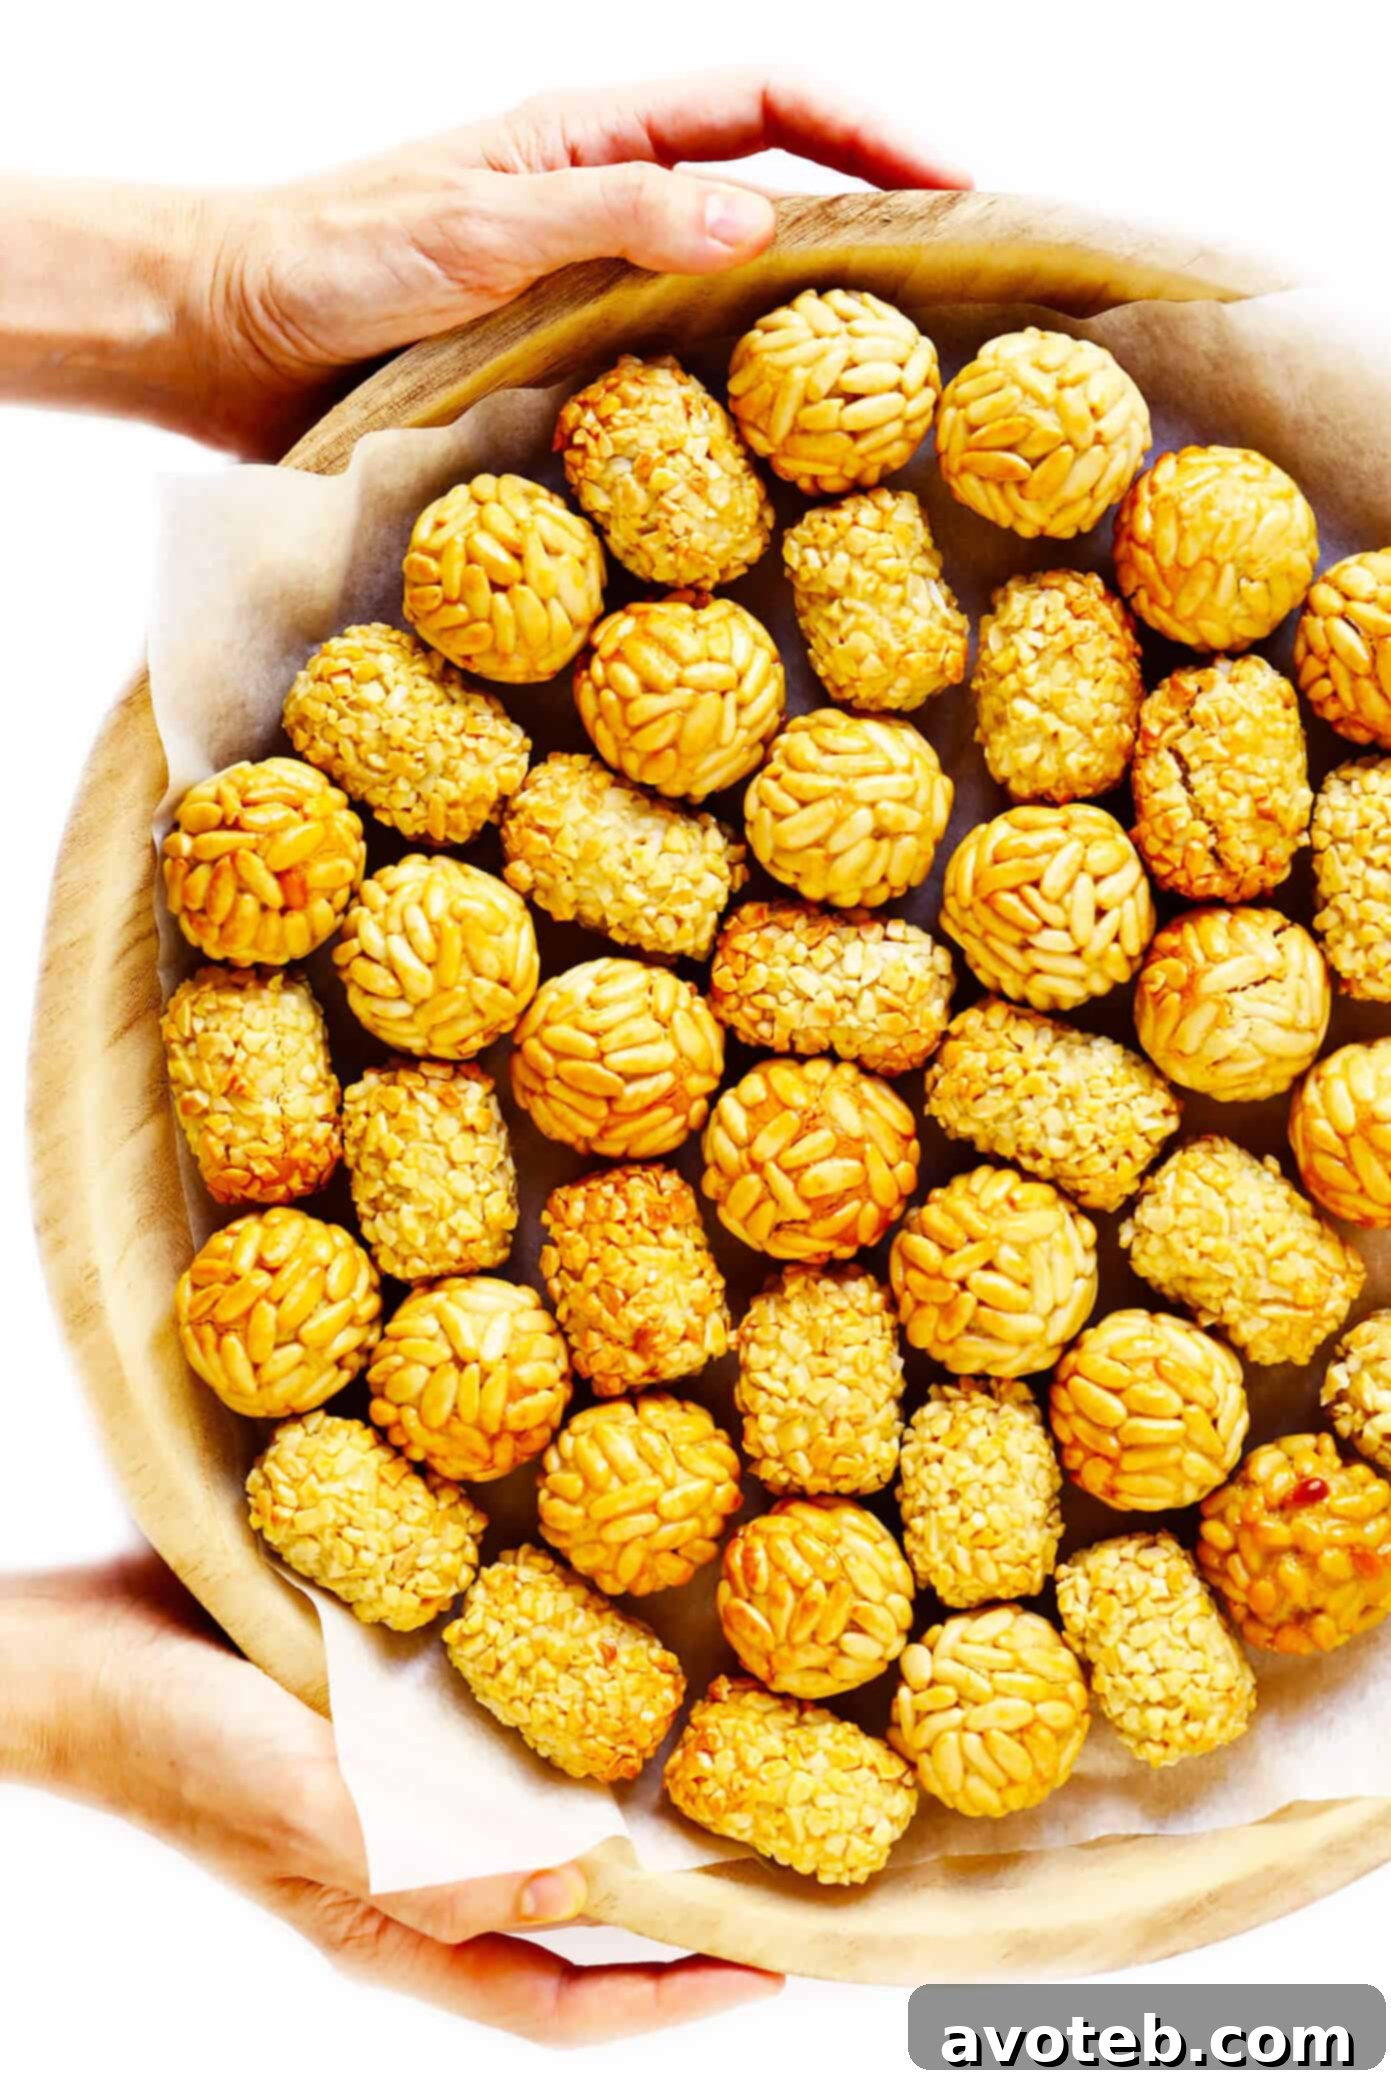
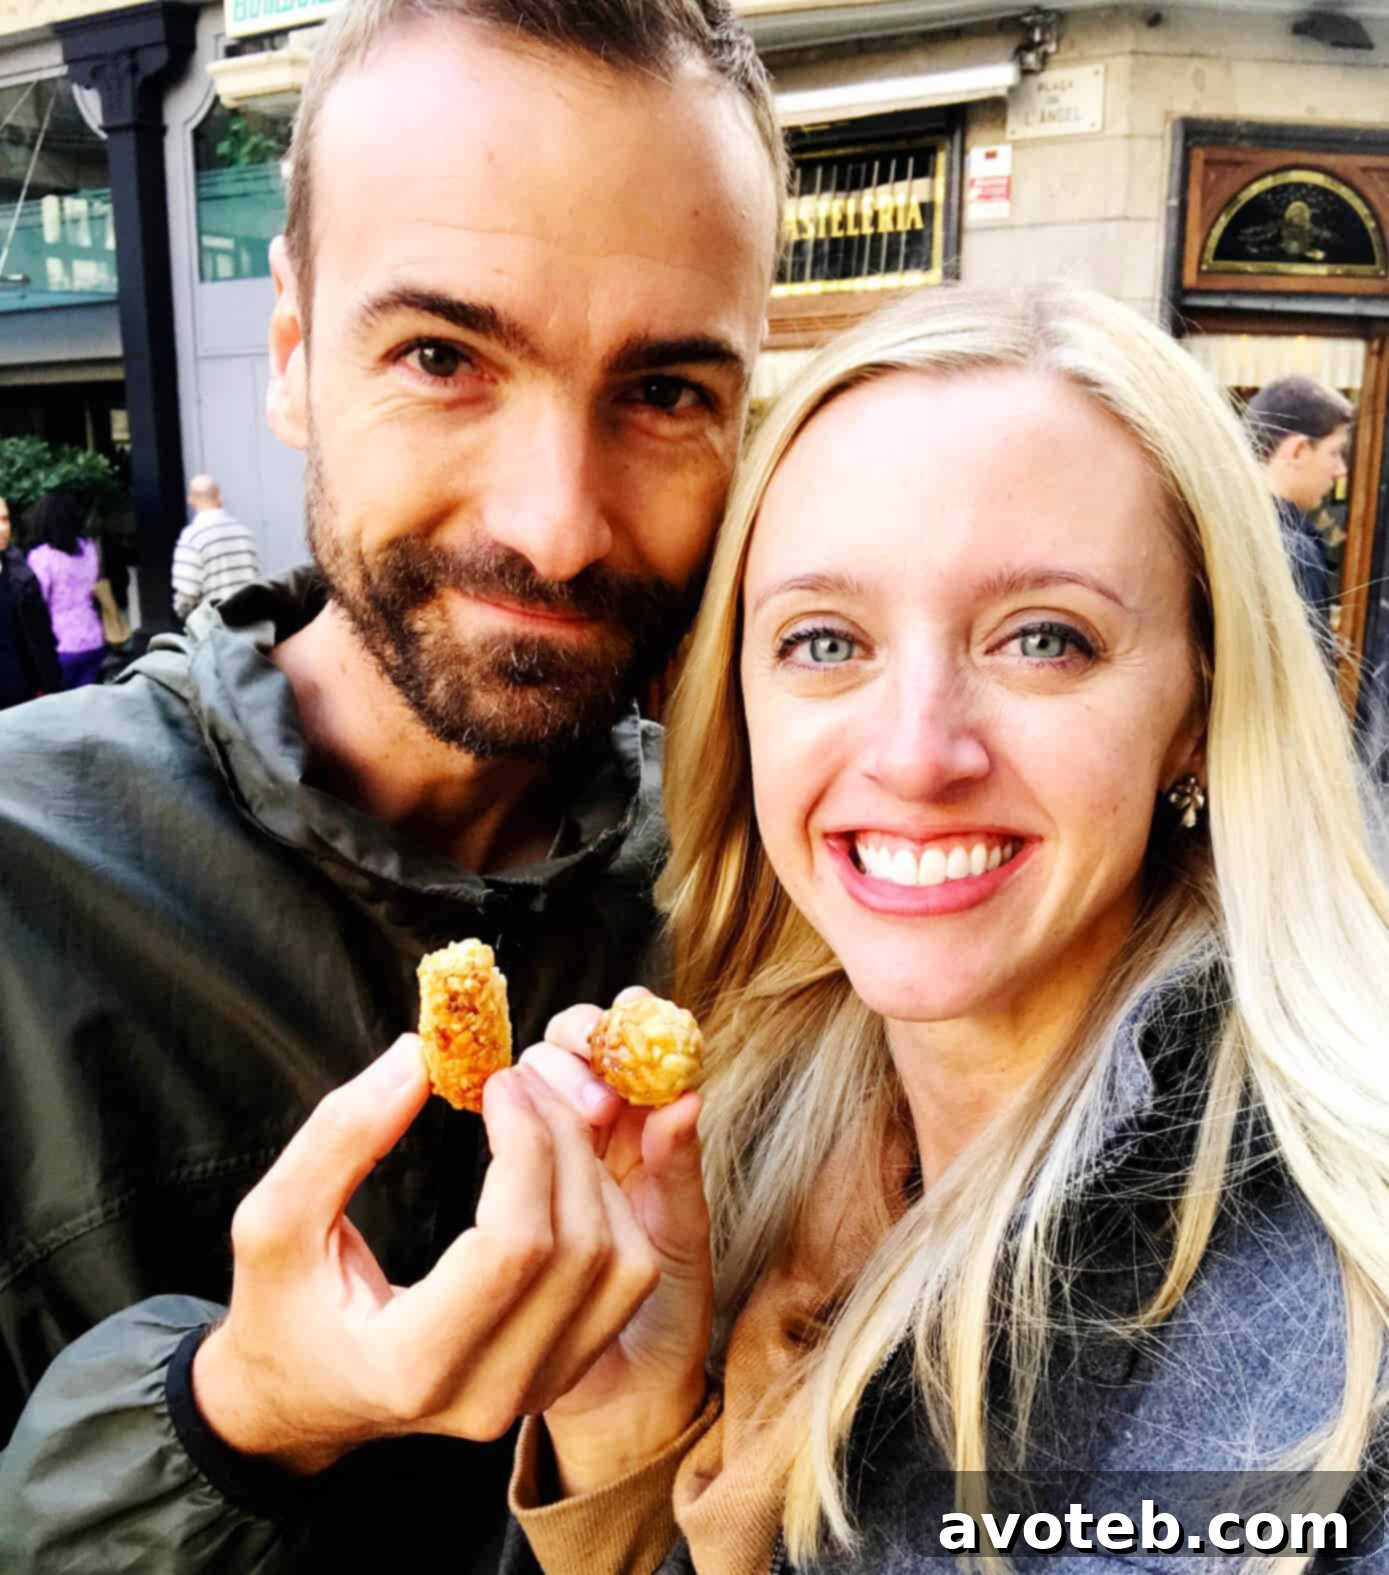
Bon dia, dear friends and fellow food enthusiasts! Today, we’re embarking on a truly special culinary journey, right from the vibrant heart of Catalonia. We’re diving into the enchanting world of Panellets – little almond-based treats that are as delicious as they are steeped in tradition. When we first moved to Barcelona a couple of years ago, these delightful sweets were entirely new to me. It wasn’t long, however, before a kind local reader, who has since become one of my dearest friends here, reached out via Instagram with an urgent recommendation: we simply *must* visit a traditional local bakery to experience panellets firsthand during their fleeting seasonal appearance. We heeded her advice, sampled a few, and were instantly captivated by their unique charm and exquisite flavor.
Panellets, pronounced pah-neh-yets, are far more than just a dessert; they are an integral part of Catalonia’s autumn festivities. These seasonal confections grace bakery windows and home kitchens only for a short period leading up to All Saints’ Day (November 1st), known locally as “La Castanyada.” On this day, families gather to honor their departed loved ones, and the air is filled with the comforting aromas of roasted chestnuts (castanyes) and enormous roasted sweet potatoes (moniatos), served, of course, alongside these delectable panellets. What makes panellets so fascinating is their incredible variety. You’ll discover at least a dozen different flavors, each traditionally crafted into its own distinct shape, signifying its unique essence. Yet, at their core, all panellets share a common, irresistible foundation: a sweet, almondy marzipan filling that simply melts in your mouth. While every flavor boasts its own appeal, our personal favorites quickly became the perfectly round pine nut panellets and the elegantly oval-shaped almond panellets, both of which are among the most beloved varieties. Beyond these classics, the possibilities for customization are endless; you can roll or stuff your panellets with everything from shredded coconut and rich cocoa to fragrant coffee, tangy quince paste, vibrant cherries, and much more. The sheer array ensures there’s a panellet for every palate!
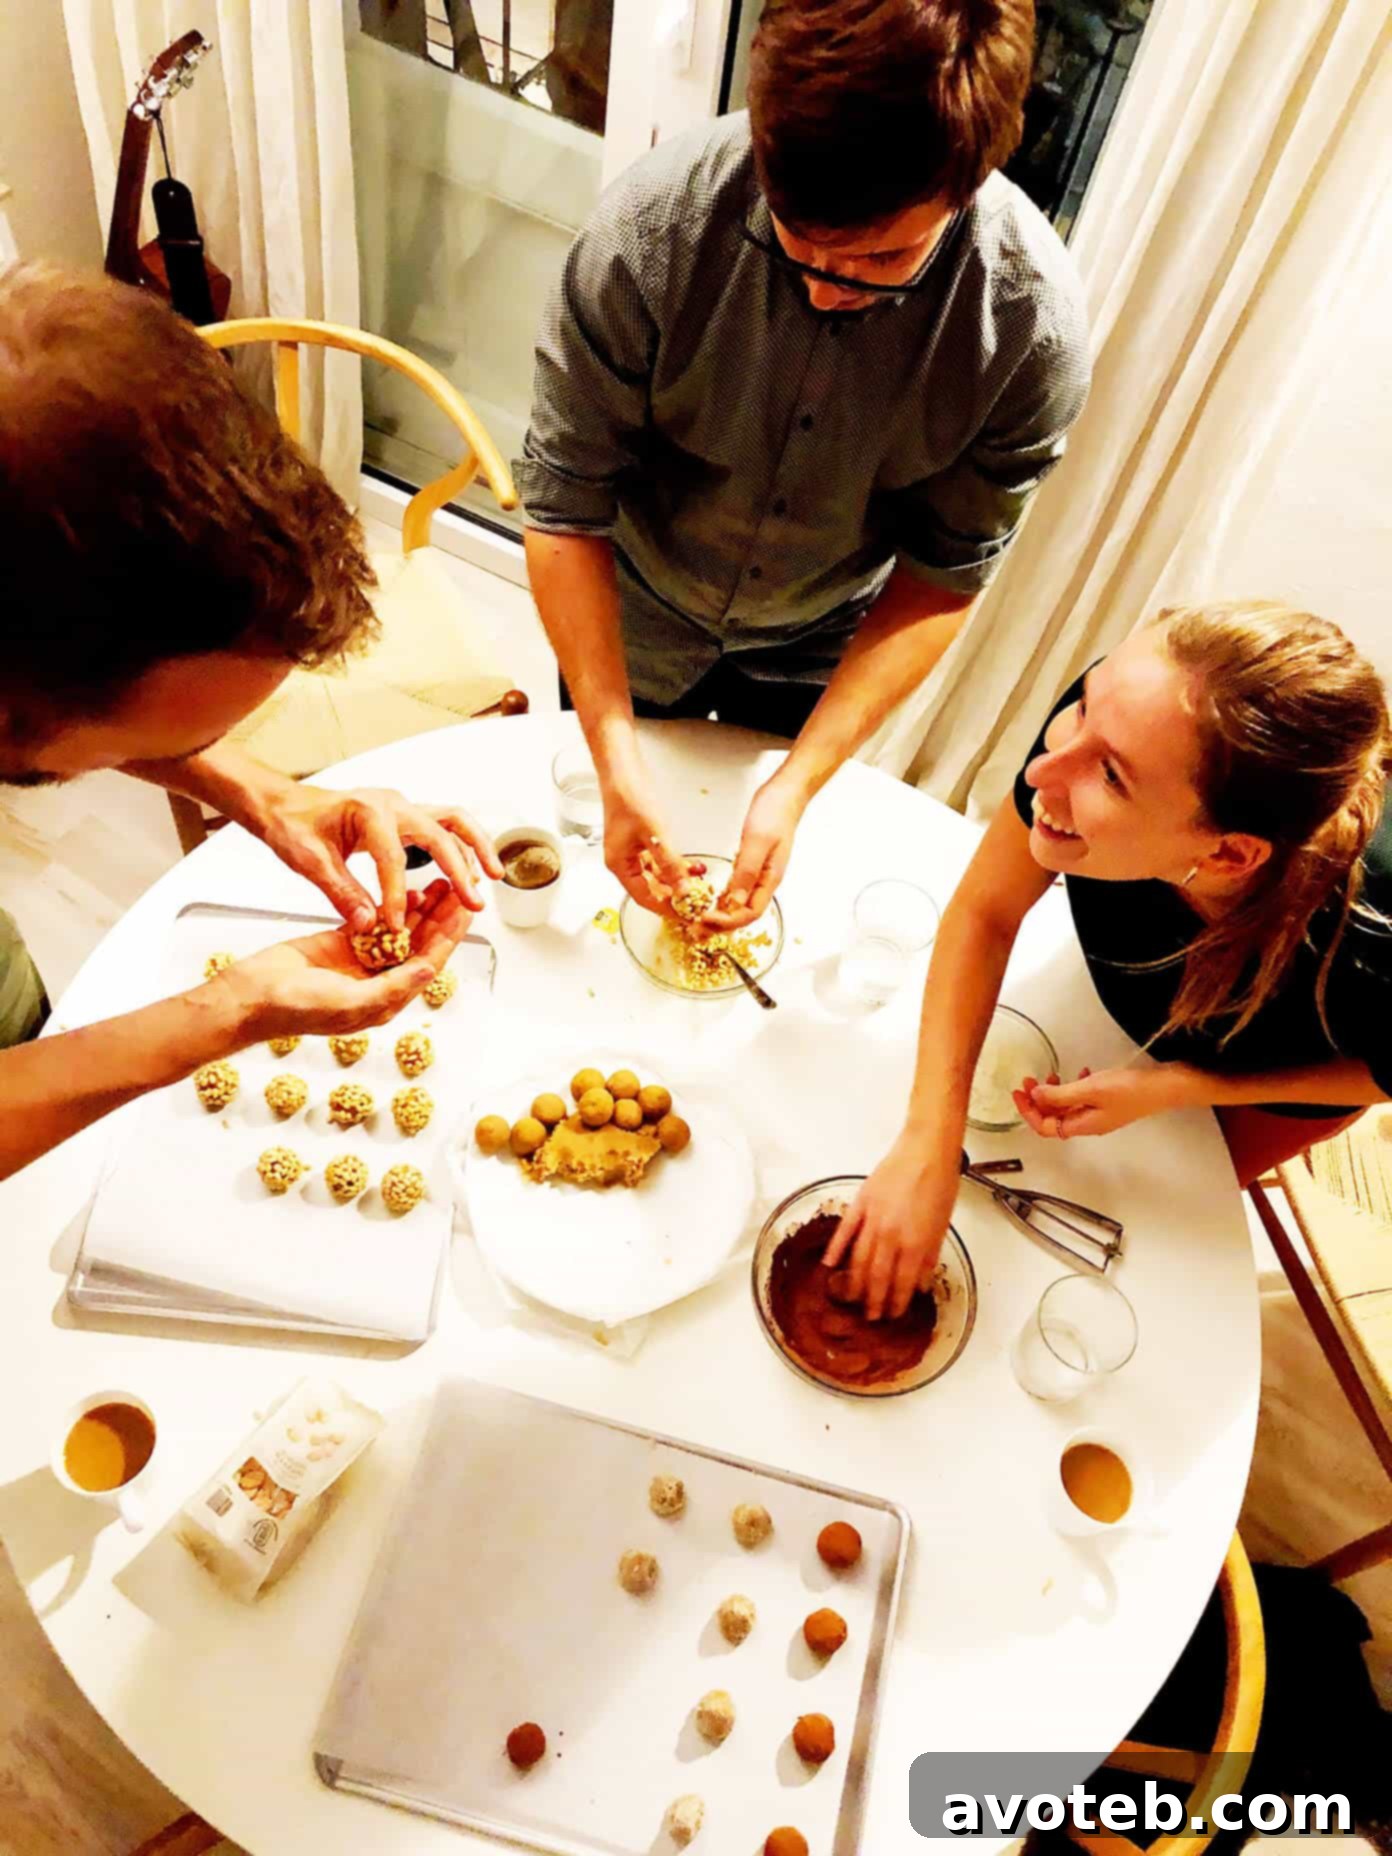
This past week, as All Saints’ Day approached once again, fate intervened in the most delightful way. We had initially planned a sushi dinner with our friends – that same wonderful friend who introduced us to panellets and her boyfriend. But at the eleventh hour, she sent a message, proposing a homemade panellet-making party instead. Our immediate, enthusiastic response? “Yes, please!” And so, the evening transformed into a cozy culinary adventure. My husband, Barclay, whipped up a comforting batch of cauliflower curry for dinner, setting a warm and inviting scene. Laura, our panellet mentor, and I joyfully immersed ourselves in mixing the lemony almond flour marzipan dough. Dani, ever the diligent one, took on the crucial role of quality control, ensuring all the toppings were perfect. The four of us spent the evening laughing, chatting, and meticulously rolling out dozens of panellets. The anticipation grew with each perfectly formed sweet, and when they finally emerged from the oven, they were, quite simply, *perfect* – a true testament to our collaborative effort and Laura’s fantastic recipe. Our inaugural homemade panellet success!
We couldn’t resist diving into the warm, freshly baked panellets right away, savoring their tender texture and rich flavor. The remaining treats were carefully boxed up, destined for our neighbors, who always appreciate our enthusiastic attempts at mastering traditional Catalan recipes. After sharing snippets of our delightful panellet party on Instagram, we were met with an overwhelming number of requests for the recipe. Inspired by your enthusiasm and keen to share this cherished tradition, we decided to embark on a second panellet-making session, ensuring we could bring this wonderful recipe to you just in time for All Saints’ Day. So, for all of you eager to try your hand at crafting these iconic Catalan sweets, here’s the authentic, simplified method that Laura so generously taught us!
Crafting Authentic Catalan Panellets: A Guide to Essential Ingredients
Creating these delightful pine nut and/or almond panellets requires just a few simple, yet crucial, ingredients. Each component plays a vital role in achieving that perfect marzipan texture and authentic flavor profile. Here’s what you’ll need to gather:
- Almond Flour (or fine almond meal): This forms the very foundation of our panellets, providing the rich, nutty base for the marzipan dough. Opt for a finely ground almond flour for the smoothest texture.
- Potato: A unique and traditional inclusion, a small amount of cooked potato (such as a creamy Yukon gold variety) is mixed into the marzipan dough. It contributes a subtle moisture and helps create that wonderfully soft, yielding texture that panellets are known for. I found that quickly cooking a small potato in the microwave works perfectly, but boiling or baking it are equally effective methods.
- Sugar: While traditional recipes often call for white granulated sugar, we achieved excellent results using brown sugar in both of our batches, lending a lovely, nuanced caramel note to the sweetness. Feel free to use your preferred type.
- Eggs: Eggs are multi-functional in this recipe. We utilize them in three distinct ways: first, as an essential binder within the marzipan dough itself; second, to create a sticky surface that helps the decorative toppings adhere; and third, as an egg wash brushed on before baking, which gives the panellets their characteristic golden-brown sheen.
- Lemon Zest: A touch of fresh lemon zest brightens the entire flavor profile, adding a fragrant, citrusy note that beautifully complements the rich almond.
- Toppings: The choice of topping is where the panellet truly comes alive! The most classic options are raw pine nuts (you might notice the Spanish varieties are often longer and more slender) or finely-chopped almonds. However, this is also where you can get creative and explore other delightful possibilities, as detailed in our variations section below.
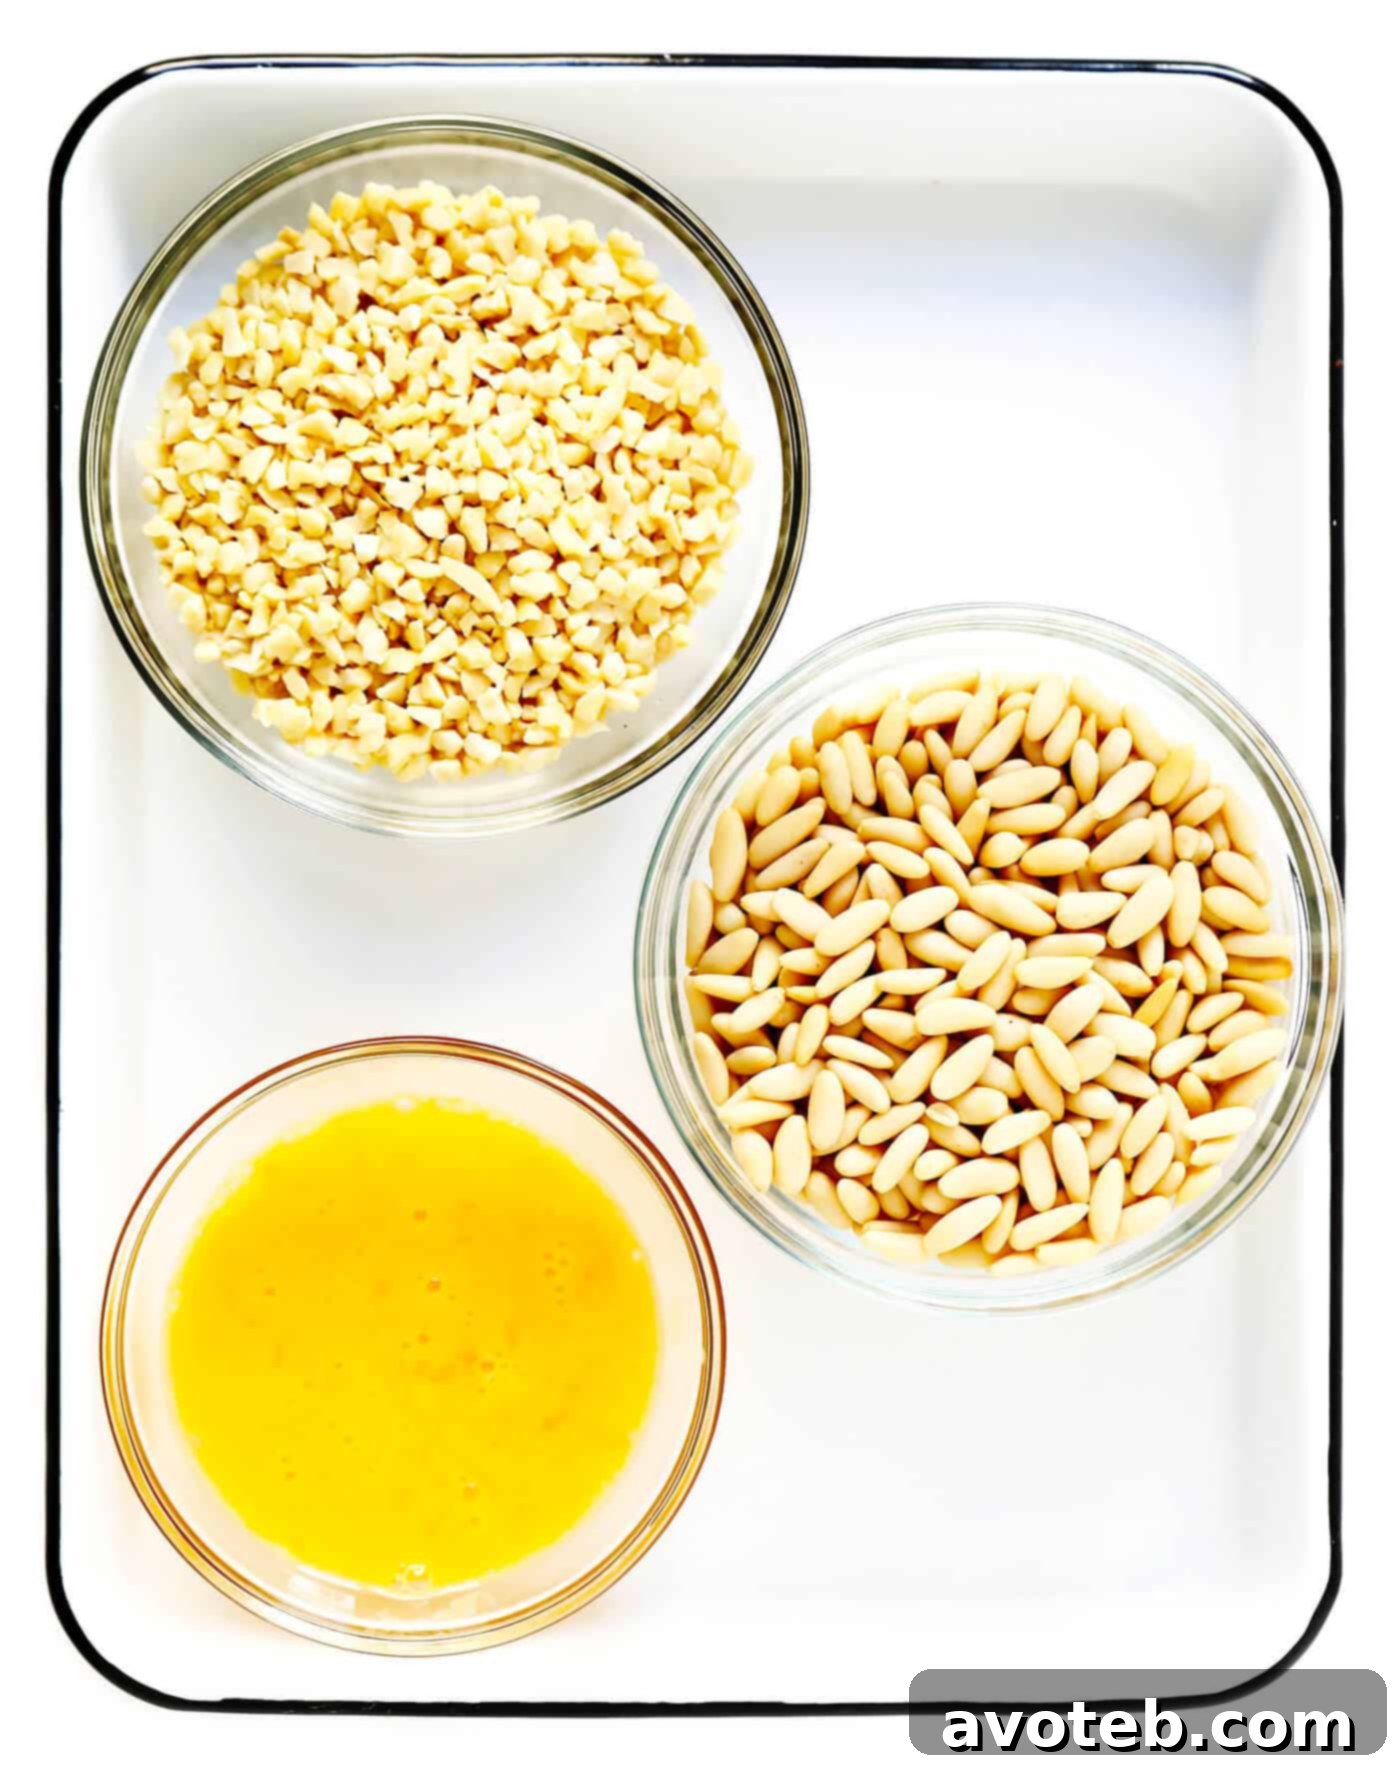
Mastering Panellets: Step-by-Step Recipe Instructions
After successfully crafting our first batch of marzipan by hand, I discovered a fantastic shortcut for the second batch: the food processor! It worked like a dream, making the process even quicker and easier. Whether you choose the traditional hand-mixing method or opt for the modern convenience of a food processor, these delightful little treats are destined to be incredibly delicious. Here’s how to make panellets, step by step:
- Prepare the Marzipan Dough. Begin by combining the sugar, one of your eggs, and the fresh lemon zest in a spacious mixing bowl. Stir these ingredients together until they are well incorporated. Next, add the mashed potato and continue stirring until it is thoroughly blended into the mixture. Gradually, add the almond flour. At this stage, you might find it easiest to switch from a spoon to your hands to fully work the flour into the dough until it forms a cohesive, smooth marzipan. Be careful not to overwork the dough. Once combined, you can shape the marzipan into a large disk. For optimal handling, especially if your kitchen is warm, cover the disk and refrigerate it for a few hours until it’s nicely chilled. However, as we happily discovered, you can also skip this refrigeration step if you’re eager to get baking, and your panellets will still turn out beautifully.
- Shape and Coat the Panellets. Now comes the fun part! Roll the chilled (or unchilled, if you skipped refrigeration) marzipan dough into uniformly sized 1-inch (approximately 2.5 cm) balls for the classic pine nut panellets, or into small, neat logs for the almond variety. Each piece should weigh around 20 grams to ensure even baking. In a small separate bowl, lightly whisk one of your remaining eggs. In a second shallow bowl, spread out your chosen topping – either raw pine nuts or finely-chopped almonds. Carefully dip each marzipan ball or log into the whisked egg, ensuring it’s completely coated. Then, transfer it to the bowl of nuts. Using your hands, gently but firmly press the nuts onto the marzipan, covering its entire surface. This step requires a bit of patience and will definitely get your hands sticky, but the effort is well worth the beautiful, textured result!
- Brush the Panellets and Prepare for Baking. Once all your panellets are shaped and coated, arrange them neatly on a baking sheet lined with parchment paper, leaving a small space between each one. In a final small bowl, whisk the last egg together with a tablespoon of water to create an egg wash. Gently brush this mixture over the top of each panellet. This not only gives them a lovely golden glow when baked but also helps further secure the toppings.
- Bake to Golden Perfection. Preheat your oven to 425°F (220°C). Once hot, place the baking sheet into the oven. Bake the panellets for approximately 8-12 minutes, or until their tops turn a beautiful golden color. It’s essential to keep a very close eye on them during this stage, as the nuts can burn quite quickly if left unattended. Remove them from the oven as soon as they achieve that perfect golden hue to prevent over-baking and ensure a moist interior.
- Serve and Enjoy. Allow the panellets to cool slightly on the baking sheet before transferring them to a wire rack. They are absolutely heavenly when enjoyed warm, fresh out of the oven, with their soft centers and subtly crisp exterior. If you have any leftovers (which is doubtful!), they can be stored in an airtight container at room temperature for up to one week. For longer preservation, they freeze wonderfully for up to three months; simply thaw at room temperature before serving. Enjoy this delightful taste of Catalonia! ♡
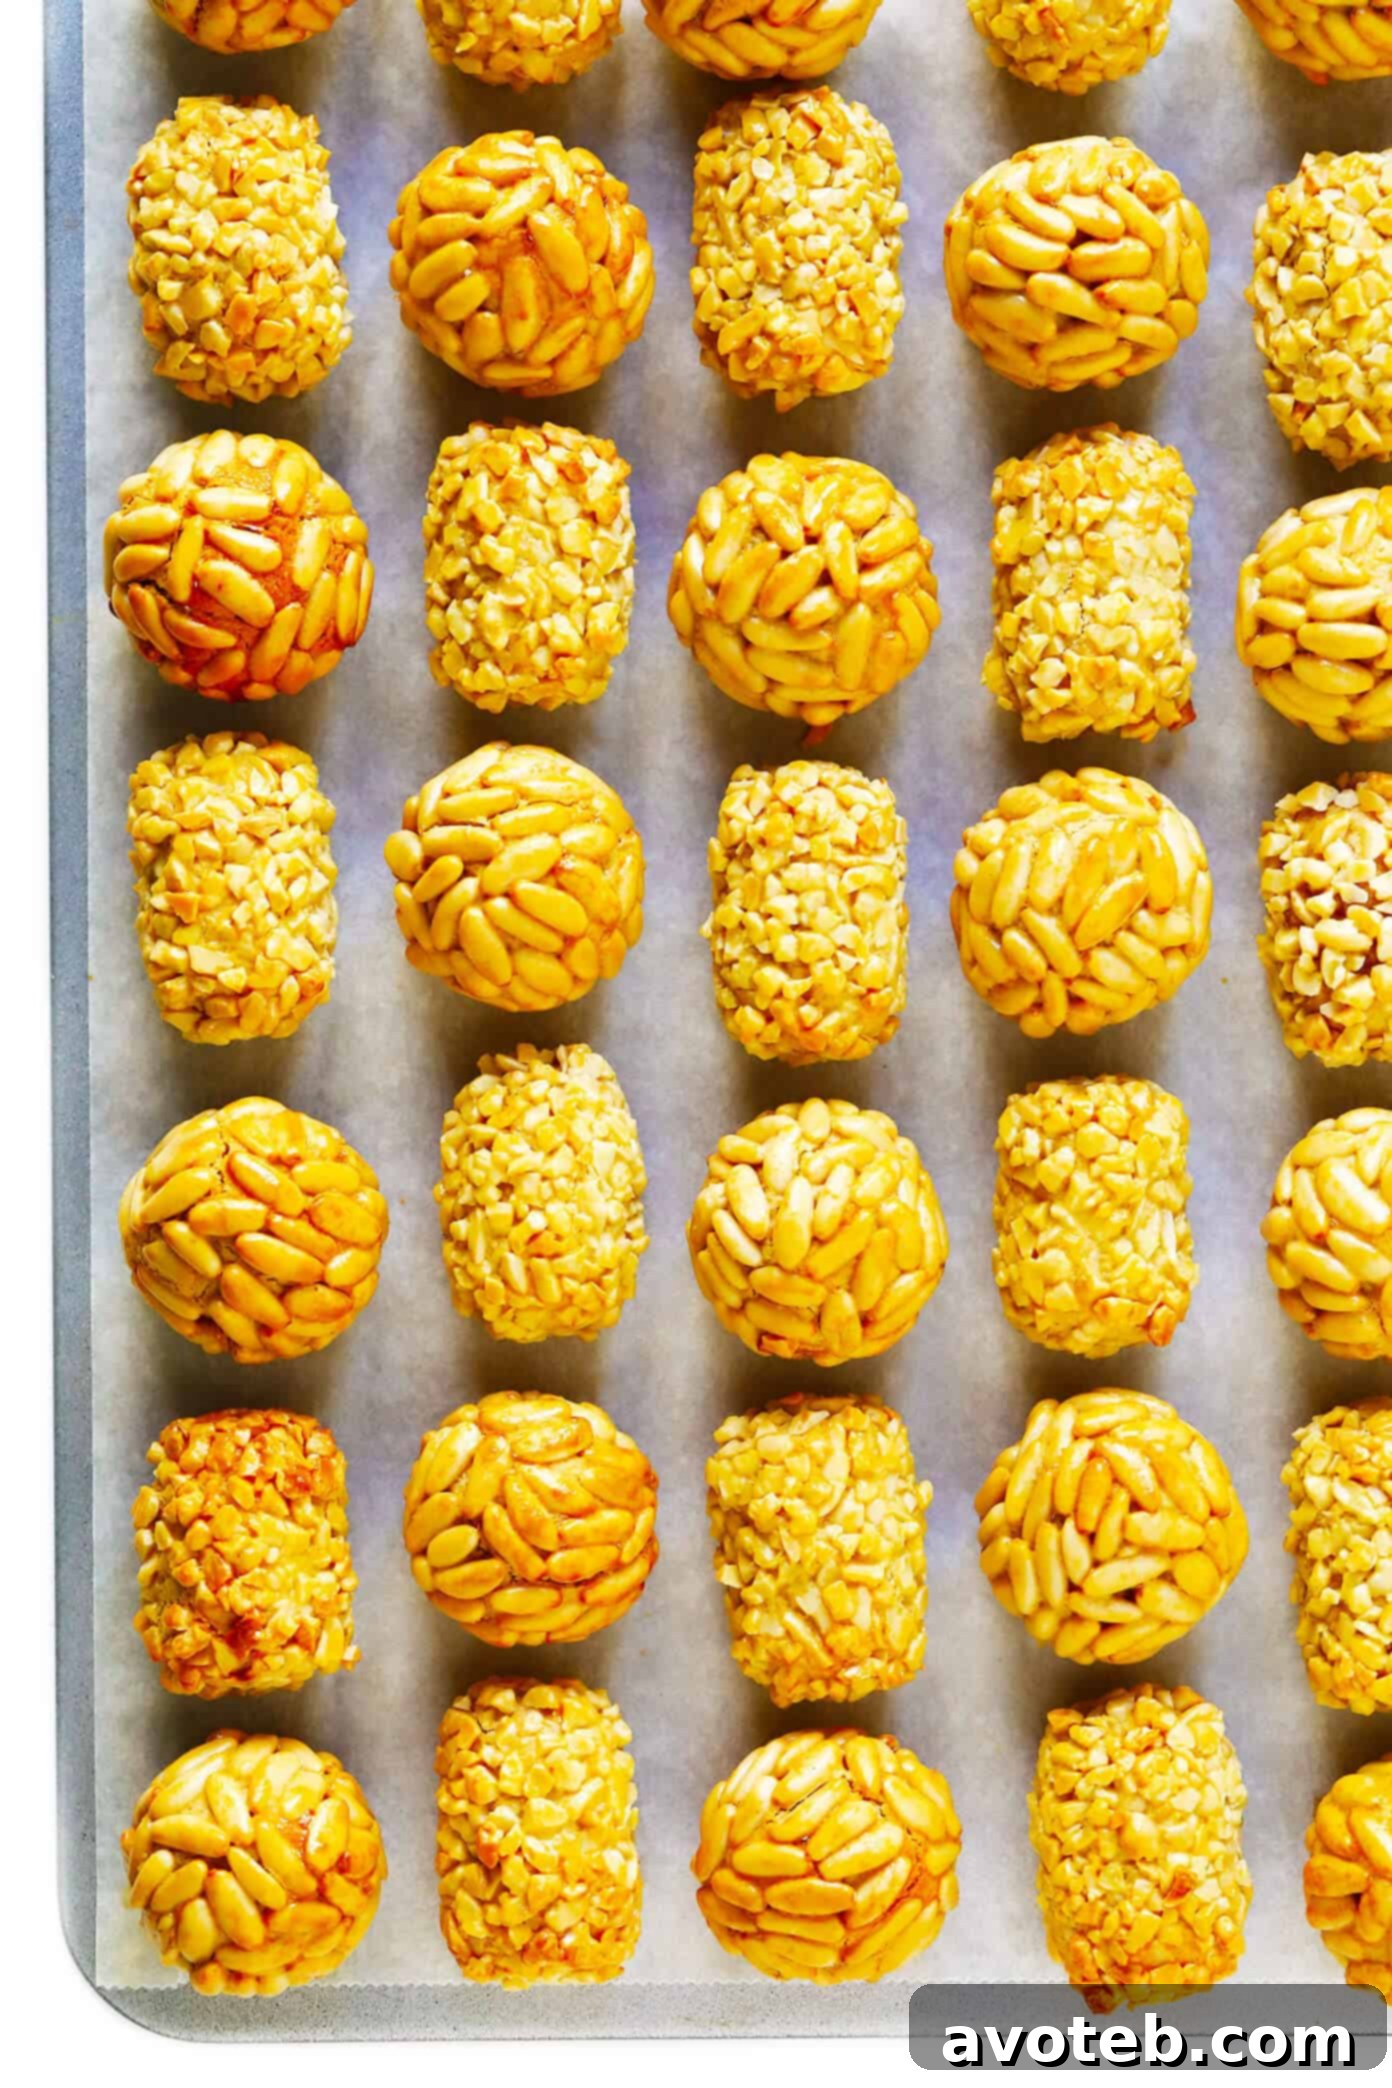
Creative Panellets: Exploring Delicious Variations and Customizations
As I mentioned earlier, one of the joys of panellets is their incredible versatility. During our time in Barcelona, we’ve encountered a fascinating array of different types in various bakeries, each offering a unique twist on the classic marzipan base. Here are even more wonderful options to inspire you when customizing your own homemade batch:
- Embrace Different Toppings: Beyond the traditional pine nuts and almonds, shredded coconut is another immensely popular choice, lending a tropical sweetness and texture when rolled onto the marzipan. For chocolate lovers, a fine dusting or coating of cocoa powder can transform them into a rich, decadent treat. Some varieties are shaped more like thumbprint cookies, with a small indentation pressed into the center and then filled after baking with a vibrant maraschino cherry or a dollop of tangy quince paste (codonyat), which pairs exquisitely with the almond. Get creative with finely chopped pistachios, hazelnuts, or even poppy seeds for unique visual and textural appeal.
- Experiment with Sweet Potato: A health-conscious and equally delicious variation, a friend once shared her love for making panellets using mashed sweet potatoes instead of regular potatoes, and sweetening them with maple syrup. This not only adds a lovely natural sweetness but also a beautiful orange hue and a touch more nutritional value. This is definitely on my list to try next year!
- Explore Alternative Sweeteners: While we opted for brown sugar in our recipe, traditional white granulated sugar works perfectly well and yields a slightly lighter color. For those seeking alternative options, coconut sugar can also be used, offering a similar texture and a subtle, earthy sweetness. I haven’t personally experimented with liquid sweeteners like maple syrup or honey for panellets, but I imagine they could work if you’re willing to adjust the proportions of almond flour slightly to maintain the right dough consistency. Careful experimentation with moisture content would be key here.
- Infuse with Flavors: Consider adding a tiny drop of almond extract to boost the almond flavor, or a hint of orange blossom water for a delicate floral aroma, common in many Mediterranean sweets. A pinch of cinnamon or a tiny amount of finely ground coffee could also introduce interesting depth.
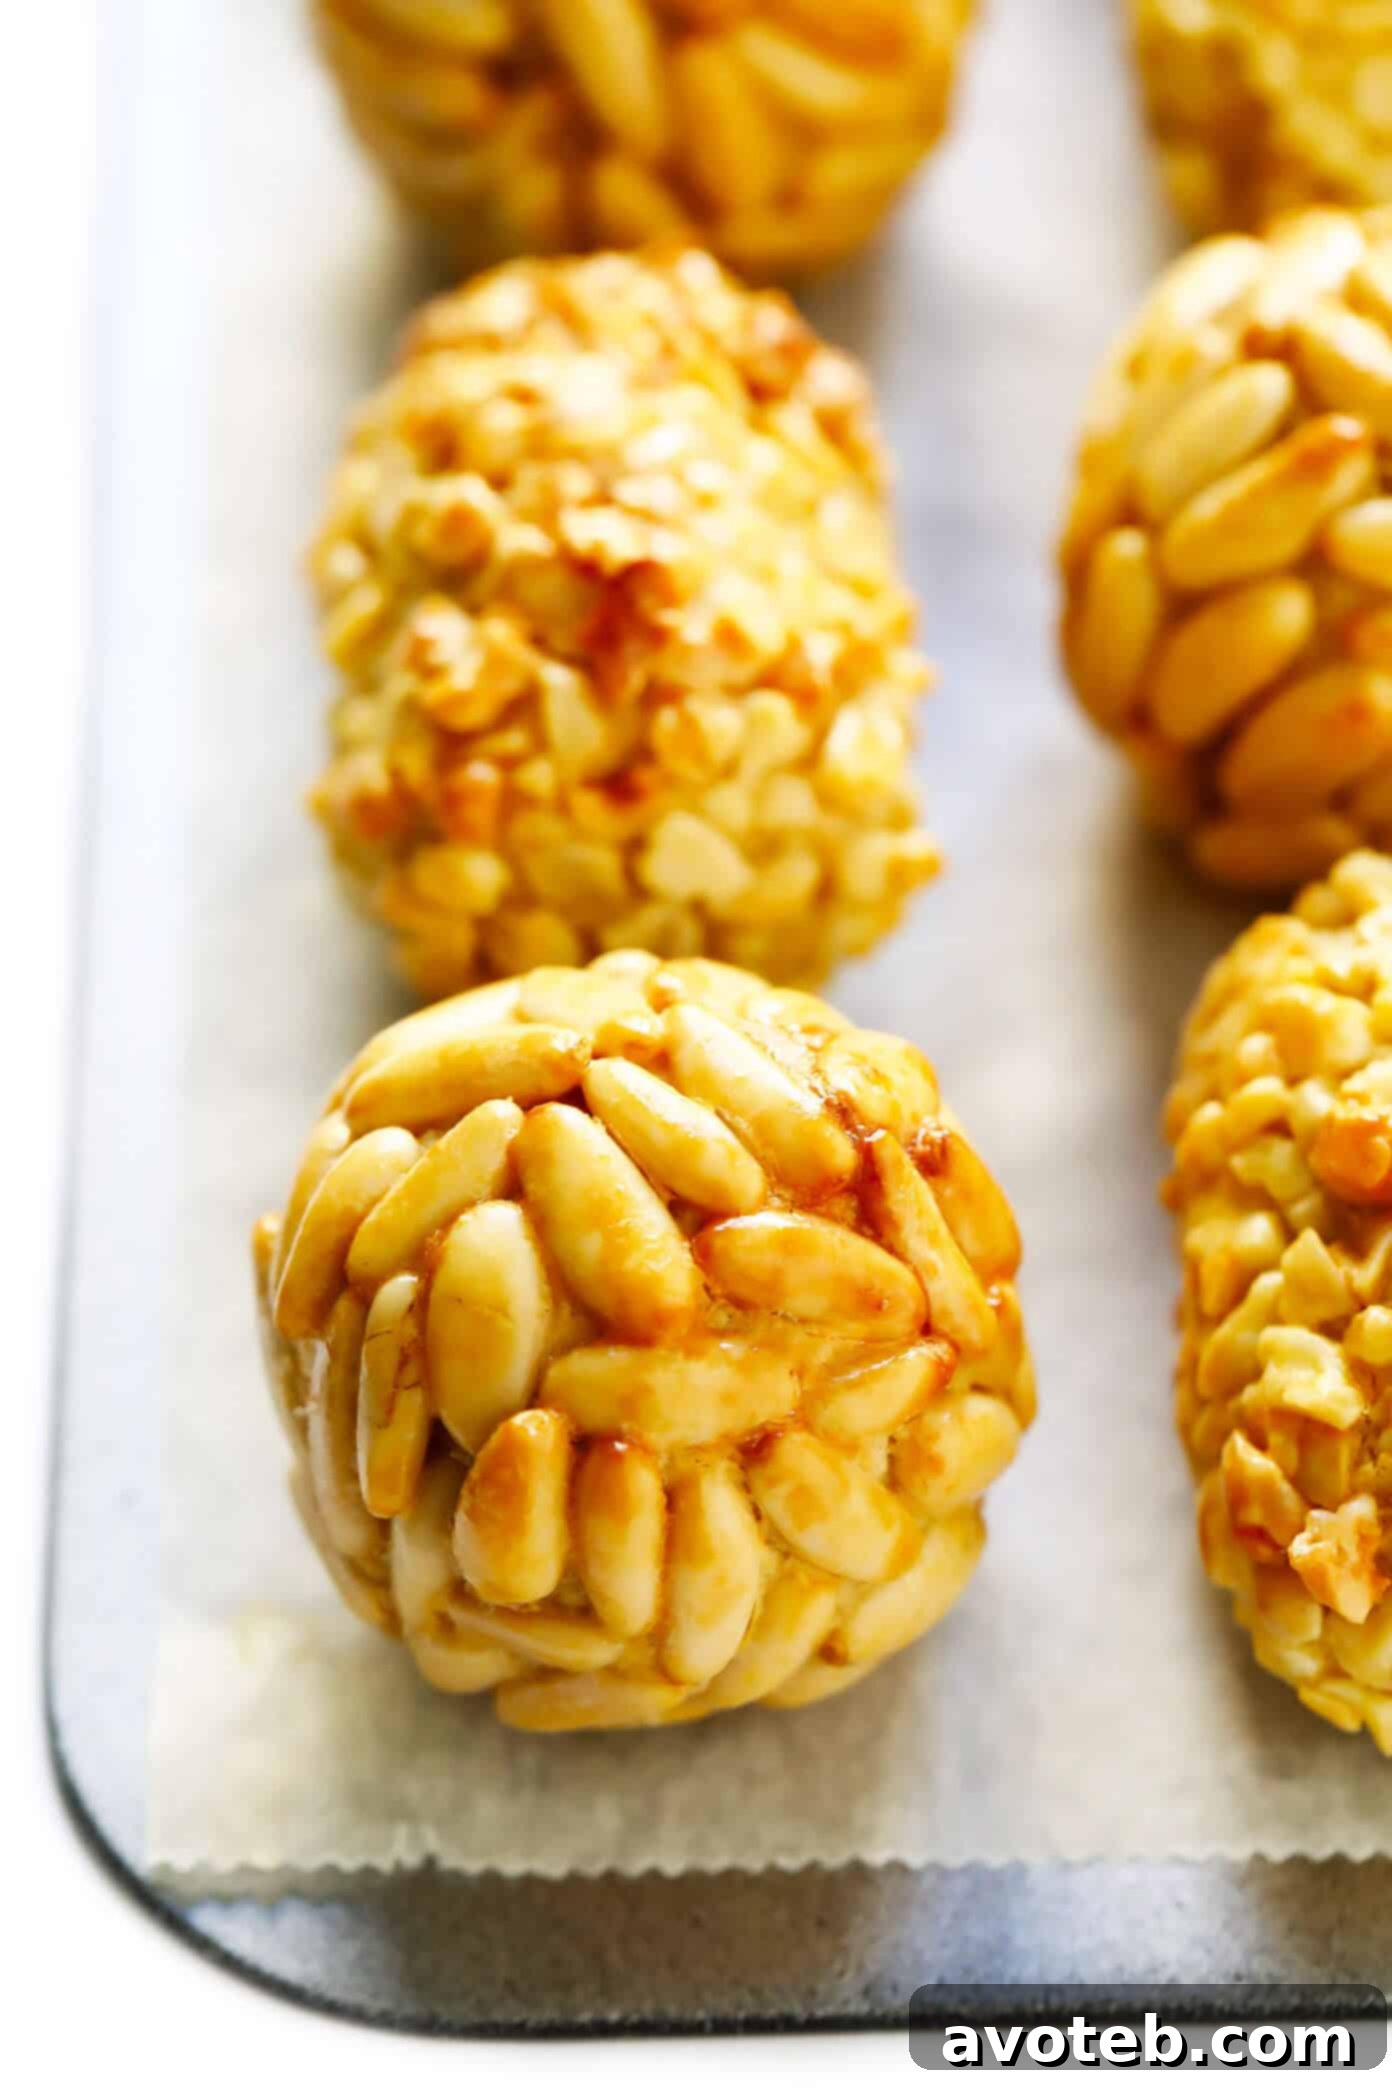
Discover More Catalan Flavors: Favorite Recipes from Barcelona
Living in Spain has been a culinary revelation, inspiring us to learn and recreate many authentic local dishes. If you’ve enjoyed making these panellets and are eager to explore more of the delicious flavors we’ve discovered in Catalonia and beyond, here are a few more of our absolute favorite recipes that capture the essence of Spanish cuisine:
- Authentic Gazpacho: A refreshing, vibrant cold soup perfect for warm days.
- Catalan Tomato Bread (Pa amb Tomàquet / Pan con Tomate): The quintessential Spanish accompaniment, simple yet incredibly flavorful.
- Catalan Chickpeas and Spinach: A hearty, wholesome, and surprisingly flavorful vegetarian dish.
- Classic Sangria: The ultimate festive Spanish drink, perfect for sharing with friends.

Print Recipe
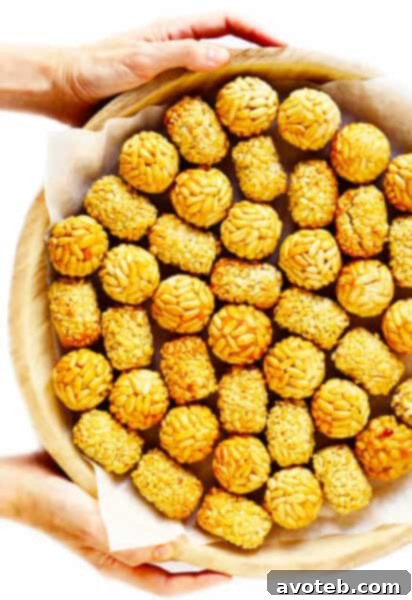
Traditional Catalan Panellets: Marzipan Sweets
Prep Time: 1 hour
Cook Time: 10 mins
Total Time: 1 hour 10 mins
Yield: 45 delightful panellets 1x
Recipe Overview
This authentic Catalan panellets recipe offers a delightful culinary journey into Spanish traditions. Simple to prepare, naturally gluten-free, and wonderfully versatile, these marzipan-based sweets can be adorned with an array of delicious toppings.
Ingredients List
Scale
- 3 large eggs, separated for use in dough and coating
- Zest of one small organic lemon, finely grated
- 1 1/2 cups (300 grams) firmly packed light brown sugar (granulated white sugar is also an option)
- 3 1/2 ounces (100 grams) Yukon gold potato, cooked until tender, peeled, and thoroughly mashed (ensure no lumps)
- 18 ounces (500 grams) premium almond flour (blanched fine almond meal recommended)
- 12 ounces (350 grams) high-quality raw pine nuts or finely-chopped blanched almonds (or a delightful 50/50 blend for varied texture and taste)
Detailed Preparation Steps
- Prepare the Marzipan Dough. In a spacious mixing bowl, gently combine one egg, the aromatic lemon zest, and the brown sugar until a uniform mixture is achieved. Incorporate the thoroughly mashed (and cooled) Yukon gold potato, stirring until seamlessly blended. Gradually introduce the almond flour, mixing carefully (you might find it easier to use your hands for the final stages) until a cohesive dough forms. Avoid overworking the dough to maintain its delicate texture. At this juncture, you have the option to proceed directly to shaping, or to form the dough into a disk, wrap it tightly in plastic, and refrigerate for up to 48 hours. Chilling can make the dough slightly firmer and easier to handle, though it’s not strictly necessary.
- Shape and Coat the Panellets. Divide the marzipan dough into approximately 1-inch (2.5 cm) balls for the pine nut variety, or small 1-inch (2.5 cm) logs for the almond version, aiming for about 20 grams per piece for consistency. In a separate small bowl, lightly whisk one of the remaining eggs. In a third bowl, spread out your chosen topping—either pine nuts or finely-chopped almonds. Dip each piece of dough into the whisked egg until fully coated, allowing any excess to drip off. Then, transfer the egg-coated dough to the bowl of nuts, and use your hands to gently but firmly press the nuts onto the marzipan, ensuring the entire surface is covered. (This step requires patience and a hands-on approach, but the beautiful result is well worth the effort.)
- Preheat Your Oven. Adjust your oven rack to the middle position and preheat to 425°F (220°C). This high initial heat helps to achieve a golden exterior quickly without over-drying the interior.
- Egg Wash and Arrange for Baking. Carefully arrange the shaped and coated panellets onto a large baking sheet lined with parchment paper, leaving a small space between each. In another small bowl, whisk the final egg together with 1 tablespoon of water to create an egg wash. Lightly brush the tops of all the panellets with this mixture. This gives them a beautiful sheen and helps achieve that characteristic golden-brown finish.
- Bake to Perfection. Place the baking sheet in the preheated oven and bake for approximately 8-12 minutes, or until the tops of the panellets turn a lovely golden hue. It is crucial to monitor them closely during this time, as nuts can burn quickly. Remove them from the oven as soon as they reach the desired color to prevent over-baking and ensure a moist interior.
- Serve and Store. Allow the panellets to cool slightly on the baking sheet before transferring them to a wire rack. They are utterly delightful when served warm, straight from the oven, offering a soft texture and intense flavor. Leftovers can be stored in an airtight container at room temperature for up to one week, or frozen for up to three months for a longer treat. Thaw at room temperature before serving.
Chef’s Notes & Tips
*Food Processor Shortcut: While the traditional method involves mixing the marzipan by hand, for a quicker and equally effective approach, you can combine all marzipan ingredients (following the same order) in a food processor. Pulse until a consistent dough forms – it works wonderfully!
*Dough Refrigeration: Many classic panellets recipes recommend chilling the marzipan dough for a few hours (or up to 48 hours) before shaping. This can firm up the dough, making it potentially easier to handle, especially in warmer kitchens. However, as we discovered, skipping this step does not significantly compromise the final product, so feel free to proceed without it if you’re short on time. 🙂
*Recipe Inspiration: A heartfelt thank you to our dear friend, Laura, whose guidance and traditional wisdom made this homemade panellets journey possible!
This post contains affiliate links, which means we may earn a small commission if you make a purchase through them, at no extra cost to you. We only recommend products we genuinely love and trust.