
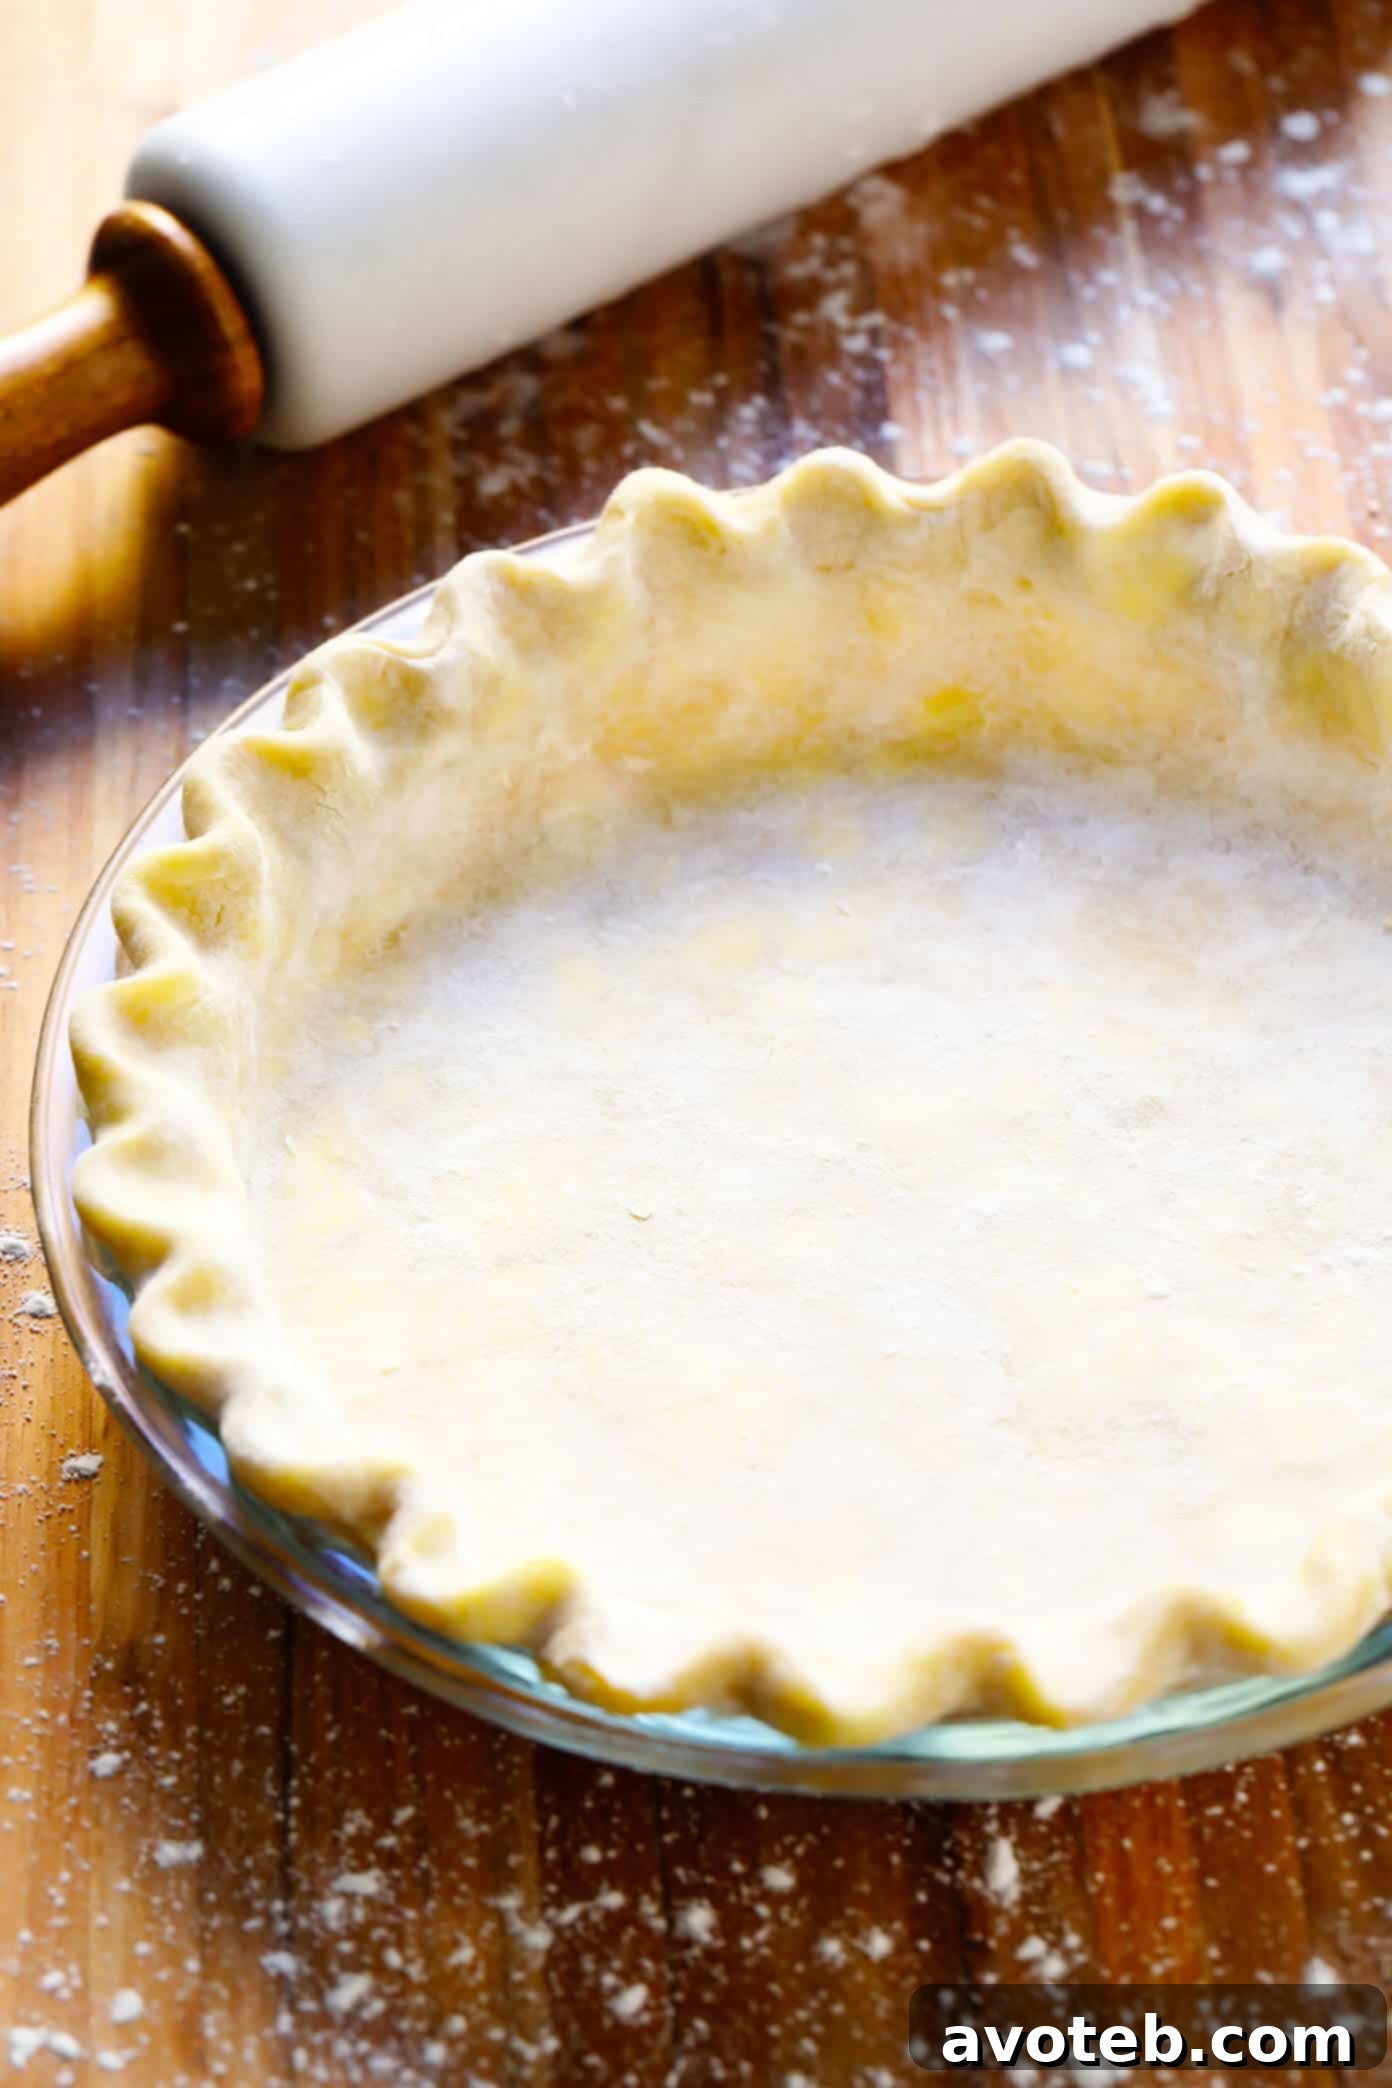
Unlock the secret to perfect pies with this comprehensive guide on how to make a truly flaky, all-butter pie crust from scratch — whether by hand or with a food processor.
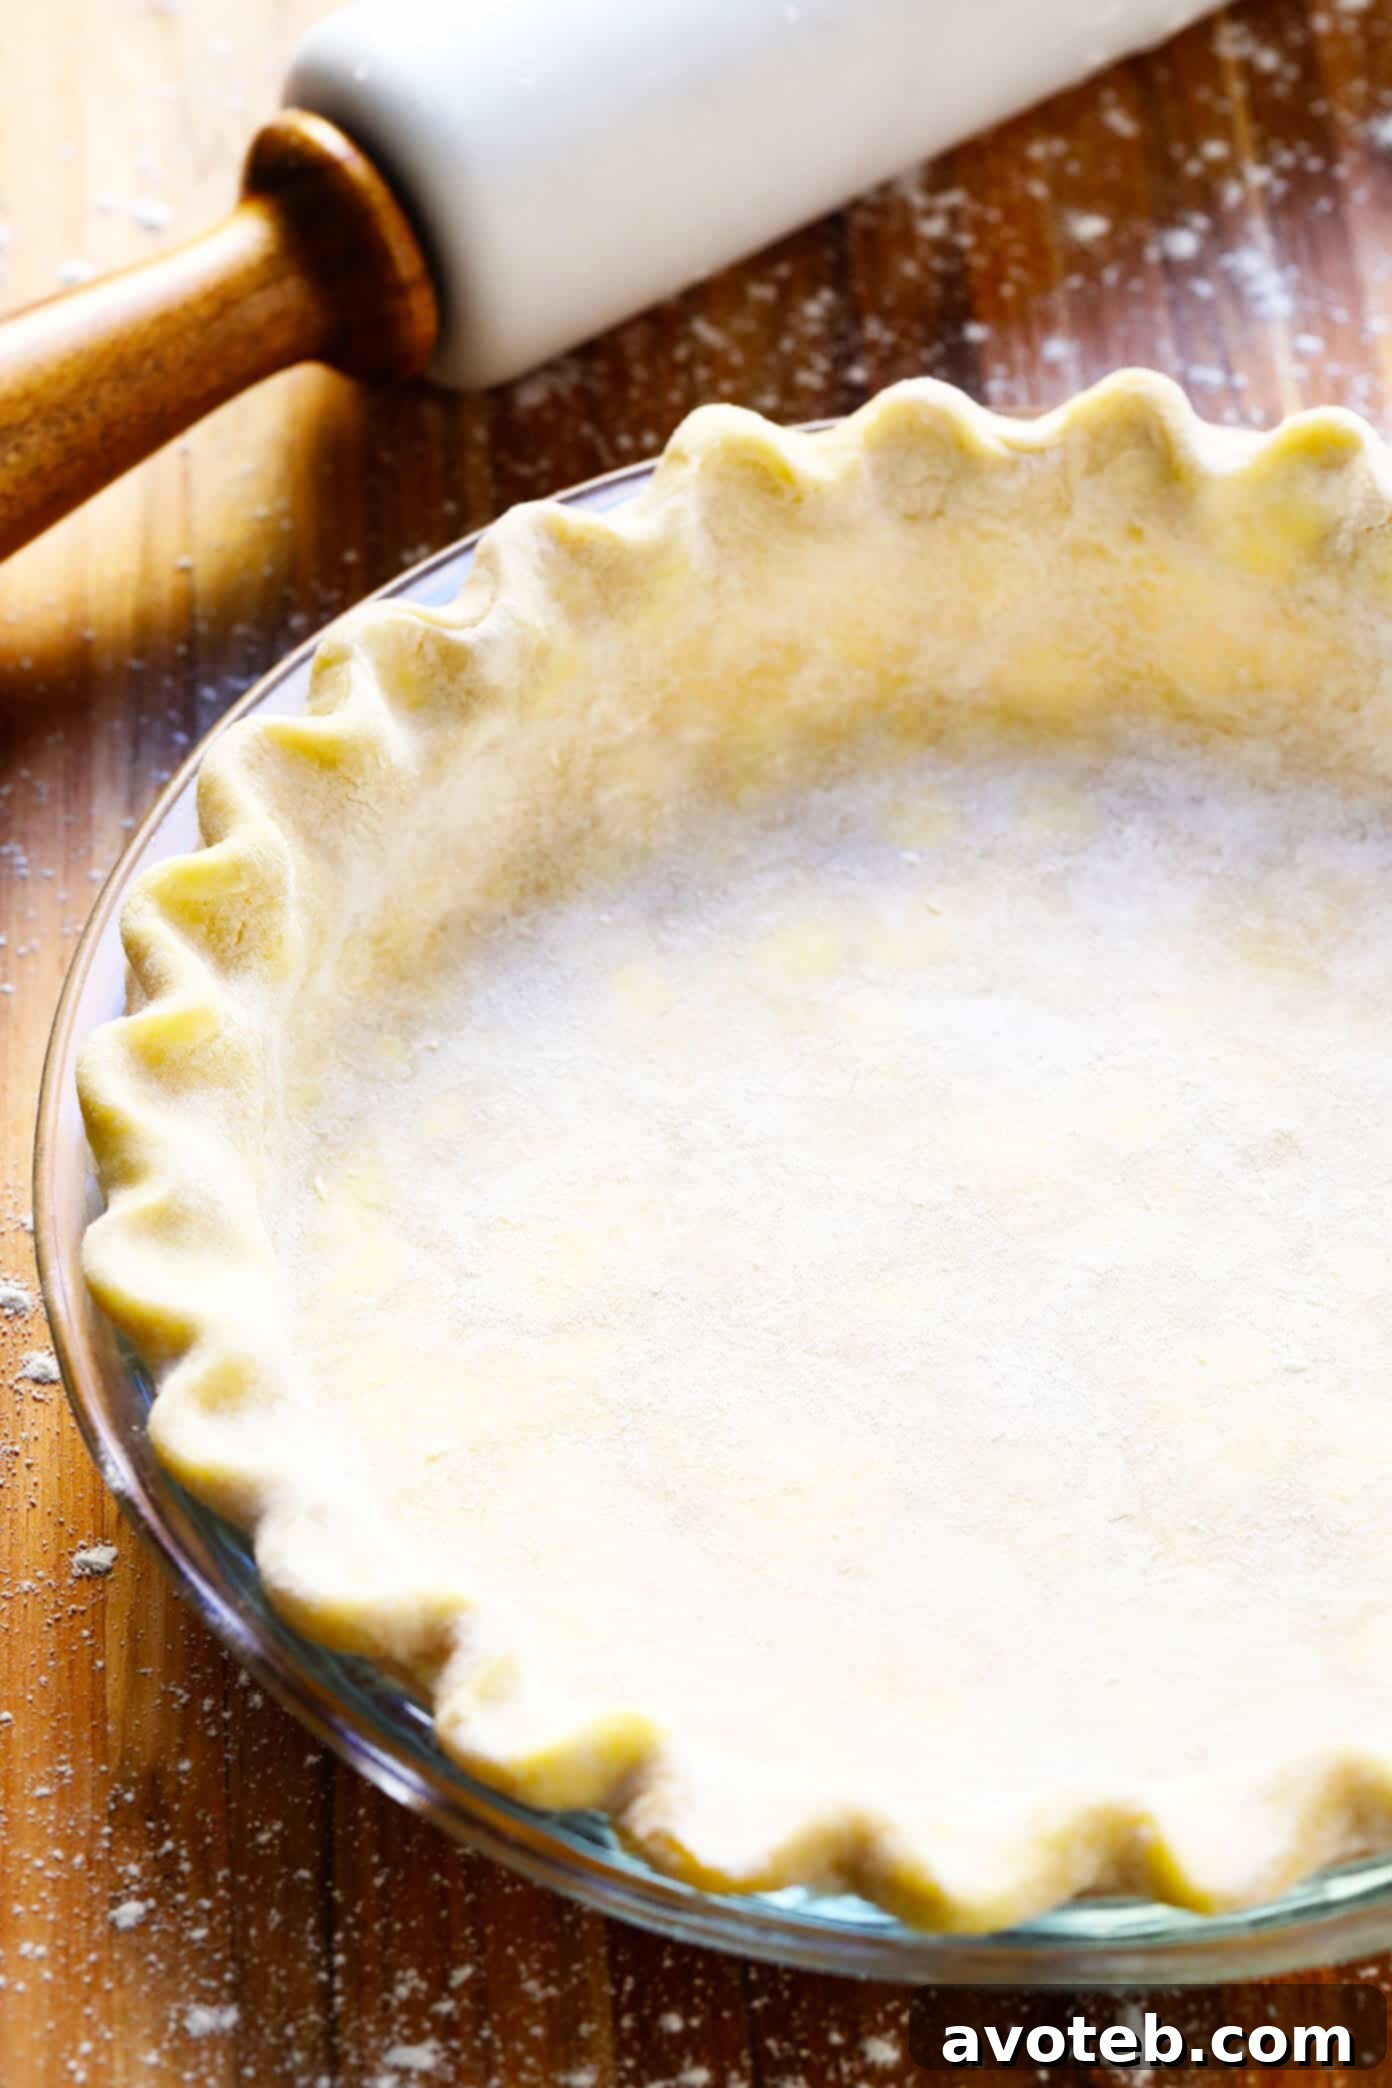
As the holiday season draws near, the aroma of freshly baked pies often fills our homes, promising warmth and comfort. While the fillings might steal the show, every great pie begins with an exceptional crust. A truly flaky, buttery, and tender pie crust is the foundation of any memorable pie, and mastering it from scratch is far more achievable than you might imagine. This guide is dedicated to demystifying the process, offering you a foolproof, all-butter homemade pie crust recipe that guarantees delicious results every time.
For many, the idea of making pie crust from scratch can be daunting, conjuring images of intricate techniques and delicate doughs. I once felt the same intimidation, but after countless pies and years of practice, I can confidently say that creating a homemade pie crust is genuinely simpler than you think! All it takes are five essential ingredients – flour, butter, salt, optional sugar, and ice water – and a little patience. Whether you prefer the traditional method of mixing by hand or the convenience of a food processor, this recipe adapts beautifully, promising a golden, tender, and irresistibly flaky crust.
This beloved pie crust recipe has been a staple in my kitchen for years, continually refined and perfected. Initially shared on this blog six years ago, it has since become my trusted go-to for all pie endeavors. Today, I’m thrilled to present a comprehensive update, incorporating invaluable tips and tricks I’ve gathered over dozens of pie-baking experiences. This refreshed guide includes brand-new, step-by-step photos that illustrate both the hand-mixing and food processor methods, ensuring clarity and confidence for bakers of all skill levels. My hope is that whether this is your very first foray into pie crust making or you’re a seasoned pro, you’ll find something helpful here to make your holiday baking, and indeed any baking occasion, a little more delicious and a lot more fun.
So, gather your ingredients, grab your rolling pin, and let’s embark on the delightful journey of creating the perfect homemade pie crust!
Essential Ingredients for a Flaky Pie Crust
Crafting the perfect pie crust starts with understanding the role each ingredient plays. This all-butter homemade pie crust relies on just five simple yet crucial components, each contributing to its tender texture and rich flavor. Here’s a closer look at what you’ll need:
- All-purpose flour: The backbone of our pie crust. Using standard all-purpose flour provides the ideal structure. For precise measurements, especially in baking, a kitchen scale is highly recommended. If measuring by volume, remember to gently spoon the flour into your measuring cup and level it off with a knife, rather than scooping directly from the bag. This prevents over-packing, which can lead to a tough crust.
- Granulated sugar (optional): A tablespoon of sugar adds a subtle hint of sweetness and aids in browning, giving your crust a beautiful golden hue. However, if you prefer a completely unsweetened crust, particularly for savory pies, feel free to omit it. The crust will still be delicious and flaky.
- Salt: A touch of salt is vital. It doesn’t just add flavor; it enhances the buttery notes and balances the overall taste of the pie dough, making every bite more satisfying.
- Cold unsalted butter: This is arguably the most critical ingredient for a flaky crust. Using cold, unsalted butter, diced into 1/4-inch cubes, ensures that distinct pockets of butter remain within the dough. These pockets melt during baking, releasing steam and creating those coveted flaky layers. It’s essential to keep the butter as cold as possible throughout the process, adding it to the dry ingredients immediately after dicing.
- Ice water: Equally important for flakiness, ice-cold water is key. It helps to bind the dough without developing too much gluten, which can make the crust tough. I always keep a cup of ice water ready, straining out the ice cubes just before mixing it into the dough. Some bakers swear by a 50/50 mix of ice water and frozen vodka, believing it further inhibits gluten development and evaporates more efficiently, leading to an even flakier crust. While it’s a worthwhile experiment, I’ve found that pure ice water delivers fantastic results without the extra step.
Essential Equipment for Homemade Pie Crust
Having the right tools can make the pie crust-making process much smoother and more enjoyable. While some items are essential, others simply offer convenience or enhance the final result. Here’s a list of recommended equipment:
- Food processor or pastry cutter (or two forks): For efficiently cutting cold butter into the flour, a food processor is a game-changer, making this step incredibly fast. If you don’t have one, a pastry cutter is an excellent manual alternative. In a pinch, two forks can also get the job done, though it requires a bit more effort.
- Large mixing bowl: You’ll need a spacious mixing bowl to combine your ingredients, especially when incorporating the ice water by hand. Both glass and stainless steel bowls work well.
- Rolling pin: A good rolling pin is indispensable for achieving an even dough thickness. A standard rolling pin (at least 12 inches long) or a flat rolling pin will do the trick. A marble rolling pin is particularly effective, as its natural coolness helps keep the dough chilled, preventing the butter from melting too quickly.
- Glass pie plate: While any pie plate will work, I prefer baking pies in a glass pie plate. Glass conducts heat more evenly than ceramic or metal, which helps achieve a consistently golden-brown bottom crust.
- Pastry brush (optional): For a professional finish, a pastry brush is handy for applying an egg wash before baking, which gives the crust a beautiful sheen and golden color.
- Kitchen scale (optional but recommended): As mentioned, a kitchen scale is invaluable for accurate ingredient measurement, particularly for flour and butter, ensuring consistent results every time.
- Pie crust shield (optional): For recipes requiring longer baking times, a pie crust shield prevents the edges of your crust from over-browning or burning. Alternatively, a simple strip of aluminum foil wrapped around the edges works just as well.
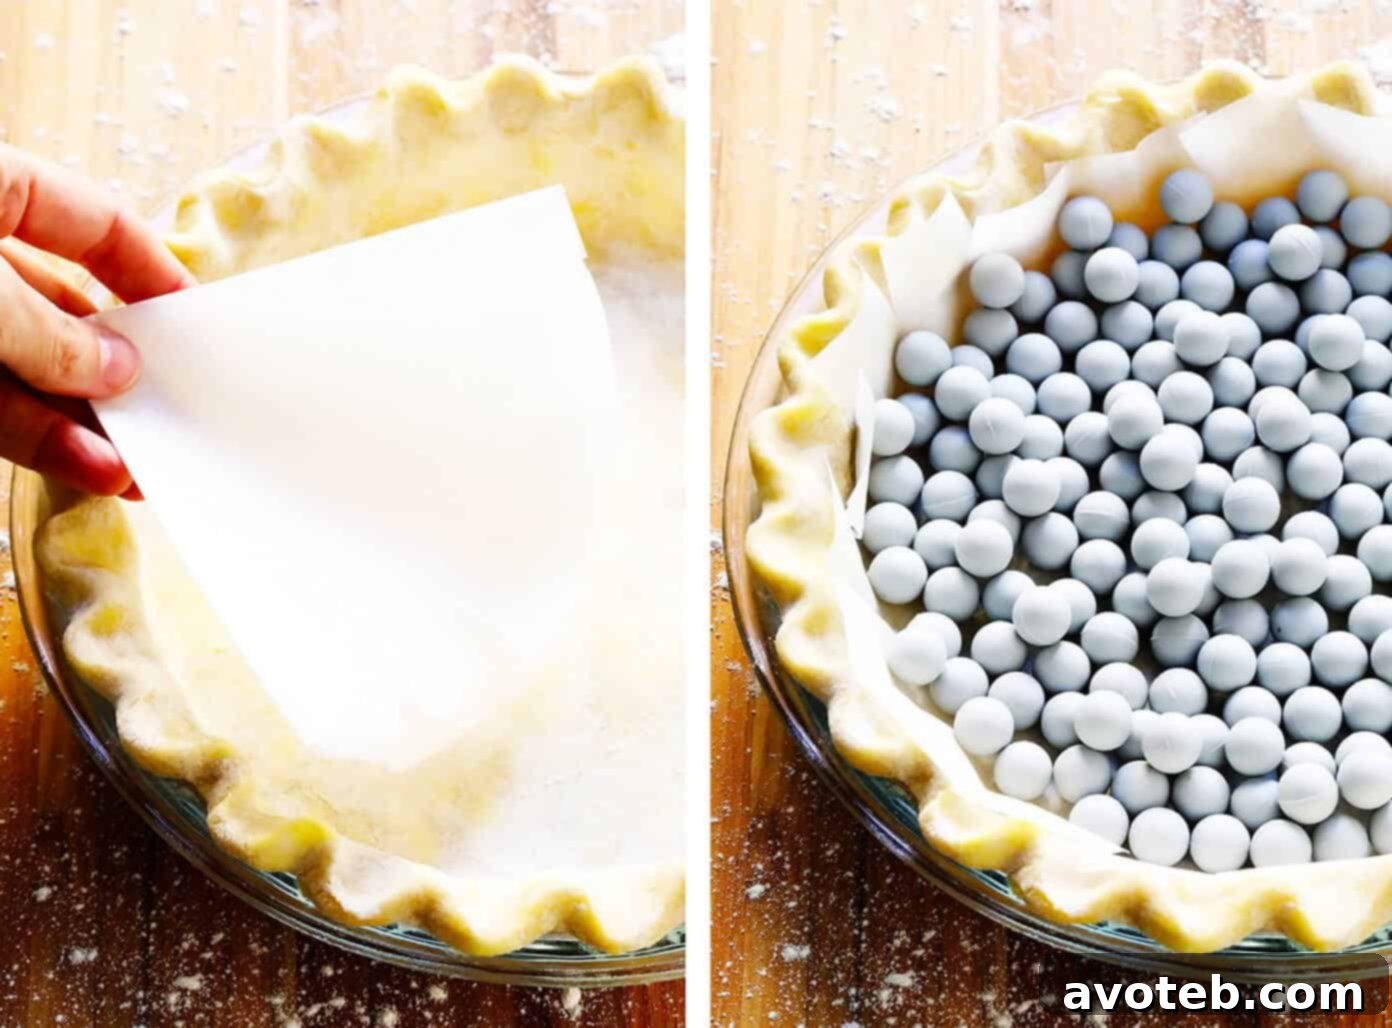
- Pie weights or dried beans (for blind baking): If your pie recipe calls for blind-baking the crust, pie weights or dried uncooked beans are essential to prevent the crust from puffing up. Remember to line the crust with parchment paper or foil before adding the weights to prevent sticking.
Step-by-Step Guide: How To Make Flaky Pie Crust
Making homemade pie crust is a straightforward process when you follow a few key steps. The full, detailed instructions are provided in the recipe card below, but here’s a simplified overview of how to create this flaky, all-butter pie crust, adaptable for both hand-mixing and food processor methods:
- Combine the dry ingredients: Start by whisking together the flour, sugar (if using), and salt in a large mixing bowl. If using a food processor, simply pulse them together briefly to ensure they are well combined. This initial step ensures even distribution of flavor throughout the dough.
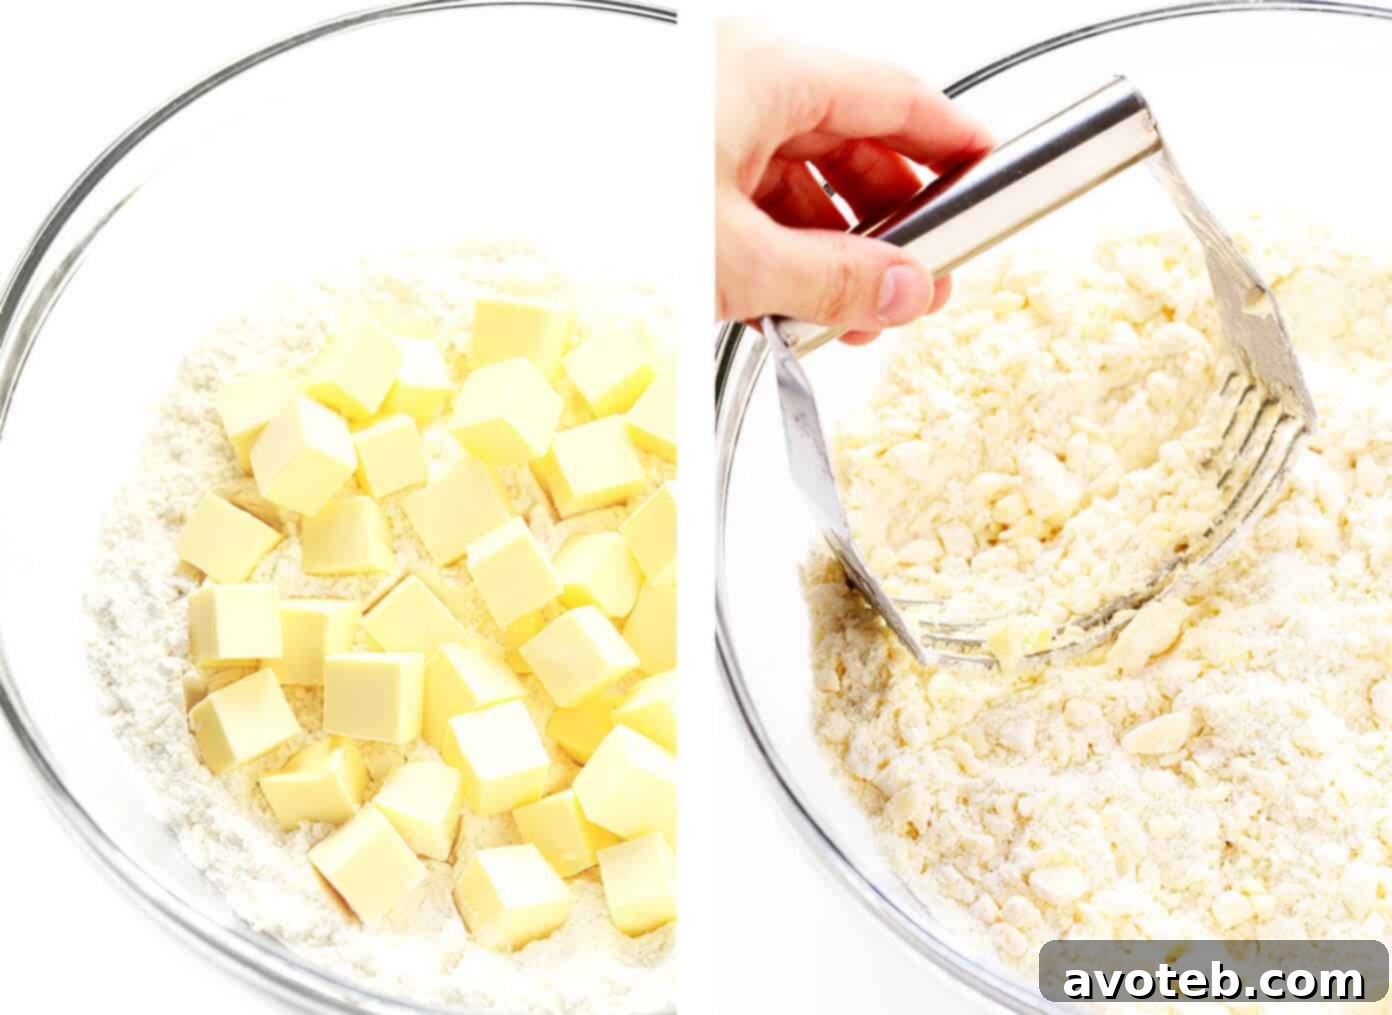
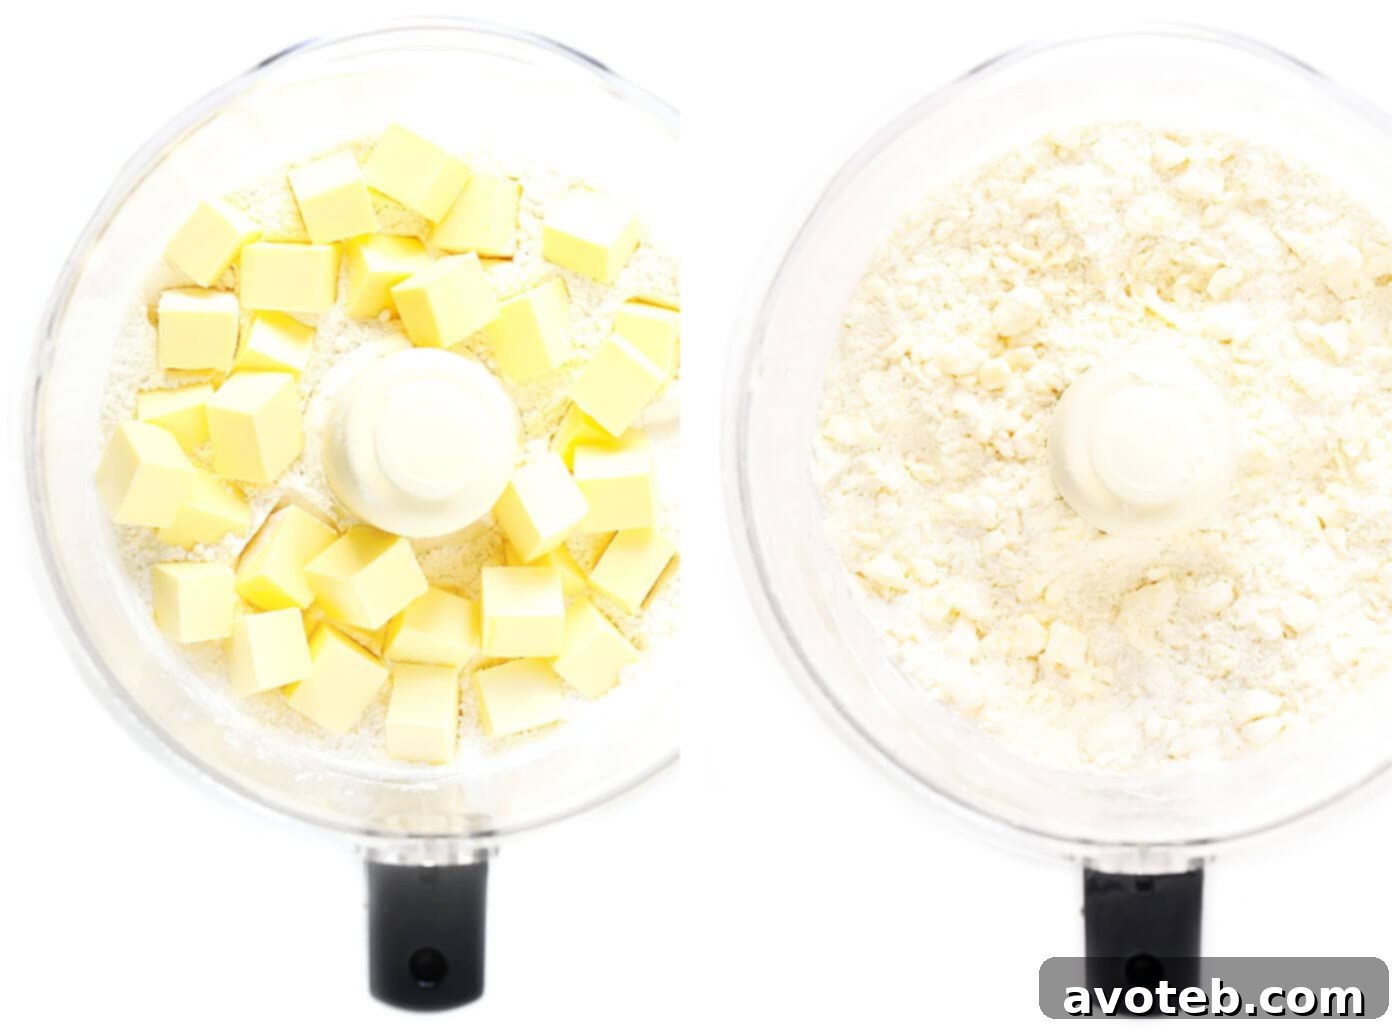
- Cut the butter into the dry ingredients: This is a crucial step for achieving that signature flakiness. Sprinkle the cold, diced butter evenly over the dry ingredients.
- By hand: Use a pastry cutter or two forks to cut the butter into the flour mixture. Work quickly to prevent the butter from warming up. Continue until the butter is dispersed into pea-sized bits, with some smaller crumbs. These small pockets of butter are what create steam and flaky layers during baking.
- With a food processor: Add the butter to the dry ingredients in the food processor. Pulse 5 to 7 times, in short bursts, until the butter is evenly distributed in pea-sized pieces. Be careful not to over-process, as this can warm the butter and overwork the dough. Transfer the mixture to a large mixing bowl for the next step.
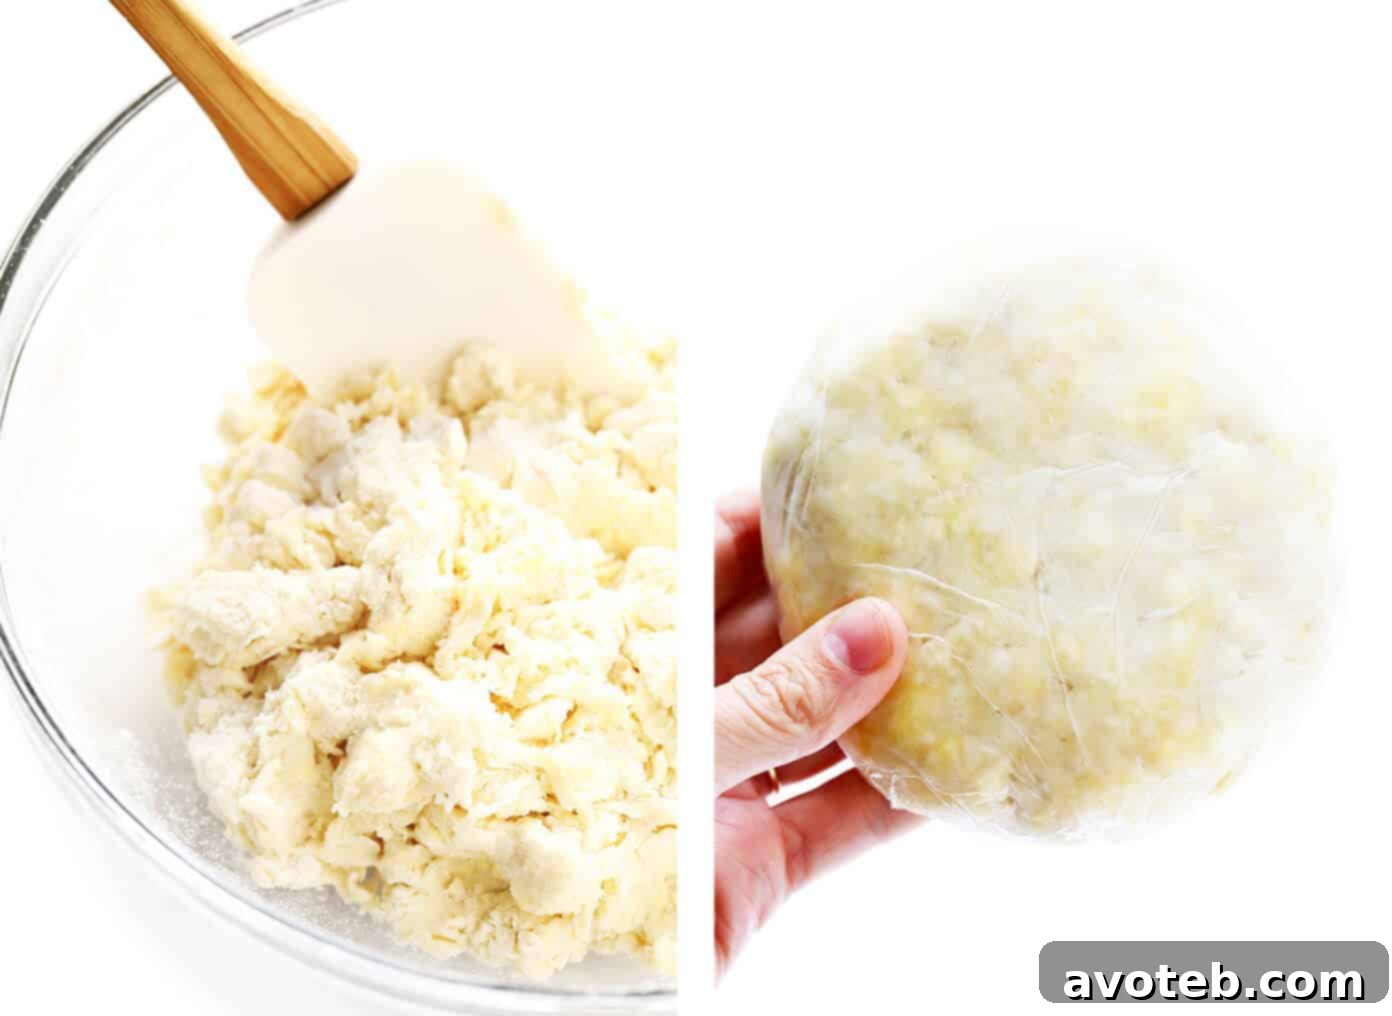
- Add the ice water: Gradually sprinkle the ice water over the butter-flour mixture. Using a spatula, quickly mix the water into the dough until it just begins to come together and form moist clumps. The goal is to hydrate the flour just enough to bind the dough without overworking the gluten, which leads to a tough crust. If the dough seems too dry and isn’t sticking, add 1 or 2 more tablespoons of ice water, one at a time, until it reaches the right consistency.
- Form a dough ball: Gently gather the moist clumps of dough with your hands and quickly press them together to form a rough ball, similar to packing a snowball. Then, flatten this ball into an even, approximately 3/4-inch thick disk. Handling the dough minimally is key here to keep the butter cold and prevent gluten development.
- Wrap and chill the dough: Tightly wrap the dough disk in plastic wrap. Refrigerate it for at least 1 hour, or up to 3 days. This chilling period is essential: it allows the flour to fully hydrate, the butter to firm up again, and the gluten to relax, which prevents shrinkage during baking and contributes to a tender, flaky final product. Once thoroughly chilled, your homemade pie crust is ready to be rolled out and used in your favorite pie recipe!
Crucial Tips for a Perfect Homemade Pie Crust
Achieving a truly flaky and tender pie crust involves more than just following steps; it’s about understanding the “why” behind each action. These important tips are designed to help you avoid common pitfalls and ensure your pie crust turns out perfectly every time:
- Maintain extreme chill: This is the golden rule of pie crust making. To prevent your crust from shrinking, hardening, and losing its essential flakiness, it’s paramount to keep all ingredients as cold as possible. This means using butter straight from the fridge (not frozen, not room temperature) and genuinely ice-cold water. Work quickly to minimize the time ingredients and dough spend at room temperature, and try to avoid over-handling the dough with warm hands. The colder the dough, the flakier your crust will be!
- Measure ingredients with precision: Accuracy in baking is crucial, especially for pie crust. I cannot stress enough the importance of using a kitchen scale to measure your ingredients, particularly the flour. It’s incredibly easy to add too much flour when measuring by volume, which leads to a dry, tough crust. For butter, especially outside of the US where it’s often sold in blocks, weighing ensures you have the correct amount.
- Avoid overworking the dough: Overworking the dough develops gluten excessively, resulting in a tough, chewy crust rather than a tender, flaky one. Be gentle and work quickly, especially when incorporating water, forming the dough into a disk, and rolling it out. Stop mixing as soon as the ingredients are just combined.
- Do not skip the chilling times: The resting and chilling periods are absolutely essential parts of this recipe. They allow the flour to fully hydrate and the gluten to relax. If you skip these steps, the gluten will be too elastic, causing the pie crust to shrink significantly when it bakes in the oven. Proper chilling also firms up the butter, reinforcing those critical layers for flakiness.
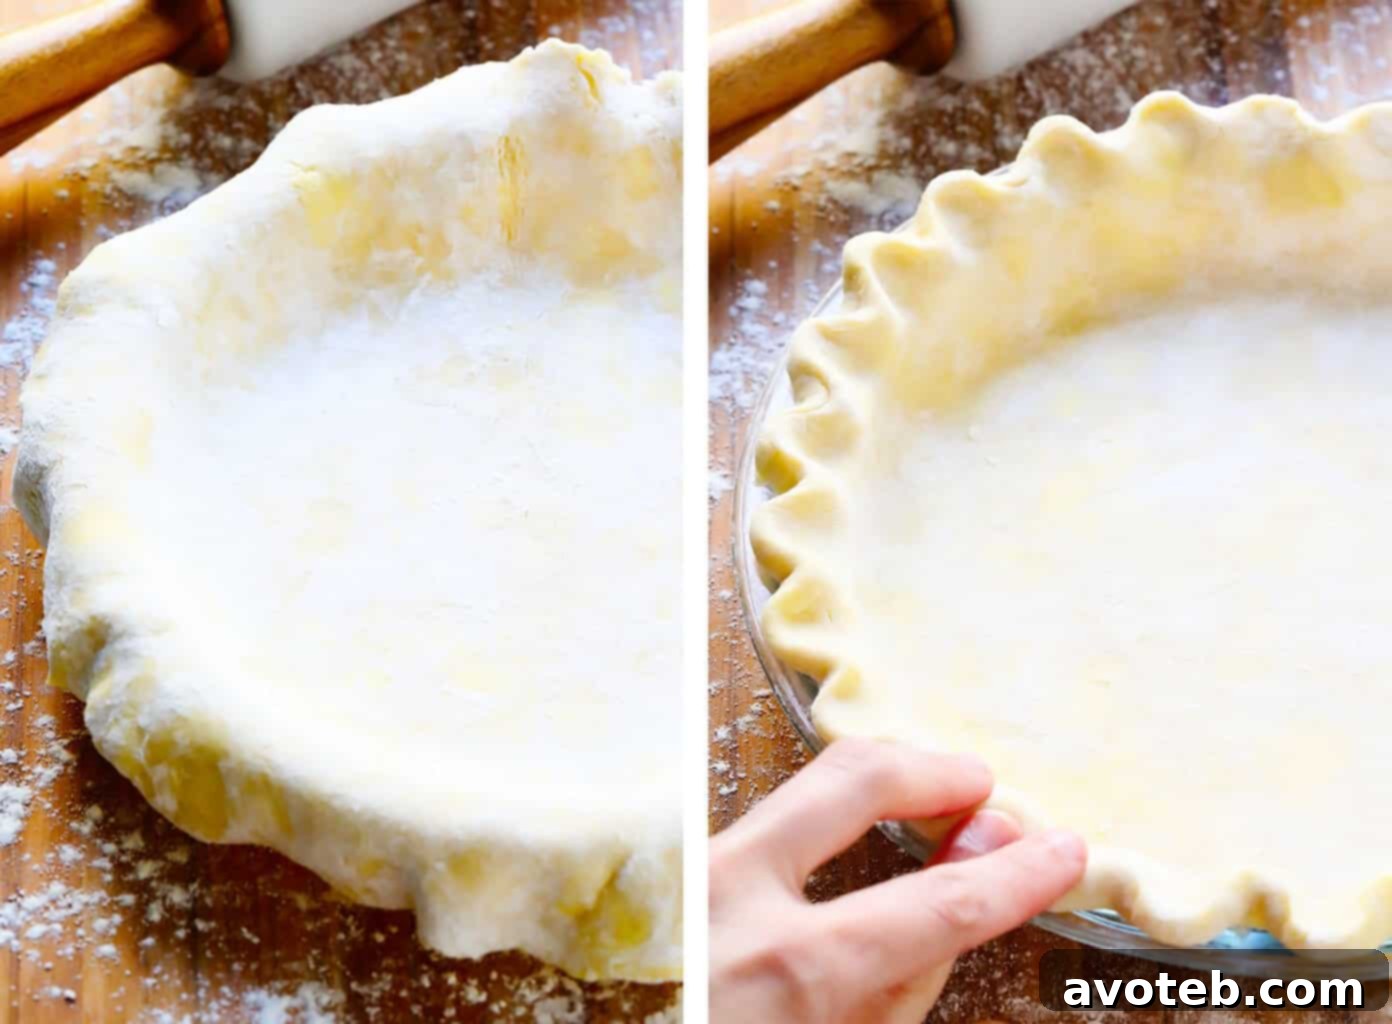
- Resist stretching the dough: When you’re rolling out the dough and transferring it to your pie plate, avoid pulling or stretching the dough to fit the pan or create your desired shape. Stretching will cause the dough to snap back and shrink dramatically during baking. If you encounter a hole or need to extend the edges, it’s much better to patch it by cutting off a small piece of excess dough and gently pressing it into the spot, rather than stretching the existing dough.
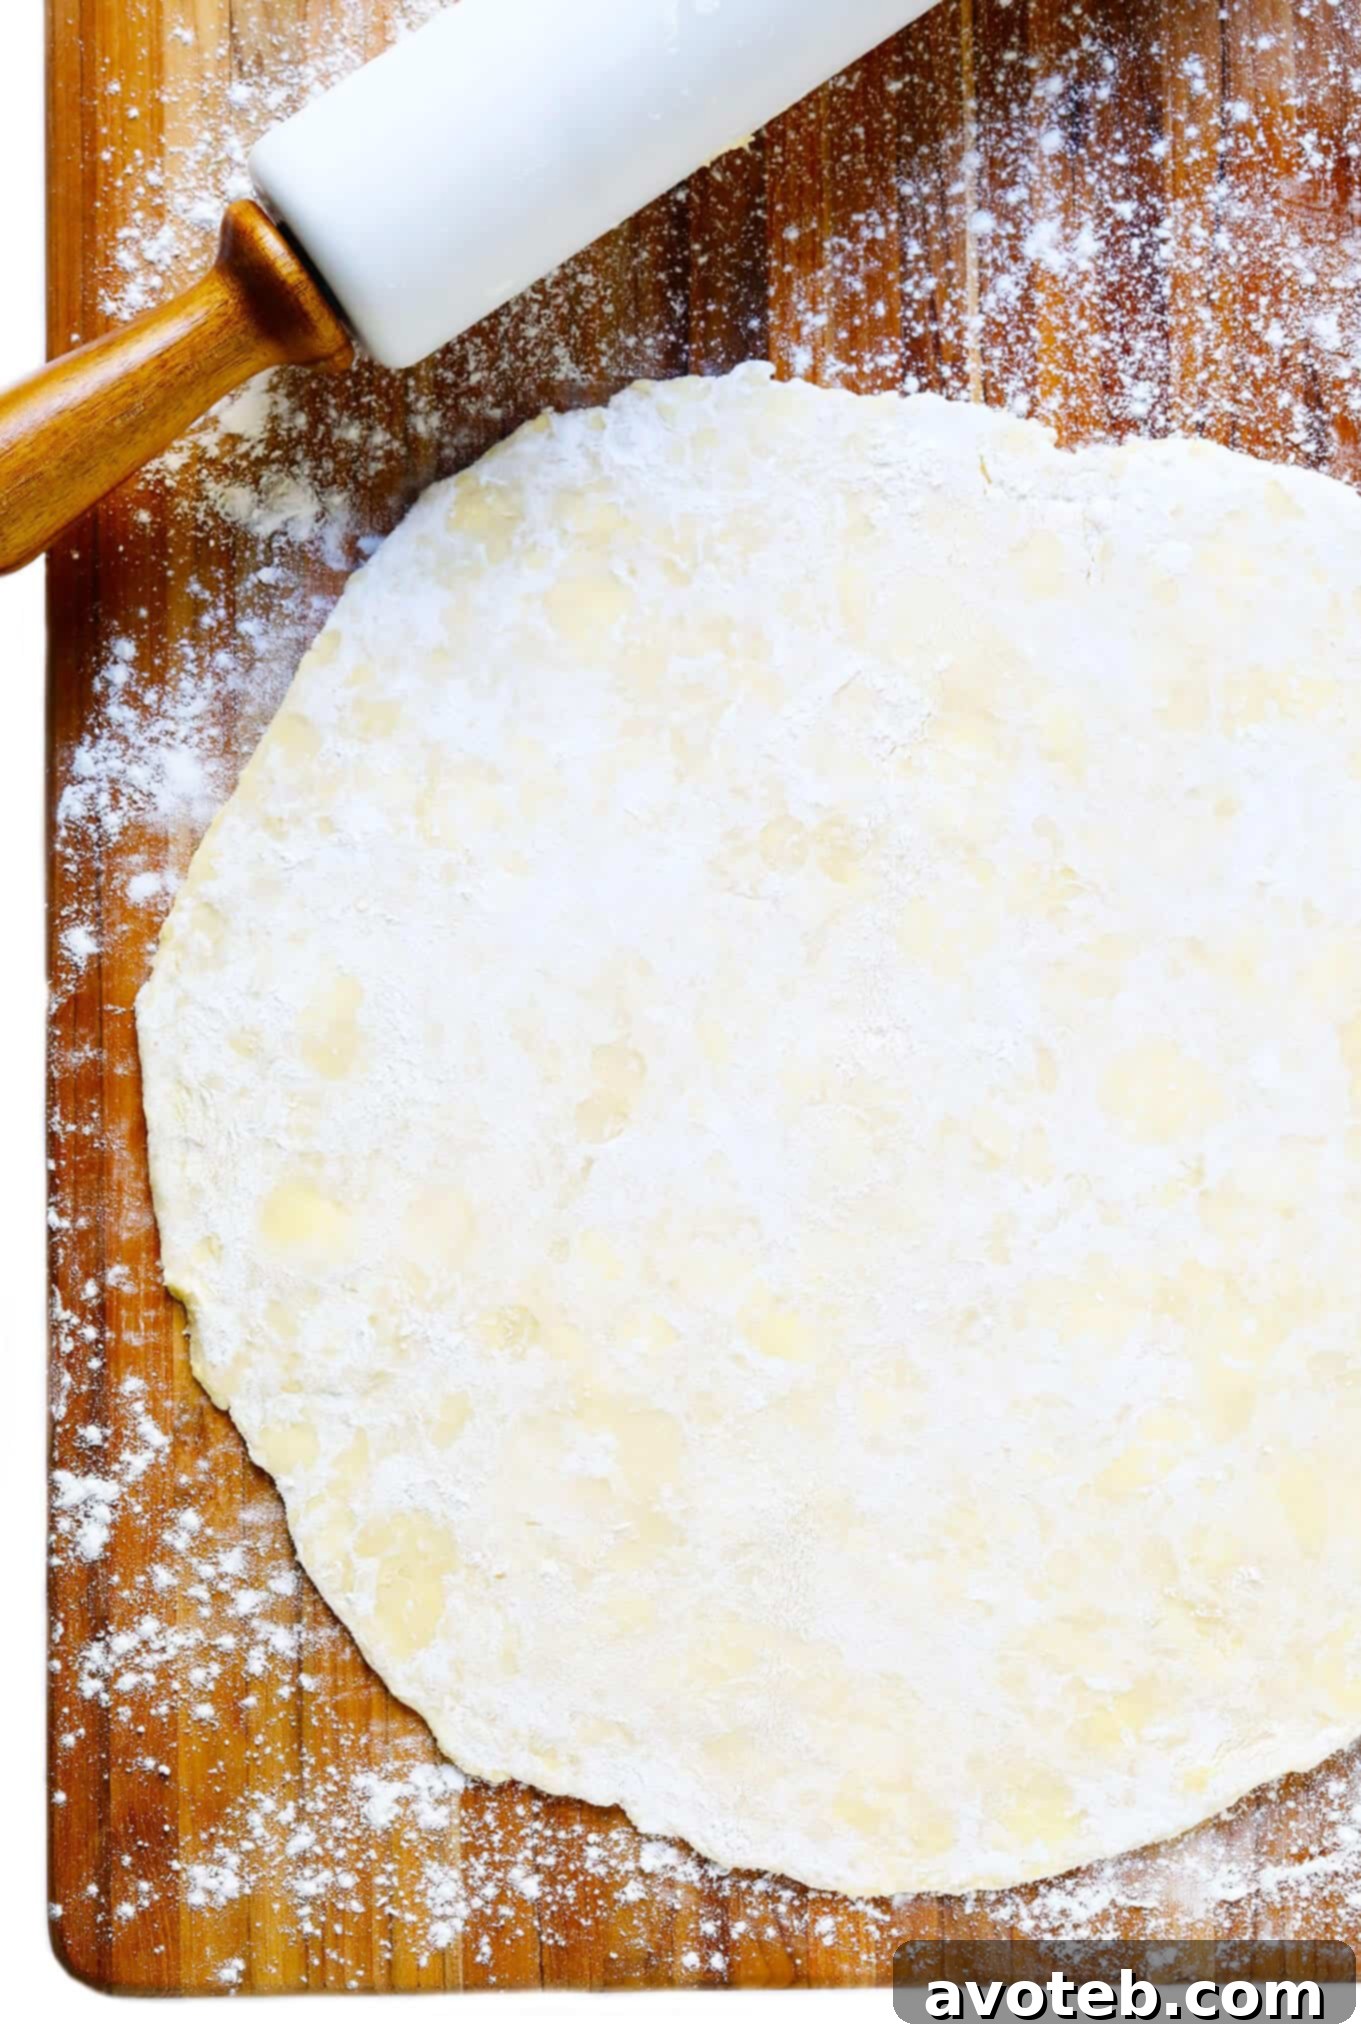
- Flour your surface lightly: When rolling out the dough, use just enough flour on your work surface and rolling pin to prevent sticking, but don’t overdo it. Too much extra flour can be incorporated into the dough, making it dry and difficult to work with.
Discover More Delightful Pie Recipes
Now that you’re equipped with the knowledge to create a perfect homemade pie crust, the possibilities for delicious pies are endless! While I have two new naturally-sweetened pie recipes coming to the blog later this week, here are some of my all-time favorite pie recipes to inspire your baking adventures. Each of these pairs wonderfully with our all-butter flaky crust:
- The Best Pumpkin Pie: A classic, creamy, and spiced pumpkin pie that’s perfect for autumn gatherings.
- French Silk Pie (Chocolate Pie): Indulge in this rich, decadent chocolate pie with a smooth, silken texture.
- Lemon Meringue Pie: A bright and tangy lemon filling crowned with a fluffy, toasted meringue.
- Pecan Pie: A sweet, sticky, and nutty Southern classic that’s a true crowd-pleaser.
Print Recipe
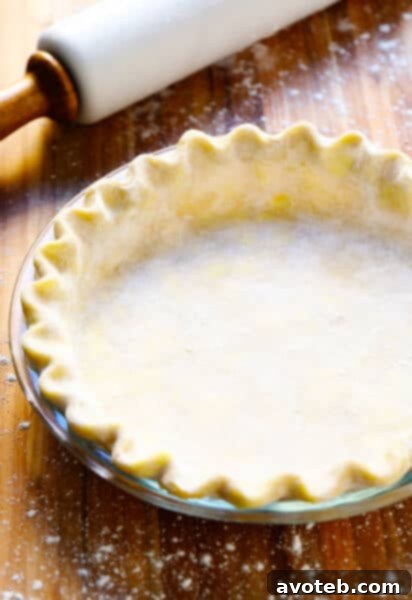
Homemade Pie Crust
Prep Time: 10 minutes
Cook Time: 30 minutes
Total Time: 40 minutes
Yield: 1 pie crust 1x
Description
My favorite all-butter pie crust recipe — easy to make either 100% by hand or with the help of a food processor. See notes above for more helpful tips. (This recipe makes enough for one standard 9-inch pie crust. Please double the recipe if you need a double crust.)
Ingredients
Scale
- 1 1/4 cups (150 grams) all-purpose flour
- 2 teaspoons granulated sugar (optional)
- 1/2 teaspoon salt
- 1/2 cup (115 grams) cold unsalted butter*, diced into 1/4-inch cubes
- 1/4 cup ice water
Instructions
- Mix the dry ingredients: Combine the flour, sugar (optional) and salt in a large mixing bowl or a food processor. Whisk or pulse briefly until combined.
- Cut the butter into the dry ingredients: Sprinkle the diced butter evenly over the dry ingredient mixture. If working by hand, use a pastry cutter or two forks to cut the butter into the dry ingredients until the butter is evenly dispersed into pea-sized (or smaller) bits. If using a food processor, briefly pulse the butter and dry ingredients together 5 to 7 times until the butter is evenly dispersed into pea-sized (or smaller) bits, then transfer the mixture to a large mixing bowl.
- Add water: Sprinkle the dough evenly with the ice water. Use a spatula to quickly mix the water into the dough until it is evenly combined, and the dough begins to form moist clumps. (If the dough is not sticking together, you can add 1 or 2 more tablespoons of water to help it clump.) Try not to overmix the dough.
- Form a dough ball: Using your hands, quickly pack the dough into a ball (like you’re packing a snowball). Then flatten the ball into a 3/4-inch thick disk.
- Wrap and chill the dough: Wrap the dough disk tightly in plastic wrap, then refrigerate for at least 1 hour, or up to 3 days, until ready to roll out and use.
Equipment
Rolling Pin
Buy Now →
Pastry Cutter
Buy Now →
Glass Pie Plate
Buy Now →
Notes
*Chilled butter: You want the butter to be fresh-out-of-the-fridge chilled (not frozen, not room temperature) when it is added to the dry ingredients.
To roll out the dough: Once the dough has chilled for at least an hour, transfer the dough to a well-floured work surface and let it rest for 10-15 minutes to take off the extreme chill, making it easier to roll. Unwrap and lightly dust the top of the dough and the rolling pin with flour. Then gently roll the dough from the center outwards, rotating it frequently, into a circle that is at least 12 inches in diameter and about 1/8 inch thick (the perfect size for a 9-inch pie plate). Carefully transfer the dough to the pie plate by gently folding it in half or quarters, then unfolding it into the plate. Gently press the dough into the sides of the plate without stretching it. Use kitchen shears or a knife to trim off any excess pastry, leaving about a 1-inch border of crust around the top of the pie plate. Carefully lift and fold the outer 1/2-inch edges of the crust back under itself, pinching the crust gently to sculpt an upstanding ridge. Use your fingers to crimp the dough (see photo above for reference) to form a scalloped edge, or create whatever other decorative crust design you prefer. Chill the shaped pie crust in the refrigerator for at least 15 minutes before continuing with your recipe, as this helps prevent shrinkage.
To blind-bake the crust: If your recipe calls for a blind-baked (pre-baked) crust, use a fork to poke several series of holes across the bottom of the chilled crust. Then, carefully line the inside of the crust with parchment paper or aluminum foil, shaping it gently around the inner edges to form a snug mold. Fill the bottom of the crust with pie weights or dried beans. Bake immediately in a preheated oven at 400°F (200°C) for 15 minutes. Remove the pan from the oven, and carefully lift out the foil/parchment and weights, setting them aside. If the bottom of the crust has started to bubble up, poke it with the fork a few more times to release any trapped air. Return the crust to the oven for an additional 10-12 minutes for a partially baked pie shell (it should be lightly golden brown), or 15-17 minutes for a fully pre-baked pie shell (it should be a deep golden brown and appear fully cooked). Cool completely before filling.
To make a lattice crust: For an impressive decorative top, learn How To Make A Lattice Pie Crust with this detailed step-by-step photo tutorial.
For an extra golden or sugary crust: For a beautiful golden finish and a hint of extra sweetness, use a pastry brush to apply an egg wash (one egg whisked together with a splash of milk or water) on the surface of the crust before baking. For even more sparkle and crunch, sprinkle lightly with a little granulated sugar, if desired.
Recipe update: This recipe was significantly updated in November 2019 to include more detailed instructions for how to make a pie crust by hand, alongside the food processor method. I also now specifically recommend mixing the ice water into the dough by hand, rather than using the food processor for that step, as it’s very easy to accidentally over-mix the water and overwork the dough when using a machine.
This post contains affiliate links.