
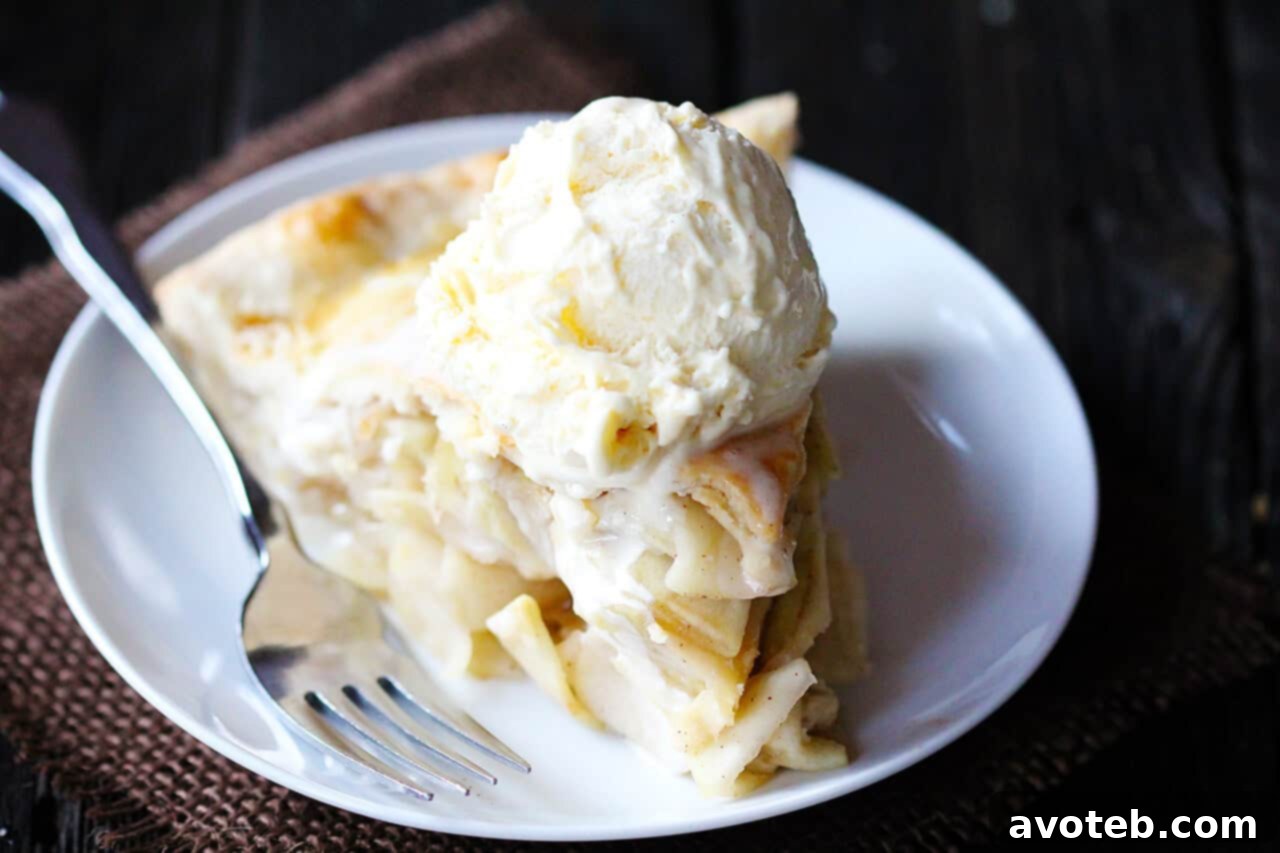
The Ultimate Apple Pie: Effortless Baking with a Food Processor
There’s nothing quite like the comforting aroma of a freshly baked apple pie filling your home. It’s a scent that evokes warmth, nostalgia, and pure culinary delight. Today, we’re not just baking any apple pie; we’re diving into what many consider “The Best Apple Pie” recipe, designed for exceptional flavor and surprisingly simple execution, especially with the help of a modern kitchen marvel: the food processor. Get ready to impress your friends and family with a dessert that tastes utterly homemade, because it is!
Before we delve into the delicious details, I’m thrilled to announce a fantastic opportunity for all you culinary enthusiasts! We’re kicking off an exciting giveaway for a state-of-the-art Magimix 14-cup food processor. Valued at over $500, this kitchen powerhouse is a game-changer, and you won’t want to miss your chance to win. Make sure to enter the giveaway right here!
Revolutionizing Pie Making: The Food Processor Advantage
Inspired by this incredible giveaway, I decided to put my own new Magimix to the test, crafting this classic apple pie entirely from scratch, utilizing the food processor for every single step. While it’s true that people have been perfecting apple pies long before the advent of electricity – in fact, apple pie was reportedly Abraham Lincoln’s favorite dessert – the convenience offered by a high-quality food processor in the twenty-first century is simply unparalleled. It transforms what can sometimes feel like a labor-intensive baking project into a quick and enjoyable experience.
Consider the crust alone. The foundation of any great pie is its crust – flaky, buttery, and tender. Traditionally, achieving this perfection requires careful handling, precise ingredient incorporation, and often, a lot of elbow grease through hand kneading. With a food processor, however, this crucial step becomes almost effortless. Ingredients are quickly pulsed together, ensuring the butter remains cold and distinct, which is key to that desirable flaky texture. My favorite all-butter pie crust, which once demanded a significant amount of time and attention, was whipped up in seconds by the Magimix, leaving me with perfectly uniform dough ready for chilling.
Beyond the crust, the food processor streamlines the filling preparation. Peeling and coring apples might still be a manual task, but thinly slicing them, especially the substantial quantity needed for a generous apple pie, is where a food processor truly shines. Its slicing disc attachment transforms a tedious chore into a swift operation, producing perfectly uniform apple slices that cook evenly and stack beautifully within the pie shell. This precision not only saves time but also contributes to the pie’s overall aesthetic and texture. I absolutely cannot wait to explore more uses for this versatile attachment in my kitchen adventures.
And for the perfect finishing touch? Homemade whipped cream. No more manual whisking or electric mixers taking up counter space. With the press of a button, my food processor transformed heavy cream into light, airy, and utterly delicious whipped cream, ready to adorn each slice of warm apple pie. This machine truly has the potential to revolutionize my cooking life, making complex dishes more accessible and everyday baking even more enjoyable.
A Journey Back to Apple Pie: From College Fundraisers to Culinary Redemption
My relationship with apple pie has certainly evolved over the years. Back in college, our leadership department’s annual fundraiser involved baking hundreds – yes, hundreds! – of apple pies to sell at the renowned bluegrass festival held in town each fall. People flocked from all corners of the globe to attend this vibrant festival, and once there, they inevitably flocked to our pie stand. Our pies were legendary, and the effort put into them was immense.
For four years, I dedicated countless hours to “pie-making shifts.” I manned the apple-corer for what felt like endless hours, stood on the pie dough assembly line, or occasionally found myself in a late-night food fight with flour and butter flying everywhere. By the time I graduated, I was completely “apple-pied-out.” Seriously. Eight years passed after college graduation, and eight years passed since I last made an apple pie. The thought of rolling dough or slicing mountains of apples by hand was enough to deter me from one of the most classic desserts.
Until today. Just for you, my readers, I felt it was time to revisit this beloved classic and share my favorite recipe. This time, however, the experience was completely different, thanks to my new kitchen companion. The magic of the food processor allowed me to rekindle my love for apple pie without the exhaustion. The result was just as fantastic as those college pies, but with a fraction of the effort.
Why This Is “The Best” Apple Pie Recipe
So, if you’re searching for a foolproof, classic apple pie recipe that consistently delivers delicious results, I am genuinely convinced this is the best apple pie recipe you’ll find. It features a simple yet rich all-butter crust that comes together beautifully, a perfectly spiced apple filling with just the right balance of sweetness and tartness, and a golden, inviting appearance.
The secret to a truly outstanding apple pie lies in the blend of apples. This recipe calls for a combination of Granny Smith and McIntosh apples. Granny Smiths provide that essential tartness and firm texture that holds up well during baking, preventing a mushy filling. McIntosh apples, on the other hand, break down more, contributing a wonderful softness and natural sweetness, creating a complex and satisfying texture. The touch of lemon juice brightens the flavors and prevents browning, while the classic spice blend of cinnamon, nutmeg, and allspice provides that signature warmth and depth of flavor that makes apple pie so irresistible.
With the newfound ease that a food processor brings to this recipe, I promise it won’t be another eight years before I make another one. This apple pie is more than just a dessert; it’s an experience – a testament to how modern tools can enhance timeless traditions, bringing joy and deliciousness to your kitchen with surprising simplicity.

Print Recipe
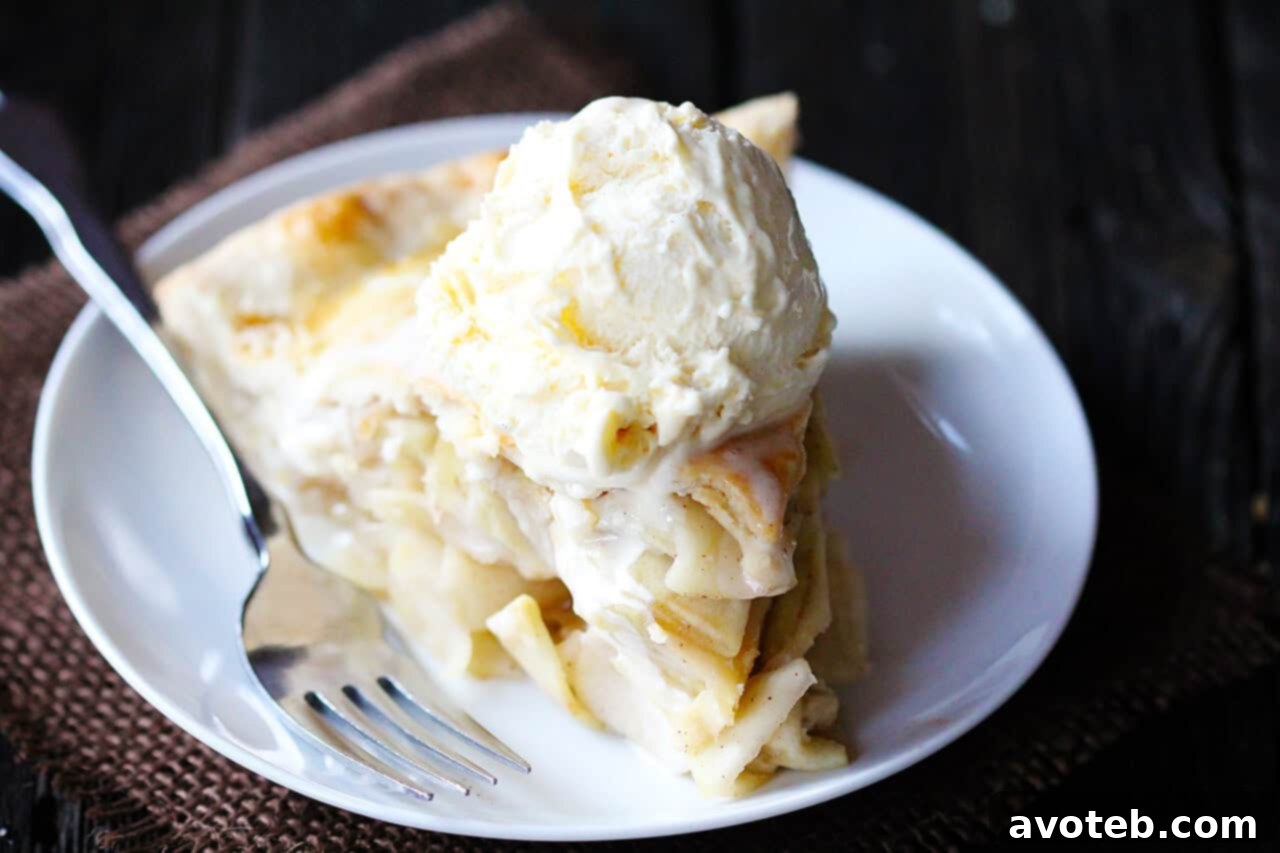
The Best Apple Pie
Prep Time: 25 minutes
Cook Time: 60 minutes
Total Time: 85 minutes
Yield: 8–10 servings 1x
Description
A classic, easy-to-follow recipe for “the best apple pie,” perfected for modern kitchens with the aid of a food processor for minimal effort and maximum flavor. Expect a golden, flaky crust and a perfectly spiced, tender apple filling.
Ingredients
Scale
- 1 double-crust pie dough, prepared and refrigerated (*see notes below for all-butter recipe*)
- 2 tablespoons all-purpose flour, plus additional for dusting the work surface
- 3/4 cup granulated sugar, plus a little extra for sprinkling on top of the crust
- 1/2 teaspoon ground cinnamon
- 1/4 teaspoon ground nutmeg
- 1/4 teaspoon fine sea salt
- 1/8 teaspoon ground allspice
- 3 large Granny Smith apples (approximately 1.5 pounds), cored, peeled, and sliced
- 4 large McIntosh apples (approximately 2 pounds), cored, peeled, and sliced
- 1 tablespoon fresh lemon juice
- 1 large egg white, lightly beaten (for egg wash)
- (Optional) Vanilla bean ice cream and/or homemade whipped cream for serving
Instructions
- Prepare your oven and pie plate: Preheat your oven to 375°F (190°C). Lightly grease a 9-inch pie plate with cooking spray or butter to prevent sticking.
- Roll out the pie dough: On a lightly floured surface, roll out the two chilled pieces of pie dough. Aim for the larger piece to be at least 12 inches in diameter, and the smaller piece around 10 inches. Carefully transfer the larger dough circle into your prepared pie plate, gently pressing it into the bottom and up the sides. Ensure the dough extends at least 1/2-inch beyond the rim of the plate. Cover the pie plate loosely with plastic wrap and refrigerate while you prepare the filling.
- Combine dry filling ingredients: In a large mixing bowl, whisk together the 3/4 cup sugar, 2 tablespoons flour, ground cinnamon, ground nutmeg, salt, and allspice until well combined. Set this mixture aside.
- Prepare and coat the apples: Fit your food processor with a slicing disc attachment. Carefully slice all of your peeled and cored apples thinly. If you don’t have a slicing disc or a food processor, you can thinly slice them by hand with a sharp knife. Transfer the sliced apples to a separate large bowl and toss them with the lemon juice until every slice is evenly coated. This prevents the apples from browning. Next, add the lemon-coated apples to the large bowl containing the flour and spice mixture. Gently toss everything together until all apple slices are fairly evenly coated with the dry mixture.
- Assemble the pie: Remove the chilled pie crust from the refrigerator. Turn the apple mixture, including any accumulated juices from the bowl, into the prepared pie shell. Mound the apples slightly higher in the center. Carefully lay the second (10-inch) pie crust over the apple filling, centering it. Trim the edges of both the top and bottom crusts, leaving about 1/2-inch overhang beyond the pie pan lip. Fold this excess dough underneath itself so that the folded edge is flush with the rim of the pan. To seal the pie, you can either flute the edges decoratively or press them firmly with the tines of a fork. Cut four small slits in the top crust to allow steam to escape during baking.
- Chill and prepare for baking: Return the assembled pie to the freezer for 10 minutes. This quick chill helps the crust hold its shape. After 10 minutes, remove the pie, brush the top crust evenly with the lightly beaten egg white (this creates a beautiful golden sheen), and then sprinkle a few pinches of extra sugar over the egg wash. To prevent the crust edges from browning too quickly, lightly cover them with aluminum foil or a reusable pie crust shield.
- Bake the pie: Bake the pie in the preheated oven for 40 minutes with the crust edges shielded. After 40 minutes, carefully remove the aluminum foil or pie crust shield. Continue to bake for an additional 20 to 25 minutes, or until the top crust is a deep golden brown and you can see the juices from the filling just barely bubbling and seeping out of the steam vents. The internal temperature of the filling should reach around 200-210°F (93-99°C).
- Cool and serve: Once baked, carefully transfer the hot pie to a wire rack to cool completely. This is a crucial step! Allow the pie to cool to room temperature for at least 3 hours before slicing and serving. This allows the filling to set properly, ensuring clean, beautiful slices.
Notes
*Here is my favorite all-butter DOUBLE pie crust recipe, perfect for this apple pie:
All-Butter Double Pie Crust Ingredients:
- 2 3/4 cups all-purpose flour
- 1 tablespoon granulated sugar
- 1 teaspoon fine sea salt
- 1 cup (2 sticks or 226g) unsalted butter, very cold and cut into 1/4-inch cubes
- 1/2 cup ice water (you might need a little more or less)
All-Butter Double Pie Crust Instructions:
Using a Food Processor: Add the flour, sugar, and salt to the bowl of your food processor. Pulse a few times, about 5-7 seconds, until these dry ingredients are well blended. Scatter the cold butter cubes evenly over the dry mixture. Pulse 7-8 times in short bursts (about 1 second each) to cut the butter into the flour. The butter pieces should be roughly the size of small peas. Remove the lid and use a fork to fluff the mixture, ensuring nothing is sticking to the sides or bottom of the food processor bowl. Drizzle half of the ice water evenly over the dry ingredients. Pulse another 5-6 times until the mixture begins to look crumbly and starts to come together. Fluff the pastry again with a fork. Then, sprinkle on the remaining ice water and pulse 5-6 more times. The pastry should start to form small clumps and appear crumbly. Be careful not to over-process! If the dough forms a single ball and sticks around the center blade, you’ve pulsed too far and developed the gluten too much.
Forming and Chilling the Dough: Transfer the crumbly dough mixture to a large bowl. Use your hands to gently gather and press the dough together, just like you would form a snowball, until it comes together into a cohesive ball. Avoid kneading vigorously. Separate the dough into two pieces; one should be slightly larger than the other (this larger piece will be for the bottom crust of your pie). Gently knead each ball of dough just a few times, then flatten them into perfectly round disks, approximately 3/4-inch thick. Wrap each disc tightly in plastic wrap and refrigerate for at least an an hour, or preferably 2 hours, before rolling. This chilling period is crucial for developing flavor and ensuring a tender, flaky crust.
Recipe somewhat adapted from The New Best Recipe and Pie by Ken Haedrich.
This post contains affiliate links, which means I may earn a small commission if you make a purchase through these links, at no extra cost to you. Thank you for supporting the brands that make Gimme Some Oven possible!