
This classic cut-out gingerbread cookie recipe is easy to make, perfect for decorating, and always so delicious.

As the holiday season draws near, there’s nothing quite like the comforting aroma of freshly baked gingerbread wafting through your home. It’s a scent that instantly evokes warmth, nostalgia, and the joyous spirit of Christmas. If you’re looking to create those cherished holiday memories, I have the perfect gingerbread cookie recipe that has been a long-standing favorite in my kitchen for years. This isn’t just any gingerbread recipe; it’s a testament to tradition, flavor, and the simple joy of baking.
Originally inspired by a timeless gingerbread recipe from Elise Bauer of SimplyRecipes.com, this version has been perfected over countless holiday seasons. It offers incredible versatility, allowing you to bake cookies that are either delightfully soft or wonderfully crispy, depending on your preference. These cookies are ideal for cutting out all your favorite festive shapes – from classic gingerbread people to stars, trees, and more. Each bite is infused with a harmonious blend of warming spices, prominently featuring ginger and cinnamon, which come together to create that quintessential gingerbread flavor. Beyond their exquisite taste, baking a batch of these cookies guarantees your home will be filled with an absolutely intoxicating aroma, setting the perfect holiday mood.
Over time, I’ve experimented with various spice combinations and subtle additions to this beloved recipe. Lately, I’ve found that a hint of orange zest added to the dough beautifully complements the rich, warming spices, introducing a bright, citrusy note that elevates the overall flavor profile. However, feel free to personalize your gingerbread by adjusting the spices to your liking. And when it comes to decorating, the more frosting, sprinkles, and candies you add, the merrier your cookies – and your holiday celebration – will be! Let’s embark on this delightful baking journey together and create a batch of these unforgettable gingerbread cookies.
The History and Charm of Gingerbread
Gingerbread has a rich and storied history, dating back to ancient times when ginger was first used as a spice. Its journey to becoming the beloved cookie we know today is fascinating. Originating in medieval Europe, gingerbread was initially made with breadcrumbs, honey, and spices. Over centuries, the recipe evolved, becoming sweeter and more refined, often shaped into intricate designs. By the 17th century, gingerbread found its way to America, brought by European settlers, particularly the Germans who introduced gingerbread houses and elaborately decorated cookies.
Beyond its culinary appeal, gingerbread holds a special place in folklore and tradition. The gingerbread man, in particular, became a popular character in children’s stories, symbolizing the whimsy and magic of the holidays. Baking and decorating gingerbread cookies became a cherished family activity, passed down through generations. The act of rolling, cutting, baking, and decorating these aromatic treats is more than just making a dessert; it’s about crafting memories, sharing laughter, and embracing the festive spirit. This recipe carries on that tradition, inviting you to create your own delicious chapter in the timeless tale of gingerbread.
Essential Gingerbread Cookie Ingredients
To craft these perfect gingerbread cookies, you’ll need a selection of high-quality ingredients, each playing a crucial role in developing their signature flavor and texture:
- All-Purpose Flour: The foundation of our cookies. While all-purpose flour is traditionally used for its reliable structure, white whole wheat flour can also be substituted for a slightly nuttier flavor and added fiber, if desired.
- A Symphony of Spices: The heart and soul of gingerbread. We’ll be using a classic blend of ground cinnamon, ginger, cloves, and nutmeg. These spices are carefully balanced to deliver that unmistakable warm, sweet, and slightly peppery kick that defines a truly great gingerbread cookie.
- Baking Soda, Salt, Egg, and Vanilla Extract: These are the essential building blocks for almost any cookie recipe. Baking soda provides the necessary lift, salt balances the sweetness and enhances flavor, the egg binds the ingredients and adds richness, and vanilla extract rounds out the overall taste with its aromatic depth.
- Unsulphured Molasses: This ingredient is non-negotiable for authentic gingerbread. Unsulphured molasses provides the characteristic dark color, moisture, and deep, rich, slightly smoky sweetness that distinguishes gingerbread from other spiced cookies. I highly recommend using unsulphured molasses for the best results.
- Brown Sugar: Complementing the molasses, brown sugar contributes to the cookies’ chewiness and adds an extra layer of caramelized, “molasses-y” flavor. Its moist texture also helps keep the cookies tender.
- Unsalted Butter: Softened completely to room temperature, butter is key for achieving a smooth, well-combined dough and a tender crumb. It also carries the flavors beautifully.
- (Optional) Orange Zest: For those who appreciate a bright, subtle counterpoint to the warming spices, the zest of one small orange adds a wonderful aromatic lift. It pairs beautifully with cinnamon and ginger, creating a more complex and vibrant flavor profile.
In addition to these core ingredients, gather any preferred toppings you’d like to use for decoration, such as a simple powdered sugar icing (my personal favorite for these cookies, made from powdered sugar, milk, and vanilla extract), royal icing, sprinkles, or small candies (like red hots), which can be added either before or after baking.
Recommended Gingerbread Cookie Equipment
Having the right tools can make your gingerbread baking experience even more enjoyable and efficient:
- Cookie Cutters: The star of the show for cut-out cookies! I’ve relied on a versatile set of 101 cookie cutters for many years, offering an endless array of festive shapes. Having a good variety allows for creative expression.
- Rolling Pin: Essential for achieving an even dough thickness, which is crucial for consistent baking. While I love my marble rolling pin for its non-stick properties and ability to stay cool, any standard rolling pin will work perfectly.
- Mixer: A reliable mixer simplifies the dough-making process. Either a stand mixer with a paddle attachment or a hand mixer will efficiently cream the butter and sugar and combine your ingredients.
- Pastry Bag (optional): If you plan on intricate decorating, a pastry bag with various tips will allow for precise icing designs. For simpler decorating, a sturdy ziplock bag with a tiny corner snipped off works just as well.
- Baking Sheets and Parchment Paper: Crucial for preventing sticking and ensuring even baking. Parchment paper also makes cleanup a breeze.
- Wire Cooling Racks: Allow air circulation for even cooling, preventing soggy bottoms and ensuring crisp edges.
How To Bake Perfect Gingerbread Cookies: A Step-by-Step Guide
Making these delightful gingerbread cookies is a straightforward and rewarding process. Follow these steps for perfect results:
- Whisk Together Dry Ingredients: In a large mixing bowl, combine your all-purpose flour, ground cinnamon, ground ginger, baking soda, ground cloves, salt, and ground nutmeg. Whisk thoroughly until all ingredients are well combined and evenly distributed. Set this mixture aside.
- Cream Butter and Sugar: In the bowl of an electric stand mixer fitted with the paddle attachment (or using a hand mixer and a separate large mixing bowl), beat the softened unsalted butter and brown sugar together on medium-high speed for about 2 minutes. Continue until the mixture is light, fluffy, and pale in color.
- Add Wet Ingredients: Reduce the mixer speed to medium. Add the large egg, unsulphured molasses, and vanilla extract (and orange zest, if using). Beat until all these wet ingredients are fully incorporated and the mixture is smooth.
- Combine Wet and Dry: Gradually add the whisked flour mixture to the wet ingredients, starting with the mixer on low speed to prevent flour from flying. Increase the speed to medium-low and continue to beat just until the flour mixture is combined and a soft dough forms. Be careful not to overmix, as this can lead to tough cookies.
- Chill the Dough: Divide the dough into two equal portions. Gently shape each portion into a ball, then flatten each ball into a disk about 1-inch thick. Wrap each disk tightly in plastic wrap. Refrigerate the dough for at least 1 hour. This chilling process is crucial: it firms up the butter, making the dough easier to handle, preventing spreading during baking, and allowing the flavors to meld beautifully. The dough should be chilled but still slightly pliable, not rock-hard. If it becomes too hard, let it sit on the counter for 15-20 minutes to soften slightly before rolling.
- Prepare for Baking: Once the dough is properly chilled, preheat your oven to 350°F (175°C). Line several baking sheets with parchment paper.
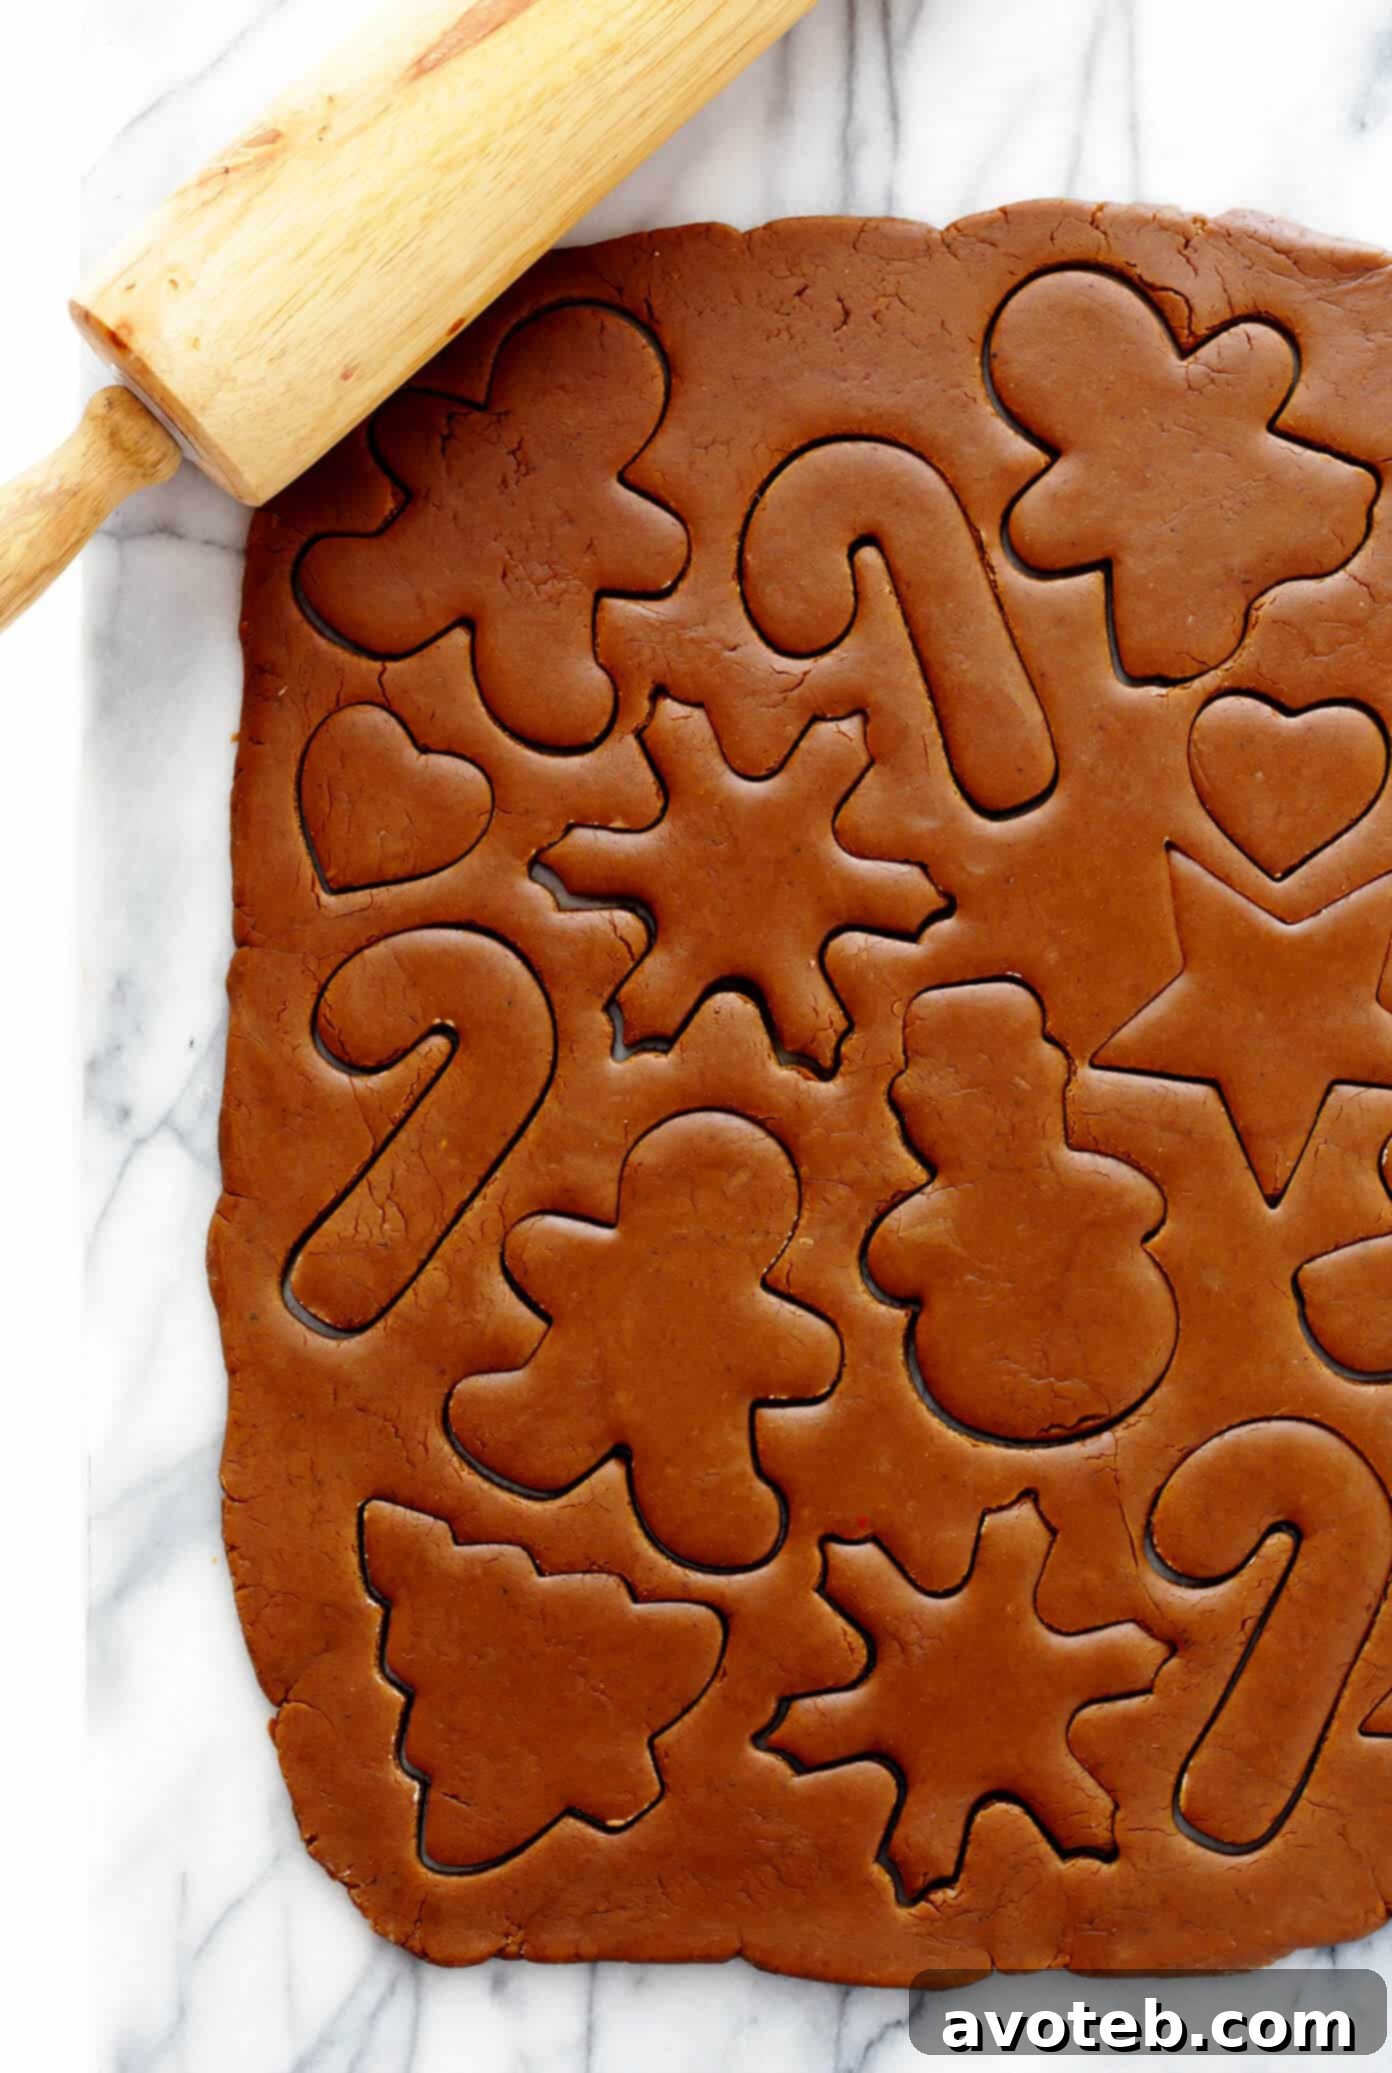
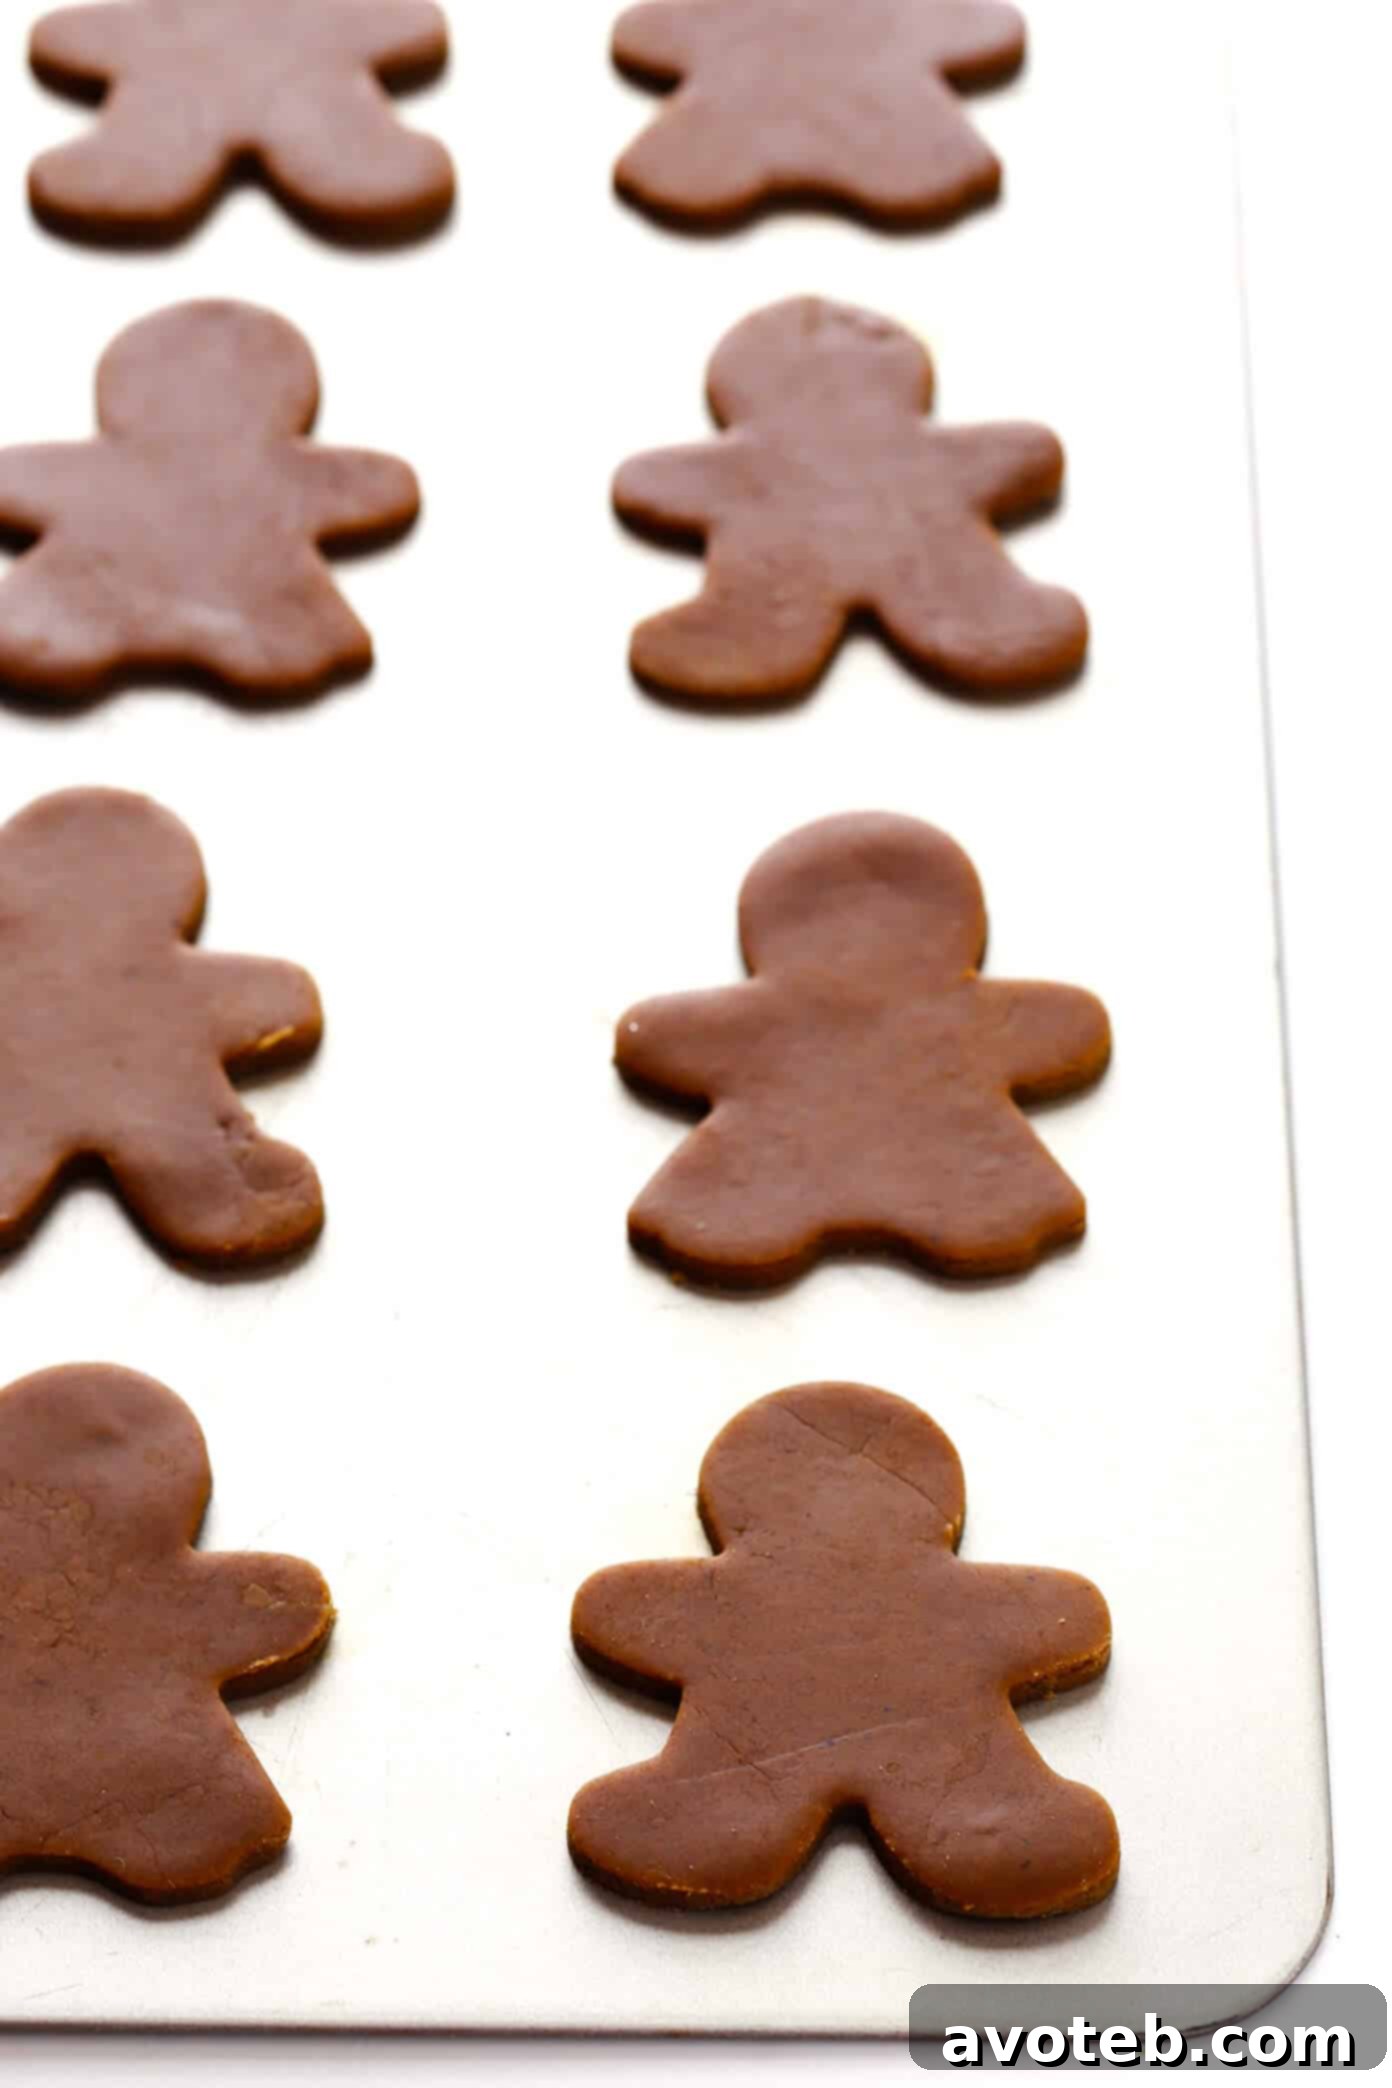
- Roll and Cut the Dough: Unwrap one disk of chilled dough and place it on a clean, lightly-floured hard surface (a large cutting board or countertop works well). Lightly flour your rolling pin as well. Roll the dough evenly until it is approximately 1/8-inch thick. Use your favorite cookie cutters to cut out your desired shapes, placing the cut-out shapes onto the prepared baking sheets, leaving about an inch between each cookie. Gather any dough scraps, gently re-roll them, and cut out more shapes until all dough is used.
- Bake to Perfection: Bake the cookies for 8 to 10 minutes, or until the edges are lightly golden and the tops feel firm to the touch. For softer cookies, bake for a shorter time; for crispier cookies, bake closer to the 10-minute mark. Remove the baking sheets from the oven and let the cookies cool on the sheets for about 5 minutes before carefully transferring them to a wire rack to cool completely to room temperature.
- Decorate and Enjoy: Once the cookies are completely cool, unleash your creativity! Decorate them as desired with icing, sprinkles, candies, or a dusting of powdered sugar. Serve and enjoy immediately, or store them for later.
Tips for Perfect Gingerbread Cookies Every Time:
- Don’t Skip the Chill Time: Chilling the dough is critical. It prevents the cookies from spreading too much in the oven, helps them hold their shape, and deepens the flavor.
- Flour Your Surface Lightly: Too much flour can make your cookies dry and tough. Use just enough to prevent sticking.
- Roll Dough Evenly: Inconsistent thickness will lead to uneven baking. Aim for 1/8-inch thickness across the entire sheet of dough.
- Handle Dough Gently: Overworking the dough, especially when re-rolling scraps, can develop the gluten too much, resulting in tougher cookies. Keep handling to a minimum.
- Watch Your Oven: Ovens vary, so keep a close eye on your cookies during the last few minutes of baking. They can go from perfectly baked to overdone quickly.
- Cool Completely Before Decorating: Icing will melt and slide off warm cookies. Patience is key!

Creative Gingerbread Cookie Variations and Decorating Ideas
One of the most enjoyable aspects of baking gingerbread cookies is the opportunity to decorate them! Whether you prefer a minimalist look or an elaborate festive design, here are some ideas:
- Icing Options:
- Simple Powdered Sugar Icing: My go-to! Easily made by whisking powdered sugar, a touch of milk, and vanilla extract until smooth. Adjust milk for desired consistency (thicker for piping, thinner for flooding).
- Royal Icing: For more detailed and durable decorations, royal icing (made with egg whites or meringue powder, powdered sugar, and water) dries hard and offers a beautiful finish.
- Maple Icing: For an additional layer of warmth, replace some of the milk with maple syrup in your simple icing recipe.
- Cream Cheese Frosting: If you prefer a richer, tangier frosting, a thin layer of cream cheese frosting can also be delicious, though it won’t harden like royal or powdered sugar icing.
- Powdered Sugar Dusting: For a simple yet elegant “snow-dusted” effect, lightly dust cooled cookies with powdered sugar using a fine-mesh sieve.
- Classic Candies:
- Red Hots: A beloved childhood tradition! Press small red hots into the dough before baking for a delightful spicy-sweet crunch, or attach them to cooled cookies with a dab of icing.
- Gumdrops or Mini Candies: Use small colorful candies to create buttons, eyes, or festive accents.
- Festive Sprinkles: The variety of sprinkles available today is incredible!
- Holiday Mixes: Look for fun Christmas-themed sprinkle mixes from brands like Sprinkle Pop to add a burst of color and texture.
- Naturally Colored Sprinkles: If you prefer natural dyes, brands like Supernatural offer charming naturally-colored options, perfect for a more understated look. Both are readily available on Amazon.
Storage and Freezing Instructions
To ensure your delicious gingerbread cookies stay fresh and delightful, proper storage is key:
- Storing Baked Cookies (Unfrosted): Once completely cooled, unfrosted gingerbread cookies can be stored in an airtight container at room temperature for up to 1 week. Placing a slice of bread in the container can help keep them soft, if that’s your preference.
- Storing Baked Cookies (Frosted): If decorated with royal icing, the cookies can be stored in an airtight container at room temperature for up to 5 days, as royal icing hardens and acts as a protective layer. If using a softer icing like powdered sugar or cream cheese frosting, store them in a single layer in an airtight container in the refrigerator for up to 3-4 days to prevent spoilage and smudging.
- Freezing Baked Cookies: Gingerbread cookies freeze beautifully! Once completely cooled and unfrosted, arrange them in a single layer on a baking sheet and freeze until solid. Then, transfer the frozen cookies to a freezer-safe airtight container or bag, separating layers with parchment paper to prevent sticking. They can be frozen for up to 3 months. Thaw at room temperature before decorating and serving.
- Freezing Dough: You can also prepare the dough in advance and freeze it. Wrap the dough disks tightly in plastic wrap, then place them in a freezer-safe bag. Freeze for up to 3 months. When ready to bake, transfer the dough to the refrigerator to thaw overnight, then let it soften slightly at room temperature before rolling and cutting.
Serving Suggestions
These gingerbread cookies are wonderfully versatile and can be enjoyed in many ways:
- Classic Treat: Serve them alongside a warm mug of hot cocoa, coffee, or a glass of cold milk for a timeless pairing.
- Holiday Dessert Platter: Include them on your festive dessert spreads for gatherings and parties.
- Edible Gifts: Package decorated cookies in festive bags or boxes for homemade holiday gifts that are always appreciated.
- Cookie Decorating Party: Bake the cookies ahead of time and host a decorating party with friends and family for a fun holiday activity.

More Favorite Cookie Recipes to Explore
If you’re inspired to continue your baking adventures, here are a few more of my cherished cookie recipes:
- Chocolate Chip Cookies
- Double Chocolate Chip Cookies
- Chocolate Crinkle Cookies
- Peanut Butter Cookies
- Brown Sugar Cookies
- No-Bake Cookies
- Chewy Ginger Molasses Cookies
Print Recipe
Gingerbread Cookies
Prep Time: 25 minutes
Cook Time: 10 minutes
Total Time: 35 minutes
Yield: About 45 cookies
Description
This classic cut-out gingerbread cookie recipe is easy to make, perfect for decorating, and always so delicious.
Ingredients
Gingerbread Cookies Recipe:
- 3 1/4 cups all-purpose flour
- 1 tablespoon ground cinnamon
- 1 tablespoon ground ginger
- 3/4 teaspoon baking soda
- 3/4 teaspoon ground cloves
- 1/2 teaspoon ground nutmeg
- 1/2 teaspoon salt
- 3/4 cup unsalted butter, softened to room temperature
- 1/2 cup packed brown sugar
- 1 large egg
- 1/2 cup unsulfured molasses
- 1 1/2 teaspoons vanilla extract
- (optional) zest of one small orange
- optional toppings: simple icing (see below), red hots, sprinkles, etc.
Simple Icing Recipe:
- 2 cups powdered sugar
- 2-3 tablespoons milk
- 1/4 teaspoon vanilla extract
Instructions
To Make The Gingerbread Cookies:
- In a large mixing bowl, whisk together flour, cinnamon, ginger, baking soda, cloves, salt and nutmeg. Set aside.
- In an electric stand mixer fitted with the paddle attachment (or alternately, you can use a hand mixer and a separate large mixing bowl), beat the butter and sugar together for 2 minutes on medium-high speed until light and fluffy. Add in egg, molasses and vanilla, and beat on medium speed until combined. Reduce mixer speed to low, and gradually add the flour mixture until just combined.
- Divide the dough into two equal portions, and form them each into a ball. Then gently use your hands to flatten each ball into a 1-inch thick disk, wrap tightly in plastic wrap, and refrigerate for 1 hour or so, or until the dough is chilled yet still somewhat pliable. (Or you can refrigerate the dough for a longer period of time, and then later let soften on the countertop for 15-20 minutes before rolling it out.)
- Once you are ready to bake the cookies, heat the oven to 350°F and line a baking sheet with parchment paper; set aside.
- Unwrap the dough and place it on a large, lightly-floured hard surface. Use a floured rolling pin to roll the dough evenly until it is approximately 1/8-inch thick. Then use your favorite cookie cutters to cut out your desired shapes, re-rolling the dough as needed to cut out more. Transfer to parchment-covered baking sheets.
- Bake for 8 to 10 minutes, or until the cookies are crisp around the edges and on top. Remove from oven and let cool for 5 minutes, then transfer to a wire rack to finish cooling.
- Once the cookies are room temperature, feel free to decorate them as desired with the icing (see below) plus any extra sprinkles or candies. Serve and enjoy immediately, or store in a sealed container for up to 4 days.
To Make The Simple Icing:
- Whisk all ingredients together in a mixing bowl until smooth. If your icing is too thin, add in a little more powdered sugar. If your icing is too thick, add in a tiny bit of milk.
- Use a piping bag, or a ziplock bag (with the corner snipped off), or a plastic squeeze bottle to pipe the icing onto the cookies.
Equipment
Molasses
Buy Now →
Cookie Cutters
Buy Now →
Rolling Pin
Buy Now →
Notes
Source: Recipe slightly adapted from Elise Bauer of SimplyRecipes.com. The instructions were also edited in December 2020 to encourage rolling out the dough when it is chilled yet still slightly soft, instead of completely chilled and hard.
This post contains affiliate links.