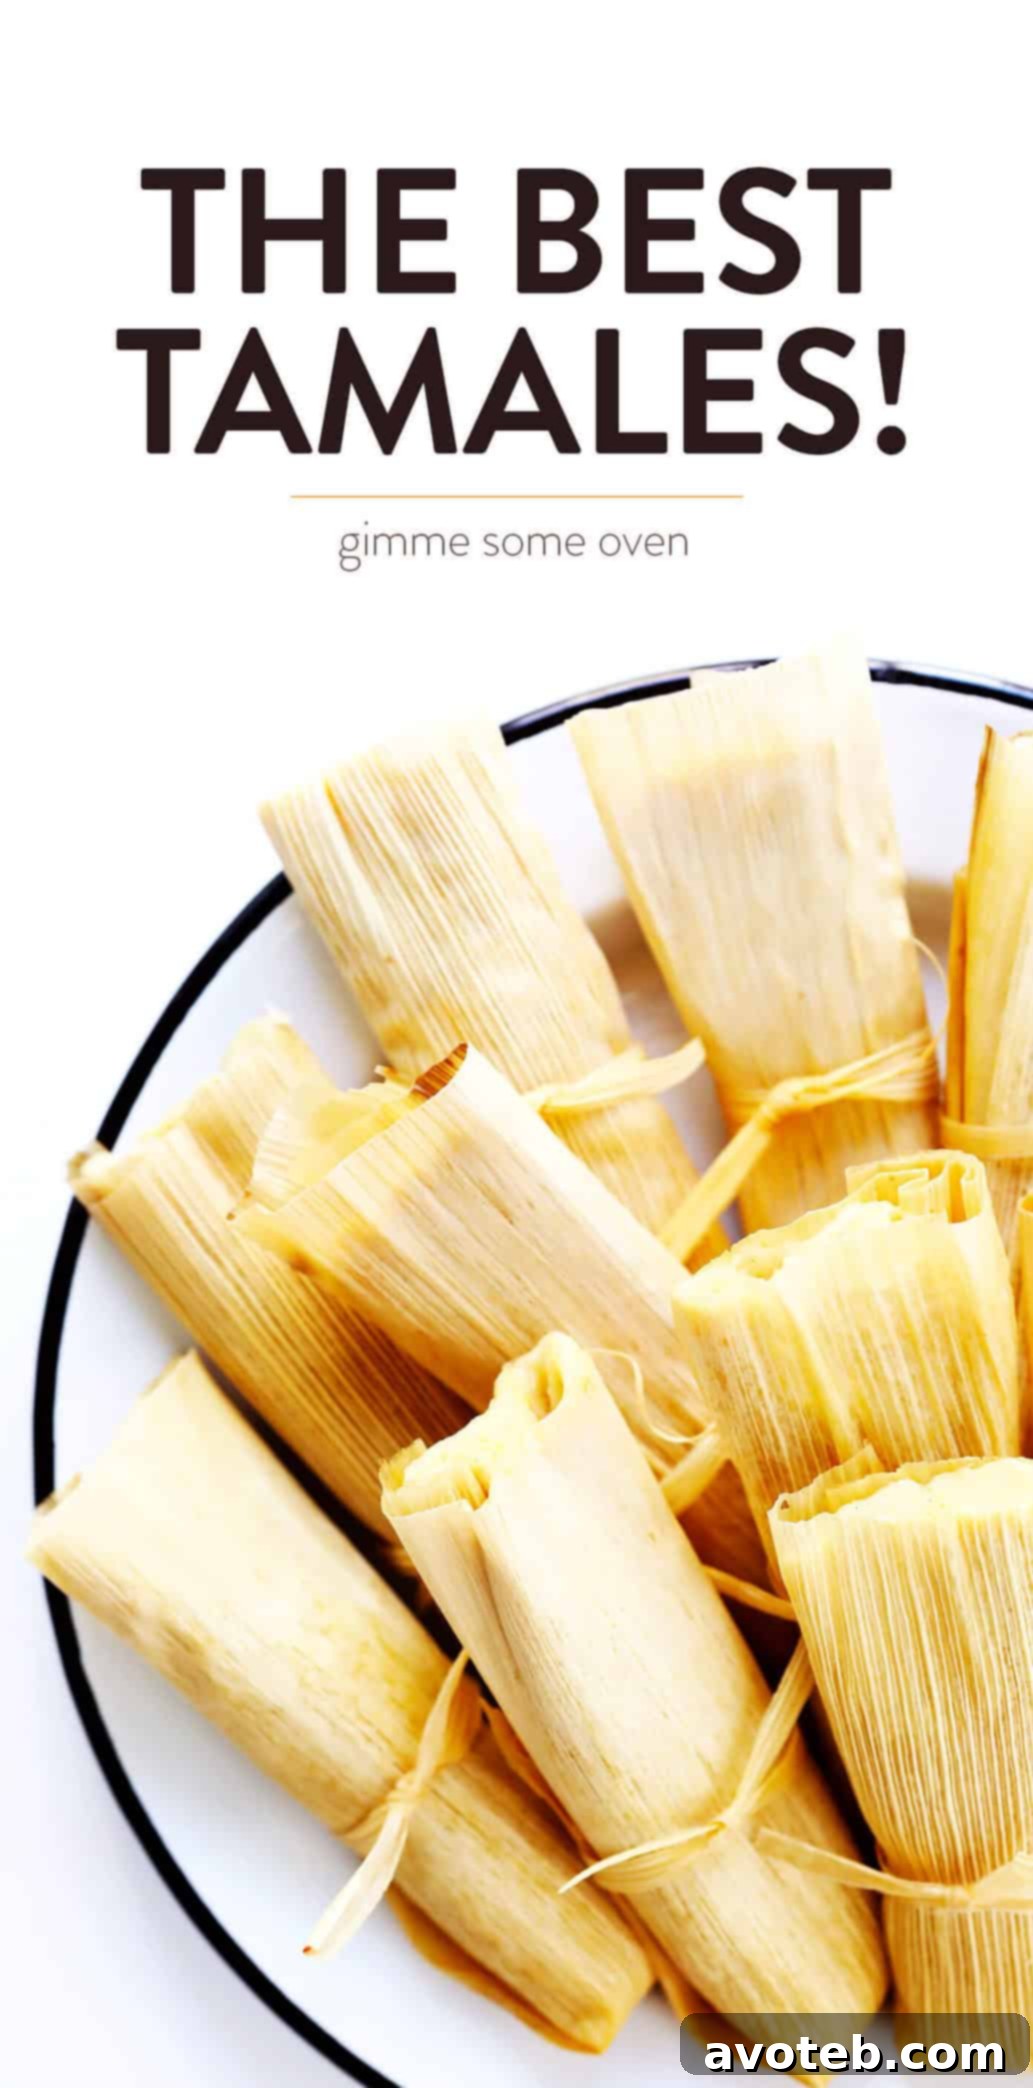
Master the art of making delicious tamales with this comprehensive, easy-to-follow guide! Our recipe offers versatile filling options (including chicken, beef, pork, and vegetarian choices), is made without lard or shortening for a lighter touch, and is perfect for freezing, ensuring delightful meals whenever you crave them.
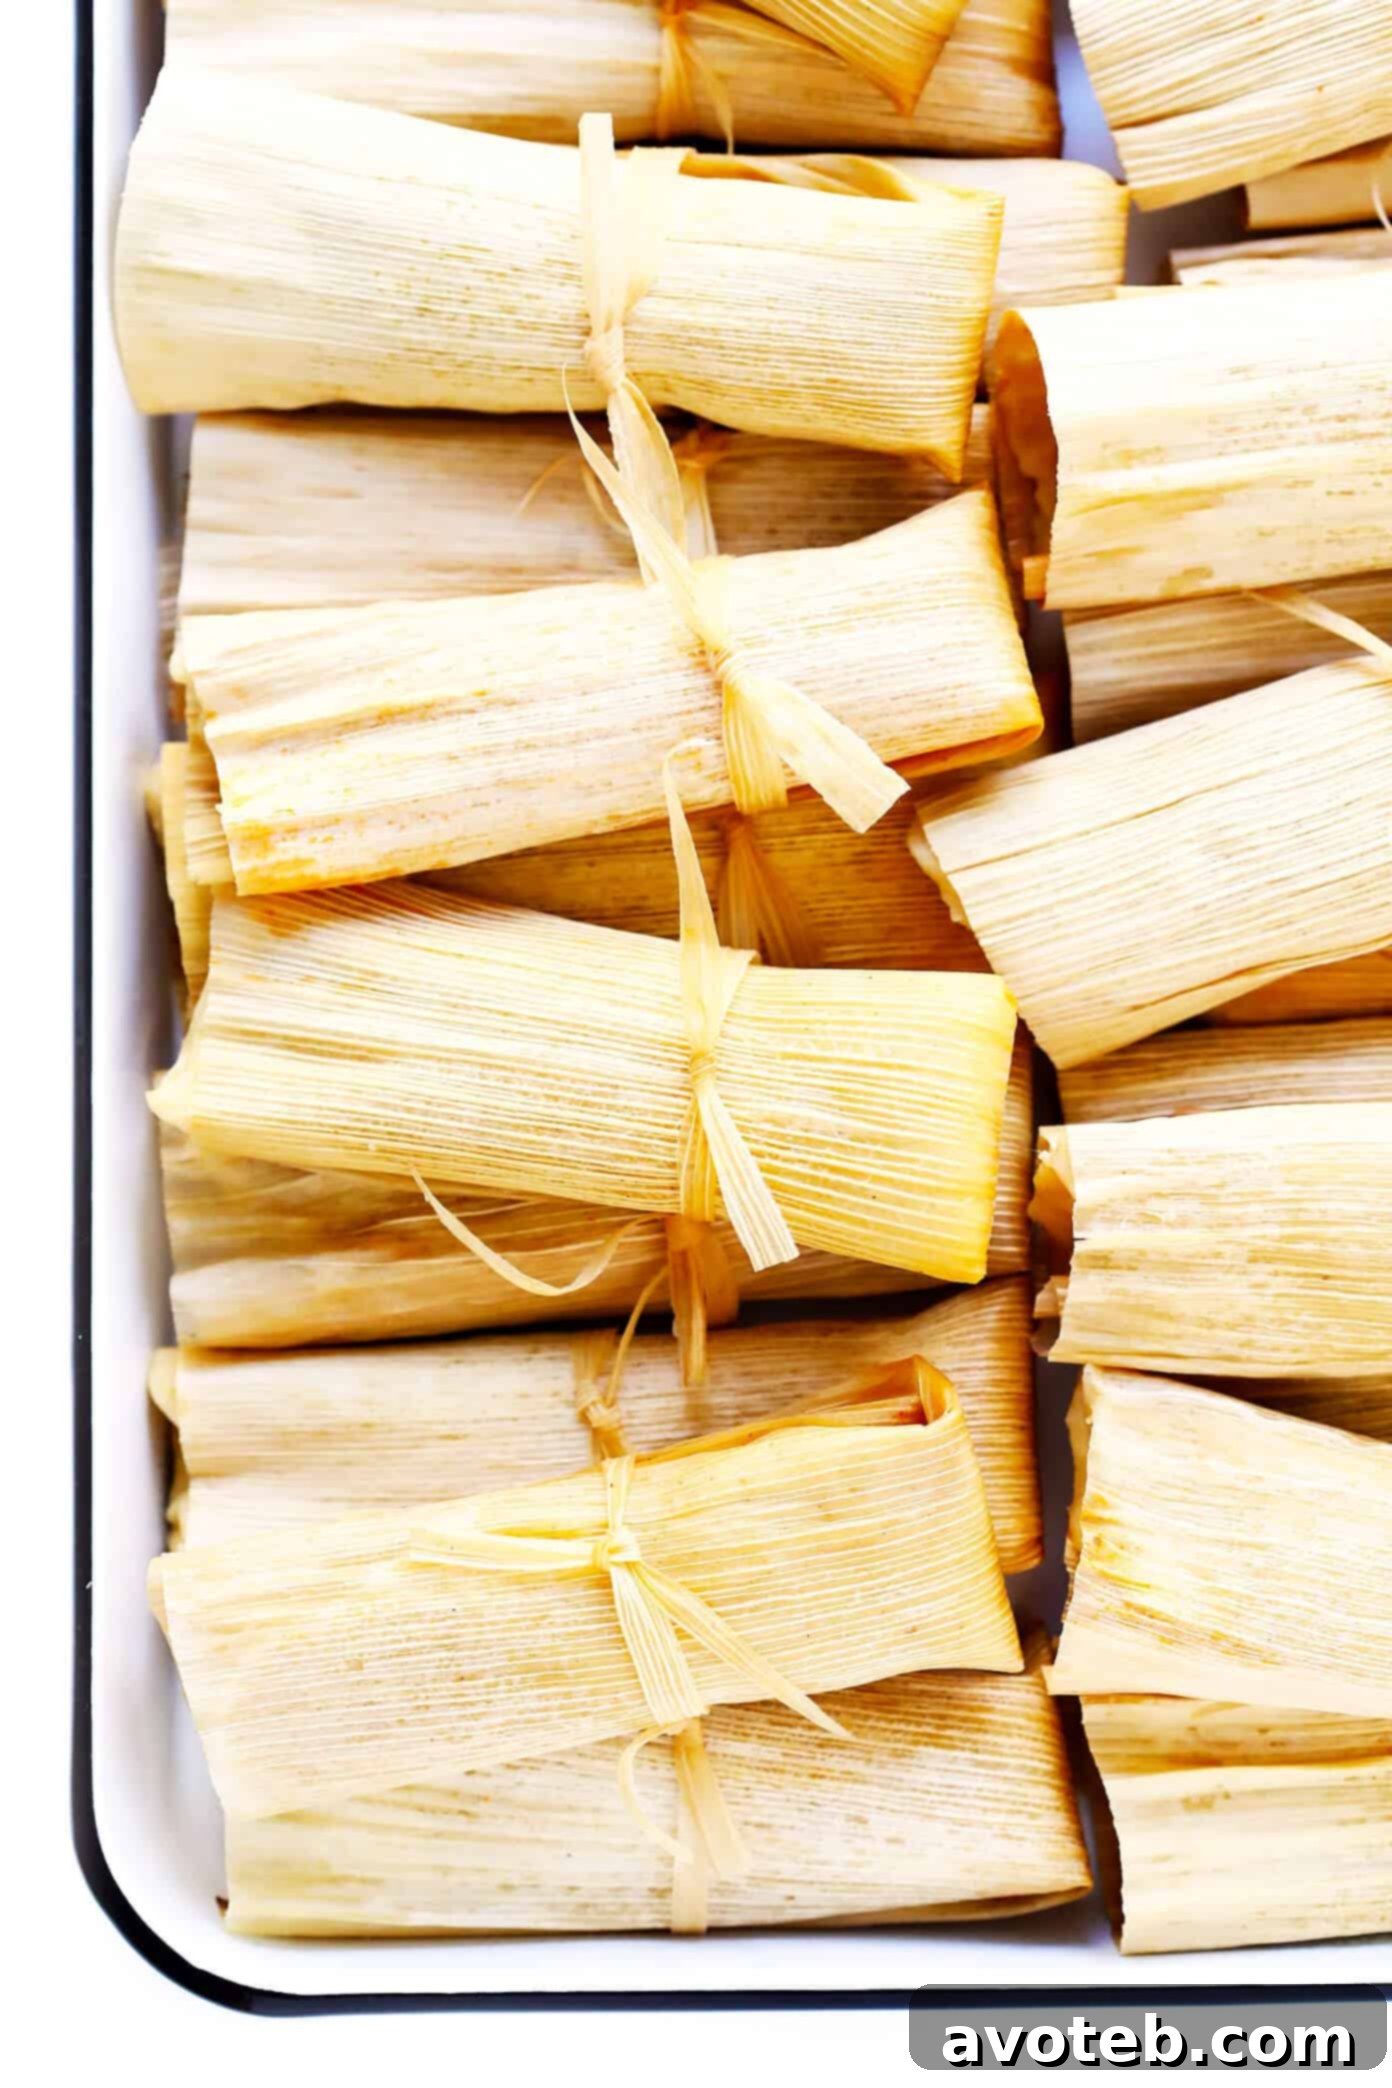
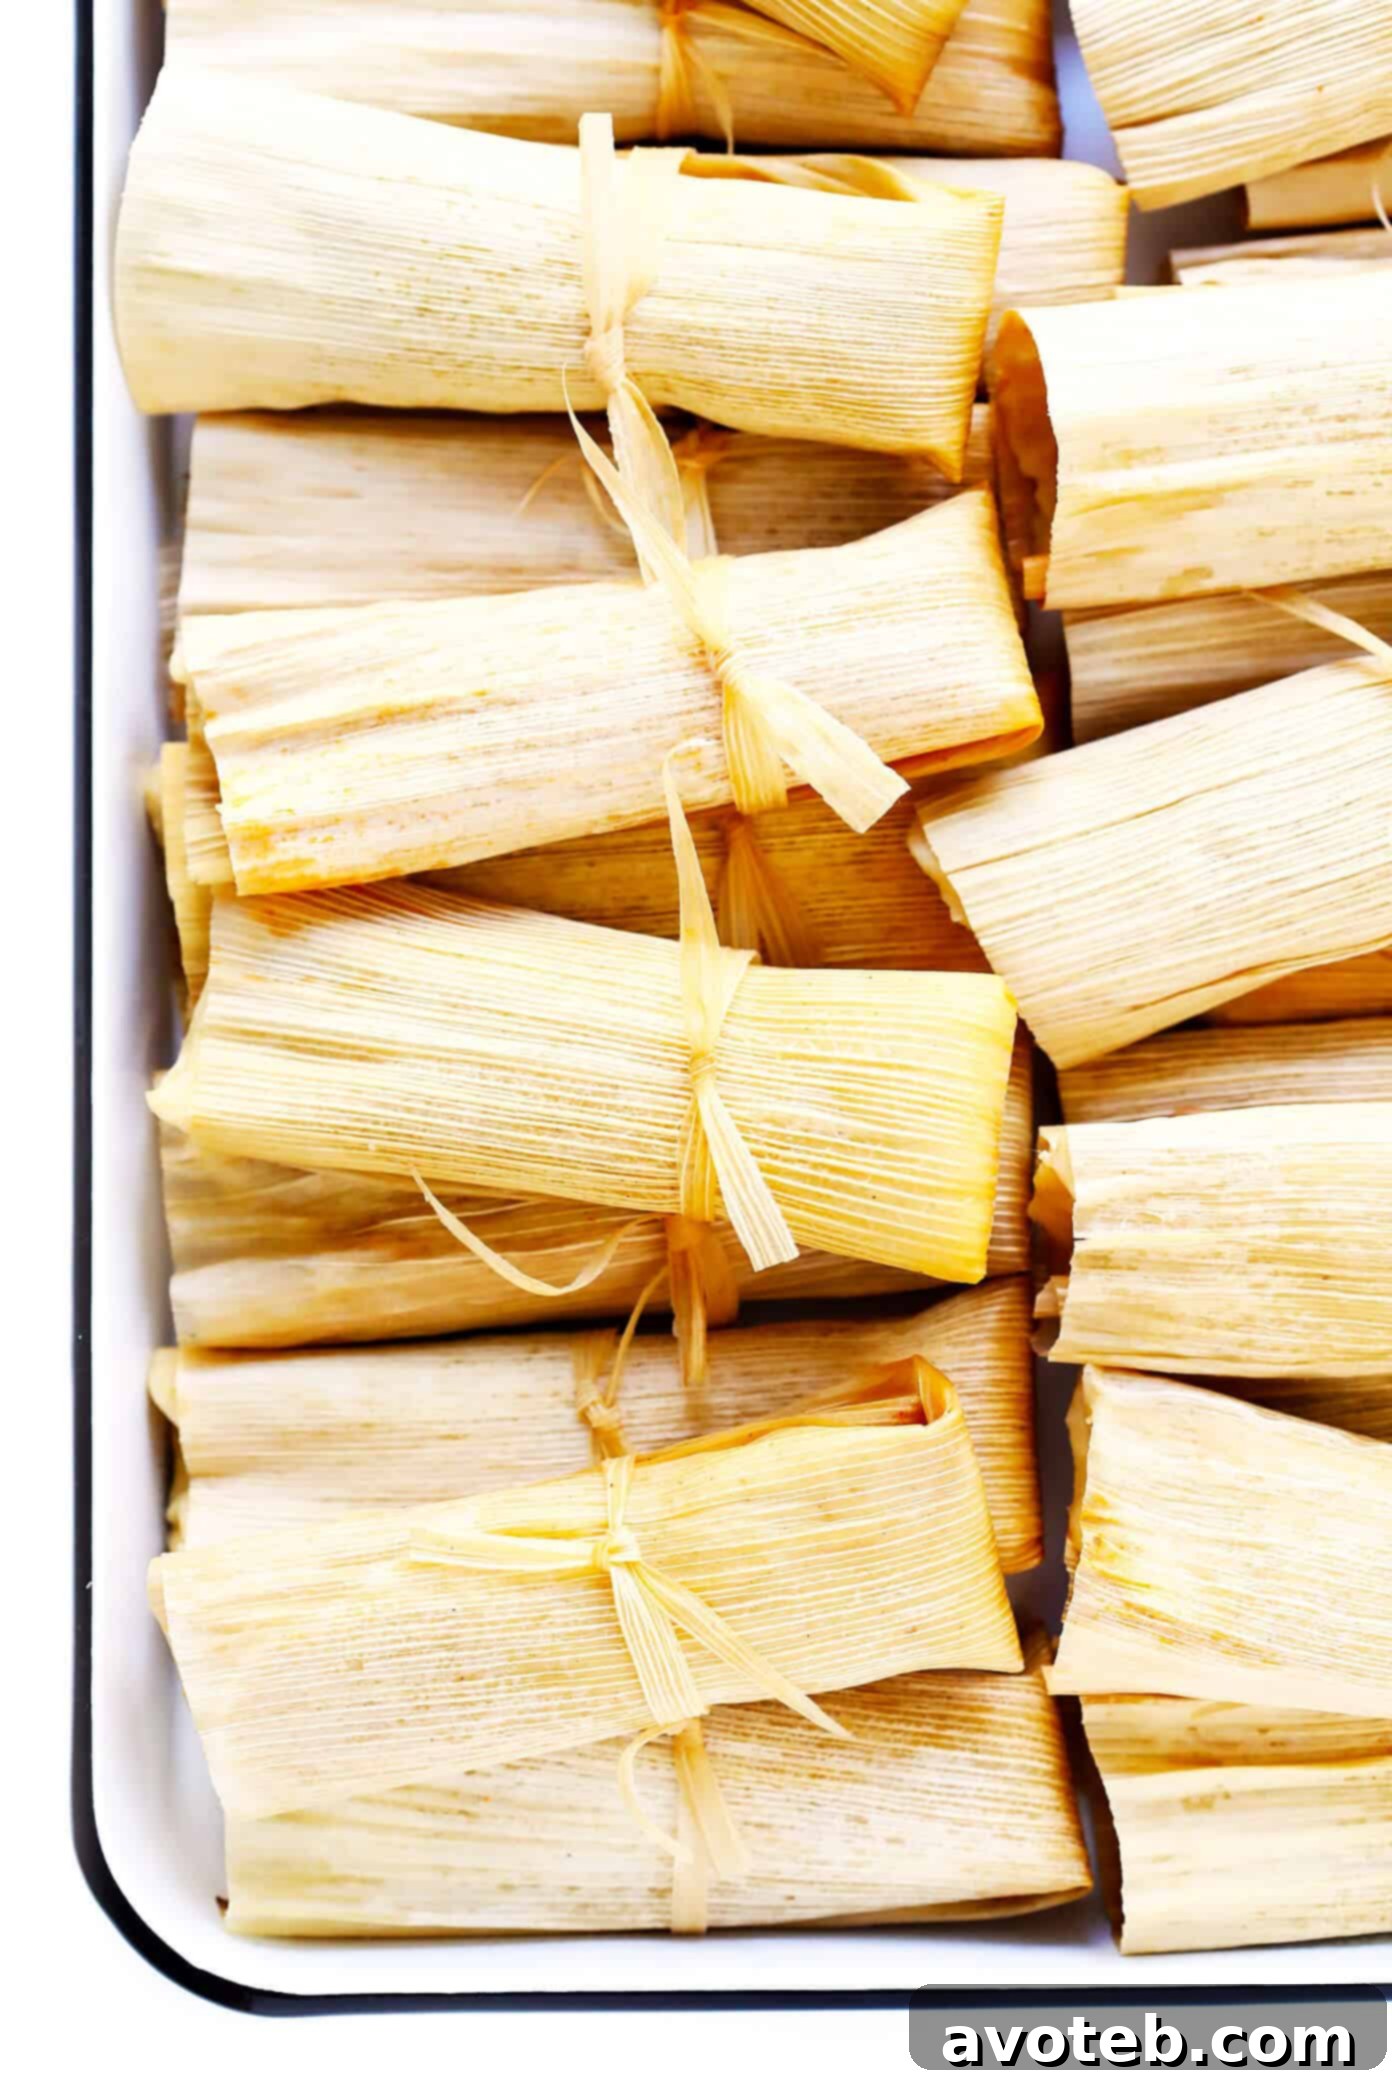
Embark on a culinary journey to create your very own homemade tamales! What once seemed like a daunting task has proven to be surprisingly straightforward and incredibly rewarding. Serving these fresh from the steamer elevates them to an unparalleled level of deliciousness. While the process demands a dedicated investment of time—approximately two hours for assembly and steaming—the yield is substantial, often producing three dozen servings. This time commitment is well worth it, as it allows for extensive customization with virtually any meat or vegetarian filling and your preferred sauce. You can opt for 100% homemade ingredients or utilize convenient store-bought shortcuts, which we’ll discuss below. Whether you prefer to steam them on a stovetop or in an Instant Pot, the result is always a batch of the most satisfying tamales, crafted with care in your own kitchen.
Our household has developed an insatiable love for these homemade tamales, which is fortunate, as our freezer is now happily stocked with them! Over the past few weeks, rigorous experimentation with various tamale recipes has led to the development of a superior base masa recipe. This recipe yields a masa that is wonderfully light and moist, yet never greasy, and bursting with flavor. Notably, this particular tamales recipe is crafted without any lard or shortening, making it a healthier option without compromising taste or texture. The filling possibilities are endless: choose from succulent chicken, tender pork, rich steak, an assortment of cheeses, hearty beans, fresh vegetables, or any combination that tantalizes your taste buds. Furthermore, these tamales freeze exceptionally well, positioning them as an outstanding meal prep solution for convenient, grab-and-go lunches and dinners throughout the week.
So, gather your essential ingredients—corn husks and masa harina—along with your favorite fillings. Set aside a relaxed afternoon, put on your favorite music, perhaps mix up some refreshing margaritas, and consider inviting a friend to share in the tamale-making fun. Let’s transform your kitchen into a tamale workshop!
How To Make Tamales | Quick Video Guide
Understanding the Tamal: A Culinary Classic
For English speakers, it’s helpful to note that the singular form of “tamales” in Spanish is “tamal,” not “tamale.” Tamales are a deeply rooted traditional dish enjoyed across numerous countries in Central and South America, each region boasting its unique variations. Today, our focus is specifically on Mexican tamales, which are characterized by a corn-based dough, known as masa, generously wrapped around a savory filling and expertly steamed within a corn husk. While traditionally filled with succulent chicken, tender pork, seasoned beef, melty cheese, or robust beans, this recipe encourages you to unleash your creativity and customize the filling to perfectly suit your preferences and dietary needs.
Essential Ingredients for Homemade Tamales:
To embark on your tamale-making adventure, gather these key ingredients:
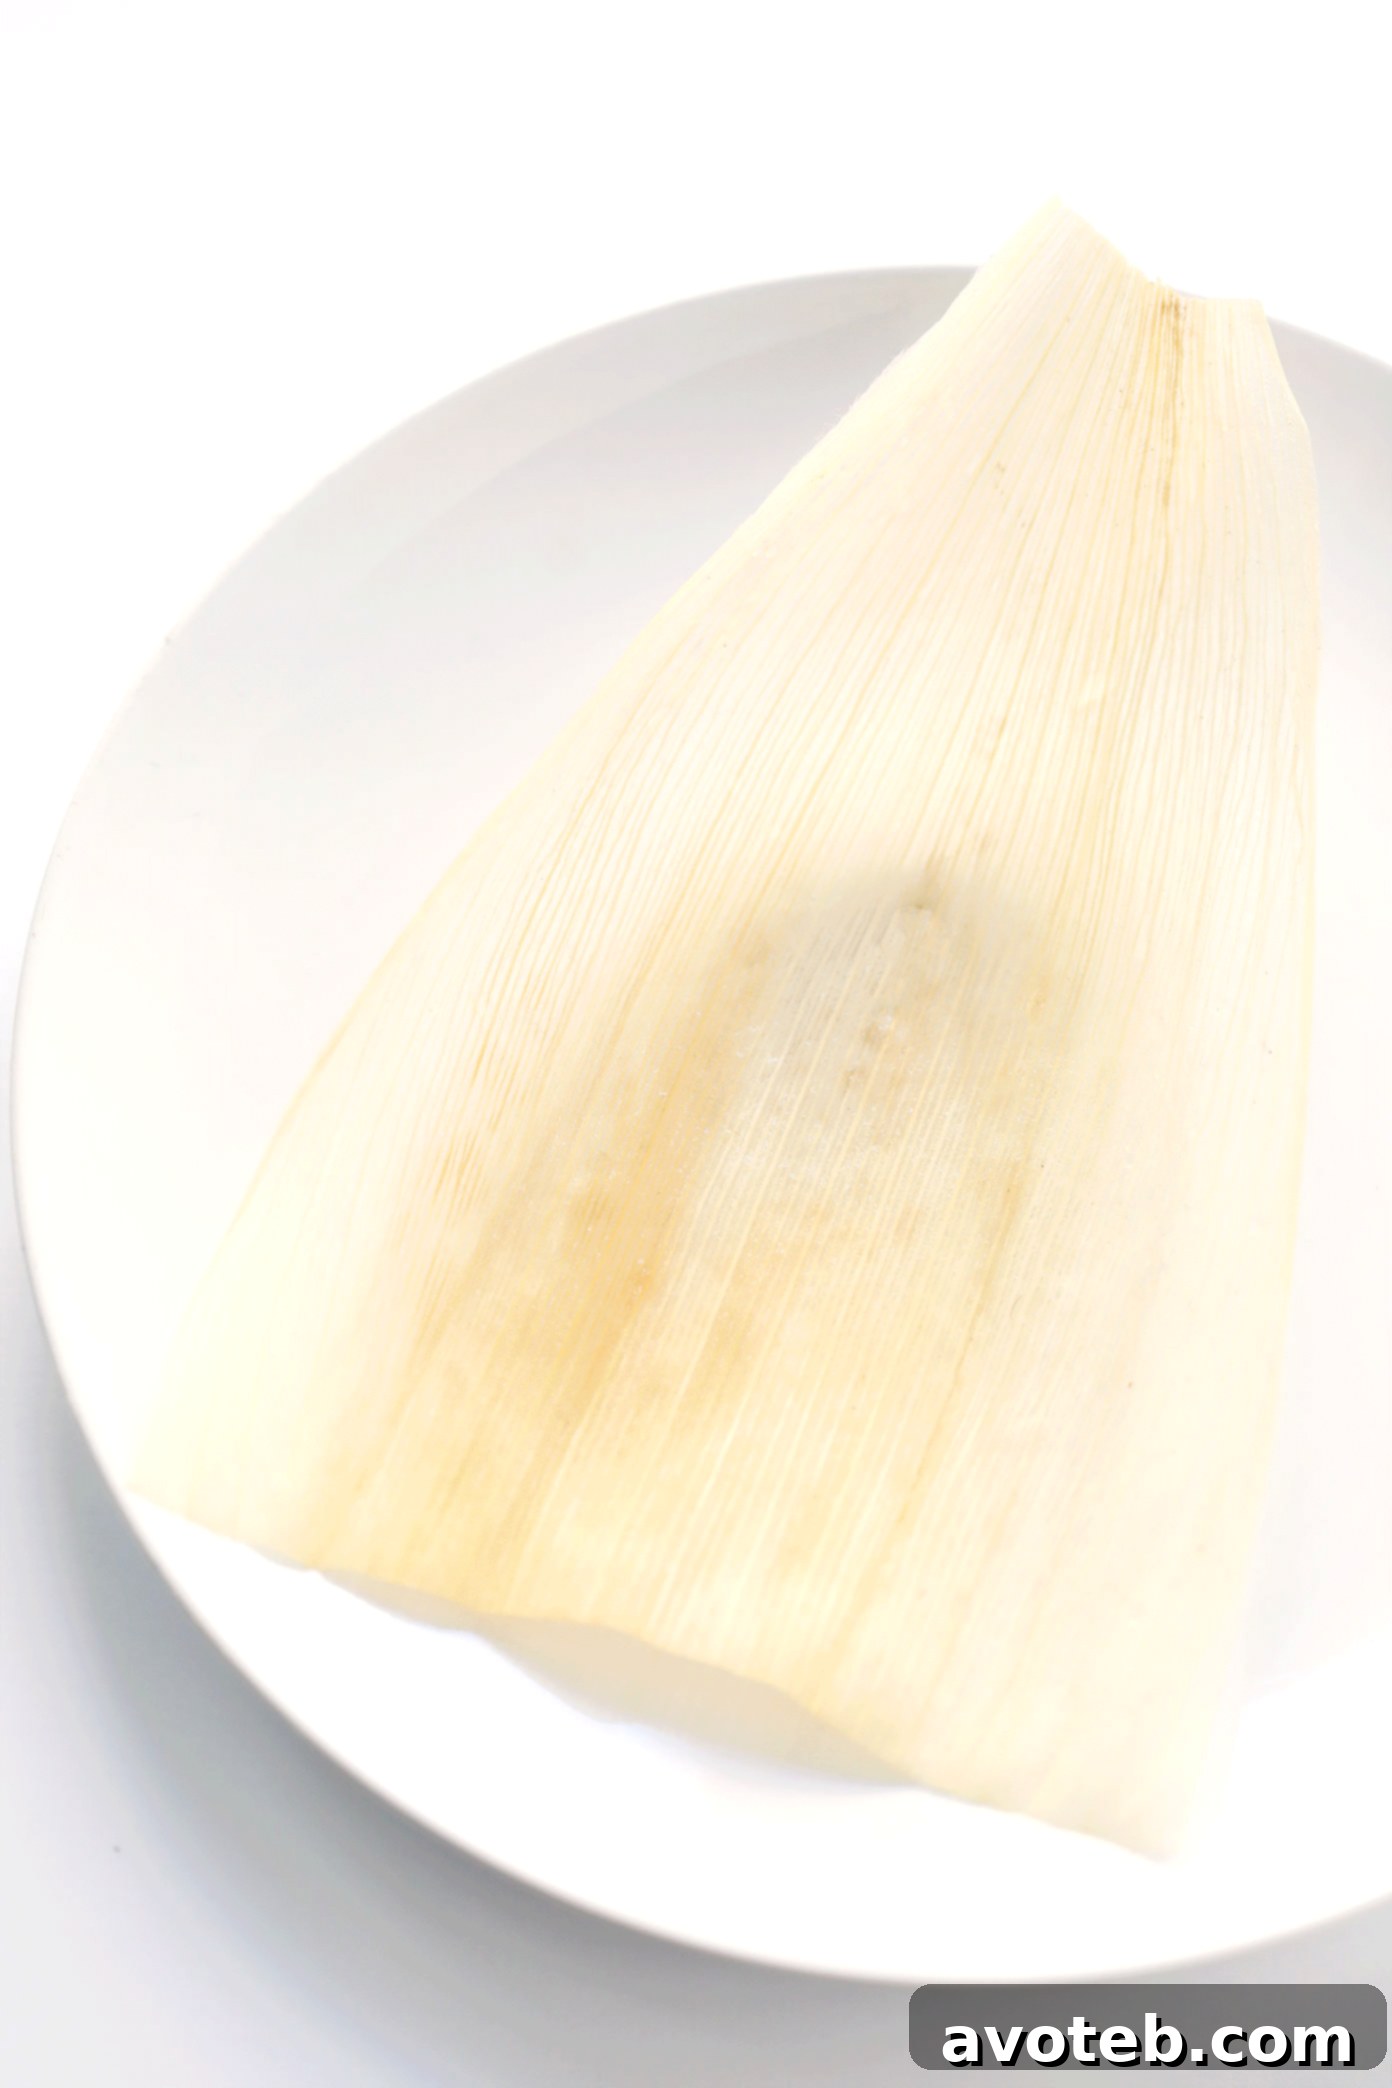
- Dried Corn Husks: These are crucial for steaming and imparting a subtle flavor. You might find them in the international or produce section of your local grocery store. If not, they are readily available online on Amazon. When selecting, aim for husks that are wide enough to snugly wrap around your filling. Don’t fret if you encounter a bag of narrower husks; simply overlap two to achieve the desired width. You’ll also need to shred a few husks into long, thin strips to tie your finished tamales securely.
- Masa Dough Ingredients: The heart of your tamales lies in the masa dough. For this, you will need:
- Masa Harina: This is a finely-ground flour made from nixtamalized corn, which is corn treated with an alkaline solution. “Maseca” is arguably the most recognized and widely used brand for its consistent quality.
- Corn Oil or Avocado Oil: I personally favor corn or avocado oil for their neutral flavor profiles that allow the other ingredients to shine. However, any mild-flavored vegetable oil will work effectively.
- Stock: To infuse your masa with rich flavor, use either chicken, beef, or vegetable stock—the choice is yours, depending on your filling and dietary preferences.
- Baking Powder, Salt, and Ground Cumin: These essential seasonings elevate the masa, providing it with a light texture and a savory depth.
- Filling: The beauty of tamales lies in their incredible versatility. They are an excellent way to repurpose leftover taco fillings, cooked meats, roasted vegetables, or cheeses. Alternatively, you can prepare a fresh batch of filling specifically for your tamales. This recipe typically requires about 2-3 cups of filling, allowing you to mix and match to create your perfect combination. Consider these popular options:
- Chicken: Any pre-cooked, shredded chicken will do. For a quick and easy solution, shred a store-bought rotisserie chicken. You could also prepare and shred my Baked Chicken Breasts or make the flavorful 3-Ingredient Mexican Shredded Chicken in your slow cooker or Instant Pot.
- Beef: Cooked and shredded or ground beef works wonderfully. Brown some ground beef or utilize leftover steak or roast beef. For an incredibly tender and flavorful option, I highly recommend preparing a batch of Barbacoa Beef in your Instant Pot or slow cooker.
- Pork: Any cooked and shredded/pulled pork is suitable. My personal favorite is this Carnitas recipe, which can be made in either the Instant Pot or slow cooker for crispy, flavorful results.
- Refried Beans: Refried pinto or black beans offer a delicious and incredibly simple vegetarian filling. Use them on their own for a classic taste, or combine with cheese and/or finely chopped roasted vegetables for added texture and flavor.
- Cheese: Cheese provides another fantastic vegetarian option, whether used alone or paired with other fillings. Oaxaca cheese, often described as Mexican mozzarella, is highly recommended for its excellent melt and mild flavor, but any good melting cheese will be delicious.
- Veggies: Vegetables offer a healthy and customizable filling. They can be used as a standalone vegetarian option or combined with any other filling. Remember to cook and finely chop your vegetables beforehand; roasting them is highly recommended to enhance their natural sweetness and depth of flavor. Great options include poblano, bell, or jalapeño peppers, Yukon gold or sweet potatoes, cauliflower, mushrooms, squash, onions, or carrots.
- Sauce: If your chosen filling (like the barbacoa or carnitas recipes) is already quite saucy, you might not need much extra. However, generally, adding a bit of extra sauce to your meat or vegetarian fillings is highly recommended for moisture and flavor. Store-bought salsa is a quick and easy shortcut, but don’t hesitate to prepare homemade salsa for an extra burst of fresh flavor! You’ll need about 1 cup of sauce for this recipe—just enough to lightly coat the filling without making it overly juicy or watery. Additionally, it’s wise to have extra salsa on hand for serving alongside the cooked tamales. Choose your favorite type:
- Red Salsa: Whether homemade or store-bought, adjust the spice level to your preference.
- Green Salsa (Salsa Verde): Again, homemade or store-bought, choose your desired mildness or spiciness.
- Enchilada Sauce: This enchilada sauce recipe is consistently a crowd-pleaser and my all-time favorite.
- Mole: While I don’t currently have a mole recipe on the blog, mole tamales are truly exceptional and worth exploring if you have a favorite recipe.
- Toppings: Once your tamales are perfectly steamed, enhance their flavor and presentation with an array of delightful toppings. While entirely optional, these additions elevate the experience:
- Salsa: Offer a variety of red, green, or fresh pico de gallo.
- Chopped Cilantro: A classic garnish that adds a burst of freshness.
- Avocado: Creamy, rich avocado or fresh guacamole is always a superb addition.
- Sour Cream (or Mexican Crema) or Crumbled Cotija Cheese: These dairy toppings add a cool, tangy contrast that perfectly complements the rich tamales.
Assembling Your Tamales: A Step-by-Step Guide
The assembly process for tamales is often perceived as complicated, but it’s much simpler than you might imagine. Once you get into a rhythm, many find it to be quite a relaxing and repetitive task. Here’s how to assemble your tamales efficiently:
- Soak Your Corn Husks. Begin by finding a large stockpot or a spacious pan that can comfortably accommodate all your dried corn husks. Fill the pot with very warm water, ensuring the husks are completely submerged. Since they tend to float, you might need to place a heavy plate or another object on top to weigh them down. Allow them to soak for approximately 30 minutes, or until they become pliable and soft.
- Prepare Your Masa (Dough). While the corn husks are soaking, turn your attention to the masa. This step can be done most easily in a stand mixer, or with a hand mixer (which can be a bit messier), or even by hand (which requires more effort). Follow the detailed recipe instructions provided below for mixing. Once prepared, cover the mixing bowl with a damp towel and refrigerate until you are ready to use it. This helps maintain its consistency.
- Ready Your Fillings and Salsa. Refer to the extensive list of filling and sauce ideas provided above. Choose your desired combinations, prepare them as needed (cooking meats, chopping vegetables), and then gently toss them together in a bowl until they are well combined. The filling should be flavorful but not overly wet.
- Now, Let’s Assemble the Tamales! As mentioned, this is the most time-consuming part, but it’s also incredibly meditative once you find your rhythm. Set up an efficient assembly line with your soaked corn husks, prepared masa, and filling. Then, follow these precise steps:
- Lay the Soaked Corn Husk on a Flat Surface. A simple plate or a clean cutting board will provide a stable base for your work.
- Spread Your Masa on the Corn Husk. Take about 1/4 cup (or slightly more, depending on the husk size) of masa. Using a large cookie scoop can help measure consistently. With a spoon or your fingers, spread the masa into a roughly rectangular shape on the wider end of the husk. Ensure it’s large enough to fully encase your filling. Keep a small bowl of water nearby to dip your fingers regularly; this prevents the masa from sticking.
- Add Your Filling/Sauce to the Center of the Masa. Tamales require a surprisingly small amount of filling—just a tablespoon or two is sufficient. Place it neatly in the center of the masa you’ve spread.
- Fold the Corn Husk in Half Vertically. Carefully fold one side of the corn husk over the filling and masa, bringing it to meet the other side. Gently pinch the masa together just slightly to ensure it completely encloses the filling.
- Wrap the Corn Husk into a Burrito Shape. Continue to fold the corn husk over completely to one side, creating a compact burrito or cylinder shape.
- Fold the Top (Skinny) End Down. To seal one end of the tamal, take the narrower, top end of the corn husk and fold it down firmly. This creates a packet with one exposed end and one folded-over, sealed end. (I personally prefer to fold the side with the seam to keep it secure.)
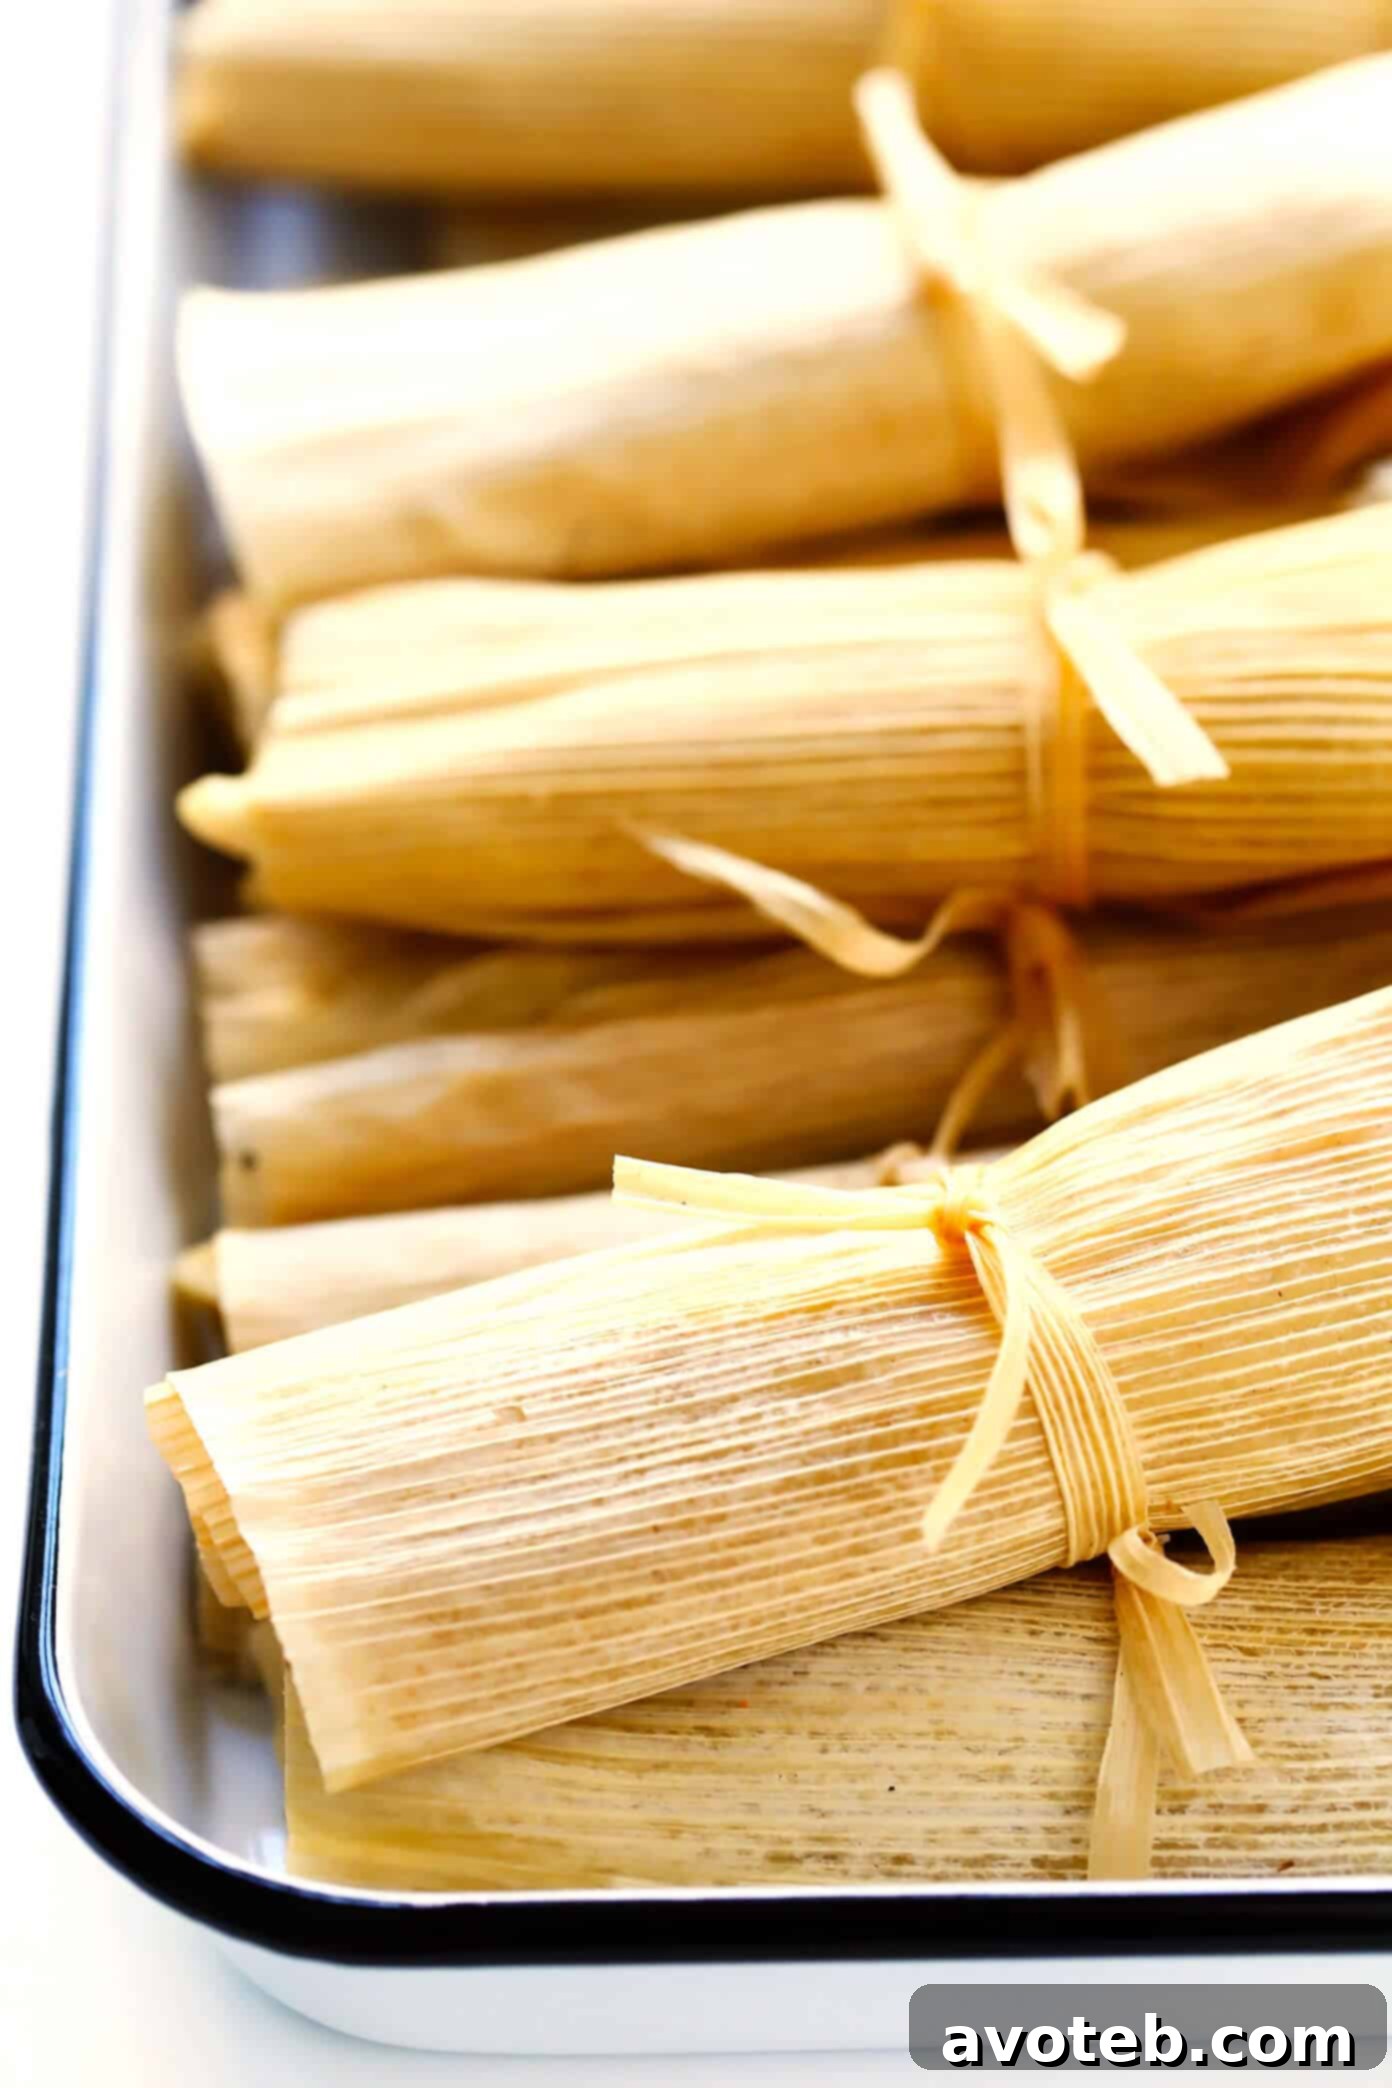
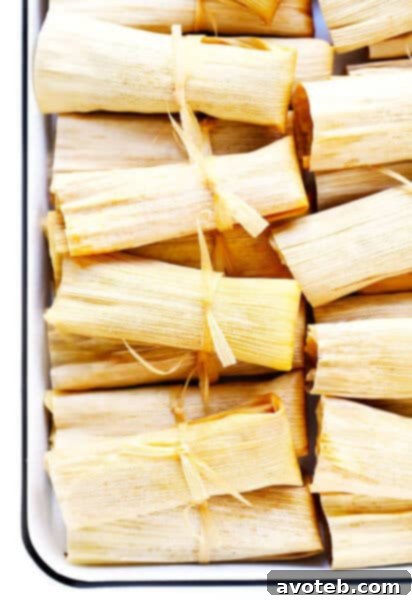
- Tie the Tamal Together. For a traditional touch, shred a few corn husks into long, thin strips—this is an excellent use for any husks that are too narrow for spreading masa. Use these strips to tie the tamales securely. Alternatively, you can use kitchen twine or baking string.
- Finally…Steam! Once assembled, the tamales are ready for steaming. Refer to the detailed instructions below for both stovetop and Instant Pot methods to cook them to perfection.
Steaming Tamales on the Stovetop: A Traditional Method
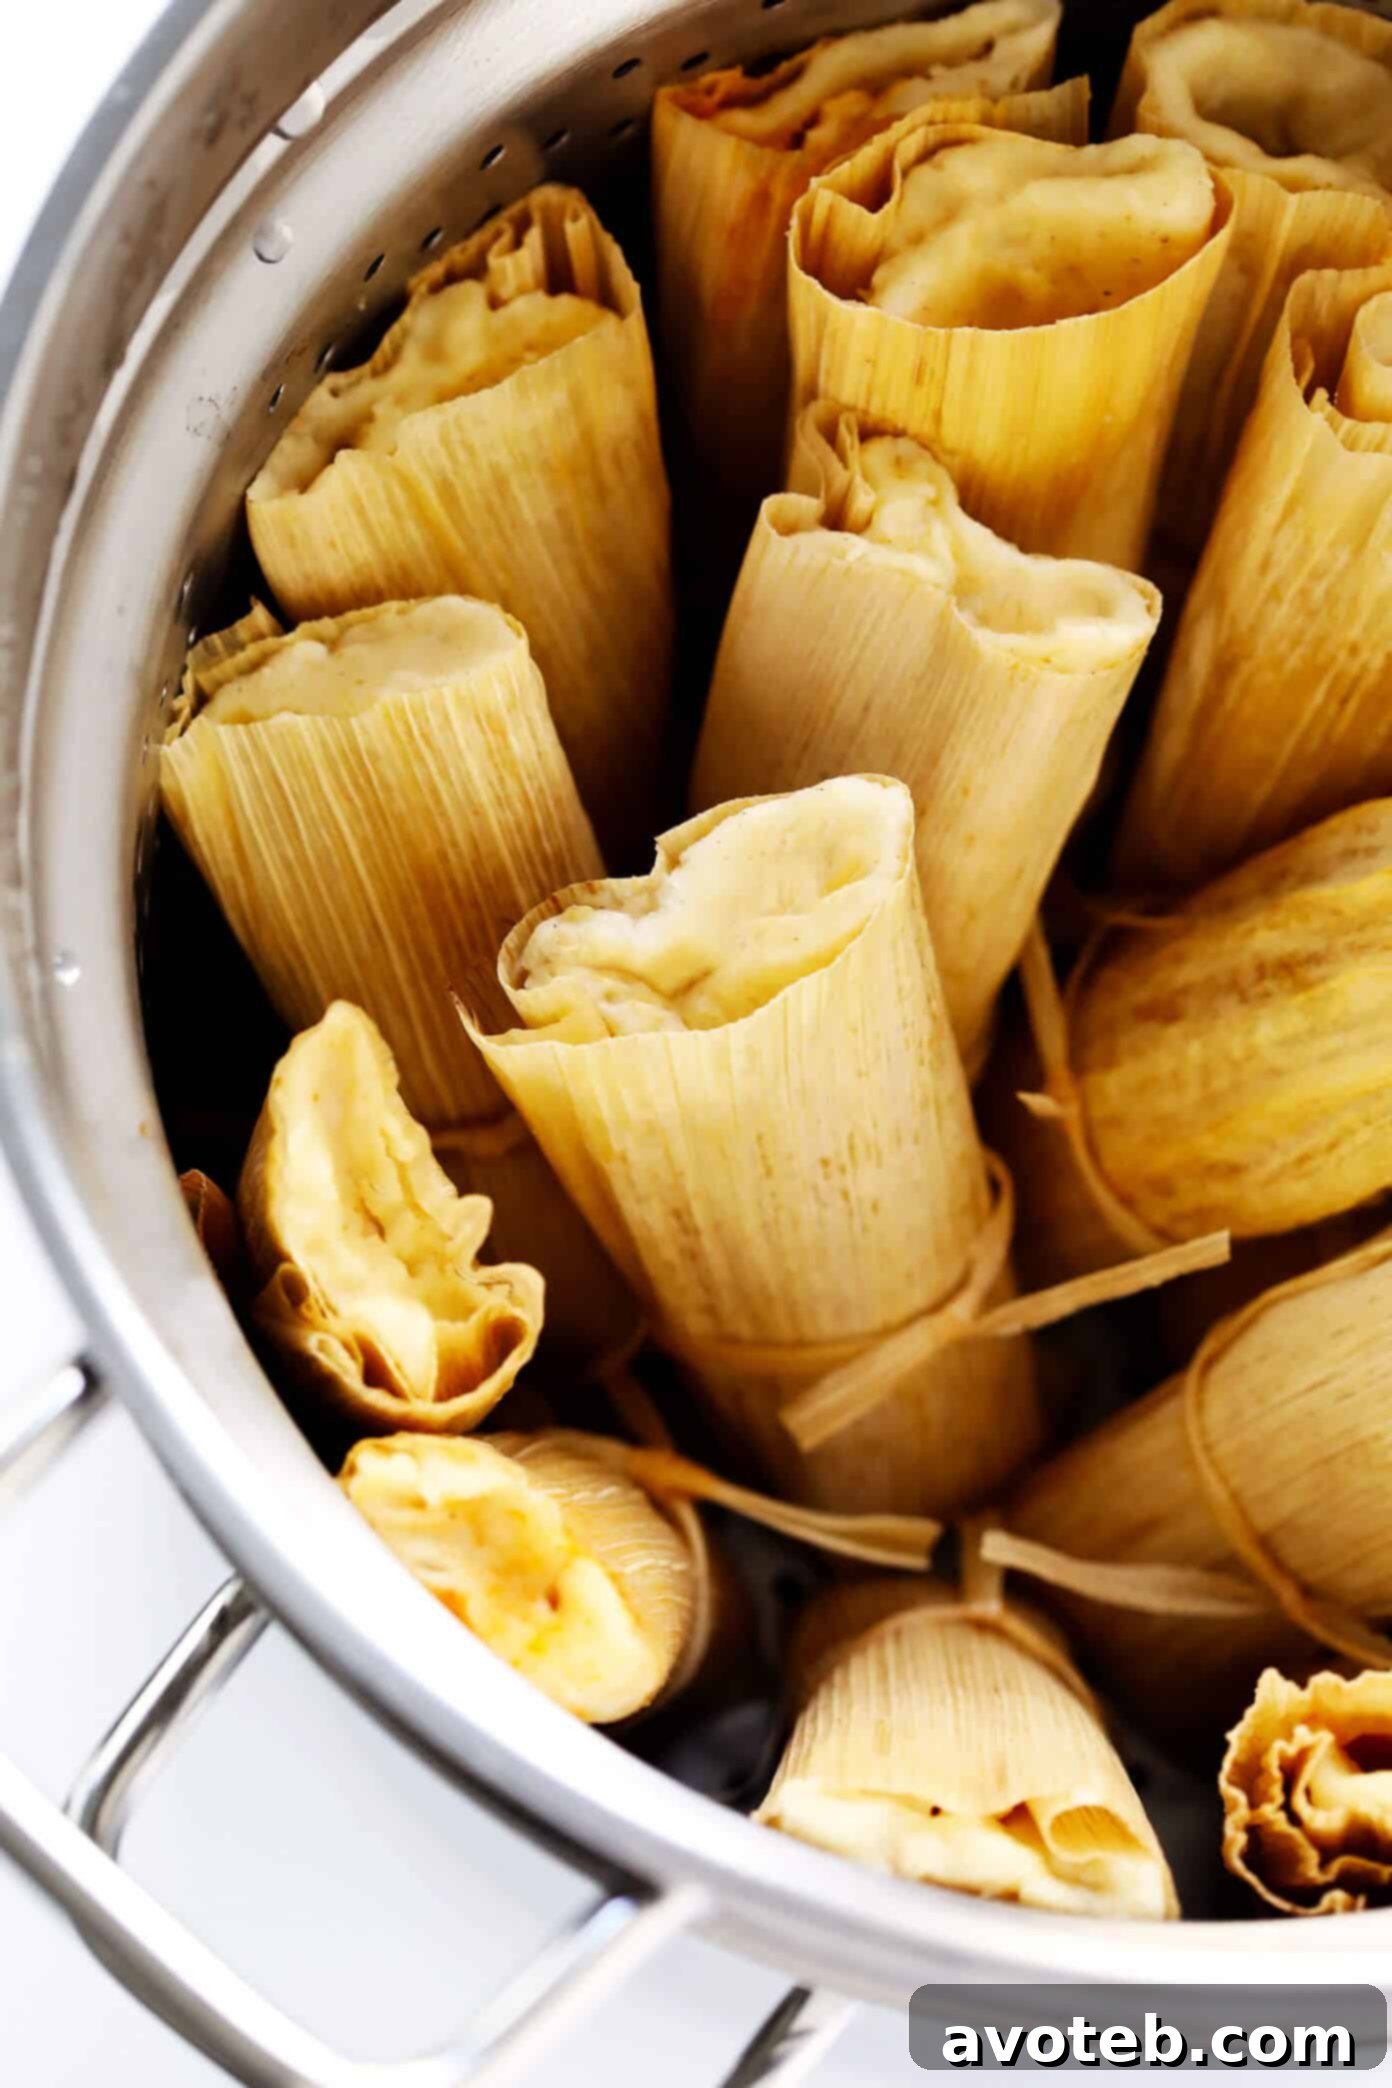
To prepare your tamales using the stovetop method, you will need a large stockpot equipped with a strainer basket. Many stockpots come with a compatible strainer insert, but you can also purchase various types of steamer baskets separately to fit your existing pot.
Here’s how to steam them: Place your assembled tamales vertically (open end up, or folded end down) into the strainer basket. Add approximately 2 cups of water to the base of the stockpot, ensuring the water level is below the bottom of the steamer basket and not touching the tamales. Cover the pot tightly with a lid and bring the water to a simmer over medium heat. Allow the tamales to steam for about 30-40 minutes. They are perfectly cooked when the masa easily separates from the corn husks. Always check one tamal for doneness before removing the entire batch.
Effortless Tamales in the Instant Pot: A Modern Twist
Yes, preparing tamales in your Instant Pot (or any brand of pressure cooker) is remarkably simple and efficient! This method significantly cuts down on steaming time without sacrificing flavor or texture.
To use your Instant Pot: Pour 1 cup of water into the bottom of the pot. Insert the steamer basket or trivet. Arrange your tamales vertically in the basket, making sure not to overcrowd them for even steaming. Secure the lid, set the vent to the “Sealing” position, and cook on high pressure for 20 minutes. Once the cooking cycle is complete, perform a quick release of the pressure. The tamales are ready when the masa easily detaches from the corn husks, indicating they are thoroughly cooked and perfectly fluffy.
Serving Your Delicious Homemade Tamales:
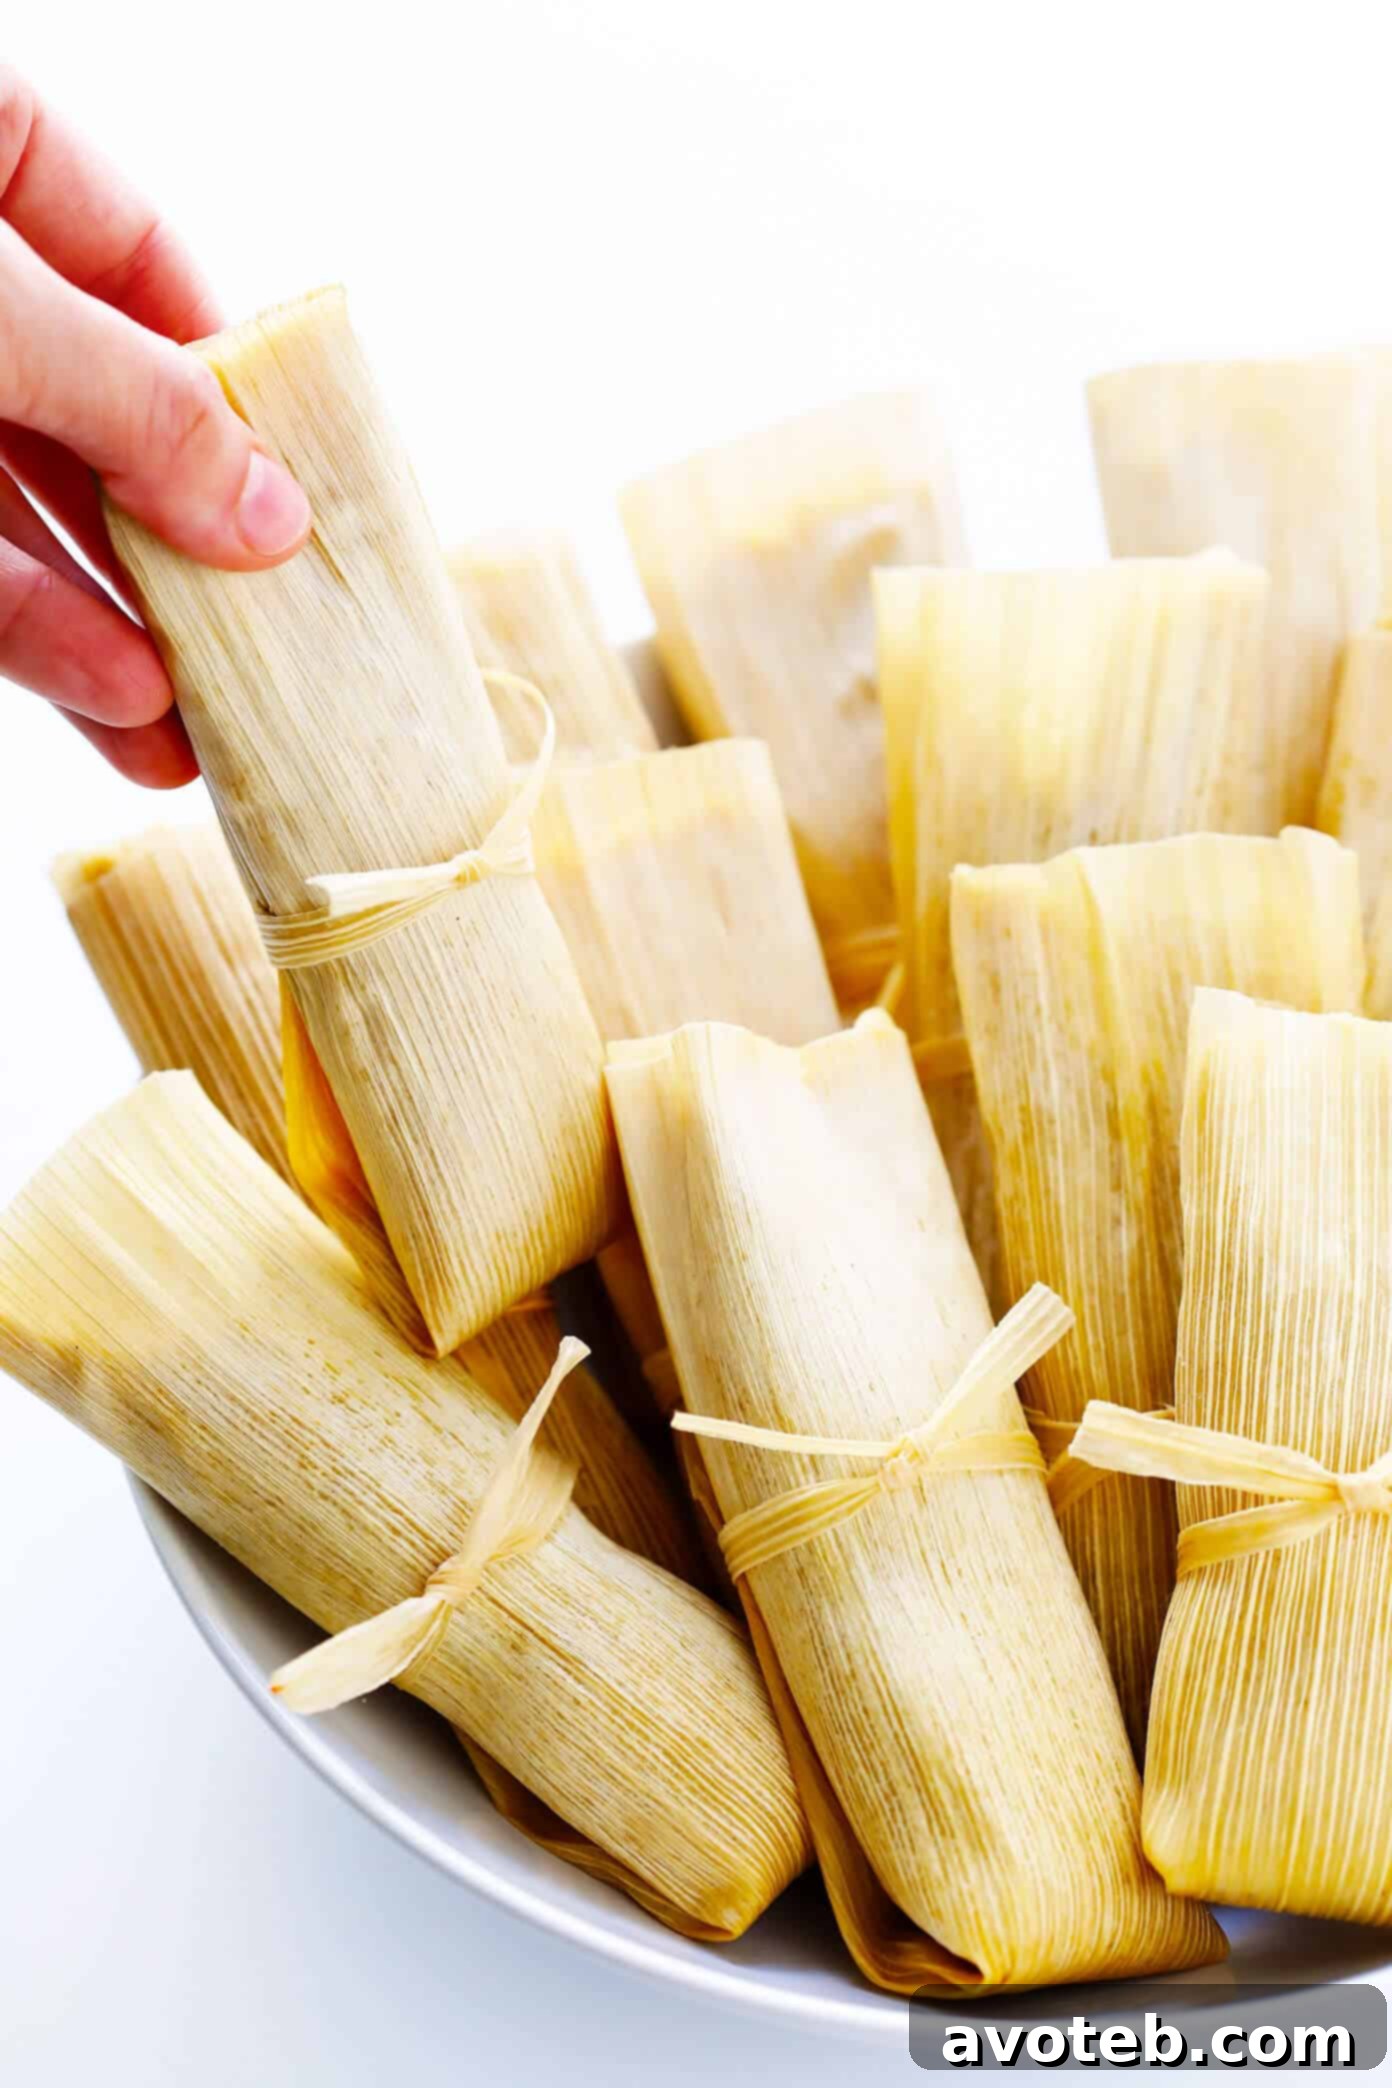
Once your tamales are beautifully cooked and ready, there’s a paramount rule: please, do yourself a favor and enjoy a batch fresh from the steamer immediately. There is truly nothing that compares to the comforting warmth, the tender texture, and the vibrant flavors of freshly cooked tamales. They are an absolute culinary delight!
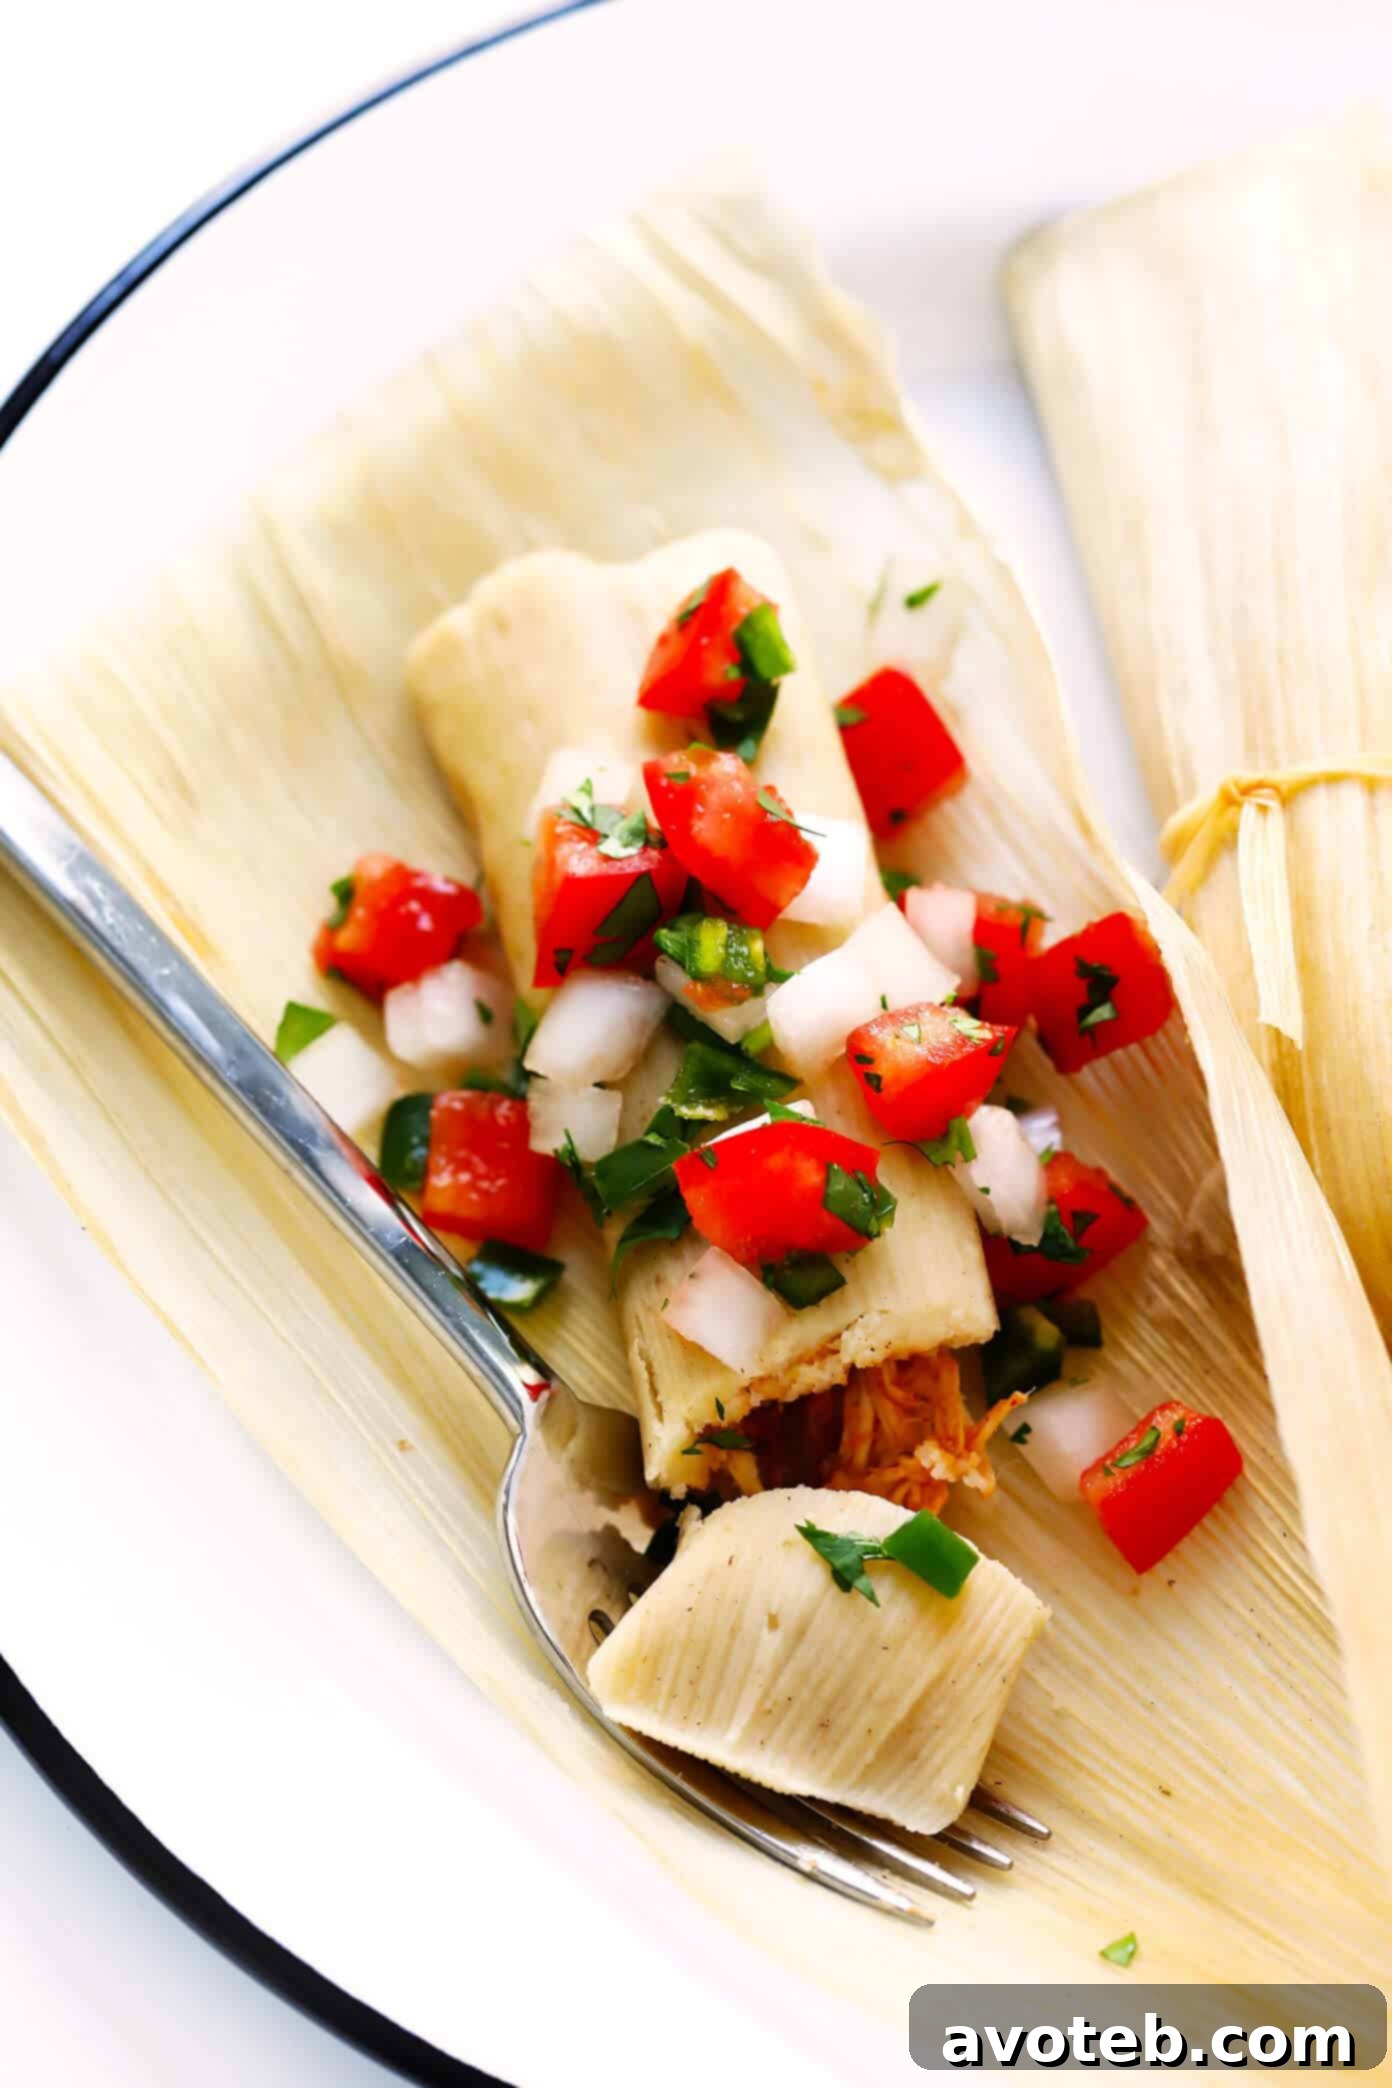
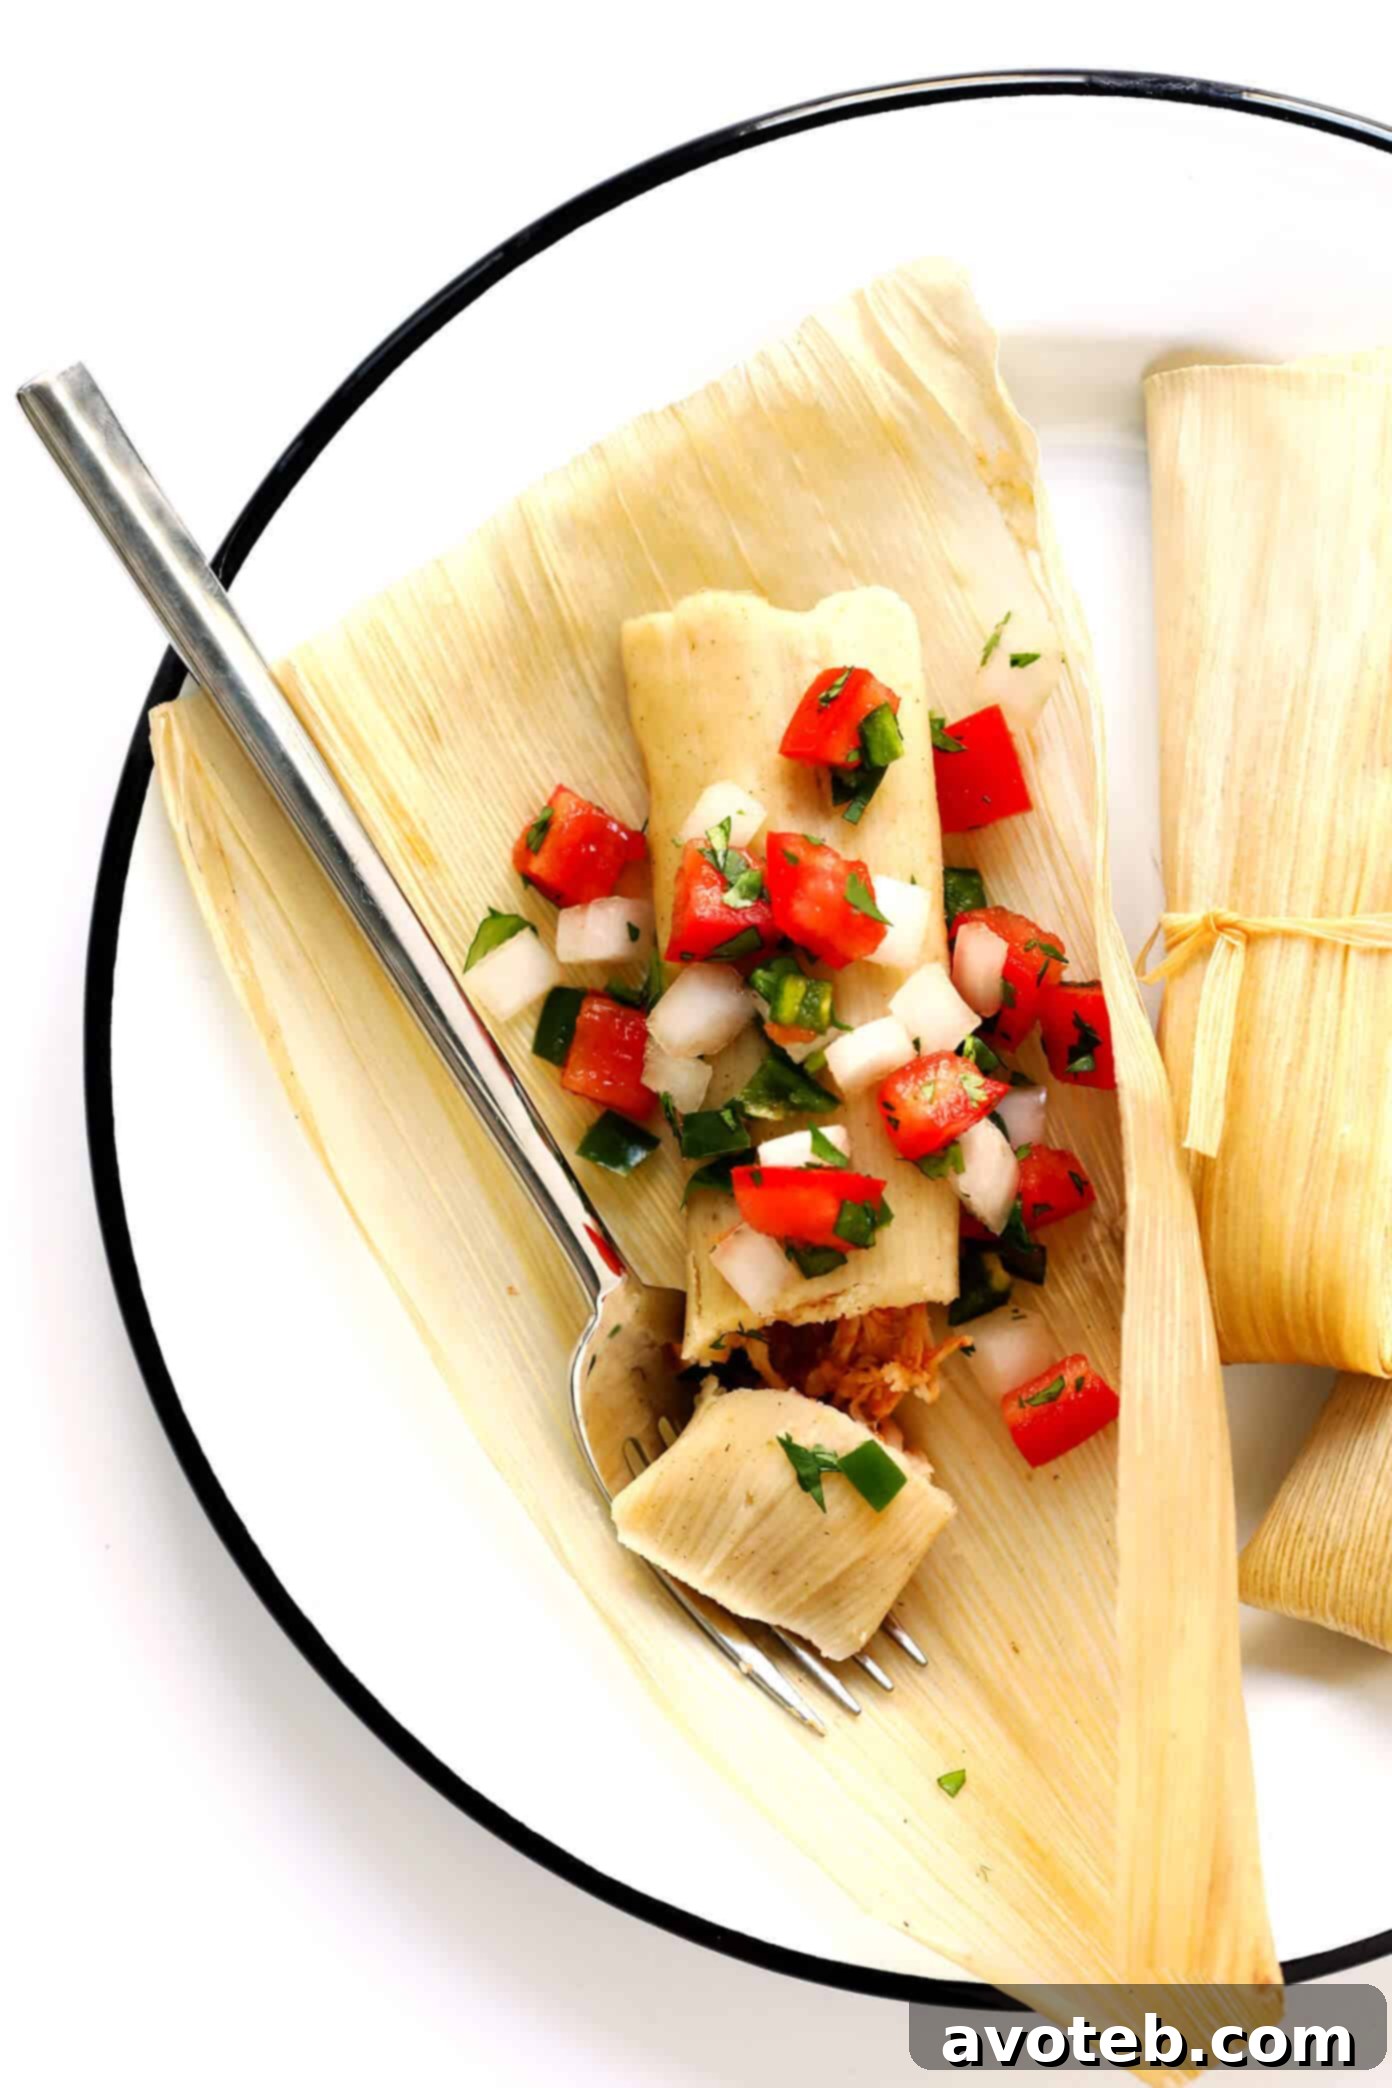
To serve, simply and carefully unwrap your tamal—remember, the corn husk is just for cooking and not meant to be eaten. Place the unwrapped tamal on a plate, then generously top it with your favorite garnishes (refer to the topping ideas listed above for inspiration). Then, simply dig in and savor every mouth-watering bite! 🙂
If you’re looking for complementary side dishes to create a complete and unforgettable meal with your homemade tamales, I enthusiastically recommend:
- Freshly made Guacamole
- A crisp and refreshing Mexican Caesar Salad
- Hearty and flavorful Drunken Beans (Frijoles Borrachos)
- To drink, pair them with classic Margaritas or a light and fruity Agua Fresca
Storing and Freezing Your Homemade Tamales:
One of the most delightful aspects of making tamales is that this recipe yields a generous batch, ensuring plenty of delicious leftovers! Unless you’re hosting a grand tamale feast on the day of preparation, you’ll undoubtedly have a surplus to store for later enjoyment. This, my friends, is a stroke of luck! 😉
Generally, tamales can be safely stored in the refrigerator for up to 3 days, or they can be frozen for an impressive period of up to 3 months, offering extended convenience.
For optimal storage, the key is to minimize air exposure. A great method is to place a handful of tamales into a freezer-safe ziplock bag, ensuring you press out as much excess air as possible before sealing. If you desire the absolute freshest possible texture and flavor upon reheating, consider wrapping each tamal individually in plastic wrap before placing them in a bag or airtight container. This extra step provides an additional layer of protection against freezer burn.
Reheating Tamales for Perfect Enjoyment:
When the craving strikes and you’re ready to enjoy your stored tamales, these are my three preferred methods for reheating, each offering excellent results:
- Steamer: This is arguably the best method for restoring tamales to their original tender, moist texture. Simply re-steam your tamales for approximately 15 minutes. If reheating from frozen, allow a bit longer, perhaps 20-25 minutes, until they are thoroughly heated through and the masa is soft.
- Oven: For a slightly crispier exterior, the oven is a great choice. Wrap your tamales individually or in small batches tightly in aluminum foil. Bake them in a preheated oven at 350°F (175°C) for about 15-20 minutes, or until they are warmed all the way through. From frozen, this might take 25-35 minutes.
- Microwave: While perhaps not yielding the exact texture of steaming, the microwave is undeniably the quickest and easiest method, especially for a single serving. Place 1-3 tamales on a microwave-safe plate, cover them with a damp paper towel (this helps retain moisture), and microwave for about 1-2 minutes, or until warmed through. Adjust heating time for frozen tamales.
Print Recipe
How To Make Tamales: The Ultimate Guide
Prep Time: 90 minutes
Cook Time: 30 minutes
Total Time: 2 hours
Yield: Approximately 32-36 tamales 1x
Description
Learn to craft perfect tamales with this easy-to-follow recipe and detailed step-by-step tutorial. Our tamales are effortlessly customizable with various filling options like chicken, beef, pork, and vegetarian choices, all prepared without lard or shortening for a lighter, yet equally delicious, result. They’re also ideal for freezing, making meal prep a breeze. Refer to the blog post above for an abundance of filling ideas and recipes to inspire your culinary creations.
Ingredients
Scale
- 1 large package of dried corn husks (approx. 8 oz)
- 6 cups masa harina (such as Maseca brand)
- 2 teaspoons Kosher salt
- 2 teaspoons ground cumin
- 1 teaspoon baking powder
- 6 cups chicken, beef, or vegetable stock (warm)
- 3/4 cup corn oil (or avocado oil, light olive oil, or any mild-flavored vegetable oil)
- 2–3 cups prepared filling (see detailed ideas and recipes in the blog post above)
- 1 cup salsa or desired sauce (see ideas in the blog post above)
Instructions
- Soak the Corn Husks: Place all dried corn husks into a large stockpot or spacious pan. Cover them completely with very warm water. To keep them submerged, you may need to place a heavy plate on top. Allow them to soak for at least 30 minutes, or until they become soft and pliable, which is essential for easy handling.
- Mix the Masa Dough: While the husks are soaking, prepare your masa. In the bowl of a large stand mixer fitted with the paddle attachment, combine the masa harina, Kosher salt, ground cumin, and baking powder. Whisk these dry ingredients briefly to ensure they are well-combined. Add the corn oil (or your chosen mild-flavored oil) and begin mixing on low speed until it’s incorporated. Gradually pour in the warm stock, continuing to beat on low speed until a consistent dough forms. Once all the stock is incorporated, increase the mixer speed to medium-high and beat for a full 10 minutes. This whipping process is crucial for achieving a light and fluffy masa. Scrape down the sides of the bowl occasionally to ensure even mixing. Once fluffy, cover the mixing bowl with a damp paper towel to prevent drying and refrigerate until you are ready to assemble the tamales.
- Prepare Your Filling: In a separate bowl, combine your chosen cooked filling ingredients with your preferred salsa or sauce. Toss everything together until the filling is evenly coated and flavorful. The goal is to have enough sauce to moisten and flavor the filling without making it excessively juicy or watery, which could impact the tamale’s consistency.
- Assemble the Tamales: Creating an assembly line with your soaked corn husks, masa, and filling will streamline this process. Follow these detailed steps for successful tamale assembly (visual references are provided in the blog post above):
- Lay a Soaked Corn Husk: Choose one softened corn husk and lay it flat on a clean surface, such as a plate or cutting board, with the wider end positioned towards you.
- Spread the Masa: Using a large cookie scoop for consistent portions, measure out about 1/4 cup (or a bit more, depending on husk size) of the prepared masa. Use the back of a spoon or your fingers to spread the masa evenly into a thin, roughly rectangular layer on the wider end of the corn husk, leaving a small border around the edges. It should be large enough to enclose your filling. Keeping a small bowl of water nearby for dipping your fingers will prevent the masa from sticking.
- Add the Filling: Place a small amount of your prepared filling—typically just one to two tablespoons—in the center of the masa layer. Tamales are meant to have a masa-to-filling ratio that emphasizes the dough.
- Fold the Corn Husk Vertically: Carefully fold one long side of the corn husk over the filling and masa, bringing it to meet the other side. Gently press the masa to ensure it fully encloses the filling and adheres to itself.
- Wrap into a Burrito Shape: Continue rolling or folding the corn husk completely over to one side, creating a compact, cylinder-like shape, similar to a small burrito.
- Fold Down the Skinny End: Take the narrower, top end of the corn husk and fold it down firmly to seal one end of the tamal. This creates a neat packet, with one end sealed by the fold and the other end left open. (I prefer to fold the side with the seam to keep it secure.)
- Tie the Tamale: To prevent the tamales from unraveling during steaming, tear a few of the thinner corn husks into long, skinny strips. Use these strips to tie a knot around each tamal, securing the folded end. Alternatively, kitchen twine can be used.
- Steam the Tamales: Choose your steaming method. Add the specified amount of water (2 cups for stovetop, 1 cup for Instant Pot) to the bottom of your stockpot steamer or Instant Pot. Place a steamer basket inside, then carefully arrange your assembled tamales vertically (open ends up) in the basket. Steam until the tamales are hot, thoroughly cooked, and the masa separates easily from the corn husks. This typically takes about 30-40 minutes on the stovetop over medium heat, or 20 minutes on high pressure with a quick release in the Instant Pot.
- Serve and Store Tamales: Remove the tamales from the steamer and serve them immediately for the best fresh experience. For storing, allow them to cool completely. Then, refrigerate in a tightly-sealed ziplock bag or airtight container for up to 3 days, or freeze for up to 3 months.
Equipment
Stockpot/Strainer Set
Buy Now →
Dried Corn Husks
Buy Now →
Masa Harina
Buy Now →
Notes
Filling Ideas: For an extensive array of detailed filling ideas and recipes, please refer to the dedicated section in the blog post above. Popular choices often include succulent chicken, savory beef, tender pork, various cheeses, hearty beans, and/or a medley of fresh vegetables.
Sauce Ideas: Your selected filling recipe might already contain a rich sauce. However, if you wish to add extra moisture and flavor, I highly recommend incorporating one of these sauces: vibrant red salsa (whether homemade for ultimate freshness or a convenient store-bought option), tangy green salsa (salsa verde, also available homemade or store-bought), rich enchilada sauce (this enchilada sauce recipe remains my absolute favorite), or a complex mole sauce.
Source: This recipe has been thoughtfully adapted from a traditional recipe found here, ensuring an authentic and delicious result.
This post may contain Amazon affiliate links, which means I may earn a small commission if you make a purchase through them, at no extra cost to you.