
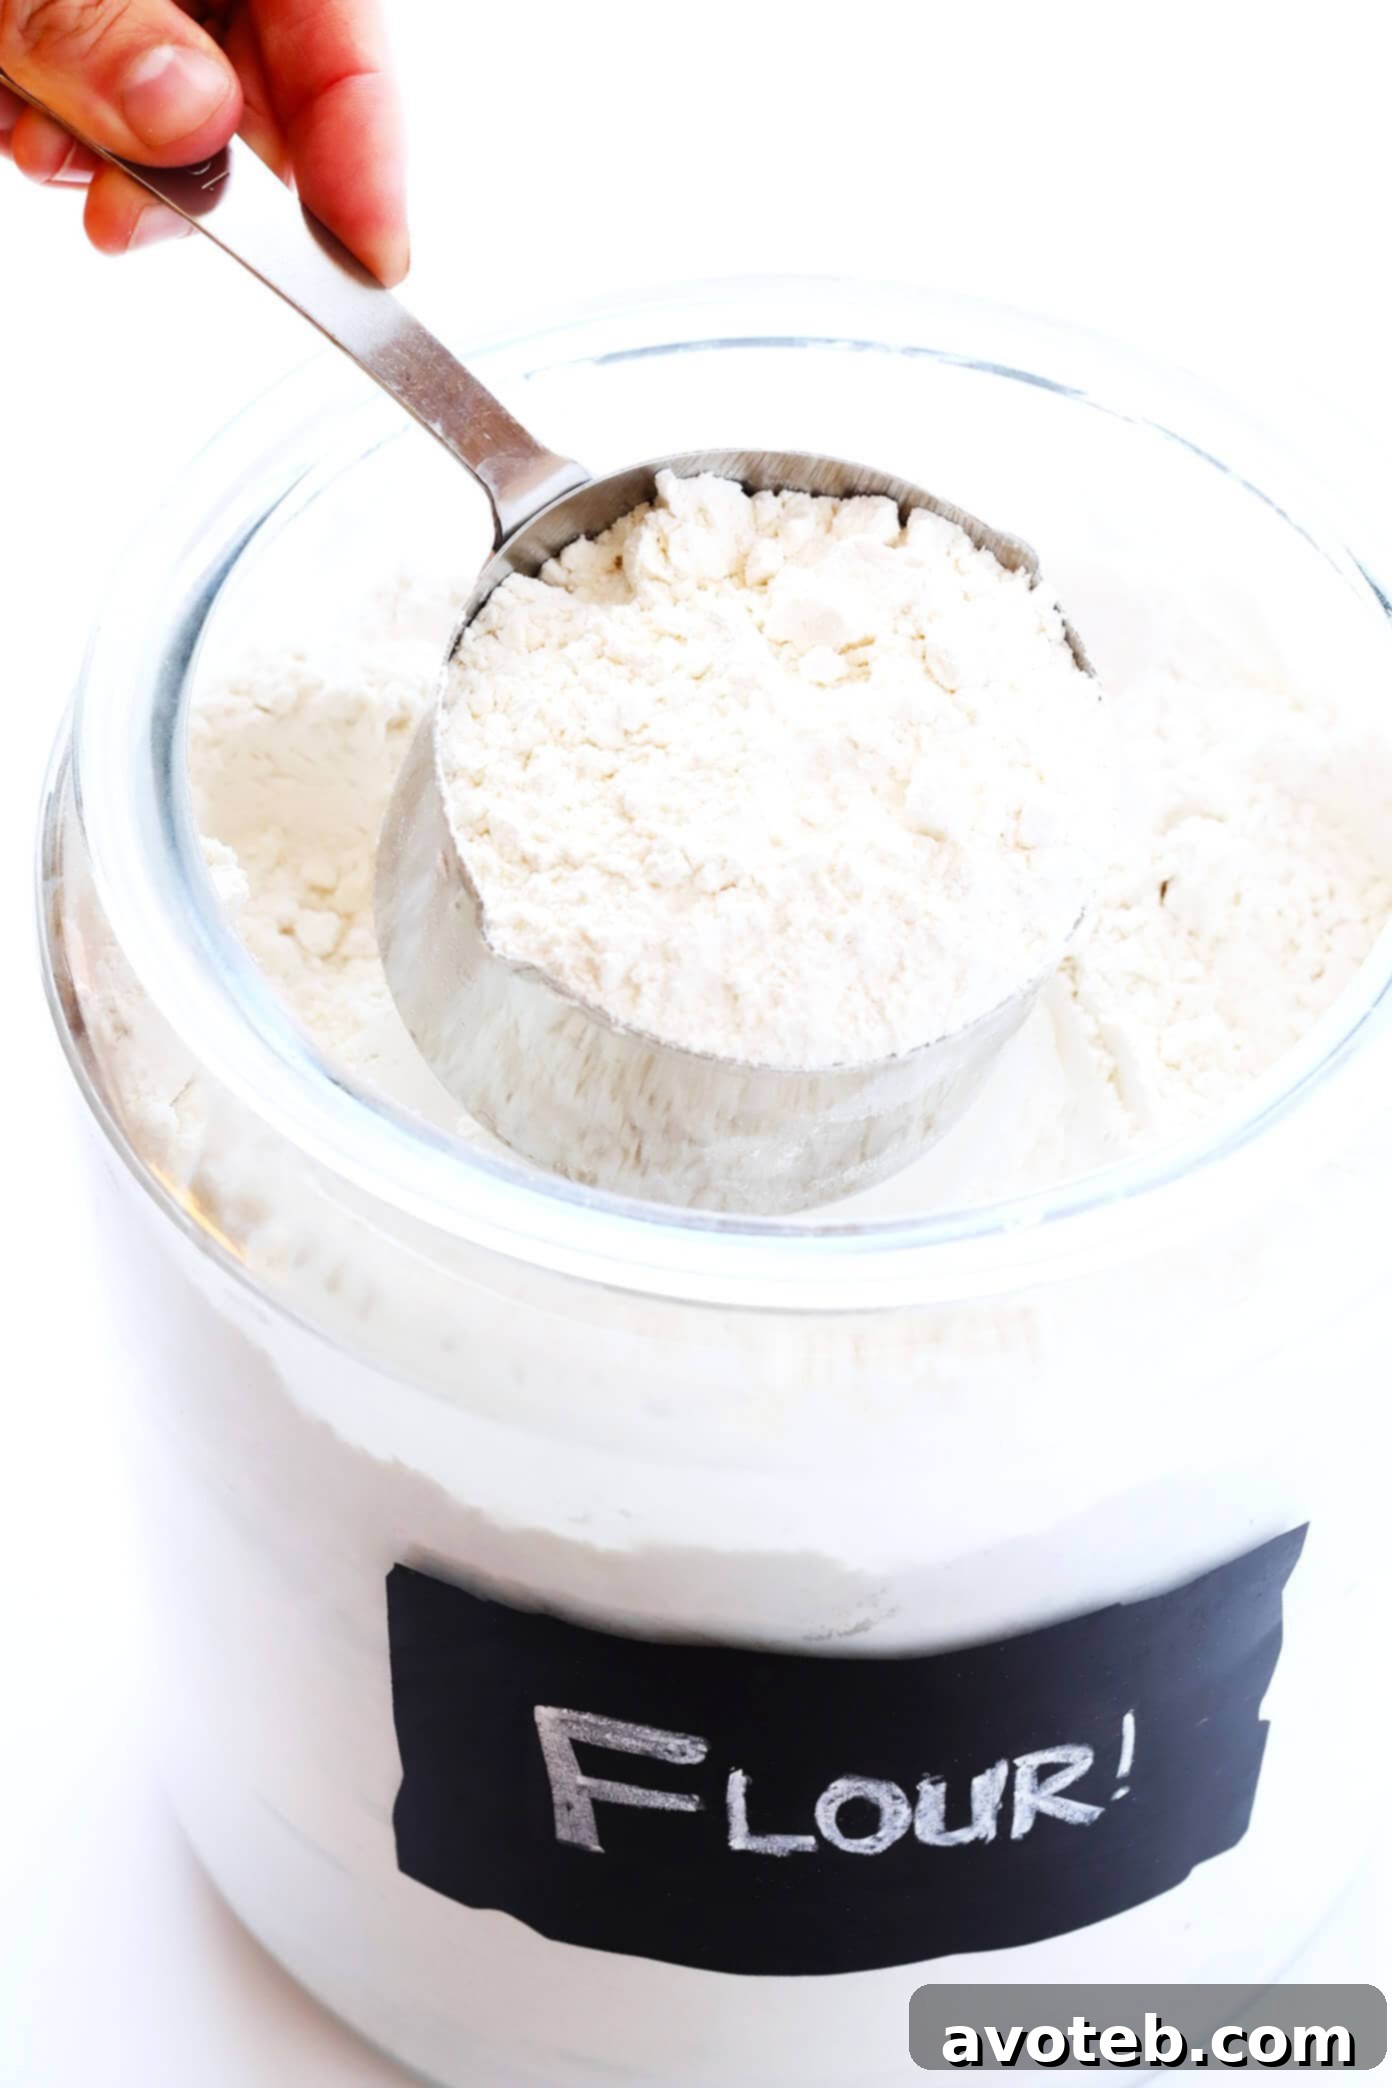
Mastering Flour Measurement: Your Essential Guide to Perfect Baking Results
Welcome to a crucial lesson that can elevate your baking from hit-or-miss to consistently spectacular! While it might seem like a simple task, learning how to accurately measure flour is one of the most fundamental skills every baker needs to master. Get it right, and your cakes will be light, your cookies chewy, and your bread perfectly textured. Get it wrong, and you could end up with dense, dry, or crumbly disappointments.
Today, we’re diving deep into the art and science of flour measurement, revealing both common pitfalls and foolproof techniques. This isn’t just about following a recipe; it’s about understanding the subtle nuances that make all the difference, especially during the busy holiday baking season or when tackling a new, intricate recipe. Even a small error can significantly impact the final texture and flavor of your creations.
Why Accurate Flour Measurement Is the Secret to Baking Success
Imagine baking a cake that turns out heavy and dry, or cookies that spread too much and become flat. Often, the culprit isn’t a faulty oven or an old recipe, but simply too much or too little flour. Flour is a foundational ingredient, providing structure and texture to almost every baked good. Its exact quantity is critical for the delicate balance of fats, liquids, and leavening agents. Every recipe is carefully calibrated, and even minor deviations in flour quantity can throw this delicate chemistry out of whack.
The Problem with Volume Measurement (And Why It Matters)
In many parts of the world, particularly in the United States, flour is traditionally measured by volume using standard measuring cups. While convenient, this method is inherently prone to inaccuracies. The density of flour can vary significantly depending on how it’s stored, how much it’s been compacted, and even the ambient humidity. Scooping flour directly from the bag, as many home bakers instinctively do, can inadvertently pack a surprising amount of extra flour into your cup – sometimes as much as 30% more than what the recipe truly calls for! This hidden excess flour often goes unnoticed because it “looks” correct in the cup.
This excess flour introduces too much dry ingredient into your batter or dough, leading to a cascade of undesirable outcomes:
- Dry and Dense Baked Goods: More flour means less moisture and more dry matter, resulting in a product that feels heavy, lacks tenderness, and often has a crumbly texture.
- Tough Textures: Especially in breads, cakes, and pastries, extra flour can lead to overdeveloped gluten, creating a chewy, rubbery, or tough texture rather than the desired lightness.
- Lack of Spread: Cookies might not spread properly during baking, remaining thick and doughy instead of achieving that perfect crisp-chewy balance. This can also lead to undercooked centers.
- Altered Leavening: The balance between flour and leavening agents (baking soda, baking powder, or yeast) can be disrupted. Too much flour can inhibit proper rise, leading to flat cakes or dense bread.
- Flavor Imbalance: An overabundance of flour can mute other flavors in your recipe, making the final product taste bland or floury.
Conversely, too little flour can result in weak structures, overly wet batters, or baked goods that spread excessively, become greasy, or crumble apart. Understanding this fundamental concept is the first step towards consistent baking excellence.
How To Measure Flour Correctly | Visual Guide
To help you visualize these crucial techniques, we’ve included a concise video demonstration. Watch carefully as we show you both the incorrect and correct ways to measure flour by volume, and understand the impact each method has on the final quantity.
The “Don’ts” of Measuring Flour by Volume
Before we dive into the correct method, let’s address the common mistakes that lead to inaccurate measurements. Avoiding these habits is just as important as adopting the right ones, as they are often the root cause of baking mishaps.
- Don’t Scoop Directly from the Container: Plunging your measuring cup straight into the bag or canister compresses the flour significantly. This action packs far more flour into the cup than intended, leading to a much heavier measurement. It’s the primary reason for dense, dry baked goods and is perhaps the most common error in home baking.
- Don’t Tap or Shake the Measuring Cup: After scooping, some people instinctively tap the cup on the counter, shake it, or even swirl it around to settle the flour and level it out. This action, however, further compacts the flour, increasing its density and leading to an over-measurement. The goal is a light, airy volume, not a compressed one.
- Don’t Pack the Flour Down: Similar to tapping, intentionally pressing the flour down into the cup with a spoon or your hand compacts it unnecessarily. Flour, especially all-purpose flour, needs to be light and aerated for accurate volume measurement. Packing it down negates the very purpose of measuring by volume.
All of these actions contribute to a denser, heavier flour measurement, which can significantly alter the balance of your recipes and compromise the final texture, structure, and overall quality of your baked goods.
The “Dos” of Measuring Flour by Volume (Spoon and Level Method)
This technique, often referred to as the “spoon and level” method, is the gold standard for measuring flour by volume and ensures the most accurate results possible without a scale. It’s simple, quick, and makes a world of difference in the consistency of your baking.
- Fluff the Flour: Before you even think about your measuring cup, take a spoon, whisk, or fork and gently aerate the flour directly in its container. Stir it around to loosen any compacted flour from storage. This step is crucial because flour naturally settles and becomes dense over time, especially if stored for a while. Fluffing brings it back to a lighter, more consistent state, making volume measurement more reliable. Don’t skip this step!
- Spoon the Flour Gently into Your Measuring Cup: Instead of scooping directly, use a separate spoon (a large tablespoon or a serving spoon works well) to lightly spoon the fluffed flour into your dry measuring cup. Overfill the cup slightly, creating a small mound on top. Be careful not to pack it down, shake it, or tap the cup against the counter. The goal is to keep the flour as light and airy as possible, mimicking the volume intended by the recipe developer.
- Level the Flour with a Straight Edge: Once the cup is gently overfilled, take a straight edge – the flat back of a butter knife, a metal spatula, or a dedicated leveling tool – and gently sweep it across the top of the measuring cup. This removes the excess flour, leaving you with a perfectly level, accurate measurement. Avoid pressing down on the flour as you level; just let the straight edge do its job of removing the mound of excess.
By following these three simple steps, you ensure that the flour in your measuring cup is consistently light and fluffy, mimicking the density that recipe developers intend when they specify a volume measurement. This method significantly reduces the margin of error compared to direct scooping and is the best practice for bakers using volume measurements.
The Ultimate Accuracy: Measuring Flour by Weight
While the spoon and level method is excellent for volume measurement, the absolute best way to ensure unparalleled accuracy in baking is to measure your flour (and indeed, most ingredients) by weight using a kitchen scale. This is the preferred method for professional bakers globally and is becoming increasingly popular among home bakers for very compelling reasons.
Why Weight Measurement is Superior:
- Unmatched Precision: A gram of flour is always a gram of flour, regardless of how tightly it’s packed or the ambient humidity. This eliminates all the variables associated with volume measurement, ensuring you get the exact amount every single time.
- Exceptional Consistency: Achieve identical results batch after batch, recipe after recipe. Say goodbye to guesswork and inconsistent textures, making your baking truly predictable.
- Ease and Speed: Once you get the hang of it, weighing ingredients is often faster and less messy than using multiple measuring cups and spoons. Simply place your bowl on the scale, tare it to zero, and add your ingredient until you reach the desired weight.
- Universal Recipes: Many international recipes (and a growing number of modern US recipes) provide measurements by weight. A kitchen scale makes these recipes accessible and ensures you follow them with precision, expanding your culinary horizons.
- Less Cleanup: Often, you can measure multiple dry ingredients into the same bowl, taring the scale between each addition, which significantly reduces the number of dirty dishes.
Using a Kitchen Scale for Flour:
- Place Your Empty Bowl on the Scale: Ensure your digital kitchen scale is on a flat, stable surface. Turn it on and place the bowl you’ll be mixing ingredients in directly onto the scale.
- Tare (Zero Out) the Scale: Press the “tare” or “zero” button. This will reset the scale to zero, effectively subtracting the weight of your bowl, so only the weight of the ingredients is measured.
- Add Flour Until Desired Weight: Gently spoon (or carefully pour, if you’re precise) flour into the bowl until the scale displays the exact weight specified in your recipe. With weight measurement, you don’t even need to fluff the flour beforehand, as the scale accurately measures its mass regardless of density.
- Re-tare for Next Ingredient: For subsequent dry ingredients, simply press “tare” again to zero out the scale and add the next ingredient to the same bowl, reducing cleanup and streamlining your baking process!
A reliable digital kitchen scale is an invaluable investment for any serious baker. You can find excellent models for around $20 (or even less!), and they are incredibly durable and easy to use. For years, I’ve kept a handy kitchen scale near my pantry, and it’s my go-to for measuring flour, especially for baking recipes where precision is paramount. It takes literally seconds to measure out a cup’s worth of flour by weight, and it significantly enhances the accuracy and success rate of my recipes, making baking a more joyful and less stressful experience.
Flour Weight Equivalents for Your Reference:
While weighing is ideal, many recipes still call for cup measurements. Use these approximate conversions if you need to translate a volume measurement to weight for greater accuracy with your scale (these are standard, spoon-and-leveled cup measurements):
- 1 cup All-Purpose Flour = 4.25 ounces (approx. 120 grams)
- 1 cup Whole Wheat Flour = 4 ounces (approx. 113 grams)
- 1 cup White Whole Wheat Flour = 4 ounces (approx. 113 grams)
- 1 cup Bread Flour = 4.25 ounces (approx. 120 grams)
- 1 cup Self-Rising Flour = 4 ounces (approx. 113 grams)
- 1 cup Cake Flour = 3.5 ounces (approx. 100 grams)
- 1 cup Pastry Flour = 3.75 ounces (approx. 106 grams)
- 1 cup Gluten-Free All-Purpose Blend = Varies significantly, always check specific brand recommendations, but often around 4.5-5 ounces (125-140 grams)
Please note that these are averages derived from properly spoon-and-leveled flour. The exact weight can vary slightly by brand, grind, and even environmental humidity. For critical recipes, always refer to the specific weight provided by the recipe developer if available, as this will yield the most accurate results.
Beyond Flour: General Tips for Baking Accuracy
While flour measurement is paramount, here are a few other quick tips to ensure your baking journey is always a sweet success and your kitchen efforts consistently pay off:
- Measure Other Dry Ingredients Correctly: The “spoon and level” principle applies to other finely milled dry ingredients like cocoa powder, confectioners’ (powdered) sugar, and cornstarch. However, brown sugar is an exception; it should be firmly packed into the measuring cup to ensure accurate volume.
- Measure Liquids at Eye Level: Use clear liquid measuring cups and place them on a flat, level surface. Bend down to eye level to ensure the liquid reaches the correct mark on the meniscus (the bottom of the curve of the liquid surface). Measuring liquids while holding the cup can lead to significant errors.
- Room Temperature Ingredients: Many recipes call for butter, eggs, or dairy at room temperature. This is not just a suggestion; it ensures ingredients emulsify properly, creating a smoother, more uniform batter or dough and a better final texture in the baked good. Cold ingredients can lead to clumpy batters and dense products.
- Read the Recipe Thoroughly: Before you even start, read the entire recipe from beginning to end, perhaps twice. This helps you understand the process, gather all necessary ingredients and equipment, anticipate steps, and avoid surprises mid-bake.
- Don’t Overmix: Especially with flour-based recipes, overmixing can develop gluten too much, leading to tough baked goods like chewy muffins or dense cakes. Mix only until ingredients are just combined, and the last streaks of flour disappear.
- Calibrate Your Oven: An inaccurate oven temperature can sabotage even the most perfectly measured ingredients. Consider getting an inexpensive oven thermometer to ensure your oven is heating to the temperature you set.
Transform Your Baking Today!
Taking a minute to learn and apply these flour measurement techniques can truly be a game-changer in your kitchen. Whether you stick diligently to the spoon and level method for volume measurements or embrace the unparalleled precision of a digital kitchen scale, you’re setting yourself up for consistent, delicious results every time you bake. No more guessing, no more unpredictable outcomes, and certainly no more baking disappointments – just perfect cakes, chewy cookies, and beautifully risen breads that taste like they came from a professional bakery.
Happy measuring, and even happier baking, everyone! May your holiday season (and all your seasons) be filled with perfectly baked delights that bring joy to you and yours.