
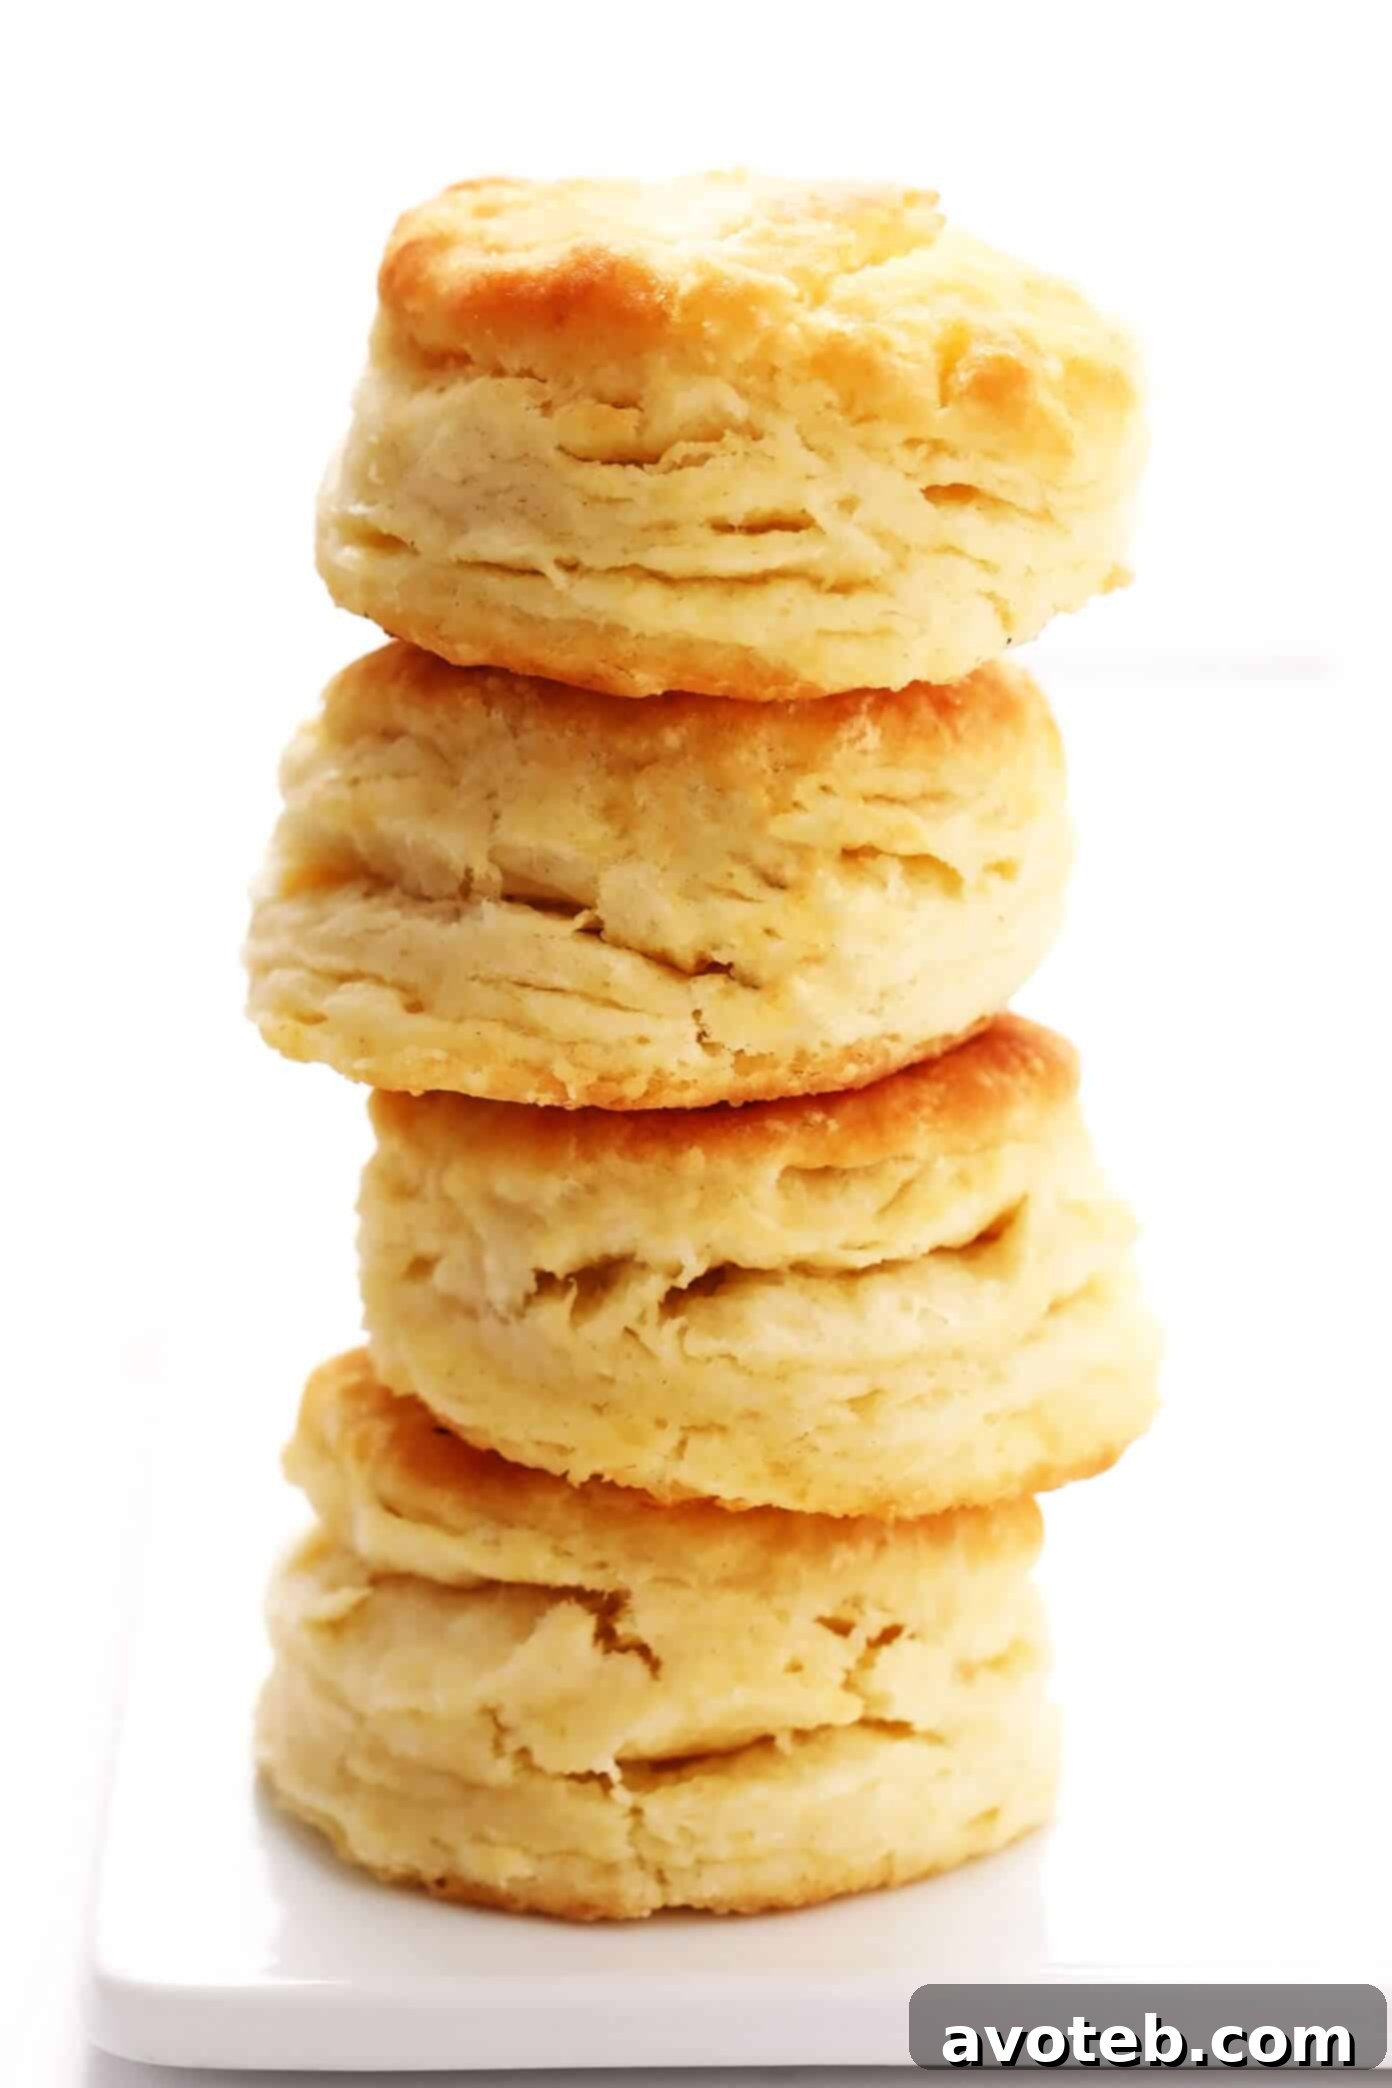
Discover the ultimate homemade buttermilk biscuit recipe — effortlessly made, achieving perfect softness, impressive height, delightful flakiness, and an unforgettable buttery flavor every single time.
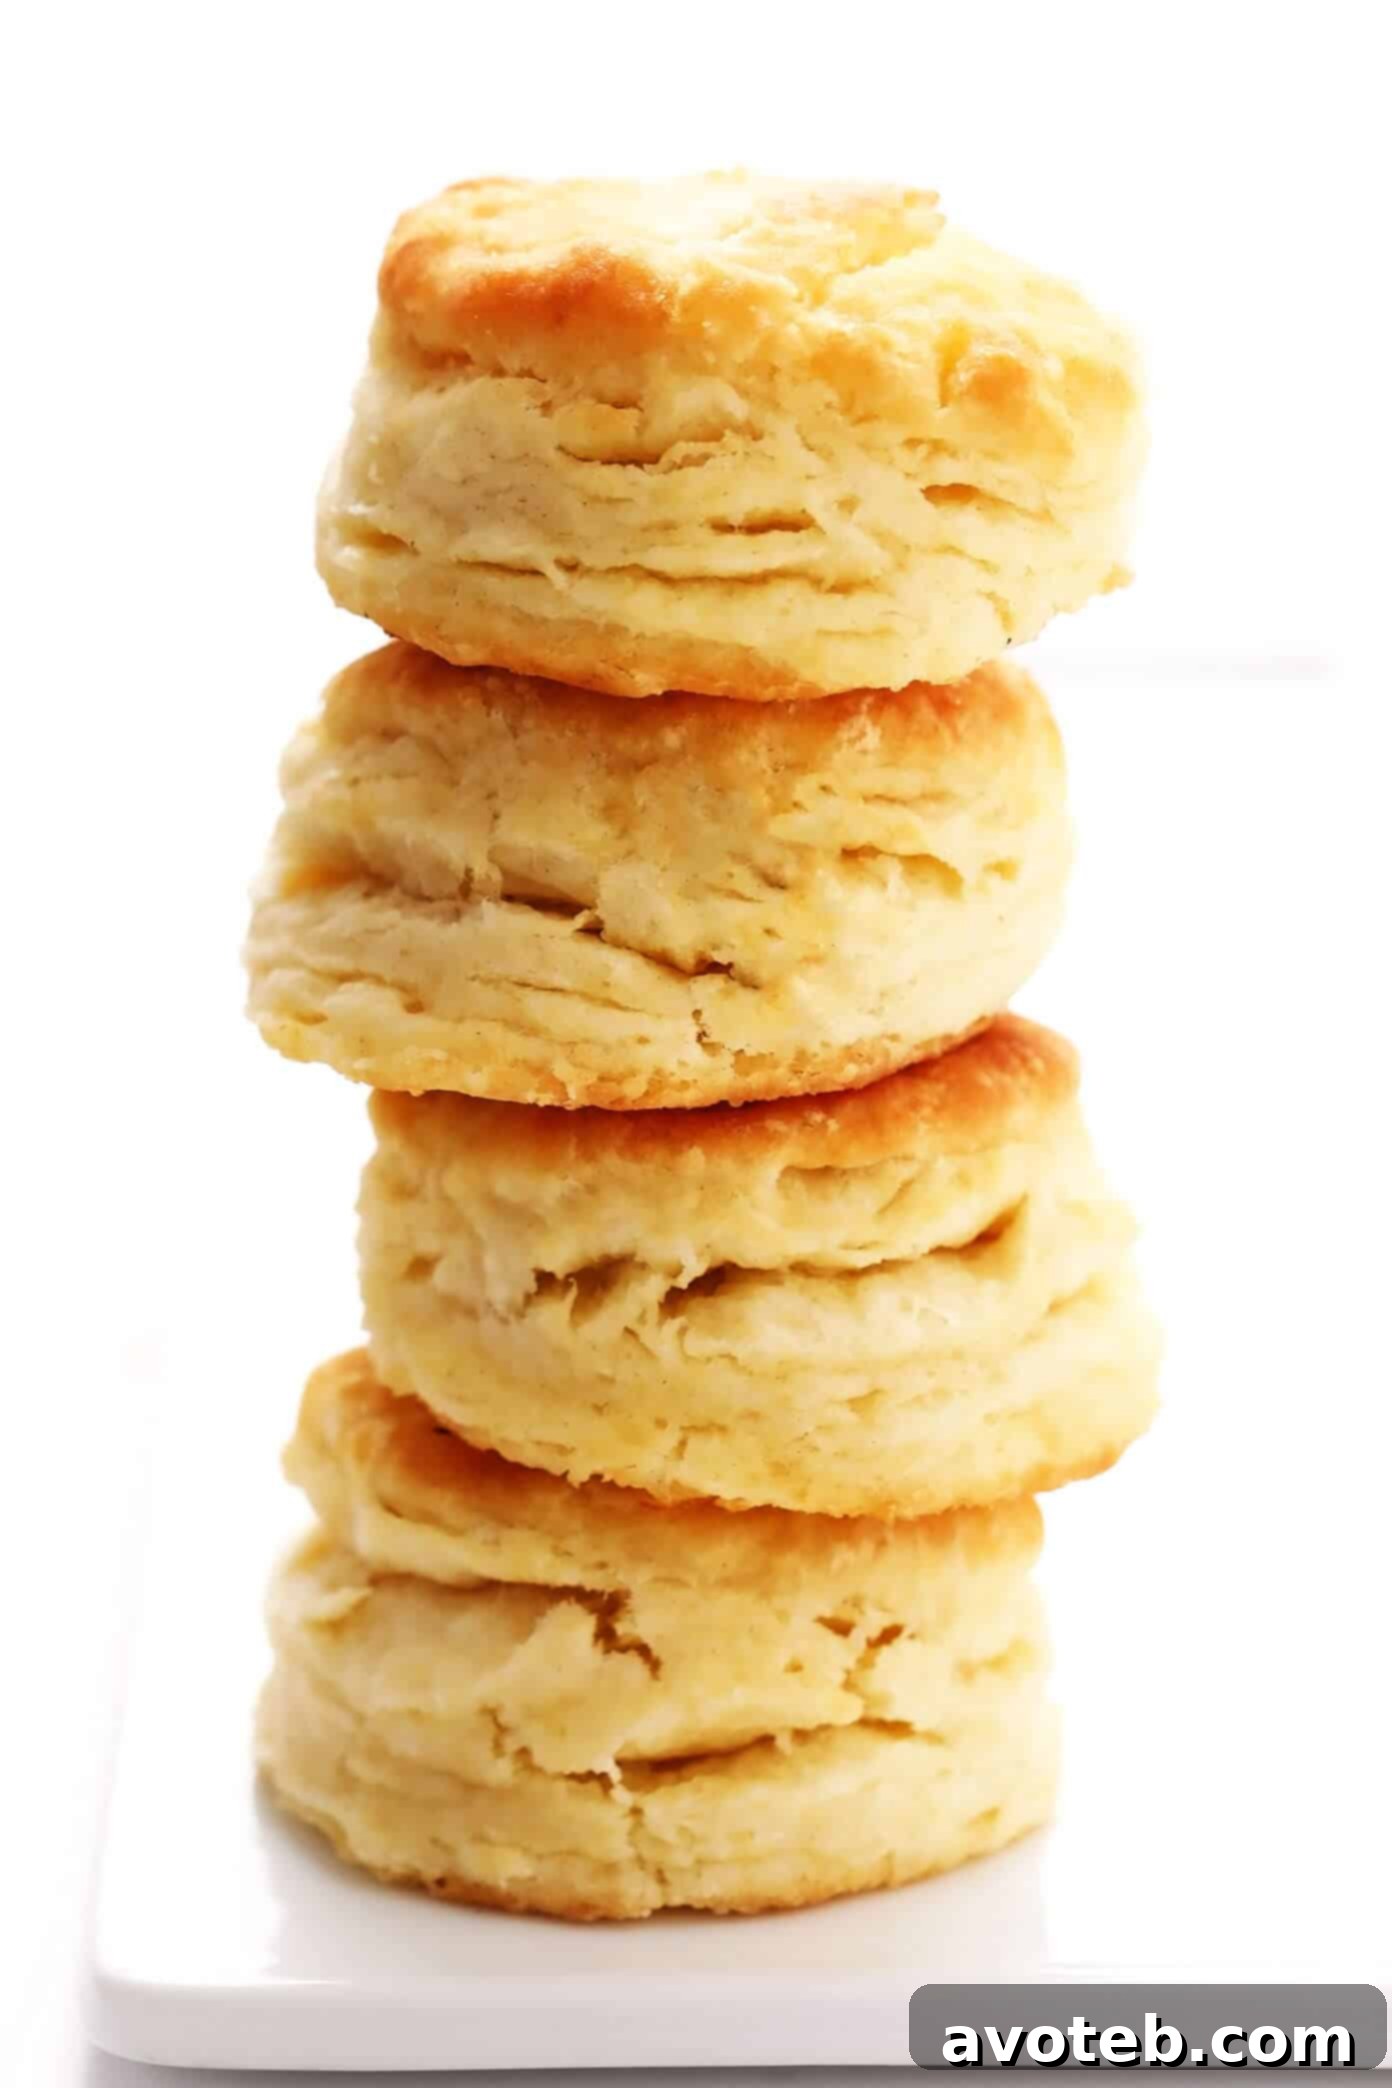
The Best Homemade Buttermilk Biscuits: A Recipe for Flaky, Buttery Perfection
There are some cravings that simply demand to be satisfied. A few weeks ago, while strolling past a KFC here in Barcelona, a powerful wave of nostalgia hit me. I suddenly found myself yearning for the crispy chicken fingers and, perhaps even more so, those iconic, melt-in-your-mouth buttermilk biscuits. It had been years since I last indulged in either, having moved abroad. With an impulsive surge of desire, I stepped inside, ready to place my order. Yet, after meticulously scanning the menu — not once, not twice, but repeatedly — a shocking realization dawned: gasp! Biscuits were conspicuously absent from the KFC menu in Spain!
My surprise quickly turned to shared disbelief when I mentioned this on Instagram. Dozens of you from various corners of the globe echoed my sentiment, confirming that international KFCs often omit biscuits from their offerings. It seems like a truly missed opportunity, KFC, as who wouldn’t adore those tender, buttery buttermilk biscuits? That day, it became clear: if I wanted to sate my biscuit craving, I had to take matters into my own hands. I picked up some buttermilk on the way home, pulled up the long-saved bookmark of my go-to recipe, and set about baking a fresh batch from scratch. The aroma filling my kitchen was intoxicating, and biting into that first warm, flaky biscuit, I was reminded just how utterly magical homemade buttermilk biscuits can be, straight from the oven.
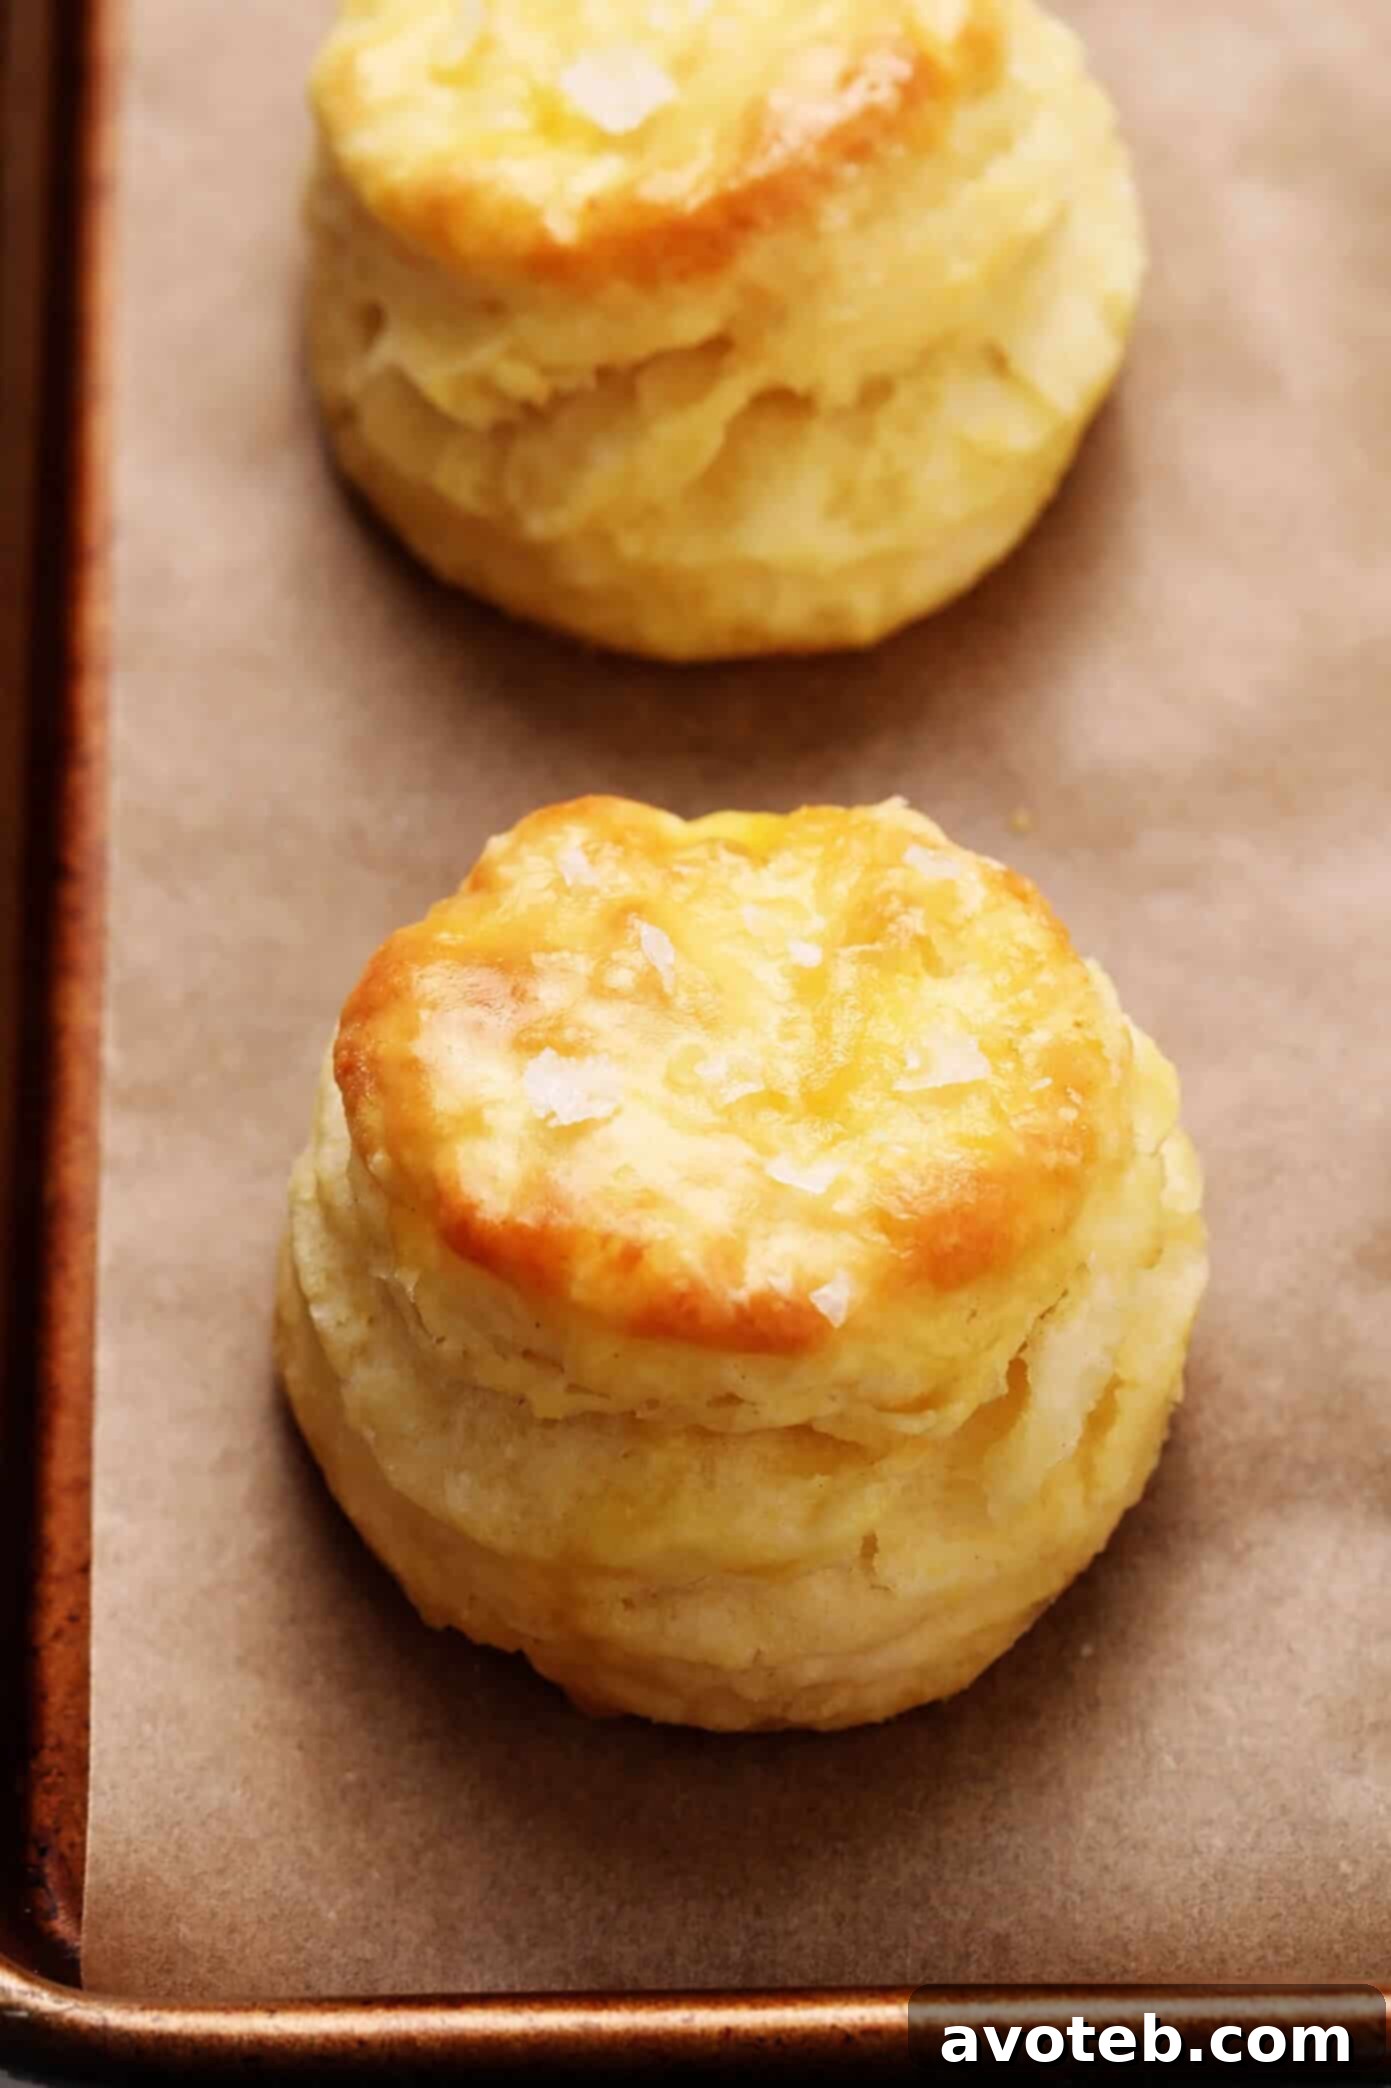
Truly, nothing compares to the simple joy and unparalleled taste of a perfectly made homemade biscuit. It’s more than just food; it’s comfort, tradition, and a testament to the warmth of home cooking. This particular recipe has become my absolute favorite over the years, not only because it yields consistently spectacular results but also because it is incredibly easy to make by hand. You’ll find that you likely already have all the basic ingredients in your pantry, and the entire process, from mixing to baking, takes just a little over half an hour. The exquisite combination of creamy, cold butter and tangy buttermilk creates an incredibly tender crumb and rich flavor. For an extra touch of indulgence, I highly recommend brushing the hot biscuits with a little extra melted butter and a sprinkle of flaky sea salt as soon as they come out of the oven. The simple, yet ingenious, folding technique used in this recipe is key to ensuring your biscuits rise beautifully tall and separate into countless flaky, airy layers when you break them open.
In essence, whenever a biscuit craving strikes, this recipe is my trusted companion. It’s wonderfully versatile, perfect for a classic breakfast alongside sausage gravy or with your favorite jam. It also makes an excellent side dish for lunch or dinner, adding a touch of rustic elegance to any meal. You can even use these delightful biscuits as a golden, flaky topping for savory dishes like chicken pot pie or your preferred casserole, elevating a simple meal to something truly special. This recipe is straightforward, classic, and unfailingly delicious. So, if you’re looking to add a reliable and beloved homemade biscuit recipe to your culinary repertoire, make sure to bookmark this one. Let’s bake a batch together and experience the simple pleasure of perfect homemade biscuits!
Essential Buttermilk Biscuit Ingredients: Crafting Perfection
Before we dive into the step-by-step recipe, let’s take a moment to understand the crucial role each ingredient plays in creating the best homemade buttermilk biscuits. Quality ingredients, prepared correctly, are the foundation of success.
- All-Purpose Flour: For classic buttermilk biscuits, I always recommend using standard all-purpose flour. Accuracy is vital in baking, so for the most consistent results, it’s best to weigh your flour rather than measuring by volume. This prevents a common pitfall of adding too much flour, which can lead to dense, dry biscuits instead of light, airy ones.
- Baking Powder and Baking Soda: These are the dynamic duo of leavening agents in our recipe. Baking powder provides an initial lift, while baking soda reacts with the acidity of the buttermilk, creating carbon dioxide bubbles that expand in the oven. This reaction is essential for giving these biscuits their signature extra-soft texture and impressive height. Without them, your biscuits would be flat and dense.
- Light Brown Sugar (Optional, but Recommended): I find that a subtle hint of sweetness elevates the overall flavor profile of these biscuits, adding a touch of warmth and complexity without making them overtly sweet. Light brown sugar is my preference for its slight molasses notes, but any granulated sugar or even a touch of honey would work beautifully. If you prefer a completely savory biscuit, feel free to omit the sweetener entirely.
- Salt: Salt is more than just a seasoning; it’s a flavor enhancer that balances the sweetness (if used) and brings out the richness of the butter and buttermilk. This recipe calls for fine sea salt within the dough. Additionally, for a gourmet touch, I highly recommend an optional sprinkle of flaky sea salt on top of the biscuits just after baking. If you only have iodized table salt, remember to use half the amount specified in the recipe, as it is finer and saltier by volume.
- Very Cold Butter: This is perhaps the most critical ingredient for achieving those coveted tall, flaky layers. The butter must be extremely cold. As the cold butter melts in the hot oven, it releases steam, which creates pockets of air that separate the layers of dough, resulting in a wonderfully flaky texture. Ensure your butter is thoroughly chilled in the refrigerator before dicing it into small cubes. For an even better outcome, if time allows, pop your diced butter into the freezer for 15-30 minutes before mixing it into the dry ingredients. This extra step truly makes a difference in flakiness.
- Cold Buttermilk: Just like the butter, your buttermilk should be thoroughly chilled. Buttermilk is crucial for two reasons: its acidity reacts with the baking soda to provide lift, and its unique composition contributes significantly to the biscuits’ tender texture. I highly recommend using full-fat buttermilk for the richest flavor and best mouthfeel. However, if full-fat isn’t available, low-fat buttermilk will work. In a pinch, you can create a homemade buttermilk substitute by mixing whole milk with a tablespoon of lemon juice or white vinegar and letting it sit for 5-10 minutes until it slightly curdles.
Recommended Equipment for Perfect Buttermilk Biscuits:
Having the right tools can make the biscuit-making process smoother and more enjoyable, ensuring professional-looking and tasting results.
- Pastry Cutter (or Two Forks): This tool is invaluable for efficiently cutting cold butter into dry ingredients without warming the butter with your hands. If you don’t have one, two forks can also do the job, though it may take a bit longer. For a super quick method, a food processor can pulse the butter into the dry ingredients in seconds.
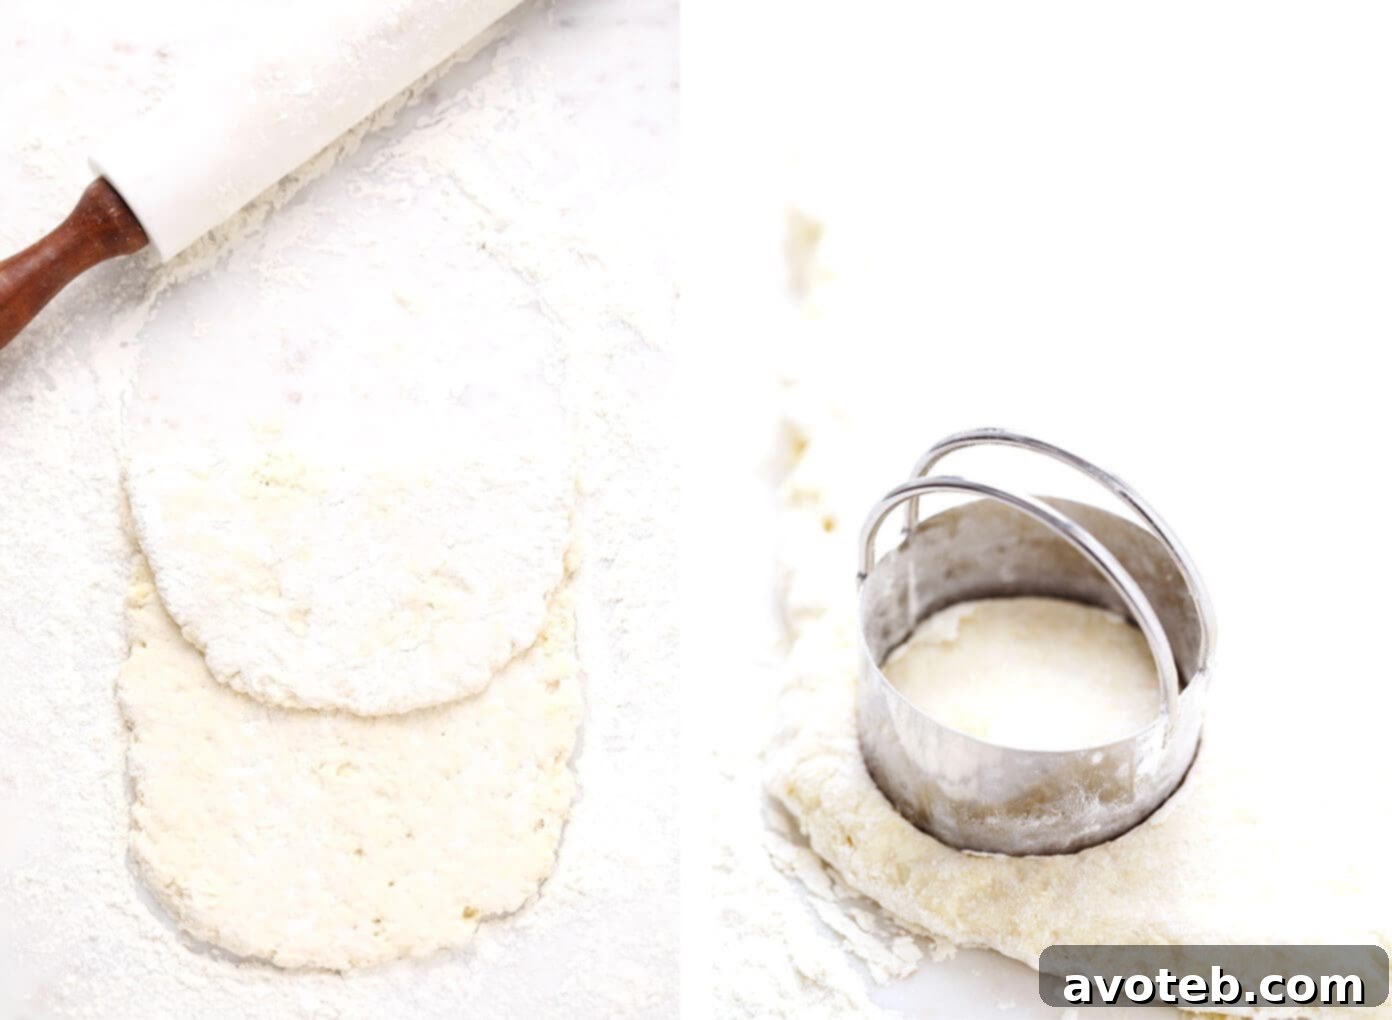
- Biscuit Cutter: A 2 to 2.5-inch round biscuit cutter is ideal for creating uniformly sized biscuits. Opt for one with a handle if possible, as it allows you to press straight down without twisting, which is crucial for achieving tall, flaky layers. If a biscuit cutter isn’t handy, you can simply roll the dough into a 9-inch rectangle and cut it into 9 even squares, which will taste just as delicious.
- Rolling Pin: Using a rolling pin to gently flatten and fold the dough helps maintain an even thickness and, importantly, keeps the dough chilled. Your warm hands can quickly melt the precious cold butter, so a rolling pin is preferred over patting the dough down by hand.
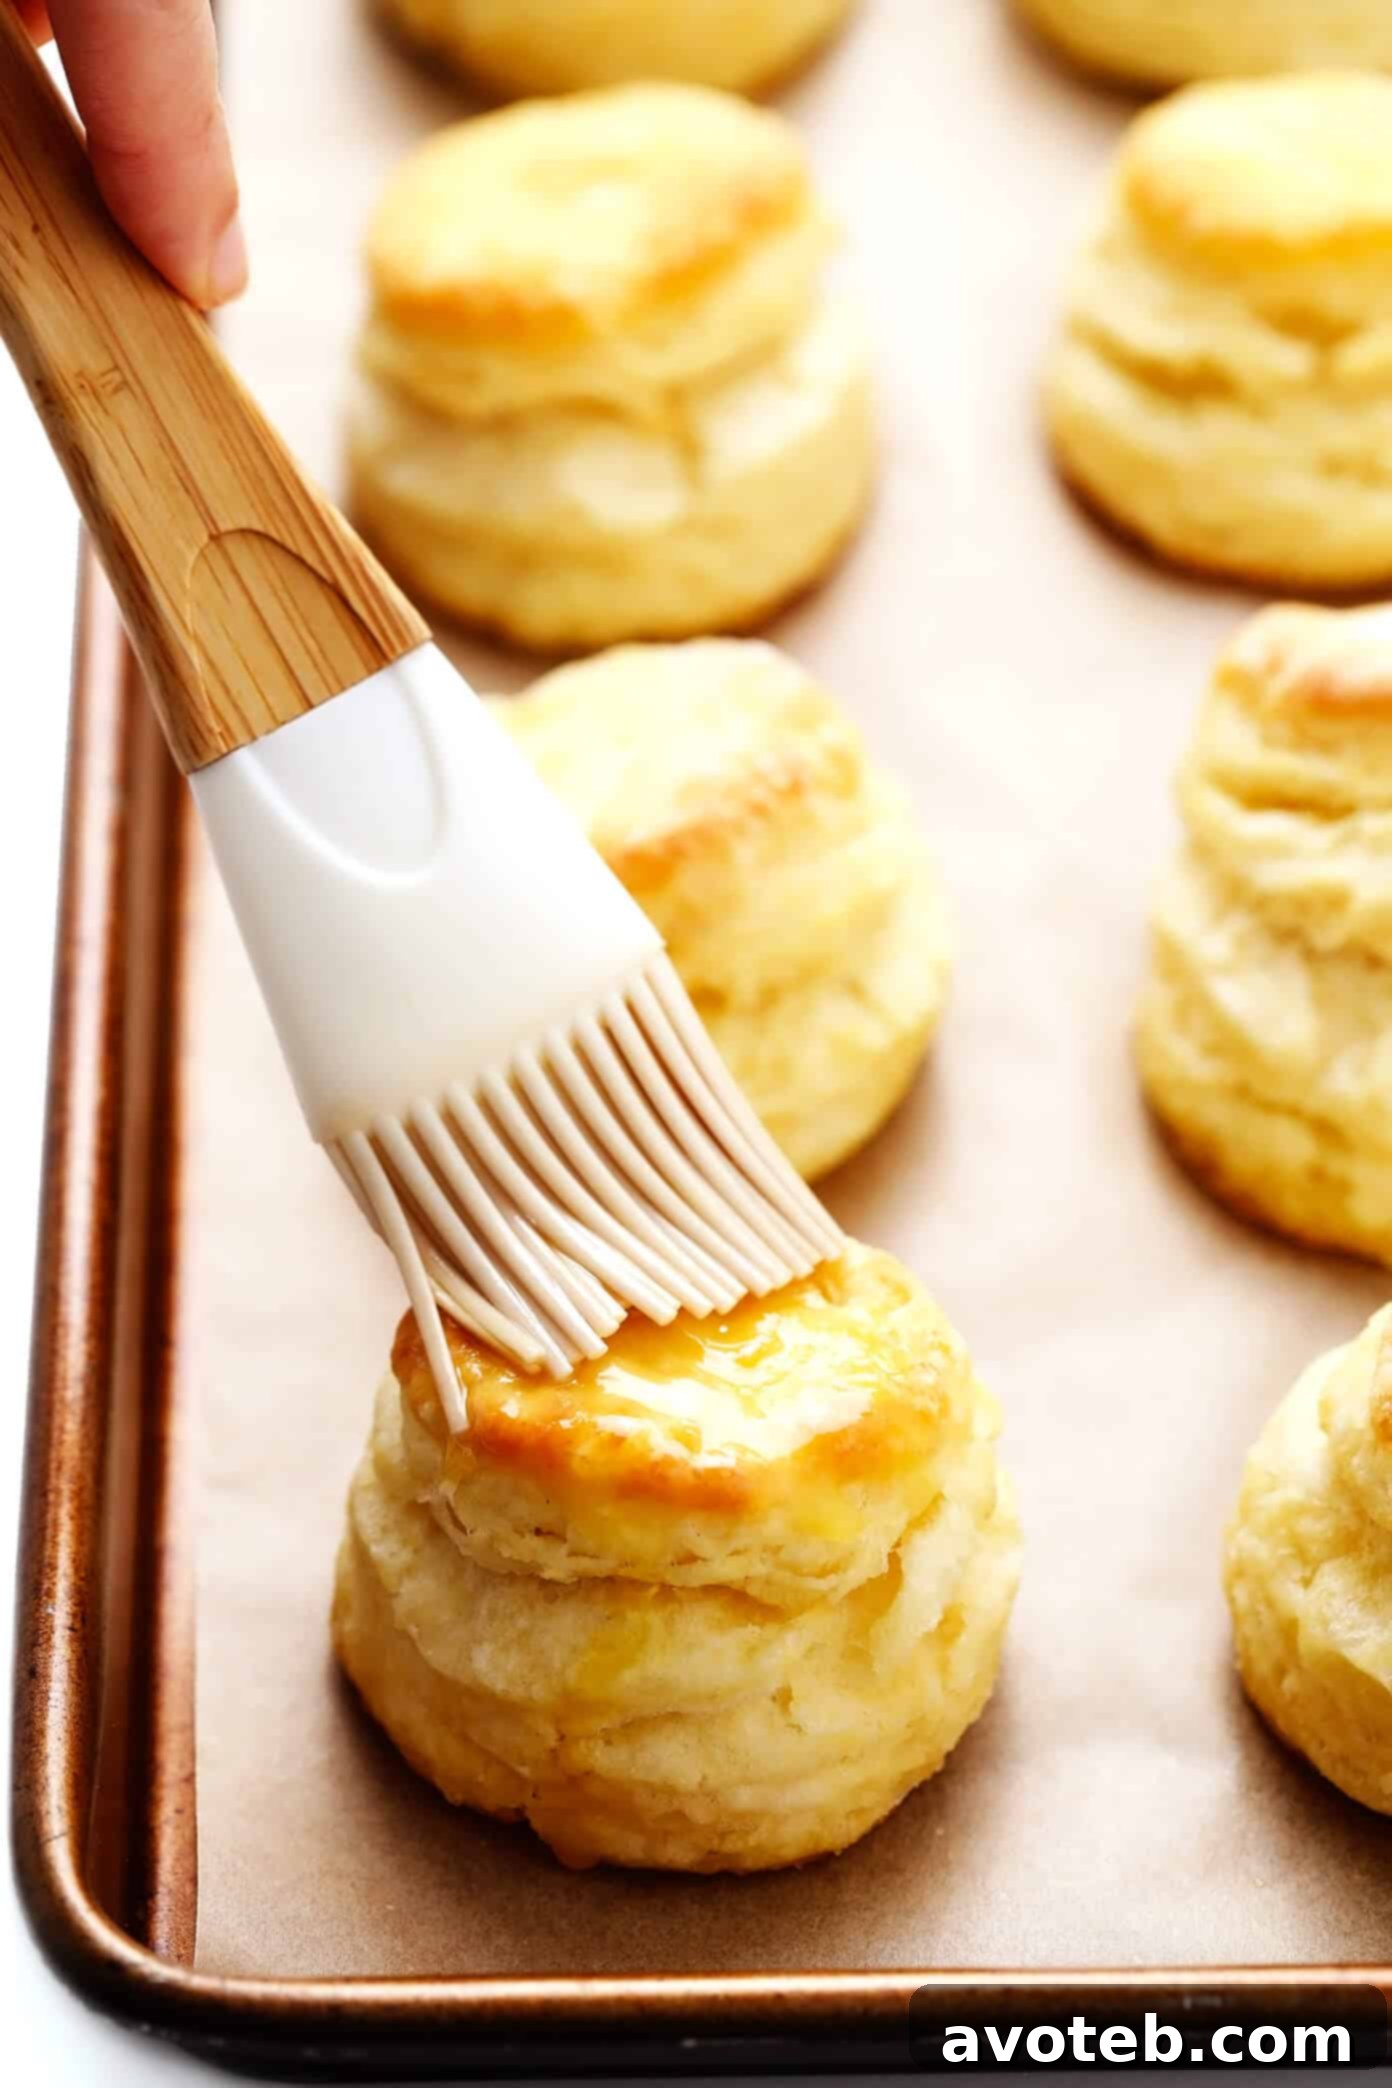
- Pastry Brush: Essential for applying that glorious melted butter to the tops of your biscuits as they emerge hot from the oven. It ensures an even coating, adding both flavor and a beautiful golden sheen.
7 Essential Tips for Making the Best Buttermilk Biscuits Every Time:
The detailed instructions for baking these perfect biscuits are outlined in the recipe below. However, to truly master the art of biscuit making and ensure your creations are consistently soft, wonderfully flaky, impressively tall, and utterly epic, please take a moment to absorb these crucial tips. These small details make all the difference! ♡
- Keep Your Ingredients Seriously Cold: This is arguably the most vital tip for achieving truly flaky biscuits. The goal is for the butter to remain as solid as possible until it hits the hot oven. When cold butter melts in the heat, it creates pockets of steam that push the layers of dough apart, resulting in that delightful flakiness. Therefore, ensure your butter and buttermilk are thoroughly chilled in the refrigerator, ideally until the very moment you add them to the recipe. For an even greater advantage, consider placing your diced butter in the freezer for 15-30 minutes before incorporating it. Once the butter is in, work quickly, and avoid over-handling the dough with your warm hands. After shaping the biscuits, a final chill in the fridge or freezer for 15 minutes before baking helps the butter firm back up, guaranteeing maximum lift and flakiness. This might seem particular, but the cold factor is a game-changer!
- Aim for Pea-Sized Butter Chunks: When cutting the cold butter into your dry ingredients, the ideal consistency is small, pea-sized chunks. These visible pieces of butter are what ultimately create those beautiful pockets of steam and separated layers during baking. Avoid over-mixing the butter until it’s fully incorporated or resembles sand; if the butter chunks are too small, your biscuits will likely be flatter and less flaky. A good visual guide is to see distinct bits of butter still present throughout the flour mixture.
- Be Gentle and Minimal with the Dough: Biscuit dough is not like bread dough; it doesn’t benefit from extensive kneading. Overworking the dough develops the gluten too much, leading to tough, chewy biscuits instead of tender, melt-in-your-mouth ones. When rolling, folding, and shaping, use a light touch. Avoid pressing down with excessive force with your rolling pin or handling the dough more than necessary. The less you work it, the more tender your biscuits will be.
- Avoid Over-Flouring Between Folds: While a light dusting of flour on your work surface and rolling pin is necessary to prevent sticking, be mindful not to add excessive amounts of extra flour during the folding and rolling process. Too much additional flour can dry out the dough, interfere with the delicate layering, and in some cases, cause the biscuit layers to separate excessively or even topple over in the oven. A light, almost imperceptible dusting is all you need to ensure smooth handling.
- Do Not Twist the Biscuit Cutter: This is a common mistake that can compromise the rise and flakiness of your biscuits. When cutting out your circles, press the biscuit cutter straight down firmly and lift it straight up. Twisting the cutter can “seal” the edges of the dough, preventing those delicate layers from separating and rising independently in the oven. A clean, straight cut allows the biscuits to expand freely.
- Embrace Square Biscuits (No Cutter, No Problem!): If you don’t own a round biscuit cutter, don’t let that stop you! You can easily achieve fantastic results by rolling the dough into a rough 9-inch square and then cutting it into 9 equally-sized (approximately 3-inch) square biscuits. This method is not only practical but also minimizes dough scraps, meaning less re-rolling and less chance of overworking the dough.
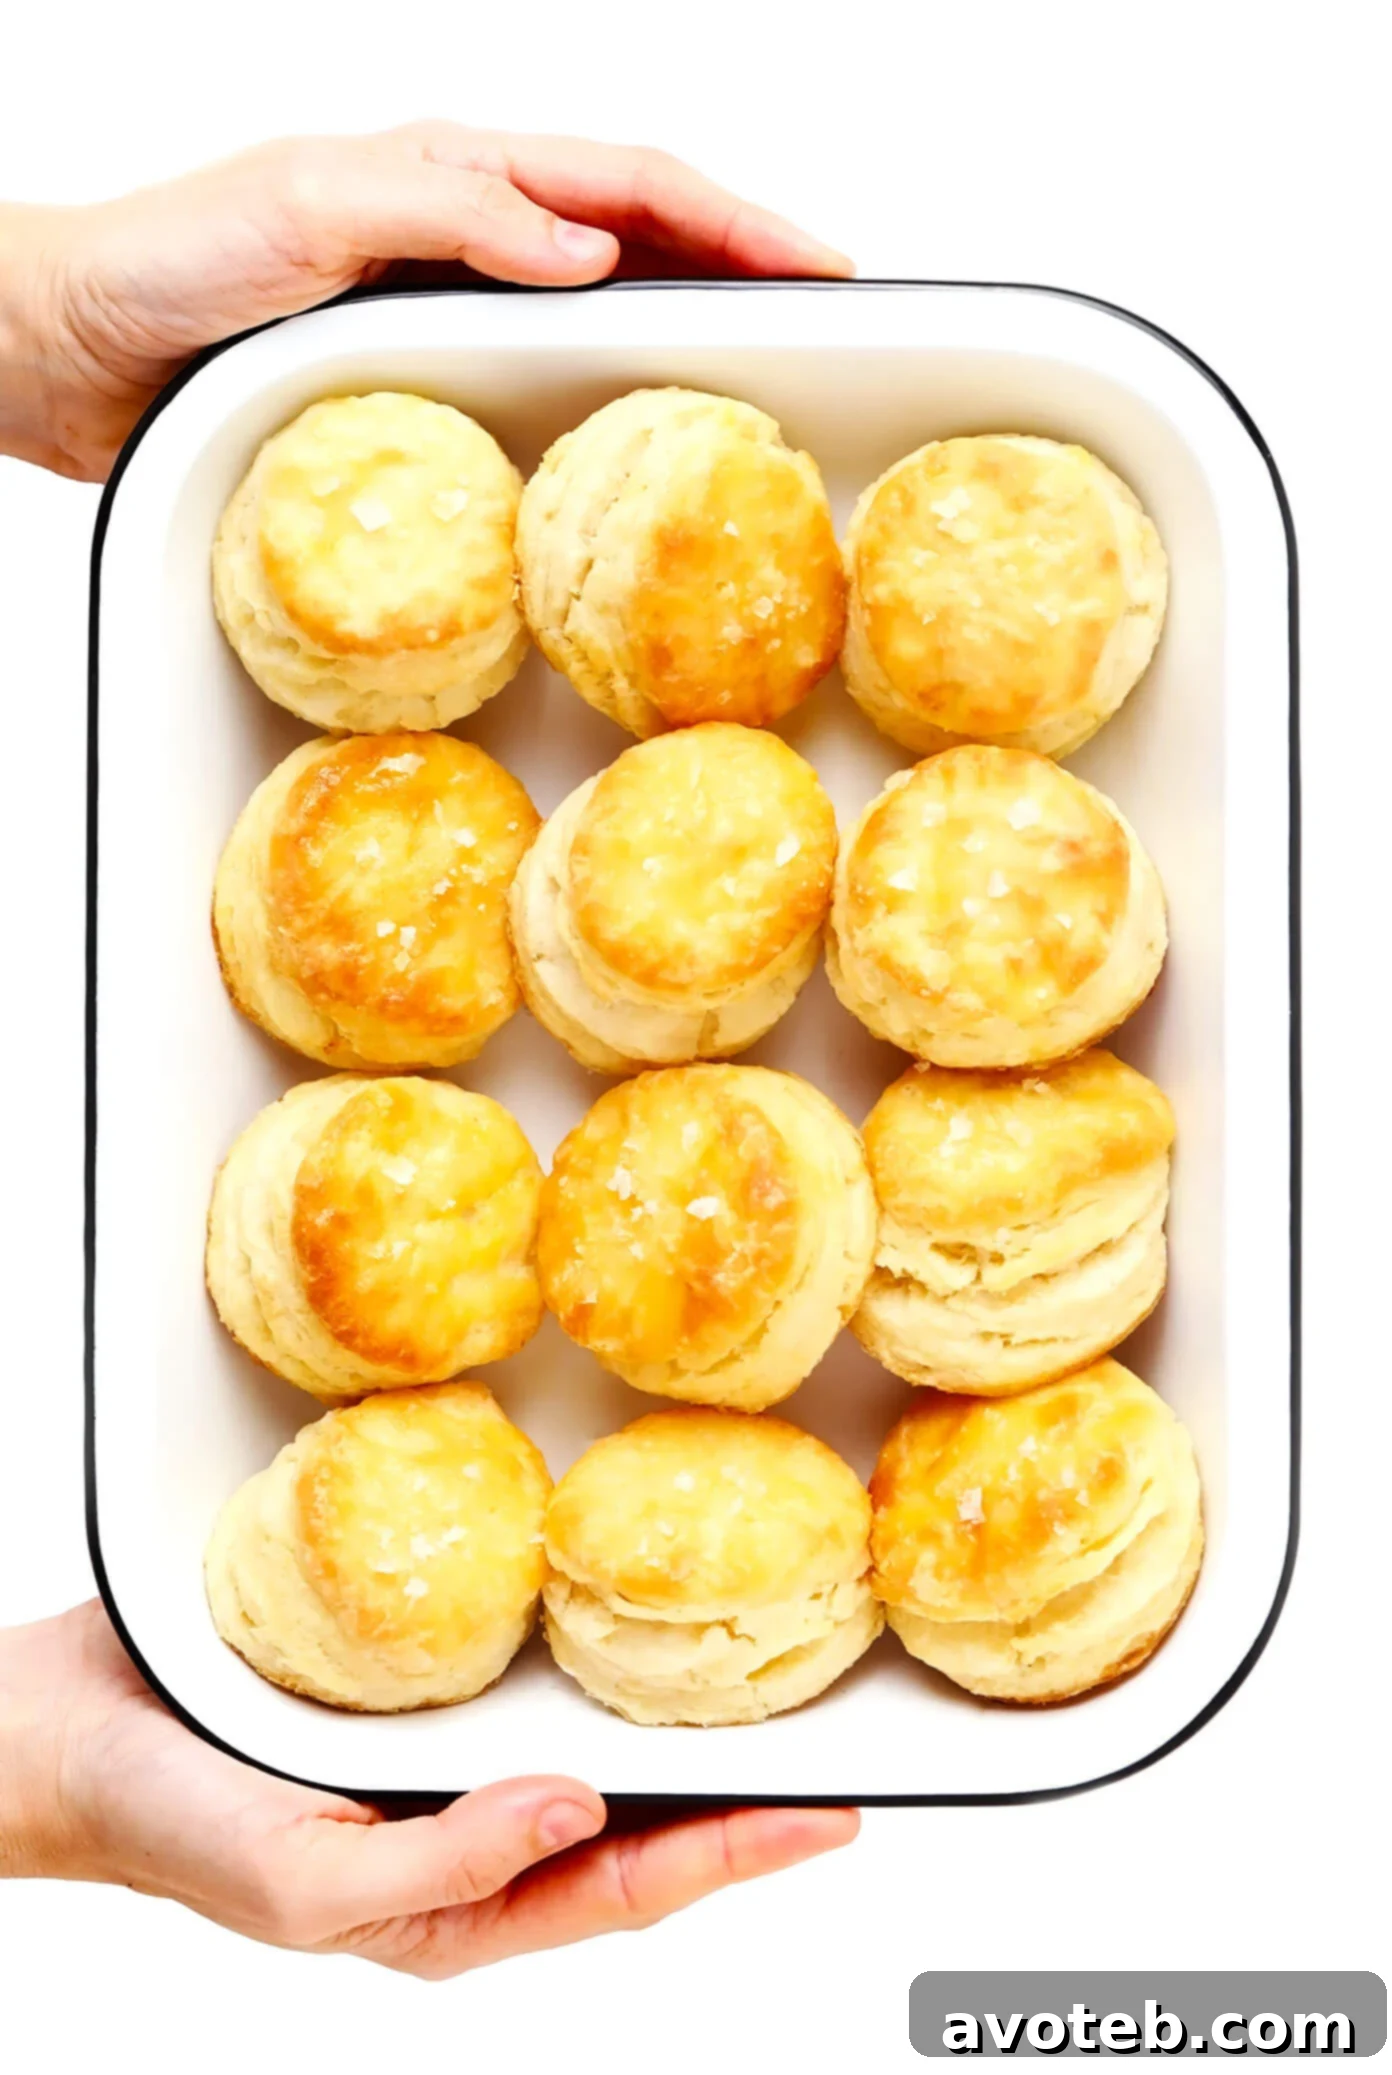
- Choose Your Desired Biscuit Sides: The way you arrange your biscuits on the baking sheet will influence their texture. If you prefer biscuits with beautifully crispy, golden-brown sides, arrange them evenly spaced apart on the baking sheet, allowing air to circulate around each one. However, if you crave taller biscuits with softer, tender sides, nestle them closely side-by-side so they are touching on the baking sheet. This proximity helps them rise higher and stay softer. Alternatively, you could bake them in a cast-iron pan or a pie plate for a similar effect.
More Essential Bread Recipes for Your Repertoire:
Once you’ve mastered these incredible buttermilk biscuits, you might find yourself eager to explore more classic bread recipes. Here are a few of my absolute favorites that are perfect for bookmarking and adding to your baking collection:
- 1-Hour Soft Buttery Dinner Rolls: Perfect for any meal, these rolls are surprisingly quick and yield a tender, fluffy result.
- No Knead Bread: A remarkably easy recipe that produces a rustic, crusty loaf with minimal effort, ideal for beginners.
- Honey Beer Bread: A unique and flavorful quick bread that’s moist, slightly sweet, and incredibly satisfying.
- Banana Bread: A timeless classic, this recipe is perfect for using up ripe bananas and makes a comforting treat.
- Pumpkin Bread: A seasonal favorite, this spiced bread is incredibly moist and fragrant, perfect for autumn baking.
Print Recipe
Homemade Buttermilk Biscuits
Rating: 4.7 from 31 reviews
- Author: Ali
- Prep Time: 30 mins
- Cook Time: 10 mins
- Total Time: 40 mins
- Yield: 8 to 10 biscuits
Description
My favorite homemade buttermilk biscuit recipe — easy to make, perfectly soft and tall and flaky, and always SO buttery and delicious.
Ingredients
- 2 cups (284 grams) all-purpose flour
- 1 tablespoon baking powder
- 1 tablespoon light brown sugar (optional, but recommended for flavor)
- 1 teaspoon fine sea salt
- 1/4 teaspoon baking soda
- 6 tablespoons (85 grams) very cold butter*, diced into 1/2-inch cubes
- 1 cup cold buttermilk
- Optional toppings: extra melted butter and flaky sea salt
Instructions
- Mix the Dry Ingredients: In a large mixing bowl, combine the flour, baking powder, brown sugar (if using), salt, and baking soda. Stir briefly with a whisk or spoon to ensure they are well combined.
- Cut in the Butter: Sprinkle the very cold, diced butter over the dry ingredient mixture. Using a pastry cutter or two forks, quickly cut the butter into the dry ingredients. Continue until the mixture resembles coarse crumbs with pea-sized chunks of butter remaining. (Alternatively, you can use a food processor to pulse the butter into the dry ingredients until pea-sized.)
- Add the Buttermilk: Pour the cold buttermilk into the butter-flour mixture. Stir gently with a spoon or your hands until the dough is just combined. Be careful not to over-mix, as this can lead to tough biscuits. The dough will look shaggy, and that’s perfectly fine.
- Form the Dough: Turn the shaggy dough out onto a lightly floured work surface. Use your hands to quickly gather and gently shape the dough into a small, rough rectangle. With a rolling pin, roll the dough evenly until it is about 1/2-inch thick.
- Fold the Dough for Layers: This step creates those famous flaky layers. Fold the dough into thirds, like you would fold a letter or envelope. Rotate the dough 90 degrees. Repeat the folding process a second time, then rotate again. Repeat the folding process a third time, and rotate once more. This layering technique helps maximize flakiness.
- Cut the Biscuits: Roll the dough out one final time into a rectangle, roughly 10 x 5 inches and about 1/2-inch thick. Using a 2 to 2.5-inch biscuit cutter, firmly cut out 8 circles, taking great care not to twist the cutter as you press down. Arrange the biscuits evenly on a baking sheet. Gather any remaining dough scraps, gently re-roll them, and cut out 1 or 2 additional biscuits.
- Prepare for Baking: Preheat your oven to 450°F (232°C). As the oven heats, transfer your baking sheet with the formed biscuits to the freezer or refrigerator for 15 minutes. This final chill helps firm up the butter, ensuring an excellent rise and flakiness.
- Bake: Once the oven is fully preheated, bake the biscuits for 10-12 minutes, or until their tops are beautifully golden brown and they have risen significantly. Transfer the baking sheet to a wire rack. If desired, immediately after removing from the oven, brush the tops of the hot biscuits with some melted butter and sprinkle with a pinch of flaky sea salt.
- Serve: Serve your homemade buttermilk biscuits warm and enjoy every single buttery bite!
Equipment
Biscuit Cutters
Pastry Brush
Pastry Cutter
Notes
- Chilling the Butter: For truly exceptional flakiness, if you have the extra time, I highly recommend chilling your diced butter in the freezer for 15-30 minutes before adding it to the recipe. Some bakers even chill their flour for an ultimate cold advantage!
- Alternate Food Processor Shortcut: If you own a food processor, you can streamline the process. Add the dry ingredients (flour, baking powder, light brown sugar, salt, and baking soda) to the food processor bowl and pulse a few times to combine. Then, sprinkle the cubed cold butter over the dry mixture and pulse a few more times until the butter forms pea-sized clumps. Transfer this mixture to a large mixing bowl, stir in the cold buttermilk, and then continue with step 4 of the instructions.
- Arranging Biscuits on the Baking Sheet: The placement of your biscuits affects their texture. For biscuits with crispy, browned sides, space them evenly apart on the baking sheet to allow for even air circulation. If you prefer taller biscuits with softer, more tender sides, place them close together so they are touching. This encourages them to rise upwards rather than spreading outwards. You can also bake them in a cast-iron pan or pie plate for a similar effect.
- Source: This recipe has been very slightly adapted from Food.com, refined over years to perfect the flaky, buttery texture.