Ultimate No-Bake Peanut Butter Pie with Oreo Crust: Your Perfect Easy Summer Dessert
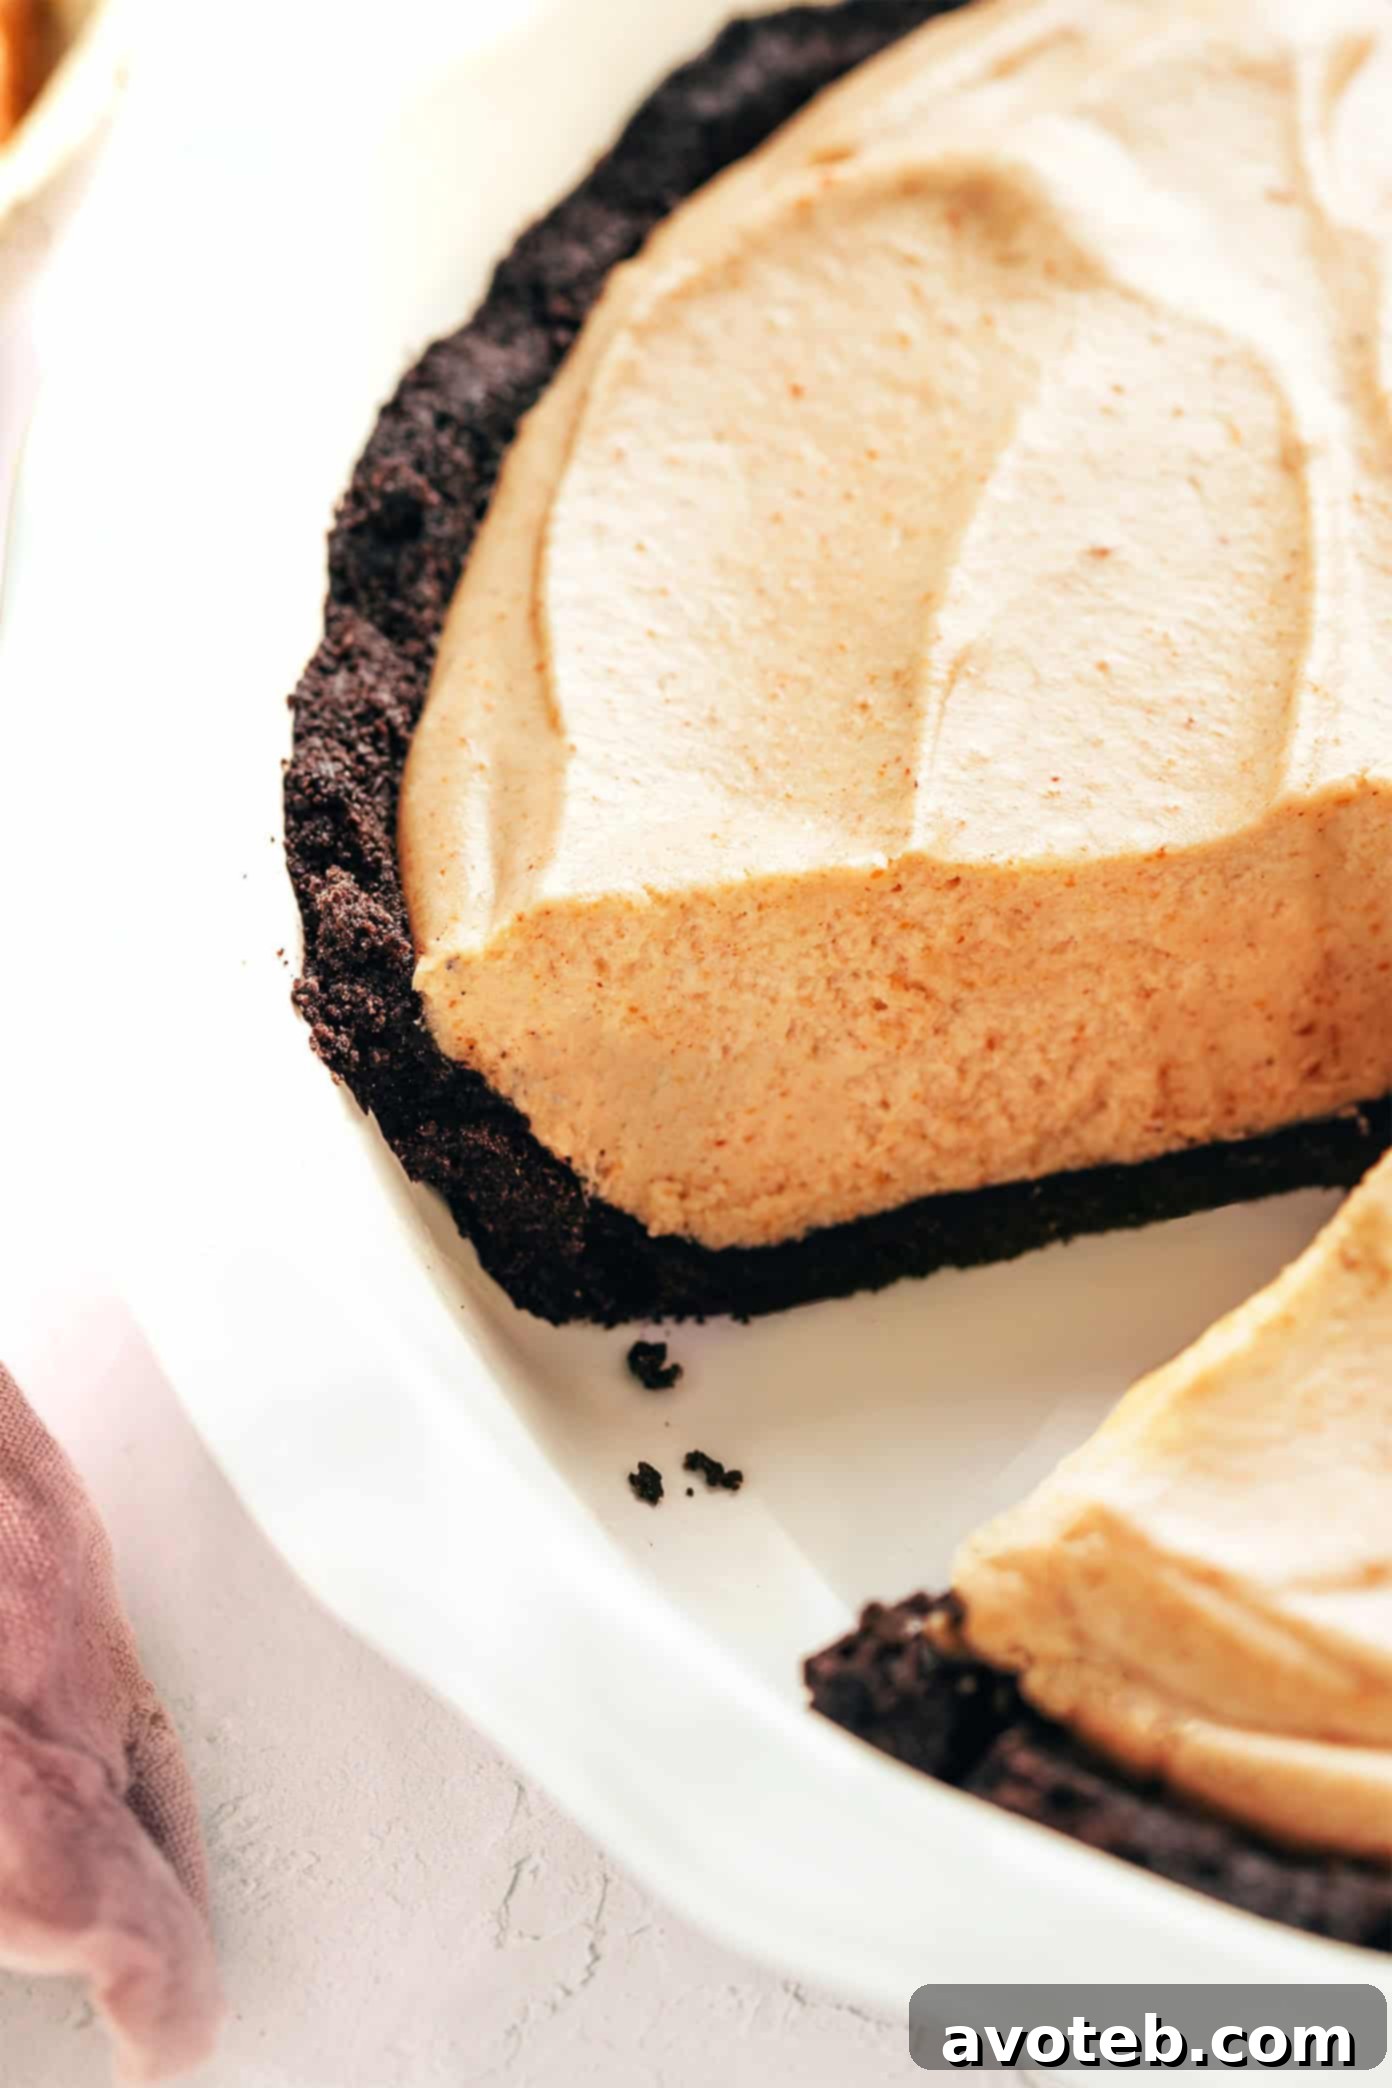
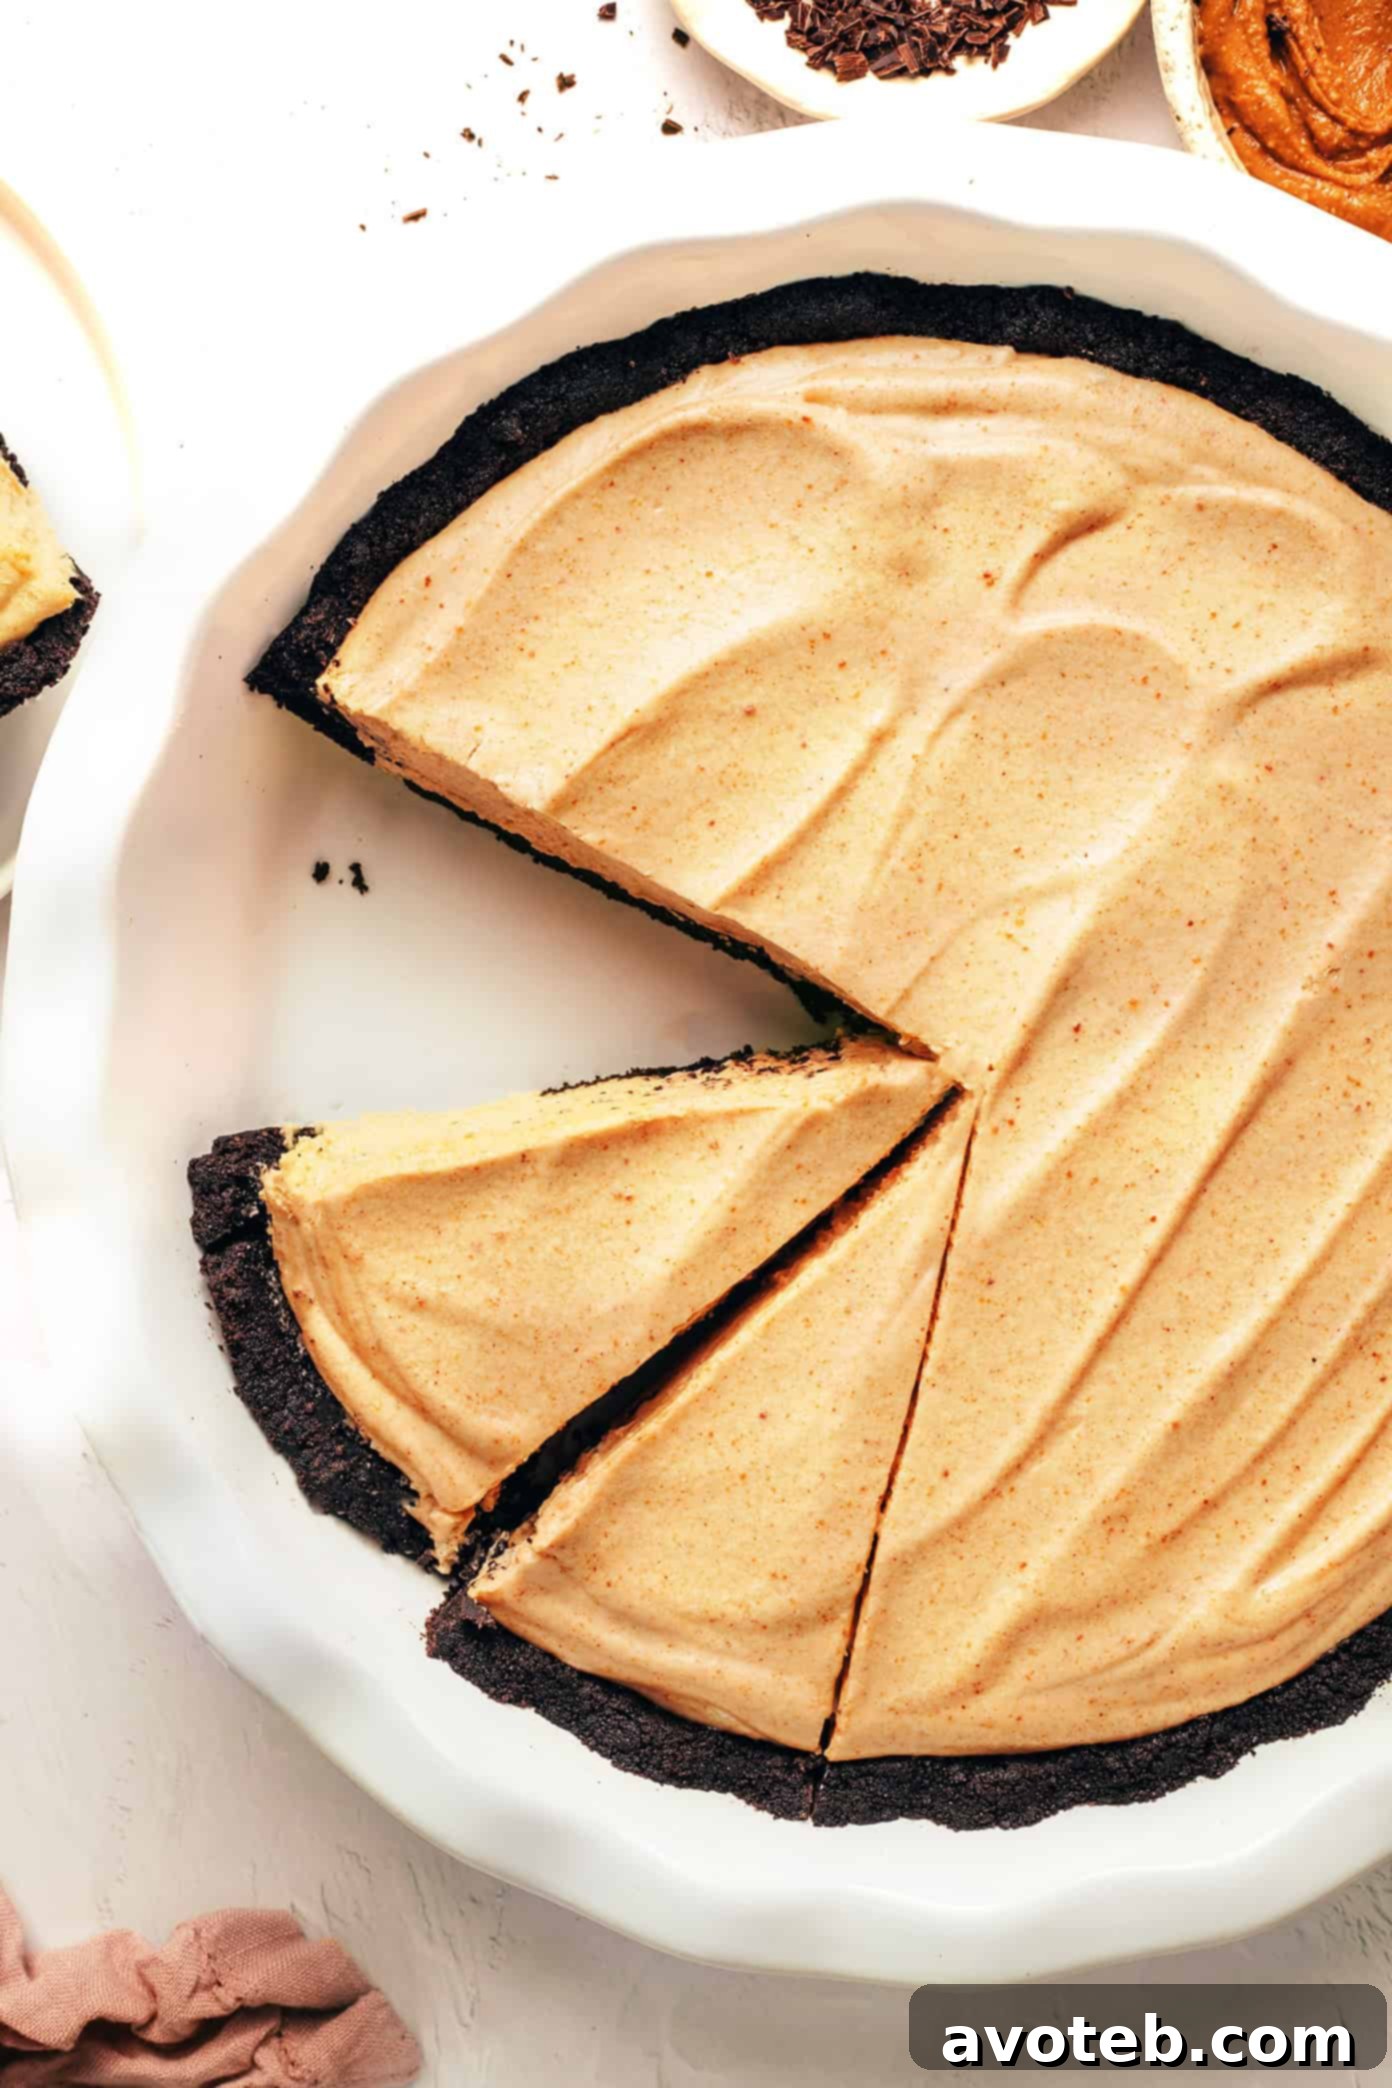
This classic no-bake peanut butter pie recipe features a rich chocolate Oreo crust and a light, fluffy peanut butter filling, making it the quintessential easy summer dessert that’s sure to delight everyone.
Who’s ready for a slice of pure summer nostalgia? Dive into the creamy, dreamy world of our beloved No-Bake Peanut Butter Pie! This dessert isn’t just a treat; it’s a delightful journey back to simpler times, evoking cherished memories of backyard barbecues, family gatherings, and sun-drenched afternoons. We’ve taken the classic, old-school, no-bake dessert you grew up loving and given it a subtle modern twist, incorporating natural peanut butter and freshly whipped cream for an irresistibly airy and rich texture. Forget artificial toppings – our pie is crafted with authentic ingredients that elevate its flavor profile while maintaining its comforting familiarity.
Every bite of this homemade peanut butter pie is as satisfyingly rich and exquisitely creamy as the original, but with a refined taste you’ll adore. What’s even better? You only need 7 essential ingredients and approximately 20 minutes of hands-on prep time to bring this masterpiece to life. It’s the perfect solution for satisfying your sweet tooth without ever having to turn on your oven, keeping your kitchen cool and comfortable even on the hottest days. This makes it an ideal easy summer dessert, allowing you more time to enjoy the sunshine and less time in a hot kitchen.
The Unforgettable Appeal of This Creamy Peanut Butter Pie
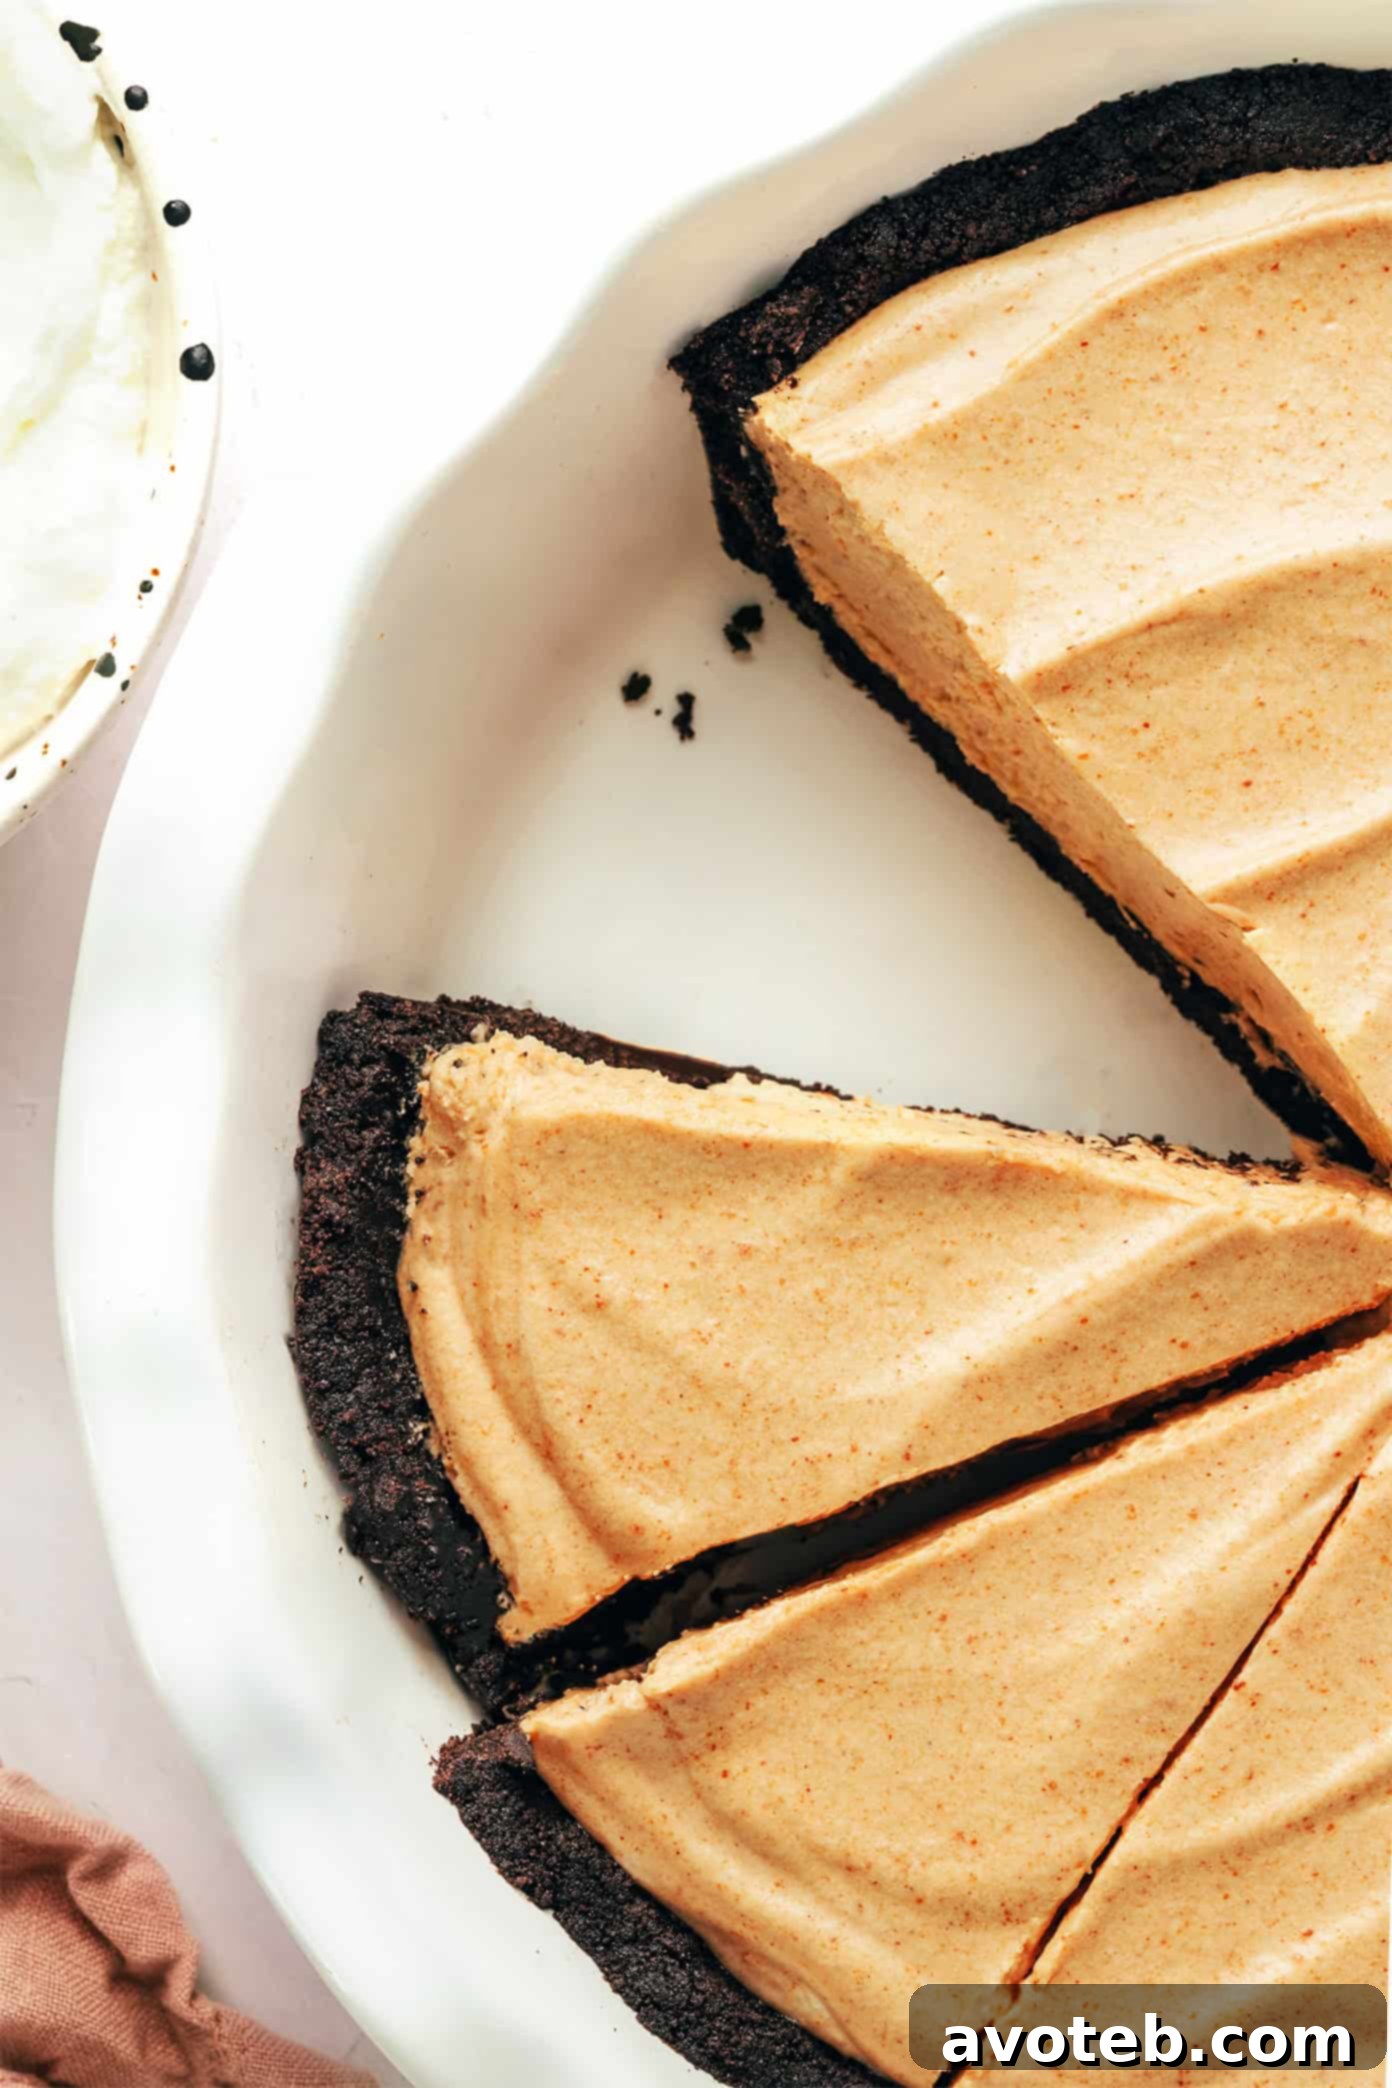
In our home, the combination of chocolate and peanut butter is nothing short of legendary, making a crushed Oreo crust our absolute go-to for this amazing dessert. The dark, slightly bittersweet notes of the chocolate cookies provide a delightful structural base and a perfect flavor complement to the rich, creamy, and slightly salty peanut butter filling. This synergy of textures and tastes creates a harmonious experience that has captivated taste buds for decades.
However, this no-bake peanut butter pie recipe is wonderfully versatile! If you prefer a different foundation, you can easily substitute with a traditional graham cracker crust for a classic, comforting twist, or even a pre-baked traditional pie crust if you enjoy a flakier, buttery texture. The beauty of a simple dessert recipe like this lies in its adaptability. While we find this creamy peanut butter pie incredibly rich and decadent on its own, for those who crave an extra layer of indulgence – perhaps reminiscent of a specific childhood version – adding a luscious chocolate ganache topping is always a welcome enhancement that takes it to another level of deliciousness.
There’s a reason this pie has endured as a favorite for generations; its simplicity, combined with its profound flavor, makes it an unforgettable dessert experience. The next time you’re yearning for a cool, creamy, and effortlessly delicious no-bake treat, reach for that jar of peanut butter and let’s create some pie magic. It’s not just a recipe; it’s an invitation to create joy and sweet memories, one delectable, fluffy slice at a time. Perfect for parties, potlucks, or just a quiet evening at home, this pie promises pure delight.
Essential Ingredients for Your Perfect No-Bake Peanut Butter Pie
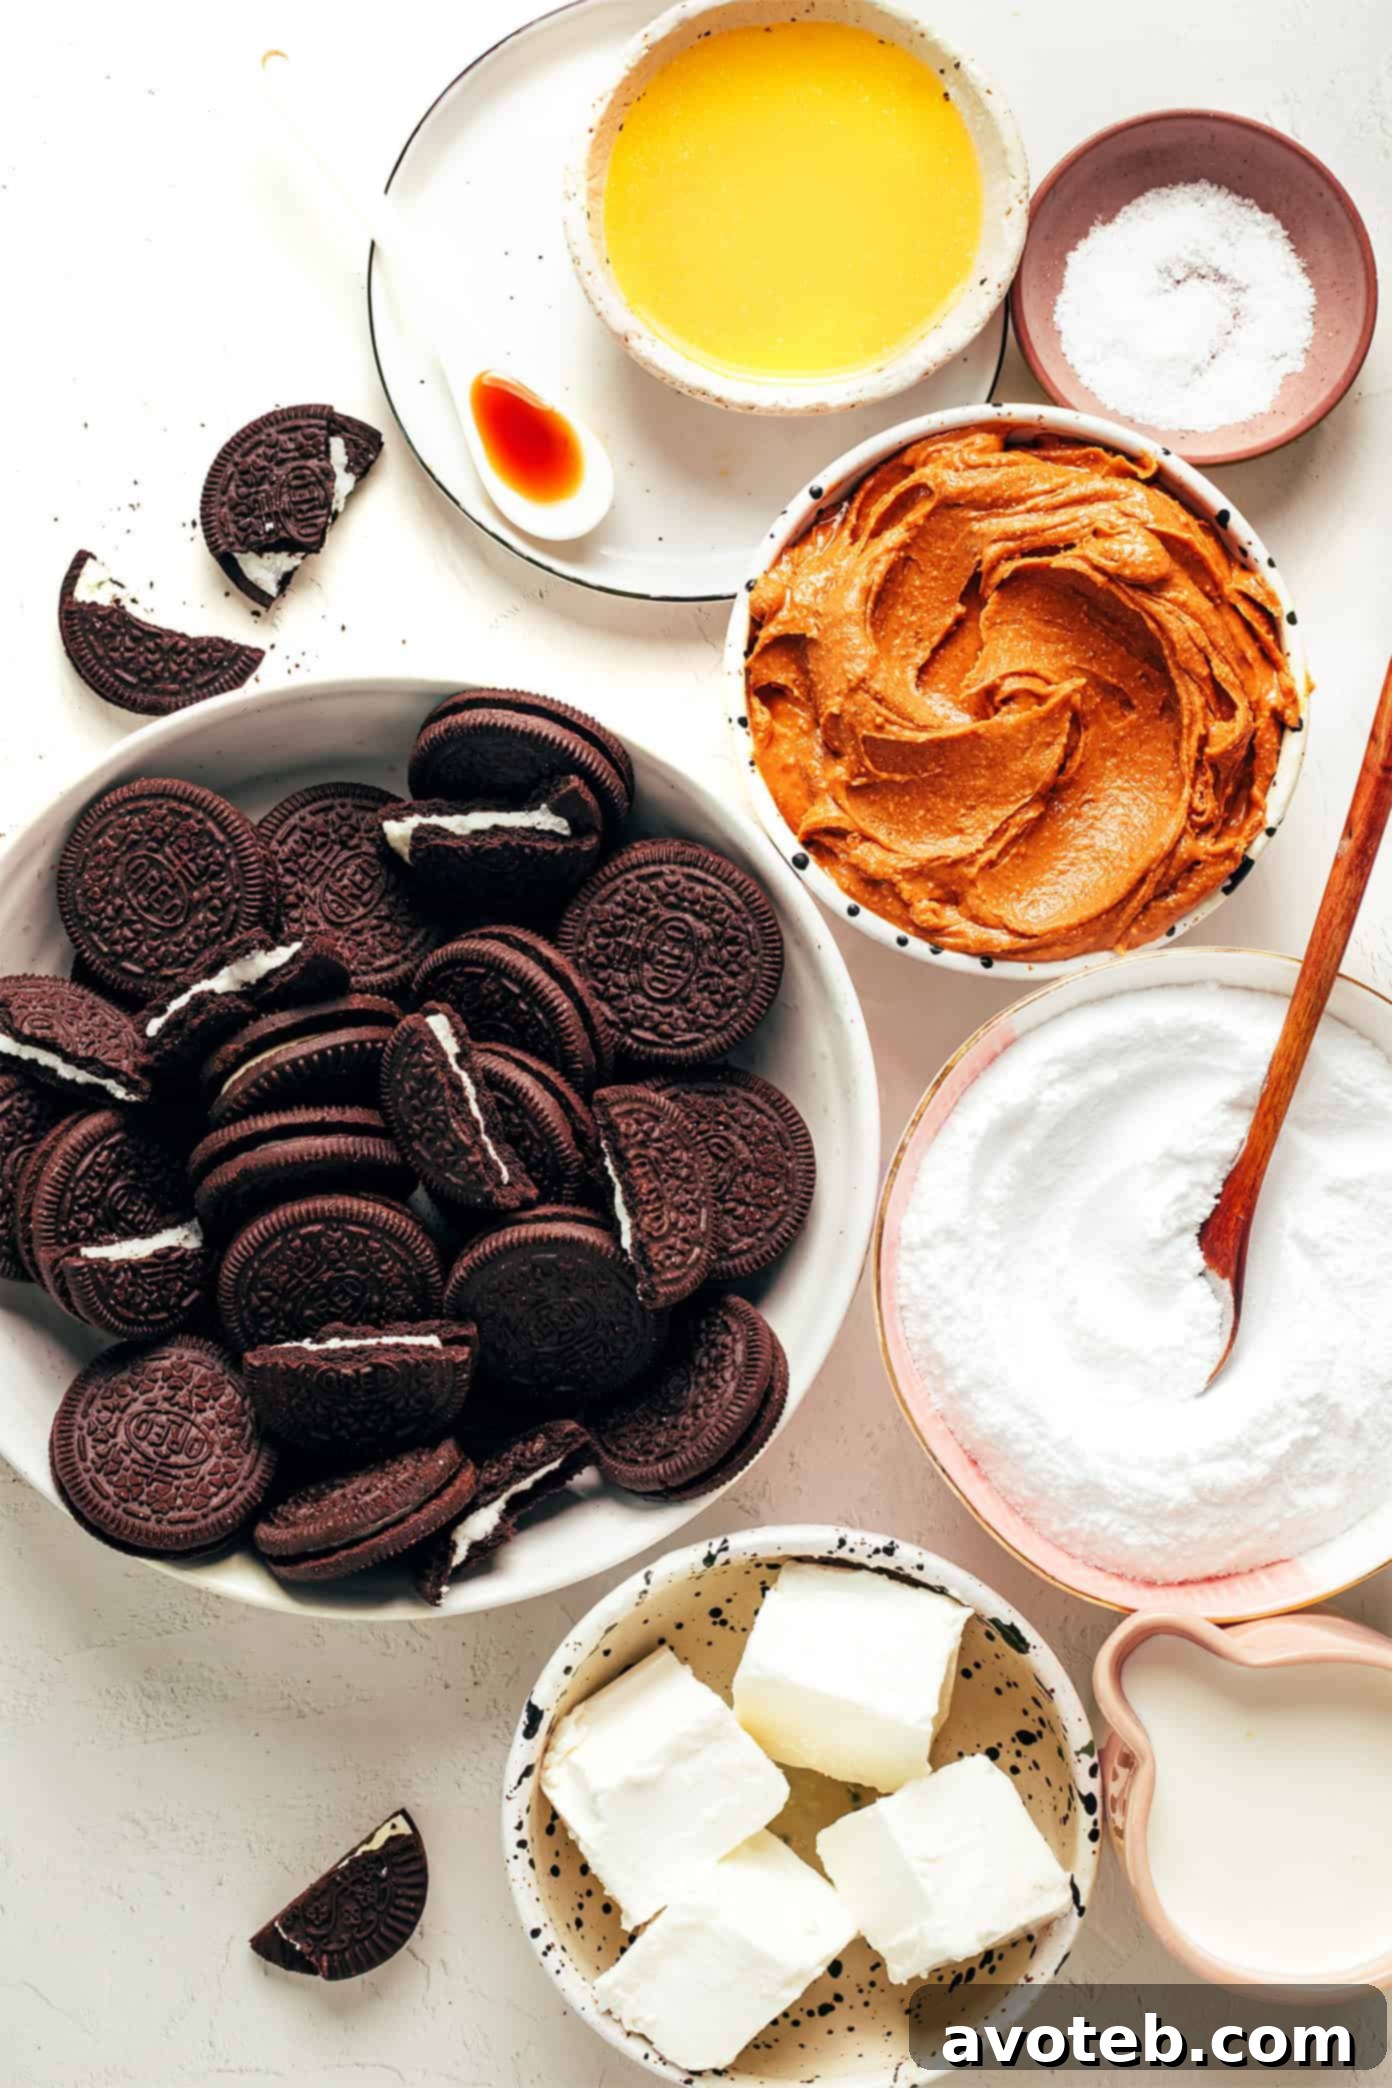
Crafting this irresistible no-bake peanut butter pie starts with a selection of simple, high-quality ingredients. Each component plays a crucial role in achieving that perfect balance of flavor and texture that makes this pie so memorable. Here’s a deeper look at what you’ll need, along with some helpful notes for ensuring the best results:
- Oreo Crust: The foundational layer of our pie, a classic chocolate Oreo crust, provides a delightful crunch and a robust chocolate flavor that perfectly contrasts the creamy filling. To prepare it, you’ll simply combine finely crushed chocolate Oreo cookies, rich melted butter, and a tiny pinch of fine sea salt to enhance the overall flavor profile. The salt helps to balance the sweetness and brings out the deep chocolate notes. For ultimate convenience and to save time, a store-bought Oreo crust works perfectly and will yield equally delicious results without compromising on taste or texture.
- Creamy Peanut Butter: The undisputed star of the show! We’ve rigorously tested this homemade peanut butter pie recipe using both natural creamy peanut butter and traditional creamy peanut butter, and both varieties yield fantastic results. If you opt for natural peanut butter, which typically has separated oil, be absolutely sure to stir the entire jar very well until it’s completely homogenous and smooth. This is crucial for a consistent texture throughout your pie filling and prevents any unwanted oil separation in the finished product. Creamy varieties are essential for achieving the signature smooth, mousse-like consistency of the filling.
- Heavy Cream: This ingredient is what gives our fluffy peanut butter filling its signature light, airy, and truly mousse-like texture. Heavy cream is whipped until it forms stiff peaks, creating volume and stability. This whipped cream then gets gently folded into the peanut butter mixture, infusing it with delicate lightness and a luxurious mouthfeel. For the best whipping results, ensure your heavy cream is very cold before you begin.
- Cream Cheese: Adding a wonderful tangy dimension and essential structural integrity to the filling, low-fat cream cheese is a key ingredient. It contributes significantly to the pie’s rich creaminess while also helping it to set beautifully and firmly in the refrigerator. Remember to allow your cream cheese to soften to room temperature before mixing. This crucial step prevents lumps and ensures you achieve a silky-smooth, uniform filling texture.
- Powdered Sugar: Beyond just sweetening the pie, powdered sugar (also widely known as confectioners’ sugar or icing sugar) serves a vital dual purpose. Its exceptionally fine texture dissolves effortlessly into the mixture, guaranteeing a smooth, grain-free filling that melts in your mouth. Additionally, powdered sugar helps to stabilize both the whipped cream and the cream cheese, contributing significantly to the pie’s firm, sliceable set.
- Vanilla Extract: A splash of high-quality pure vanilla extract is indispensable for rounding out and harmonizing all the flavors in this no-bake pie. It adds a warm, aromatic depth that subtly enhances both the robust peanut butter and the nuanced chocolate notes from the Oreo crust. Using a good quality vanilla extract can truly elevate the overall taste, bringing all the delicious components into perfect balance and harmony.
- Fine Sea Salt: A small but mighty ingredient, a tiny pinch of fine sea salt plays a crucial role in sharpening all the other flavors. It masterfully balances the sweetness of both the crust and the fluffy filling, preventing the pie from tasting overly sweet and instead making the rich peanut butter flavor truly shine through. For an extra touch of gourmet sophistication and an exciting textural contrast, consider a light sprinkle of flaky sea salt on top of each slice just before serving.
Expert Tips for a Flawless No-Bake Peanut Butter Pie
While the detailed step-by-step instructions are provided in the recipe card below, keeping these expert tips in mind will ensure your no-bake peanut butter pie turns out absolutely perfect every time. These insights are designed to help you achieve the ideal texture, flavor, and presentation, making your pie-making experience effortless and rewarding:
- Soften the Cream Cheese Completely: This step is paramount for achieving a smooth, lump-free filling. Allow your block of cream cheese to sit out at room temperature for at least 30 minutes before you plan to mix it. If you’re pressed for time, a quick 10-15 second zap in the microwave can also help soften it sufficiently, but be careful not to melt it. Properly softened cream cheese will blend seamlessly into the other ingredients, creating a velvety and uniform consistency that is key to a perfect peanut butter pie.
- Fold Very Gently: The secret to a light, airy, and mousse-like peanut butter filling is in how you incorporate the whipped cream. After beating the heavy cream to stiff peaks, gently fold it into the peanut butter and cream cheese mixture using a rubber spatula. Use an upward scooping motion, then turn the mixture over. Avoid vigorous mixing or overworking the batter, as this can easily deflate the whipped cream and result in a dense, heavy filling. The goal is to retain as much air as possible for that characteristic fluffiness.
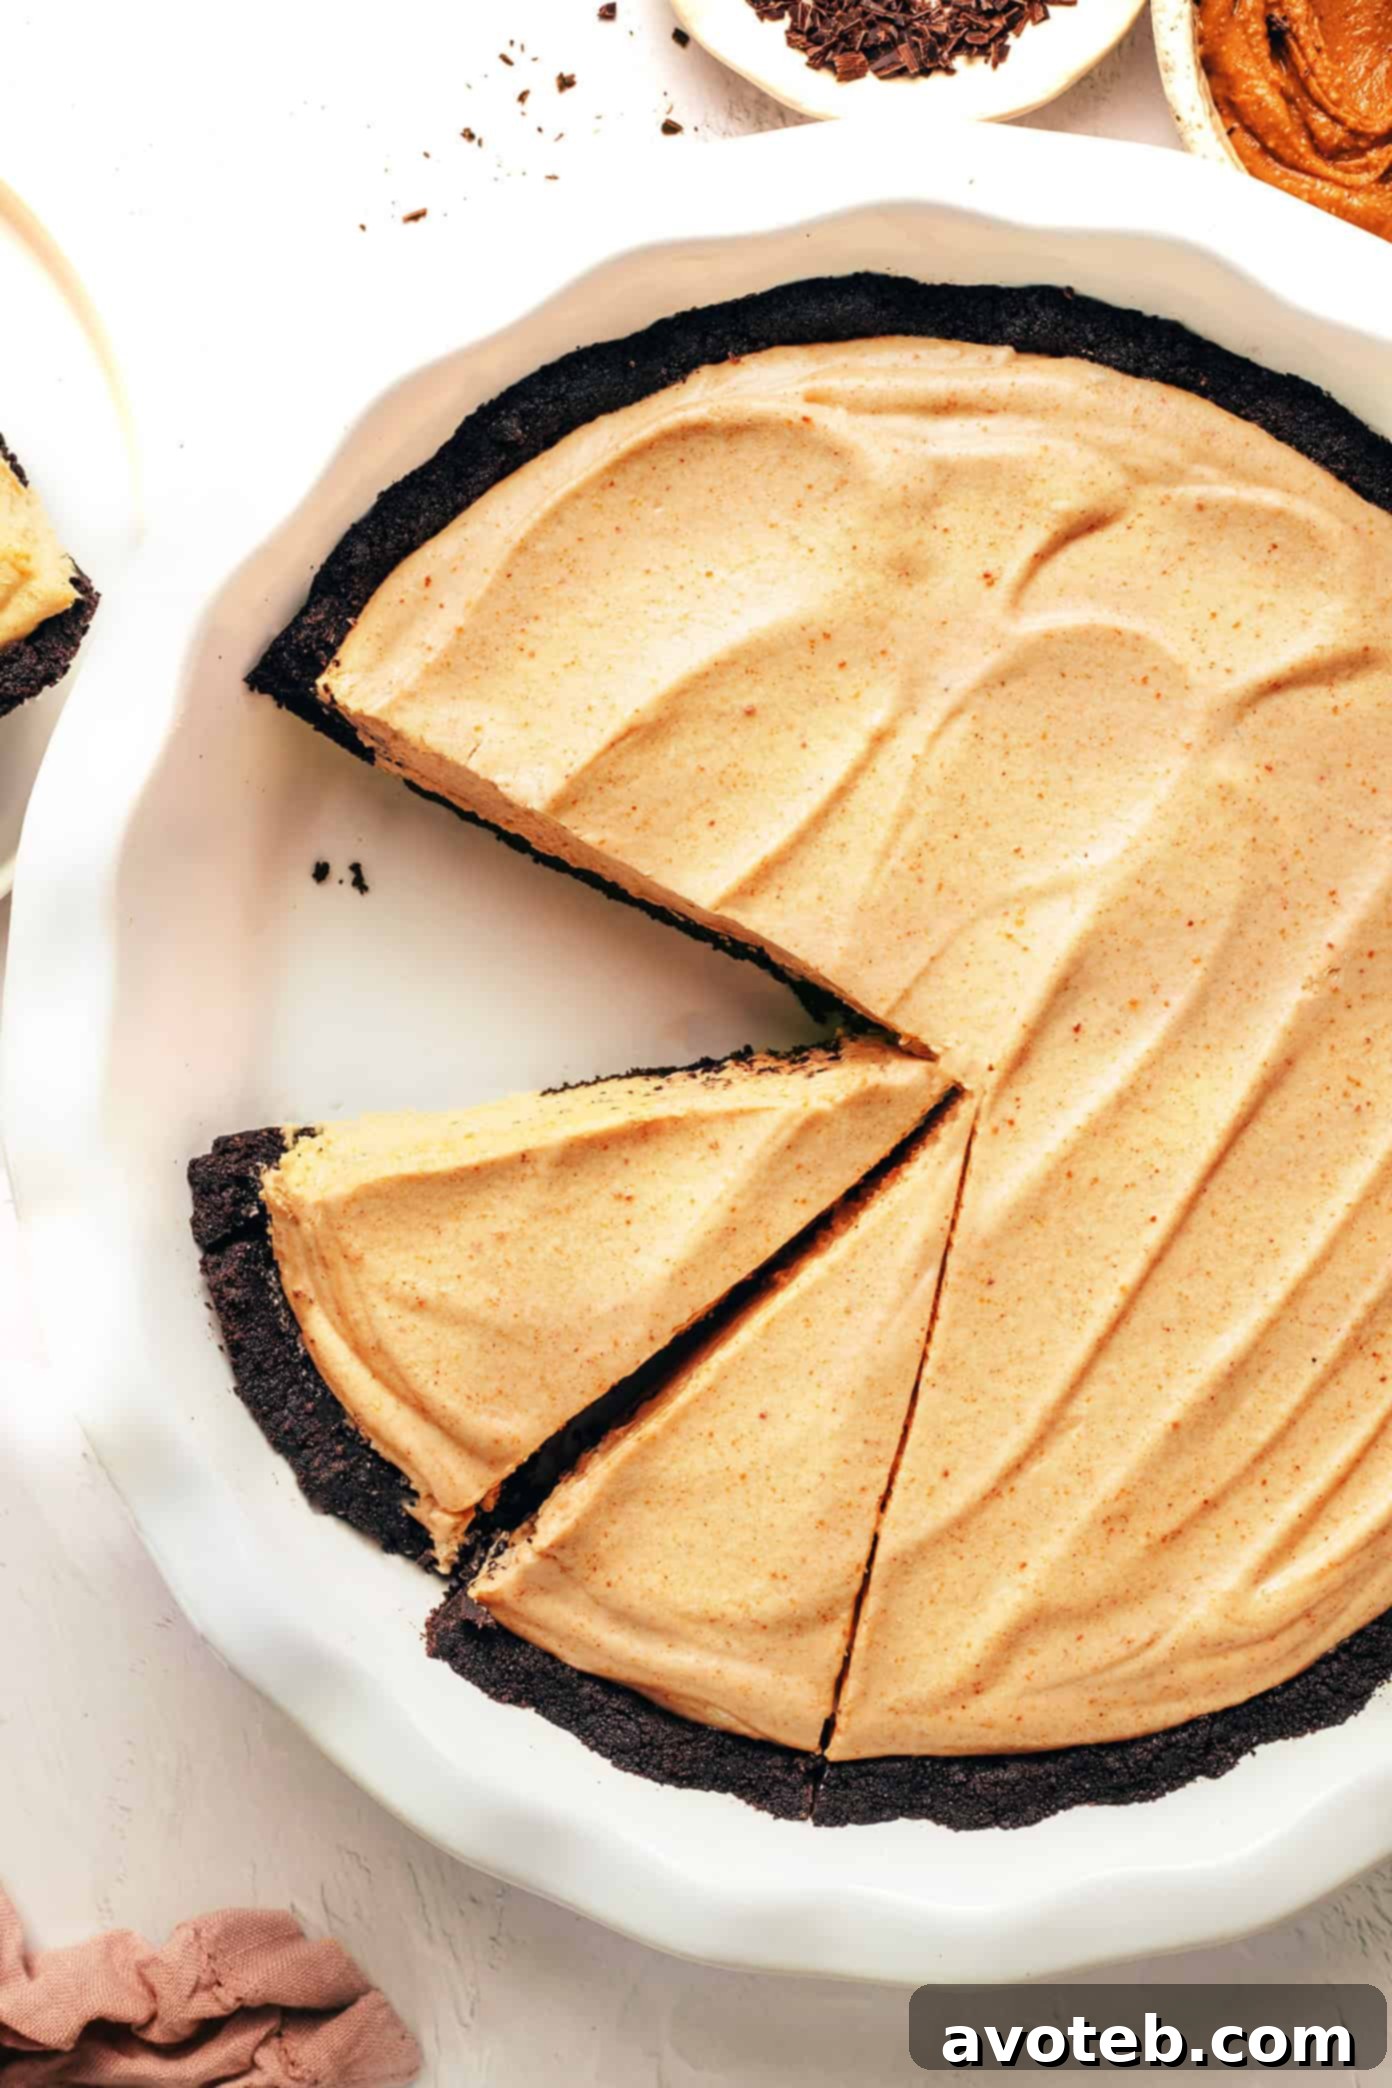
- Chill Thoroughly Before Serving: Patience is a virtue, especially when it comes to no-bake pies! This creamy peanut butter pie requires a minimum of 4 hours in the refrigerator (and ideally longer, up to 6 hours or even overnight) to properly set and firm up. A well-chilled pie will slice cleanly, hold its shape beautifully, and offer that satisfying firm-yet-creamy texture. Rushing this crucial chilling step can lead to a messy, unset pie, so plan your time accordingly.
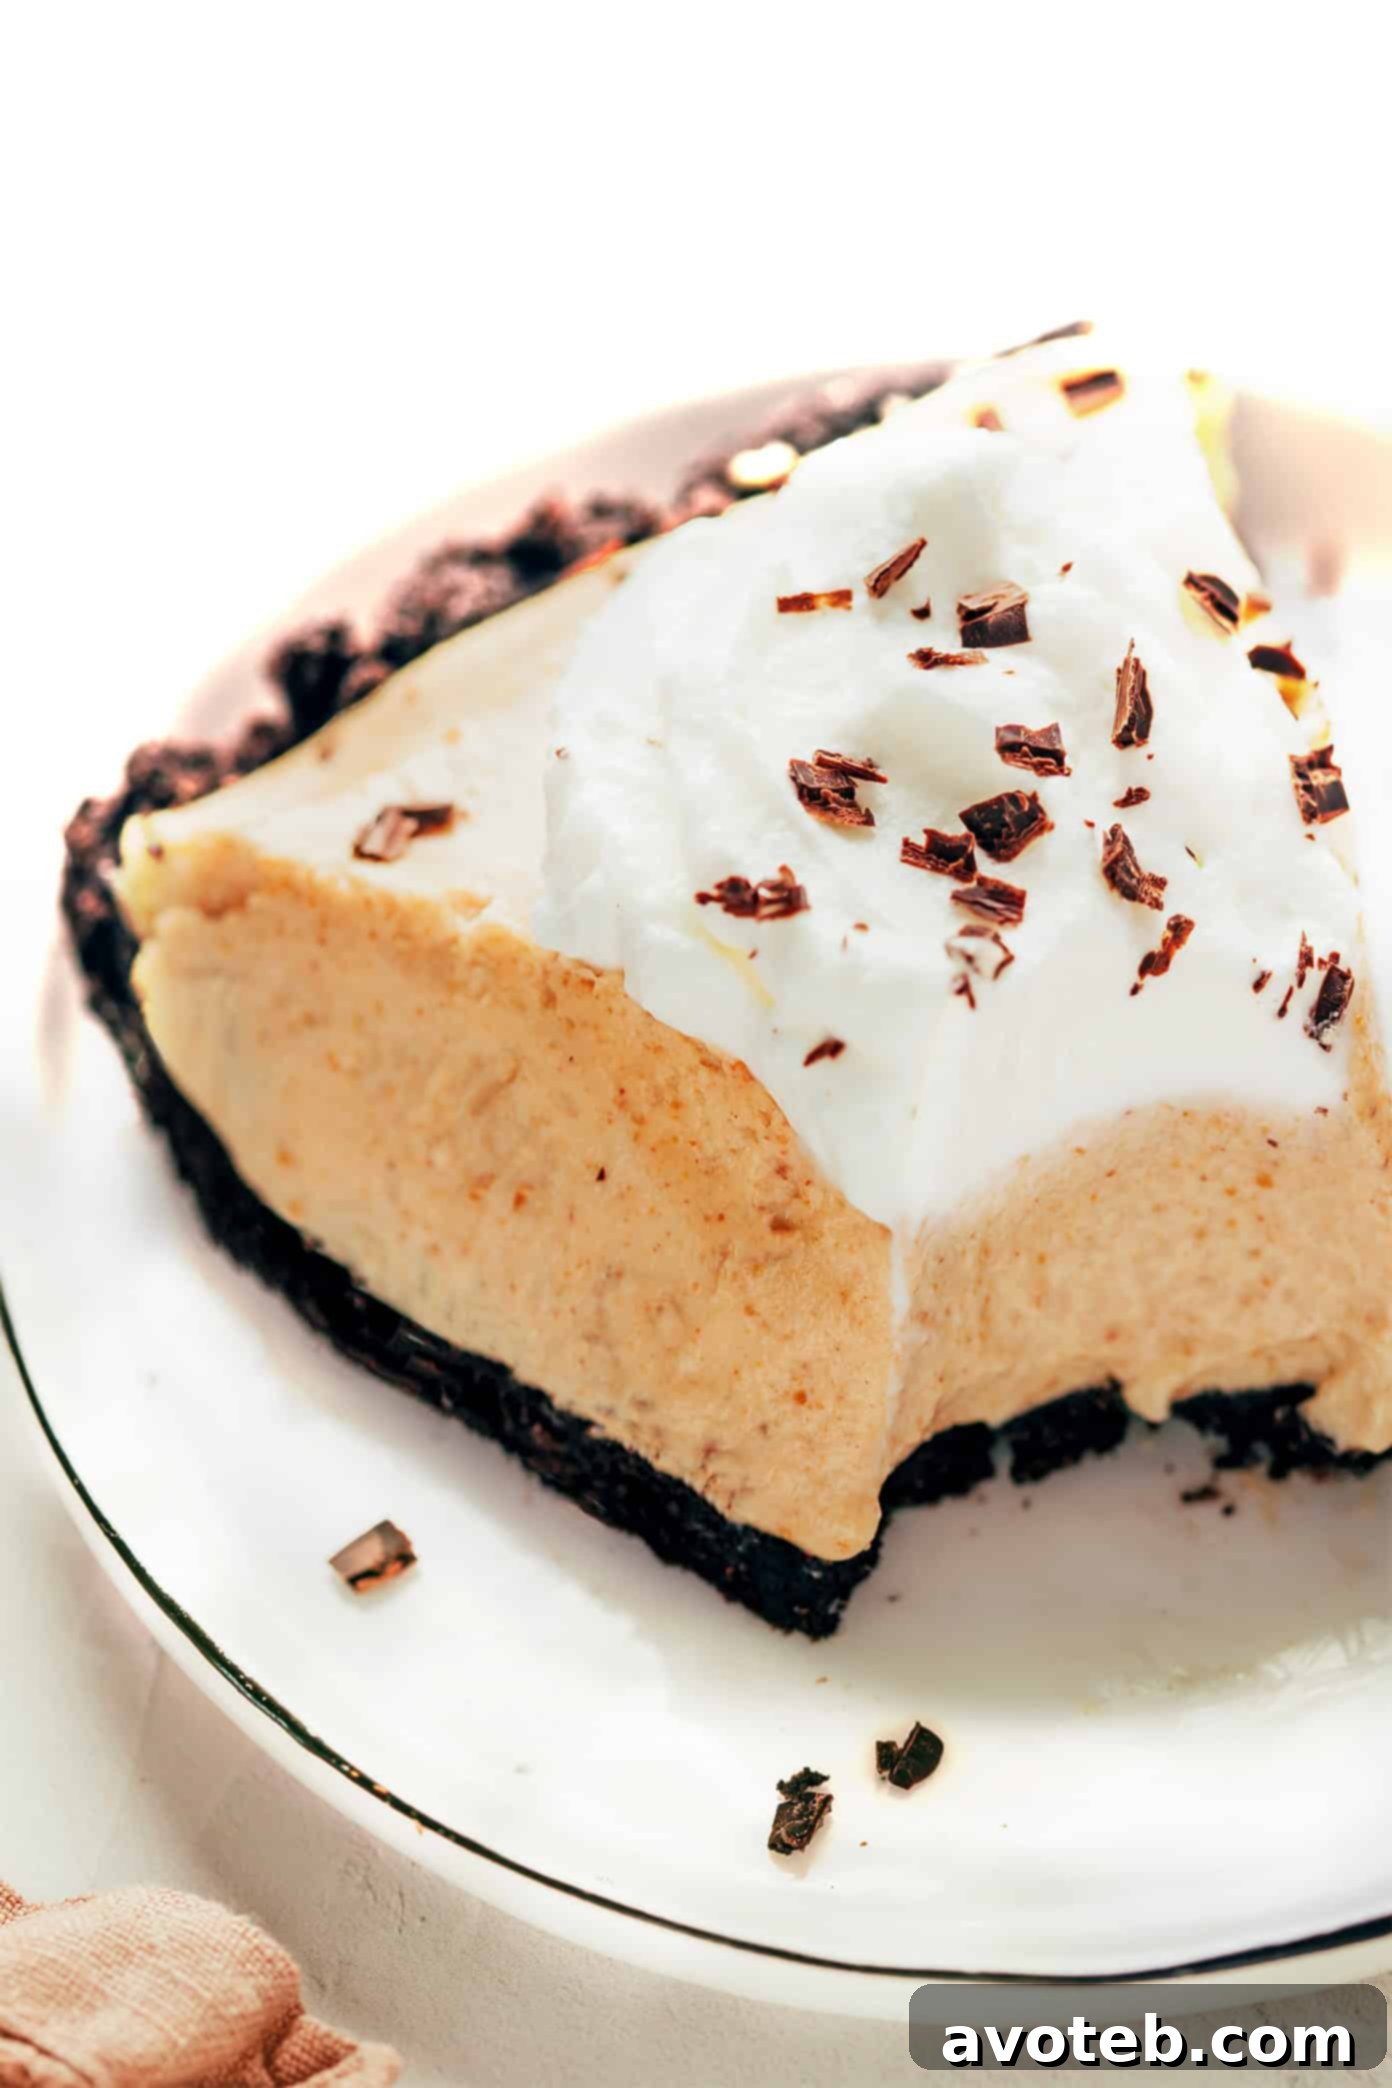
- Top Just Before Serving: For the freshest and most appealing presentation, add any optional toppings – such as extra whipped cream, delicate chocolate shavings, or extra crumbled cookies – just before you plate each individual slice. This prevents toppings from getting soggy, melting, or deflated if added too early, ensuring every serving looks pristine and tastes its absolute best.
- Use a Hot Knife for Clean Slicing: To achieve impeccably clean cuts, especially through both the firm Oreo crust and the creamy filling, briefly run a large, sharp knife under hot water. Wipe the blade dry thoroughly, then slice through the pie. Reheat and wipe the knife clean between each slice for the neatest and most professional-looking results. This simple technique prevents the filling from sticking to the blade and creates beautiful, defined edges on every slice.
- Proper Storage: Store any leftover no-bake peanut butter pie covered tightly with plastic wrap or in an airtight container in the refrigerator for up to 3-4 days. While it’s best enjoyed fresh, it maintains its deliciousness and texture for several days.
- Make-Ahead Option: This pie is an excellent make-ahead dessert! You can fully prepare it a day in advance, allowing it ample time to chill and set perfectly. This is an ideal solution for entertaining guests or for busy schedules, as it means one less thing to worry about on the day of your event.
Creative Variations to Customize Your Peanut Butter Pie
While this classic no-bake peanut butter pie is perfect as is, it also serves as a fantastic canvas for culinary creativity! Feel free to experiment with these delicious variations to tailor the pie to your specific taste, dietary needs, or for special occasions. Each idea offers a unique twist on the beloved original:
- Indulgent Chocolate Ganache Topping: Elevate your pie with an extra layer of silky, rich chocolate ganache. To make it, simply melt together 1/2 cup heavy cream and 4 ounces of good quality semisweet chocolate chips or finely chopped chocolate until smooth and glossy. Pour this warm ganache evenly over the chilled peanut butter filling before the final refrigeration step. The ganache will set into a glorious, fudge-like layer that provides an even more intense chocolate experience, perfect for true chocoholics.
- Banana & Peanut Butter Dream Pie: For fans of the iconic peanut butter and banana combination, this variation is a must-try. Add a layer of thinly sliced ripe bananas, arranged neatly along the bottom of the Oreo crust before pouring in the peanut butter filling. The fresh fruit adds a wonderful natural sweetness and a contrasting creamy texture that pairs exquisitely with the rich, nutty peanut butter.
- Alternate Crust Options: Don’t limit yourself to the chocolate Oreo crust, although it’s undeniably delicious!
- Classic Graham Cracker Crust: A traditional and beloved choice, a graham cracker crust offers a warm, honey-like flavor that complements peanut butter wonderfully. Prepare it by crushing graham crackers and mixing with melted butter and a touch of sugar.
- Sweet and Salty Pretzel Crust: For a delightful sweet and salty crunch, try a crushed pretzel crust. The distinct saltiness of the pretzels provides an exciting counterpoint to the sweet, creamy filling, creating an addictive flavor profile.
- Traditional Pastry Pie Crust: If you prefer a more classic bakery feel and a buttery, flaky texture, a pre-baked traditional pastry pie crust can also be used. Just ensure it’s fully cooled before you add the no-bake filling.
- Nut Butter Swaps (Peanut-Free Option): To make this recipe peanut-free, or simply to explore different flavors, substitute the peanut butter with an equal amount of smooth almond butter or cashew butter. Ensure that whichever nut butter you choose is smooth and very well-stirred, especially if you are using natural varieties, to ensure a consistent filling texture.
- Mini Chocolate Chip Delight: For an extra burst of chocolatey goodness and delightful textural contrast, gently fold 1/2 cup of mini chocolate chips (milk, semi-sweet, or dark chocolate) directly into the peanut butter filling just before pouring it into the crust.
- Espresso Infusion: For coffee lovers, a subtle addition of espresso can deepen and enhance the flavors. Dissolve 1 teaspoon of instant espresso powder or finely ground coffee into the vanilla extract before adding it to the peanut butter filling. This will amplify the chocolate and peanut butter notes without making the pie overtly coffee-flavored.
- Toffee Crunch: Sprinkle a layer of crushed toffee bits over the filling before chilling, or on top of individual slices. The buttery, caramelized flavor and crunchy texture add another dimension of deliciousness.
Frequently Asked Questions (FAQ) About No-Bake Peanut Butter Pie
- Can I use crunchy peanut butter for this pie?
- While creamy peanut butter is generally recommended for the smoothest filling texture, you can absolutely use crunchy peanut butter if you enjoy the added textural element. It will give the pie a more rustic, nutty bite and an interesting contrast. Just ensure it’s well-stirred if it’s a natural variety, to distribute the oil evenly.
- Why isn’t my no-bake peanut butter pie setting properly?
- The most common reasons for a no-bake pie not setting are insufficient chilling time or over-mixing the whipped cream. Ensure you’ve chilled the pie for at least 4 hours (preferably 6 hours or even overnight) and that you’ve gently folded the whipped cream into the peanut butter mixture to maintain its airiness and stability. Over-mixing can deflate the cream, leading to a looser filling.
- Can I freeze this creamy peanut butter pie?
- Yes! This no-bake peanut butter pie freezes beautifully. For best results, wrap the entire pie (or individual slices) tightly in plastic wrap, then add an extra layer of aluminum foil to prevent freezer burn. It can be frozen for up to 1 month. To serve, thaw the pie in the refrigerator for several hours or overnight before enjoying. The texture might be slightly softer after thawing, but it will still be incredibly delicious.
- Is this pie very sweet, and can I adjust the sweetness?
- This pie is designed to be rich and satisfyingly sweet, with the sweetness balanced by the slight tanginess of the cream cheese and a crucial hint of salt. If you prefer a less sweet dessert, you can certainly reduce the amount of powdered sugar in the filling by 1/4 to 1/2 cup. However, please keep in mind that reducing the sugar too much might slightly affect the filling’s ability to set firmly, as powdered sugar contributes to stability.
- How long does this no-bake pie last in the refrigerator?
- When stored properly, covered tightly with plastic wrap or in an airtight container, your peanut butter pie will last for 3-4 days in the refrigerator. It’s often even better the second day after the flavors have had more time to meld.
Print Recipe
Peanut Butter Pie
- Author: Ali
-
Prep Time:
20 mins -
Cook Time:
0 mins -
Total Time:
20 mins -
Yield:
12 servings
Description
This classic no-bake peanut butter pie recipe features a chocolate Oreo crust and a fluffy peanut butter filling – an incredibly easy and satisfying dessert perfect for summer!
Ingredients
Oreo Crust:
- 24 Oreo cookies, finely crushed
- 5 tablespoons melted butter
- 1/8 teaspoon fine sea salt
Peanut Butter Filling:
- 1 1/2 cups heavy cream, very cold
- 1 (8-ounce) block low-fat cream cheese, softened
- 1 cup natural creamy peanut butter (be sure that it’s very well stirred)
- 1 1/2 teaspoon vanilla extract
- 1/4 teaspoon fine sea salt
- 1 1/2 cups powdered sugar
Optional Toppings:
- whipped cream, chocolate shavings, crumbled Oreos, chopped Reese’s, mini chocolate chips, flaky sea salt
Instructions
- Prep the pan. Lightly grease a 9-inch pie plate with cooking spray. This helps prevent sticking and makes serving easier.
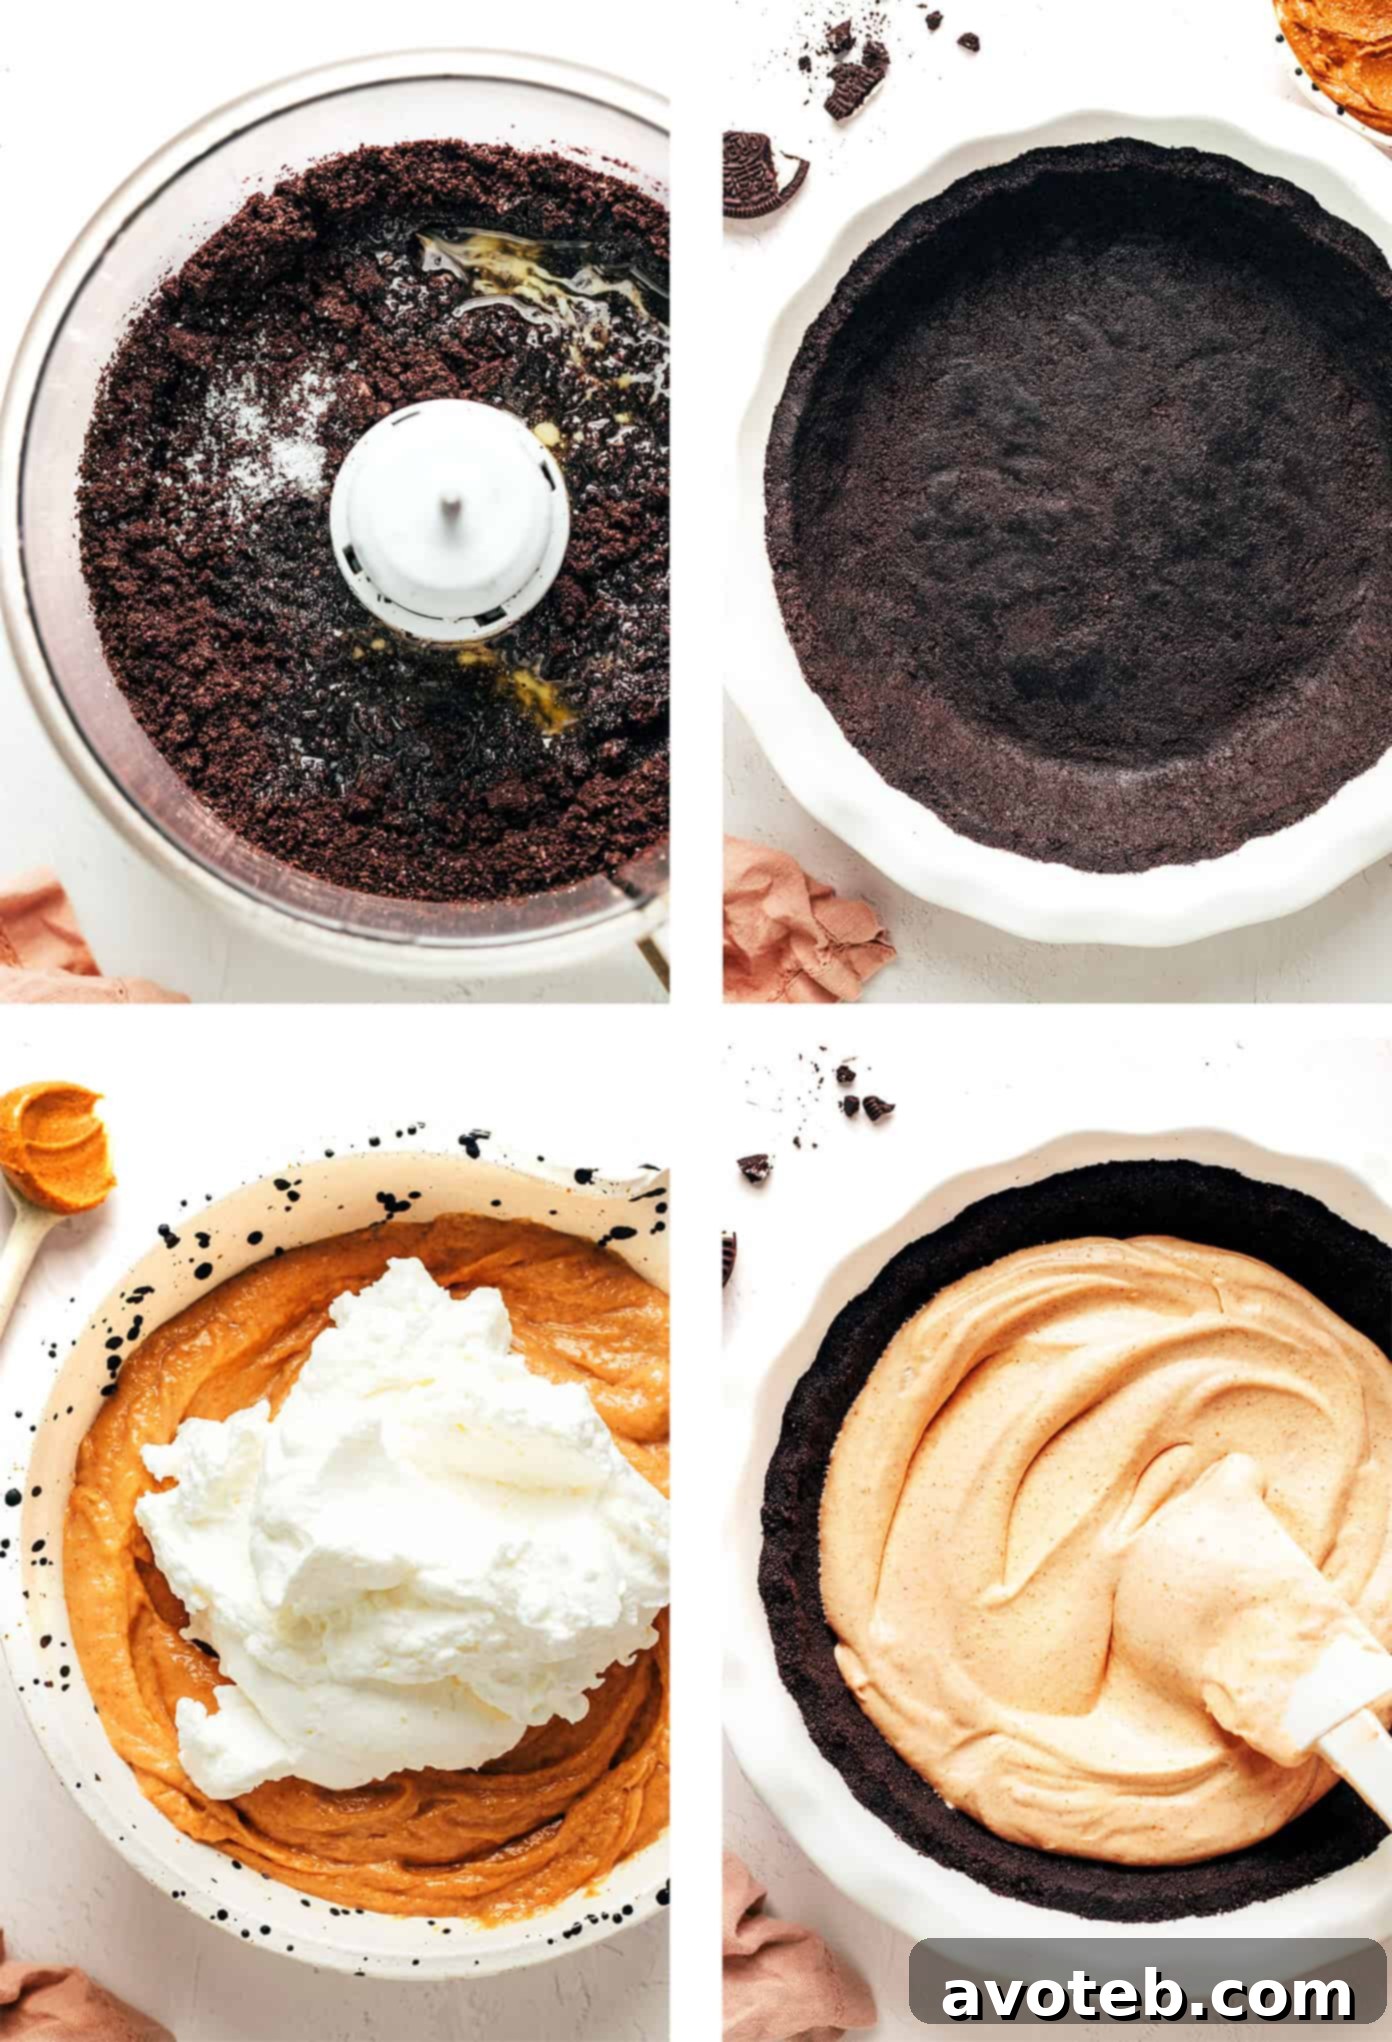
- Make the crust. Add the Oreo cookies to a food processor and pulse into fine crumbs. Drizzle the melted butter and salt evenly over the cookie crumbs and pulse again until the mixture is evenly combined and moist, resembling wet sand. Press this mixture firmly into the bottom and up the sides of your prepared 9-inch pie plate. You can use your fingers or the bottom of a measuring cup to achieve an even, compact crust. Transfer the crust to the freezer while you prepare the filling; this helps it set quickly.
- Whip the cream. In the chilled bowl of a stand mixer (or using a hand mixer), use the whisk attachment to beat the very cold heavy cream on medium-high speed until stiff peaks form. The cream should hold its shape when the whisk is lifted. Carefully transfer the whipped cream to a separate bowl and set it aside. There’s no need to clean the mixer bowl yet.
- Make the filling. To the same mixer bowl, add the softened cream cheese, well-stirred peanut butter, vanilla extract, and salt. Using the paddle attachment, beat the mixture on medium-high speed for about 2 minutes, until it’s incredibly smooth, creamy, and light. Scrape down the sides of the bowl as needed. Gradually add the powdered sugar and beat on low speed until it’s just combined and no dry streaks remain. Now, add about 1 cup of the reserved whipped cream to the peanut butter mixture and beat on low speed until mostly combined. Turn the mixer off. Using a rubber spatula, very gently fold in the remaining whipped cream by hand until just a few white streaks disappear. Be careful not to over-mix, as this will deflate the whipped cream and make the filling less airy.
- Chill. Pour the perfectly fluffy peanut butter filling into the prepared and chilled Oreo crust. Spread it out evenly using a spoon or spatula, and if you desire, create some light swirls on top for an appealing presentation. Refrigerate the pie for at least 4 hours, or ideally 6 hours to overnight, to allow it to chill thoroughly and set completely. This ensures firm, clean slices.
- Serve. Once thoroughly chilled, slice the pie and serve it immediately. Top each individual slice with your desired optional toppings, such as extra whipped cream, chocolate shavings, or crumbled Oreos, and savor this delightful dessert!
Equipment
Food Processor
Buy Now →
Hand Mixer
Buy Now →
Pie Dish
Buy Now →
Notes
Prep time: The estimated prep time of 20 minutes refers to the hands-on preparation for assembling the pie. It does not include the essential chilling period for the pie in the refrigerator, which typically ranges from 4 to 6 hours (or preferably overnight) for optimal setting. Please plan accordingly to ensure your pie sets perfectly!
Discover More Delightful No-Bake Recipes
If you’ve fallen in love with the ease and deliciousness of this no-bake peanut butter pie, you’re in for a treat! We have a curated collection of other fantastic no-bake desserts that are perfect for summer or any time you need a simple yet impressive sweet ending. Expand your repertoire of easy dessert recipes with these favorites:
- Easy Chocolate Pots de Creme: Rich, velvety, and surprisingly simple, these individual chocolate custards are pure decadence without ever needing to turn on the oven.
- No Bake Blueberry Tart: A vibrant and fresh dessert featuring a crisp crust and a luscious blueberry filling, ideal for showcasing seasonal berries and cooling off on a warm day.
- Classic No Bake Cookies: A timeless favorite, these chewy chocolate and peanut butter cookies are ready in minutes and require absolutely no baking, perfect for a quick fix.
- Affogato: An elegant Italian dessert that combines hot, strong espresso poured over a scoop of cold vanilla ice cream – pure bliss and an instant pick-me-up in a cup.
- Dreamy No-Bake Cheesecake: Creamy, tangy, and utterly irresistible, this cheesecake offers all the flavors you love without the fuss and heat of baking, making it a crowd-pleaser.
- Healthy Chocolate Avocado Mousse: A surprisingly rich and decadent yet healthy dessert that’s incredibly smooth and chocolatey, made with wholesome ingredients and no baking required.