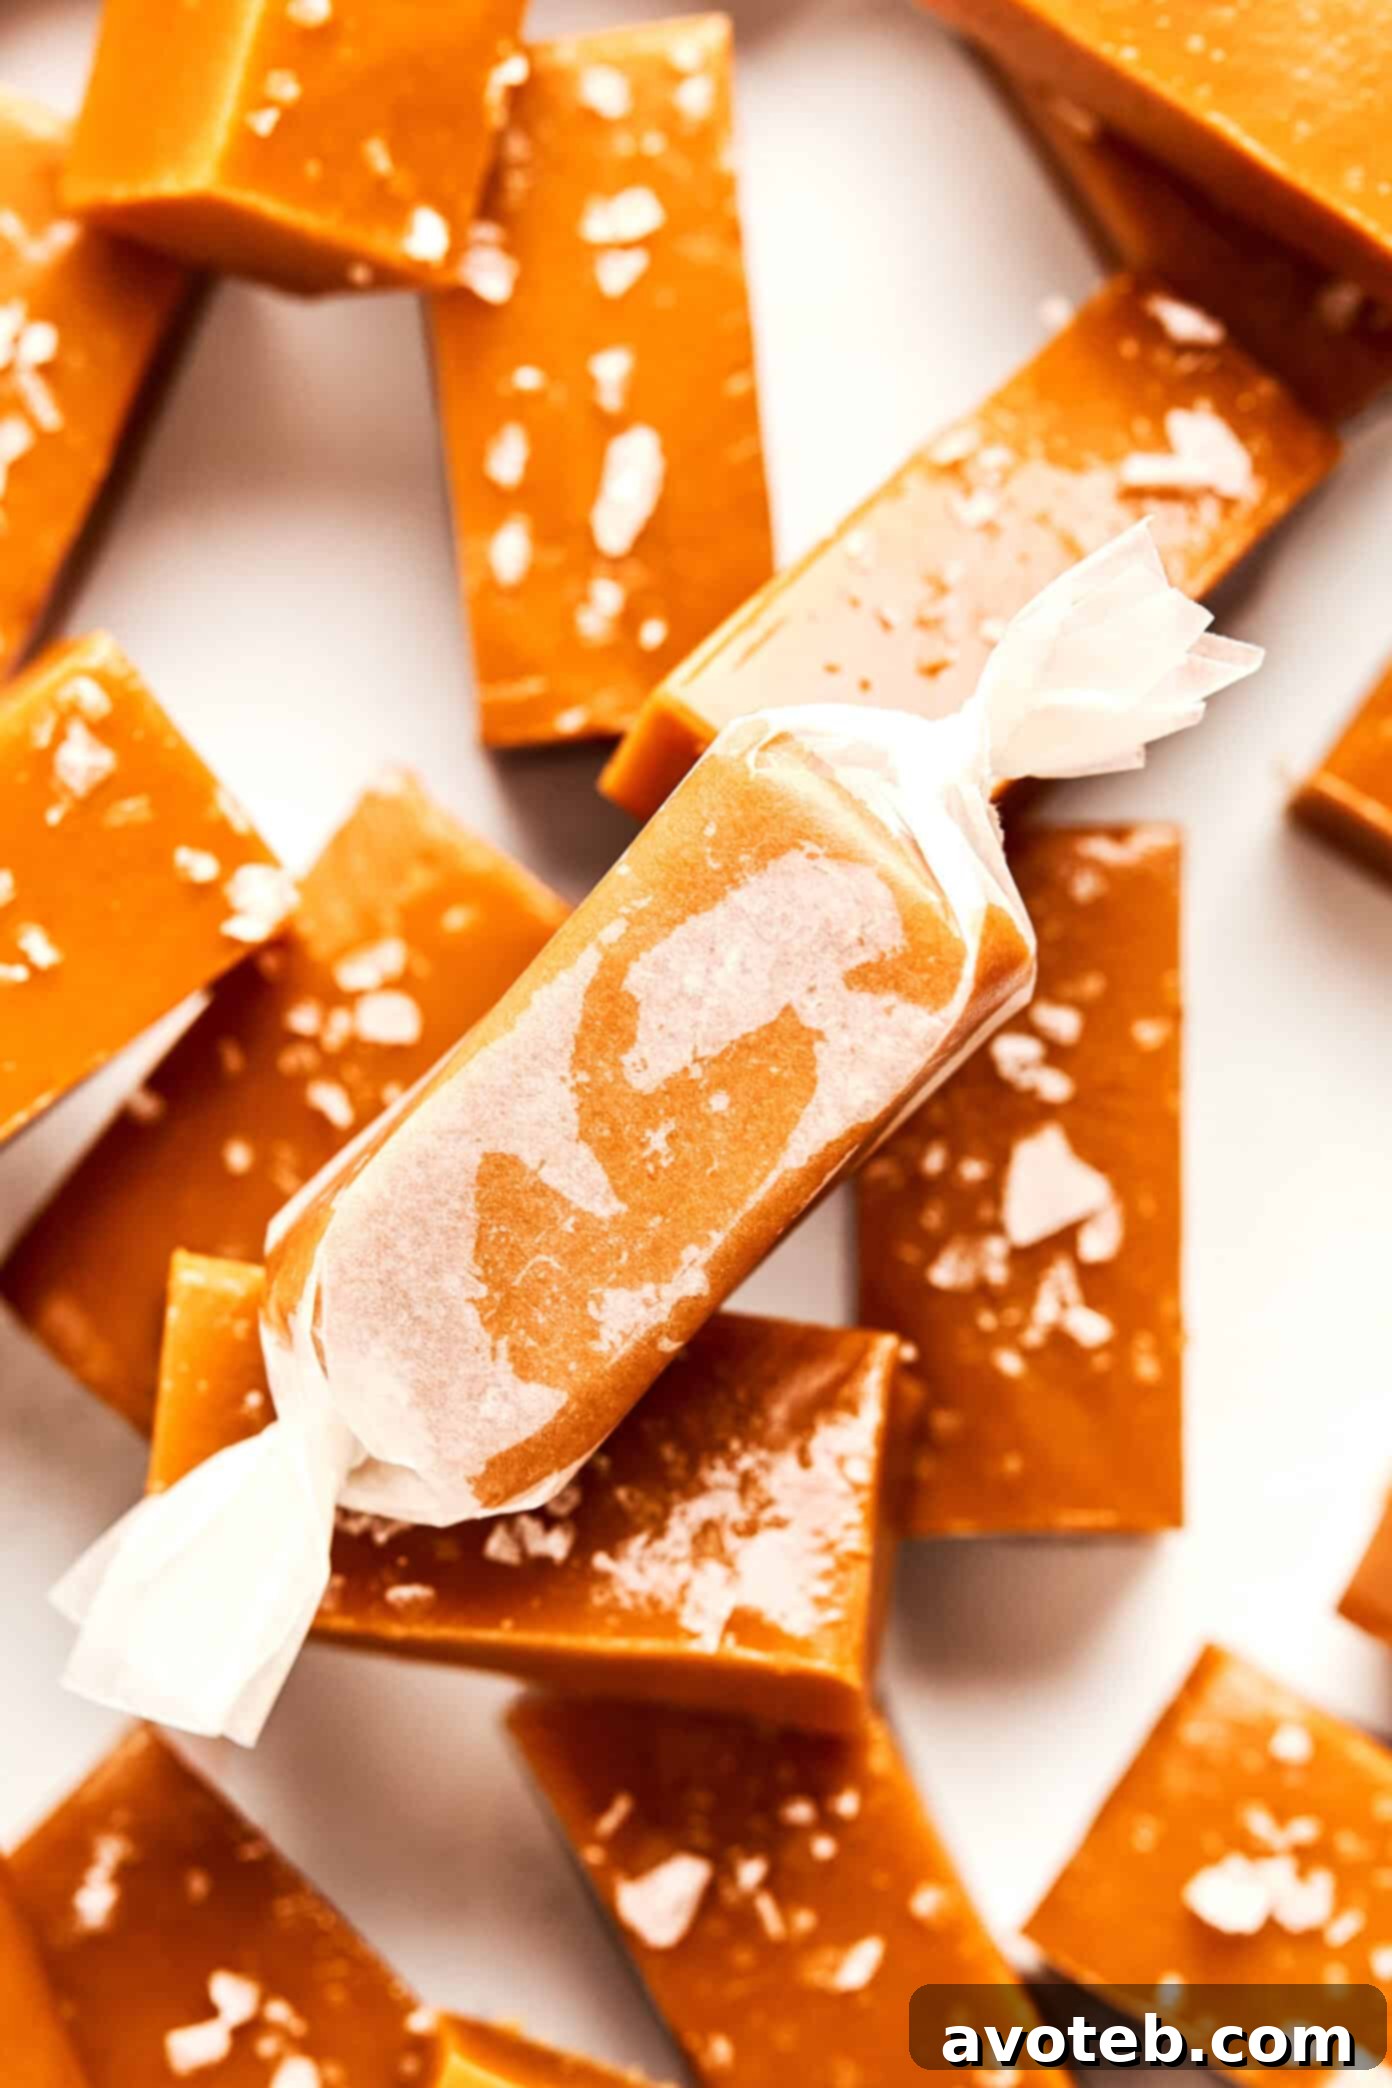
Homemade Salted Caramels: A Sweet & Simple Recipe
Indulge in the rich, buttery goodness of homemade salted caramels. This recipe is surprisingly easy, and the results are simply divine. Perfect for gifting, holiday treats, or just a satisfying sweet snack.
Why You’ll Love These Homemade Salted Caramels
If you’ve never experienced the joy of making homemade caramels, you’re in for a real treat! The process is much simpler than you might think, and the flavor is out of this world. These caramels are buttery, soft, chewy, and utterly irresistible.

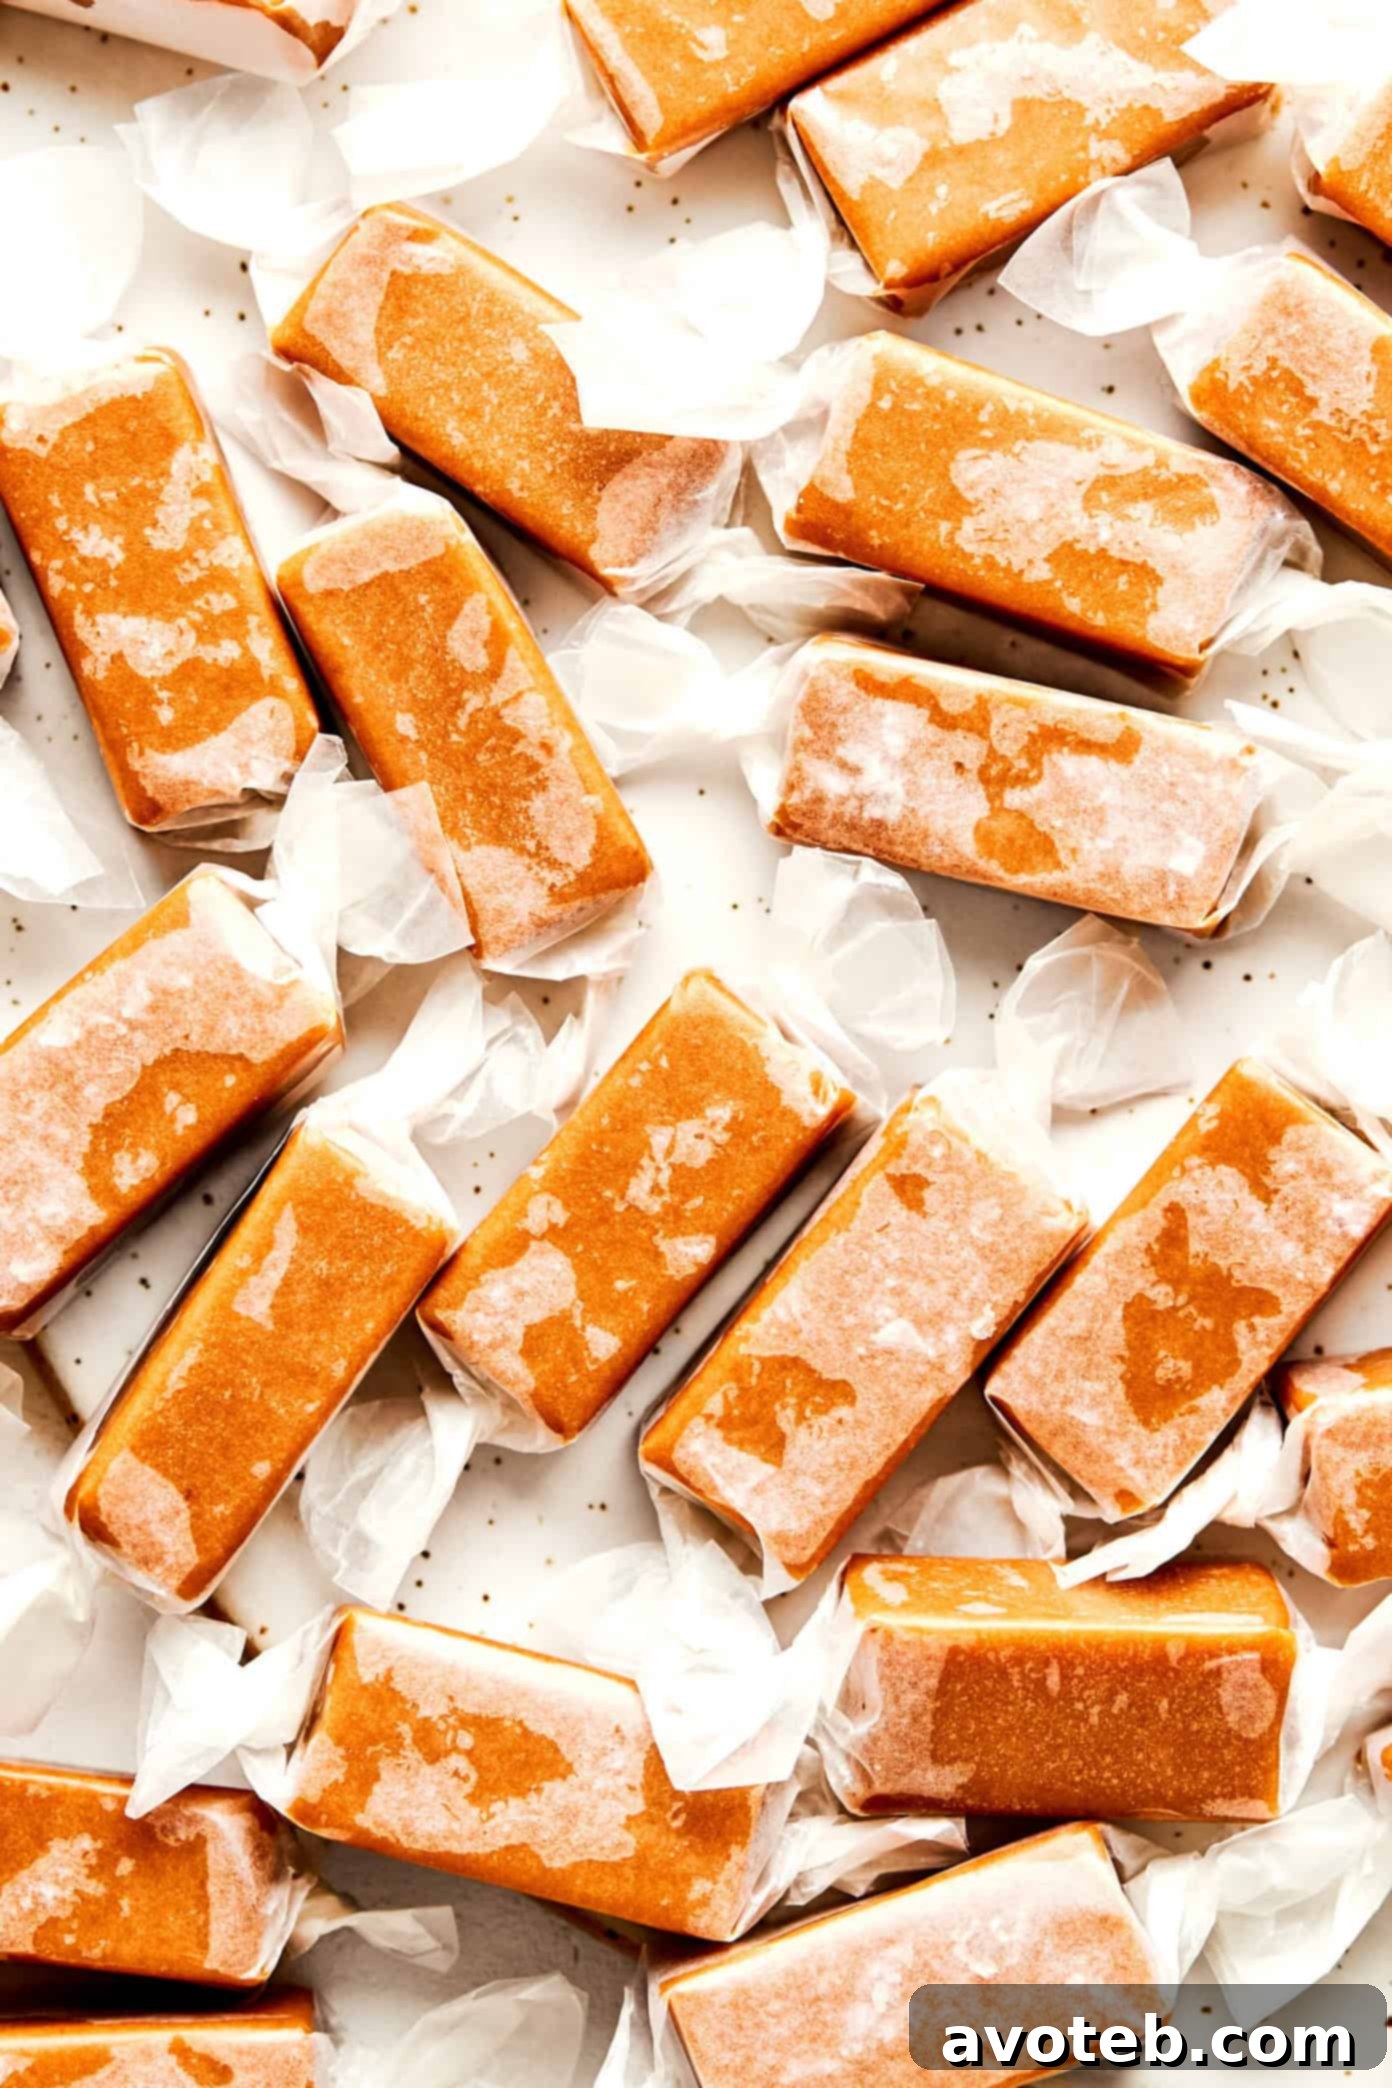
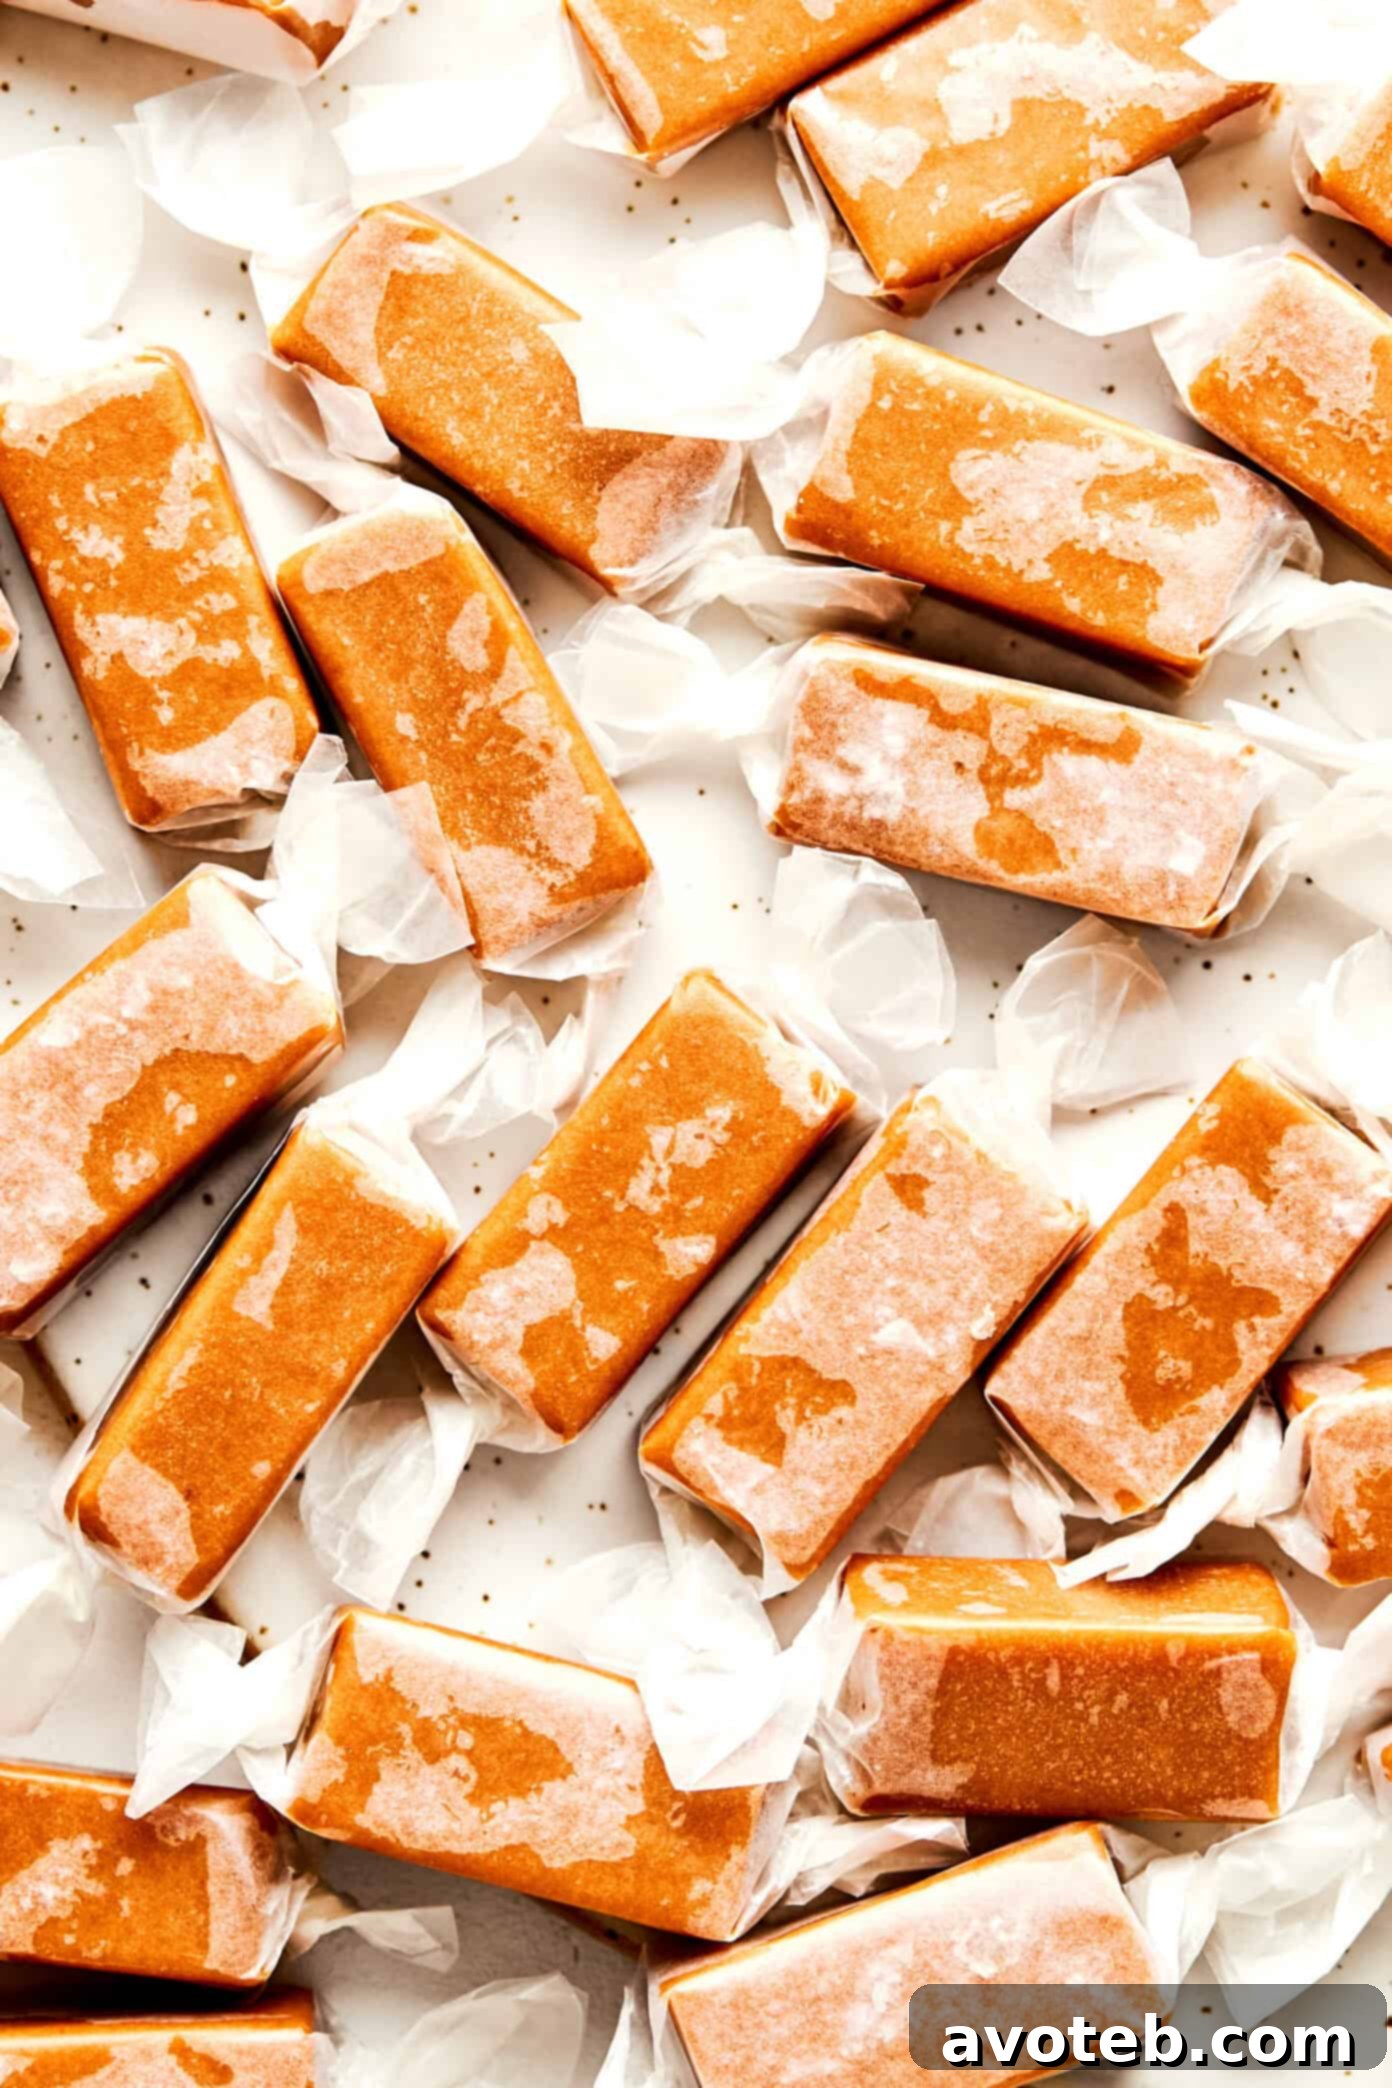
With just a handful of pantry staples and a little patience simmering on the stove, you can transform simple ingredients into a luscious, golden caramel. Once cooled, these caramels slice into perfect squares, ready to be sprinkled with flaky sea salt. Wrap them in wax paper or cellophane, package them in jars or tins, and you have the perfect homemade gift, or a treat to share (or not!) with your loved ones. Honestly, I’m addicted to these little bites of heaven!
If you’re new to the caramel-making adventure, I highly recommend taking a few minutes to read through the tips below. It’s not a difficult process, but a little guidance can make all the difference. Trust me, the payoff is more than worth it for caramel lovers like myself. So, let’s dive in and create some caramel magic!
Recipe Tips for Perfect Salted Caramels
Making caramel can seem daunting, but with these helpful tips, you can ensure soft, chewy, and perfectly set caramels every time:
- Avoid European Butter: European-style butters often have a higher butterfat content. While delicious in some applications, it can cause the caramel to separate or set too softly in this recipe. Stick to standard American unsalted butter for the most reliable texture.
- Invest in a Reliable Candy Thermometer: Temperature is crucial for caramel making. Hitting the sweet spot of 240–243°F (115–117°C) is essential for achieving that perfect soft, chewy texture. A candy thermometer is your best friend here. You can find a great candy thermometer here.
- Stir Constantly Towards the End: As the caramel mixture thickens and the temperature climbs, it becomes more prone to scorching. Constant stirring prevents hot spots and ensures even cooking.
- Patience is Key: Making caramel is not a race. The cooking process can take anywhere from 45 to 60 minutes, sometimes even longer. Don’t rush it! Slow and steady wins the caramel game.
- Use a Heavy-Bottomed Pot: A heavy-bottomed saucepan helps to distribute heat evenly and prevent scorching. Thin pots can create hot spots, leading to grainy or burnt caramel.
- Timing the Salt: Sprinkle the flaky sea salt on the caramel approximately 10 minutes after pouring it into the pan. This allows the caramel to set enough to hold the salt, but it’s still slightly warm, ensuring the salt adheres properly. You can get high-quality sea salt here.
- Easy Clean-Up Trick: Don’t dread the sticky pot! Simply fill it with hot water and simmer for a few minutes. The sugar will melt right off, making cleanup a breeze.
Recipe Variations: Customize Your Caramels!
Want to get creative and personalize your caramels? Try these fun add-ins and swaps for a unique twist:
- Espresso Caramels: Stir in 1 teaspoon of instant espresso powder along with the vanilla extract for a coffee kick.
- Bourbon Caramels: Add 1–2 tablespoons of your favorite bourbon off the heat for a warm, boozy flavor. Make sure to stir well!
- Vanilla Bean Caramels: Instead of vanilla extract, scrape the seeds from 1 vanilla bean and add them to the caramel mixture.
- Chocolate-Dipped Caramels: Once the caramels are cooled and cut into squares, dip them halfway in melted dark chocolate and sprinkle with sea salt for a decadent treat.
- Spiced Caramels: Add ½ teaspoon of cinnamon or chai spice blend to the caramel mixture for a warm, cozy flavor.
- Toasted Nut Topping: Before the caramel fully sets, press finely chopped toasted pecans or almonds into the surface for added crunch and flavor.
Frequently Asked Questions (FAQ)
- Can I double the recipe?
- Absolutely! Just make sure your saucepan is large enough to accommodate the increased volume, as the caramel bubbles up significantly during cooking.
- How long do homemade caramels keep?
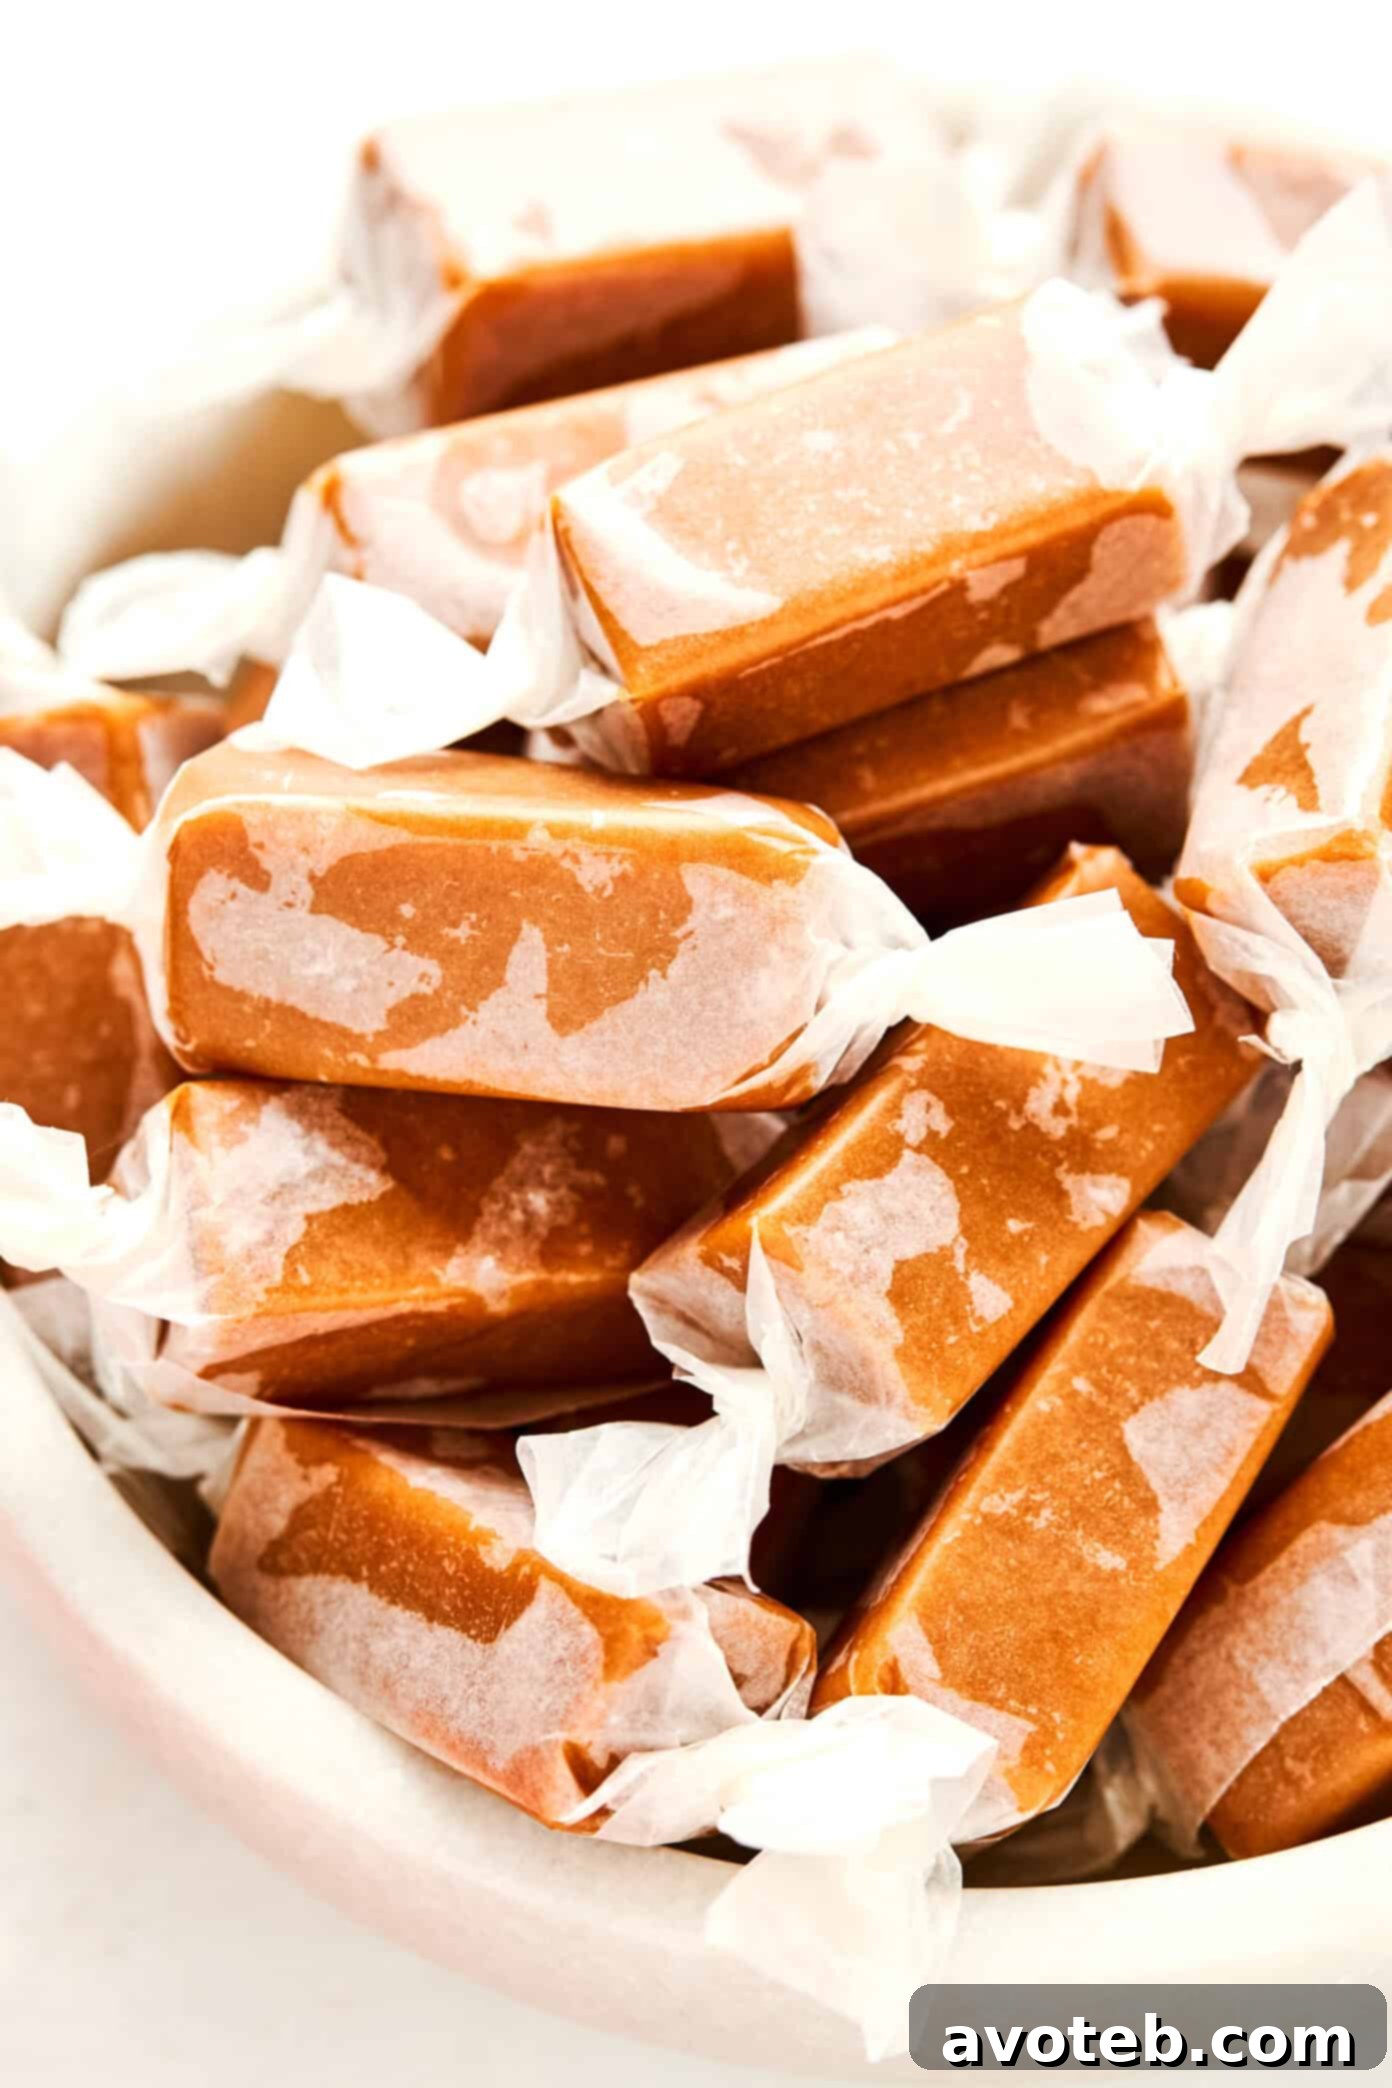
- When wrapped tightly in wax paper or cellophane, homemade caramels will keep for approximately 2–3 weeks at room temperature. For longer storage, they also freeze well for a few months.
- Why did my caramels turn grainy?
- Graininess in caramel typically occurs when sugar crystals form on the sides of the pot. To prevent this, stir the mixture gently and avoid scraping the sides of the pot while pouring the caramel into the prepared pan.
- Can I skip the corn syrup?
- Corn syrup plays a crucial role in preventing crystallization and ensuring a smooth texture. I don’t recommend skipping it in this recipe.
More Caramel Recipes to Try!
If you enjoyed this salted caramel recipe, be sure to check out these other delicious caramel-inspired creations:
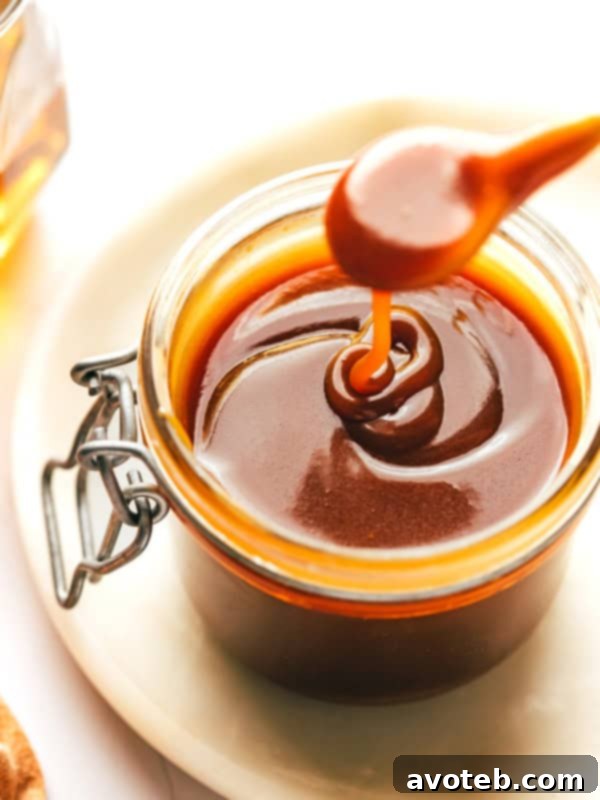
Bourbon Caramel Sauce
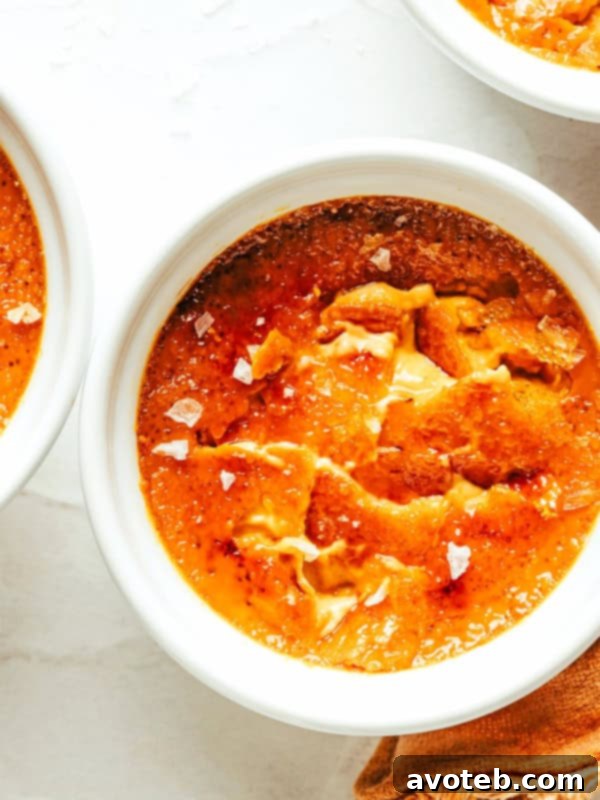
Salted Caramel Crème Brûlée

Easy Kettle Corn
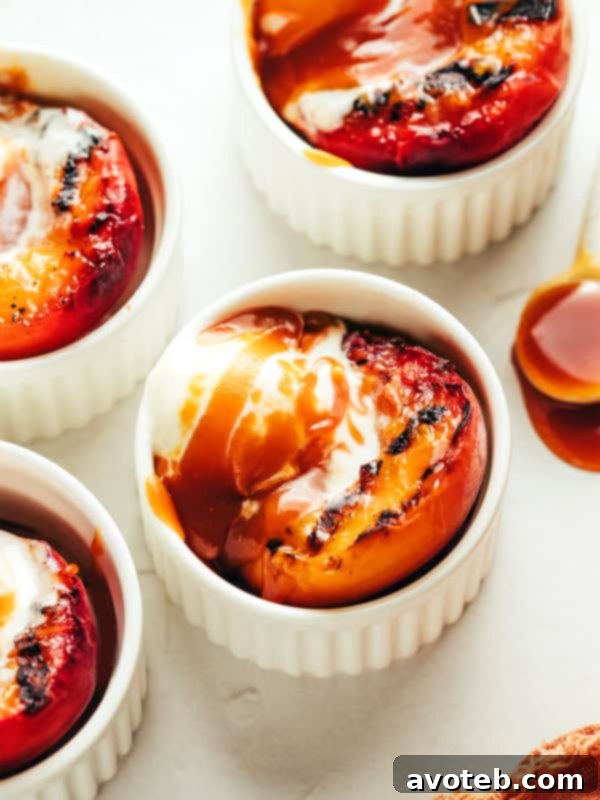
Grilled Peaches with Bourbon Caramel Sauce
Homemade Salted Caramels Recipe
This recipe yields about 50 delicious salted caramels. Get ready for a delightful treat!
Ingredients
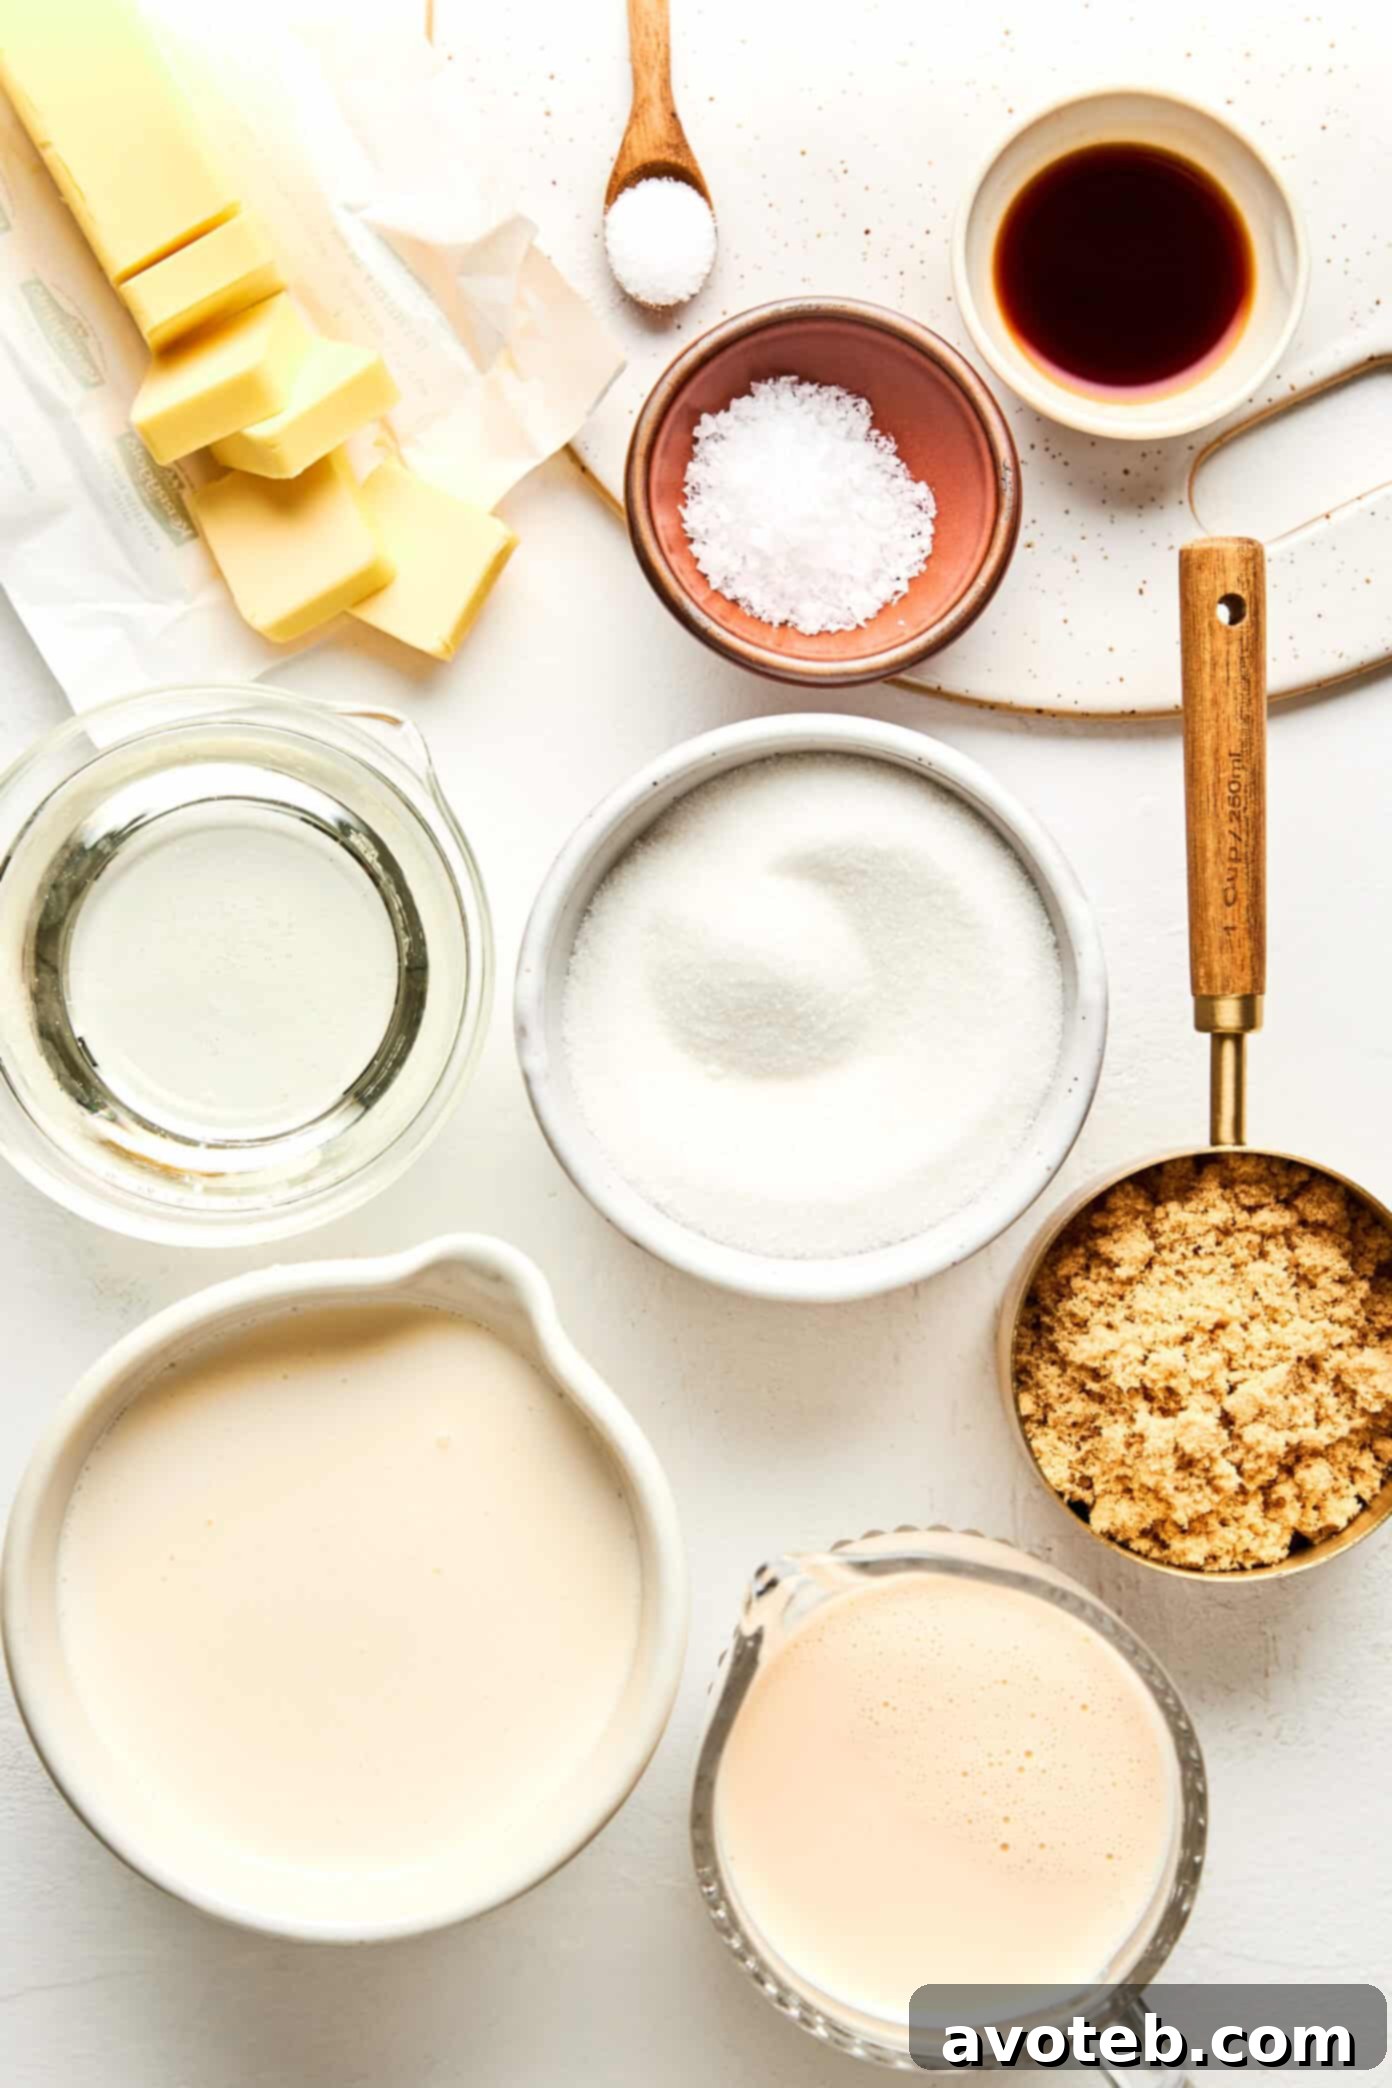
- ¾ cup (150g) granulated sugar
- ¾ cup (150g) light brown sugar, firmly packed
- 1 (12-ounce) can evaporated milk
- 1 ½ cups (354ml) heavy cream
- ¾ cup (255g) light corn syrup
- ½ cup (113g) unsalted butter
- 1 teaspoon fine sea salt
- 2 teaspoons vanilla extract
- Flaky sea salt, for topping (Get yours here)
Instructions
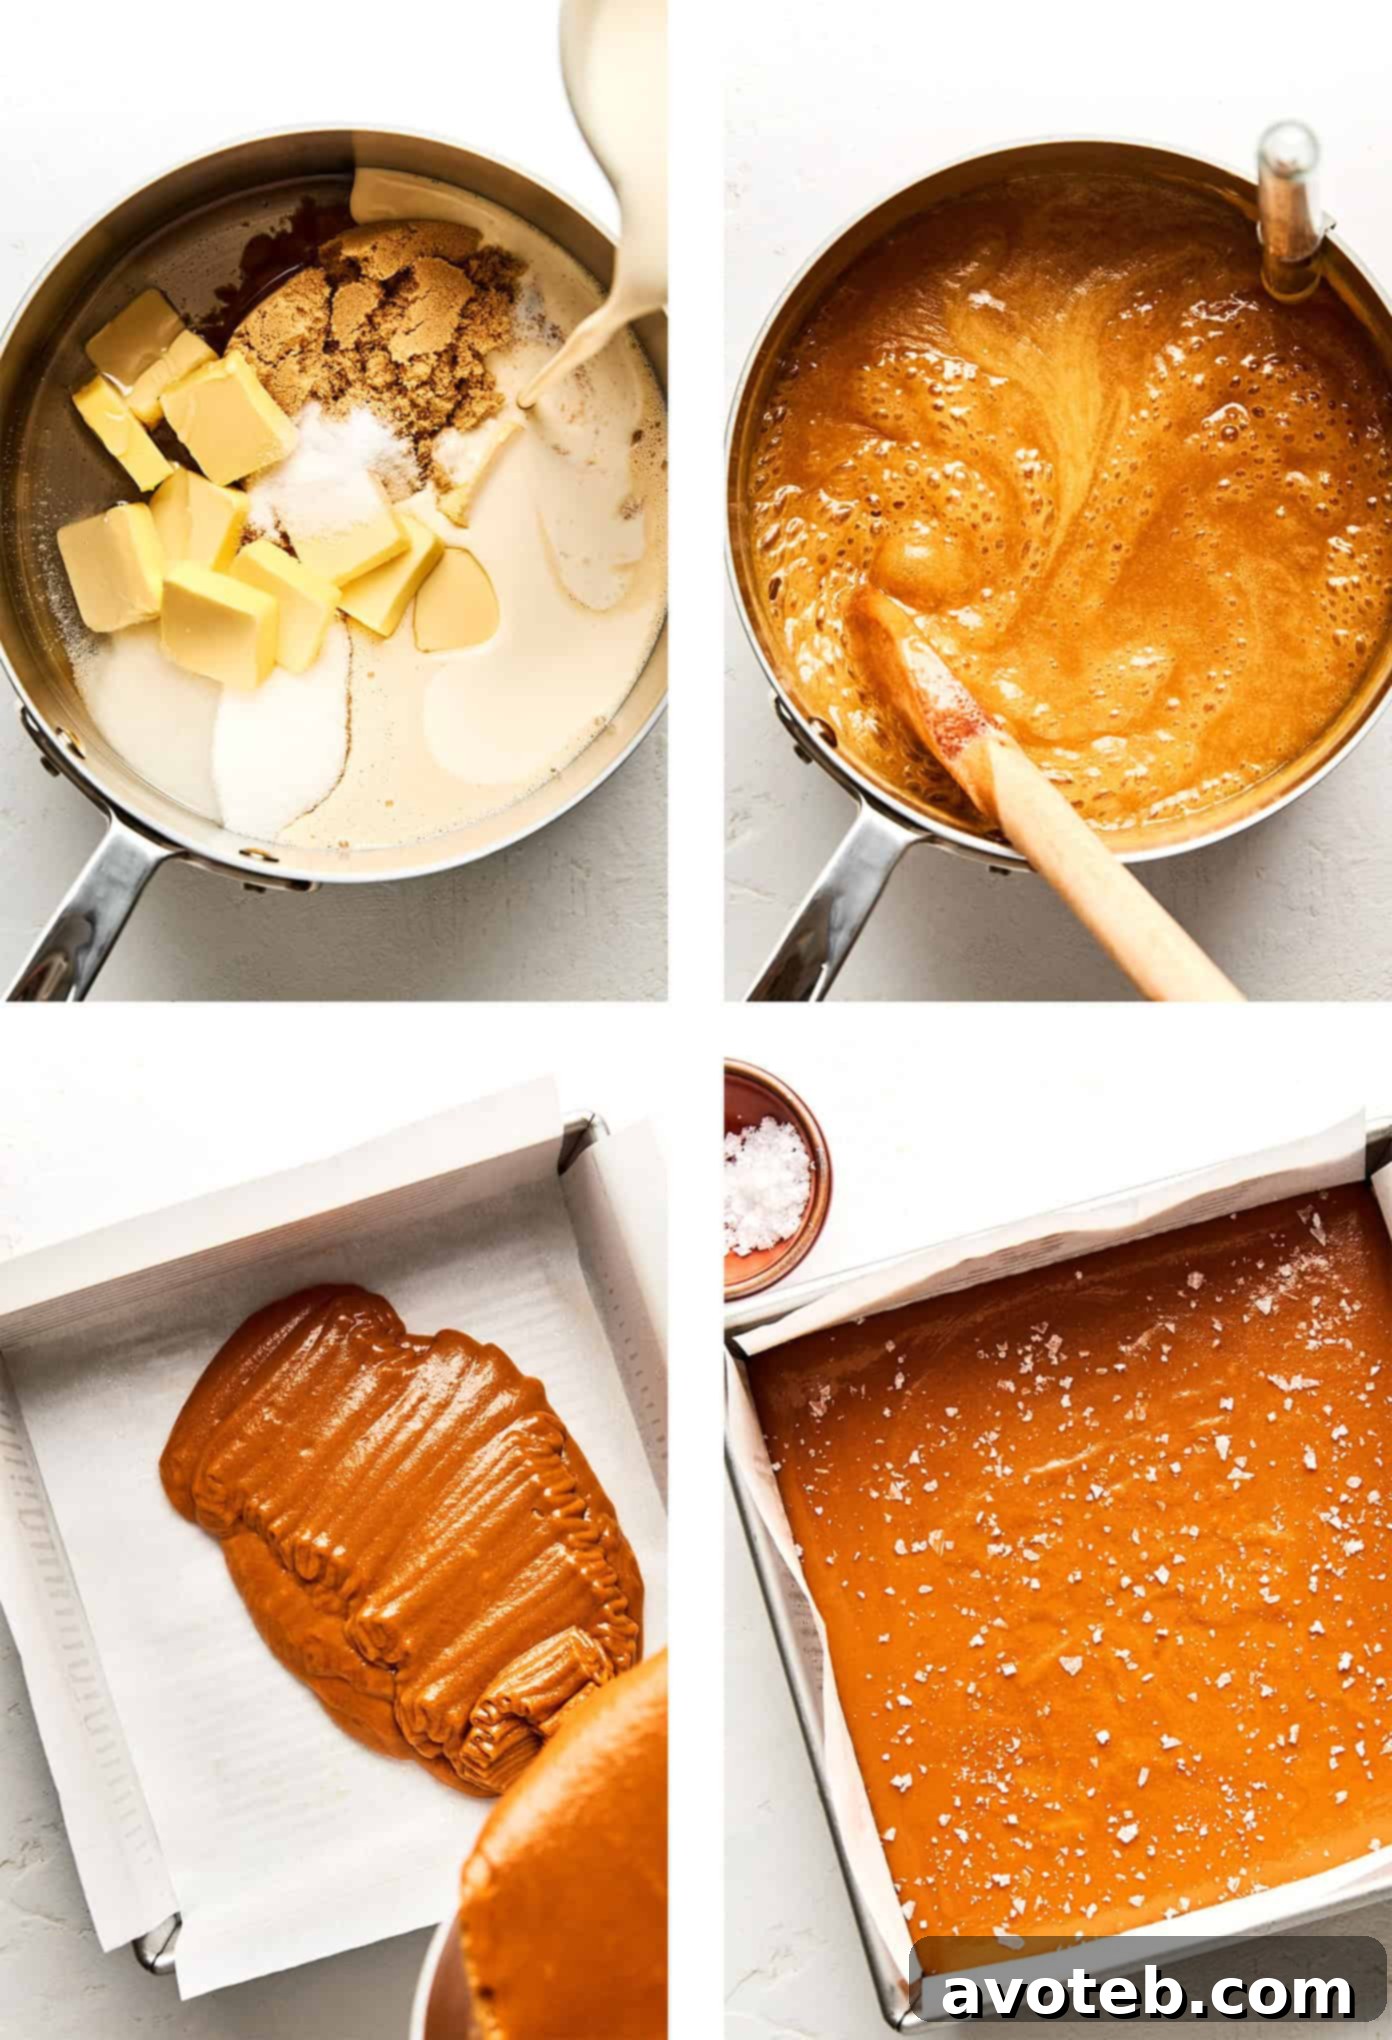
- Prepare the pan: Line an 8×8-inch baking pan with parchment paper and lightly butter or spray it. Set aside. You can find an 8×8 baking pan here.
- Combine ingredients: In a large heavy-bottomed saucepan, add the granulated sugar, brown sugar, evaporated milk, heavy cream, corn syrup, butter, and salt.
- Heat mixture: Place over medium heat and cook, stirring frequently, until the butter has fully melted and the mixture is smooth.
- Cook to temperature: Attach a candy thermometer to the pan (making sure it doesn’t touch the bottom). Stir constantly as the mixture cooks until it reaches 240–243°F (115–117°C). This can take 45–60 minutes — be patient! 🙂
- Cool and set: Remove from heat and stir in the vanilla extract. Immediately pour the caramel into the prepared pan, smoothing the top with a spatula. Wait 10 minutes then sprinkle with the flaky sea salt as desired. Let cool completely at room temperature for several hours or overnight.
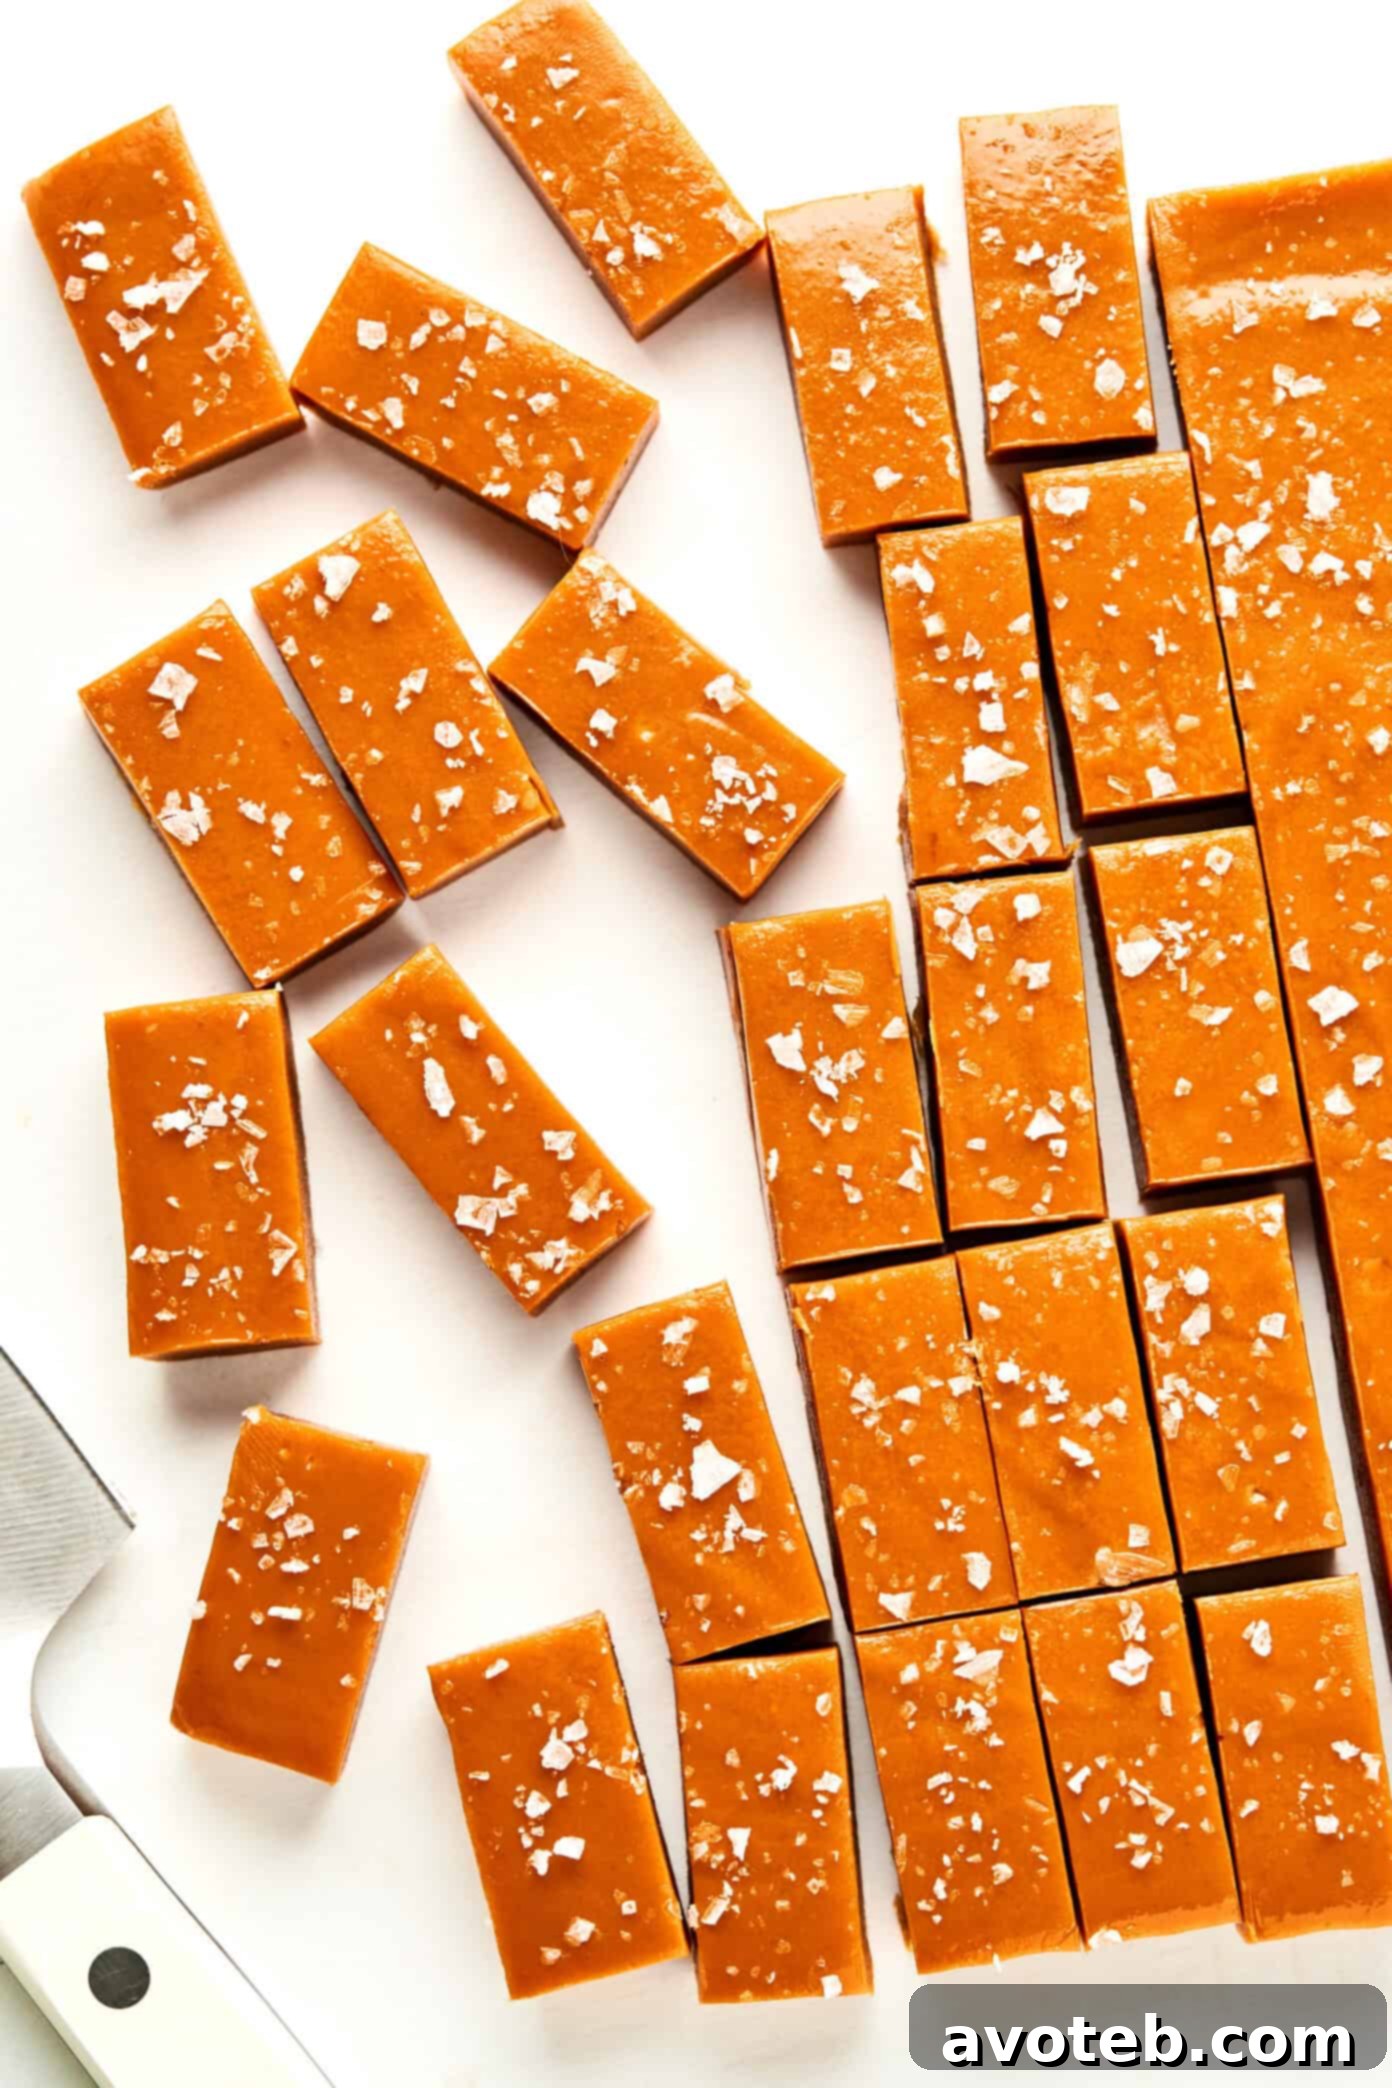
- Cut and wrap: Once set, cut into your desired shapes with a sharp knife. Wrap individually in wax paper or cellophane wrappers (available here), and enjoy!
Recommended Equipment
For best results, consider using the following equipment:
- Candy Thermometer: Essential for accurate temperature readings. Get a reliable one here.
- Parchment Paper: Prevents sticking and makes for easy removal. You can buy parchment paper here.
- 8×8-inch Baking Pan: The perfect size for these caramels. Find the perfect baking pan here.
Enjoy your homemade salted caramels! Don’t forget to share your creations with us on social media. Tag @YourSocialMediaHandle on Instagram and use the hashtag #HomemadeCaramels. Happy cooking!