
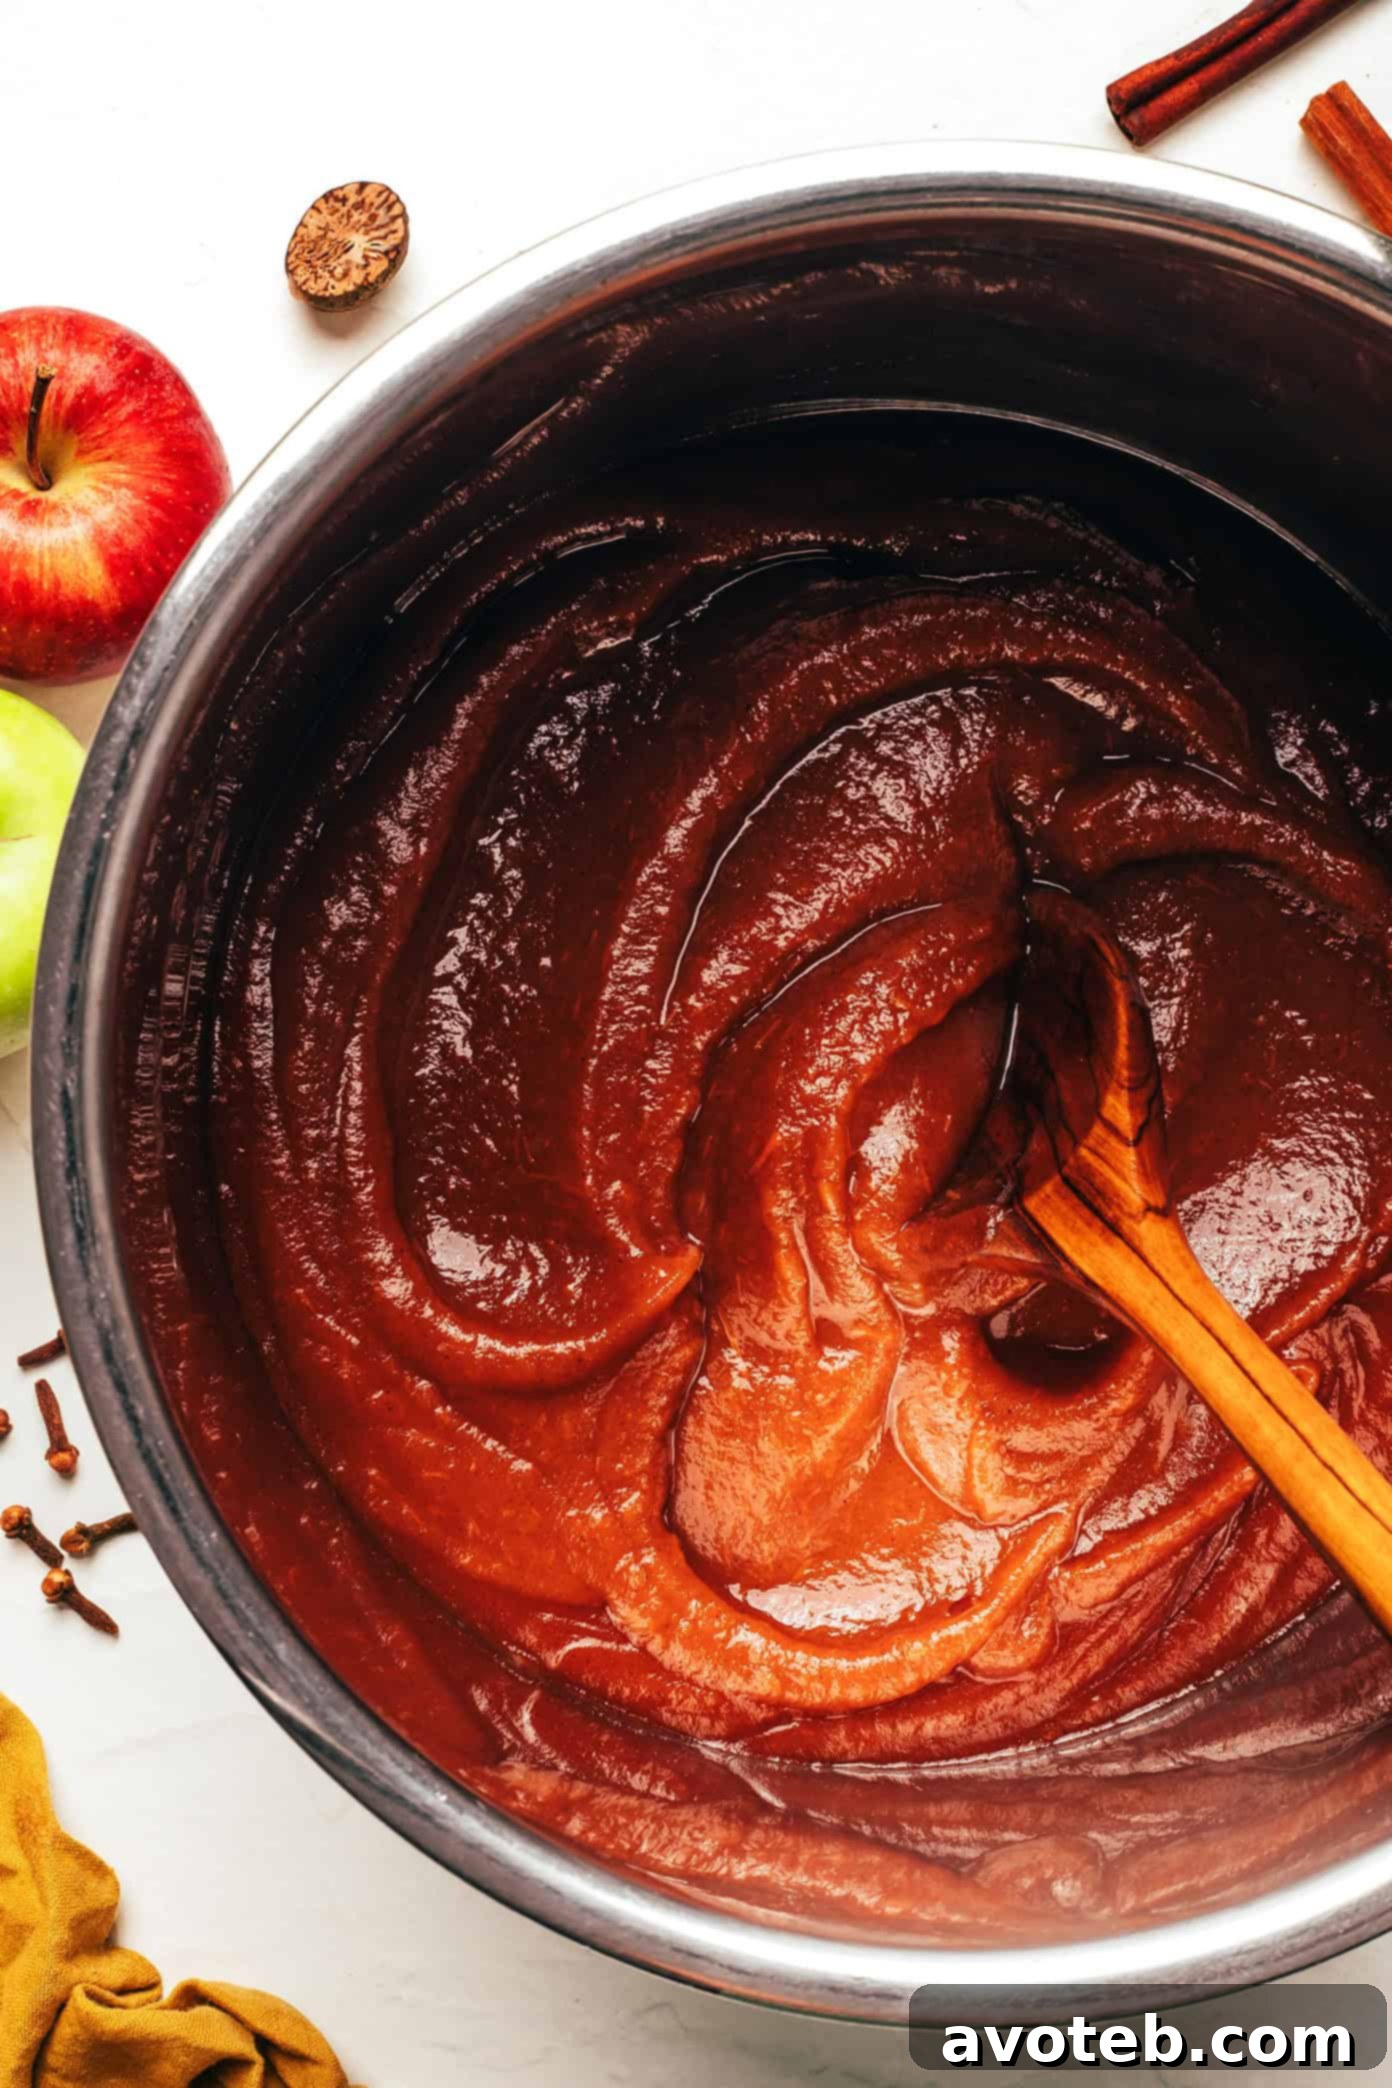
This easy apple butter recipe, simmered with fragrant vanilla and warming spices, is an autumn essential – perfect for spreading, thoughtful gifting, and savoring throughout the season.
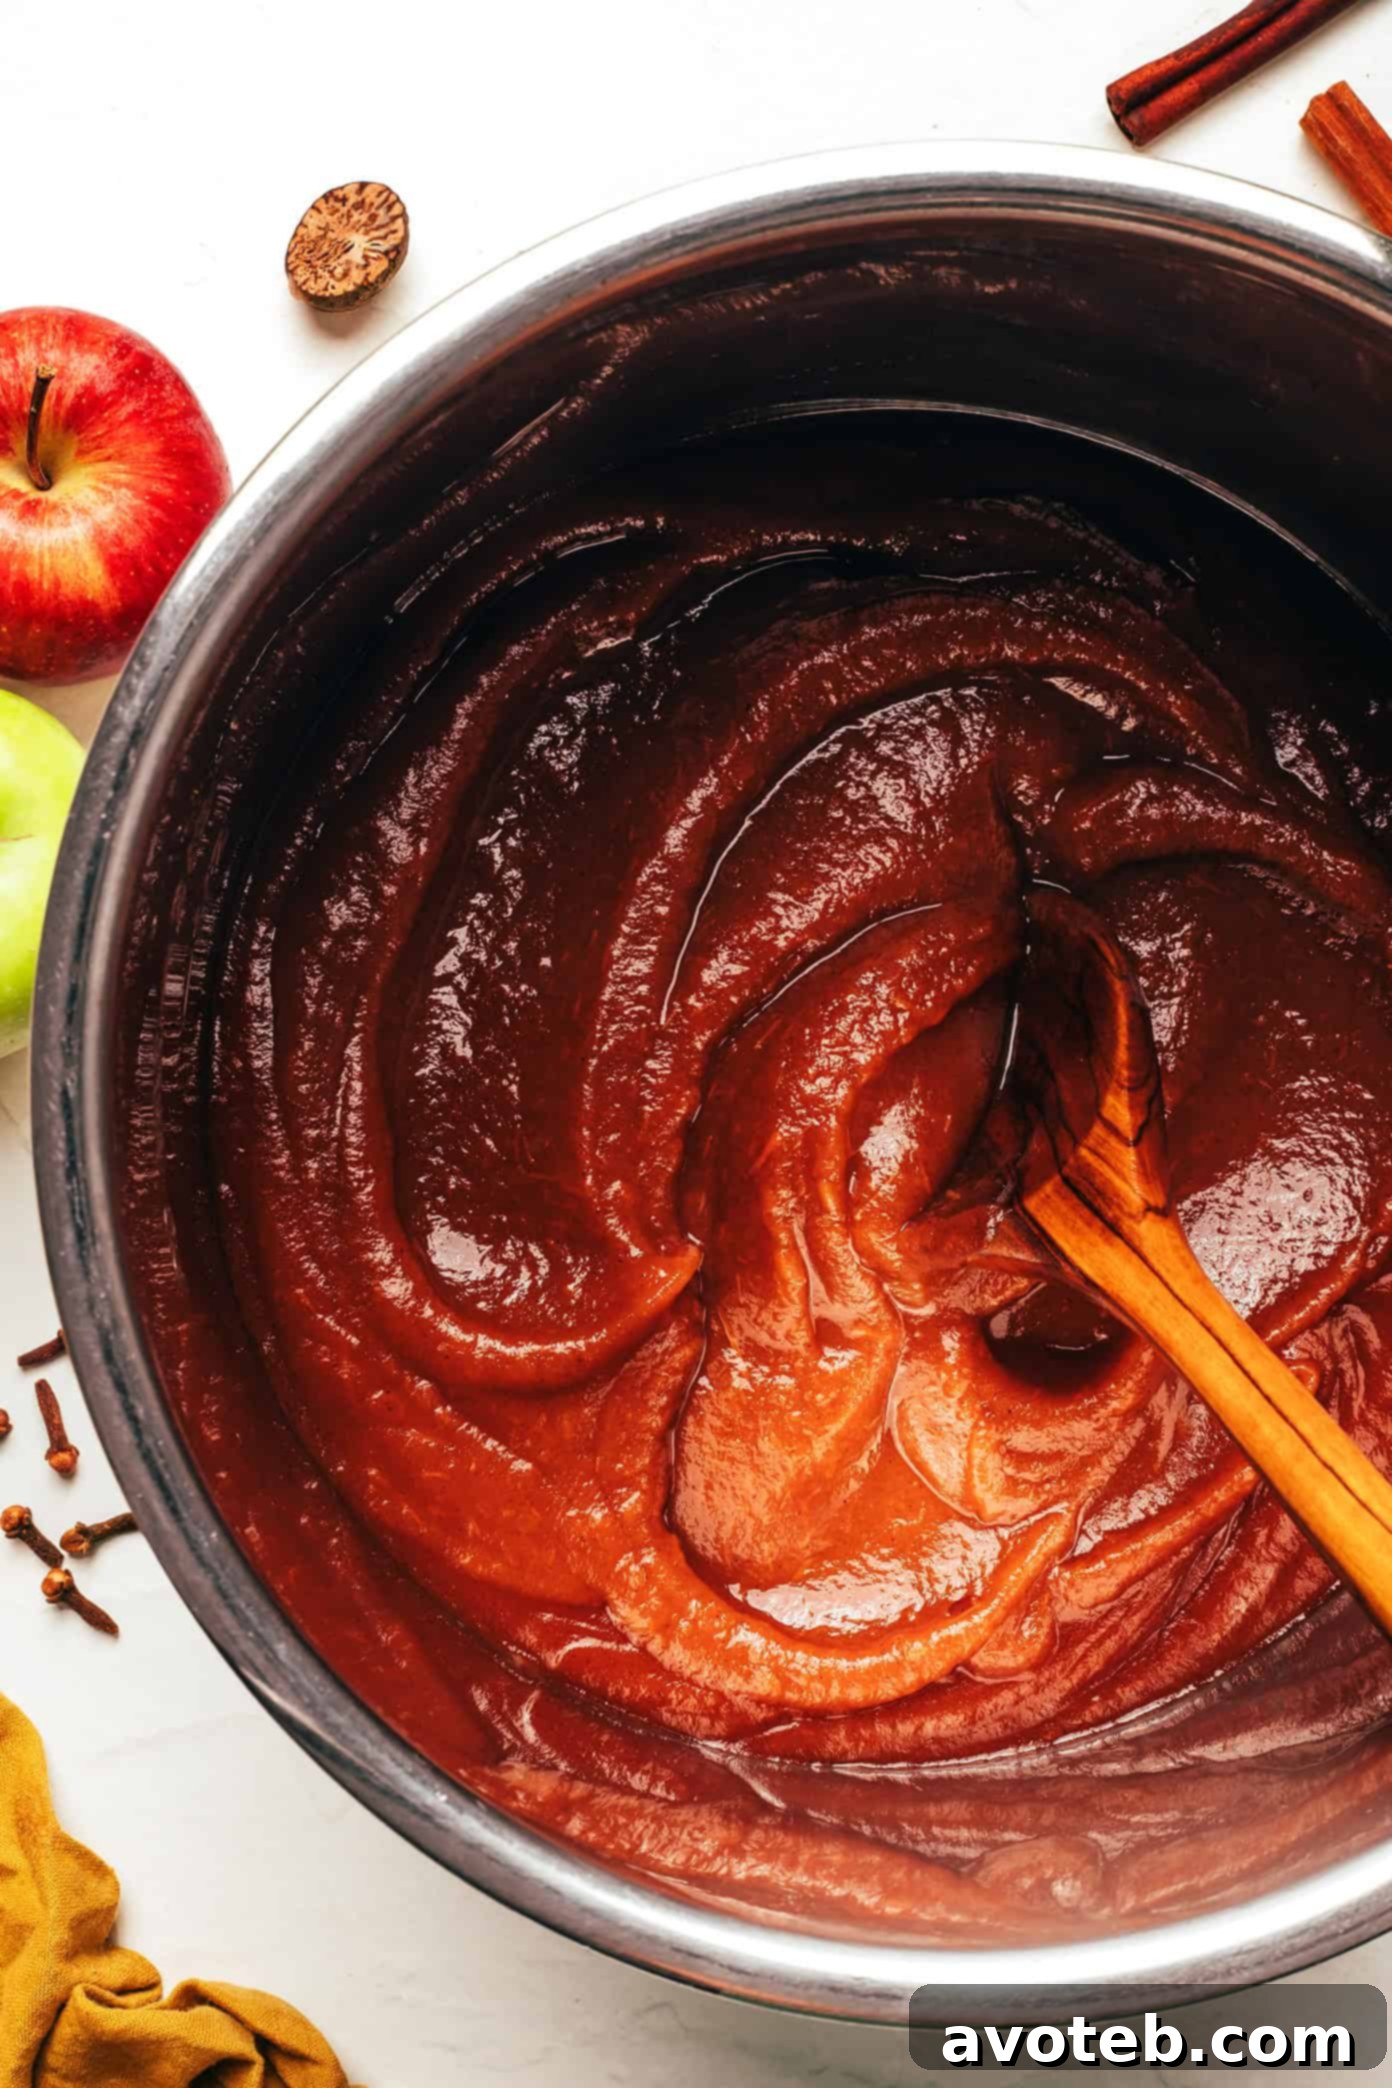
Easy Homemade Apple Butter: A Fall Favorite Recipe

As autumn leaves begin to fall and the air turns crisp, there’s nothing quite as comforting and inviting as the aroma of freshly made apple butter wafting through your home. If you’re searching for a delightful and cozy way to utilize a bountiful harvest of apples, crafting a batch of homemade apple butter is an absolutely brilliant idea. It’s a culinary tradition that brings warmth, sweetness, and a touch of nostalgic charm to any kitchen.
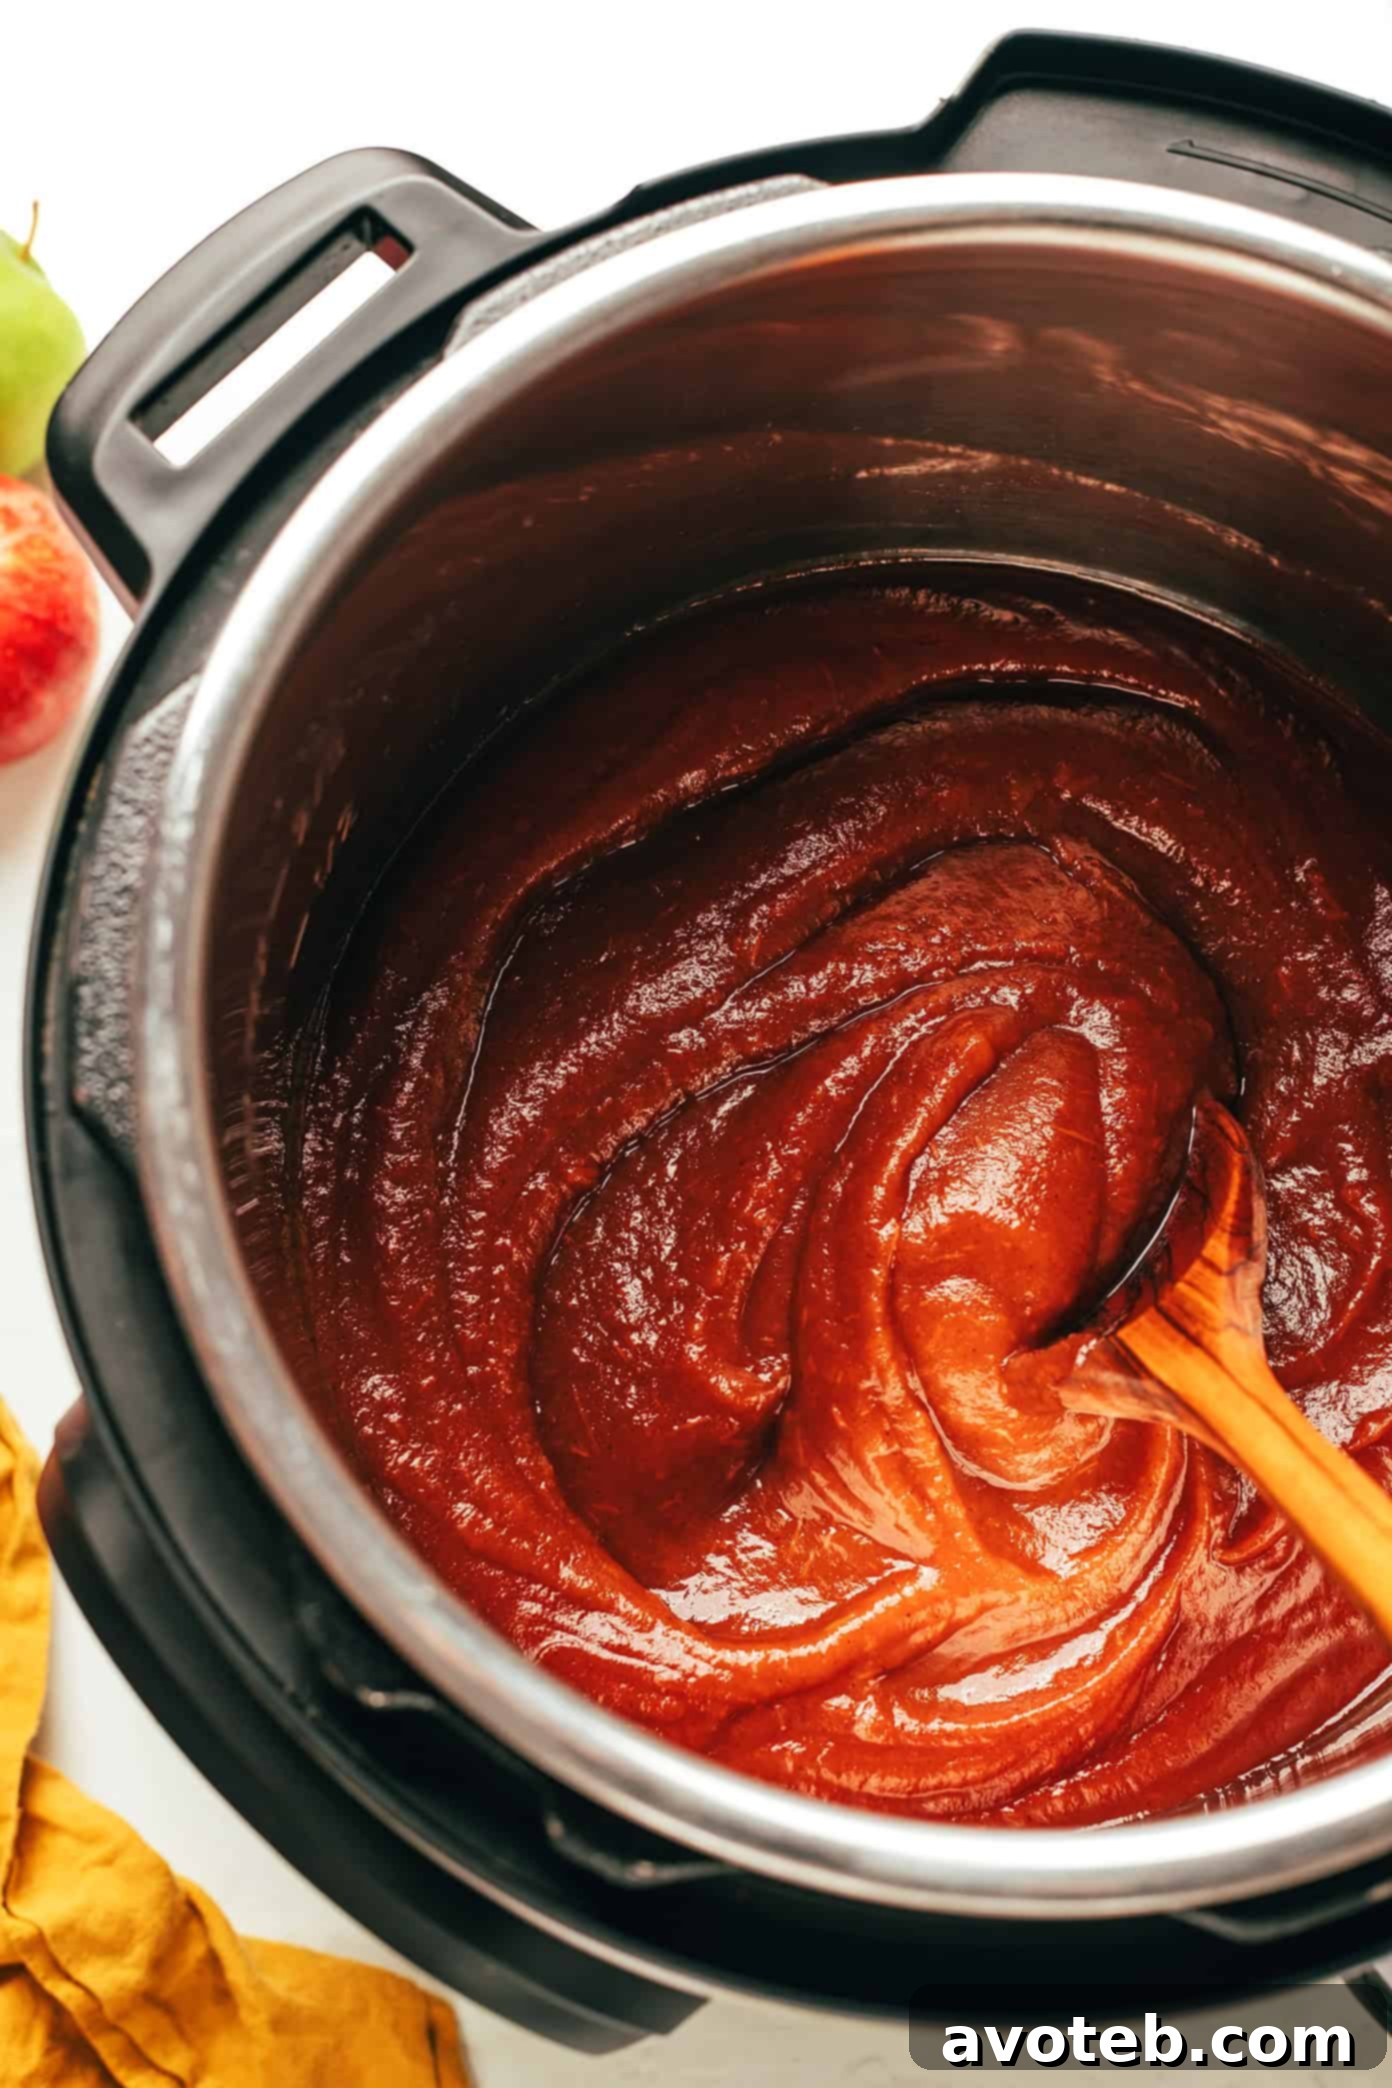
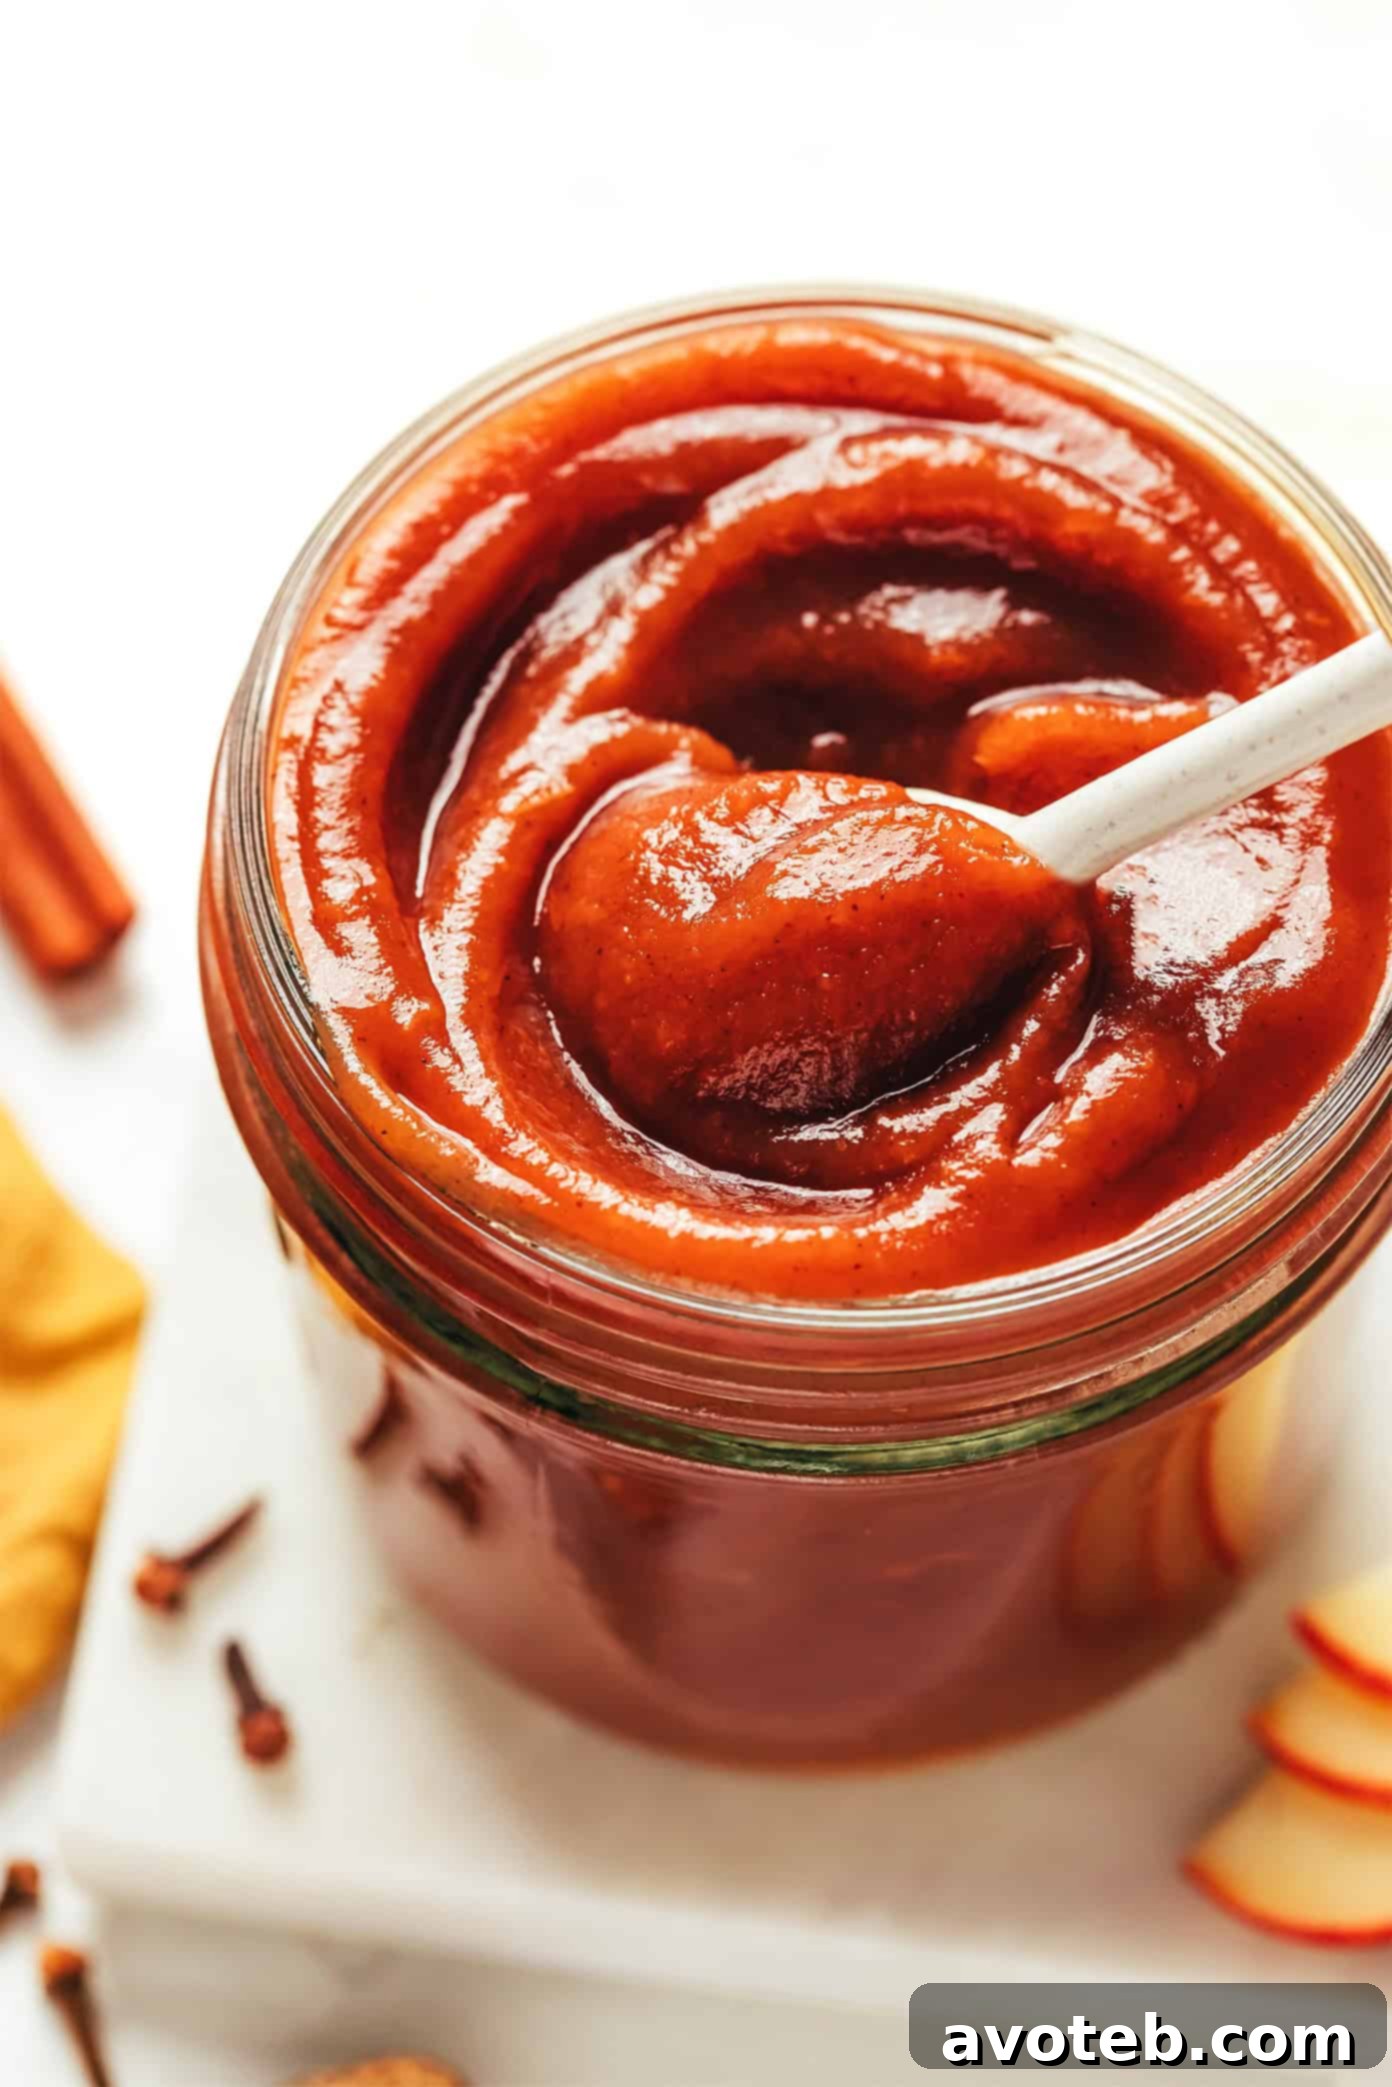
This classic fall recipe effortlessly transforms fresh, vibrant apples into a luxurious, velvety, and deeply caramelized spread. Infused with the irresistible notes of warm vanilla, zesty cinnamon, aromatic cloves, and comforting nutmeg, each spoonful is a taste of seasonal bliss. It’s incredibly versatile, perfect for slathering generously over warm toast or flaky biscuits, stirring into creamy oatmeal or tangy yogurt for a spiced boost, or even elegantly presenting on a cheese board to add a sweet, contrasting element. Beyond its delicious taste, the process of making apple butter is an experience in itself, guaranteed to fill your entire home with an enchanting, heavenly scent as it slowly cooks. Seriously, it’s like bottling autumn itself!
For those who might be new to the world of apple butter, rest assured: it’s surprisingly simple to prepare with just a handful of staple ingredients. To make it even easier, we’ve provided comprehensive instructions for various cooking methods, including the Instant Pot, Crock-Pot (slow cooker), and traditional stovetop. This means you can choose the method that best fits your schedule and kitchen setup. So, let’s gather our ingredients and embark on the wonderfully rewarding journey of making perfect homemade apple butter!
Why Make Homemade Apple Butter?
There are countless reasons to fall in love with homemade apple butter, and even more to choose making it yourself over store-bought versions. Firstly, the unparalleled flavor is a game-changer. When you make it at home, you have complete control over the quality of apples, the amount of sugar, and the intensity of the spices, allowing for a truly personalized and superior taste that mass-produced options simply can’t match. You can adjust the sweetness to your preference, making it as tart or as mellow as you desire, and tailor the spice blend to highlight your favorite autumnal notes.
Secondly, the aroma alone is worth the effort. The act of simmering apples with cinnamon, nutmeg, and cloves transforms your kitchen into a fragrant haven, evoking feelings of comfort, warmth, and the joyful spirit of fall. This natural home fragrance is incredibly inviting and sets a wonderful mood, making it a perfect activity for a cozy weekend at home. It’s an experience that engages more than just your taste buds!
Finally, homemade apple butter makes for truly thoughtful and impressive gifts. Poured into charming jars, adorned with a simple ribbon or a handmade label, it becomes a heartfelt present that friends, family, and neighbors will adore during the holiday season or any time of year. It’s a versatile condiment that speaks of home, care, and deliciousness, making it a treasured addition to any pantry. Plus, knowing exactly what ingredients go into your food provides peace of mind, especially for those with dietary preferences or concerns.
Choosing the Right Apples for Perfect Apple Butter
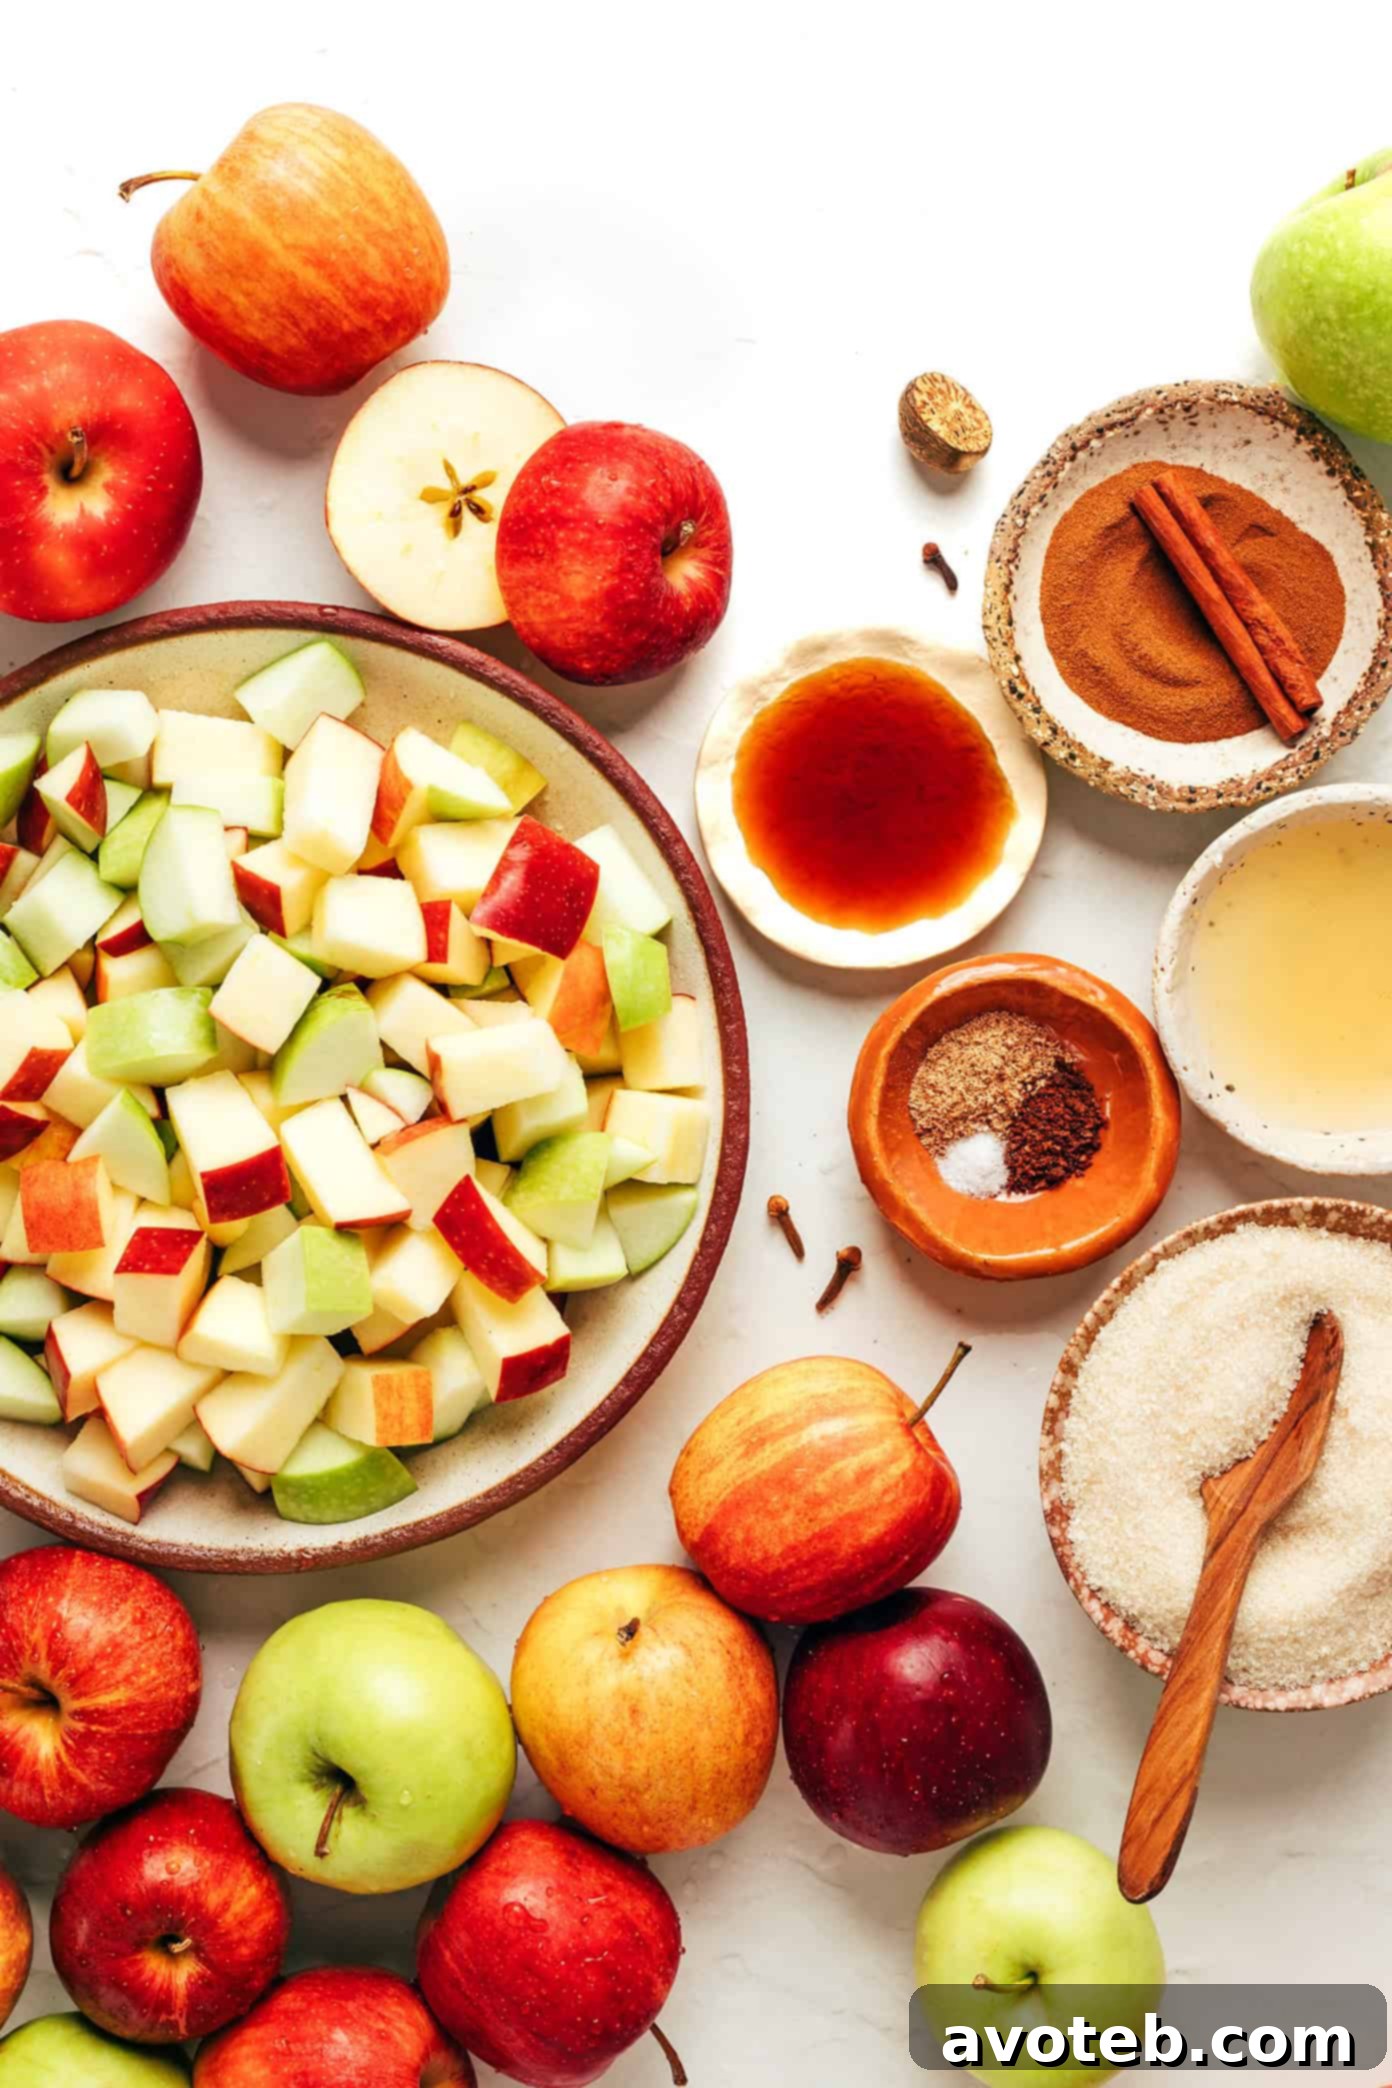
The foundation of exceptional apple butter begins with the apples themselves. While many varieties can be used, the secret to the best depth of flavor and ideal texture lies in using a thoughtful combination of both sweet and tart apples. This blend creates a wonderfully balanced profile that isn’t overly sweet or too sharp. For instance, pairing naturally sweet varieties like Honeycrisp or Fuji with the vibrant tartness of Granny Smith apples yields a complexity that one single apple type simply cannot achieve. The sweet apples contribute to the rich, caramelized notes, while the tart ones add a pleasant zing that prevents the apple butter from being cloying.
Don’t feel obligated to peel your apples! A common misconception is that apple peels need to be removed for smooth apple butter. However, the peels soften completely during the extended cooking process and contribute significantly to the final product. They add natural pectin, which helps to thicken the butter beautifully, provide extra flavor, and lend a deeper, more appealing color to the finished spread. Simply give your apples a good wash, then core and chop them into uniform pieces before cooking. This saves a considerable amount of prep time and enriches your apple butter naturally.
Mastering Apple Butter: Essential Tips for Success
Crafting flawless apple butter is a delightful culinary endeavor, and these straightforward tips will ensure your homemade batch turns out perfectly consistent and delicious every single time:
- Monitor the Thickness Carefully: Apple butter continues to thicken noticeably as it cools, so it’s crucial to remove it from the heat when it looks thick, glossy, and easily spreadable, but perhaps slightly thinner than your final desired consistency. If you find your apple butter becomes too thick after cooling, don’t worry! Simply stir in a splash of warm water or apple juice until it loosens to your preferred texture. Conversely, if it ends up too thin, continue cooking it uncovered over low heat for a few additional minutes, stirring frequently, until it achieves that rich, dense consistency you’re aiming for. Patience here is key to the perfect spread.
- Taste and Adjust Seasoning: Every batch of apples is unique, with varying levels of natural sweetness and acidity depending on the variety and ripeness. Therefore, it’s always a good idea to taste your apple butter before transferring it for storage. This allows you to fine-tune the flavors. You might want to add a bit more sugar if your apples were particularly tart, or a touch more lemon juice to brighten the flavor and balance the sweetness. A pinch more of your favorite spice can also elevate the overall profile. Don’t be afraid to trust your palate!
- Proper Storage for Longevity: Once your luscious apple butter has completely cooled, transfer it into clean, airtight jars. It can be safely refrigerated for up to 2 weeks, making it convenient for everyday use. For longer-term storage, apple butter freezes exceptionally well. Simply store it in freezer-safe containers or jars (leaving a little headspace for expansion) for up to 6 months. Thaw it in the refrigerator overnight when you’re ready to enjoy its rich, spiced goodness again.
Delicious Apple Butter Variations to Explore
While the classic apple butter recipe is absolutely divine, it’s also wonderfully adaptable, inviting you to unleash your culinary creativity! Feel empowered to experiment with your favorite flavors and additional ingredients to craft a truly unique spread. Here are a few simple yet impactful ways to customize your apple butter:
- Embrace Maple Sweetness: For a deeper, more complex sweetness with rich caramel undertones, consider swapping a portion, or even all, of the granulated or brown sugar with pure maple syrup. Maple syrup not only sweetens but also adds a distinctive warmth that complements the apple and spice flavors beautifully, making it an excellent choice for a truly autumnal twist.
- Add a Zesty Ginger Kick: If you enjoy a touch of warmth and a lively zing, incorporate 1 to 2 teaspoons of freshly grated ginger or a small pinch of ground ginger into your apple butter. Ginger pairs exceptionally well with apples and cinnamon, adding a subtle peppery note and a refreshing bite that can brighten the entire flavor profile. Start with a smaller amount and add more to taste.
- Infuse with Bourbon: For an adult-friendly twist that adds incredible depth and sophistication, stir in a tablespoon or two of good quality bourbon after you’ve blended the apple butter smooth. The alcohol will quickly cook off, leaving behind a subtle, warm, and woody flavor that beautifully enhances the caramelized apple notes. This variation is particularly wonderful when served with desserts or on a gourmet cheese board.
- Create a Chunky, Rustic Texture: If you prefer a less refined, more textured spread reminiscent of a thick applesauce, skip the immersion blender or food processor entirely. Instead, simply mash the cooked apples with a potato masher until you reach your desired level of chunkiness. This provides a delightful, rustic mouthfeel that can be very appealing, especially for those who enjoy a bit of fruit texture in their spreads.
Versatile Ways to Enjoy Your Homemade Apple Butter
Once you’ve successfully created a batch of this golden, spiced goodness, you’ll discover a multitude of incredibly delicious ways to enjoy it! Apple butter isn’t just for breakfast; its rich flavor and smooth texture make it a versatile ingredient for nearly any meal. Here are some of our absolute favorite applications:
- Classic Breakfast Spreader: The most iconic use! Generously spread it on warm, crusty toast, fluffy English muffins, or flaky homemade biscuits for a quintessentially cozy fall breakfast. The warmth of the bread melts the butter slightly, releasing even more of its delightful aroma.
- Oatmeal or Yogurt Enhancer: Swirl a few spoonfuls into your morning bowl of oatmeal or a serving of plain Greek yogurt. It instantly adds a natural sweetness, a creamy texture, and a burst of those comforting fall spices, elevating a simple breakfast into something truly special and nourishing.
- Elegant Cheese Board Addition: Elevate your appetizer game by serving apple butter alongside a selection of cheeses and crackers. It pairs exceptionally well with sharp cheddar, creamy brie, or pungent blue cheese, offering a sweet counterpoint that delights the palate and makes your cheese board feel gourmet.
- Savory Glaze for Meats and Vegetables: Don’t limit apple butter to sweet dishes! Its natural sweetness and spice make it a fantastic glaze for savory items. Brush it onto pork chops, roasted chicken, or root vegetables (like carrots or sweet potatoes) during the last few minutes of cooking for a beautiful caramelization and an unexpected burst of flavor.
- Baking Booster: Incorporate apple butter into your baking for an extra layer of moisture, flavor, and natural sweetness. Add a few generous spoonfuls to your muffin batter, quick breads, or cakes. It can even partially replace some of the oil or sugar in certain recipes, contributing to a tender crumb and a delightful apple-spice essence.
- Flavorful Sauce or Marinade Stir-In: For a unique sweet-savory twist, stir a tablespoon or two of apple butter into your barbecue sauces, pan sauces for roasted meats, or marinades. It adds a fruity depth and a hint of spice that can transform everyday dishes into extraordinary culinary experiences.
- Thoughtful Homemade Gift: Share the love! Spoon your freshly made apple butter into small, decorative jars, tie them with a festive ribbon, and perhaps add a small handwritten tag. These charming homemade gifts are always a huge hit around the holidays or as a thoughtful gesture for friends, neighbors, and teachers.

More Irresistible Apple Recipes to Try!
Apple season offers a bounty of culinary opportunities beyond just apple butter! 🍎 If you’re eager to continue exploring the delightful versatility of apples, here are a few more of our favorite apple recipes that are definitely worth trying next. Each recipe highlights apples in a unique and delicious way, perfect for any occasion:
- Instant Pot Applesauce
- Homemade Apple Cider
- Healthy Apple Muffins
- The BEST Apple Crisp
- Apple Spinach Salad
Print Recipe
Homemade Apple Butter
Discover the warmth of fall with this homemade apple butter recipe. It’s incredibly easy to make, beautifully spiced, and perfect for spreading on toast, stirring into oatmeal, or gifting to loved ones. Choose your preferred cooking method—Instant Pot, Crock-Pot, or stovetop—for a rich, velvety spread that will fill your home with an irresistible aroma.
-
Author:
Ali -
Prep Time:
20 mins -
Cook Time:
40 mins -
Total Time:
1 hour -
Yield:
6 to 8 servings
Ingredients
- 5 pounds apples (a blend of sweet and tart varieties like Honeycrisp, Fuji, and Granny Smith work best for balanced flavor)
- 3/4 cup water
- 1 1/4 cups cane sugar or light brown sugar (adjust to your preference; start with less if you like it less sweet)
- 2 teaspoons ground cinnamon
- 1/2 teaspoon ground nutmeg
- 1/2 teaspoon ground cloves
- 1/8 teaspoon fine sea salt
- 1 tablespoon freshly squeezed lemon juice (add more to taste at the end if desired)
- 2 teaspoons vanilla extract
Instructions
- Prepare the apples: Thoroughly wash, core, and chop the apples. There’s no need to peel them, as the skins soften during cooking and add to the flavor and color.
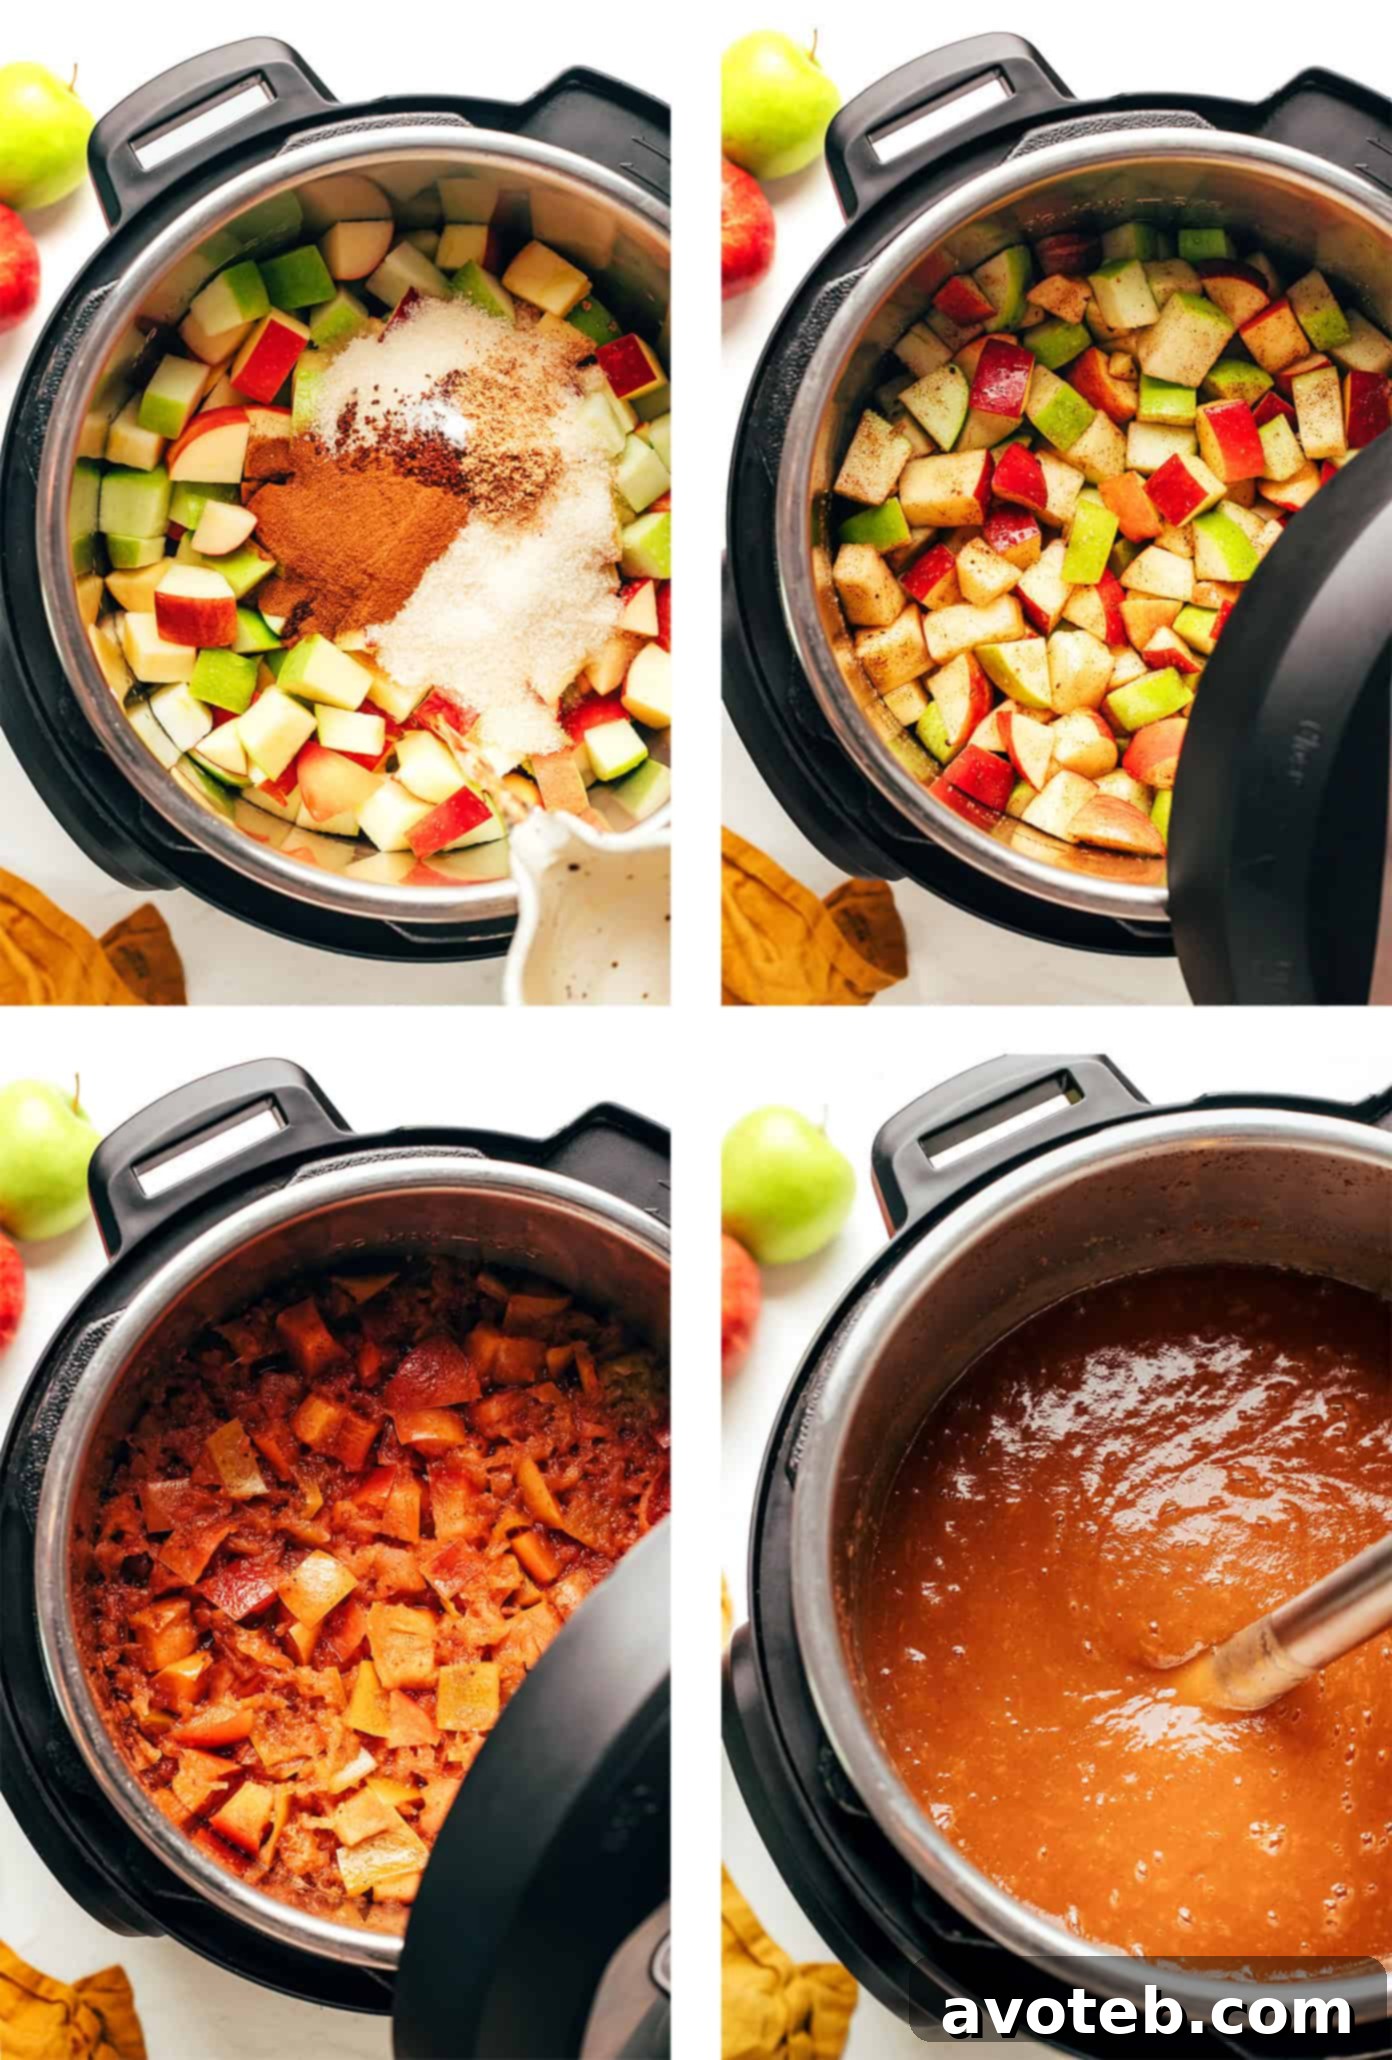
- Combine ingredients: In your chosen cooking pot (Instant Pot, Crock-Pot, or large stockpot), combine the chopped apples, water, sugar, cinnamon, nutmeg, cloves, salt, and 1 tablespoon of lemon juice. Stir all the ingredients well to ensure they are evenly distributed.
- Cook the apples using your preferred method:
- Instant Pot Method: Secure the lid and set your Instant Pot to the “Manual” or “Pressure Cook” setting on high pressure for 15 minutes. Once cooking is complete, allow the pressure to release naturally for 10 minutes, then carefully quick-release any remaining steam.
- Crock-Pot (Slow Cooker) Method: Cover the slow cooker and cook on the “Low” setting for 8–10 hours, or on the “High” setting for 4–5 hours, until the apples are incredibly tender and easily mashable.
- Stovetop Method: Bring the apple mixture to a gentle simmer over medium heat in a large Dutch oven or heavy-bottomed pot. Reduce the heat to low, partially cover the pot, and let it cook, stirring occasionally to prevent sticking, for 1½ to 2 hours, or until the apples are very soft and the kitchen is filled with their fragrant aroma.
- Blend until smooth: Once the apples are tender, use an immersion blender directly in the pot to purée the mixture until it reaches a smooth, consistent texture. If you don’t have an immersion blender, carefully transfer the apple mixture to a standard blender in batches and blend until smooth.
- Thicken the apple butter:
- Instant Pot Method: Switch your Instant Pot to the “Sauté” setting (on low) and cook the apple butter uncovered for 10–20 minutes, stirring frequently, until it thickens to a glossy, spreadable consistency.
- Crock-Pot or Stovetop Method: Continue cooking the apple butter uncovered, stirring occasionally to prevent scorching, for an additional 30–60 minutes. During this time, the apple butter will deepen in color and thicken further to your desired consistency.
- Finish and store: Stir in the vanilla extract (if using) and taste the apple butter. Adjust with more lemon juice for brightness or additional sugar for sweetness, if needed. Allow the apple butter to cool slightly before transferring it into clean, sterilized jars for storage.
Equipment
Instant Pot
Buy Now →
Crock-Pot (6 Quart)
Buy Now →
Dutch Oven
Buy Now →