
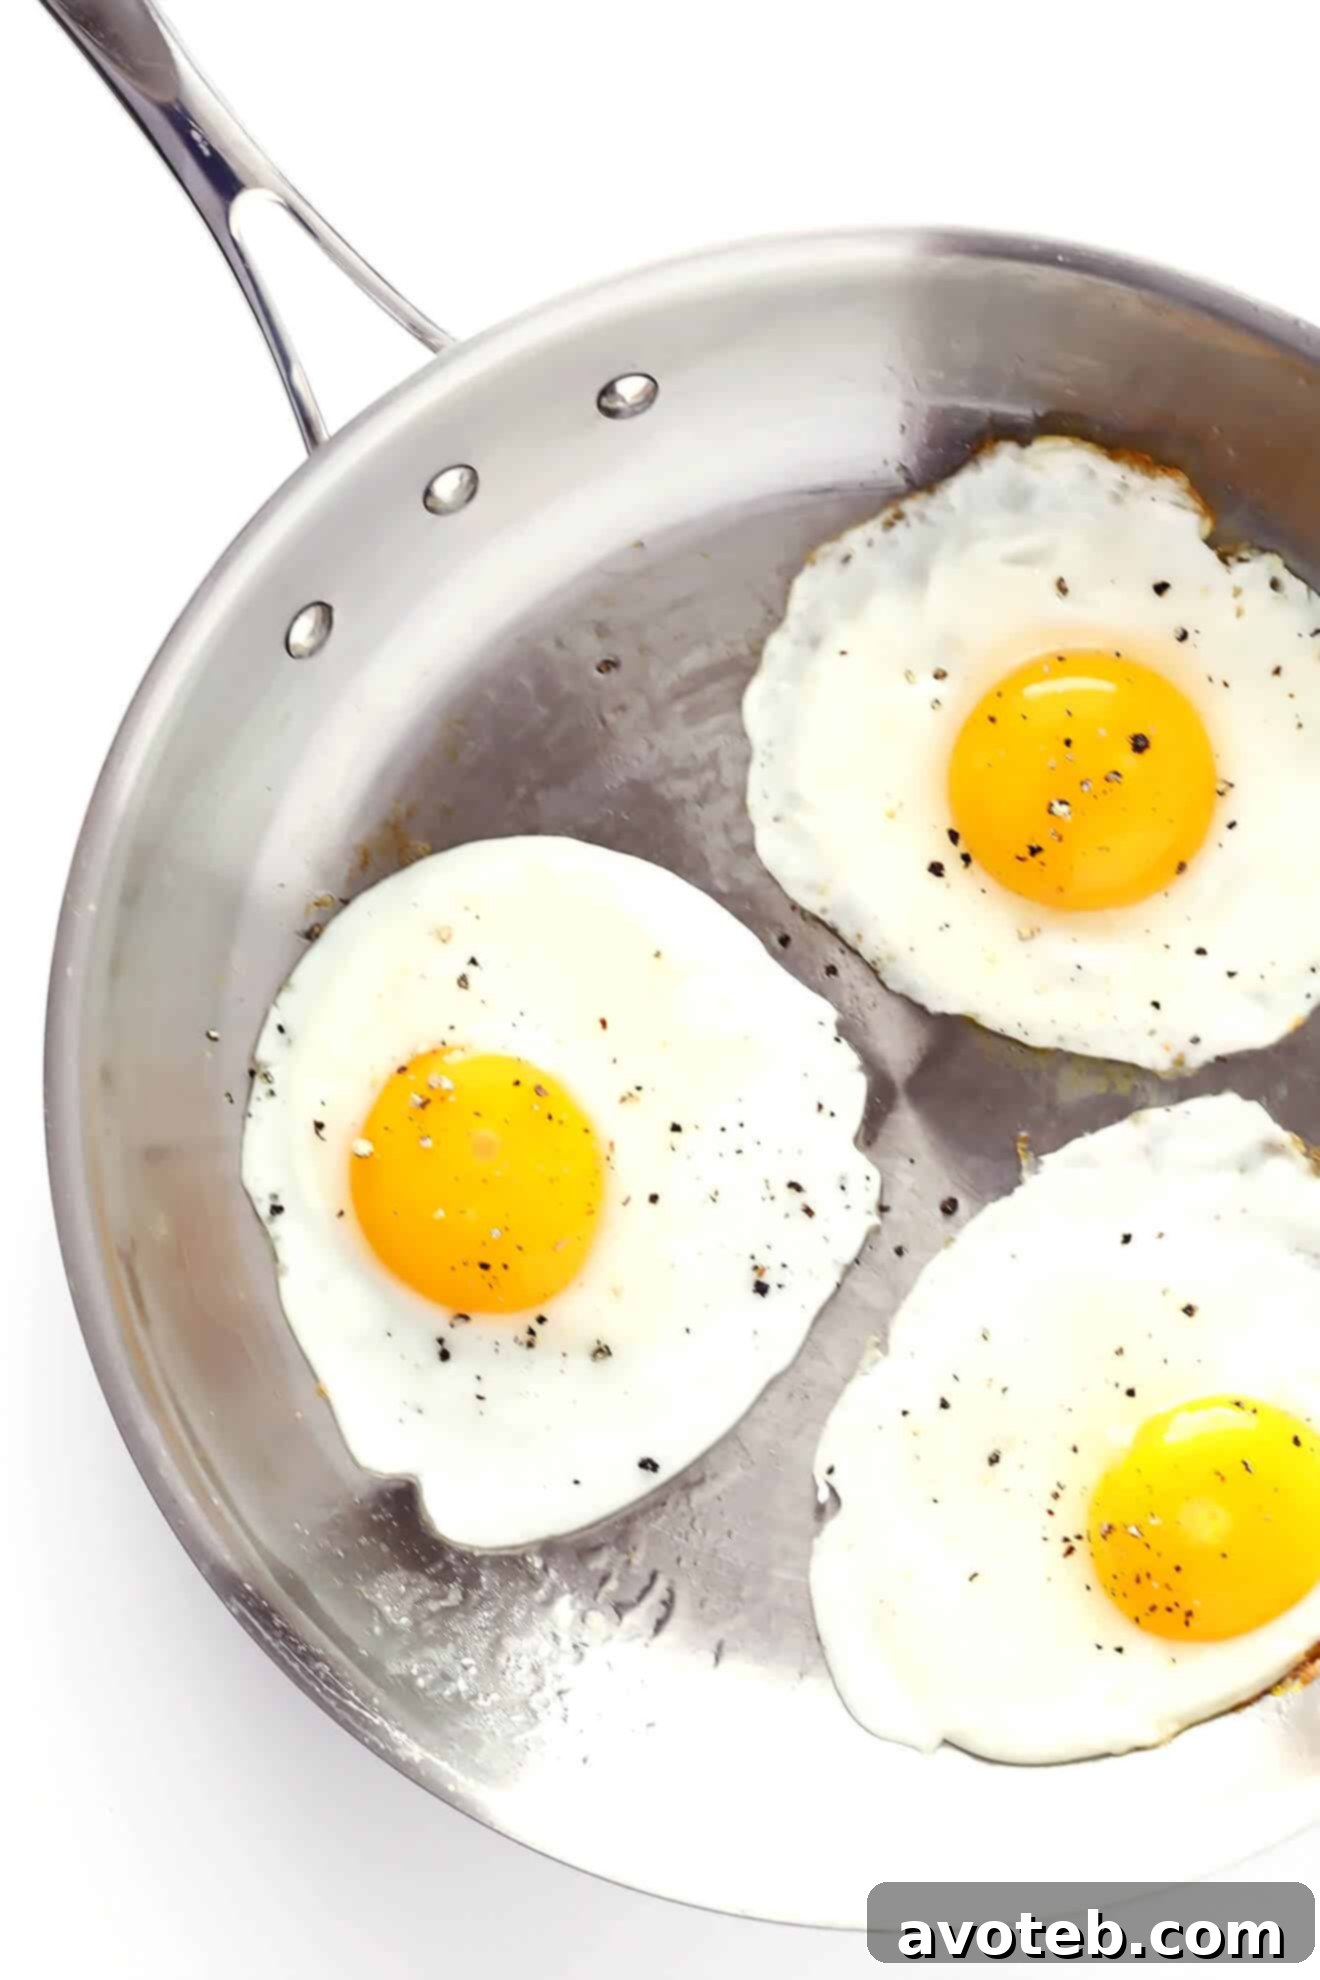
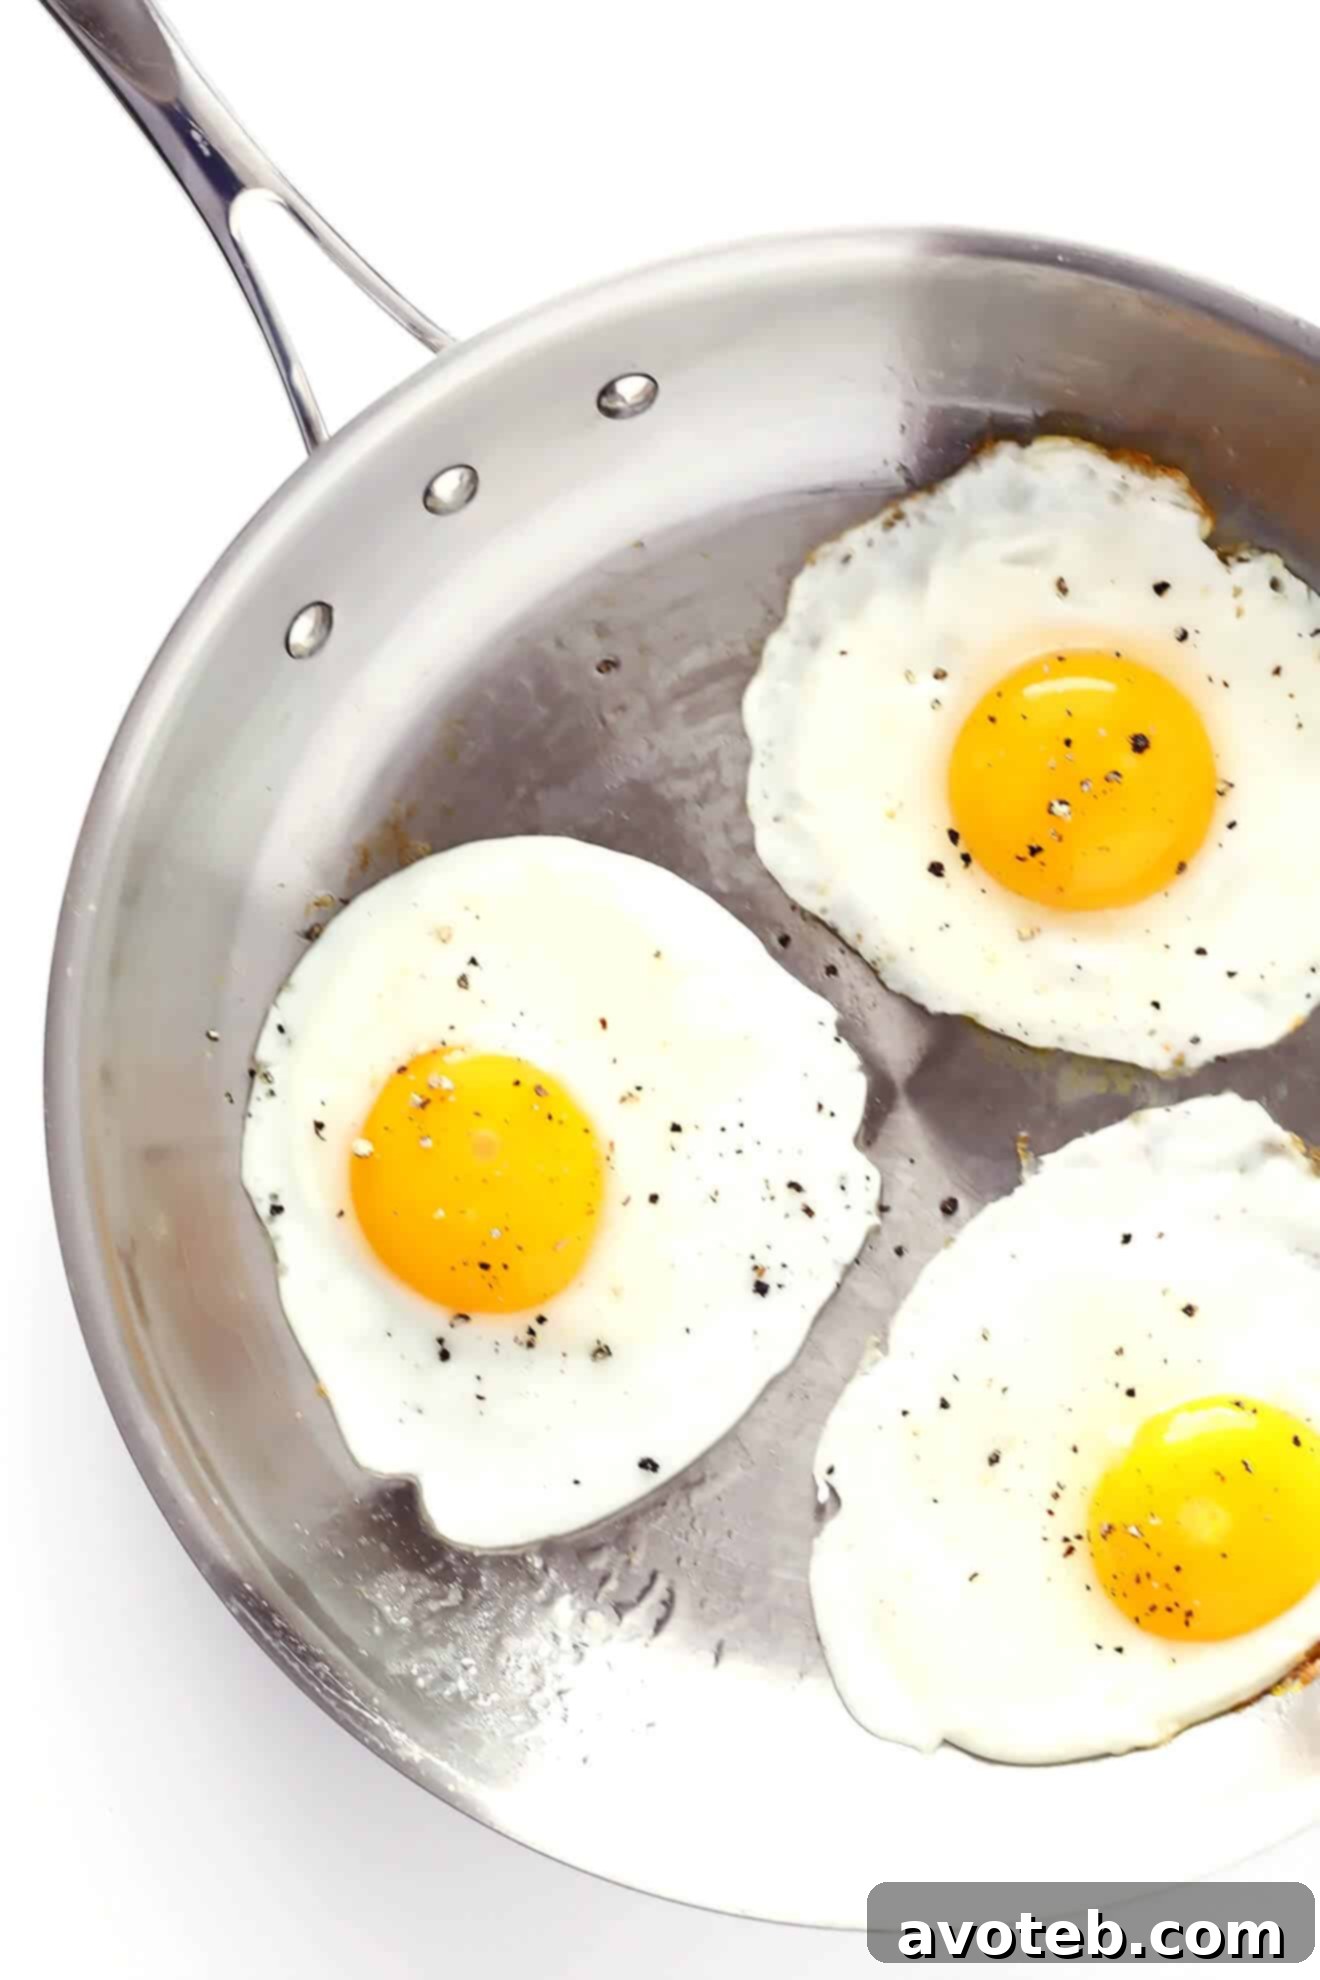
Are you ready to unlock the full potential of a simple egg? Frying an egg is a fundamental culinary skill, yet it offers a surprising spectrum of results, each perfect for different cravings and culinary applications. From the gloriously runny yolk of a sunny-side-up to the fully set comfort of an over-hard, mastering the various fried egg styles can elevate your everyday meals from ordinary to extraordinary.
For years, many of us stick to one preferred method, perhaps a perfectly gooey sunny-side-up or a quick flip for a slightly firmer yolk. But did you know that with just a few subtle adjustments in cooking time and technique, you can effortlessly achieve four distinct fried egg variations? Understanding these differences and how to create them is a game-changer for any home cook, transforming breakfast, brunch, or even a quick weeknight dinner.
Fried eggs are incredibly versatile. They can crown a mountain of avocado toast, enrich a bowl of ramen, add protein to a hearty salad, or simply serve as a delicious, standalone meal. Once you know how to perfectly execute sunny-side-up, over-easy, over-medium, and over-hard, you’ll find yourself adding a fried egg to almost everything!
To guide you through this delicious journey, we’ve prepared an easy-to-follow video tutorial and a detailed recipe. And if you’re keen to expand your egg-cooking repertoire even further, be sure to explore our other helpful video guides on preparing poached, soft-boiled, and hard-boiled eggs. With these techniques under your belt, you’ll be an egg master in no time!
Mastering Fried Eggs: A 1-Minute Video Guide
Achieving the perfect fried egg consistently comes down to a few key techniques and considerations. Here are our top tips to ensure every egg you fry is a masterpiece:
- The Right Skillet Makes a Difference: While it’s certainly possible to fry an egg in almost any pan, a non-stick skillet or a well-seasoned cast-iron skillet will make your life infinitely easier. The non-stick surface prevents the delicate egg whites from adhering to the pan, ensuring a clean flip and easy transfer to your plate. If using stainless steel, make sure it’s properly heated and generously greased to prevent sticking.
- Handle with Care: The Gentle Pour: For beautifully shaped fried eggs that don’t spread too thin, consider cracking your egg into a small bowl first. This allows you to inspect for any shell fragments and, more importantly, gives you control over the pour. When introducing the egg to the hot pan, hold the bowl very close to the surface (about 1 cm away) and pour slowly. Let the whites settle and begin to set for a second or two before gently guiding the yolk into the center. This method helps the egg maintain a compact, appealing form. While cracking directly into the pan is quicker, it often results in a wider, thinner egg.
- Temperature is Key: Mastering the Heat: Finding the perfect cooking temperature is crucial. Too high, and the edges will burn before the whites are cooked through; too low, and you’ll end up with rubbery whites and potentially undercooked yolks. Medium heat is generally ideal, allowing the egg to cook evenly without scorching. Listen for a gentle sizzle when the egg hits the pan – if it’s violently sputtering, your pan is too hot.
- Butter vs. Oil: A Flavorful Choice: The debate between butter and oil for frying eggs often comes down to personal preference. Butter imparts a rich, nutty flavor and contributes to a beautiful golden crust, but it can burn quickly at high temperatures due to its milk solids. Oils like olive oil, avocado oil, or vegetable oil have a higher smoke point, making them excellent for frying without the risk of burning. Many cooks opt for a blend of both, using a bit of oil for heat stability and a pat of butter for flavor.
- Freshness Matters: The fresher the egg, the better it will fry. Fresh eggs have tighter whites that hold their shape well around the yolk, creating a more aesthetically pleasing fried egg. Older eggs tend to spread out more, resulting in thinner, lacier whites.
- Seasoning: Simple Yet Essential: A pinch of salt and a grind of fresh black pepper are often all that’s needed to enhance the flavor of a fried egg. Season immediately after frying or just before serving. Experiment with different seasonings like smoked paprika, red pepper flakes, or a sprinkle of fresh herbs to add variety.
- Listen to Your Egg: Visual Cues Over Timers: While we provide timing guidelines in the recipe, remember that every stovetop and pan is different. Pay close attention to the visual cues of your egg. Watch the whites set and the yolk change in opacity. This will help you achieve your desired doneness more reliably than relying solely on a timer.
With these comprehensive tips and a little practice, you’ll be consistently frying eggs like a pro, tailoring each one to your exact preference. Enjoy the process, and get ready to impress yourself and your loved ones!
How To Make Fried Eggs (Four Ways)
Prep Time: 1 minutes
Cook Time: 4-5 minutes
Total Time: 5-6 minutes
Yield: 1 serving 1x
Description
Unlock the secrets to perfectly fried eggs every time! This comprehensive recipe and step-by-step video tutorial will teach you how to prepare all four classic fried egg styles: sunny-side up, over-easy, over-medium, and over-hard. Learn the nuances of cooking each type, from achieving a beautifully runny yolk to a fully set one, ensuring your eggs are always cooked just the way you like them. Master this essential skill and elevate your breakfast, brunch, and even dinner with these versatile culinary gems.
Ingredients
Scale
- 1–3 large, fresh eggs
- 2 teaspoons unsalted butter or a neutral oil (like olive oil, avocado oil, or vegetable oil)
- Pinch of salt and freshly ground black pepper, to taste
Instructions
- Prepare the Egg: Carefully crack one egg into a small bowl. This allows for easy inspection for shell fragments and better control when pouring. If cooking multiple eggs, crack each into its own bowl separately.
- Heat the Pan: Place a large (preferably non-stick) sauté pan over medium heat. Add the butter or oil and allow it to melt or shimmer, ensuring the pan is evenly coated. You want the fat to be hot enough to sizzle gently when the egg is added, but not smoking.
- Cook Sunny-Side Up: Gently pour the egg from the bowl into the heated pan. To achieve a compact shape, hold the bowl close to the pan’s surface and pour slowly, letting the whites set slightly before the yolk slides into the center. Cook for approximately 3-4 minutes, or until the egg whites are completely set and opaque, but the yolk remains perfectly runny and soft. There should be no raw, clear whites remaining. Remove immediately from the pan and serve for perfect sunny-side up eggs.
- Cook Over-Easy: For an over-easy egg, follow the initial steps for sunny-side up until the whites are mostly set but the yolk is still very runny. Then, carefully flip the egg with a thin, flexible spatula. Cook for an additional 10-20 seconds on the second side. This short flip will just barely set a thin film over the yolk, leaving it wonderfully runny on the inside. Remove and serve immediately.
- Cook Over-Medium: To make an over-medium egg, flip the egg after the whites are set, similar to over-easy. Cook for about 30-45 seconds on the second side. This extended cooking time will result in a yolk that is partially set, often warm and jammy in the center, but still liquid around the edges. This is a popular choice for those who want a less runny but still moist yolk. Remove and serve immediately.
- Cook Over-Hard: For an over-hard egg, flip the egg once the whites are set and cook for 1 to 2 minutes on the second side. For a completely firm yolk, you can gently press down on the yolk with your spatula during the last minute of cooking. The yolk will be fully cooked through and firm, offering a distinct texture. This is ideal for sandwiches or when you prefer no runny yolk at all. Remove and serve immediately.
- Season and Serve: Once your fried egg is cooked to your desired doneness, carefully remove it from the pan. Season generously with a pinch of salt and freshly ground black pepper. Serve immediately on its own, with toast, or as an addition to your favorite dishes!
This post contains affiliate links, which means we may earn a small commission if you make a purchase through these links, at no extra cost to you.