
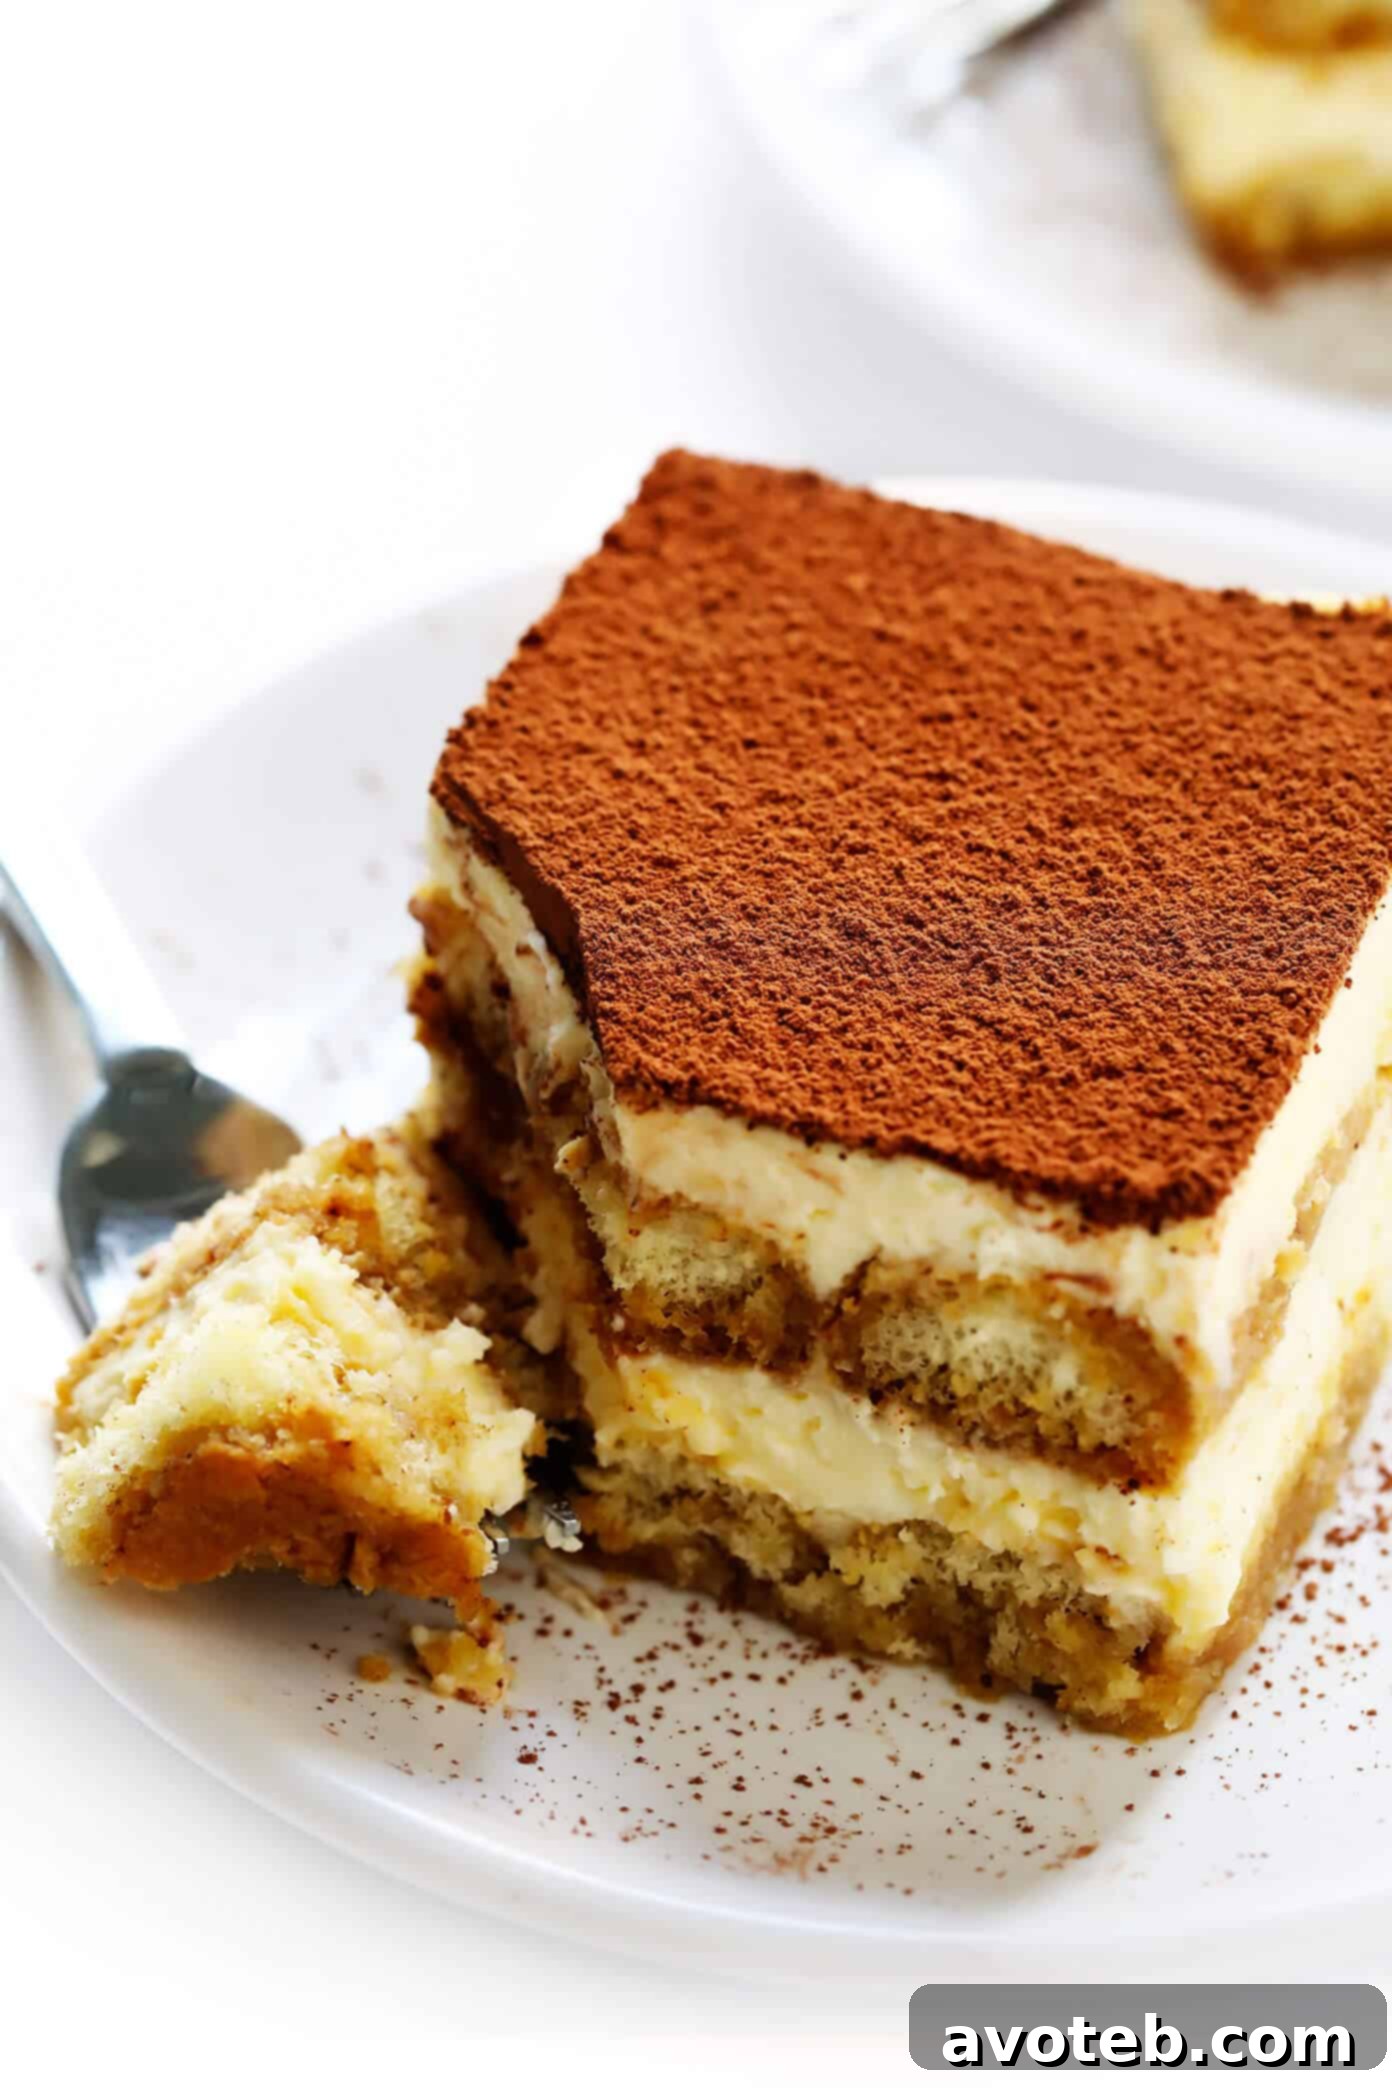
Experience the timeless allure of authentic Italian tiramisu with this incredibly easy-to-follow recipe. Crafted with a rich, creamy filling featuring cooked eggs for peace of mind, this indulgent dessert promises the same irresistible flavor and luxurious texture you adore. Perfect for any occasion, it’s a true taste of Italy made simple and safe for everyone to enjoy.
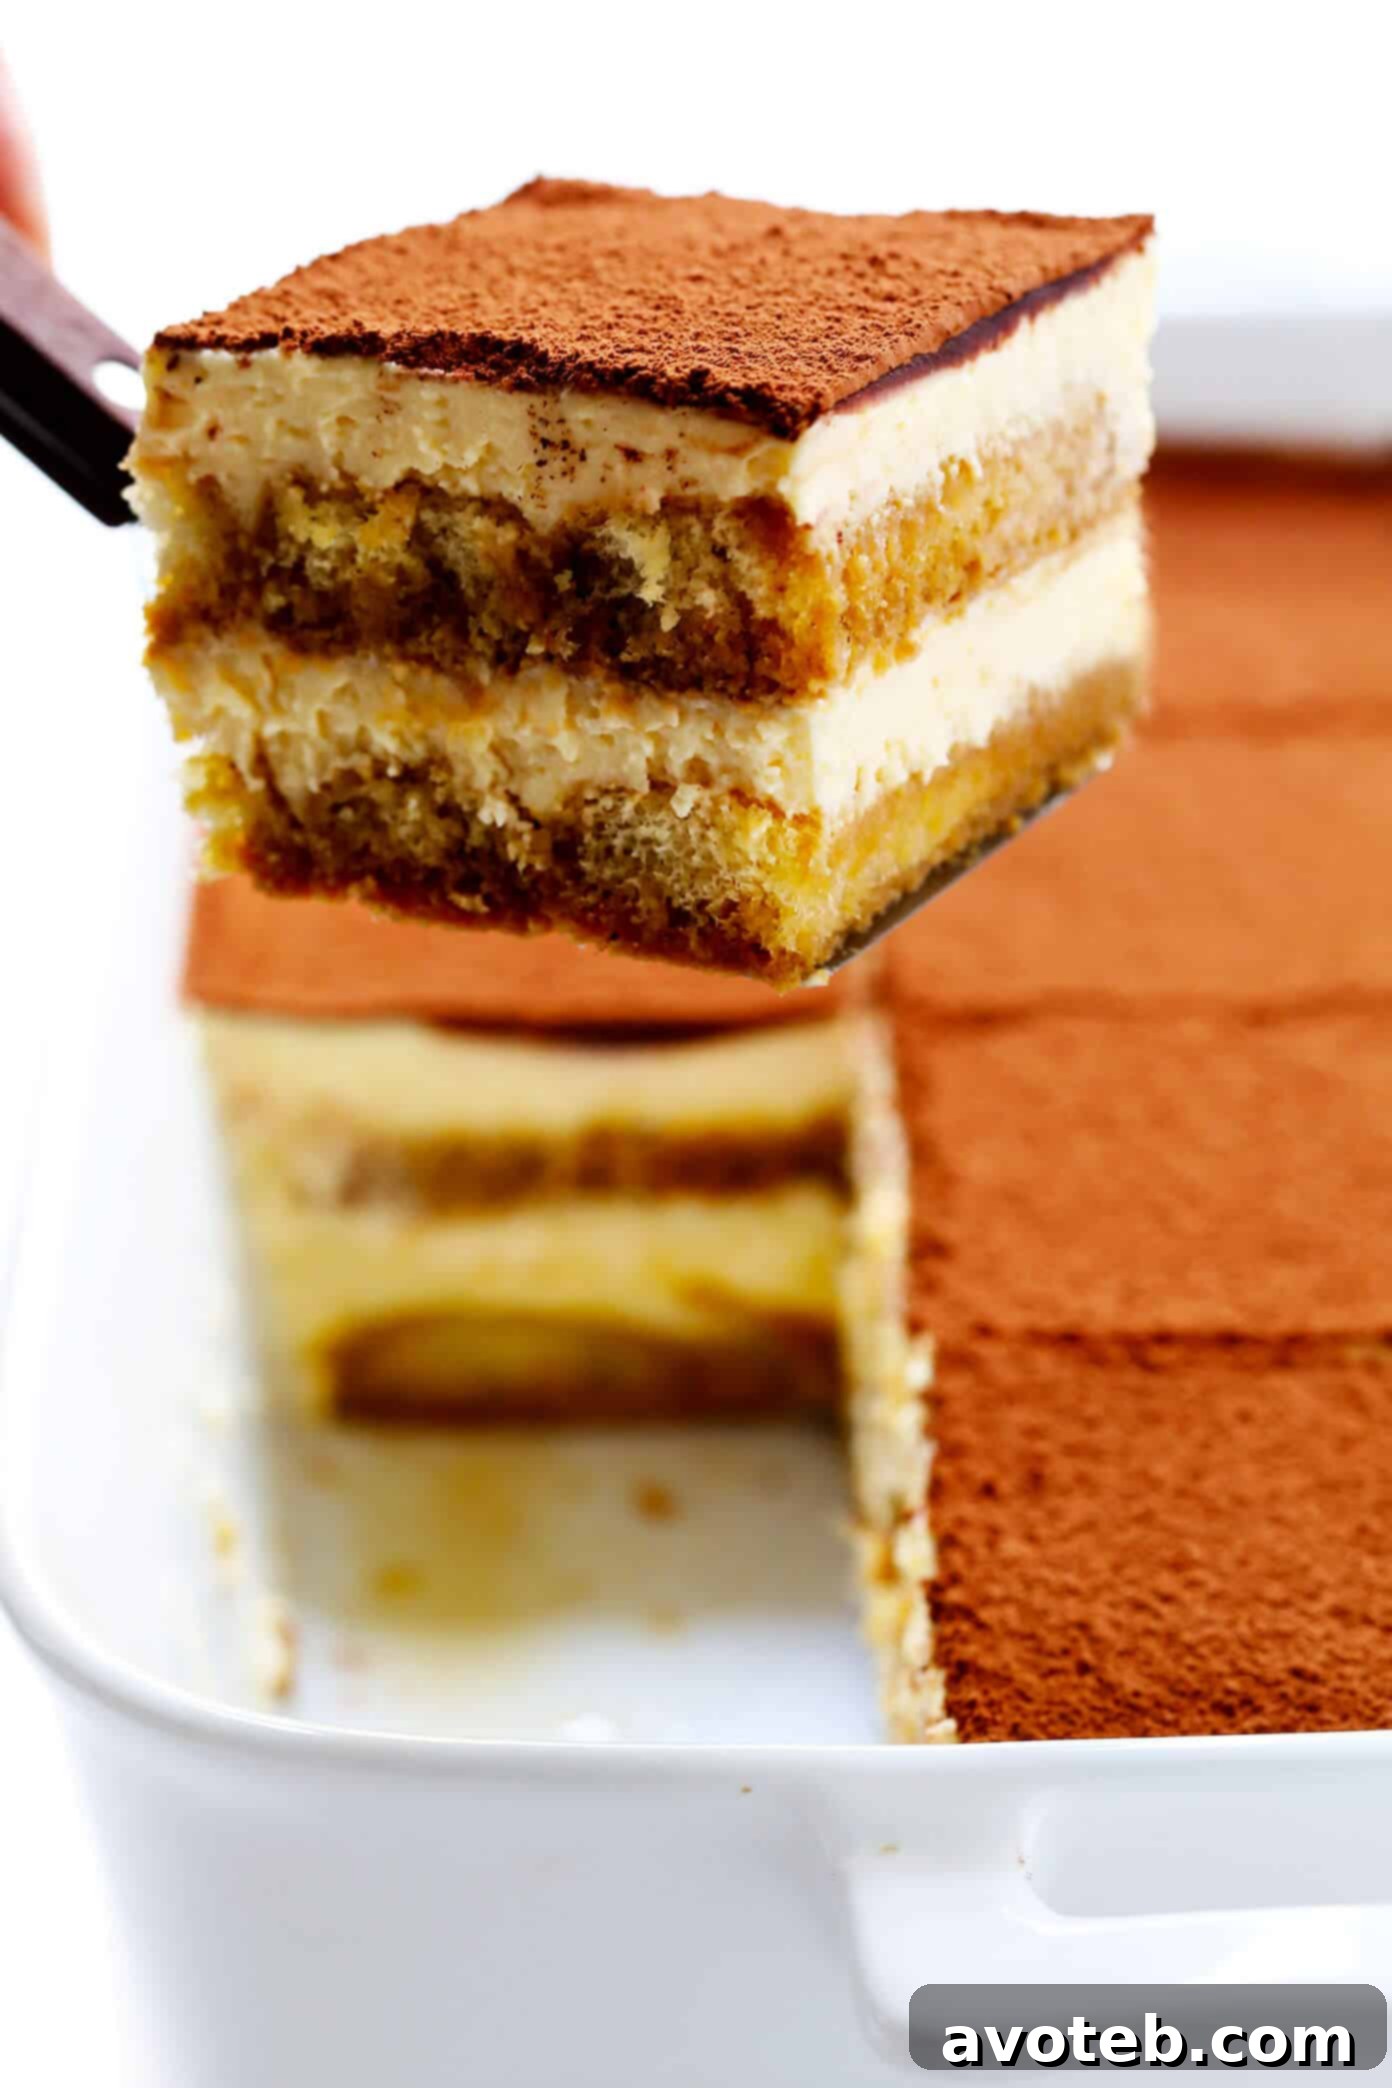
There’s something truly magical about Italian cuisine that captivates the senses, and for my husband, Barclay, tiramisu holds a special place in his heart. It’s a dessert he absolutely adores. While we share a profound love for virtually all Italian dishes – from the vibrant antipasti to the hearty pastas – I often find myself completely satiated after a delightful meal at our favorite Italian trattoria. Yet, without fail, Barclay can always “make room” for a slice of tiramisu. His unwavering enthusiasm for this classic sweet treat is infectious, even when I’m convinced I couldn’t possibly manage another bite!
Missing our regular trips to Italy and even our beloved local Italian restaurant during the unprecedented times of 2020, I decided it was high time to bring the authentic taste of Italy into our home. I set out to master the art of homemade tiramisu, hoping to surprise Barclay with his favorite indulgence. To my delight, I discovered that preparing tiramisu from scratch is far simpler than I had imagined! Moreover, the beauty of crafting this dessert at home lies in its customizable nature. You gain the freedom to:
- Choose decaffeinated espresso, a perfect option for those evening cravings without sacrificing sleep.
- Select your preferred liqueur – be it Marsala, rum, brandy, bourbon, or even omit the alcohol entirely for a family-friendly version.
- Utilize cooked eggs, offering a safer and equally delicious alternative to traditional raw egg recipes.
And, of course, the greatest perk? Savoring the incredible leftovers for breakfast the following day, a guilty pleasure I wholeheartedly endorse! So, if you’re searching for an elegant, make-ahead Italian dessert that is guaranteed to impress your guests and satisfy every sweet tooth this season, grab a package of crisp ladyfingers on your next grocery run, and let’s embark on this delightful culinary journey to create the perfect tiramisu!
Tiramisu: A 1-Minute Visual Guide to Perfection
Essential Tiramisu Ingredients: Crafting the Perfect Layers
Before diving into the full recipe, conveniently located at the end of this post, let’s take a moment to discuss the high-quality ingredients you’ll need to create this exquisite tiramisu. Each component plays a crucial role in achieving that signature rich, creamy, and coffee-infused flavor.
- Egg Yolks: We’ll be using large egg yolks, which are gently cooked with granulated sugar and, if desired, dry Marsala wine. This careful cooking process creates a luscious, safe, and flavorful zabaglione (a light, airy Italian custard) that forms the heart of our creamy filling.
- Granulated Sugar: Standard white granulated sugar provides the perfect sweetness to balance the bitterness of the espresso and the richness of the mascarpone. It’s essential for creating the delicate zabaglione.
- Dry Marsala Wine: This fortified wine is a traditional choice for tiramisu, imparting a subtle depth and a delightful hint of nutty, caramelized flavor that beautifully complements the other ingredients. However, you have the flexibility to substitute it with other liqueurs like rum, brandy, cognac, or bourbon, depending on your preference. For an alcohol-free version, simply omit it entirely without compromising on deliciousness.
- Mascarpone Cheese: The star of our creamy filling, mascarpone is an incredibly rich and velvety Italian cream cheese. Its luxurious texture and subtly sweet flavor are indispensable for authentic tiramisu. Remember to thoroughly drain any excess water from the mascarpone block before incorporating it into the recipe to ensure a perfectly firm and creamy filling.
- Vanilla Extract: A touch of pure vanilla extract enhances the overall sweetness and adds a warm, aromatic note to the mascarpone cream, elevating its complexity.
- Fine Sea Salt: A small pinch of fine sea salt is a secret weapon that beautifully balances and intensifies all the decadent flavors in the filling, preventing it from tasting overly sweet and bringing out the nuances of the mascarpone and espresso.
- Heavy Cream: This will be whipped until it forms firm, stiff peaks. When lifted with a spoon, the cream should hold its shape without drooping, creating a light and airy component for our filling. This adds volume and a delicate mouthfeel.
- Espresso: The lifeblood of tiramisu! You can brew fresh espresso, prepare a very strong batch of coffee, or even whisk espresso powder with hot water for convenience. Feel free to use decaffeinated espresso if you plan to serve this dessert in the evening, ensuring everyone can enjoy it without a caffeine kick.
- Crisp Italian Ladyfingers: For this recipe, you’ll need one (14-ounce) package of *crisp* ladyfingers. It’s crucial to select the firm, crunchy variety, not the soft, spongy ones. Crisp ladyfingers are essential because they maintain their structure after being briefly dipped in espresso, preventing your tiramisu from becoming soggy and ensuring distinct, delightful layers.
- Unsweetened Cocoa Powder: A dusting of unsweetened cocoa powder is the classic finishing touch for tiramisu. It provides a beautiful visual contrast and a subtle bitter note that perfectly cuts through the richness of the cream, enhancing the overall flavor profile. I recommend adding a layer over the assembled tiramisu and a final sprinkle just before serving each slice.
Mastering Tiramisu: A Step-by-Step Guide with Cooked Eggs
While traditional tiramisu recipes often call for raw eggs, separated into yolks and whites to create different elements of the creamy filling, many home cooks prefer to avoid raw eggs for health and safety reasons. This recipe offers a fantastic alternative: we’ll use a zabaglione (a cooked egg custard) in place of raw yolks and perfectly whipped heavy cream instead of raw egg whites. This method, while sounding sophisticated, is surprisingly straightforward and results in a tiramisu that is every bit as luxurious and flavorful as its traditional counterpart, without any compromise on taste or texture. You genuinely won’t miss the raw eggs!
Be prepared for a few mixing bowls and a bit of patience as you combine the various components of the filling. The full, detailed instructions are provided in the recipe card below, but here’s an expanded overview with some crucial tips to guide you through the process:
- Prepare the Zabaglione (Cooked Egg Custard): This is where we safely cook our egg yolks. If you own a double boiler, it’s ideal for this step. If not, simply heat about an inch of water in a saucepan until it’s gently simmering, then place a metal or heat-safe glass mixing bowl snugly on top – ensuring the bottom of the bowl does not touch the water. In this bowl, whisk together the egg yolks, granulated sugar, and precisely 1/4 cup (not all!) of the dry Marsala wine. Begin whisking vigorously by hand, or for an easier arm workout, use a hand mixer on low speed. Continue whisking constantly for 5 to 7 minutes. The mixture will gradually transform into a pale yellow, light, and airy foam, significantly increasing in volume (nearly tripling). This process thoroughly cooks the eggs, creating a stable, delicious custard that forms the rich base of our tiramisu filling. Once done, remove the bowl from the heat and transfer it to the refrigerator to cool slightly while you proceed with the next steps. Cooling is important to prevent the mixture from deflating or cooking other ingredients when combined.
- Whisk the Mascarpone Mixture: In a separate large mixing bowl, combine the softened mascarpone cheese, vanilla extract, and fine sea salt. Using a hand mixer (or a stand mixer fitted with the paddle attachment), beat the mixture briefly on medium speed for about 1 minute until it is smooth, creamy, and free of lumps. Avoid overmixing at this stage. Once smooth, transfer this mascarpone mixture to a clean bowl and set it aside.
- Whip the Heavy Cream: Using the *same* large mixing bowl (no need to wash it after the mascarpone, as they will be combined), add the chilled heavy cream. Beat the cream using a handheld mixer (or a stand mixer with the whisk attachment) on medium-high speed. Continue beating until stiff peaks form. This means that when you lift the beaters, the cream should hold its shape firmly without collapsing or drooping. This whipped cream will add essential lightness and airiness to our tiramisu.
- Gently Combine the Filling Components: This step requires a delicate touch to maintain the airy texture. Using a rubber spatula, gently fold the mascarpone mixture into the whipped cream until it is mostly combined and uniform. Next, gradually incorporate the cooled zabaglione mixture. Continue folding gently until all three components are just combined and smooth. It’s crucial to avoid over-mixing at this stage, as excessive agitation can deflate the whipped cream and zabaglione, resulting in a less airy and fluffy filling.
- Prepare the Espresso Dipping Mixture: In a small, shallow bowl, stir together the freshly brewed espresso (or strong coffee) and the remaining 1/4 cup of Marsala wine (or your chosen liqueur). Ensure it’s well combined and ready for dipping.
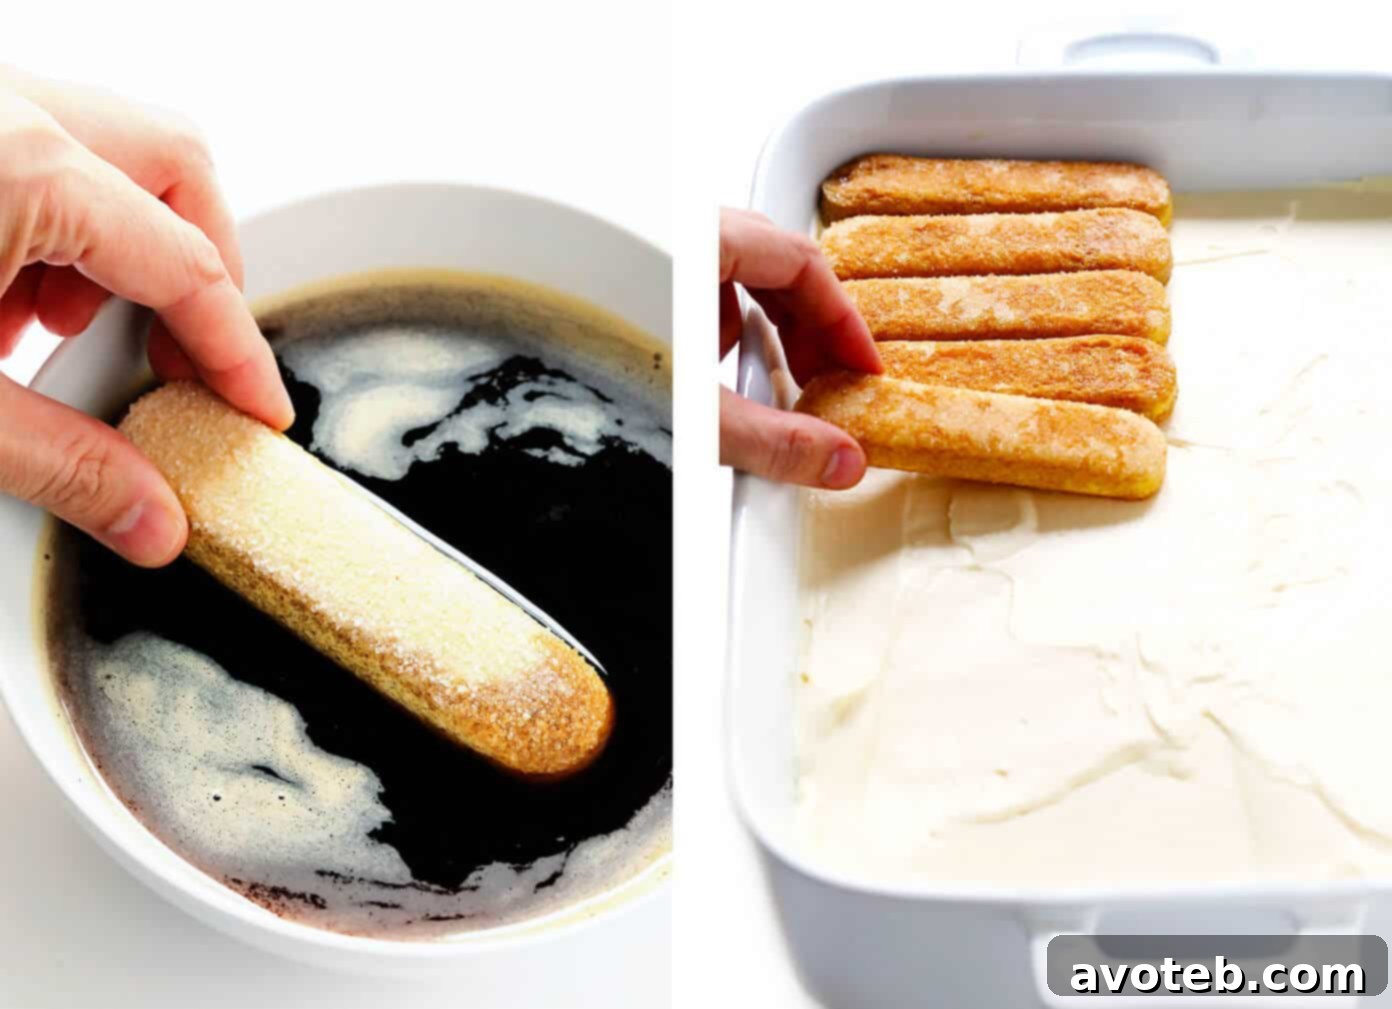
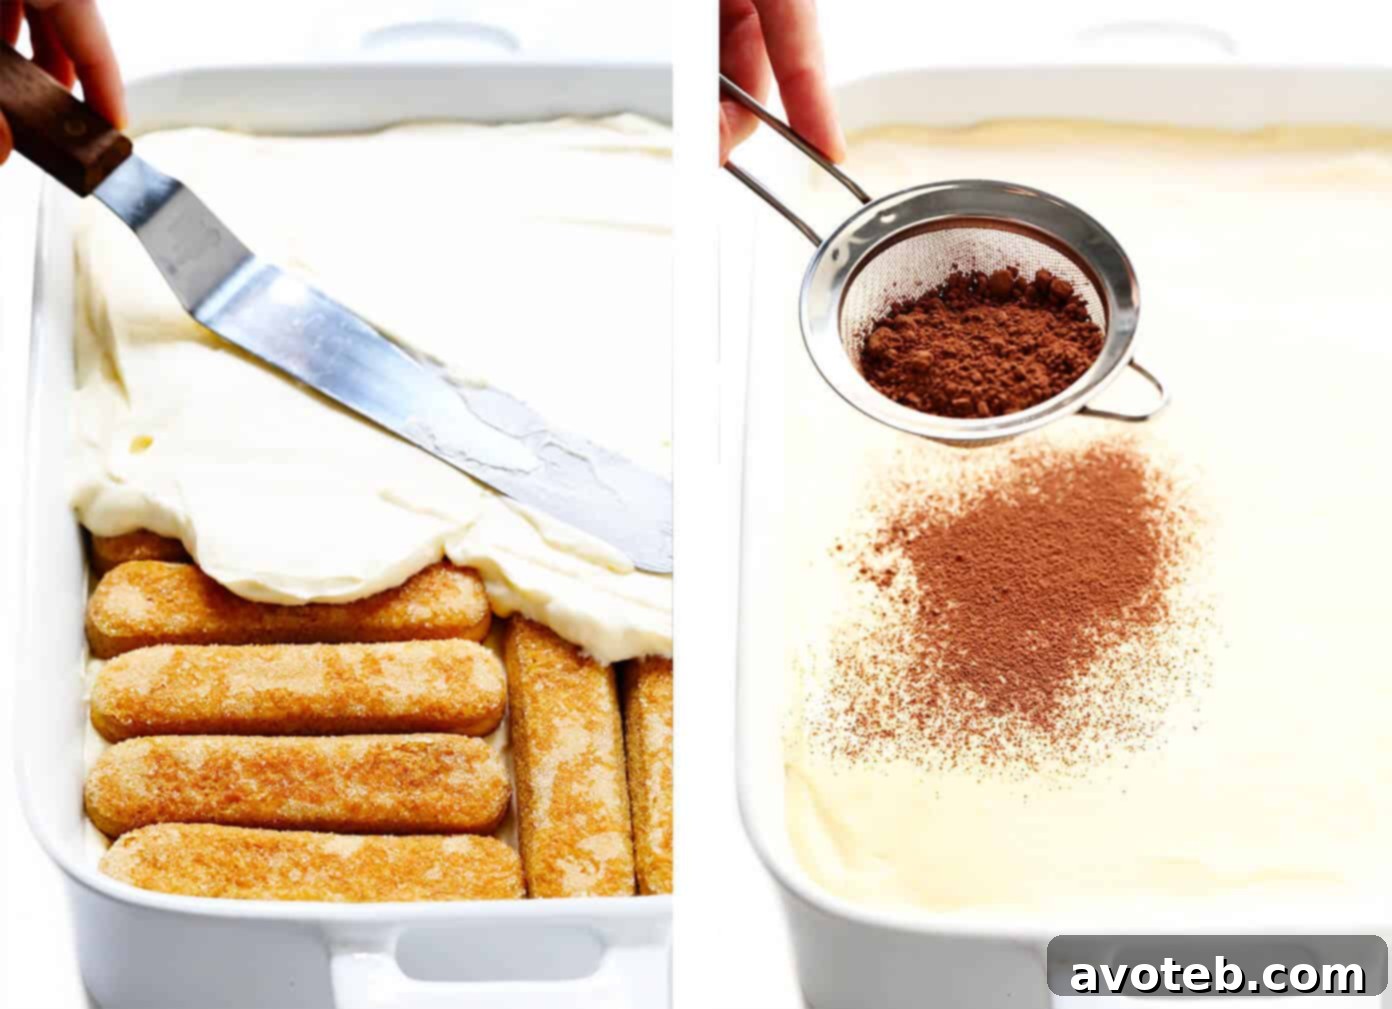
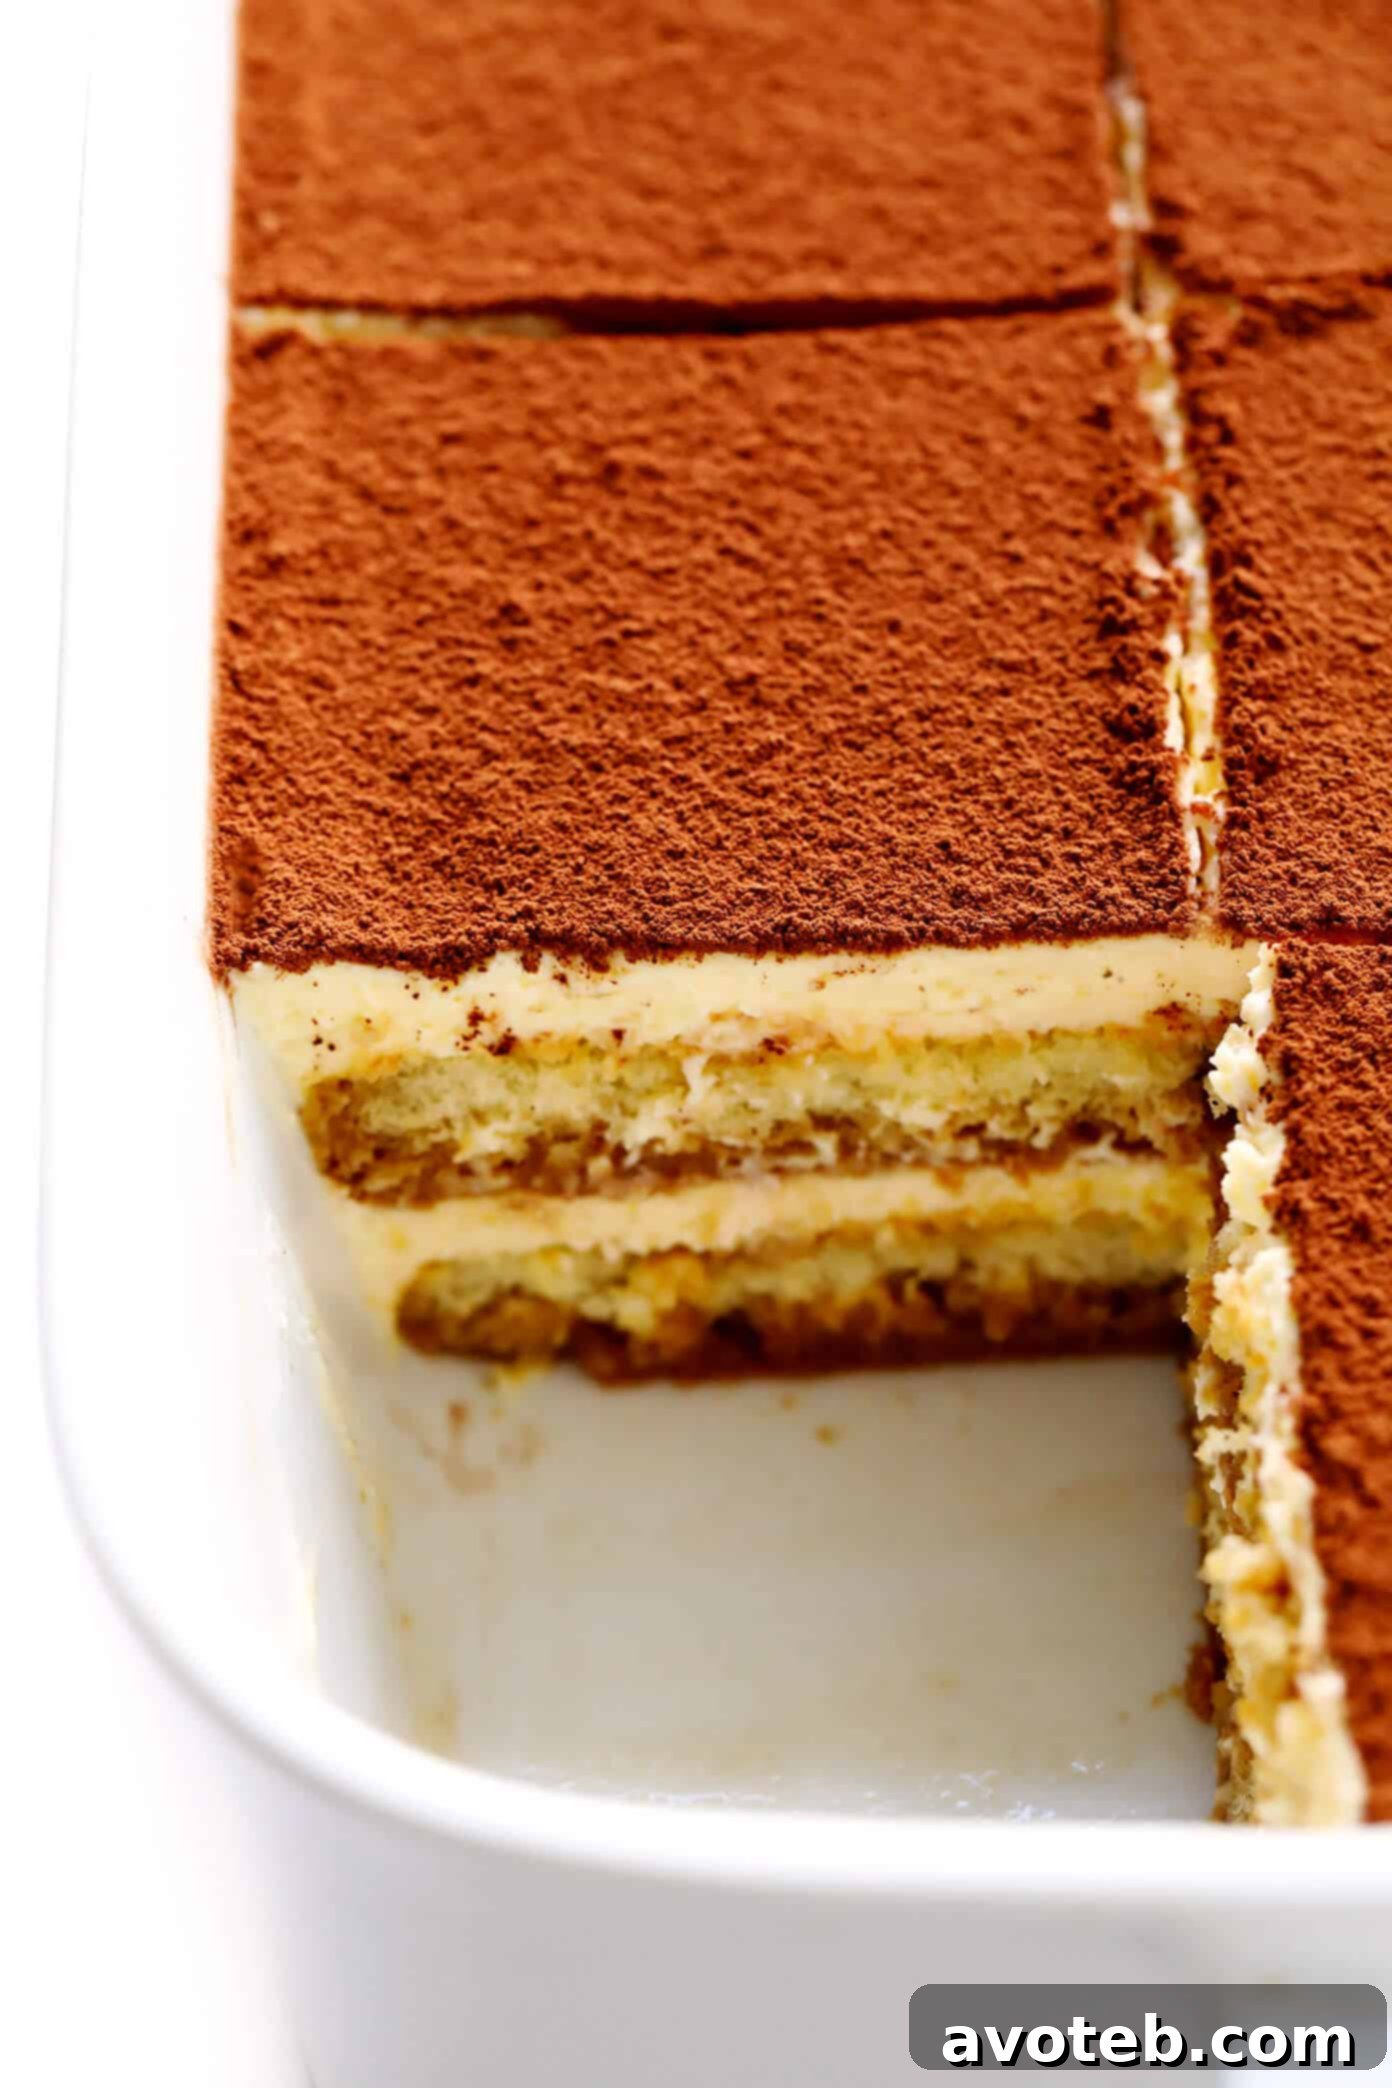
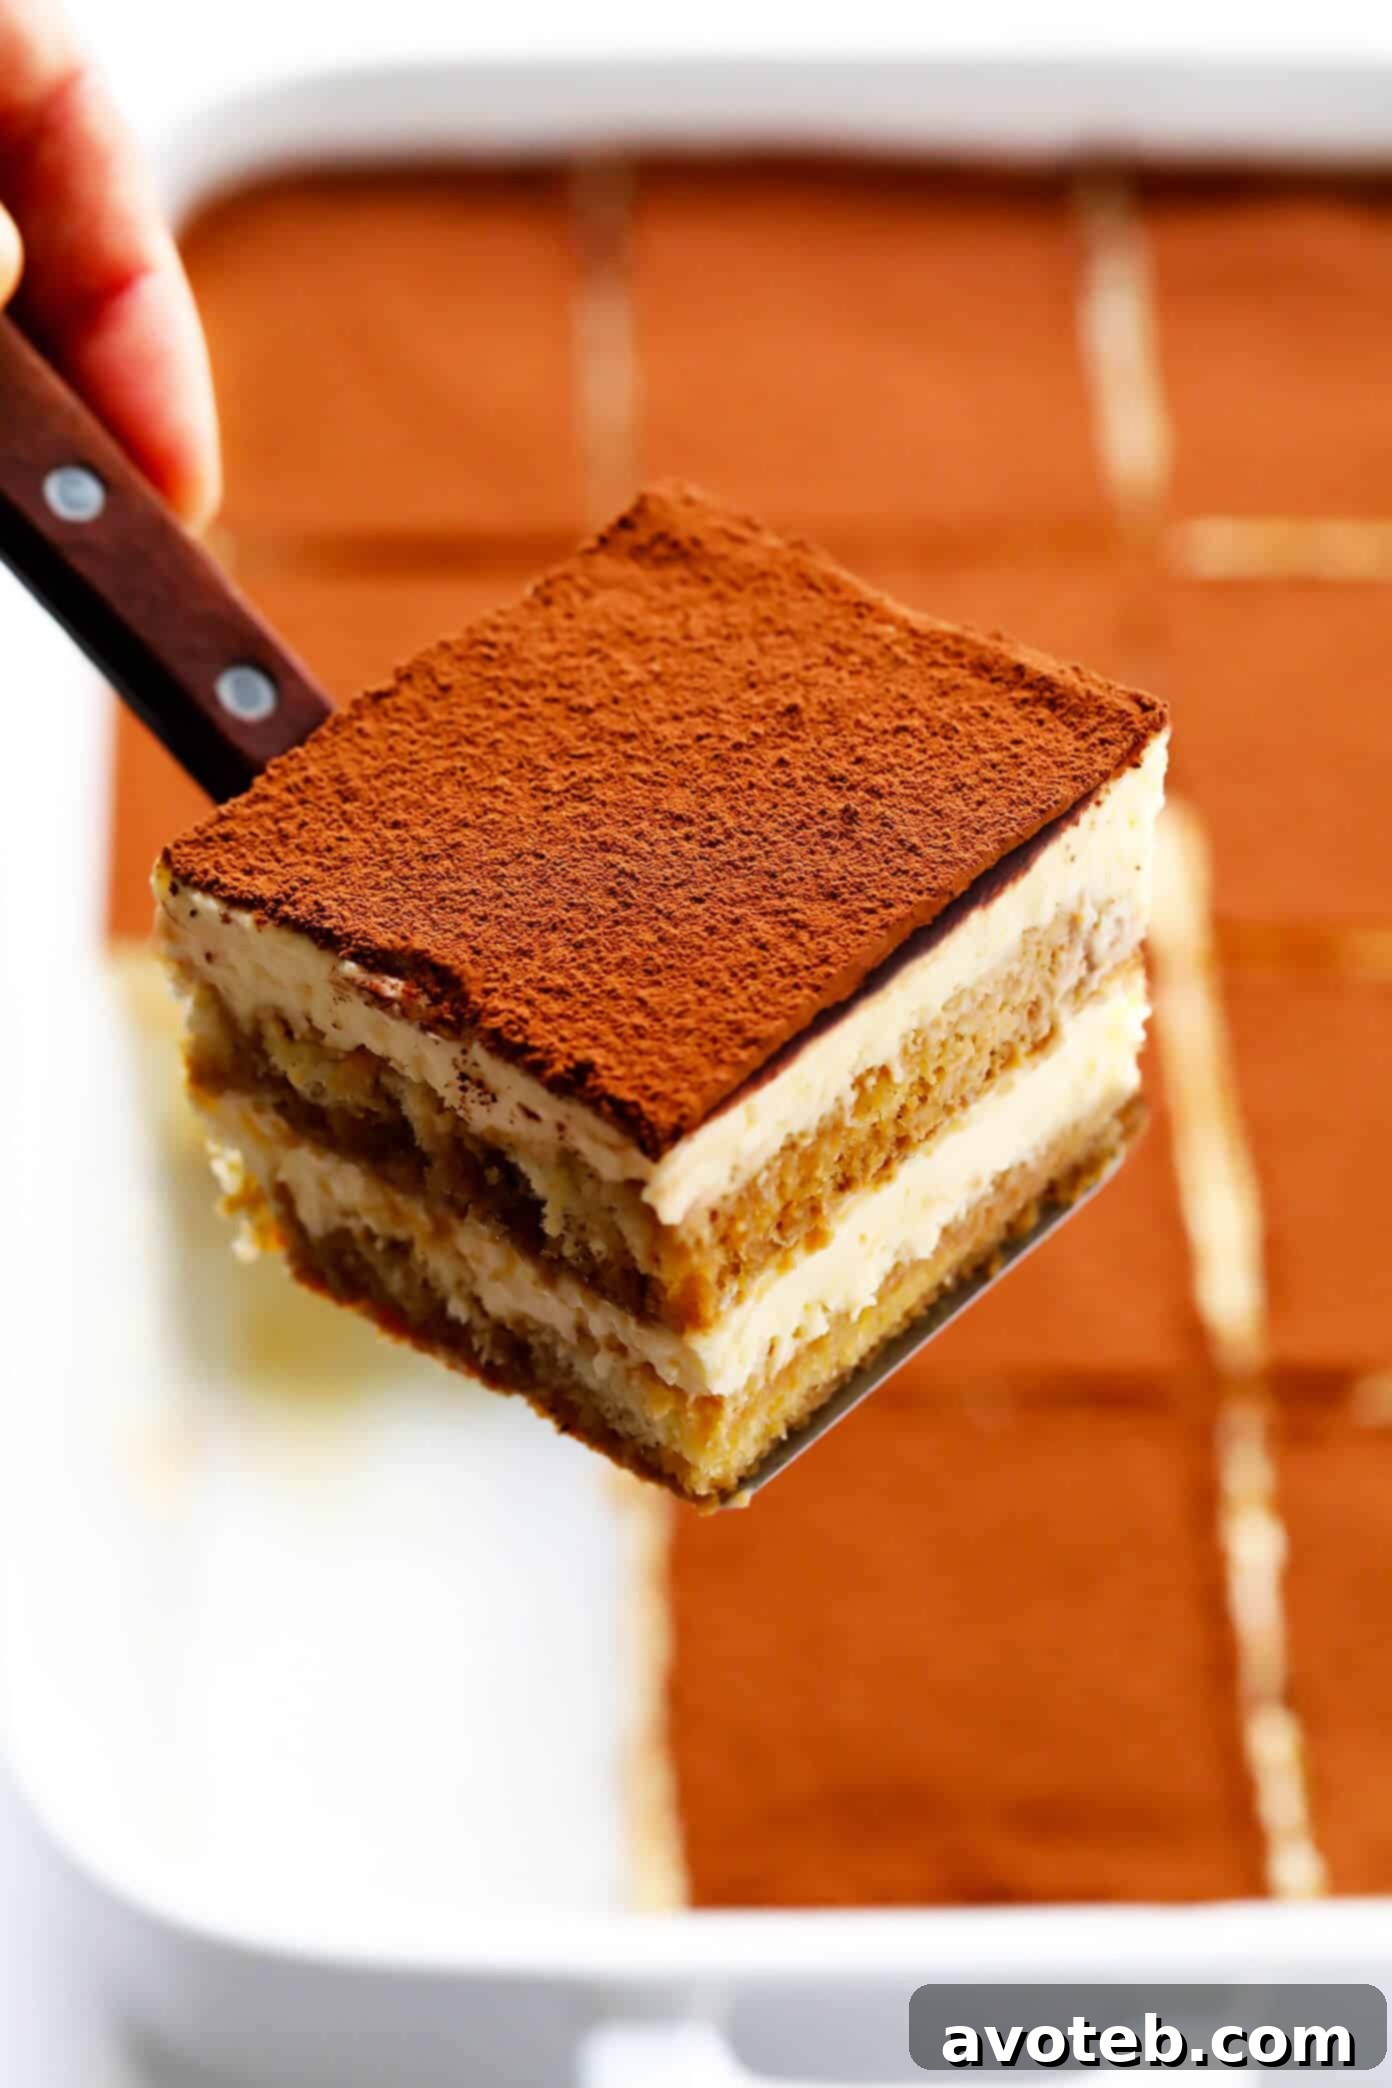
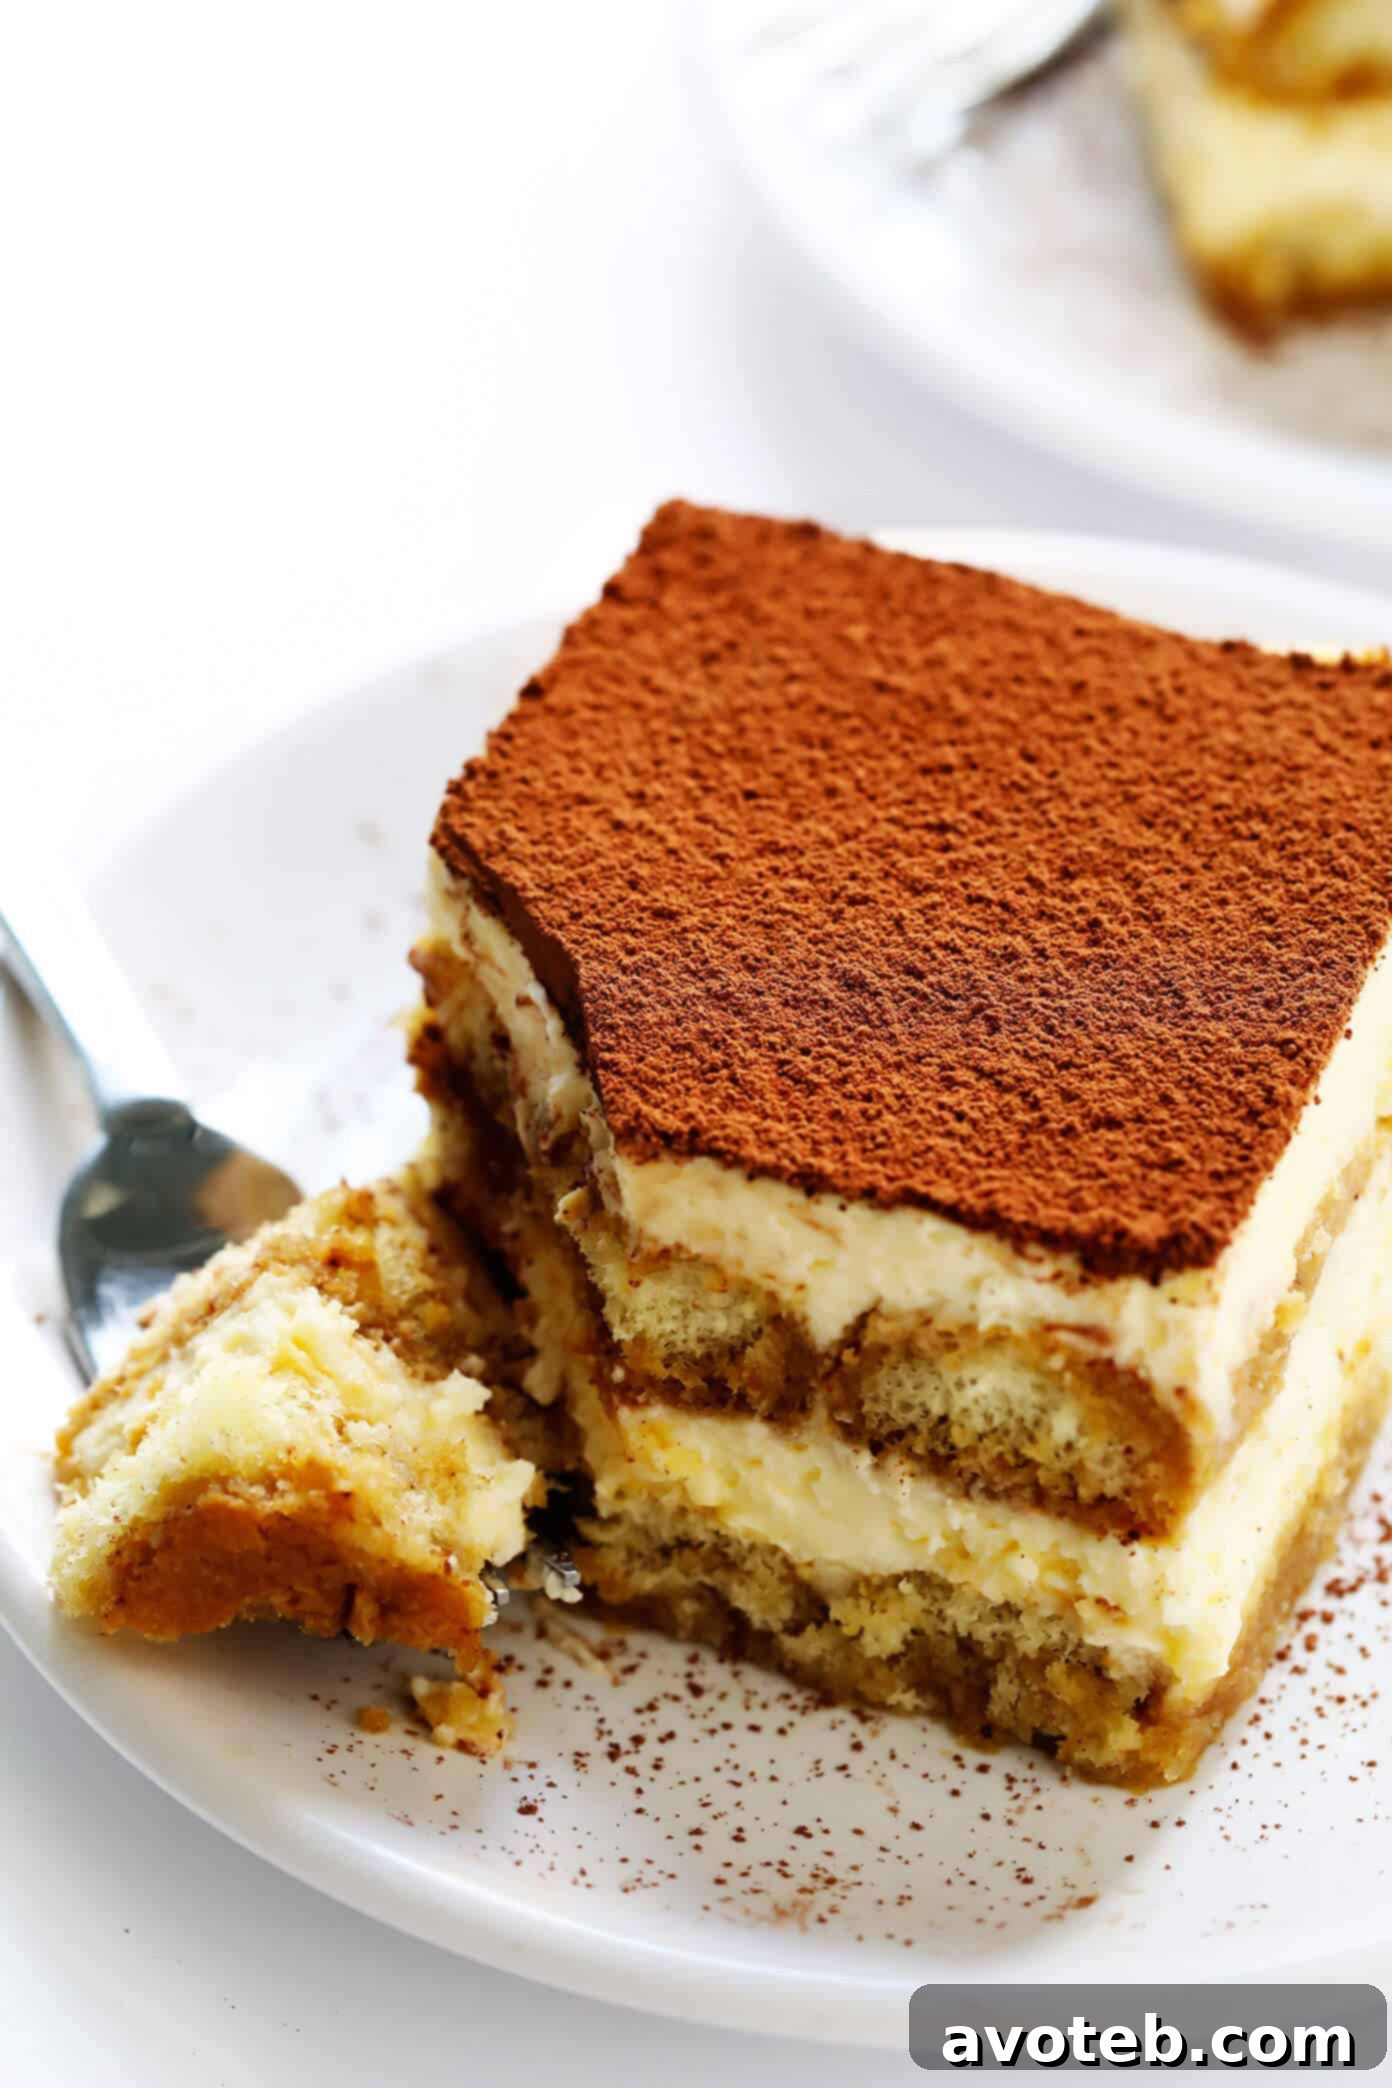
- Assemble the Tiramisu Layers: Now comes the satisfying assembly! Take one ladyfinger at a time and very briefly (literally just for a second or two per side) dip it into the espresso mixture. The goal is to coat both sides without saturating it, otherwise, the tiramisu will become soggy. Arrange the espresso-dipped ladyfingers in a single, even layer covering the bottom of a 9×13-inch baking dish. Once the first layer of ladyfingers is complete, use a spoon or an offset spatula to spread half of your creamy filling mixture evenly over them. Repeat this process with a second layer of espresso-dipped ladyfingers, followed by the remaining half of the creamy filling.
- Chill for Perfection: Once assembled, cover the tiramisu tightly with plastic wrap and refrigerate it for at least 4 to 6 hours, or ideally, overnight. Chilling is a critical step; it allows the flavors to meld beautifully and the tiramisu to set properly, ensuring clean, elegant slices when served.
- Serve and Enjoy: Just before serving, use a fine-mesh strainer to generously dust the top of the tiramisu with an even layer of unsweetened cocoa powder. This adds both visual appeal and a delightful bitter contrast. Then, slice into individual portions and prepare to be delighted by this exquisite Italian classic!
Creative Tiramisu Variations & Customization Ideas
One of the joys of making tiramisu at home is the freedom to customize it to your personal taste and dietary preferences. Here are a few delightful options to make this tiramisu recipe uniquely yours:
- Experiment with Liqueurs: While dry Marsala offers a classic flavor, don’t hesitate to explore other spirits. Rum adds a warm, sweet note, brandy or cognac offers sophisticated depth, and Kahlúa or other coffee liqueurs can intensify the coffee flavor profile beautifully.
- Alcohol-Free Tiramisu: If you’re serving children or simply prefer to avoid alcohol, this recipe works wonderfully without it. The complex flavors of espresso and mascarpone are rich enough on their own. Just omit the alcohol from both the zabaglione and the espresso dipping mixture.
- Gluten-Free Delight: For those with gluten sensitivities, tiramisu can still be enjoyed! Simply substitute traditional ladyfingers with gluten-free ladyfingers, which are readily available online and in specialty grocery stores.
- Elevate Your Presentation: Want to make your tiramisu look extra special? Instead of simply spreading the top layer of filling, use a piping bag fitted with your favorite tip to create elegant swirls or decorative patterns. Alternatively, use a spoon to artfully swirl the cream for a rustic yet beautiful finish. For an even more decadent look, you could pipe or swirl an additional layer of plain whipped cream on top before dusting with cocoa.
- Indulge with Chocolate Shavings: While cocoa powder is traditional, finely shaved dark chocolate offers a wonderful textural contrast and an intense chocolate burst. Some restaurants opt for this, and it makes for a truly gourmet presentation. Use a vegetable peeler or microplane to create delicate curls from a good quality chocolate bar.
Tiramisu Frequently Asked Questions (FAQ)
Here are answers to some common questions about this beloved Italian dessert, providing deeper insights into its name, origins, and how to best enjoy it:
- What does “Tiramisù” truly mean? The Italian word “tiramisù” beautifully translates to “pick me up” or “cheer me up.” This evocative name perfectly encapsulates the dessert’s delightful effect, thanks to its energizing espresso and rich, comforting flavors. It’s a treat designed to uplift your spirits!
- Where did Tiramisù originate? This incredible dessert is undeniably a gift from Italy to the world. Interestingly, despite its classic status, tiramisu is not an ancient recipe. Culinary historians generally agree it was created relatively recently, with its origins tracing back to the 1960s or 1970s in various regions of Italy, most notably Veneto or Friuli Venezia Giulia. Its relatively modern invention makes its widespread popularity even more remarkable.
- Can Tiramisu be frozen? Absolutely! Tiramisu freezes exceptionally well, making it an excellent make-ahead option for future enjoyment. To freeze, ensure it’s tightly wrapped in several layers of plastic wrap, then an additional layer of aluminum foil to prevent freezer burn. It can be stored in the freezer for up to 3 months. When you’re ready to serve, transfer the tiramisu to the refrigerator and allow it to thaw gradually overnight, preserving its delicate texture and flavor.
- Can Tiramisu be served immediately after preparation? While technically you can serve tiramisu immediately, it is highly recommended to chill it thoroughly first. A minimum of 4 to 6 hours (and ideally overnight) in the refrigerator allows the flavors to fully meld, the ladyfingers to soften perfectly, and the creamy layers to firm up. This chilling period is crucial for achieving that characteristic set texture that allows for clean, beautiful slices. If you simply cannot wait, you might find it too soft to slice neatly, requiring a spoon to enjoy its deliciousness. Patience truly rewards with tiramisu!
- What is the best way to store leftover Tiramisu? Leftover tiramisu should always be covered tightly with plastic wrap or stored in an airtight container to prevent it from absorbing other odors in the refrigerator and to keep it fresh. It will maintain its delicious quality for up to 3 days in the refrigerator.
- What beverages pair well with Tiramisu? Tiramisu, with its rich coffee and creamy notes, pairs wonderfully with several beverages. A strong espresso or a rich Italian coffee complements its flavors perfectly. For an alcoholic pairing, consider a sweet dessert wine like Vin Santo, a Marsala wine (matching the liqueur in the dessert), or a robust digestif like amaro or limoncello.
Print Recipe
Classic Tiramisu with Cooked Eggs
Author: Ali
Prep Time: 37 mins
Cook Time: 8 mins
Total Time: 45 mins
Yield: 12 servings 1x
Description
This classic Italian tiramisu recipe is surprisingly easy to prepare, featuring a rich, creamy filling made with safely cooked eggs instead of raw ones. It delivers all the indulgent flavor and luxurious texture of traditional tiramisu, making it an ideal make-ahead dessert for any occasion.
Ingredients
Scale
- 8 large egg yolks
- 2/3 cup granulated sugar
- 1/2 cup dry marsala*, divided
- 1 pound (16 ounces) mascarpone cheese, drained if watery
- 1 teaspoon vanilla extract
- 1/4 teaspoon fine sea salt
- 1 1/2 cups heavy cream, well chilled
- 1 1/2 cups strong espresso (or very strong coffee, decaf option available*)
- 36 to 42 crisp Italian ladyfingers (one 14-ounce package*)
- Unsweetened cocoa powder, for dusting
Instructions
- Make the Zabaglione. Heat 1 inch of water in a large saucepan over medium heat until it reaches a gentle simmer. In a metal or heat-proof glass mixing bowl, combine the egg yolks, granulated sugar, and 1/4 cup of the dry Marsala (if using). Place this bowl over the simmering saucepan, ensuring the bottom of the bowl does not touch the water. Using a whisk (or a hand mixer on low speed), whisk the mixture constantly for 5 to 7 minutes. It should become pale yellow, thick, and nearly triple in volume. Remove from heat and transfer the bowl to the refrigerator to cool slightly while you prepare the next components.
- Whisk the Mascarpone Mixture. In a large mixing bowl, combine the mascarpone cheese, vanilla extract, and fine sea salt. Beat the mixture with a hand mixer (or stand mixer) on medium speed for about 1 minute until it is smooth and creamy. Transfer this mixture to a separate clean bowl and set aside.
- Whip the Cream. Using the same large mixing bowl, add the cold heavy cream. Beat with a handheld mixer (or stand mixer with the whisk attachment) on medium-high speed until firm, stiff peaks form.
- Combine the Filling. With a rubber spatula, gently fold the mascarpone mixture into the whipped cream until just mostly combined. Then, gradually and gently fold in the cooled zabaglione mixture until everything is smoothly incorporated. Be careful not to over-mix, as this can deflate the airy texture. Set aside.
- Make the Espresso Mixture. In a small, shallow bowl, stir together the espresso (or strong coffee) and the remaining 1/4 cup of Marsala (or other liqueur, if using).
- Assemble the Tiramisu. Working one at a time, quickly dip each crisp ladyfinger into the espresso mixture for just a second or two per side, ensuring it’s coated but not soggy. Arrange the dipped ladyfingers in a single, even layer covering the bottom of a 9×13-inch baking dish. Once the first layer is complete, spread half of the creamy filling evenly over the ladyfingers. Repeat this process with a second layer of espresso-dipped ladyfingers, followed by the remaining creamy filling.
- Chill. Cover the baking dish tightly with plastic wrap and refrigerate the tiramisu for at least 4 to 6 hours, or ideally overnight, until it is completely chilled and set. This allows the flavors to meld and the dessert to firm up for clean slicing.
- Serve. Just before serving, use a fine-mesh strainer to dust the top of the tiramisu generously and evenly with unsweetened cocoa powder. Slice into portions, serve immediately, and enjoy! Leftovers can be covered and refrigerated for up to 3 days.
Equipment
Offset Spatula
Buy Now →
Crisp Ladyfingers
Buy Now →
Fine Mesh Strainer
Buy Now →
Notes
Total time: Please note that the “Total Time” listed in the recipe card above accounts for preparation and cooking, but does NOT include the essential 4-6 hours (or more) of chilling time required for the tiramisu to properly set and for flavors to fully develop.
Alcohol options: Feel free to personalize your tiramisu! You can substitute the dry Marsala with rum, cognac, brandy, Kahlúa, or any other liqueur you prefer. For a non-alcoholic version, simply omit the alcohol entirely; the dessert will still be wonderfully flavorful thanks to the rich coffee and mascarpone.
Espresso options: For the coffee component, you have several choices: brew fresh espresso, prepare a very strong batch of dark roast coffee, or easily mix water with espresso powder. If you’re serving the tiramisu in the evening or prefer to avoid caffeine, feel free to use decaffeinated espresso or coffee.
Number of ladyfingers: The exact quantity of ladyfingers needed can vary slightly based on the size and shape of your baking dish. The goal is to create two solid, even layers. It’s perfectly acceptable if there are small gaps between ladyfingers; for larger spaces, you can gently break some ladyfingers in half or smaller pieces to fill them in snugly.
Gluten-free option: To make this tiramisu suitable for a gluten-free diet, simply use gluten-free ladyfingers, which are widely available.