
Unlock the secret to effortlessly beautiful baked goods with these simple, homemade parchment baking liners! Perfect for muffins or cupcakes, they’re easy to make and elevate your baking game.
There’s a special joy that comes with baking, isn’t there? The aroma filling your kitchen, the anticipation of a warm, fresh treat, and the sheer delight of a perfectly baked cupcake or muffin. Yet, sometimes, the little details can pose unexpected challenges. For me, that challenge arose after moving to Barcelona, where tracking down those charming, elegant tulip parchment baking liners I adored back in the States became surprisingly difficult. Faced with a shortage of my favorite baking accessory, a roll of parchment paper and a spark of improvisation led to a delightful discovery: making my own. And what a discovery it was – these homemade liners are incredibly simple to create!
Beyond their delightful ease of creation, these DIY parchment baking cups offer a significant advantage: they are substantially more cost-effective than their store-bought counterparts. Over time, the savings truly add up, making this a smart choice for any avid baker. Given the frequent inquiries I receive about how to craft these little wonders, I’ve put together a comprehensive tutorial today. With just a roll of parchment paper, a trusty pair of scissors, and about ten minutes of your time, you can have a dozen beautiful, non-stick liners ready to cradle your favorite cupcake or muffin batter. Let’s dive into the simple process and transform your baking experience!
Creating your own baking liners not only solves the problem of availability but also opens up a world of creative possibilities. You’re no longer limited by what’s on the shelf; instead, you have the power to produce elegant, functional liners precisely when you need them. The satisfaction of baking with something you’ve made yourself adds an extra layer of enjoyment to every delicious bite. Whether you’re whipping up a batch of healthy banana muffins for breakfast or decadent chocolate cupcakes for a celebration, these DIY tulip cups provide the perfect foundation for your culinary creations.
Essential Supplies for DIY Baking Cups:
Embarking on this simple DIY project requires minimal tools, most of which you likely already have in your kitchen. To craft these practical and charming homemade baking liners, you will primarily need:
- Parchment Paper: This is the star of our show. Widely available in nearly all grocery stores, parchment paper is an indispensable baking staple. If you prefer the convenience of online shopping, you can order it easily on Amazon (affiliate link). Both bleached (white) and unbleached (brown) parchment paper work perfectly. The key properties of parchment paper — its non-stick surface and heat resistance — make it ideal for preventing your baked goods from sticking to the pan, ensuring easy release and perfect presentation every time. It’s also grease-resistant, meaning no oily residue seeping through onto your baking tray.
- Scissors: A good, sharp pair of kitchen scissors will make cutting your parchment squares quick and efficient. While precision isn’t paramount, cleaner cuts can make the folding process slightly neater.
- Patience (and a touch of practice): While these liners are genuinely simple to make, a little patience goes a long way, especially when you’re first getting the hang of the folding technique. Typically, I can produce a dozen liners in about 10 minutes from start to finish. You’ll be amazed at how quickly you become adept at this task.
- Standard Muffin or Cupcake Pan: While not technically a “supply” for making the liner itself, your muffin or cupcake pan is crucial for shaping the parchment paper into the perfect cup. Having it handy will streamline the process significantly.
That’s it! With these basic items, you’re all set to create your very own batch of beautiful, non-stick baking liners.
Step-by-Step Guide: How To Make Homemade Baking Liners:
The process of making these DIY parchment baking liners is incredibly straightforward. Follow these simple steps to create elegant, non-stick cups for your next baking adventure:
- Prepare Your Parchment Squares: Begin by cutting your parchment paper into approximately 5-inch squares. Don’t stress too much about achieving perfect precision here; a slight variation in size or shape won’t negatively impact the final product. The “ish” in 5-inch is key! This dimension works wonderfully for standard-sized muffin or cupcake pans, ensuring ample coverage and a charming tulip effect. For efficiency, consider folding your parchment paper several times and cutting multiple squares at once. As a helpful tip, I always recommend cutting an extra one or two squares. These can be used for a practice fold, allowing you to get a feel for the technique before committing to your entire batch. This little bit of foresight can save time and frustration.
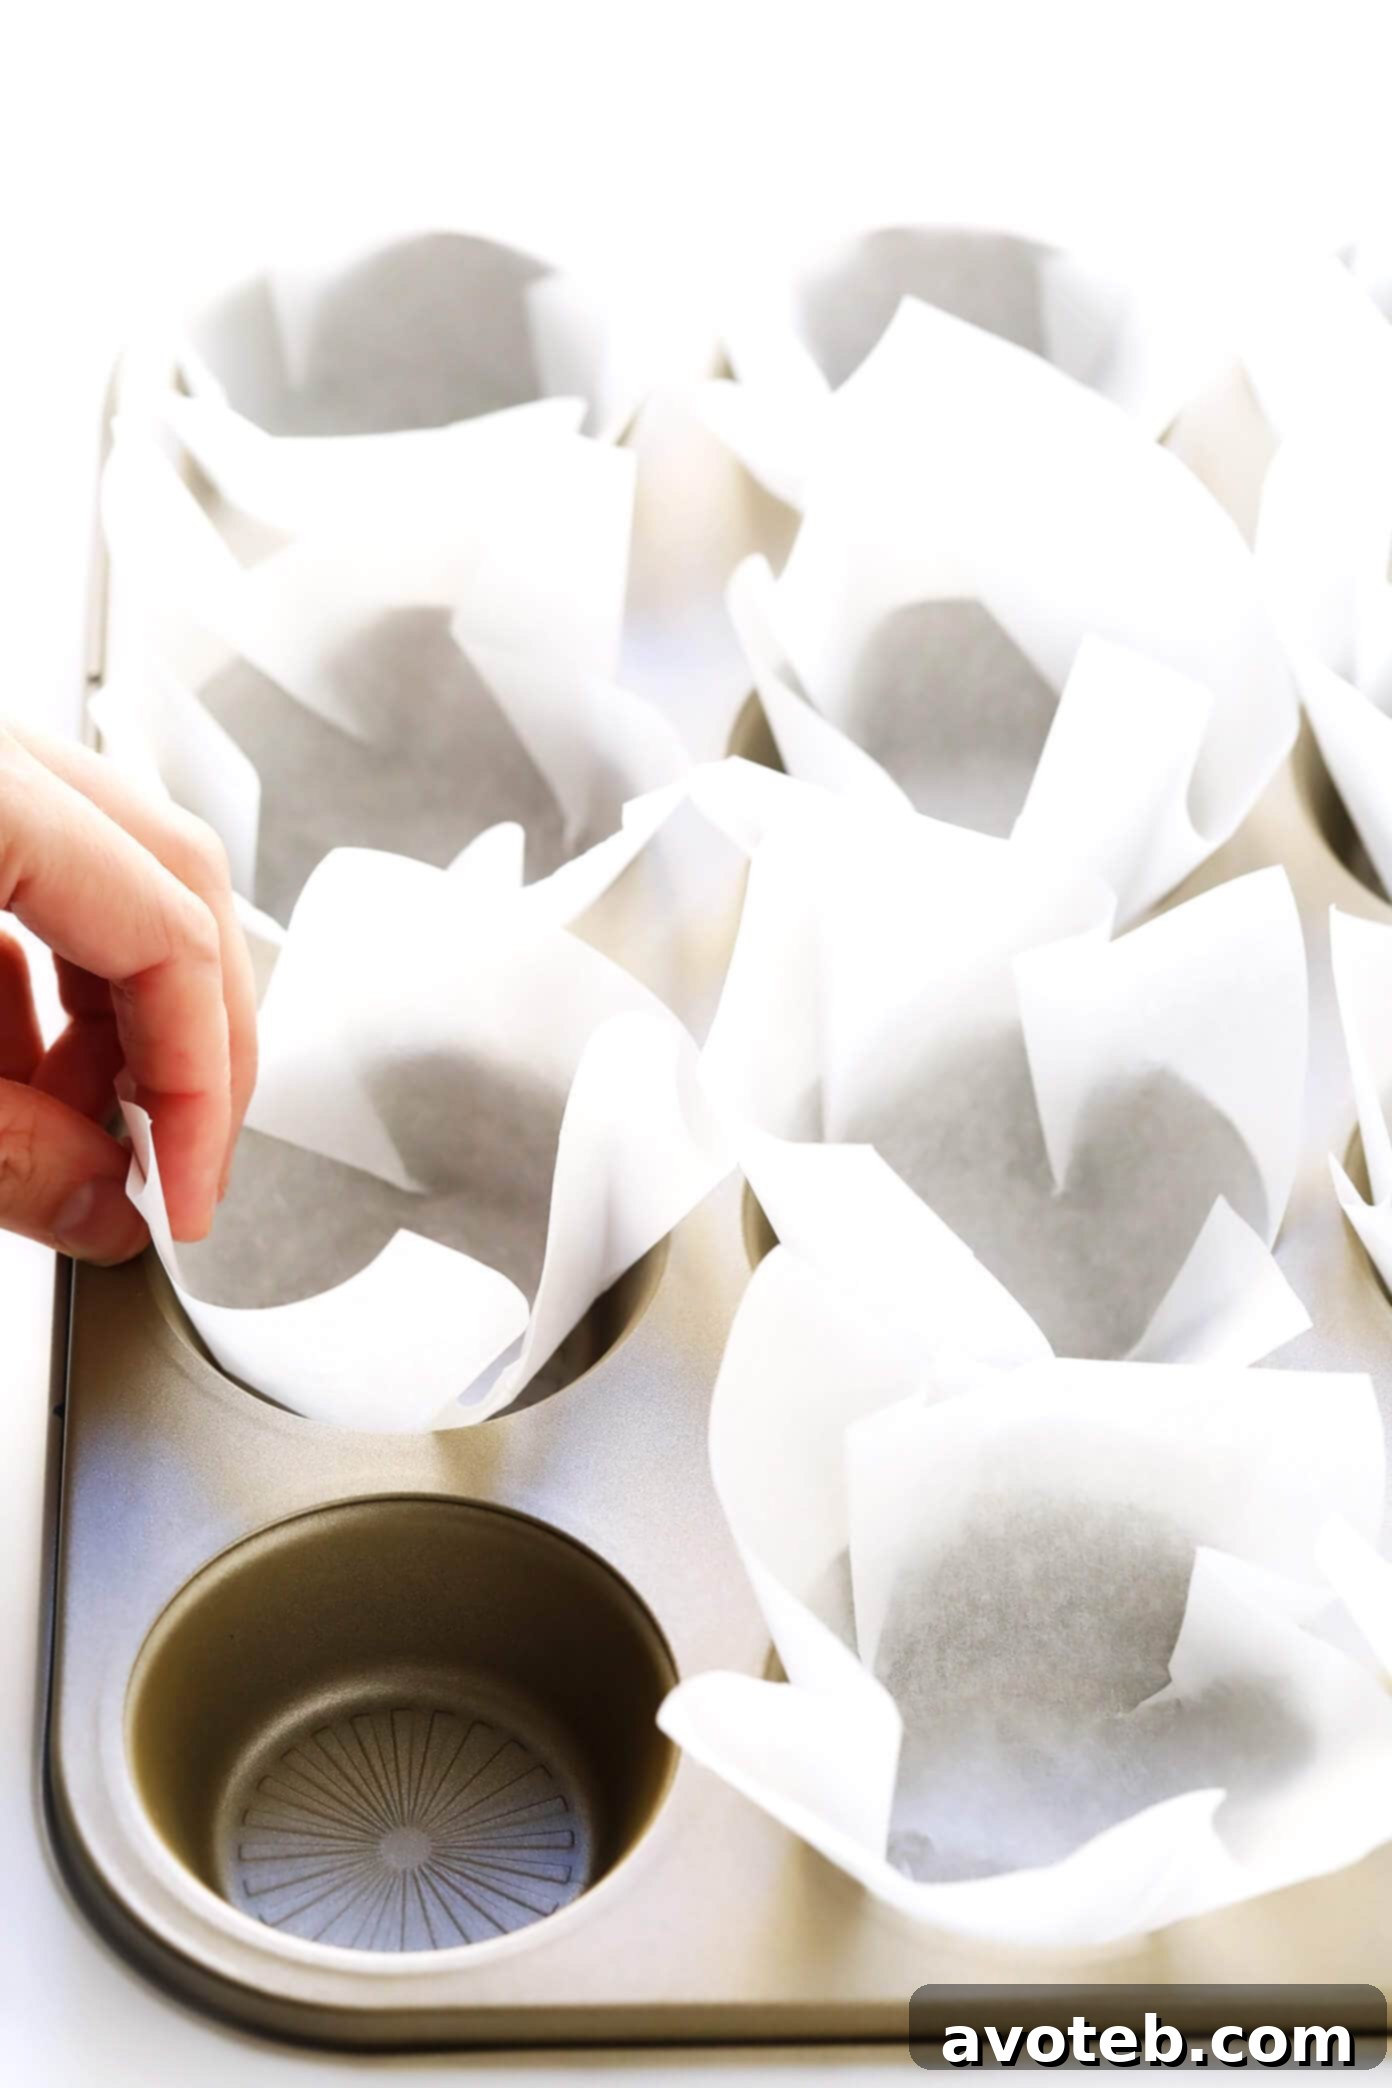
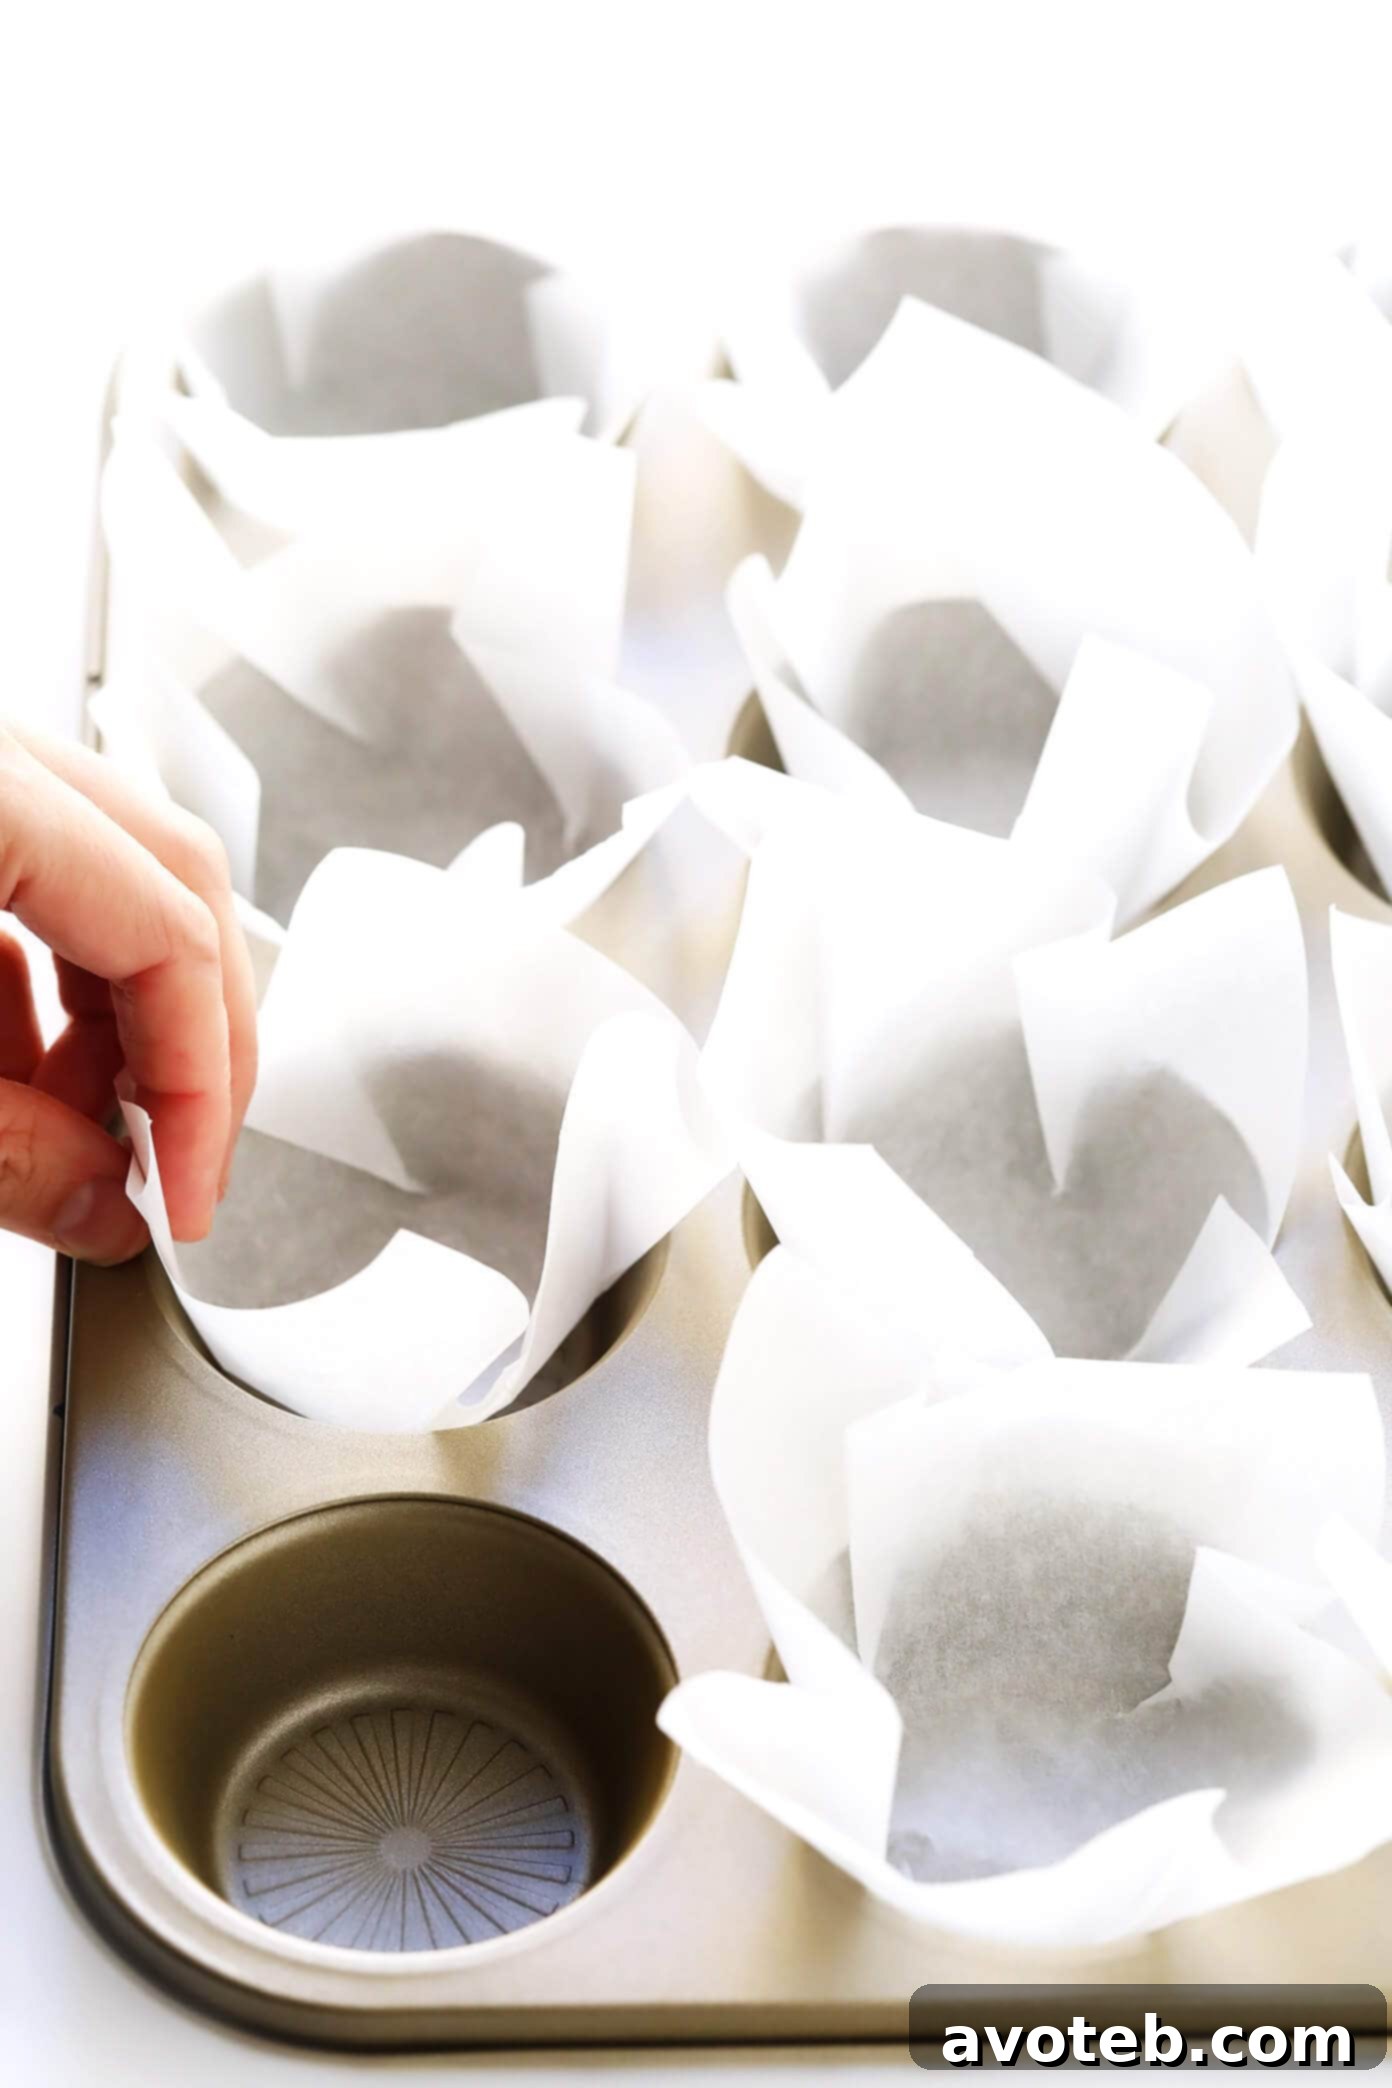
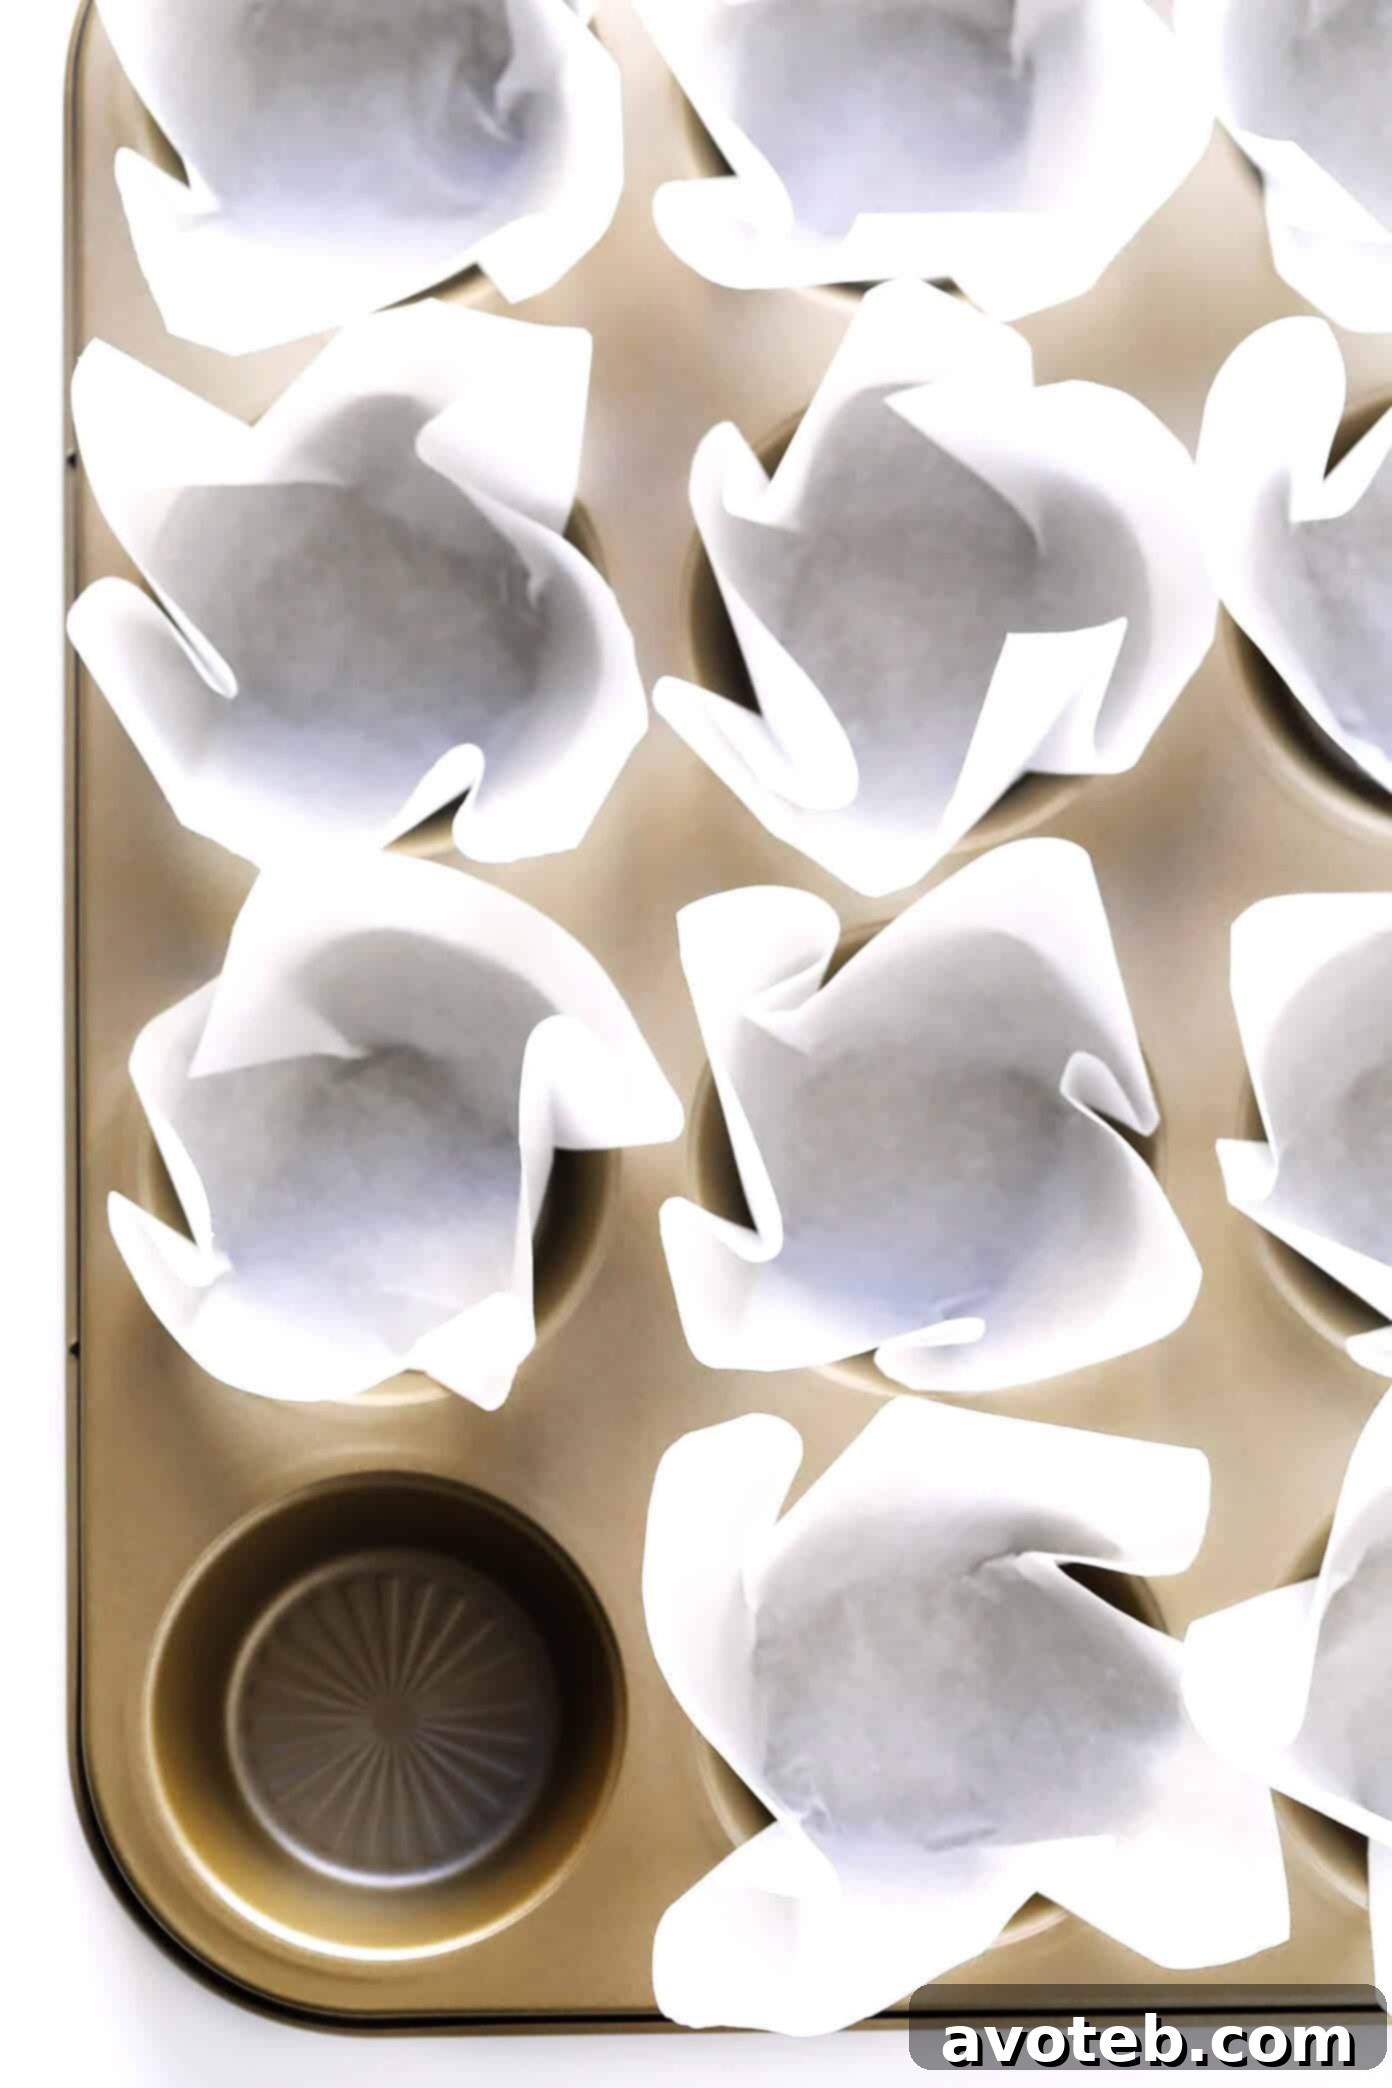
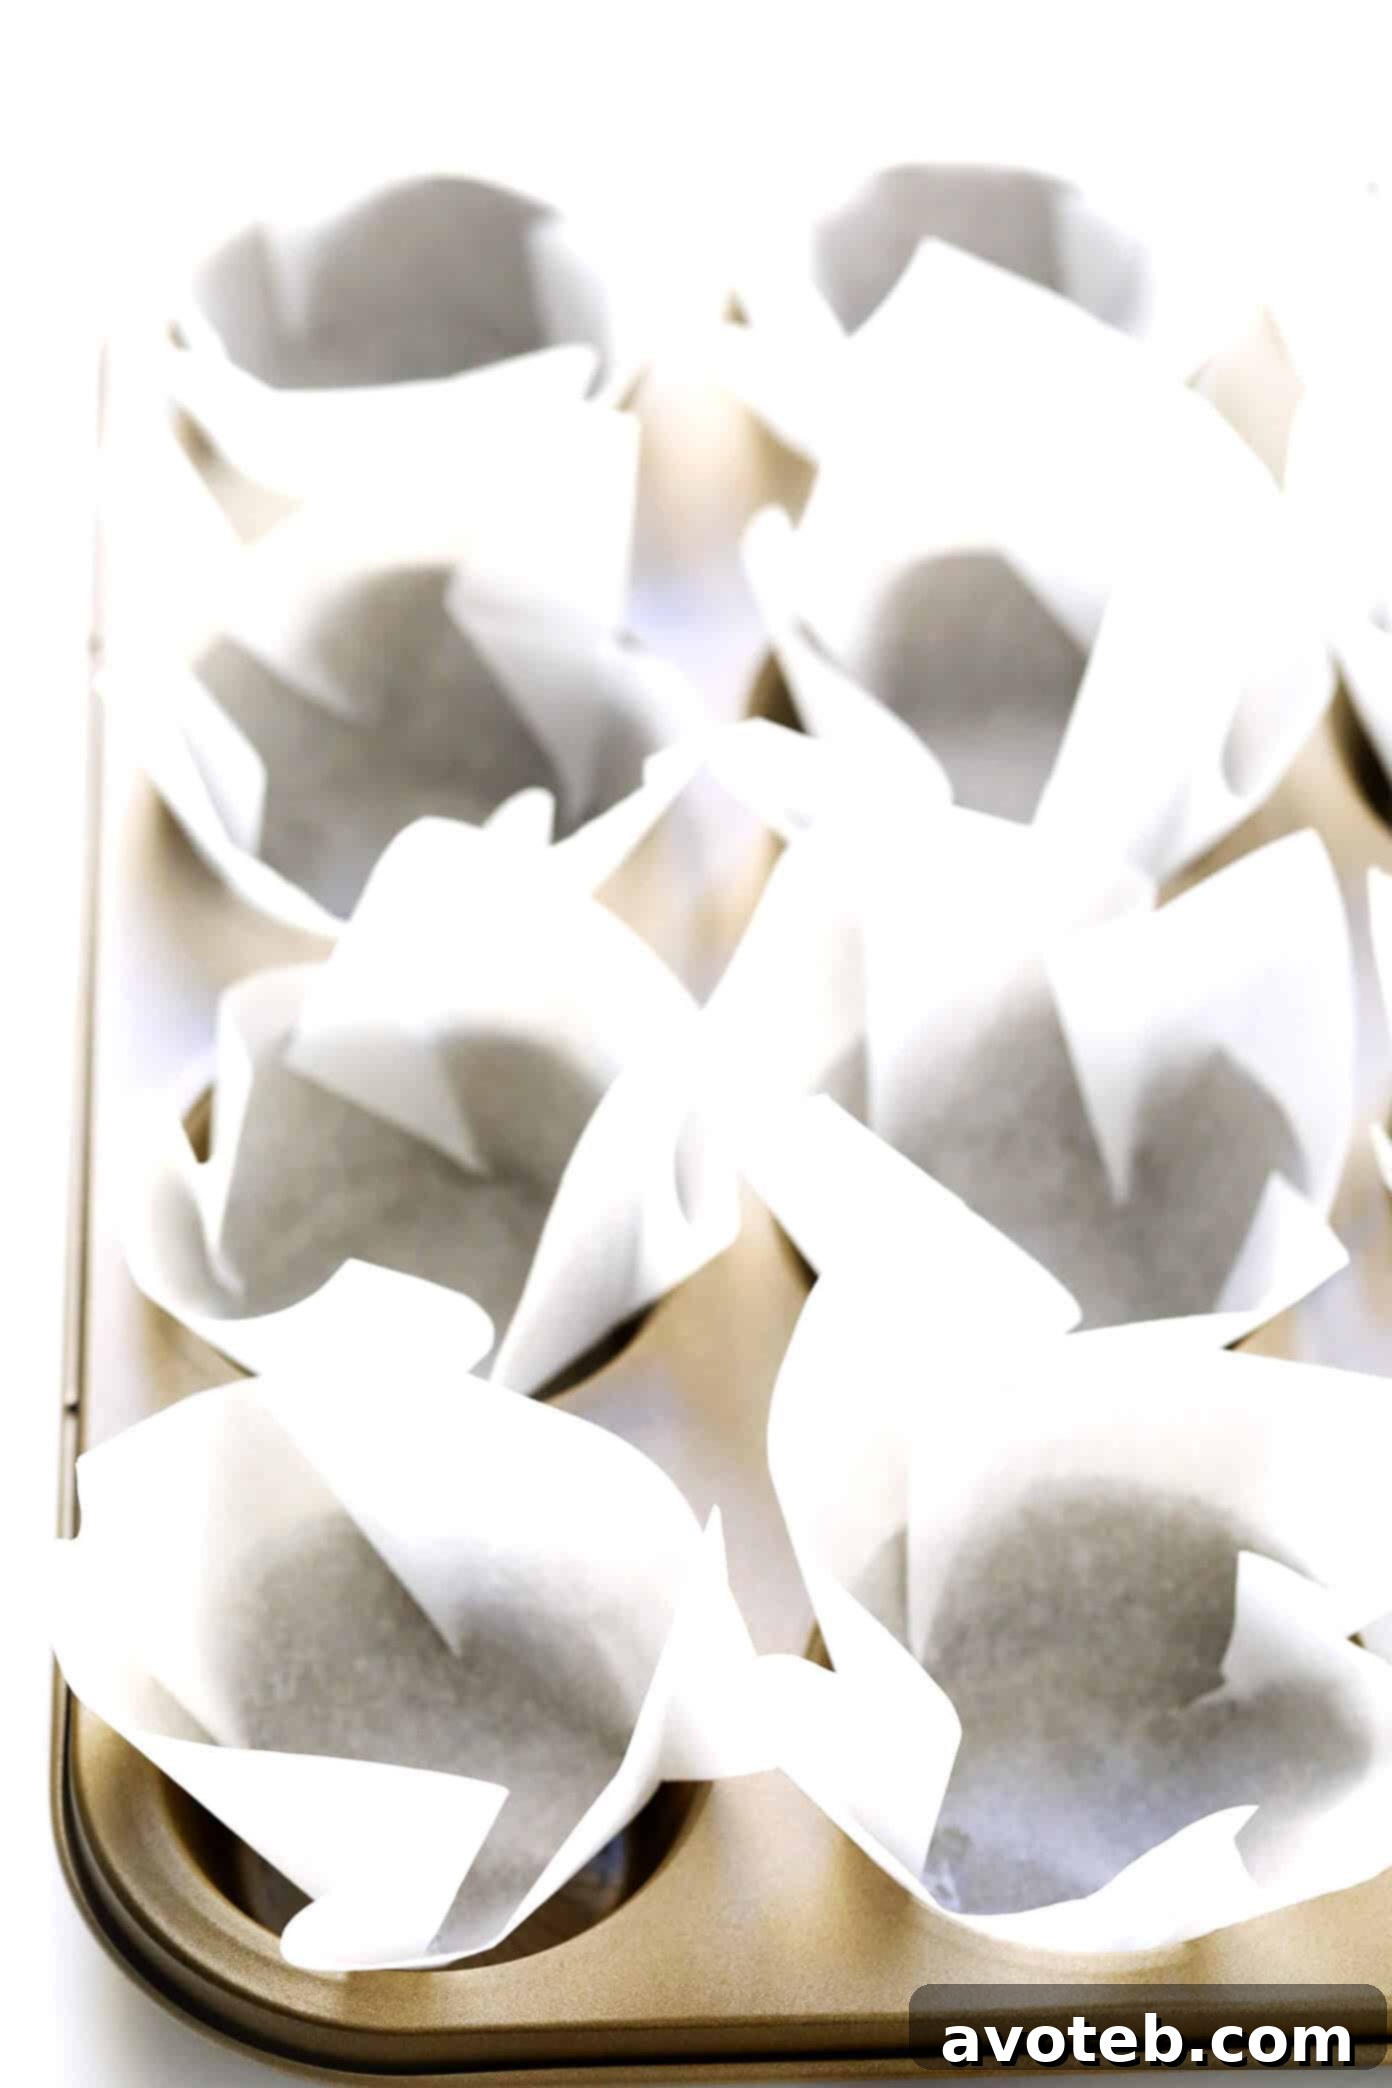
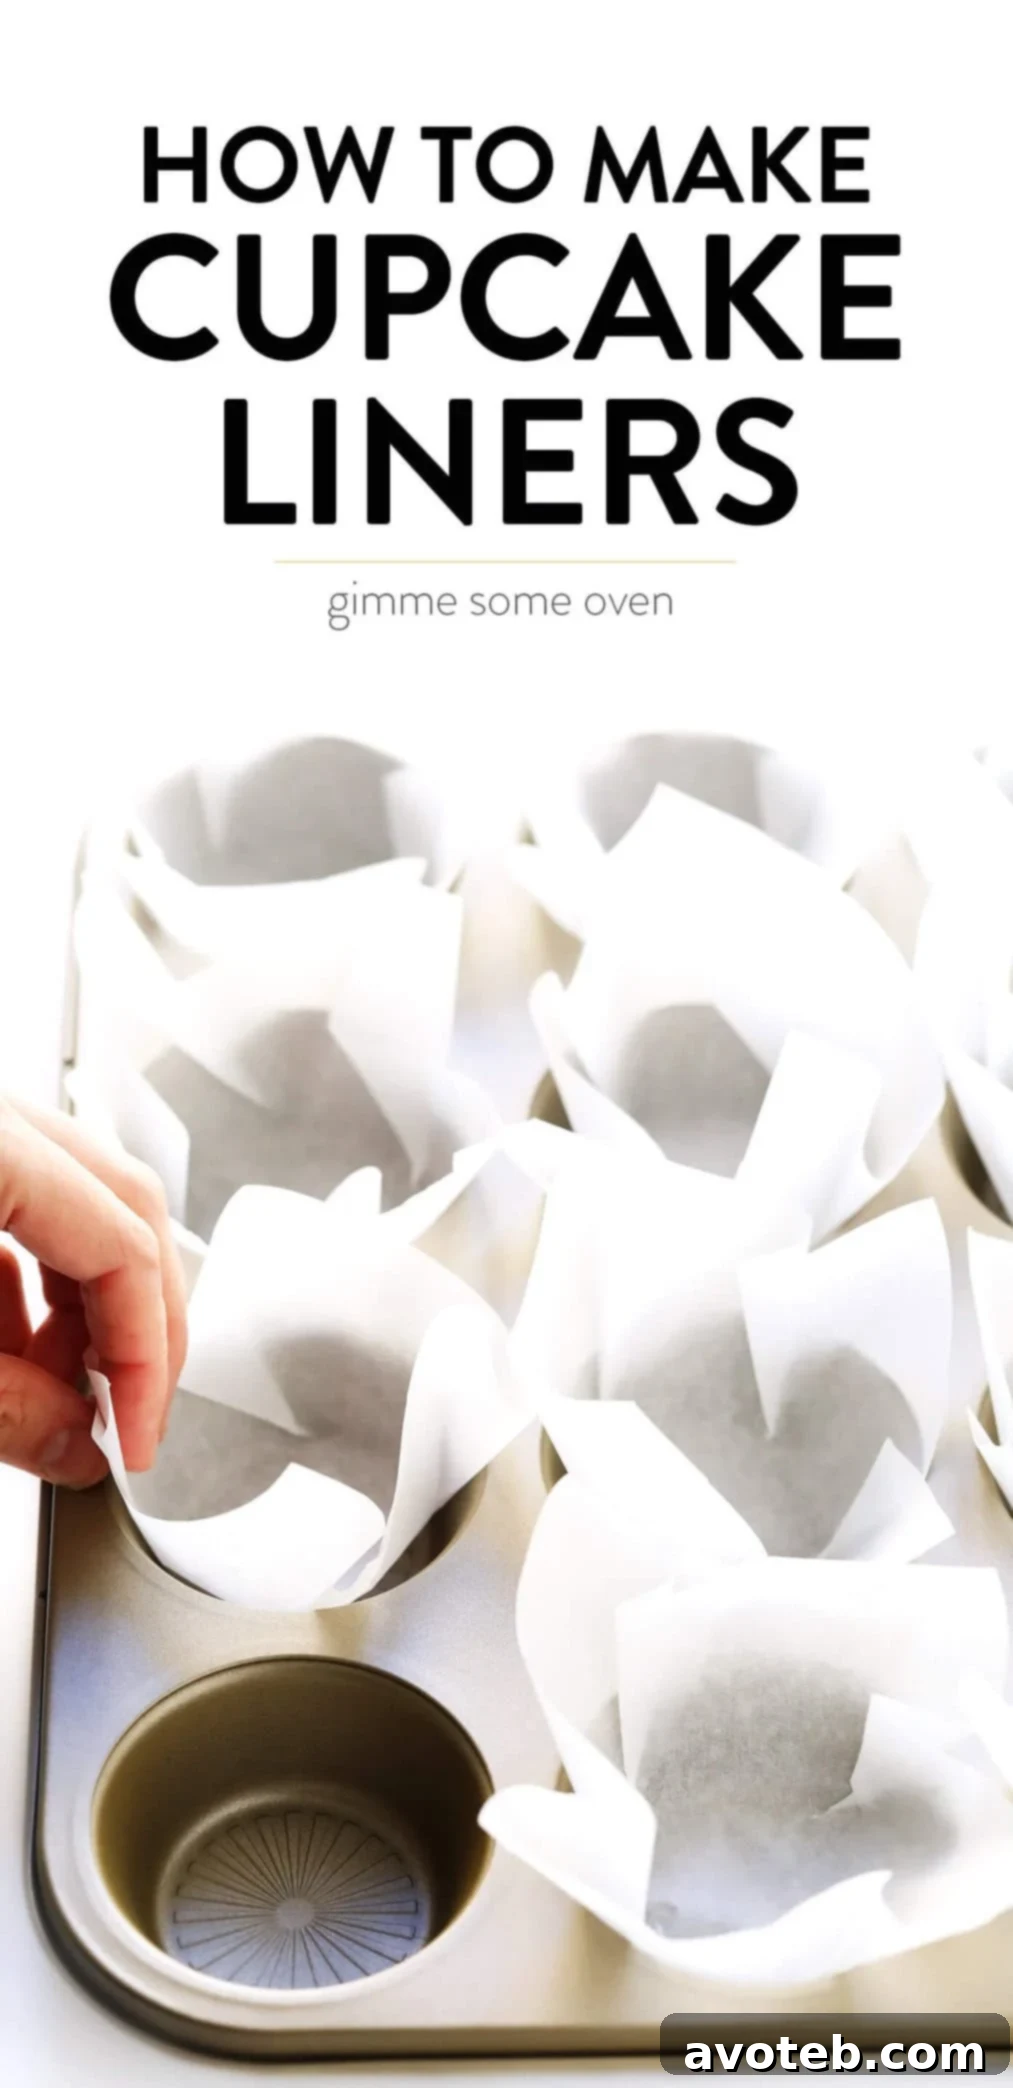
- Shape the Liners in Your Baking Pan: This step is where the magic happens. Take one of your parchment squares and center it directly above an empty cup in your muffin or cupcake pan. Gently but firmly press the parchment paper down into the cup, ensuring that the entire interior surface is covered and the edges extend upwards, creating the signature tulip shape. To achieve an extra-pretty, evenly pleated look, I suggest pressing down on four distinct points inside the baking cup, forming a smaller square at the bottom. Then, systematically fold the edges of the parchment paper over, making sure they all face the same direction (for example, clockwise or counter-clockwise, as shown in the images above). Don’t worry if the folds don’t immediately lie perfectly flat; they will settle and flatten out beautifully once the weight of your muffin or cupcake batter is added. This technique ensures a snug fit and a lovely presentation.
- Fill with Your Favorite Batter: Once your homemade parchment liners are shaped and nestled in the pan, it’s time to add your batter. For a clean, even, and consistent fill, I highly recommend using a large cookie scoop (affiliate link). This tool is a game-changer, significantly reducing mess and helping you accurately measure out the batter for each cup. Consistent batter amounts lead to more uniform baking and beautifully sized muffins or cupcakes.
- Bake and Enjoy Your Creations: With your liners filled, proceed with the rest of your muffin or cupcake recipe exactly as directed. Pop them into the oven, let them bake to golden perfection, and then simply enjoy the ease of removal and the delightful presentation that these DIY parchment baking liners provide. Your baked goods will release effortlessly, leaving no crumbs behind and making cleanup a breeze.
These simple steps will transform your baking routine, offering a practical, beautiful, and cost-effective solution for all your muffin and cupcake needs.
Tips for Baking Success with DIY Parchment Liners:
- Practice Makes Perfect: Don’t be discouraged if your first few liners aren’t perfectly symmetrical. Like any craft, practice improves technique. You’ll quickly develop a rhythm.
- Experiment with Sizes: While 5-inch squares are ideal for standard muffin pans, feel free to adjust the size for mini muffins (perhaps 3-4 inch squares) or jumbo muffins (6-7 inch squares).
- Don’t Overfill: Even with excellent liners, overfilling can lead to spills. Follow your recipe’s guidance for batter volume per cup.
- Storage: If you make a large batch of liners in advance, they can be stacked and stored in an airtight container or zip-top bag until needed. They’ll maintain their shape and be ready for your next baking session.
- Consider Your Oven: Parchment paper is heat-resistant, but always ensure your oven temperature is within recommended baking ranges to prevent any issues.
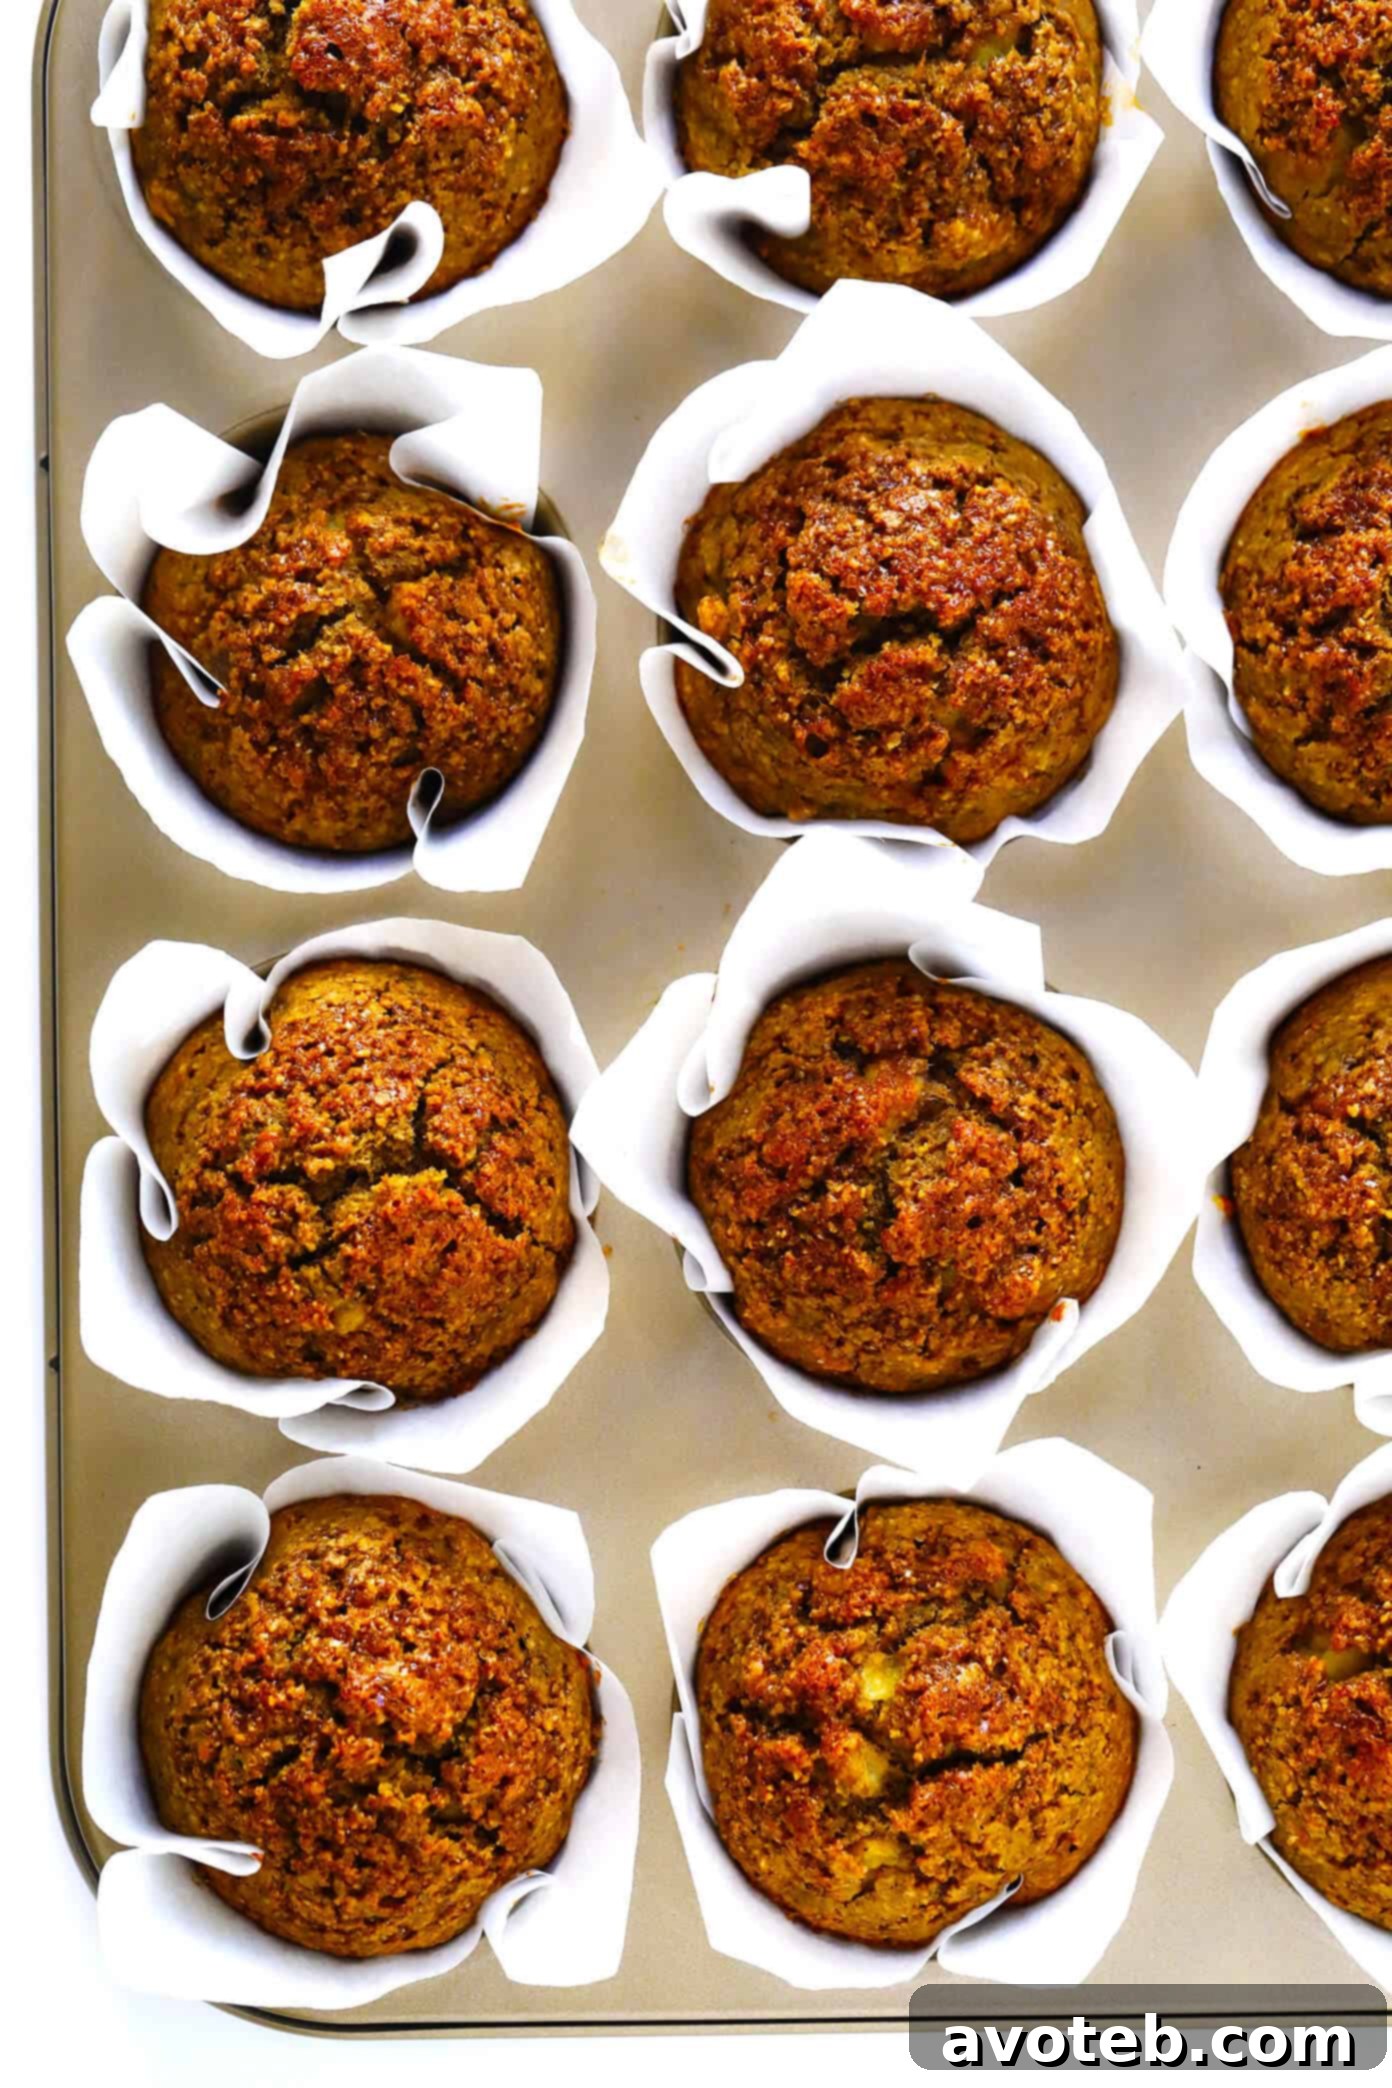
Favorite Cupcake and Muffin Recipes to Try:
Now that you’re equipped with the knowledge to create your own charming and practical baking cups, it’s time to put them to glorious use! These homemade parchment tulip liners not only prevent sticking but also add a touch of professional elegance to your baked goods. Here are some of my all-time favorite muffin and cupcake recipes that are absolutely perfect for showcasing your new DIY liners:
- Healthy Banana Muffins (pictured above): A wholesome and incredibly moist treat, bursting with the natural sweetness of ripe bananas. This recipe is a fan favorite for good reason and will be shared soon!
- Healthy Pumpkin Muffins: Embrace the cozy flavors of autumn with these spiced, nutritious muffins. They’re wonderfully tender and fragrant.
- Healthy Apple Muffins: Filled with tender apple pieces and warm spices, these muffins are a delightful way to enjoy a classic fruit.
- Healthy Zucchini Muffins: A fantastic way to sneak in some veggies, these muffins are surprisingly moist and flavorful, perfect for breakfast or a snack.
- Wholesome Carrot Muffins: Sweetened with carrots and often spiced with cinnamon, these hearty muffins are a comforting and satisfying choice.
- Favorite Vanilla Cupcakes: Sometimes, simplicity is best. These classic vanilla cupcakes are fluffy, sweet, and the perfect canvas for any frosting.
- Salted Dark Chocolate Cupcakes: Indulgent dark chocolate paired with a hint of sea salt creates an irresistible flavor combination that’s rich and sophisticated.
- Chocolate Peanut Butter Cupcakes: The ultimate duo! These cupcakes combine the beloved flavors of chocolate and peanut butter for a truly decadent dessert.
Each of these recipes will benefit from the non-stick and elegant presentation offered by your homemade parchment liners. Not only will your baked goods be easy to remove from the pan, but they will also look professionally prepared, ready to impress guests or simply bring a smile to your own face.
Enjoy the delightful process of baking, everyone, and savor every bite of your beautiful creations!
This post contains Amazon affiliate links.