
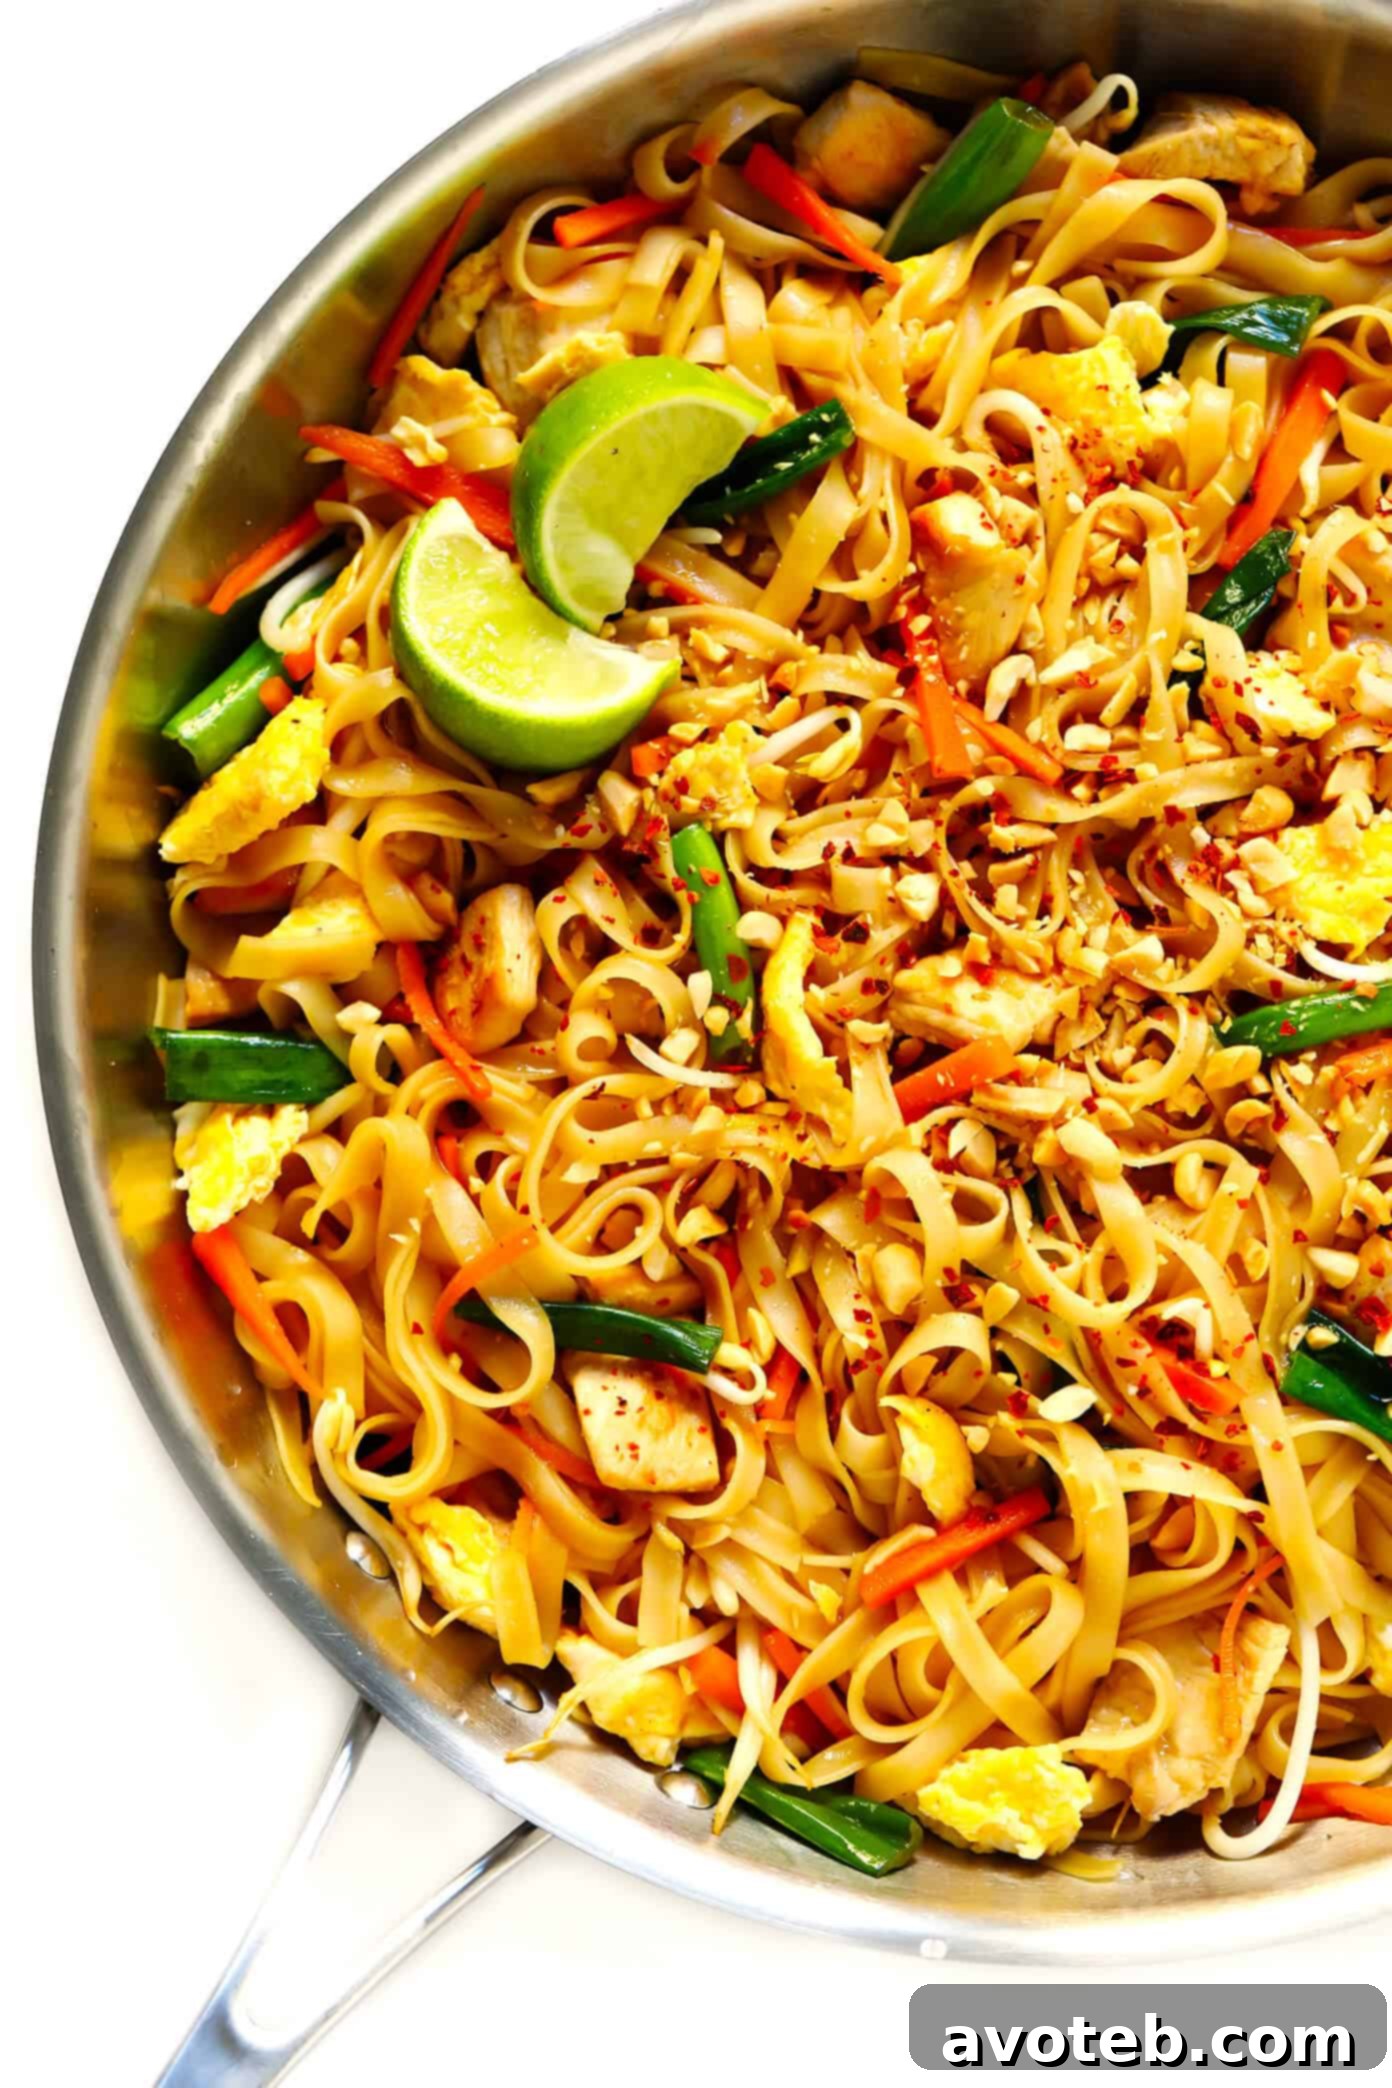
Experience the vibrant flavors of Thailand from your own kitchen with this incredible homemade Pad Thai recipe. This dish, a harmonious blend of sweet, sour, salty, and savory, is surprisingly simple to prepare, highly customizable with your preferred protein and vegetables, and promises an authentic taste experience that rivals your favorite takeout. Dive into a culinary adventure and master the art of this beloved Thai noodle stir-fry!
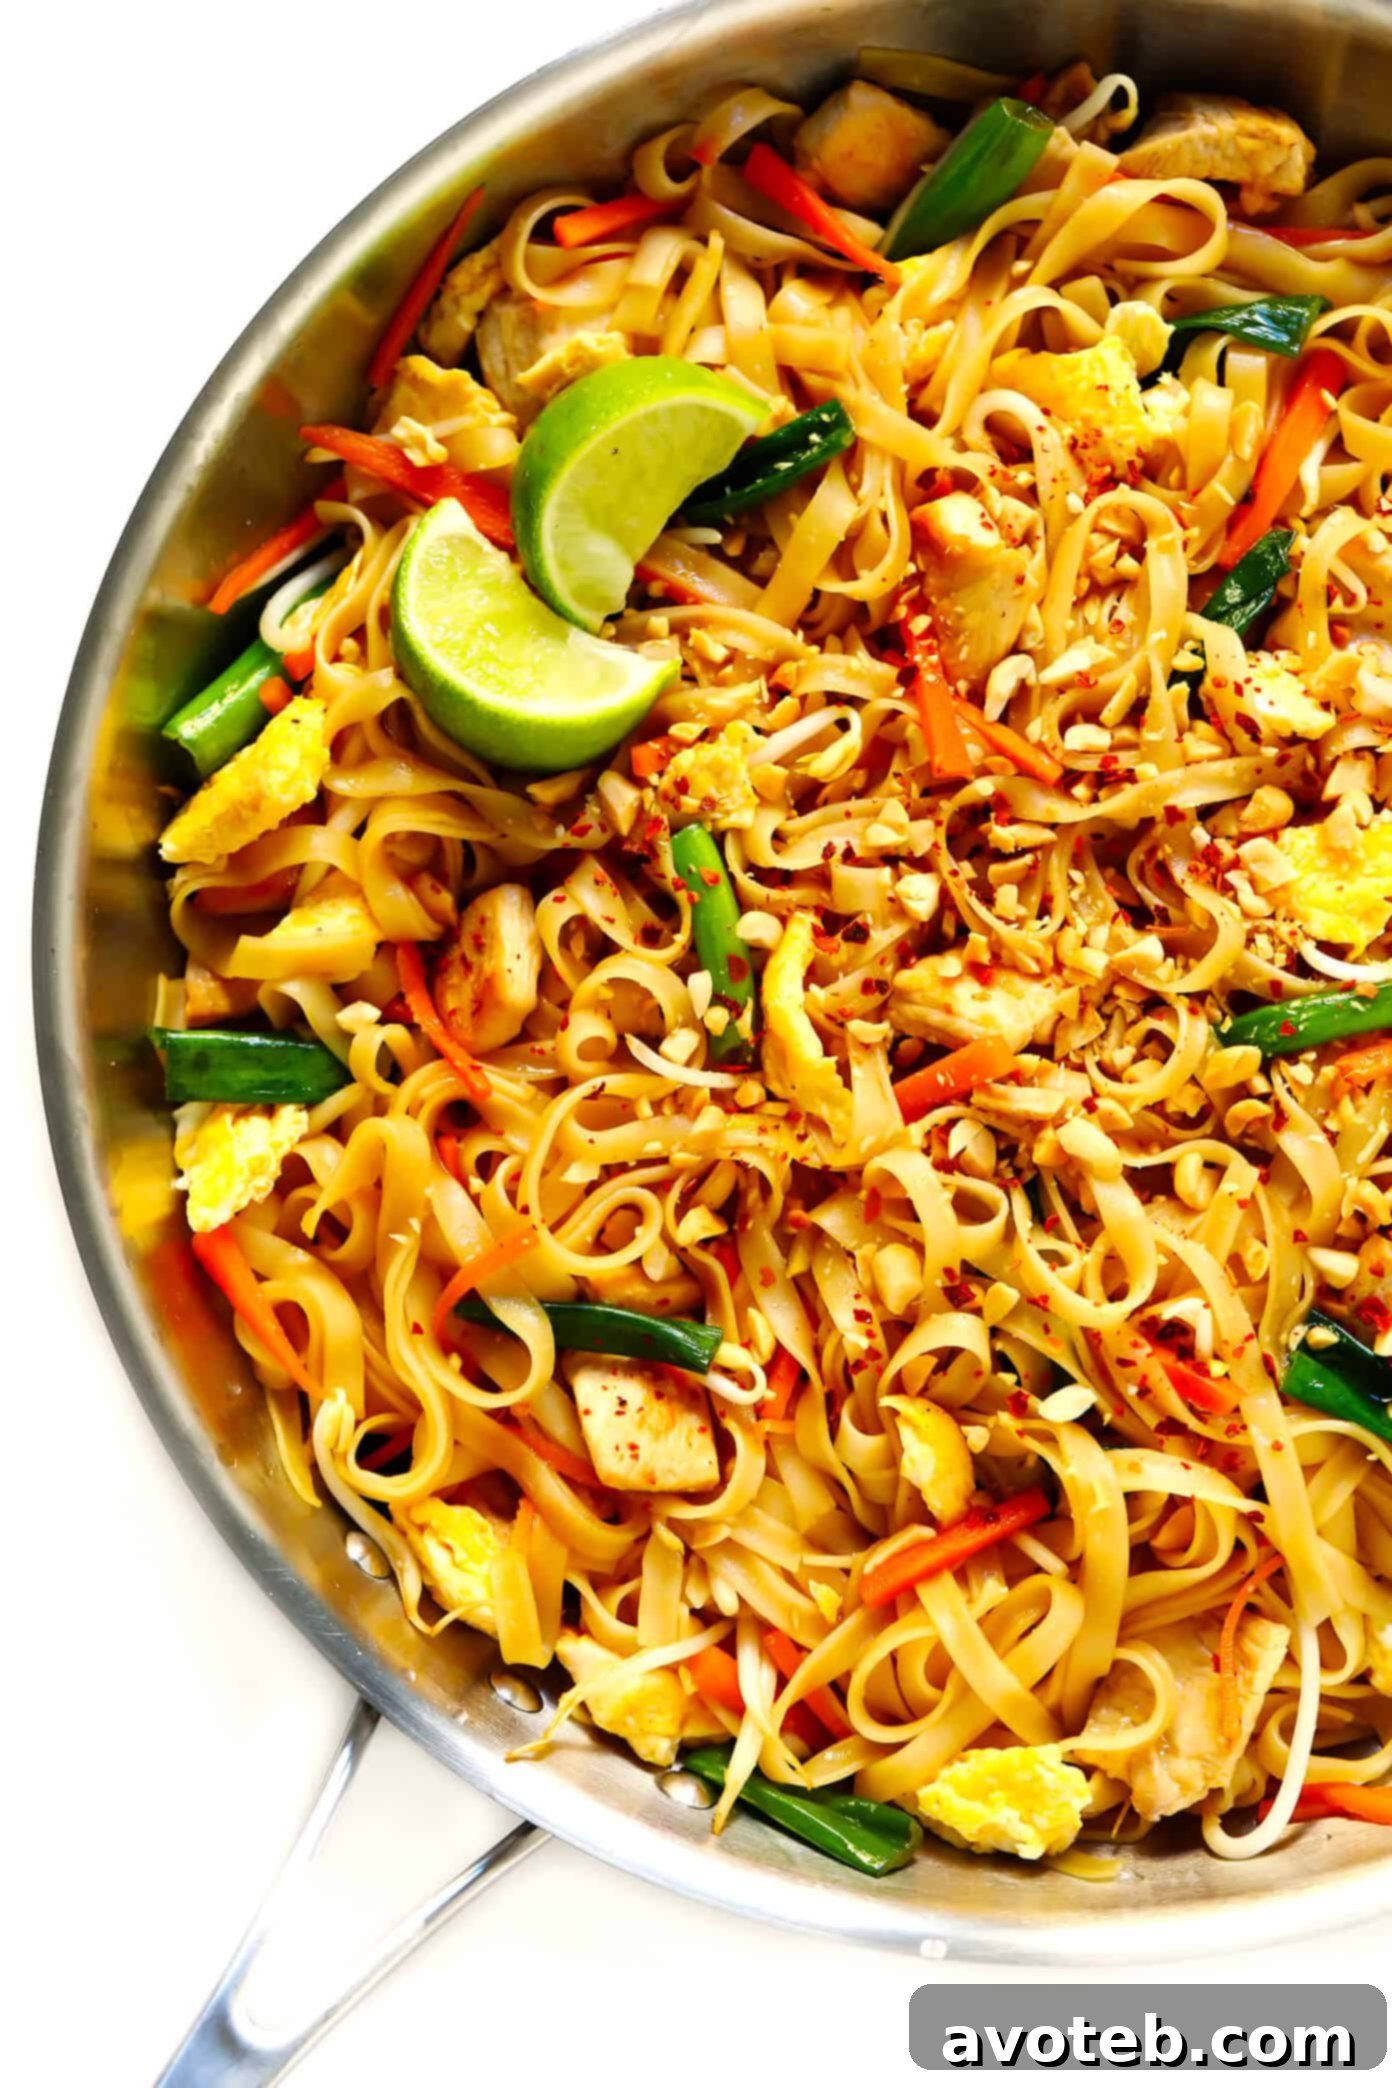
Mastering Homemade Pad Thai: A Flavorful Journey
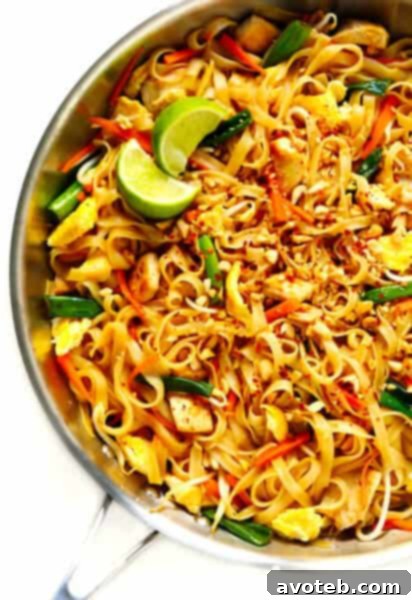
Pad Thai has captivated palates worldwide, cementing its status as one of the most recognizable and adored dishes in global cuisine. This iconic noodle stir-fry, originating from the rich culinary traditions of Thailand, is a testament to balance—a delightful symphony of chewy al dente rice noodles, crisp stir-fried vegetables, often a choice protein, all coated in an irresistibly fresh, sweet, and tangy tamarind-based sauce. For many, it’s the ultimate comfort food, a vibrant explosion of flavors and textures in every single bite.
While often associated with bustling Thai street food stalls or your favorite local restaurant, the good news is that crafting an exceptional Pad Thai in your own kitchen is entirely achievable. Forget the notion that authentic Thai cooking is overly complex; with the right ingredients and a clear guide, you can whip up a restaurant-quality meal that’s both quick and deeply satisfying.
This particular recipe draws inspiration from the fantastic Pad Thai served in American Thai restaurants, offering a delicious and approachable version for home cooks. We’ve incorporated readily available ingredients while still aiming for that signature sweet, sour, and savory balance that makes Pad Thai so addictive. While not claiming to be a strictly traditional rendition (for those seeking truly authentic versions with ingredients like dried shrimp, pickled radish, and garlic chives, we highly recommend exploring recipes from experts like Hot Thai Kitchen or Thai Table), this recipe is a cherished family favorite, bursting with vibrant, layered flavors.
Beyond its incredible taste, one of the greatest advantages of making Pad Thai at home is its versatility. You have complete control to customize it with your preferred protein, vegetables, and spice level. And when you’re short on time, this entire dish can come together in just over half an hour, making it an ideal choice for a busy weeknight. Plus, the leftovers are absolutely divine!
So, if you’re a devoted fan of these delectable noodles, it’s time to elevate your cooking game and experience the joy of homemade Pad Thai. Prepare to impress yourself and your loved ones with this culinary masterpiece!
Pad Thai Recipe | Quick Video Guide
The Fascinating History of Pad Thai
Delving into the origins of Pad Thai reveals a compelling story, though the exact details often vary slightly across historical accounts. What all sources agree upon, however, is that Pad Thai is a relatively modern invention, having been developed in Thailand less than a century ago, primarily during the 1930s and 1940s.
One popular theory credits its creation to Plaek Phibunsongkhram, the prime minister of Thailand during that era. He is said to have initiated a national competition to develop a new “national dish” as part of a broader campaign to promote Thai nationalism and strengthen the country’s identity. The goal was to create a dish that embodied Thailand’s distinctive blend of sweet, salty, and sour flavors, utilizing local ingredients and cooking techniques. The winning dish, a stir-fried noodle creation, became known as “Pad Thai.”
Another compelling historical perspective suggests that Pad Thai emerged as a pragmatic response to a wartime rice shortage. During this period, the prime minister encouraged citizens and cooks to incorporate more rice noodles into their diet as an alternative to plain rice, which was becoming scarce. This initiative aimed to conserve rice supplies and diversify the national diet. Regardless of the precise catalyst, the dish quickly gained immense popularity across Thailand, becoming a staple in homes and on street corners.
From its humble beginnings, Pad Thai has evolved into one of the most celebrated noodle dishes globally. Its universal appeal is undeniable; it once ranked as the 5th most popular dish in the world in a prominent poll a decade ago. While various countries and chefs have adapted the dish to local tastes, incorporating different proteins, seasonings, and vegetables, the fundamental components remain constant: stir-fried rice noodles, scrambled eggs, fresh bean sprouts, and a distinctive tangy Pad Thai sauce. This enduring combination continues to be adored by millions around the globe.
For a deeper dive into this rich culinary history, consider watching this insightful video about the history of Pad Thai.
Unlocking the Flavors: Key Pad Thai Ingredients
Before you embark on your culinary journey, let’s explore the essential components that bring this incredible Pad Thai recipe to life. Understanding each ingredient’s role will not only help you prepare the dish but also empower you to customize it to your heart’s content.
The Main Components:
- Rice Noodles: The soul of Pad Thai! Traditionally, thin, flat rice noodles are used, offering that perfect chewy, al dente texture that absorbs the sauce beautifully. While thin varieties are preferred, any width of rice noodles you have on hand will work. Ensure you cook them only until al dente, as they will continue to cook slightly in the wok.
- Protein: This recipe is written for chicken Pad Thai, a classic choice. However, the beauty of homemade Pad Thai lies in its adaptability. Feel free to substitute with or combine other proteins such as succulent shrimp, tender beef, lean pork, or firm tofu. Each option brings its unique texture and flavor to the dish.
- Fresh Vegetables: The vegetables in Pad Thai add essential freshness, crunch, and color. While regional variations exist in Thailand, this recipe focuses on a common and delicious mix:
- Fresh Bean Sprouts: These provide a delightful crunch and slightly earthy flavor.
- Shredded or Matchstick Carrots: Adding a touch of sweetness and vibrant color.
- Sliced Green Onions (Scallions): For a mild oniony bite and visual appeal.
You can also experiment with other quick-cooking vegetables like bell peppers or spinach.
- Fresh Garlic: Minced garlic is a fundamental aromatic that forms the savory base of our stir-fry, infusing the dish with its pungent, irresistible fragrance.
- Eggs: Briefly scrambled and mixed into the noodles, eggs contribute to the dish’s texture and richness. They cook quickly and integrate seamlessly. If you’re aiming for a vegan Pad Thai, simply omit the eggs.
- Toppings: Don’t underestimate the power of toppings! They provide the final flourish of flavor and texture:
- Chopped Peanuts: Essential for a crunchy texture and nutty flavor.
- Fresh Lime Wedges: A squeeze of fresh lime juice at the end is crucial. It brightens the entire dish, enhancing the tangy notes and balancing the sweetness.
- Crushed Red Pepper Flakes: For those who love an extra kick, these allow you to amp up the heat to your personal preference.
Crafting the Signature Pad Thai Sauce:
The sauce is where the magic happens, defining Pad Thai’s distinctive sweet, sour, and savory profile. Here’s what you’ll need:
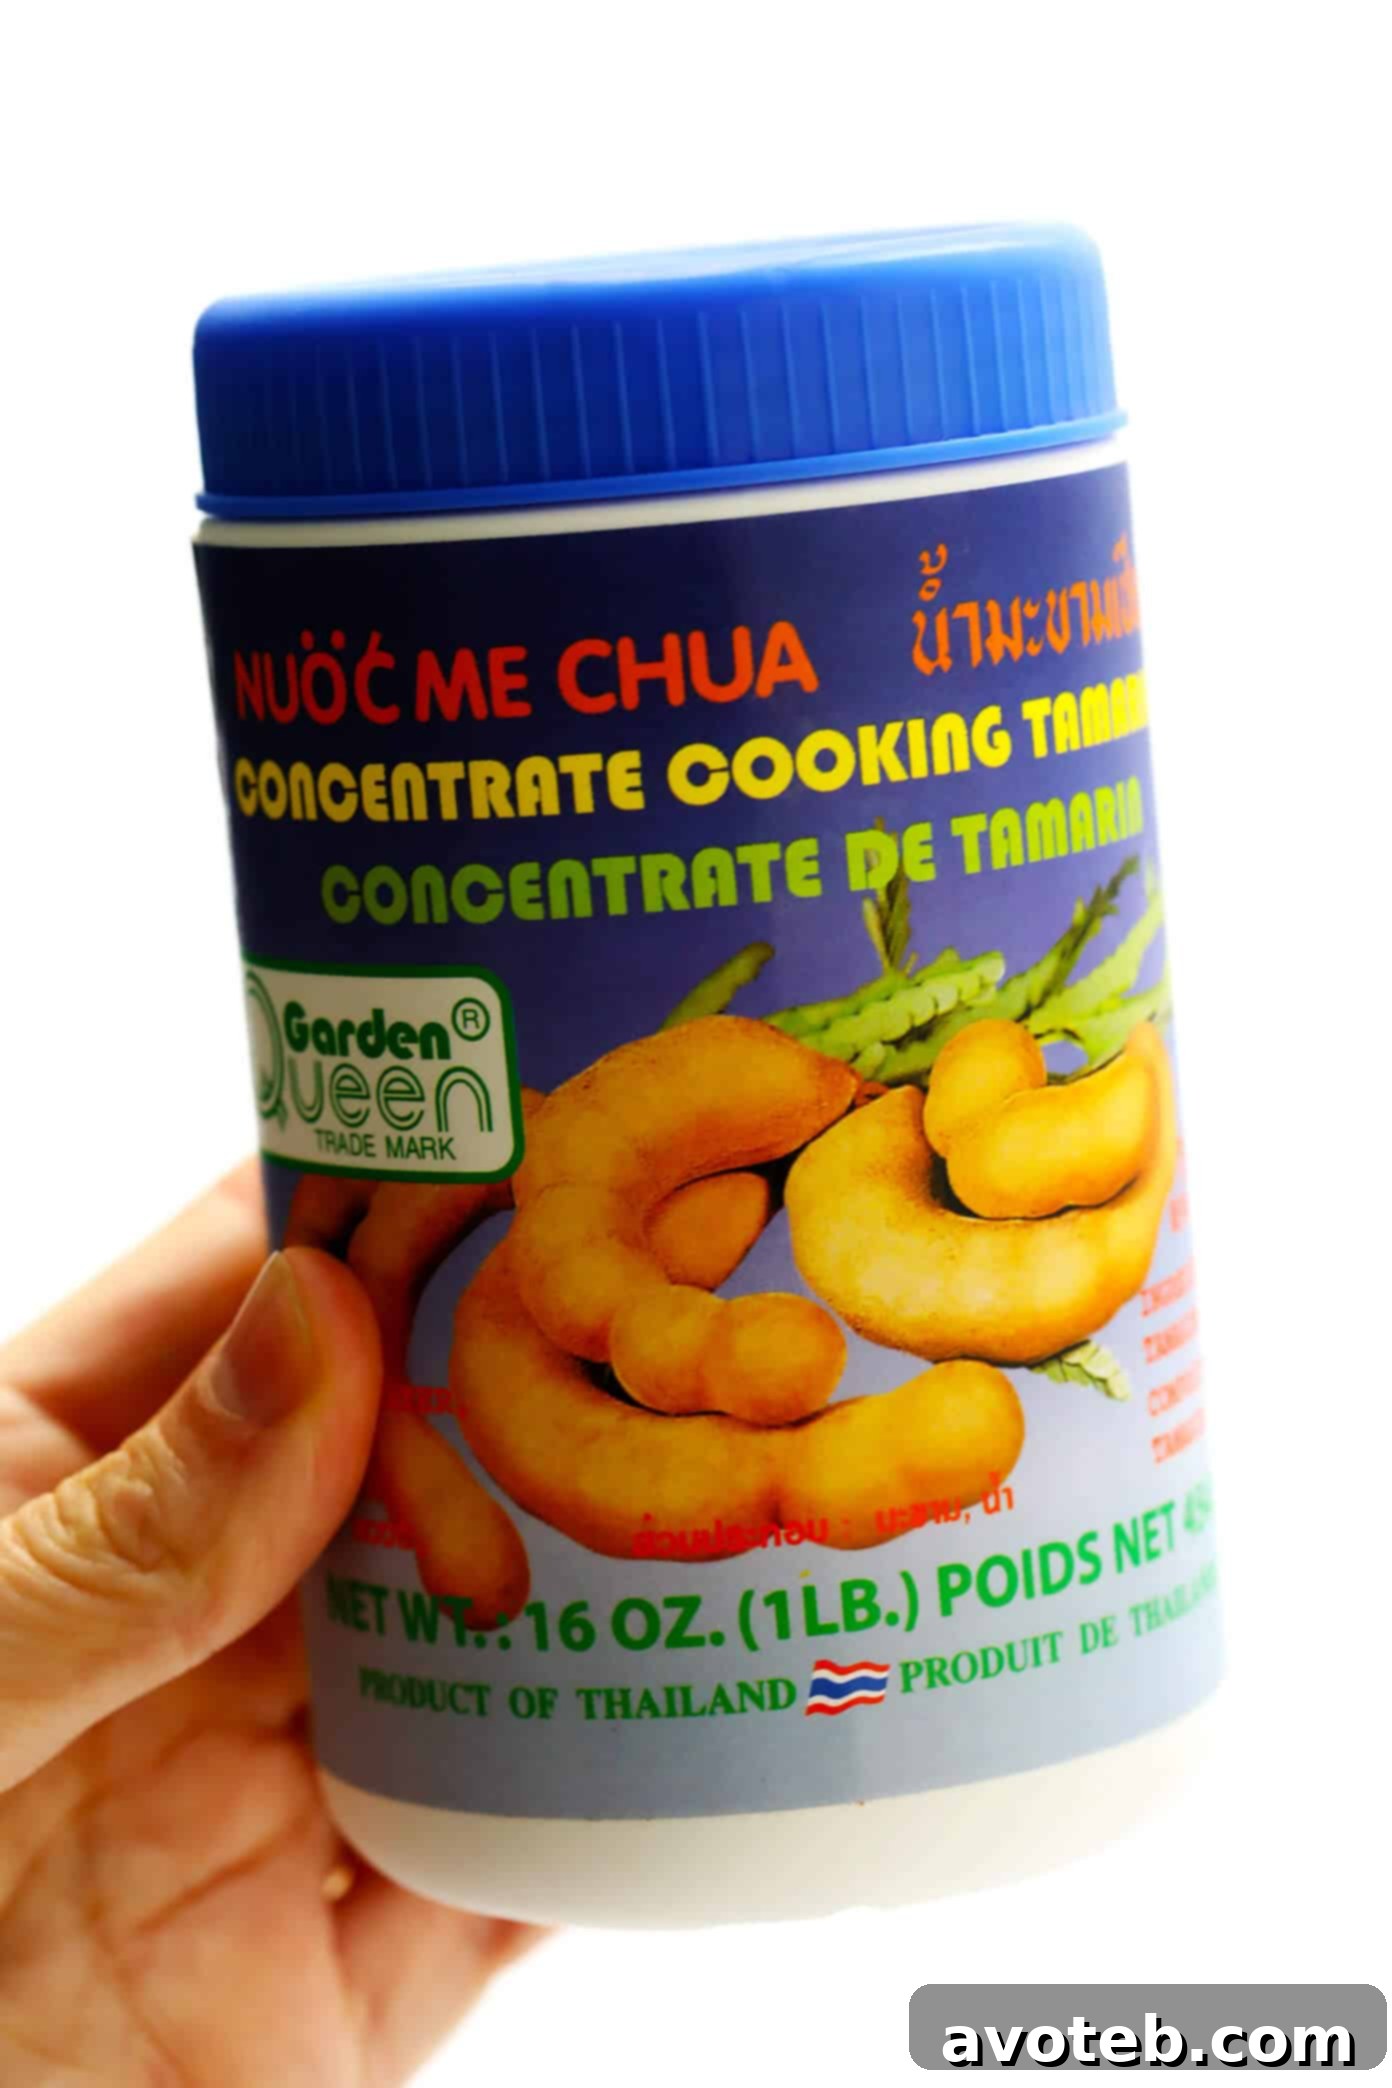
- Tamarind Concentrate: This is truly the star ingredient! Tamarind concentrate delivers the sauce’s characteristic tangy, fruity, and slightly sweet flavor. While some American restaurants might use ketchup as a substitute (resulting in a notably redder, less tangy dish), we strongly recommend investing in a jar of tamarind concentrate for the most authentic and fresh taste. You can find it online or in the international (specifically Thai) aisle of well-stocked grocery stores. Be mindful of the brand: opt for a Thai brand, as Indian tamarind concentrates have a significantly different flavor profile and potency. (For this recipe, we specifically advise against using Tamicon tamarind concentrate.)
- Brown Sugar: In Thailand, palm sugar is traditionally used for its nuanced caramel notes. However, since palm sugar can be tricky to source in many Western grocery stores, light brown sugar (or even coconut sugar) makes an excellent, readily available substitute, providing the necessary sweetness and depth.
- Fish Sauce: An absolute must for authentic Thai cuisine! Good-quality fish sauce (this brand is a favorite) provides a rich, savory umami depth that cannot be replicated.
- Soy Sauce: A touch of soy sauce adds another layer of salty, umami flavor, complementing the fish sauce and rounding out the savory profile.
- Fresh Lime Juice: Freshly squeezed lime juice is vital for that bright, zesty tang that cuts through the richness and balances the sweetness of the sauce. Don’t skimp on this!
- Crushed Red Pepper Flakes: Customize the heat! Add these to your liking to introduce a gentle warmth or a fiery kick to your Pad Thai.

Your Guide to Making Perfect Homemade Pad Thai
Crafting delicious Pad Thai at home is simpler than you might imagine. Follow these steps for a perfectly balanced and flavorful noodle stir-fry. Full, detailed instructions are provided in the recipe card below, but here’s an overview of the process:
- Prepare the Signature Sauce: This is your first crucial step! In a medium bowl, combine all the sauce ingredients. Whisk them vigorously or shake them together in a mason jar until completely smooth and well-blended. Set this aside; having it ready ensures a smooth stir-frying process.
- Cook the Rice Noodles: Bring a pot of water to a boil. Cook your rice noodles according to the package directions, ensuring they remain al dente. This means they should be firm to the bite, as they will continue to soften slightly when stir-fried with the hot sauce. Once cooked, drain them immediately in a strainer. To prevent them from sticking together while you prepare other ingredients, give them a brief rinse with lukewarm water and toss them with a small drizzle of oil.
- Cook Your Chosen Protein: While the noodles are cooking, begin your stir-fry. Heat 1 tablespoon of oil in a large sauté pan or wok over high heat. Add your protein of choice (such as thinly sliced chicken, shrimp, beef, or pork) and sauté for 3-5 minutes, tossing occasionally, until it’s fully cooked through and lightly browned. Once done, transfer the cooked protein to a clean plate and set it aside.
- Stir-Fry the Vegetables: Add the remaining 1 tablespoon of oil to the same pan. Toss in the bean sprouts, shredded carrots, and minced garlic. Sauté for about 2 minutes, stirring constantly, until the vegetables are crisp-tender. They should still have a slight bite.
- Scramble the Eggs: Push the cooked vegetables to one side of the pan, creating an empty space. Pour the whisked eggs into the cleared half of the pan. Quickly scramble the eggs until they are just set and cooked through.
- Combine and Coat: Now for the grand assembly! Add the cooked rice noodles, the reserved cooked protein, the prepared Pad Thai sauce, and the sliced green onions back into the pan with the eggs and vegetables. Use tongs to gently but thoroughly toss all the ingredients together. Ensure everything is evenly coated in that delicious, tangy sauce. Remove the pan from the heat as soon as everything is well combined and heated through.
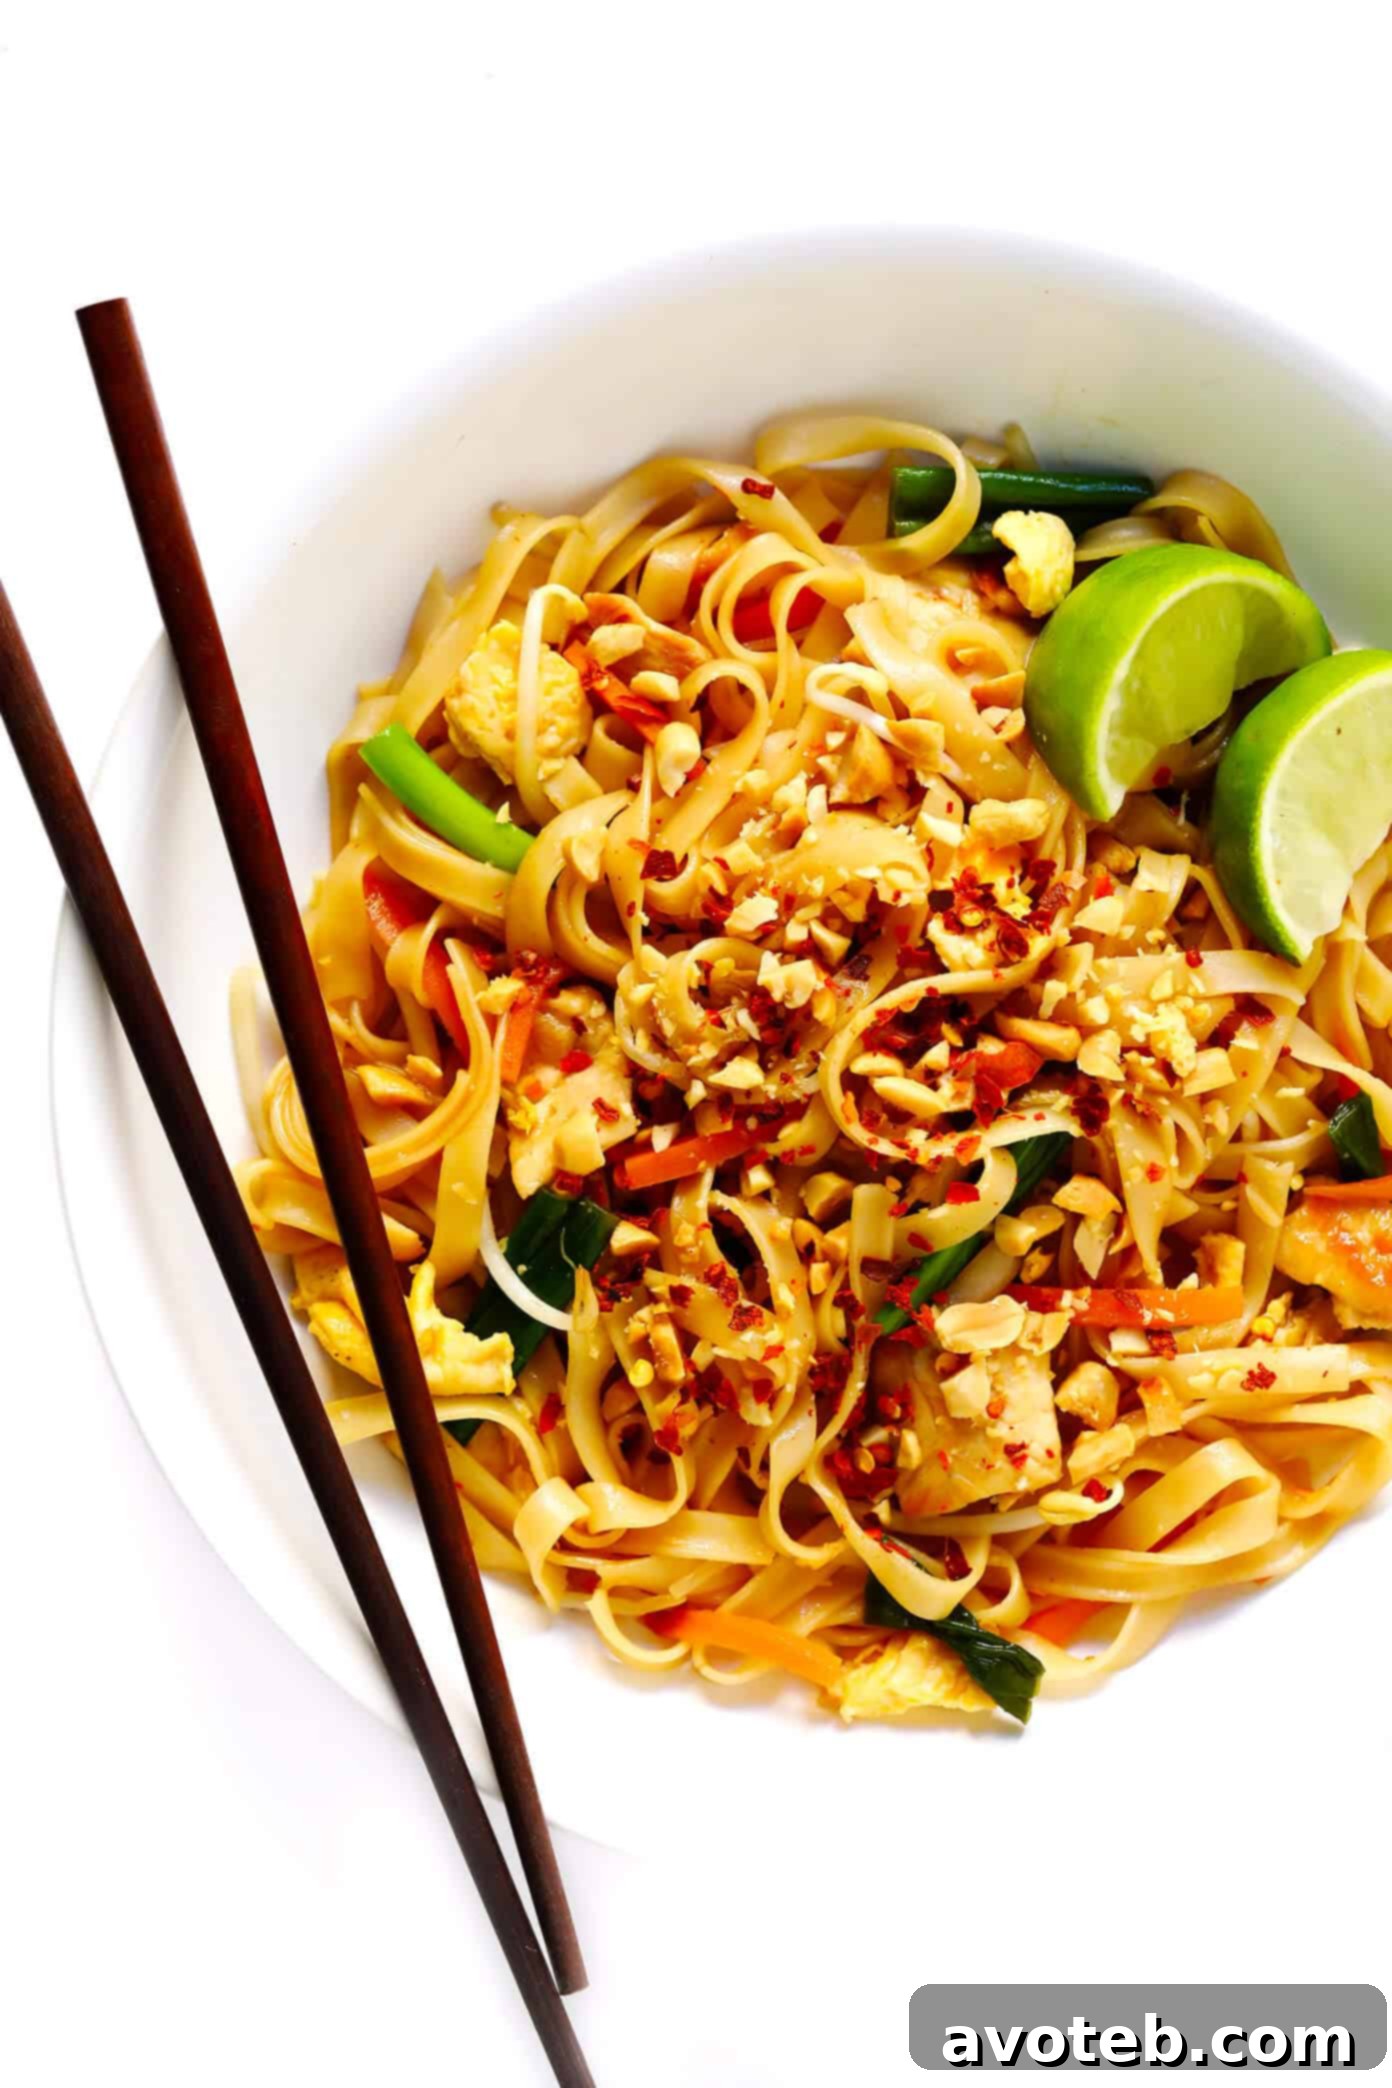
- Serve Immediately: Transfer your glorious homemade Pad Thai to serving plates. Garnish generously with plenty of chopped peanuts for crunch, an extra sprinkle of crushed red pepper flakes if you desire more heat, and a fresh lime wedge for squeezing. A final squeeze of fresh lime juice truly brightens the flavors and ties everything together. Serve hot and enjoy!

Customizing Your Pad Thai: Endless Possibilities
One of the true joys of making Pad Thai at home is the freedom to tailor it precisely to your taste. Like any great noodle stir-fry, this recipe is incredibly forgiving and adaptable. Here are some popular variations you can explore:
- Choose Your Favorite Protein: While chicken is a classic, the recipe card below provides detailed instructions for incorporating beef, pork, shrimp, or tofu. Feel free to use one, mix a couple, or even try other quick-cooking proteins like duck or scallops. The key is to cook your chosen protein until just done before adding it to the noodles.
- Adjust the Sweetener: Traditionally, Pad Thai is sweetened with palm sugar, which offers a unique, slightly less sweet, and more caramelized flavor. If you have access to palm sugar, feel free to use it as a 1:1 substitute for brown sugar in the sauce. Alternatively, other unrefined sugars like coconut sugar can also be used.
- Control the Spice Level: Pad Thai should ideally have a hint of heat to balance the other flavors. You can easily adjust the amount of crushed red pepper flakes in the sauce (or added as a topping) to make your noodles milder or spicier. For a really fiery kick, consider adding a few slices of fresh Thai bird’s eye chilies to the stir-fry.
- Make it Vegetarian or Vegan: This dish can easily be adapted for plant-based diets. For a vegetarian Pad Thai, use tofu as your protein and keep the eggs. For a fully vegan version, use firm or extra-firm tofu, omit the eggs, and substitute regular fish sauce with a high-quality vegan fish sauce or simply add an extra splash of lime juice and a dash of soy sauce for umami.
- Go Gluten-Free: To make this Pad Thai gluten-free, ensure your soy sauce is replaced with gluten-free tamari. Also, double-check that your fish sauce and noodles are certified gluten-free, as ingredients can vary by brand.
- Incorporate Garlic Chives: For a touch more authenticity, if you can find them, garlic chives are a fantastic alternative to green onions. They offer a stronger, more garlicky flavor. Simply slice them into 1-inch pieces and add about 1 cup to the dish in place of the green onions.

Print
Homemade Pad Thai
Prep Time: 20 minutes
Cook Time: 25 minutes
Total Time: 45 minutes
Yield: 4 –6 servings 1x
Description
This homemade Pad Thai recipe is surprisingly easy to make and yields a fresh, sweet, and tangy dish. Customize it with your choice of protein, veggies, and spice level for a perfect meal. (Options for chicken, steak, pork, shrimp, tofu, and vegetarian versions are included below.)
Ingredients
Scale
For the Pad Thai Stir-Fry:
- 10 ounces thin rice noodles
- 3 tablespoons neutral oil (such as canola or vegetable oil), divided
- 1 pound boneless, skinless chicken breasts, thinly sliced into bite-sized pieces
- 1 cup fresh bean sprouts
- 1/2 cup shredded carrots (or matchstick carrots)
- 4 cloves garlic, freshly minced
- 3 large eggs, whisked
- 3 green onions, sliced into 1-inch pieces
- Optional Toppings: generous amounts of chopped peanuts, extra crushed red pepper flakes, fresh lime wedges for squeezing
For the Pad Thai Sauce:
- 1/3 cup packed light brown sugar (or coconut sugar)
- 1/4 cup fish sauce (recommended brand: Red Boat)
- 2 tablespoons tamarind concentrate (ensure it’s a Thai brand for best flavor; see notes)
- 2 tablespoons soy sauce (or gluten-free tamari)
- juice of 1 fresh lime
- 1/4 teaspoon crushed red pepper flakes (adjust to your preferred spice level)
Instructions
- Prepare the Sauce: In a medium bowl, whisk all the sauce ingredients (brown sugar, fish sauce, tamarind concentrate, soy sauce, lime juice, and crushed red pepper flakes) until thoroughly combined. Set aside.
- Cook the Noodles: Cook the rice noodles according to package directions until al dente. Drain immediately, then rinse briefly with cold water to stop the cooking process and prevent sticking. Toss lightly with one tablespoon of oil and set aside.
- Cook the Chicken (or chosen protein): Heat 1 tablespoon of oil in a large sauté pan or wok over high heat. Add the thinly sliced chicken and sauté for 3-5 minutes, tossing occasionally, until fully cooked through and lightly browned. Using a slotted spoon, transfer the cooked chicken to a clean plate and set aside.
- Sauté the Vegetables: Add the remaining 1 tablespoon of oil to the same pan. Add the fresh bean sprouts, shredded carrots, and minced garlic. Sauté for about 2 minutes, stirring occasionally, until the vegetables are crisp-tender.
- Scramble the Eggs: Push the sautéed vegetables to one side of the pan. Pour the whisked eggs into the cleared half of the pan. Scramble the eggs until just set, stirring frequently.
- Combine All Ingredients: Add the cooked noodles, the reserved cooked chicken, the prepared Pad Thai sauce, and the sliced green onions back into the pan with the vegetables and eggs. Toss everything gently but thoroughly using tongs, ensuring all ingredients are evenly coated in the sauce. Cook for another 1-2 minutes until everything is heated through. Remove the pan from the heat.
- Serve: Serve your homemade Pad Thai immediately while hot. Garnish generously with chopped peanuts, extra crushed red pepper flakes (if desired for more heat), and a fresh squeeze of lime juice from the wedges. Enjoy this vibrant Thai delight!
Notes
Recipe Update (2021): This recipe was updated to use 2 tablespoons of tamarind concentrate (down from the original 4 tablespoons) to achieve a slightly less tangy flavor profile, based on valuable feedback from our readers.
Tamarind Concentrate Selection: Please be aware that the flavor and potency of tamarind concentrate can vary significantly between brands. For the most authentic and balanced flavor, we highly recommend using a Thai brand of tamarind concentrate. Indian brands often have a distinctly different flavor and are typically more concentrated, which can alter the dish’s taste profile. (Specifically, we do not recommend using Tamicon tamarind concentrate for this recipe.) This recipe aims for a fresh and tangy Pad Thai. If you prefer a sweeter sauce, reminiscent of many American Thai restaurant versions, consider increasing the packed brown sugar to 1/2 cup or more, to taste.
How to Make Shrimp Pad Thai: Season 1 pound of large shrimp (peeled and deveined) with a pinch of salt and pepper. Sauté them in 1 tablespoon of oil over high heat for 1-2 minutes, stirring occasionally, until they turn bright pink and are cooked through. Transfer to a clean plate and set aside before proceeding with step 4 of the instructions.
How to Make Beef Pad Thai: Thinly slice 1 pound of lean steak (such as flank or sirloin) against the grain, then cut into bite-sized pieces. Season with salt and pepper. Sauté in 1 tablespoon of oil over high heat for 3-4 minutes, stirring occasionally, until the beef is browned on all sides. Transfer to a clean plate and set aside before proceeding with step 4.
How to Make Pork Pad Thai: Thinly slice 1 pound of lean boneless pork chops into bite-sized pieces. Season with salt and pepper. Sauté in 1 tablespoon of oil over high heat for 3-4 minutes, stirring occasionally, until the pork is browned on all sides. Transfer to a clean plate and set aside before proceeding with step 4.
How to Make Tofu Pad Thai: Slice 1 (14-ounce) block of extra-firm tofu into 1/4-inch slices. Press the tofu between paper towels for at least 30 minutes to remove excess water; this is crucial for crispy tofu. Cut the pressed tofu into bite-sized pieces and season with salt and pepper. Cook the tofu in 1 tablespoon of oil in a non-stick pan in a single layer for 2 minutes without disturbing, allowing it to brown. Flip and cook on the second side for another 1-2 minutes until lightly browned. Transfer to a clean plate and set aside before proceeding with step 4.