
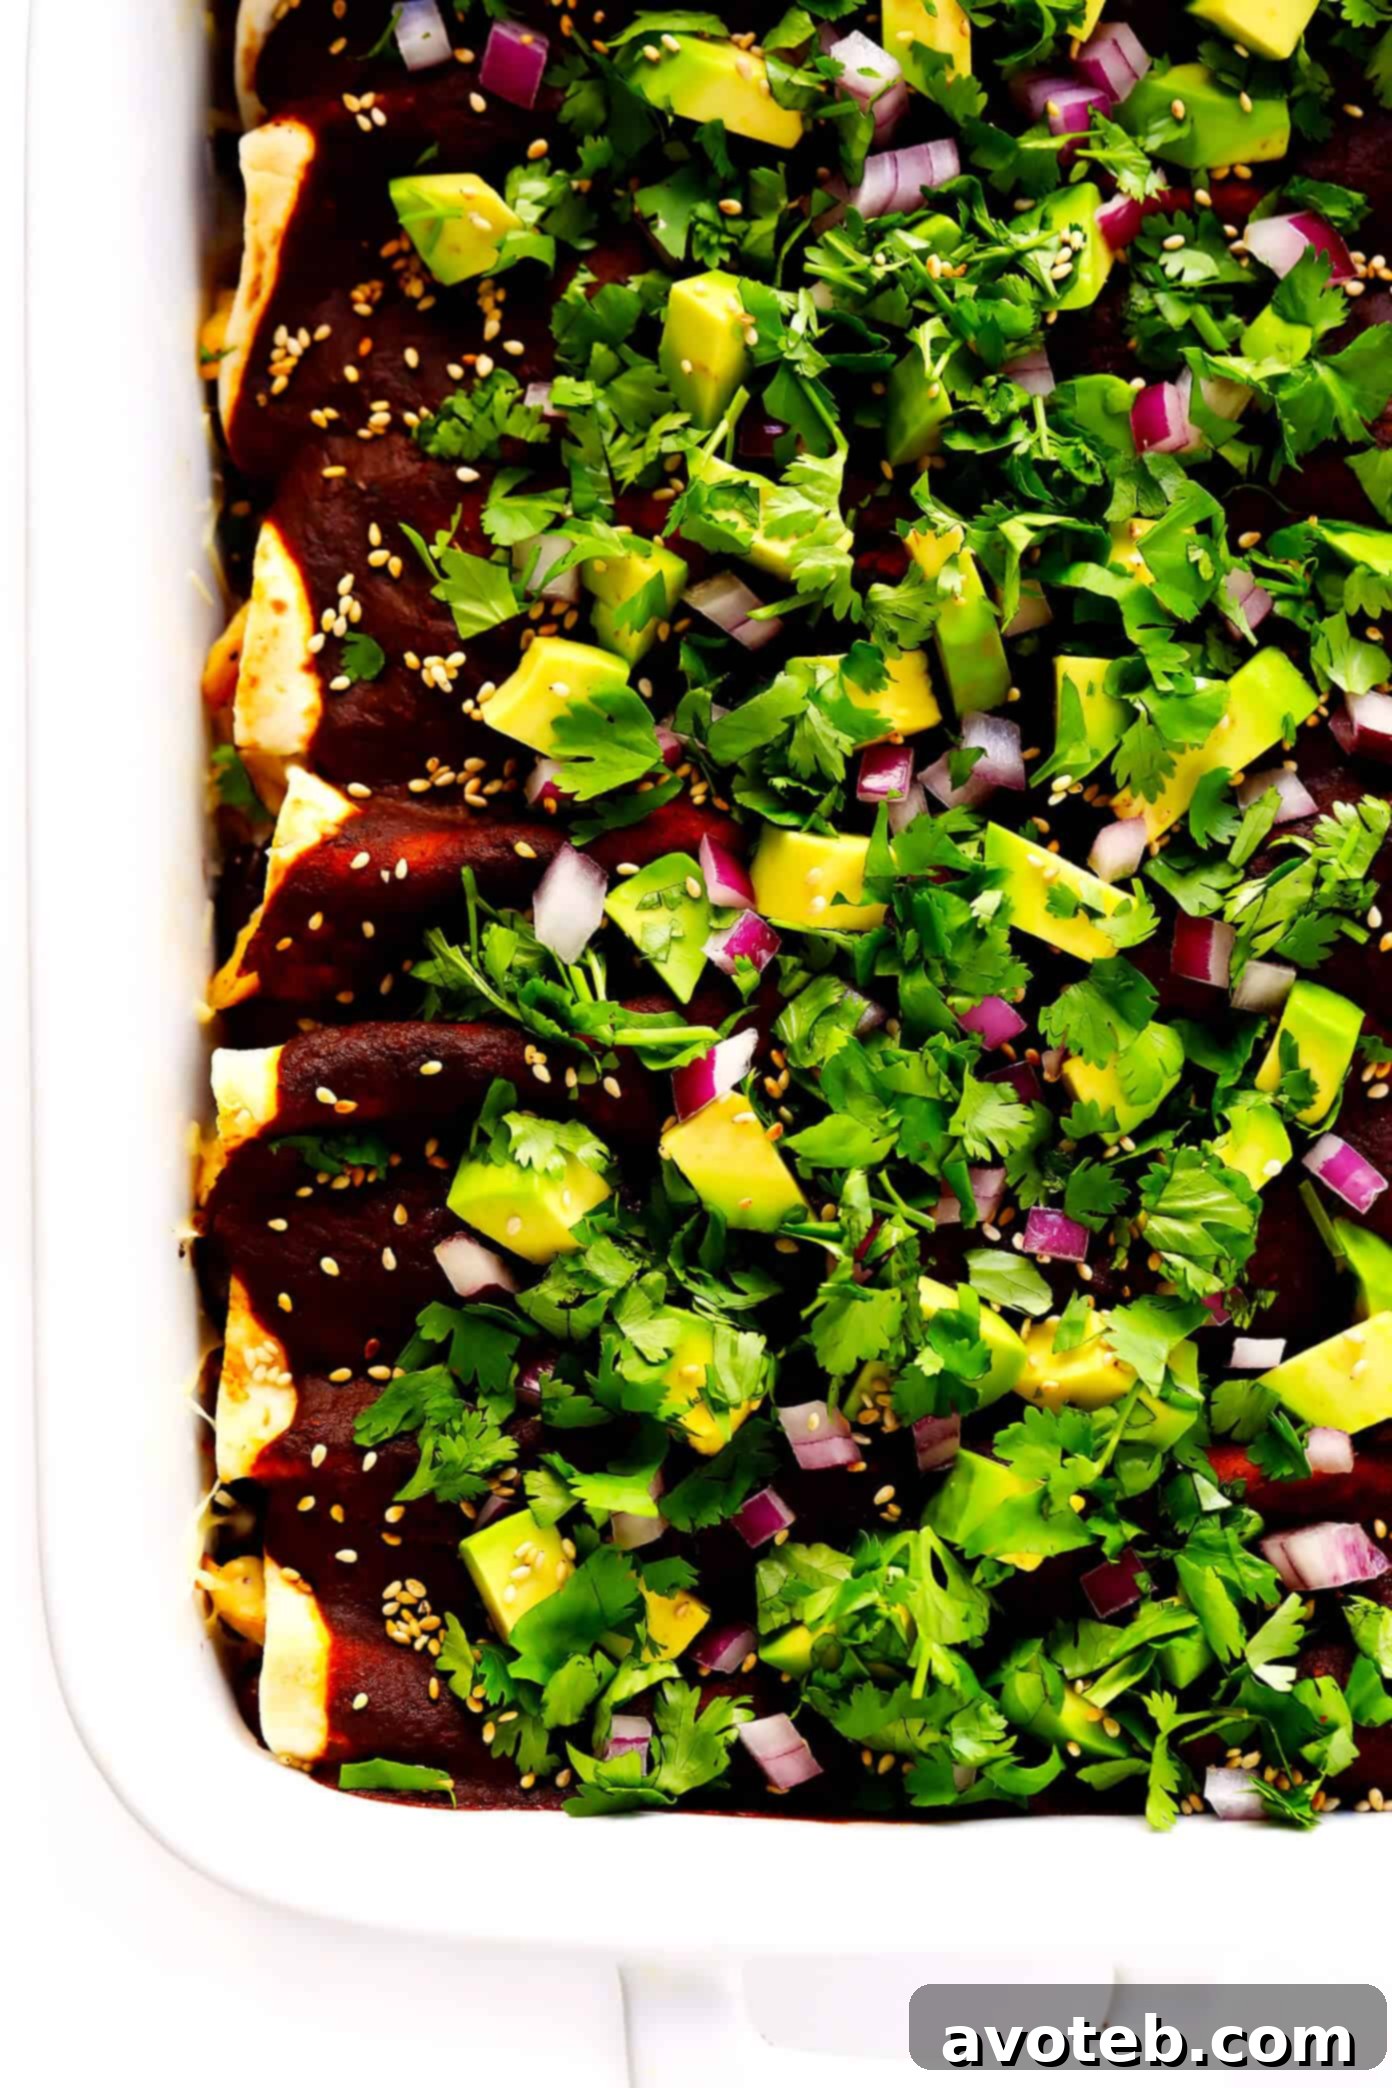
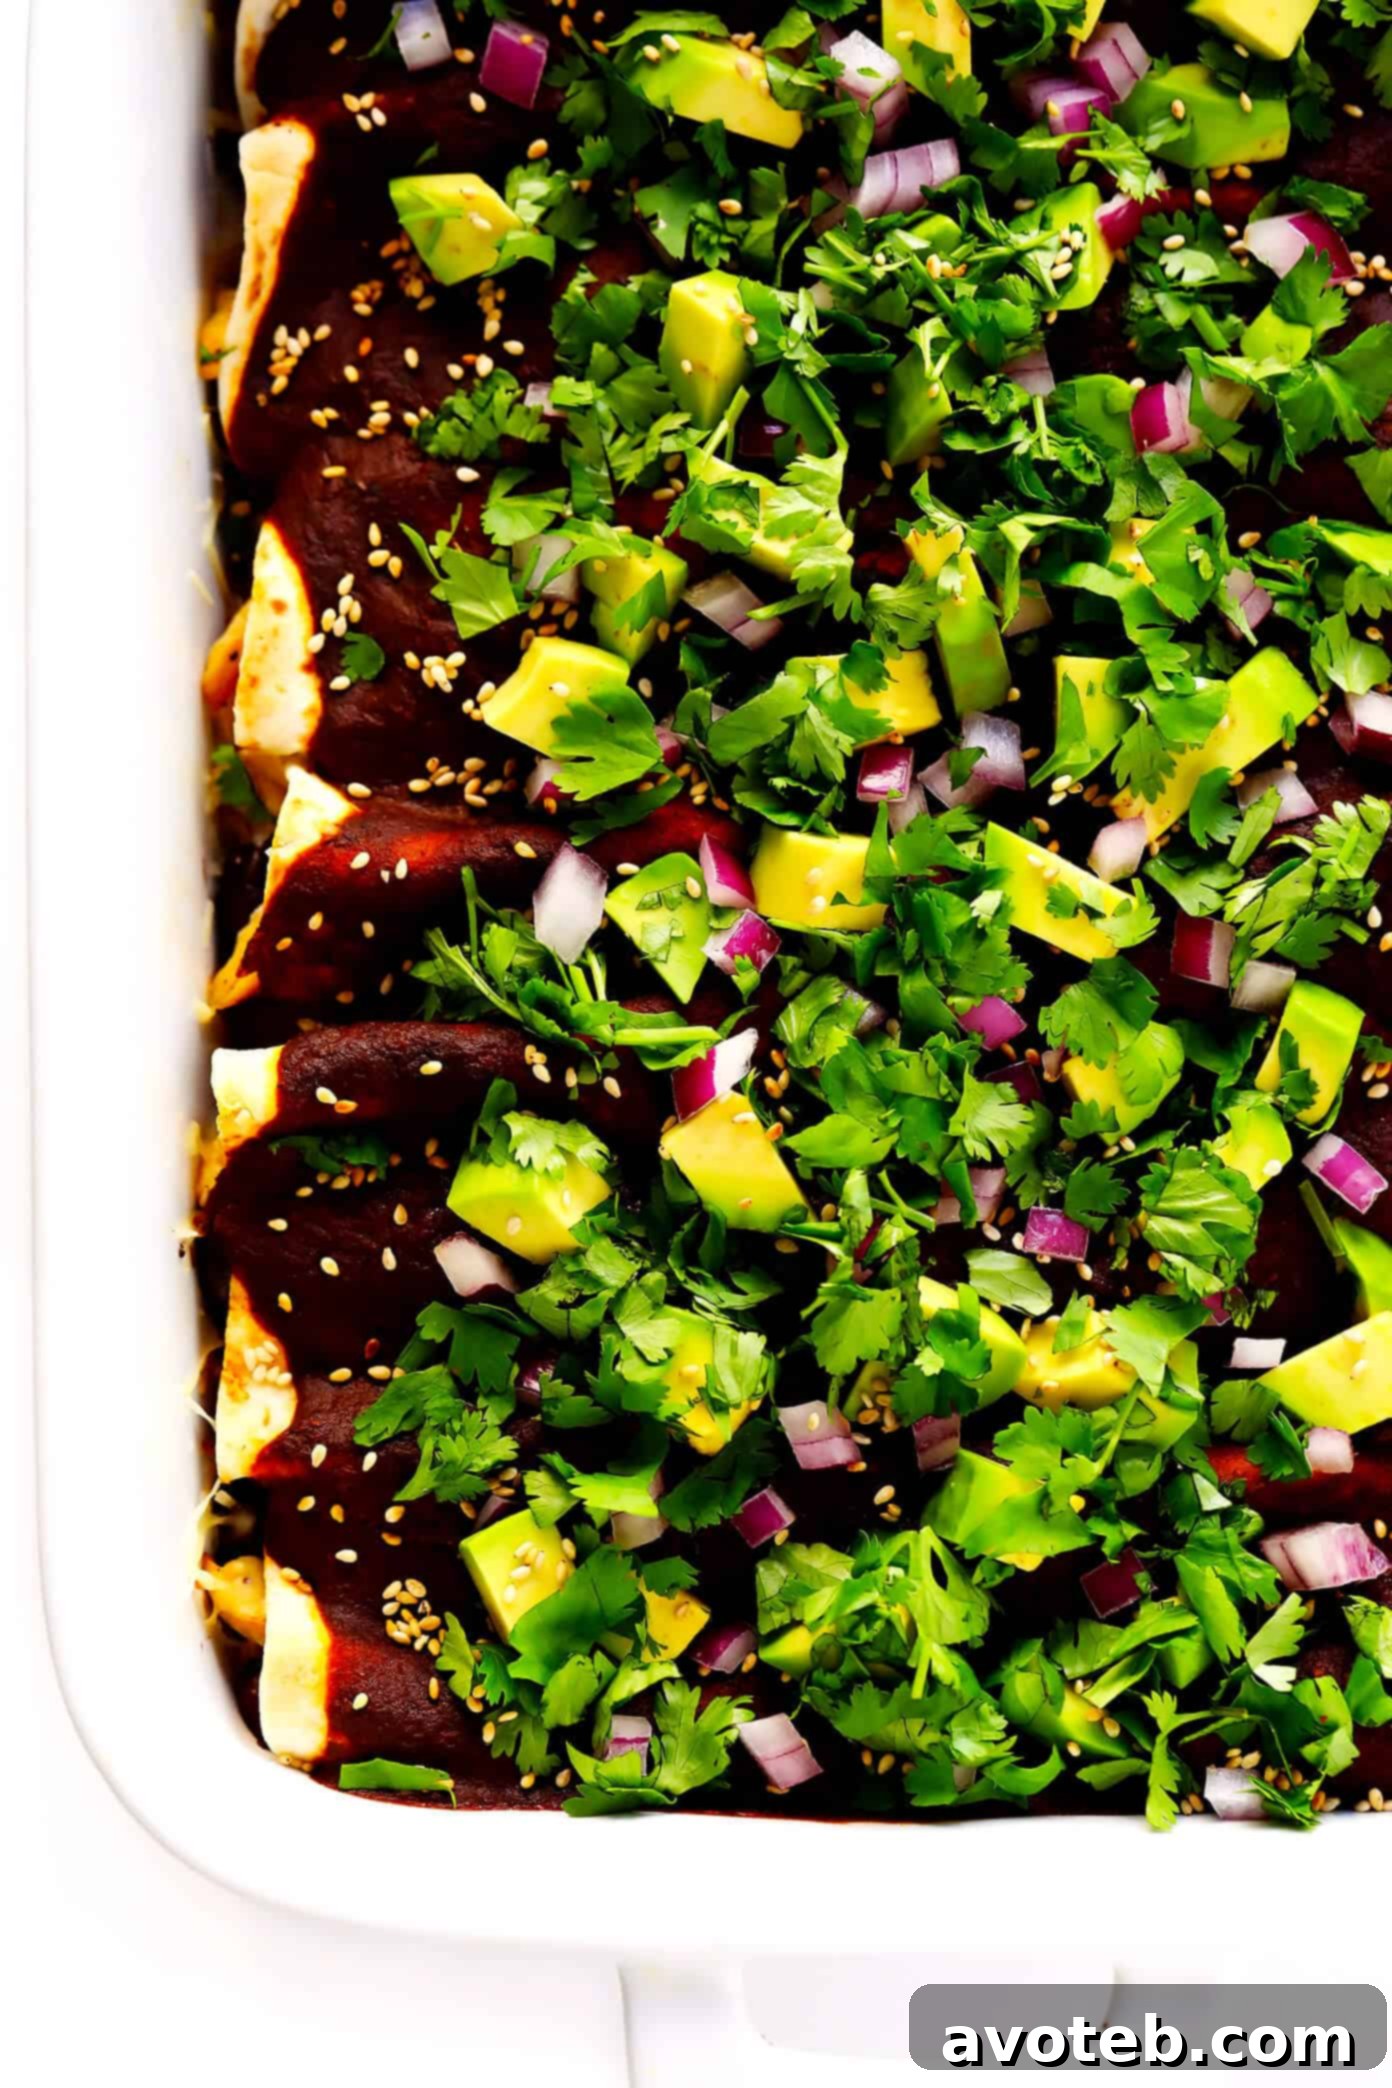
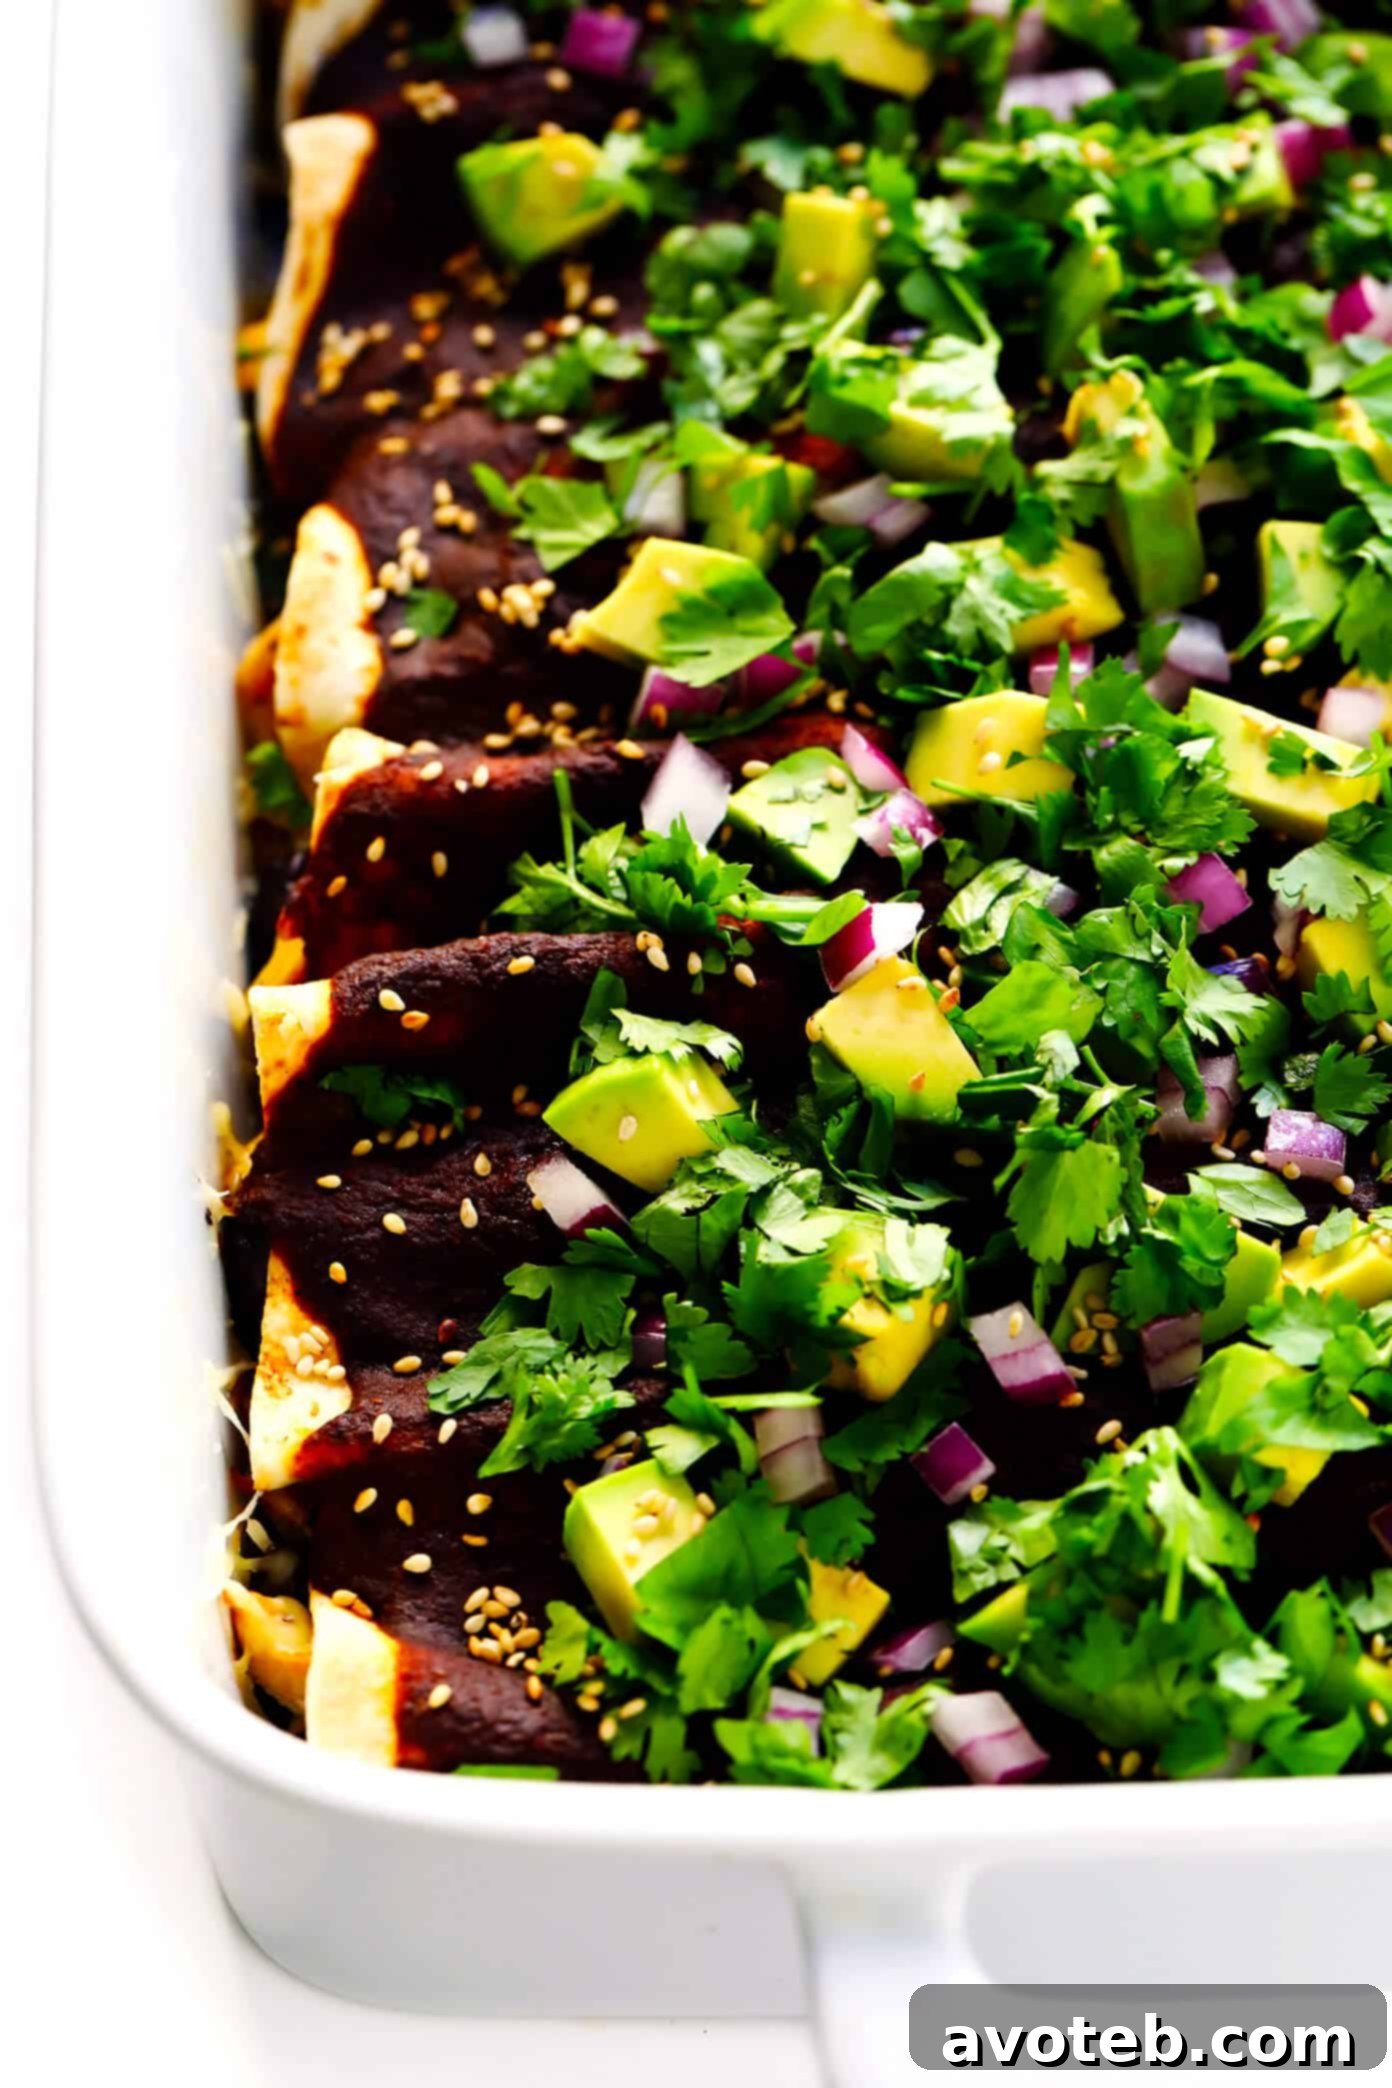
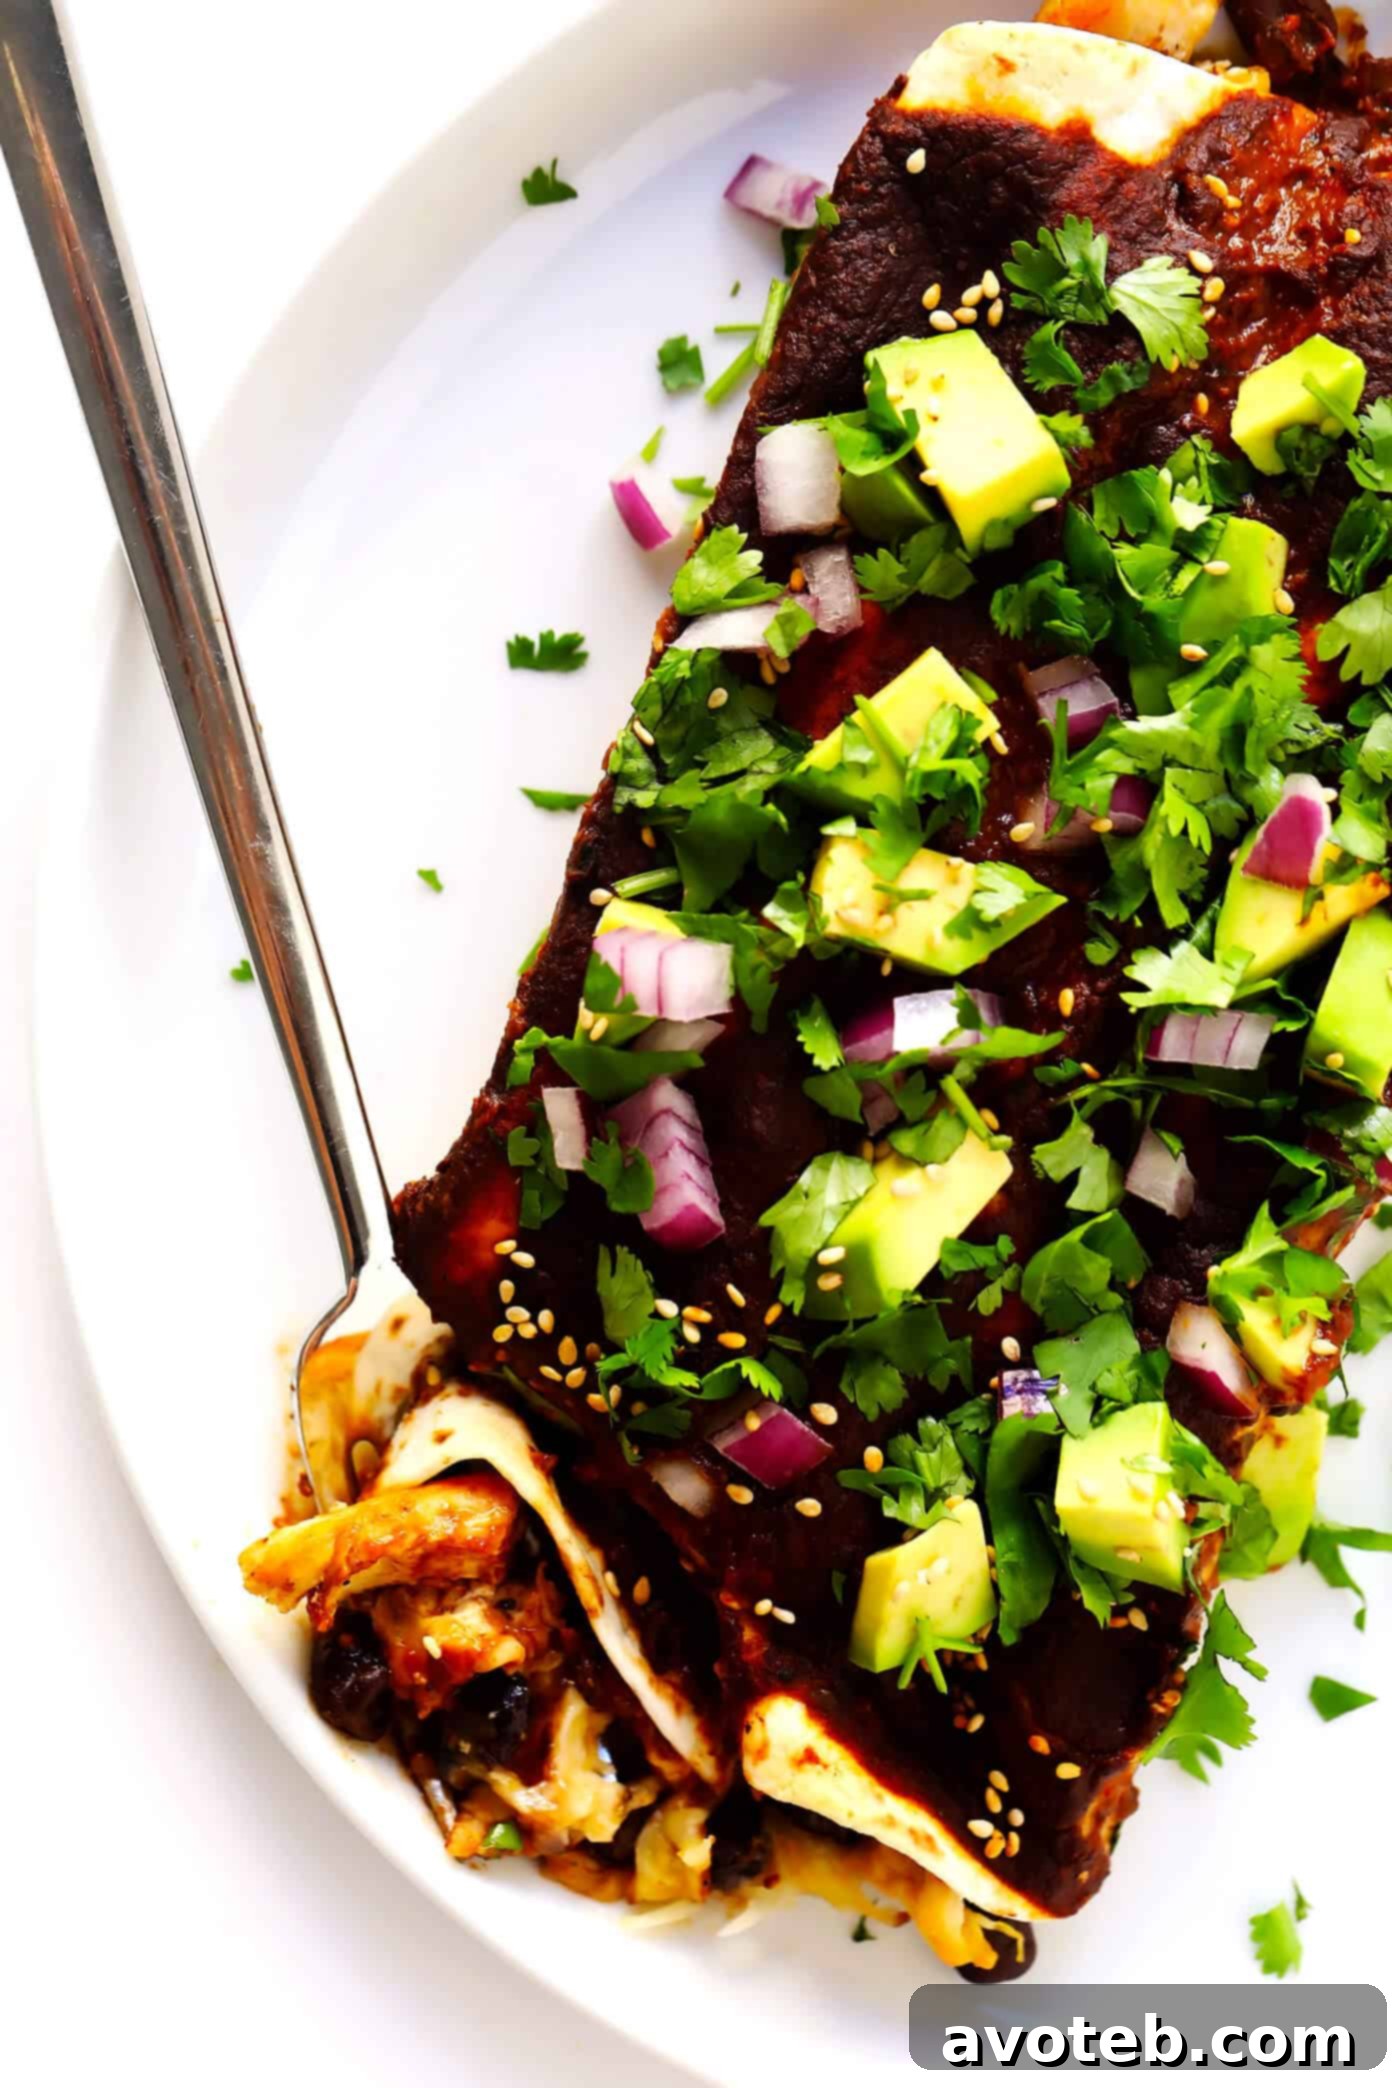
Discover the rich, complex flavors of authentic Mexican cuisine right in your kitchen with these incredible **Holy Mole Enchiladas**. Featuring our celebrated 20-minute mole sauce, these enchiladas are generously filled with tender chicken, wholesome beans, and savory cheese – or customize with your favorite fillings – then finished with a vibrant array of fresh toppings. Prepare for an unforgettable culinary experience packed with depth and zest!
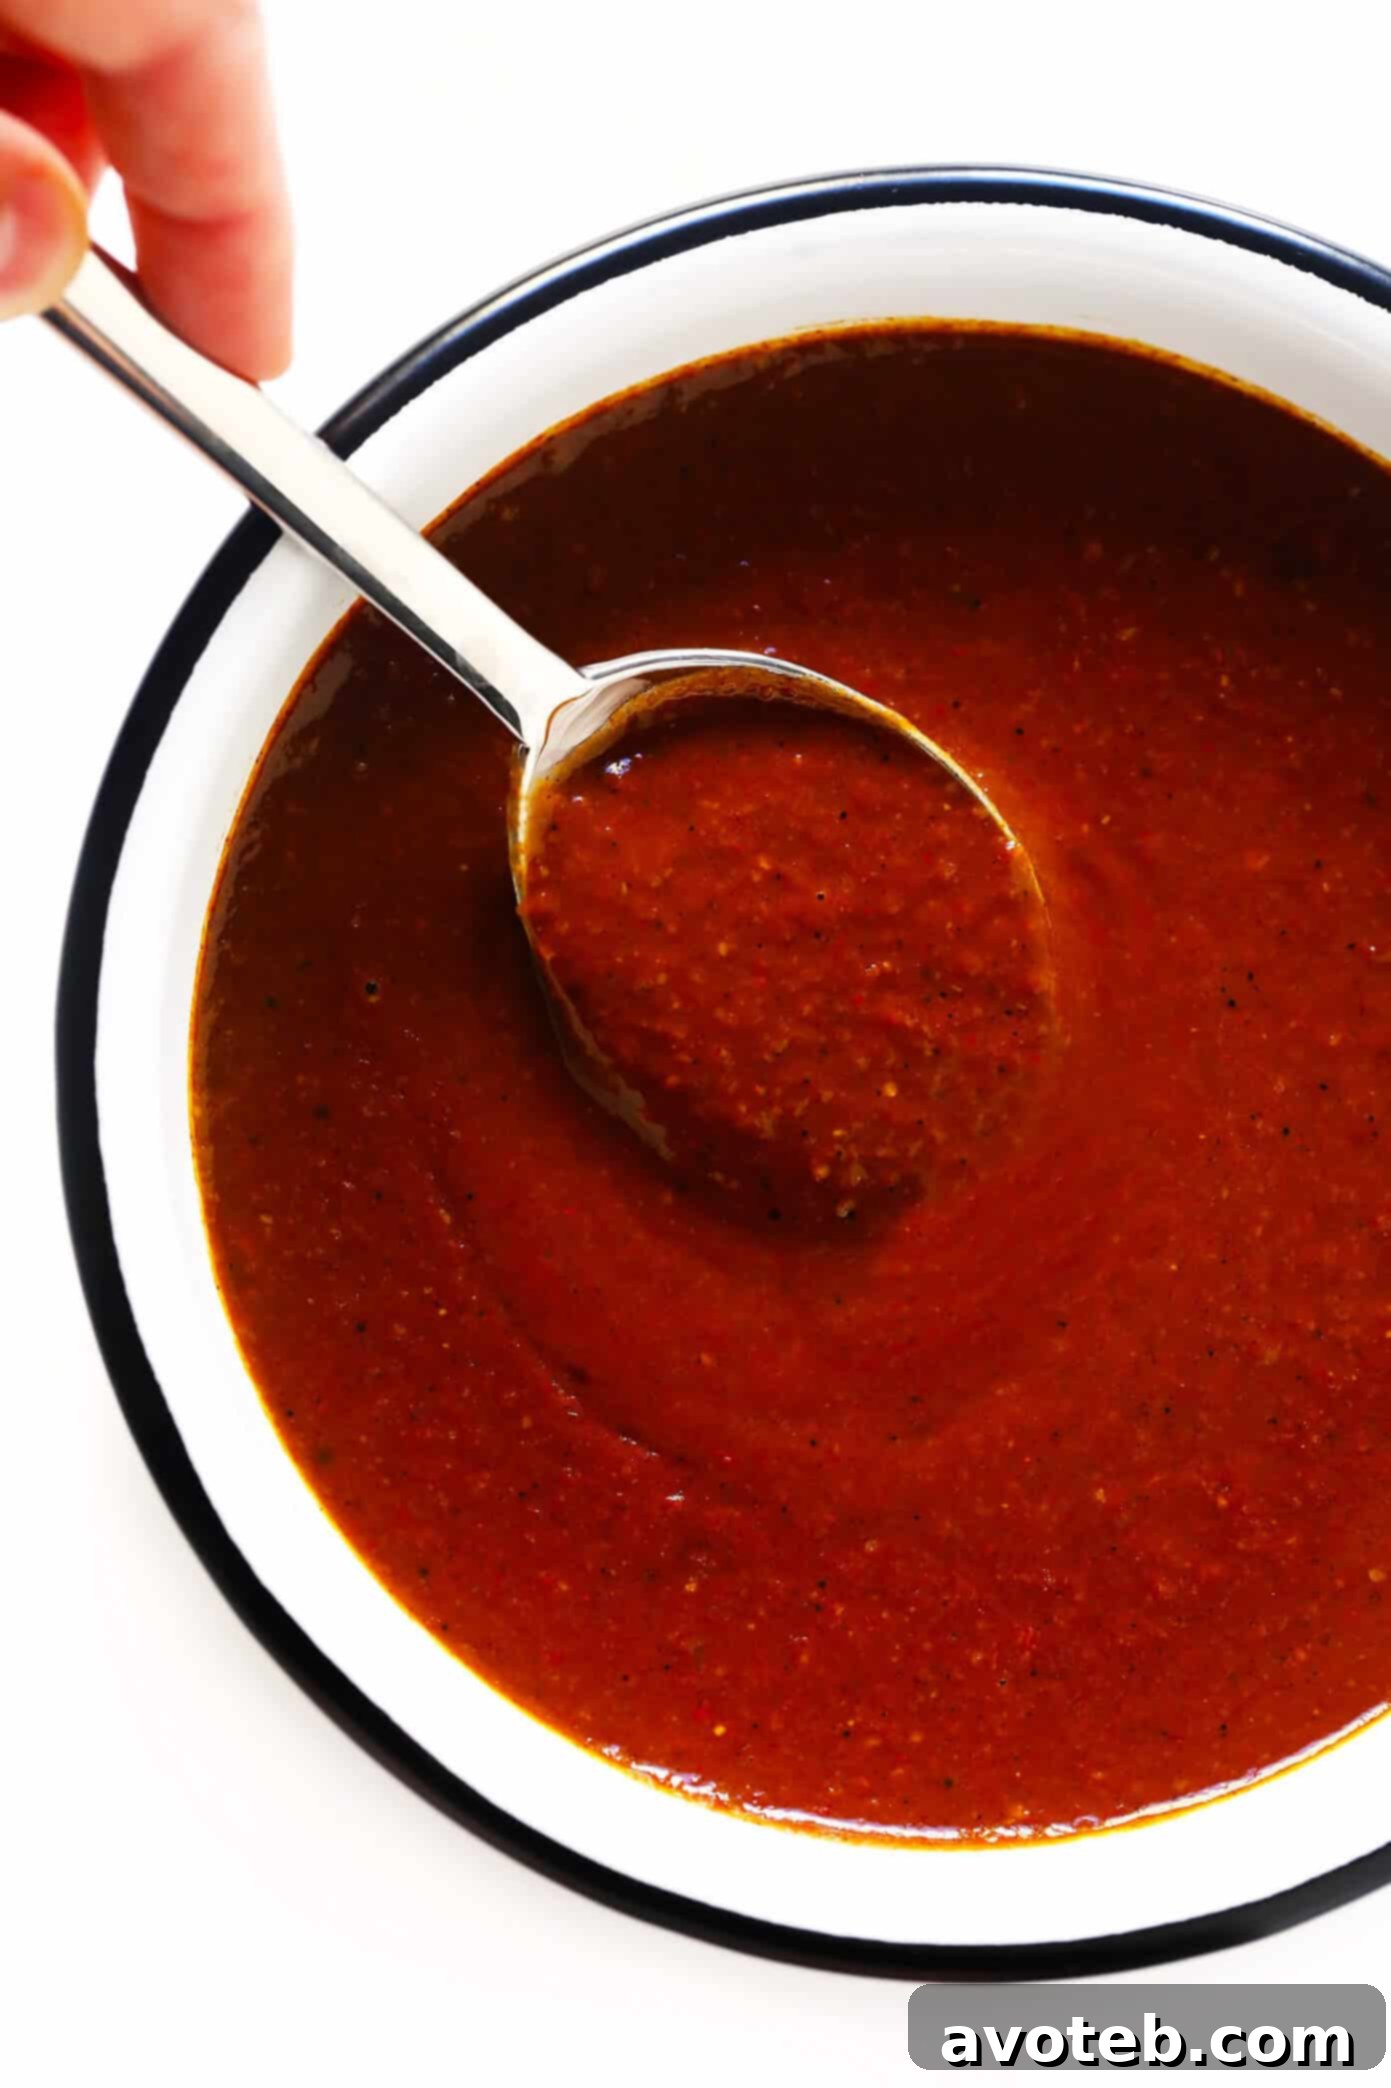
It’s time to unleash the magic of our highly acclaimed 20-minute mole sauce. If you haven’t tried it yet, you’re in for a treat. This deeply flavorful, yet surprisingly quick mole is about to become your secret weapon in the kitchen, transforming ordinary meals into extraordinary feasts.
And what better way to showcase its rich, complex notes than by enveloping it around a warm, comforting filling in a classic Mexican dish? We vote for making some truly spectacular **mole enchiladas**!
In our kitchen, we often opt for a delightful combination of succulent baked chicken breast, hearty black beans, and a generous sprinkle of shredded Mexican cheese blend. This classic trio provides a wonderful balance of protein, fiber, and creamy texture that pairs flawlessly with the mole. However, the true beauty of these enchiladas lies in their incredible versatility. You are the chef here, and your culinary imagination is the only limit!
Consider filling your enchiladas with tender, slow-cooked carnitas, savory barbacoa, or for a fantastic vegetarian option, try roasted vegetables like tender cauliflower, sweet potatoes, bell peppers, or onions. Don’t underestimate the power of simply beans and cheese for a satisfying and easy meal. Virtually anything complements this magical mole sauce, so feel free to browse your refrigerator for any delicious ingredients you might have on hand. Once assembled, these delightful bundles are baked to perfection until they’re piping hot and slightly crispy at the edges. Then, the real fun begins: pile them high with an abundance of fresh, cool toppings. The contrast between the rich, warm mole and crisp, refreshing garnishes creates an explosion of flavors and textures that will truly change your enchilada-loving life for good. Get ready to fall in love!
Seriously, the depth of flavor packed into every single bite of these enchiladas is astounding. During our initial taste test, we found ourselves going back for seconds, then thirds, and eagerly anticipating leftovers the next day. This is high praise coming from someone who typically gets bored with leftovers! But these mole enchiladas defy expectation, retaining their incredible taste and comforting warmth even hours later. We are confident that you are going to adore them just as much as we do.
Pues vamos… let’s dive into making these incredible enchiladas!
Essential Ingredients for Holy Mole Enchiladas
Crafting these delectable Holy Mole Enchiladas requires a thoughtful selection of components. Here’s a detailed look at the key ingredients you’ll need, along with suggestions for customization:
- The Filling: As highlighted, this is where you can truly make the dish your own! We recommend combining elements from these categories for a balanced and flavorful experience:
- Protein: Choose from shredded cooked chicken (a perennial favorite!), tender pork or rich carnitas, succulent beef or flavorful barbacoa, delicate shrimp, or a fantastic plant-based option like baked tofu. The goal is a cooked, shredded or diced protein that can easily be rolled into a tortilla.
- Beans: For added fiber, texture, and flavor, incorporate either creamy pinto beans or robust black beans. Ensure they are thoroughly rinsed and drained before use.
- Veggies: Elevate your enchiladas with any cooked vegetables you adore. Excellent choices include roasted cauliflower florets, sweet cubes of roasted sweet potato, sautéed bell peppers, caramelized onions, or even spinach for a touch of green.
- Cheese: A crucial element for melty goodness! A shredded Mexican cheese blend is always a winner. Other delicious options include Monterrey Jack for its excellent melt, Pepper Jack for a hint of spice, or even a sharp cheddar for a more pronounced flavor.
- Tortillas: While traditionally corn tortillas are used in authentic Mexican enchiladas, many find flour tortillas easier to work with due to their flexibility, making them less prone to cracking during rolling. Feel free to use either! If opting for corn tortillas, note they are often a great gluten-free choice (just ensure they are certified GF if dietary restrictions apply).
- Mole Sauce: The undeniable star of this dish! Our 20-minute holy mole sauce brings an incredible depth of flavor without the hours of traditional preparation. For convenience, you can easily prepare this mole sauce a day or two in advance and store it in the refrigerator until you’re ready to assemble your enchiladas.
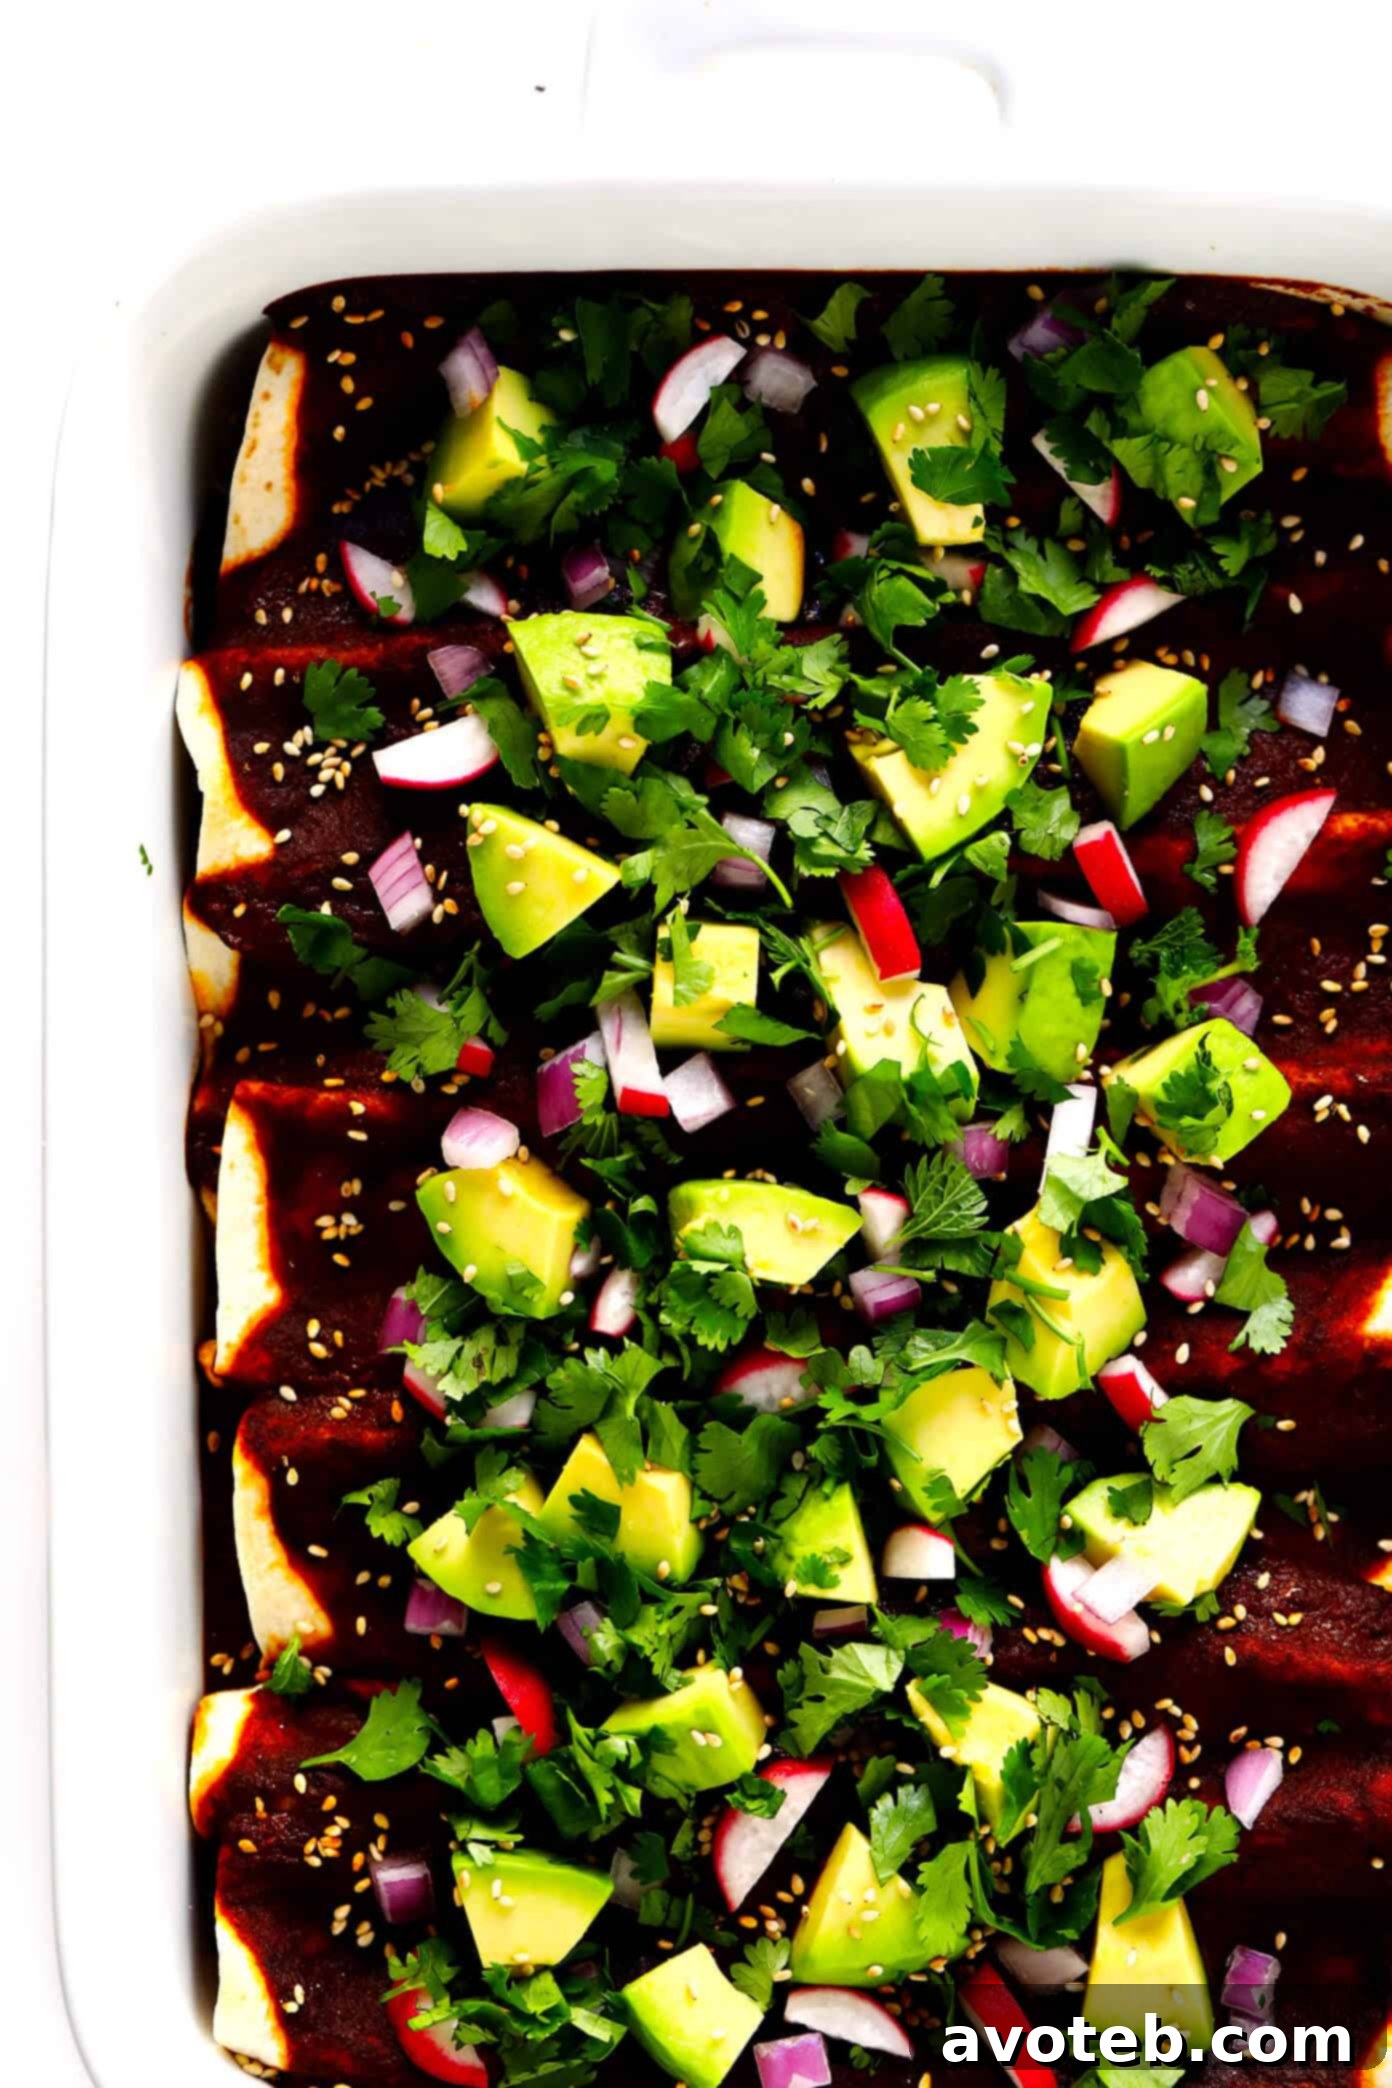
- Toppings: Don’t skip the toppings! They provide a crucial balance to the rich, warm flavors of the mole. We highly recommend a generous scattering of fresh and cool garnishes such as sliced creamy avocado, vibrant chopped cilantro, thinly sliced green or red onions, crisp radishes, and/or crumbled queso fresco for a touch of salty tang. These fresh elements cut through the richness beautifully, enhancing the overall dining experience.
Step-by-Step Guide: How To Make Holy Mole Enchiladas
Making these Holy Mole Enchiladas is a straightforward and rewarding process. Follow these simple steps to bring this flavorful Mexican dinner to life:
- Prepare Your Ingredients: Before assembly, ensure all your components are ready. This includes preparing your mole sauce (it can be made a day or two in advance), cooking and shredding any proteins (like chicken or pork), and roasting or sautéing any vegetables you plan to use in the filling. Having everything prepped makes the assembly process smooth and efficient. Heat oven to 350°F (175°C). Lightly grease a 9×13-inch baking dish with cooking spray.
- Layer the Mole Base: Pour about 1/3 cup of your luscious mole sauce into the bottom of the baking dish, and spread it evenly with a spoon to create a flavorful base. This not only prevents sticking but also infuses every inch of the enchiladas with rich mole flavor. Set aside.
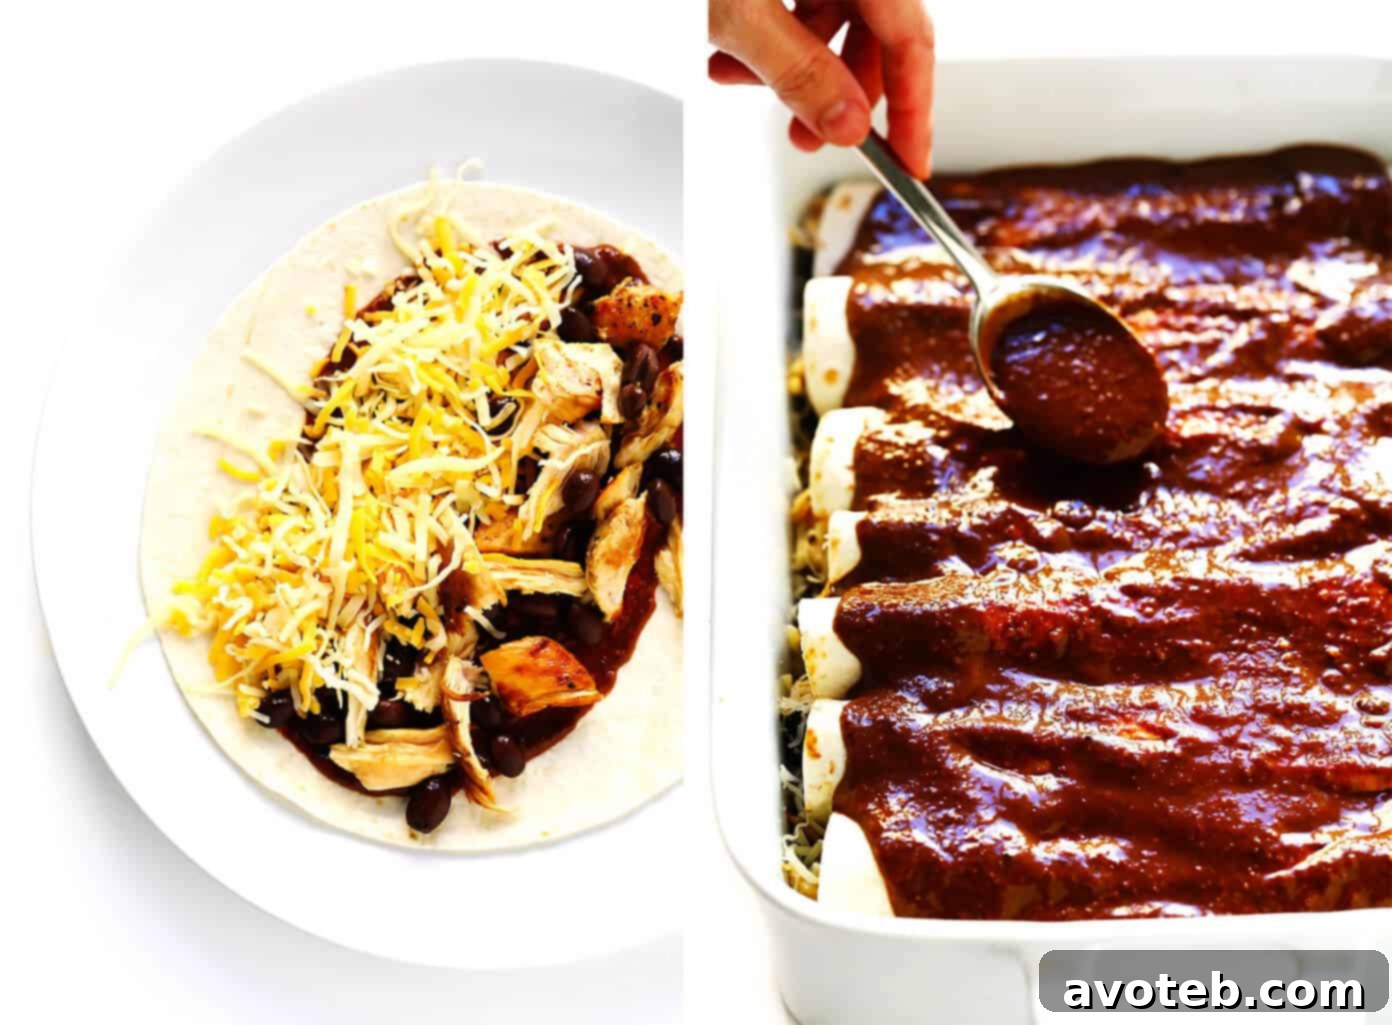
- Assemble the Enchiladas: Place a tortilla flat on a plate, and spoon a heaping tablespoon of mole into the center of the tortilla. Spread it around evenly with a spoon. Then, add approximately 1/4 cup of your chosen shredded cheese in a line down the center, topped with a spoonful of beans and a handful of your shredded chicken (or preferred filling). Carefully roll the tortilla up, ensuring the filling is snugly encased. Place the rolled enchilada seam-side-down in the prepared baking dish. Repeat this process with the remaining tortillas, cheese, beans, and chicken. Once all enchiladas are arranged, pour any leftover mole sauce over the top, gently spreading it to cover them evenly. This ensures every bite is drenched in that irresistible flavor.
- Bake to Perfection: Transfer the baking dish to a preheated oven set to 350°F (175°C). Bake the enchiladas uncovered for 20-25 minutes. You’ll know they’re ready when the enchiladas are thoroughly heated through, the cheese is wonderfully melted and bubbly, and the edges of the tortillas have crisped up slightly, adding a delightful textural contrast. Remove from the oven.
- Garnish Galore and Serve: Once out of the oven, it’s time for the grand finale – the garnishes! This is where you can truly elevate the dish. As mentioned, the more fresh and cool toppings, the better. Generously sprinkle on sliced avocado, fresh cilantro, diced onions, radishes, or cotija cheese. These vibrant additions not only add a burst of color but also a refreshing counterpoint to the rich mole. Serve your Holy Mole Enchiladas immediately while they are warm and fragrant, and enjoy! These enchiladas also make fantastic leftovers; simply cover and refrigerate for up to 3 days, or freeze for up to 3 months for a convenient future meal.
Creative Variations and Customization Tips
The beauty of Holy Mole Enchiladas lies in their adaptability. Don’t hesitate to experiment and make this recipe truly your own! Here are some fantastic variations to inspire your culinary creativity:
- Making Them Gluten-Free: For those with gluten sensitivities, it’s easy to enjoy these delicious enchiladas. Simply ensure you use certified gluten-free corn tortillas. Additionally, when preparing your mole sauce, choose the gluten-free option for thickening (often a cornstarch slurry instead of flour, but always double-check the specific mole recipe you are using).
- Craving a Vegan Version? These enchiladas can be wonderfully plant-based! Omit any meat and cheese from the filling. Instead, load your tortillas with an abundance of flavorful roasted vegetables (like sweet potatoes, bell peppers, and zucchini), hearty black or pinto beans, and perhaps some baked tofu or tempeh for added protein. You can also use a high-quality vegan shredded cheese alternative.
- Turn Up the Heat: If you love a spicy kick, it’s simple to incorporate it into your enchiladas. Mince a few jalapeños or serrano peppers and add them directly into your filling mixture. For an extra layer of heat, a pinch of cayenne pepper in the mole sauce or a drizzle of your favorite hot sauce over the finished dish would also be excellent.
- Opt for an Enchilada Casserole: If you’re short on time, looking for a simpler assembly, or working with corn tortillas that tend to crack when rolled, transform this recipe into a delicious enchilada casserole! Instead of rolling individual enchiladas, simply layer all your ingredients in a baking dish: a base of mole, followed by torn or cut tortillas, then your chosen filling mixture, and cheese. Repeat the layers, finishing with mole and cheese on top. This method is incredibly easy and yields a comforting, family-style meal.
- Make Ahead and Freeze: These enchiladas are fantastic for meal prepping! Assemble them up to the baking step, then cover tightly with foil and refrigerate for up to 24 hours. When ready to bake, add an extra 10-15 minutes to the baking time to ensure they’re heated through. For longer storage, freeze the unbaked enchiladas in the baking dish for up to 3 months. Thaw in the refrigerator overnight before baking as directed, or bake from frozen (this will significantly increase baking time).
What to Serve with Holy Mole Enchiladas
Completing your Mexican feast with the perfect side dishes can elevate your Holy Mole Enchiladas from a delicious meal to an unforgettable dining experience. Here are some of our favorite recommendations, designed to complement the rich flavors of the mole:
- Chips and Fresh Salsas: A classic for a reason! Start your meal with a bowl of crispy tortilla chips alongside a vibrant Restaurant-Style Salsa, a zesty Salsa Verde, or both! The freshness and tang of the salsas provide a wonderful contrast.
- Creamy Guacamole: A staple for any Mexican spread. Our Perfect Guacamole offers a cool, rich, and creamy counterpoint that pairs beautifully with the depth of the mole sauce.
- Easy Elote Dip: For a unique and crowd-pleasing side, try our Easy Elote Dip. This creamy, cheesy corn dip brings a smoky sweetness that complements the savory enchiladas wonderfully.
- Mexican Caesar Salad: Lighten the meal with a refreshing Mexican Caesar Salad. The crisp lettuce and tangy dressing provide a fresh, zesty element that cuts through the richness of the enchiladas.
- Classic Margaritas: To truly round out the experience, a refreshing beverage is in order. Our Classic Margarita Recipe is the ideal companion, offering a perfect balance of sweet, sour, and spirited refreshment. For a non-alcoholic option, fresh agua de jamaica (hibiscus tea) or horchata would also be delightful.
Holy Mole Enchiladas
- Prep Time: 20 minutes
- Cook Time: 20 minutes
- Total Time: 40 minutes
- Yield: 7 – 8 servings
Description
These enchiladas are made with the most delicious 20-minute mole sauce, your choice of fillings, and lots of fresh toppings. See ideas above for alternate filling ingredients.
Ingredients
- 1 batch holy mole sauce
- 7-8 large flour tortillas
- 2 baked chicken breasts, shredded (or your preferred filling)
- 2 (15-ounce) cans pinto or black beans, rinsed and drained
- 1 (8-ounce) bag shredded cheese (I recommend either a Mexican blend or Pepper Jack)
- toppings: toasted sesame seeds, lots of sliced avocado, chopped fresh cilantro, sliced radishes, diced red or green onion, and/or crumbled cotija cheese
Instructions
- Heat oven to 350°F (175°C). Lightly grease a 9×13-inch baking dish with cooking spray.
- Pour 1/3 cup mole into the bottom of the baking dish, and spread it around evenly with a spoon to cover the entire surface. Set aside.
- Place a tortilla flat on a plate, and spoon a heaping tablespoon of mole into the center of the tortilla. Spread it around evenly with a spoon. Then add 1/4 cup of shredded cheese in a line down the center of the tortilla, topped with a spoonful of beans and handful of shredded chicken. Roll up the enchilada, and place it in the prepared baking dish, seam side down. Repeat with the remaining tortillas, cheese, beans and chicken. Then pour the remaining sauce down the center of the pan of enchiladas, and use a spoon to spread it around evenly.
- Bake uncovered for 20-25 minutes, until the enchiladas are heated through and the tortillas are a bit crispy. Remove from the oven, garnish with tons of toppings.
- Then serve warm, and enjoy! Or cover and refrigerate for up to 3 days, or freeze for up to 3 months.