
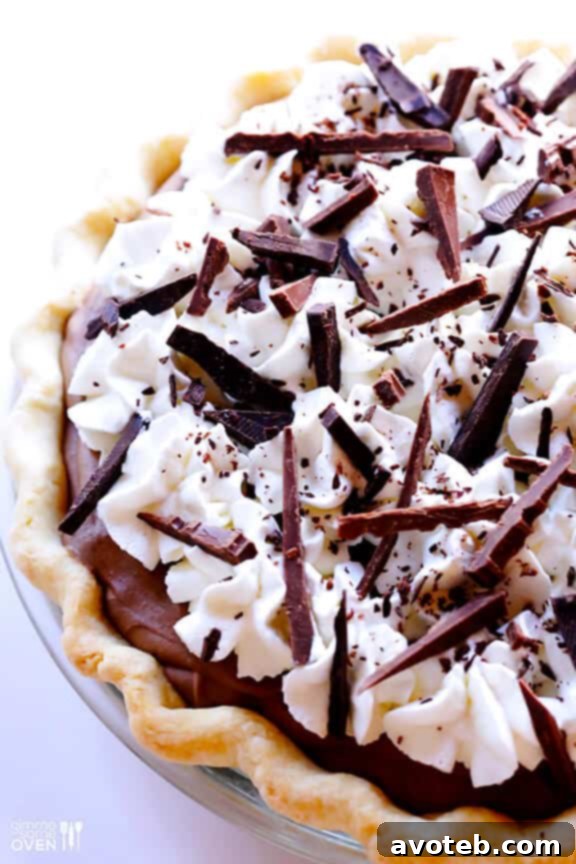
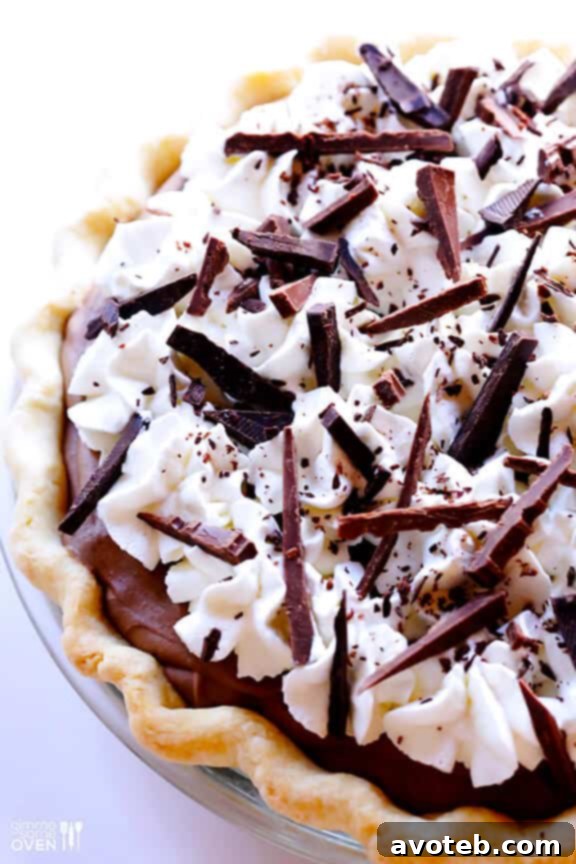
The Ultimate French Silk Pie: A Decadent Chocolate Dream
Prepare yourself for an unforgettable dessert experience! Today, we’re diving into the delightful world of French Silk Pie, a dessert so rich, so creamy, and so utterly chocolatey that it often leaves a lasting impression on everyone who tastes it. While some might simply call it a luxurious Chocolate Pie, its true name, French Silk Pie, perfectly captures the elegant, smooth, and incredibly silky texture of its filling.
This isn’t just any pie; it’s a celebration of chocolate in its most glorious form. Each bite offers a symphony of deep cocoa flavor, enveloped in a cloud-like texture that truly melts in your mouth. Despite its sophisticated name and appearance, creating this masterpiece in your own kitchen is surprisingly straightforward, especially when you know the simple secrets to its success.
The beauty of a classic French Silk Pie lies in its simplicity and the quality of its ingredients. It showcases a rich, almost mousse-like chocolate filling, nestled within a crisp, flaky pie crust, and crowned with a generous swirl of freshly whipped cream and delicate chocolate shavings. It’s a dessert that speaks of indulgence, perfect for special occasions, holiday gatherings, or simply when you’re craving something truly extraordinary.
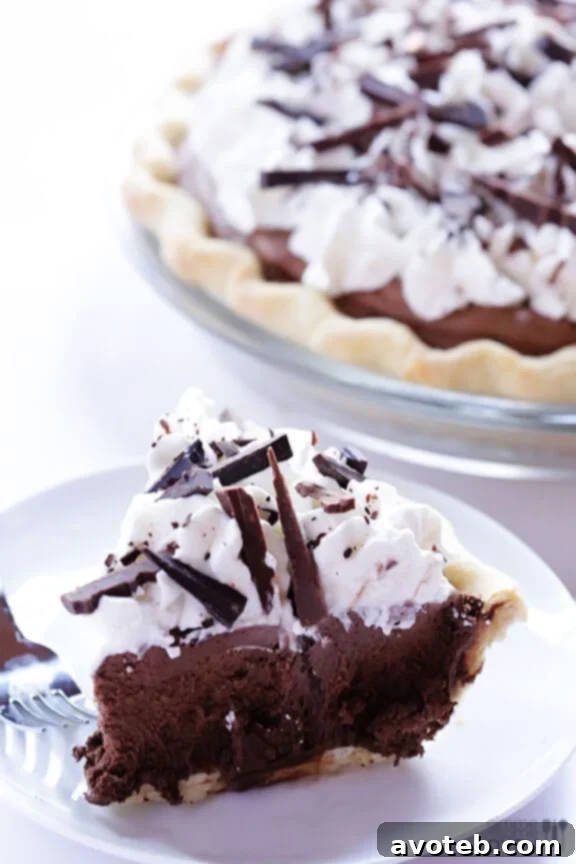
Choosing Your Chocolate: The Heart of Your French Silk Pie
For this recipe, while it carries the elegant “French” moniker, I actually ventured into a German chocolate territory that delivers exceptional results. My secret weapon? High-quality bittersweet chocolate bars from my local ALDI. Their selection of German-made chocolate is truly a hidden gem, offering a fantastic balance of rich flavor and affordability. Don’t limit yourself, though; any good quality semi-sweet or bittersweet chocolate will work wonderfully here. Even chocolate chips can be used in a pinch, but for that truly decadent “silk” texture, I recommend investing in a good chocolate bar.
My recent behind-the-scenes tour at ALDI headquarters truly opened my eyes to the care they put into sourcing their products. Spending a good ten minutes marveling at their chocolate display left me with an undeniable craving that only a French Silk Pie could satisfy. So, I seized the opportunity to stock up on my favorite bars – some destined for the pie’s creamy filling, and others for a beautifully chopped topping. While I haven’t quite mastered the art of elegant chocolate curls yet (a skill for another day!), simple shavings or chunks add a rustic charm that’s just as delicious.
The type of chocolate you choose significantly impacts the final flavor profile of your French Silk Pie. Bittersweet chocolate will lend a deeper, more intense cocoa flavor, balancing the sweetness of the sugar. Semi-sweet offers a milder, slightly sweeter profile, appealing to a broader range of palates. Experimenting with different percentages of cocoa solids can also yield exciting results, allowing you to customize the richness to your preference.
And yes, while I enjoyed my ALDI chocolate haul, I have to admit, I missed the thrill of scanning my own items at the checkout. It’s part of the fun!
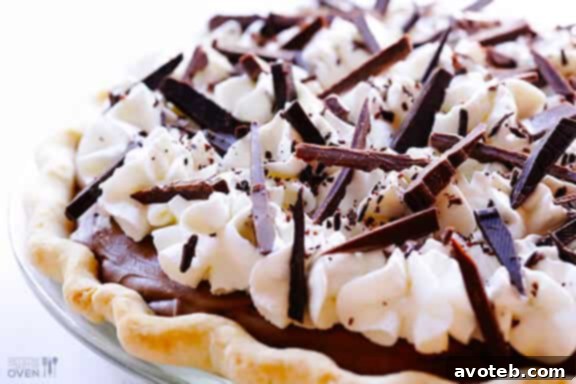
The Secret to Silkiness: Let Your Mixer Do the Work
My first attempt at French Silk Pie, I confess, came with a touch of intimidation. “French” cooking often implies complexity, precision, and a certain level of culinary expertise. However, I was pleasantly surprised to discover that this recipe is incredibly forgiving, and the real hero is your trusty electric stand mixer! It truly does all the heavy lifting, transforming simple ingredients into that characteristic silky, airy, and rich filling.
The key to achieving the perfect texture lies in one crucial step: vigorous and prolonged beating. After combining the melted chocolate, butter, sugar, and vanilla, you’ll incorporate the eggs one at a time, beating for a full five minutes after each addition. Yes, that’s a total of 20 minutes of whipping! It might feel like an eternity, and the temptation to cut that time short will be strong, but resist it. This extended beating time is absolutely essential. It incorporates a tremendous amount of air into the mixture, creating the light, fluffy, and incredibly silky consistency that defines a true French Silk Pie. It’s the difference between a dense chocolate pudding and a heavenly chocolate cloud. Trust the process, and your mixer, and you will be rewarded with every delectable bite.
Mastering the French Silk Pie: Tips for Success
- Room Temperature Ingredients: Ensure your butter and eggs are at room temperature. This allows them to cream together smoothly, creating a uniform, emulsified base for your pie filling. Cold ingredients can lead to a lumpy texture.
- Quality Chocolate Matters: As mentioned, opt for a good quality bittersweet or semi-sweet chocolate. The flavor of your chocolate will be the star of this pie, so don’t compromise here.
- Patience with Beating: Seriously, don’t skimp on the 20 minutes of beating. This step is non-negotiable for achieving that signature silky, airy texture.
- Proper Chilling: French Silk Pie needs ample time to chill and set. A minimum of 2 hours, or ideally overnight, ensures the filling is firm enough to slice beautifully and delivers the best texture.
- Perfect Pie Crust: A pre-baked (blind-baked) pie shell is crucial. Whether you use a homemade flaky crust or a quality store-bought option, ensure it’s fully baked and cooled before adding the filling to prevent a soggy bottom.
The Crowd-Pleaser: Why Everyone Loves French Silk Pie
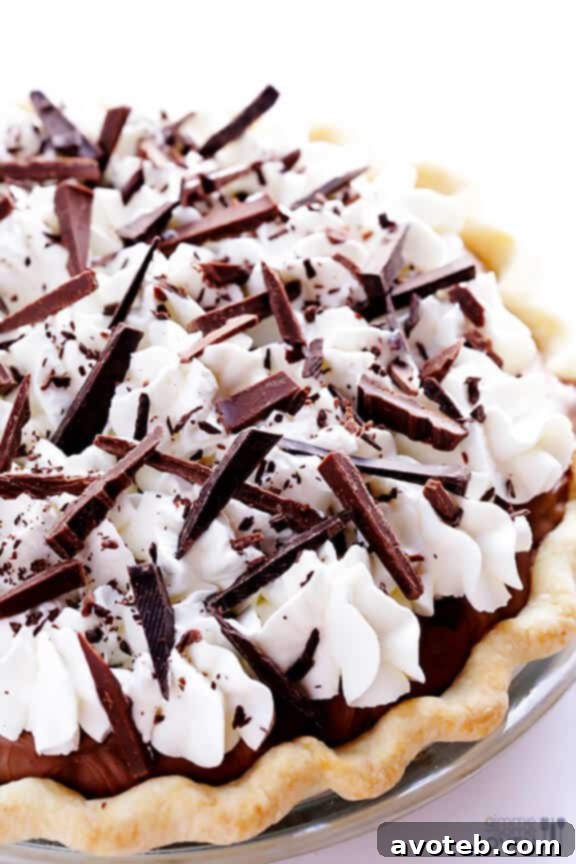
Without exaggeration, everyone who tried this French Silk Pie absolutely adored it! It’s hard not to fall in love with a dessert that combines such rich flavors and luxurious textures. Imagine: a robust chocolate filling, generously topped with a thick, ethereal layer of freshly whipped cream, and finished with an artistic sprinkle of chocolate shavings or curls. It’s a feast for the eyes and the palate.
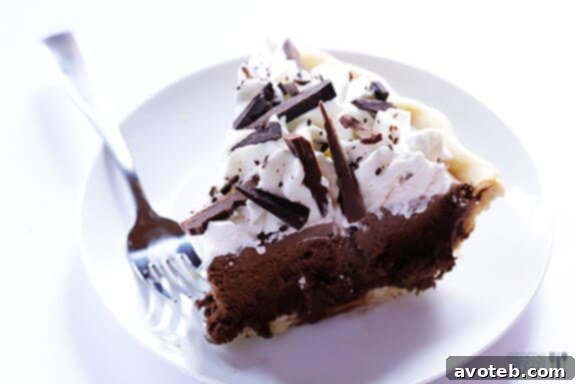
This pie truly hits all the right notes for chocolate lovers. The deep cocoa flavor is intense yet balanced, never overwhelmingly sweet. The texture is smooth beyond compare, creating a truly melt-in-your-mouth sensation. The light, airy whipped cream provides a perfect counterpoint, adding a refreshing contrast to the richness of the chocolate. And those chocolate shavings? They add a delightful textural crunch and an extra burst of chocolatey goodness that elevates the entire experience.
French Silk Pie is also remarkably versatile in its appeal. It’s elegant enough for a formal dinner party, yet comforting enough for a cozy family dessert. It’s a dessert that generates smiles, satisfied sighs, and often, requests for the recipe.
Serving and Storage Suggestions
This is undeniably a recipe to make and share with your friends, family, or anyone who appreciates a truly spectacular dessert. And I mean, pronto! The joy of sharing this pie is almost as good as eating it yourself.
For the best experience, serve French Silk Pie chilled, allowing the flavors to fully meld and the texture to firm up perfectly. A crisp, pre-baked pie shell provides the ideal foundation, contrasting beautifully with the creamy filling. While a simple dollop of whipped cream is classic, feel free to get creative with your toppings. A dusting of cocoa powder, a scattering of fresh raspberries or strawberries for a touch of tartness, or even a drizzle of caramel or raspberry sauce can elevate this pie further.
When it comes to storage, French Silk Pie should always be kept refrigerated. Cover it loosely with plastic wrap or aluminum foil. It will remain delicious for 3-4 days in the refrigerator. While technically it can be frozen, the texture of the filling and whipped cream might change slightly upon thawing. If freezing, do so without the whipped cream topping, and add fresh whipped cream just before serving.

French Silk Pie (Decadent Chocolate Pie)
Prep Time: 30 minutes
Total Time: 2 hours 30 minutes (including chill time)
Yield: 12–16 slices 1x
Description
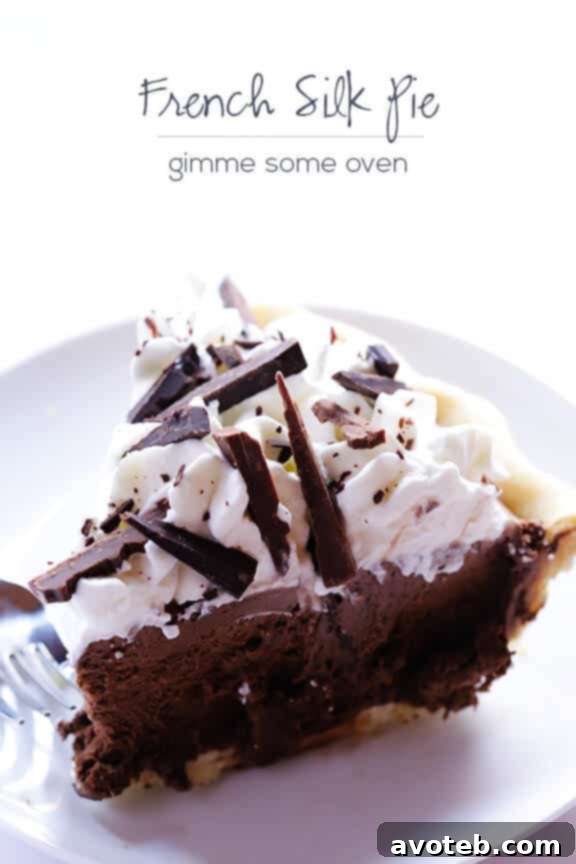
If you’re seeking the ultimate chocolate pie experience, this French Silk Pie recipe is an absolute must-try! With its incredibly creamy, rich, and silky smooth chocolate filling, perfectly balanced by fluffy whipped cream and chocolate shavings, this dessert is a true crowd-pleaser and surprisingly easy to make at home.
Ingredients
Scale
For the Pie Filling:
- 4 oz. high-quality bittersweet or semisweet chocolate
- 1 cup (2 sticks) salted butter, softened
- 1 1/2 cups ultra-fine granulated sugar
- 1 tsp. pure vanilla extract
- 4 large eggs, at room temperature
- (optional) 1/4 tsp. espresso powder (enhances chocolate flavor)
For Assembly and Garnish:
- 1 fully pre-baked 9-inch pie shell (homemade or quality store-bought)
- 3 cups freshly whipped cream
- 1 chocolate bar, for rough chopping, shaving, or melting into decorative curls
Instructions
- Melt the Chocolate: Break the chocolate into small pieces and place in a microwave-safe bowl. Heat in 20-second intervals, stirring thoroughly after each interval, until the chocolate is completely melted and smooth. Set aside and allow it to cool to room temperature (about 10-15 minutes). It’s crucial not to add hot chocolate to the butter mixture.
- Cream Butter and Sugar: In the bowl of an electric stand mixer fitted with the paddle attachment, cream together the softened butter and ultra-fine sugar on medium-high speed for 1-2 minutes, until the mixture is light and fluffy. Once the melted chocolate has cooled, gradually pour it into the butter and sugar mixture. If using, add the espresso powder. Beat the mixture on medium-low speed until all ingredients are thoroughly combined and no streaks of butter or chocolate remain. Stir in the vanilla extract until just combined.
- Incorporate Eggs for Silkiness: Switch to the whisk attachment on your stand mixer. Add one room temperature egg to the chocolate mixture. Beat on medium speed for a full 5 minutes. This extended beating time is critical for incorporating air and creating the pie’s signature silky texture. Repeat this process with the remaining three eggs, adding them one at a time and beating for an additional 5 minutes after each egg addition. You will beat the mixture for a total of 20 minutes (4 eggs x 5 minutes each). The mixture will become significantly lighter in color and incredibly airy and fluffy.
- Assemble and Chill: Pour the luscious chocolate filling into your fully pre-baked and cooled 9-inch pie shell. Use a spatula to gently spread the top evenly. Refrigerate the pie for a minimum of 2 hours, or ideally overnight, until it is completely firm and well-chilled. This allows the pie to set properly, enhancing its texture and making it easier to slice.
- Garnish and Serve: Just before serving, generously top the chilled French Silk Pie with your desired amount of freshly whipped cream. Finish by garnishing with chocolate shavings, curls, or coarsely chopped chocolate from a chocolate bar. Serve immediately and enjoy!
- *Important Note on Raw Eggs: This recipe traditionally uses raw eggs in the filling, which contribute to its unique texture. Consumers should be aware of the risks associated with consuming raw eggs. If you are concerned, consider using pasteurized eggs, which are available in many grocery stores, or opt for an alternative recipe that cooks the eggs. Consume at your own risk.
Notes
This recipe is very slightly adapted from a classic version by The Pioneer Woman, known for her comforting and beloved recipes.
Disclaimer: This post contains affiliate links, which means I may earn a small commission if you make a purchase through them. This is also a compensated sponsored post from ALDI. I had the wonderful opportunity to participate in their Test Kitchen Event last month and am incredibly excited to be partnering with this brand I genuinely love and trust. All opinions expressed herein are 100% my own and reflect my honest experience and recommendations.