Master the Art of Baking: How to Make Homemade Self-Rising Flour
For any baking enthusiast, the joy of creating delicious treats from scratch is unparalleled. Whether it’s fluffy pancakes for breakfast, tender biscuits for brunch, or a light-as-air cake for dessert, the right ingredients make all the difference. While many staple ingredients are always on hand, self-rising flour is one that often seems to be missing when a recipe calls for it. But what if we told you that you don’t need to make a special trip to the grocery store? You can easily create your own perfect batch of self-rising flour right in your kitchen with just three simple ingredients!
Recently, I’ve found myself completely immersed in the world of baking. My latest obsession? An incredible 3-ingredient biscuit recipe that has, quite frankly, revolutionized my breakfast routine. This recipe is so good, it’s practically life-changing! I’ve already made it multiple times, and the count keeps climbing. While that highly anticipated biscuit recipe will be shared with you very soon, today we’re focusing on one of its foundational components: homemade self-rising flour.
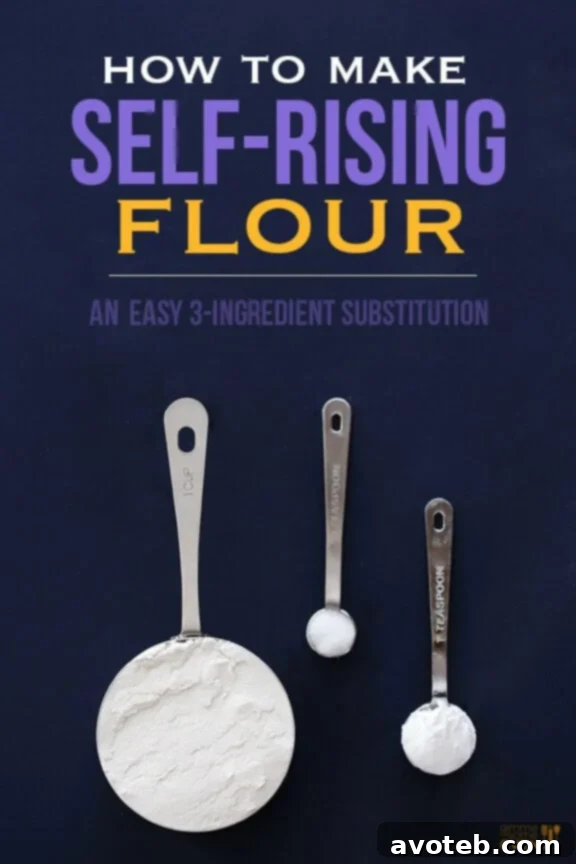
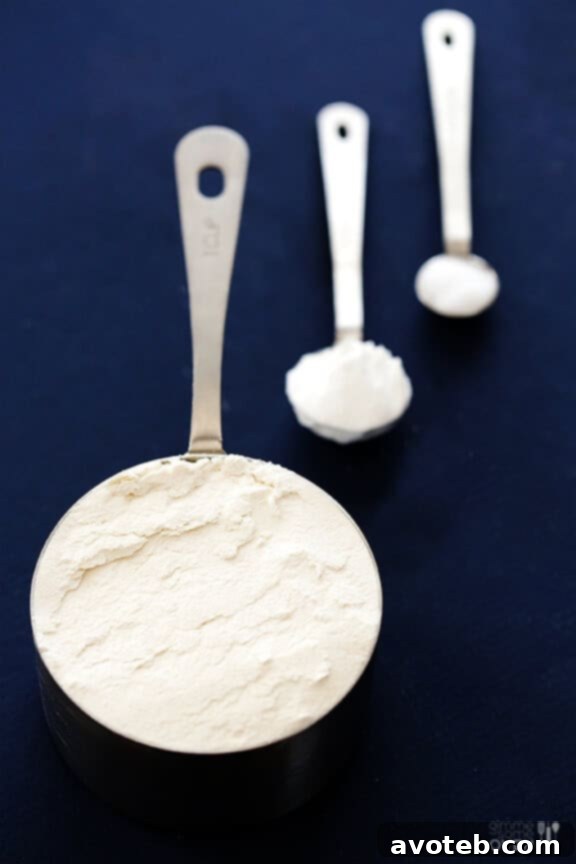
It’s rare for me to keep a bag of store-bought self-rising flour in my pantry. Partially, this is due to its shorter shelf life compared to all-purpose flour, as the leavening agent mixed in can lose its potency over time. But primarily, it’s because making it yourself is incredibly simple and offers a fresh, reliable alternative. All you need are three common kitchen staples: all-purpose flour, baking powder, and salt. With these, you’ll have a quick and effective substitute ready for any recipe that demands self-rising flour, ensuring your baked goods — be they biscuits, pancakes, or cakes — achieve that desirable light and fluffy texture.
So, whether you’re planning for tomorrow’s epic biscuit adventure or simply want to be prepared for future baking endeavors, consider bookmarking this essential guide. It’s a game-changer for spontaneous baking!
Why Choose Homemade Self-Rising Flour?
There are several compelling reasons why making your own self-rising flour is a smart move for any home baker:
- Unmatched Freshness: The active ingredient in self-rising flour, baking powder, can lose its effectiveness over time once exposed to air and moisture. By combining it fresh with all-purpose flour, you ensure maximum leavening power, leading to consistently lighter and fluffier results.
- Convenience and Availability: How many times have you started a recipe only to realize you’re missing a specific ingredient like self-rising flour? Having the know-how to make it on the fly saves you a trip to the store and keeps your baking plans on track.
- Control Over Ingredients: Making it yourself gives you control over the type of flour and salt used. You can choose organic flours, adjust the salt content slightly to suit dietary needs (though the standard amount is quite small), or even experiment with different flour bases for specific textures.
- Cost-Effectiveness: All-purpose flour, baking powder, and salt are generally more economical to purchase separately than a specialized bag of self-rising flour. This small habit can add up to savings over time for avid bakers.
- Customization for Recipes: While the standard ratio works for most recipes, understanding the components allows you to slightly adjust for recipes that might benefit from a bit more or less leavening, although for most cases, sticking to the classic ratio is best.
Understanding the Essentials: The Science Behind the Rise
Self-rising flour is essentially a pre-mixed combination of all-purpose flour, a leavening agent (baking powder), and a small amount of salt. This ingenious blend simplifies baking by ensuring your doughs and batters rise without needing additional leaveners.
The Role of Each Ingredient:
- All-Purpose Flour: This forms the base of your self-rising flour. It’s a versatile flour with a moderate protein content (around 10-12%), suitable for a wide range of baking. It provides the structure for your baked goods.
- Baking Powder: This is the crucial leavening agent. Most baking powders available today are “double-acting,” meaning they produce carbon dioxide gas in two stages: once when mixed with liquid, and again when exposed to heat in the oven. These gas bubbles are what make your biscuits, cakes, and pancakes light and airy. It’s vital for baking powder to be fresh for optimal results.
- Salt: While it seems minor, salt plays a critical role. Beyond enhancing flavor, it also helps to control the leavening process, providing balance to the baking powder. It strengthens the gluten structure in the flour and helps to achieve a more even texture.
The beauty of self-rising flour lies in its convenience. It removes the guesswork and ensures that your leavening agent is perfectly distributed throughout the flour, leading to consistent results every time.
Choosing Your Flour Base: A Deeper Dive into Protein Content
When making self-rising flour, traditional all-purpose flour is typically the go-to choice, and it works wonderfully for most recipes. However, it’s worth noting that some commercial self-rising flour brands, such as White Lily or King Arthur Flour’s self-rising variety, utilize lower-protein flours like cake or pastry flour instead of all-purpose. This is a subtle but significant difference for certain baked goods.
Lower-protein flours result in a more tender crumb, which is highly desirable for items like delicate cakes, muffins, or very flaky biscuits. While I’ve personally found that using standard all-purpose flour in my homemade blend yields excellent results that satisfy most baking needs, if a recipe specifically calls for a brand known for its low-protein self-rising flour (like White Lily for Southern-style biscuits), or if you are aiming for the absolute softest, most tender texture imaginable, you might consider using cake or pastry flour as your base. These flours typically have a protein content of 7-9%, compared to all-purpose flour’s 10-12%.
The good news is, for the vast majority of home baking, all-purpose flour will perform beautifully, delivering delightful results without needing to buy specialized flours. The key is to experiment and see what you prefer!

Self-Rising Flour Recipe
Prep Time: 2 minutes
Total Time: 2 minutes
Yield: A little over 1 cup
Description
Learn how to effortlessly create this homemade self-rising flour recipe using just three simple ingredients, perfect for all your baking needs.
Ingredients
Scale
- 1 cup all-purpose flour
- 1 ½ teaspoon baking powder
- ½ teaspoon salt
Instructions
- In a medium bowl, combine the all-purpose flour, baking powder, and salt.
- Using a whisk, vigorously blend all ingredients together until they are thoroughly combined and no lumps remain. Ensure the baking powder and salt are evenly distributed throughout the flour.
- Your homemade self-rising flour is now ready to use in any recipe that calls for it.
- For best results, use immediately. If storing, transfer to an airtight container and keep in a cool, dry place for up to 3-6 months.
Beyond Biscuits: Versatile Uses for Your Homemade Self-Rising Flour
While often associated with fluffy biscuits, homemade self-rising flour is a truly versatile ingredient that can elevate a wide array of baked goods. Its pre-portioned leavening means you save time and ensure consistent results across various recipes. Here are some popular and delicious applications:
- Pancakes and Waffles: Achieve exceptionally light and airy pancakes and waffles that are perfect for a weekend breakfast or brunch. The consistent rise from self-rising flour makes them effortlessly fluffy.
- Muffins and Scones: From sweet blueberry muffins to savory cheese scones, self-rising flour helps these quick breads rise beautifully, creating a tender crumb and a delightful texture without the need for additional baking powder or soda.
- Quick Breads: Banana bread, zucchini bread, and other quick bread recipes benefit greatly from self-rising flour. It provides the necessary lift to make them moist and tender.
- Cakes and Cupcakes: For many simple cake and cupcake recipes, especially those without acidic ingredients, self-rising flour can be a fantastic shortcut, leading to light and springy results.
- Dumplings: Add a touch of lightness to your stews and soups with fluffy dumplings made from self-rising flour.
- Fritters and Batter: Use it for savory vegetable fritters or a light batter for fried chicken or fish. The leavening provides a crispier, more appealing texture.
The convenience of having this versatile flour on hand means you’re always just a few steps away from a delicious homemade treat.
Storage and Shelf Life: Keeping Your Flour Fresh
One of the main reasons to make self-rising flour fresh is the limited shelf life of baking powder once it’s exposed and mixed. Here’s how to properly store your homemade blend to maintain its potency:
- Airtight Container: Always store your homemade self-rising flour in a tightly sealed, airtight container. Exposure to air and moisture is the enemy of baking powder.
- Cool, Dry Place: Keep the container in a cool, dry, and dark pantry or cupboard, away from heat and direct sunlight. Refrigeration is generally not necessary and can even introduce moisture.
- Label and Date: Always label your container with the date you made the flour. This helps you keep track of its freshness.
- Shelf Life: While all-purpose flour can last for months or even a year, the baking powder in your self-rising blend will dictate its effective shelf life. Generally, homemade self-rising flour is best used within 3 to 6 months. After this period, the baking powder may begin to lose its leavening power.
Quick Test for Baking Powder Freshness: If you’re unsure if your baking powder (or self-rising flour) is still active, you can perform a simple test. Place a teaspoon of the flour in a bowl and pour a quarter cup of hot water over it. If it fizzes vigorously, it’s still good to go. If there’s little to no reaction, it’s time to make a fresh batch.
Tips for Self-Rising Flour Success
To ensure your homemade self-rising flour performs at its best and your baked goods turn out perfectly every time, keep these tips in mind:
- Accurate Measurement is Key: When measuring your all-purpose flour, use the “spoon and level” method. Gently spoon flour into your measuring cup until it’s overflowing, then use a straight edge (like the back of a knife) to level off the excess. Do not scoop the flour directly with the measuring cup or pack it down, as this can result in too much flour.
- Whisk Thoroughly: Don’t just give it a quick stir. Whisk the ingredients together for at least 30-60 seconds to ensure the baking powder and salt are evenly distributed throughout the flour. This uniform distribution is crucial for an even rise in your baked goods.
- Use Fresh Baking Powder: The freshness of your baking powder directly impacts the success of your self-rising flour. Always check the expiration date on your baking powder container. An old, inactive baking powder will result in flat, dense baked goods.
- Avoid Overmixing: Once your homemade self-rising flour is incorporated into a recipe, be mindful of overmixing the batter or dough. Self-rising flour, like all-purpose flour, can develop gluten when overmixed, leading to tough results. Mix just until the ingredients are combined.
- Sifting (Optional but Recommended): For an extra light and airy texture, especially in cakes or delicate pastries, you can sift your homemade self-rising flour once or twice after whisking. This further aerates the flour and ensures an even distribution of the leavening agents.
By following these simple guidelines, you’ll consistently produce high-quality self-rising flour that will contribute to wonderfully light and delicious homemade treats.
Frequently Asked Questions About Self-Rising Flour
Can I substitute self-rising flour for all-purpose flour in any recipe?
Generally, no. Self-rising flour already contains leavening and salt, so if you substitute it directly for all-purpose flour in a recipe that also calls for baking powder/soda and salt, your baked goods will likely be too salty and over-leavened, leading to an unpleasant taste and texture. Always adjust the recipe or stick to the flour type specified.
What happens if I use expired baking powder in my self-rising flour?
Expired baking powder loses its leavening power. If you use it, your homemade self-rising flour won’t work effectively, resulting in baked goods that are flat, dense, and don’t rise properly. Always ensure your baking powder is fresh.
Is homemade self-rising flour gluten-free?
No, not typically, as it’s usually made with wheat-based all-purpose flour. However, you could experiment with a gluten-free all-purpose flour blend as the base, keeping in mind that the protein structure and baking behavior might differ, requiring adjustments to the recipe you’re using it in.
Can I make a large batch of self-rising flour to store?
While you can make a slightly larger batch, it’s generally recommended to make smaller quantities that you expect to use within 3-6 months. This ensures the baking powder remains potent. A good practice is to make enough for a few recipes at a time.
Does the type of salt matter?
Fine-grained salt (like table salt or fine sea salt) is usually preferred because it dissolves and distributes more easily throughout the flour. Coarse salts might not mix as uniformly.
With this comprehensive guide, you’re now equipped to easily create your own reliable homemade self-rising flour. No more last-minute grocery runs, no more flat baked goods due to old ingredients. Just consistent, delicious results every time.
Get ready to impress with perfectly risen biscuits, fluffy pancakes, and tender cakes. And speaking of biscuits, keep an eye out for that incredible 3-ingredient biscuit recipe coming to the blog very soon. You won’t want to miss it!