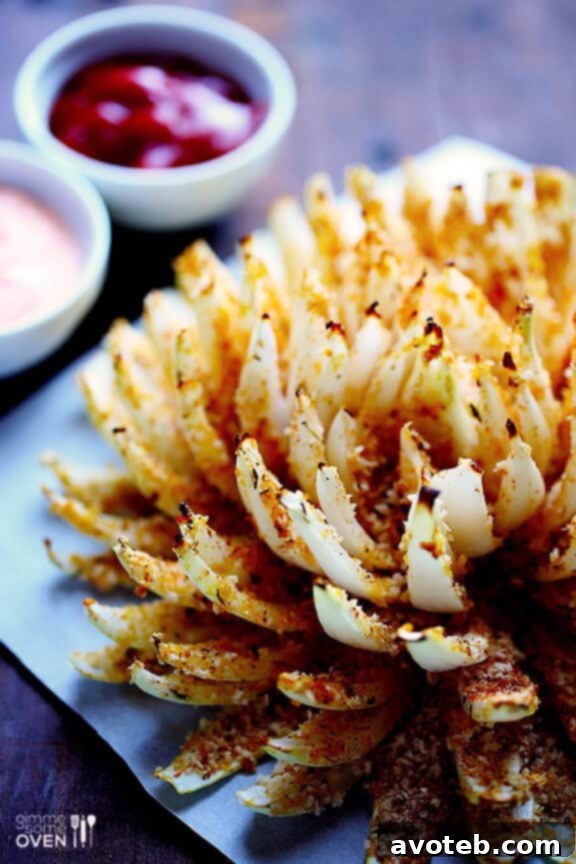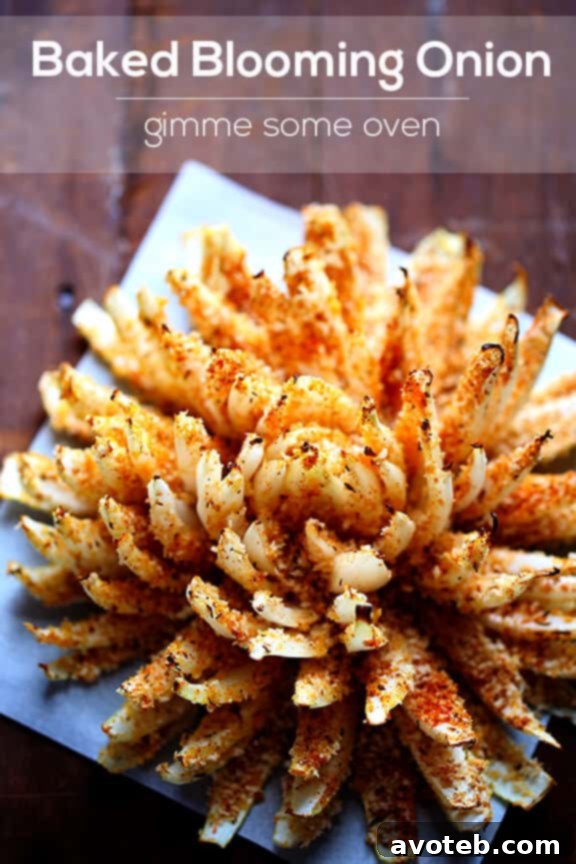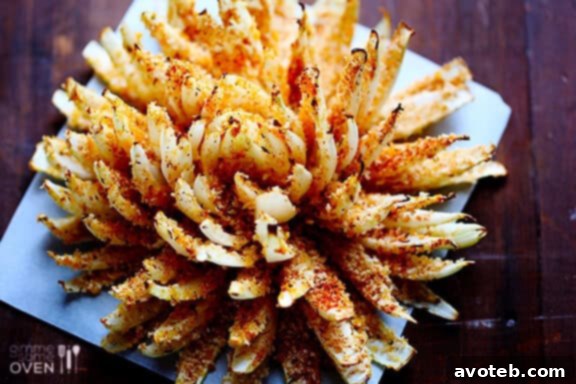
There are certain dishes that transcend mere food, becoming woven into the fabric of our cherished memories. For many, a trip to a casual dining restaurant in years past wasn’t complete without a specific indulgence: the awe-inspiring, deep-fried blooming onion. I recall those vibrant outings with my family, especially with my grandma, at places like Chili’s. While my dad and I might have been focused on the baby back ribs, the real star, the shared experience, was often that colossal, perfectly sculpted onion. It was a spectacle, an appetizer that promised fun and flavor in every crispy petal.
That iconic “Awesome Blossom” or “Blooming Onion” was more than just an appetizer; it was an event. We’d gather around, eager to pull apart those golden, fried petals and dip them generously into the creamy, zesty sauce. The sheer delight of that savory, slightly sweet onion, encased in a crunchy batter, was unparalleled. Of course, as we grew older, the truth emerged: this beloved starter was often one of the unhealthiest items on the menu, laden with calories and fat from the deep-frying process. But in the carefree days of childhood, metabolism was on our side, and we’d often find ourselves wonderfully full before our main courses even arrived. Oh, for those days!
Reimagining a Classic: The Quest for a Healthier Baked Blooming Onion
While the nostalgia for the deep-fried version remains, my palate and priorities have evolved. In recent years, as I’ve embraced healthier cooking methods, the idea of recreating that beloved blooming onion, but with a lighter touch, began to simmer. Could the same irresistible crunch and flavorful experience be achieved without the vat of hot oil? Inspired by the success of other “oven-fried” adaptations of classic restaurant dishes, I set out to prove that a Baked Blooming Onion could indeed be just as delightful.
The challenge was simple: capture the essence of the original—the impressive “bloom,” the satisfying crunch, the savory onion flavor—while significantly reducing the fat content. The solution lay in a technique I’ve perfected for many dishes: oven-frying with Panko breadcrumbs. This method delivers an incredibly crispy exterior, mimicking the texture of deep-frying without all the oil. The result was nothing short of a revelation: a healthier, homemade blooming onion that brought back all those fond memories, guilt-free.
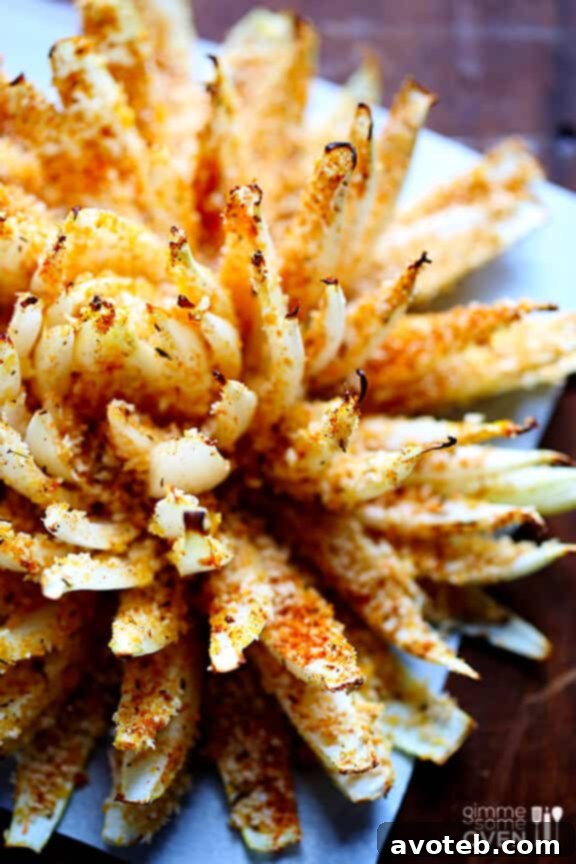
The Art of the Bloom: Preparing Your Onion for Perfection
Creating a beautiful blooming onion starts with the right onion and a precise cut. A large Vidalia onion is often recommended for its sweetness and size, though any large yellow onion will work wonderfully. The key to the “bloom” lies in the way it’s sectioned. First, you’ll want to carefully slice off the top quarter-inch, exposing the inner layers, but crucially, leave the root end completely intact. The root acts as the central anchor, holding all the petals together as they fan out during baking. Without it, your onion would simply fall apart into individual wedges.
Next, place the onion flat-side down on your cutting board. Using a sharp knife, make 16 evenly spaced cuts, starting about an eighth of an inch away from the root and cutting straight down through to the board. Think of it like slicing a cake, but ensuring you don’t cut through the very center. Once all cuts are made, gently turn the onion over onto a baking sheet lined with parchment paper. Now comes the magical part: using your fingers, delicately spread apart the petals. If any cuts haven’t gone all the way through, a small paring knife can help separate them completely. A fantastic tip from seasoned bakers is to soak your cut onion in cold water overnight. This simple step helps the onion naturally relax and open up, making it easier to fan out the petals evenly before coating.
Achieving Unbeatable Crispness: The Panko Advantage
The secret to a truly crispy baked blooming onion lies in the breading. While regular breadcrumbs can yield a decent crust, Panko breadcrumbs are the undisputed champion for oven-frying. Panko, a type of Japanese breadcrumb, is made from crustless white bread and has a coarser, flakier texture than traditional breadcrumbs. These larger flakes create more surface area for crisping and absorb less oil, resulting in a lighter, airier, and significantly crunchier coating—the hallmark of a great blooming onion.
To enhance the flavor, the Panko is seasoned generously. A bold Cajun or blackening seasoning provides a classic, zesty kick, but feel free to customize. Italian seasoning, a smoky paprika and garlic blend, or even a simple mix of herbs like thyme and rosemary can offer delicious alternatives. Always taste your seasoning mix before applying it to ensure it has the right balance of salt and spice. The seasoned Panko adheres to the onion petals thanks to an egg wash, which acts as a sticky binder. The coating process, though a bit tedious, is crucial: brush each petal with the egg mixture, then generously sprinkle and gently press the Panko onto it, ensuring every crevice is covered. This meticulous step guarantees maximum flavor and crispiness in every bite.
Baking to Golden Perfection and the Essential Dipping Sauce
Once coated, your beautiful blooming onion is ready for its transformation in the oven. Preheat your oven to a robust 400 degrees Fahrenheit (200°C). This high heat is essential for achieving that desirable golden-brown and crispy exterior. Begin by carefully tenting the baking sheet with aluminum foil, creating a sealed environment around the onion. This initial 5-minute bake allows the onion to steam and soften slightly without burning the delicate Panko coating. After this initial phase, remove the foil tent and continue baking for another 10-15 minutes, or until the onion petals are tender, and the Panko is gloriously crisp and golden brown at the tips.
No blooming onion, baked or fried, is complete without its signature dipping sauce. While classic ketchup, ranch dip, or honey mustard are always good options, a homemade spicy dipping sauce truly elevates the experience. My go-to recipe combines creamy Greek yogurt (or mayo for a richer flavor), tangy ketchup, a kick of horseradish sauce, and a blend of aromatic spices like smoked paprika, garlic powder, and oregano. Whisked together, these ingredients create a vibrant, zesty, and slightly spicy sauce that perfectly complements the savory onion. This sauce can be prepared ahead of time and stored in the refrigerator for up to a week, making meal prep a breeze for your next gathering.
Baked Blooming Onion
- Total Time: 35 minutes
- Yield: 1 blooming onion 1x
Description
A healthier and baked version of the classic blooming onion.
Ingredients
Scale
For The Blooming Onion:
- 1 large Vidalia onion (or any yellow onion)
- 2/3 cup Panko breadcrumbs
- 1 Tbsp. Cajun or blackening seasoning (**see alternate seasonings below**)
- 1/4 tsp. salt
- 2 eggs
- optional sides: ketchup, spicy dipping sauce (see below), ranch dip, honey mustard
For The Spicy Dipping Sauce:
- 1/2 cup Greek yogurt (or mayo)
- 2 Tbsp. ketchup
- 2 tsp. horseradish sauce
- 1/4 tsp. salt
- 1/4 tsp. smoked paprika
- 1/8 tsp. garlic powder
- 1/8 tsp. oregano
Instructions
To Make The Blooming Onion:
- Preheat oven to 400 degrees Fahrenheit (200°C).
- On a cutting board, use a knife to cut off the top (not the root) 1/4-inch of the onion until a few of the inside layers are exposed. Peel the outermost layer of the onion down to the root, but leave the root intact.
- Lay the onion on the cutting board so that the flat side (that you just cut) is facing downward. Then use a knife to section the onion into 16ths, beginning with your knife 1/8-inch away from the root and cutting straight down. Once all cuts are complete, turn the onion over and set on a piece of parchment paper on a baking sheet. Then use your fingers to gently spread apart the petals. If any of your cuts did not go all the way through, you can use a paring knife to be sure that the entire onion is cut into 16ths.
- (Tip: For easier blooming, soak your sliced onion in cold water overnight; it will open up naturally on its own.)
- In a separate small bowl, whisk together the Panko, Cajun seasoning and salt until combined.
- In a separate (additional) bowl, whisk the eggs until combined.
- Beginning with the lowest (bottom) layers of the onion, brush the top of each petal with the egg mixture until coated, then immediately sprinkle with the Panko mixture. Repeat until all petals are coated. (The panko won’t totally “stick” when the egg is wet, but just press it on with your fingers for best adhesion.) It is a bit tedious, but worth the effort for a perfectly coated onion!
- Carefully form a tent with aluminum foil over the baking sheet until the onion is completely enclosed. Bake for 5 minutes, then remove the foil tent and bake for an additional 10-15 minutes until the onion is soft and the tips are lightly crisped and golden.
- Remove from oven and serve immediately with your desired sauces.
To Make The Spicy Dipping Sauce:
- Whisk all ingredients together until thoroughly combined. Serve immediately or refrigerate in a sealed container for up to 1 week.
Notes
**Instead of Cajun seasoning, you can substitute with Italian seasonings, a smoked paprika blend, or your favorite all-purpose spice mix. Always taste a pinch of the dry seasoning before applying it to the onion to determine if additional salt or pepper is needed.
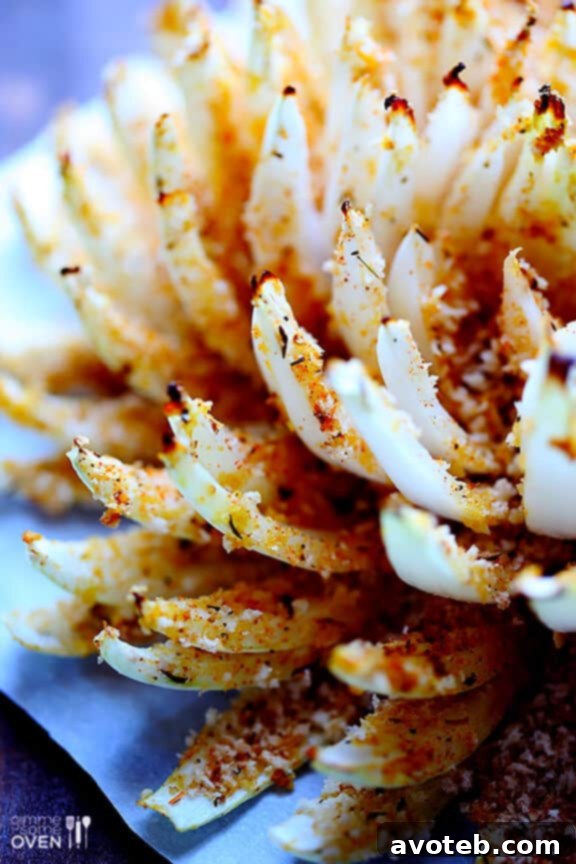
Tips for Success and Serving Your Healthier Indulgence
To ensure your baked blooming onion turns out perfectly every time, here are a few extra tips. First, don’t rush the cutting process. Taking your time to make even cuts and leaving the root intact is paramount to a successful “bloom.” Secondly, while the cold water soak is highly recommended for easier petal separation, if you’re short on time, you can gently pry the petals apart with your fingers before coating. Just be mindful not to break them. Finally, ensure your Panko coating is as even and thorough as possible; this is what delivers that satisfying crunch.
This healthier blooming onion recipe is incredibly versatile and makes a fantastic appetizer for almost any occasion. Imagine serving this impressive dish at your next game day party, family gathering, or even as a special treat for a weeknight dinner. It pairs wonderfully with a variety of main courses, from grilled chicken to hearty burgers, but truly shines as a standalone starter. The visual appeal alone is enough to impress your guests, and the delicious, guilt-free flavor will keep them coming back for more. Don’t be surprised if this baked version becomes a new favorite, proving that you don’t need to sacrifice flavor or fun to eat well.
Embrace the joy of recreating a beloved restaurant classic in the comfort of your own kitchen, with a healthier twist that everyone can enjoy. This homemade blooming onion is not just a recipe; it’s a way to make new memories, combining nostalgia with conscious eating. So go ahead, grab an onion, get blooming, and savor every crispy, flavorful petal!