
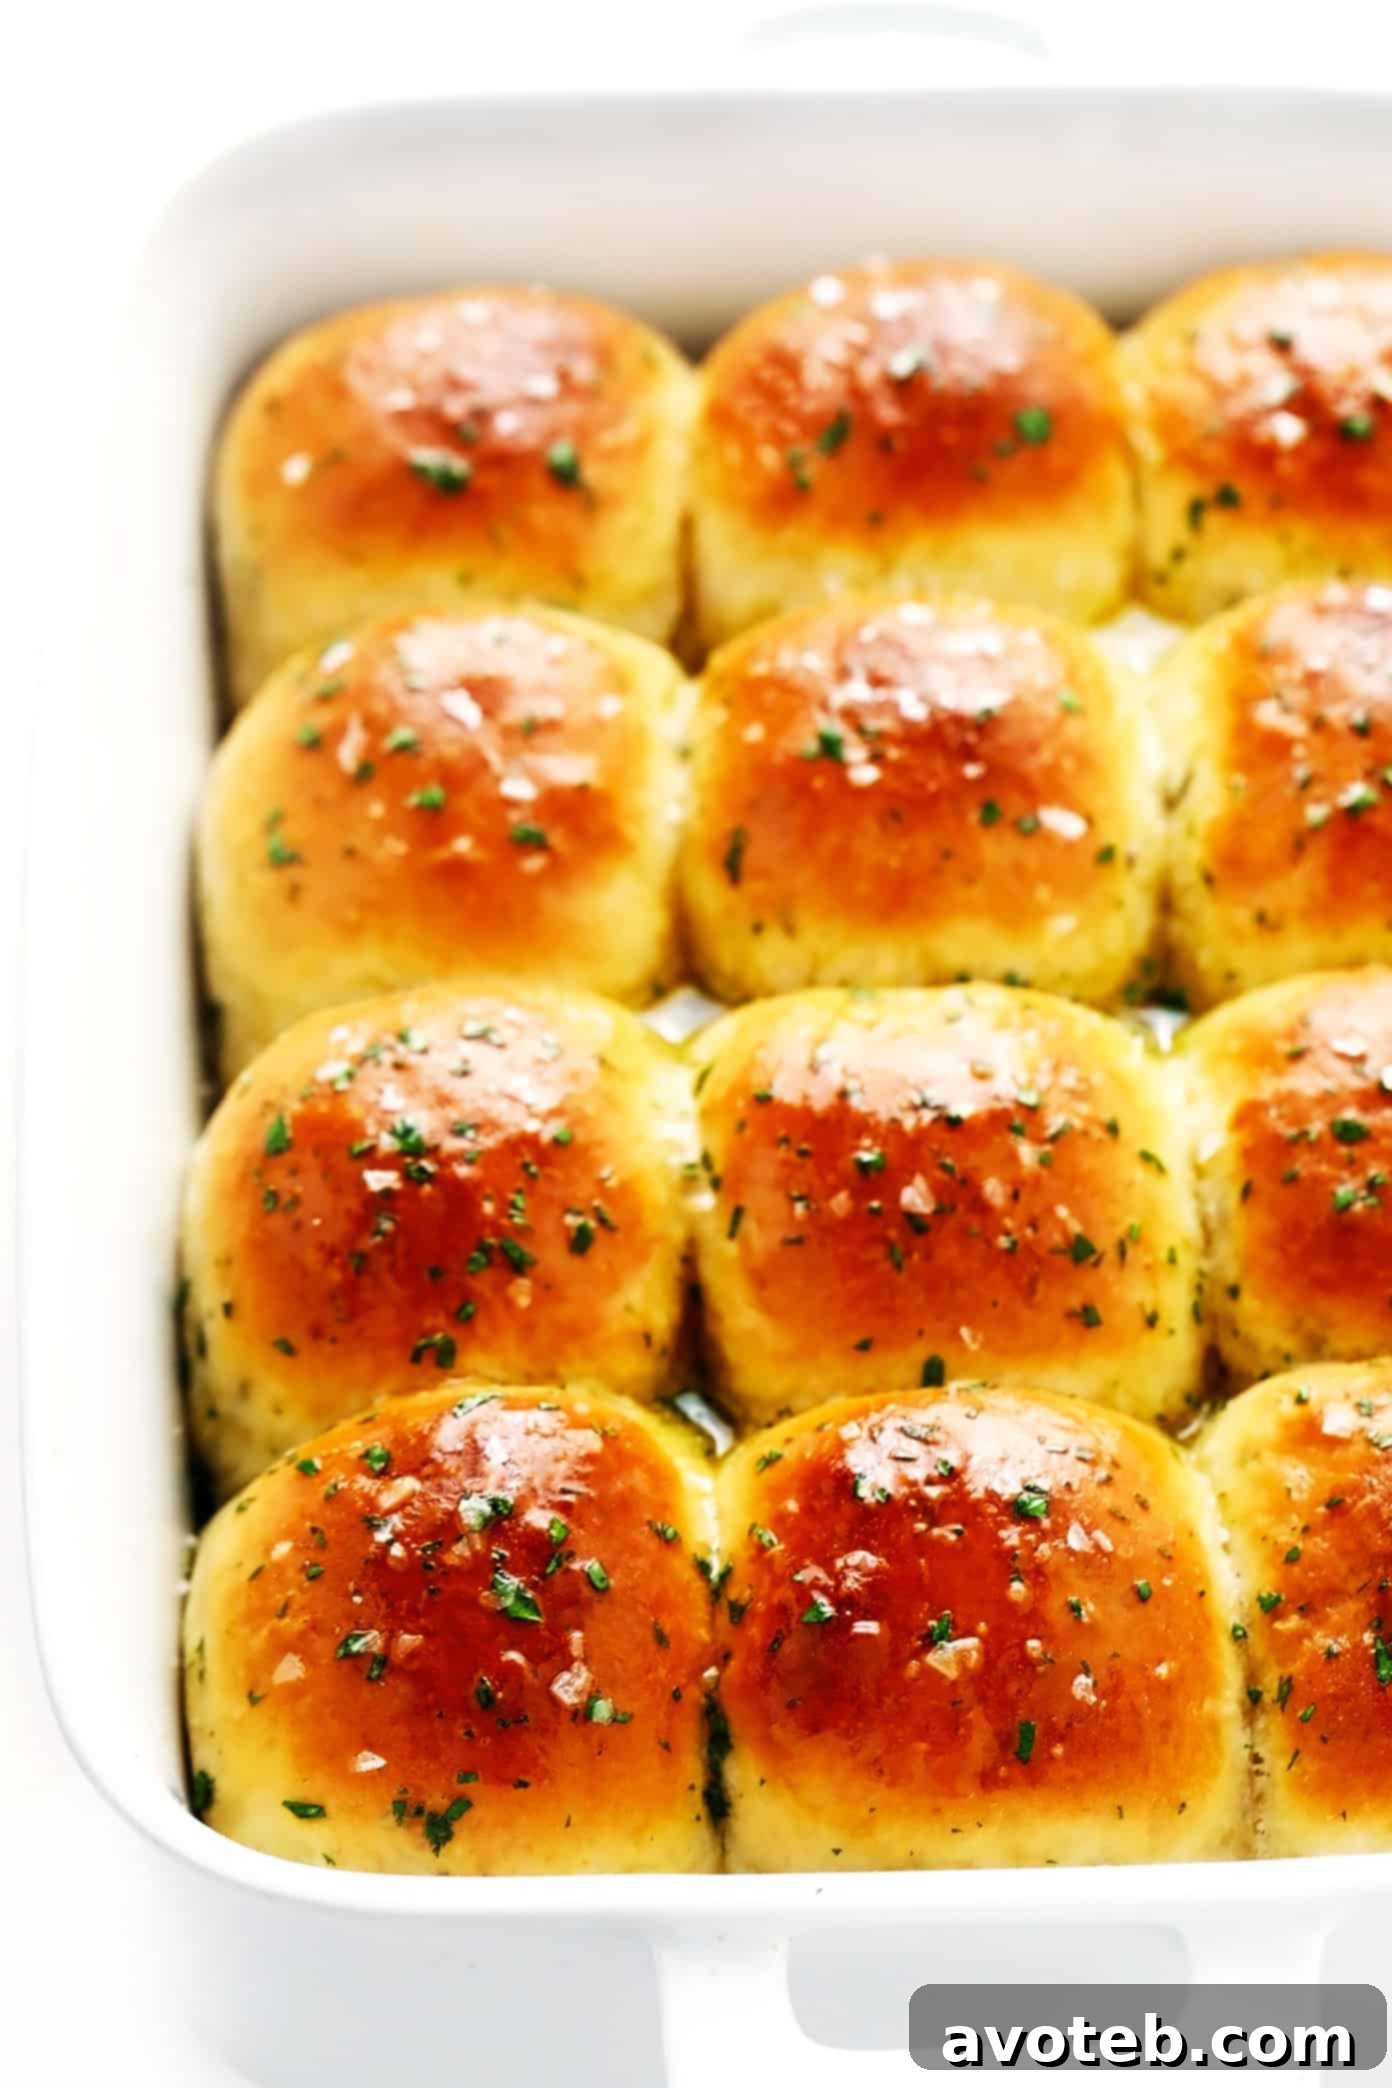
Experience the ultimate comfort food with this recipe for incredibly soft, fluffy, and aromatic rosemary garlic dinner rolls. Designed for ease, they can be prepared with or without a stand mixer and are astonishingly ready to serve in just about one hour, making them a perfect addition to any meal.
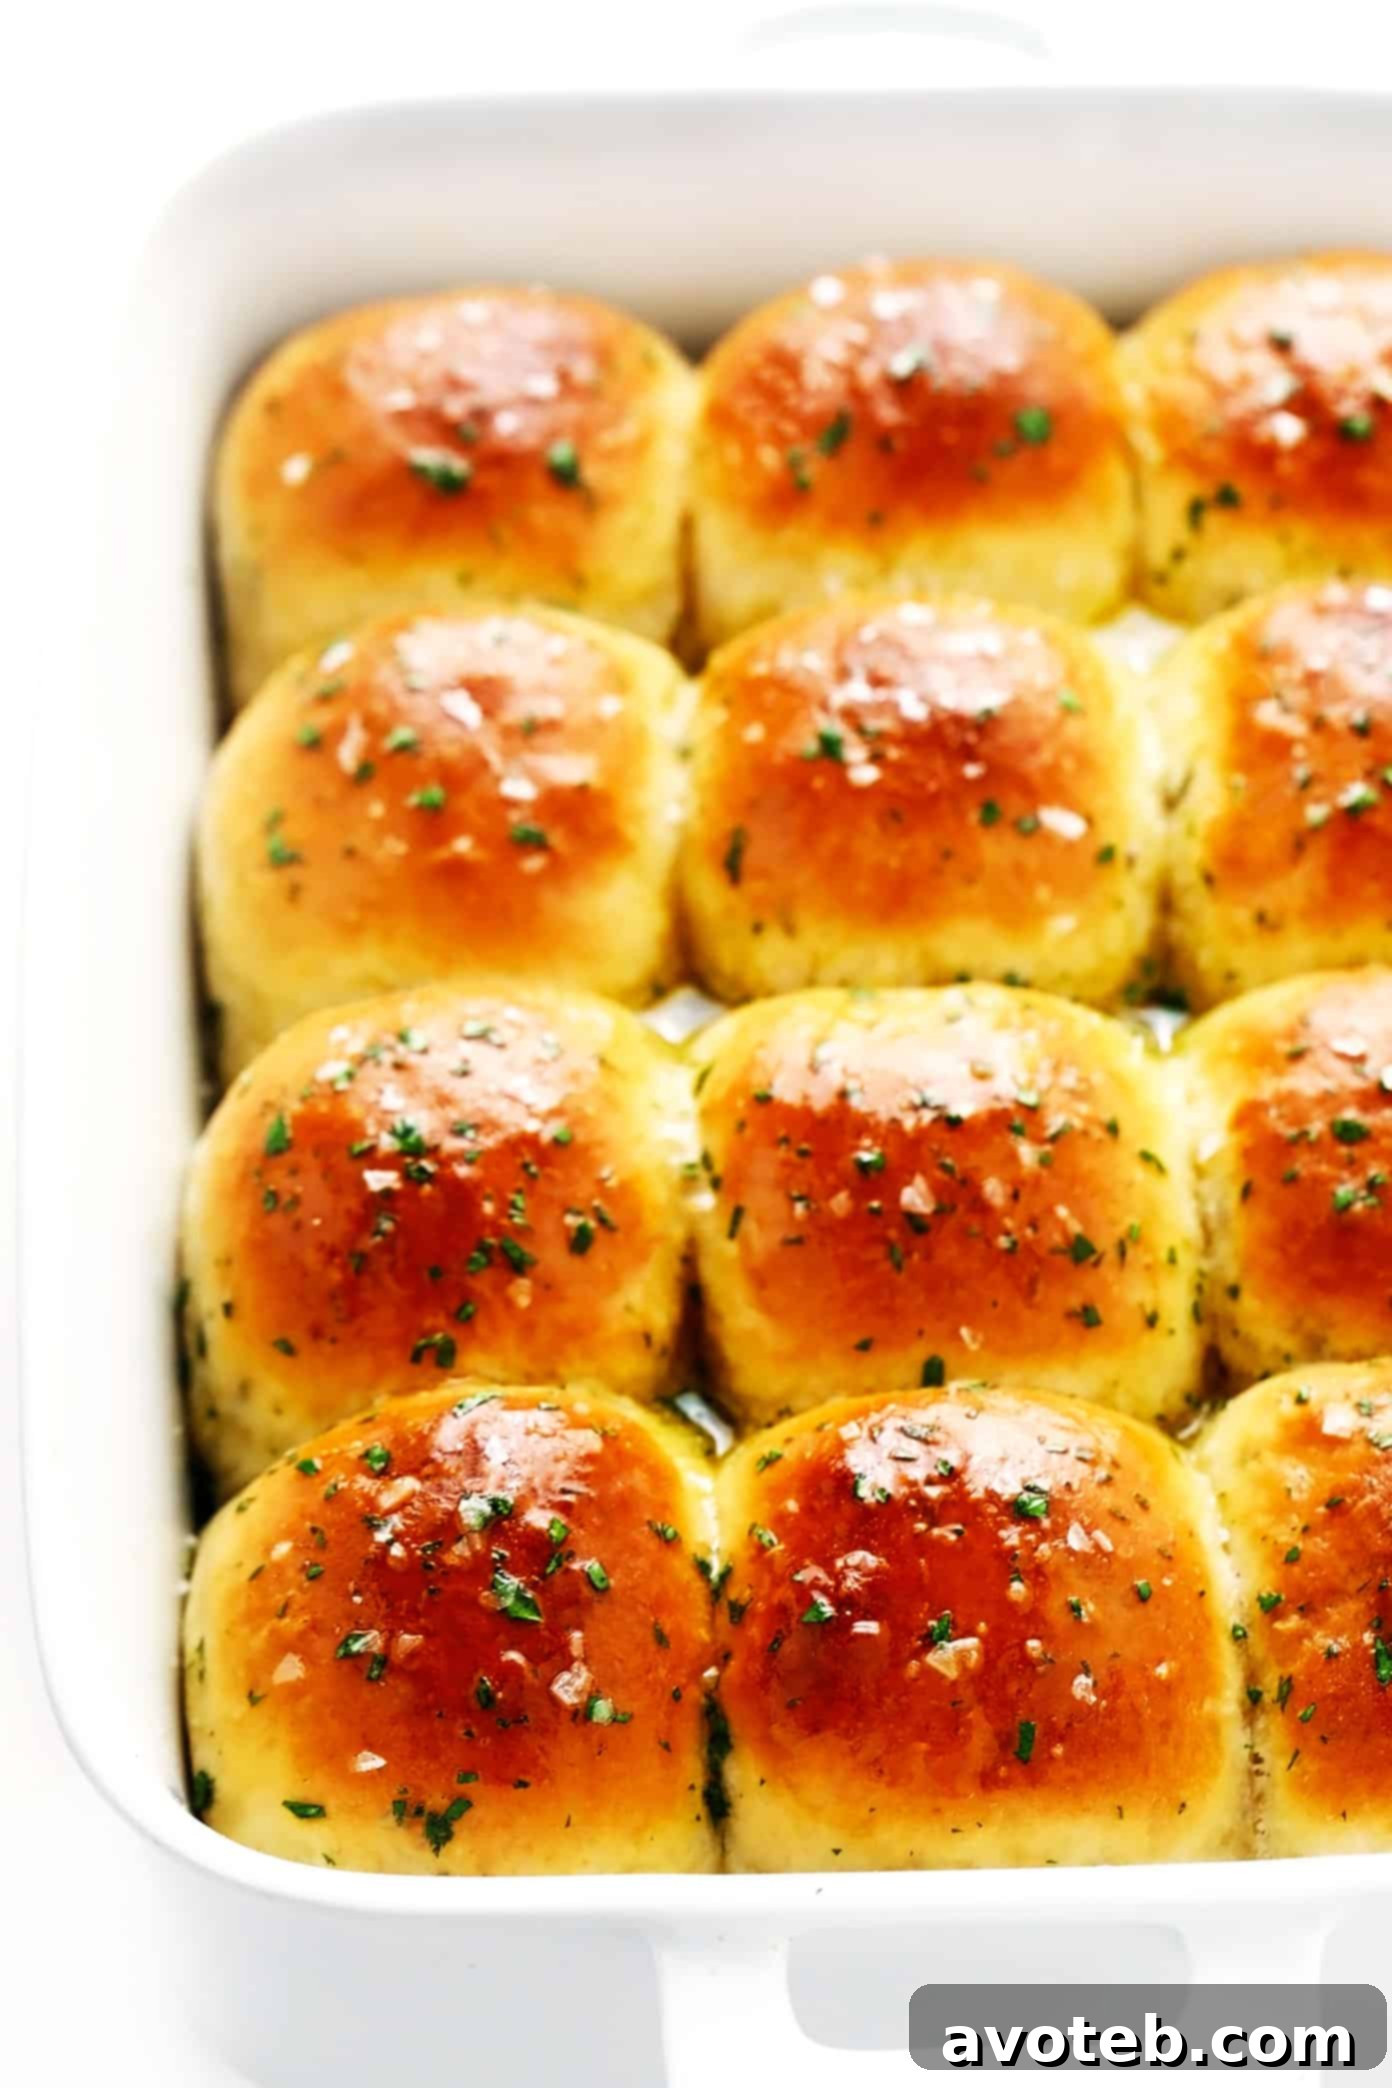
Irresistibly Soft & Flavorful 1-Hour Rosemary Garlic Dinner Rolls
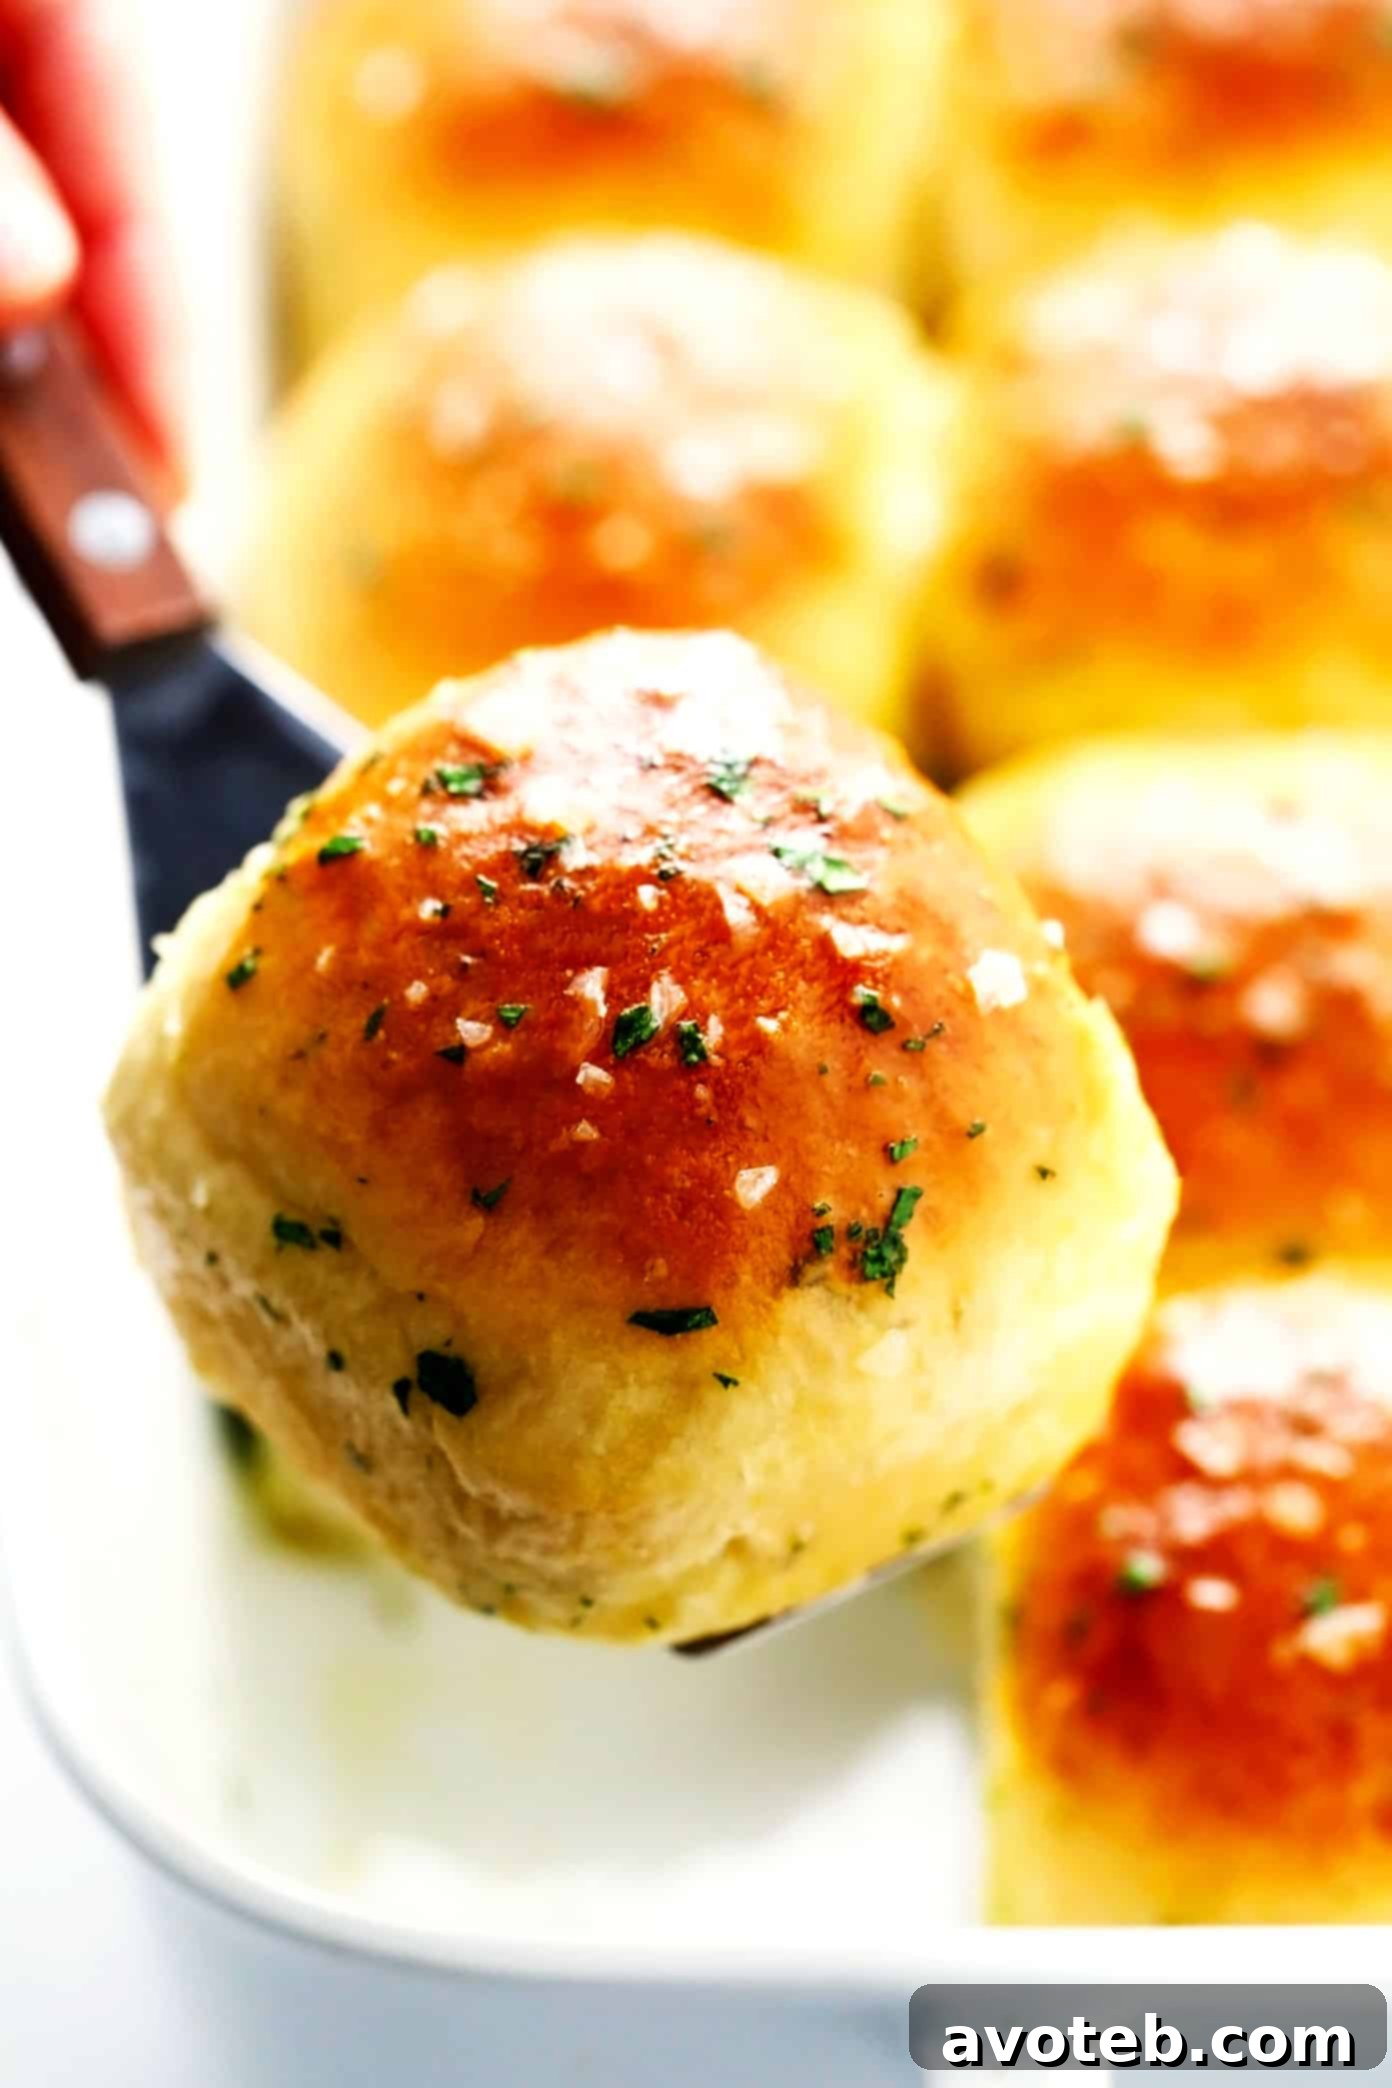
Prepare to fall in love with these utterly divine rosemary garlic dinner rolls, destined to become the star of your holiday table and a cherished staple for everyday meals! Imagine a bread so soft it practically melts in your mouth, infused with the aromatic warmth of fresh rosemary and pungent garlic, then brushed with a luxurious garlic herb butter and finished with a delicate sprinkle of flaky sea salt. These aren’t just dinner rolls; they’re an experience.
This recipe is a delightful twist on our immensely popular classic one-hour dinner rolls, elevated with the addition of fresh rosemary and garlic kneaded directly into the pillowy dough. The magic happens swiftly; from mixing bowl to your plate, these incredible rolls can be ready in roughly 60 minutes. Whether you’re a seasoned baker or new to the world of bread making, this recipe is incredibly forgiving and delivers consistently outstanding results. You can easily prepare the dough by hand, enjoying the tactile process of kneading, or let your stand mixer do the heavy lifting for effortless preparation.
One of the greatest advantages of this recipe is its flexibility. While truly a one-hour wonder, it also offers a convenient make-ahead option. You can prepare the dough up to 48 hours in advance, pausing just before the final rise and bake. This feature is particularly useful for busy holiday preparations, such as Thanksgiving, allowing you to spread out your cooking tasks and reduce stress on the big day. Simply pull the prepared rolls from the fridge, let them come to room temperature, and bake when you’re ready to serve fresh, warm bread.
These rosemary garlic dinner rolls are more than just a side dish; they are a statement of warmth and hospitality. While rosemary and garlic create a classic and captivating flavor profile, feel free to experiment with your favorite fresh herbs to customize them to your taste. No matter how you prepare them, these rolls are guaranteed to be a hit!
Why You’ll Adore These Rosemary Garlic Dinner Rolls
These dinner rolls aren’t just another bread recipe; they offer a delightful combination of convenience, flavor, and versatility that makes them truly special:
- Incredibly Quick: Living up to their “one-hour” name, these rolls are perfect for last-minute additions to dinner or when unexpected guests arrive. The rapid rise time is a game-changer!
- Effortlessly Easy: Whether you prefer to knead by hand or use a stand mixer, the steps are straightforward and designed for minimal fuss. No complex techniques required, just simple bread-making magic.
- Unforgettable Flavor: The combination of fragrant fresh rosemary, savory garlic, and rich butter creates an irresistible aroma and taste that will have everyone reaching for seconds.
- Perfectly Soft & Fluffy: Achieve that ideal tender, airy texture every time. These rolls are pillowy soft on the inside with a subtle golden crust.
- Versatile for Any Occasion: From a simple weeknight dinner to elaborate holiday feasts like Thanksgiving or Christmas, these rolls complement a wide array of dishes.
- Make-Ahead Friendly: Reduce holiday stress by preparing the dough up to two days in advance. Freshly baked rolls without the day-of rush!
- Customizable: Easily adapt the recipe with different herbs or add-ins to suit your preferences, including a convenient vegan option.
Essential Ingredients for Rosemary Garlic Dinner Rolls
Crafting these delectable rosemary garlic dinner rolls requires a selection of common baking ingredients, many of which you likely already have on hand. Here’s a closer look at what you’ll need and why each component is vital for creating that perfect soft, flavorful roll:
- Milk and Water: These liquids form the foundation of our bread dough, contributing significantly to its tender texture. The milk adds richness and helps create a soft crumb, while water activates the yeast. I typically use 2% cow’s milk, but for a dairy-free alternative, plain plant-based milks like oat milk or almond milk work beautifully, maintaining the desired consistency and flavor.
- Butter: Butter is a key player, providing both flavor and moisture. We incorporate it directly into the dough for a rich taste and brush melted butter on top of the rolls after baking for a glossy finish and extra deliciousness. If you’re making these rolls vegan, simply swap in your favorite non-dairy butter.
- Honey: A touch of sweetness is crucial for activating the yeast and adding a subtle depth of flavor to the rolls. Honey also contributes to the beautiful golden-brown crust. If honey isn’t preferred or if you’re making a vegan version, an equal amount of granulated sugar is an excellent substitute.
- Garlic: Garlic is the star alongside rosemary! For the dough, I recommend using garlic powder, which disperses evenly and provides a consistent garlic flavor without adding too much moisture. For the irresistible garlic butter topping, fresh garlic cloves, thinly sliced or minced, deliver a more vibrant, pungent aroma and taste.
- Yeast: Active-dry yeast is the leavening agent that makes these rolls rise beautifully, creating that airy, fluffy texture. This recipe calls for a full tablespoon, so if you’re using standard 0.25-ounce packets (which contain 2.25 teaspoons), you’ll need slightly more than one packet to achieve optimal rise. Ensure your yeast is fresh and active for the best results.
- Flour: Standard all-purpose flour is my go-to for this recipe, consistently producing light and tender rolls. While I haven’t tested this recipe with other types of flours, all-purpose flour offers the ideal balance for this quick-rising dough.
- Fresh Herbs: The earthy, piney notes of fresh rosemary are non-negotiable for these rolls, infusing the dough with its distinctive aroma. For the garlic herb butter, fresh parsley adds a bright, fresh counterpoint. However, feel empowered to customize! Fresh sage, basil, tarragon, thyme, or oregano would all be fantastic alternatives or additions. Remember that herb intensity varies, so adjust amounts to taste when substituting.
- Sea Salt: Fine sea salt is used to season the bread dough, balancing the flavors. For an extra touch of gourmet flair and a delightful textural contrast, I highly recommend sprinkling the warm rolls with a pinch of flaky sea salt just before serving.
Expert Tips for Perfect Homemade Dinner Rolls
While this rosemary garlic dinner roll recipe is designed to be straightforward, a few key tips can ensure your success and help you achieve that perfectly soft, fluffy result every time. Keep these important considerations in mind as you bake:
- Verify Your Yeast is Active: This is perhaps the most critical step in any bread recipe. Expired or inactive yeast is the primary reason bread dough fails to rise. Before proceeding, always double-check the expiration date on your yeast package. More importantly, when you add the yeast to the warm liquid mixture, it should begin to foam and bubble within 5 minutes. This “proof” confirms your yeast is alive and ready to work. If you don’t see this activity, discard the mixture and start over with a fresh packet of yeast.
- Precisely Control Liquid Temperature: Yeast is a delicate living organism, highly sensitive to temperature. When heating your liquid ingredients (water, melted butter, milk, and honey), it’s absolutely essential that the mixture falls within the ideal range of 100-110°F (38-43°C). If the liquid is too hot, it will kill the yeast, preventing any rise. If it’s too cool, the yeast won’t activate properly, resulting in dense rolls. The mixture should feel comfortably warm, not hot, to the touch. For accuracy, I strongly recommend using an instant-read cooking thermometer to confirm the temperature.
- Honor the Rise Times: In a quick bread recipe like this one, the rise times are carefully calculated to ensure maximum fluffiness and flavor development within the hour. Even though they are brief, do not skip or shorten them. The initial rise allows the yeast to work its magic, and the second rise, after forming the rolls, gives them that beautiful, airy structure. Patience during these short intervals will be greatly rewarded.
- Embrace Imperfection in Shaping: When it comes to dividing the dough into 12 equal-sized pieces, don’t strive for absolute perfection. While it’s good to try for consistency, slight variations in size are perfectly fine. These rustic qualities add to the charm of homemade bread, and rest assured, they will all bake together beautifully in the pan, resulting in a delicious batch of rolls regardless of minor differences in shape or size. The joy of homemade is often in its natural, unforced beauty.
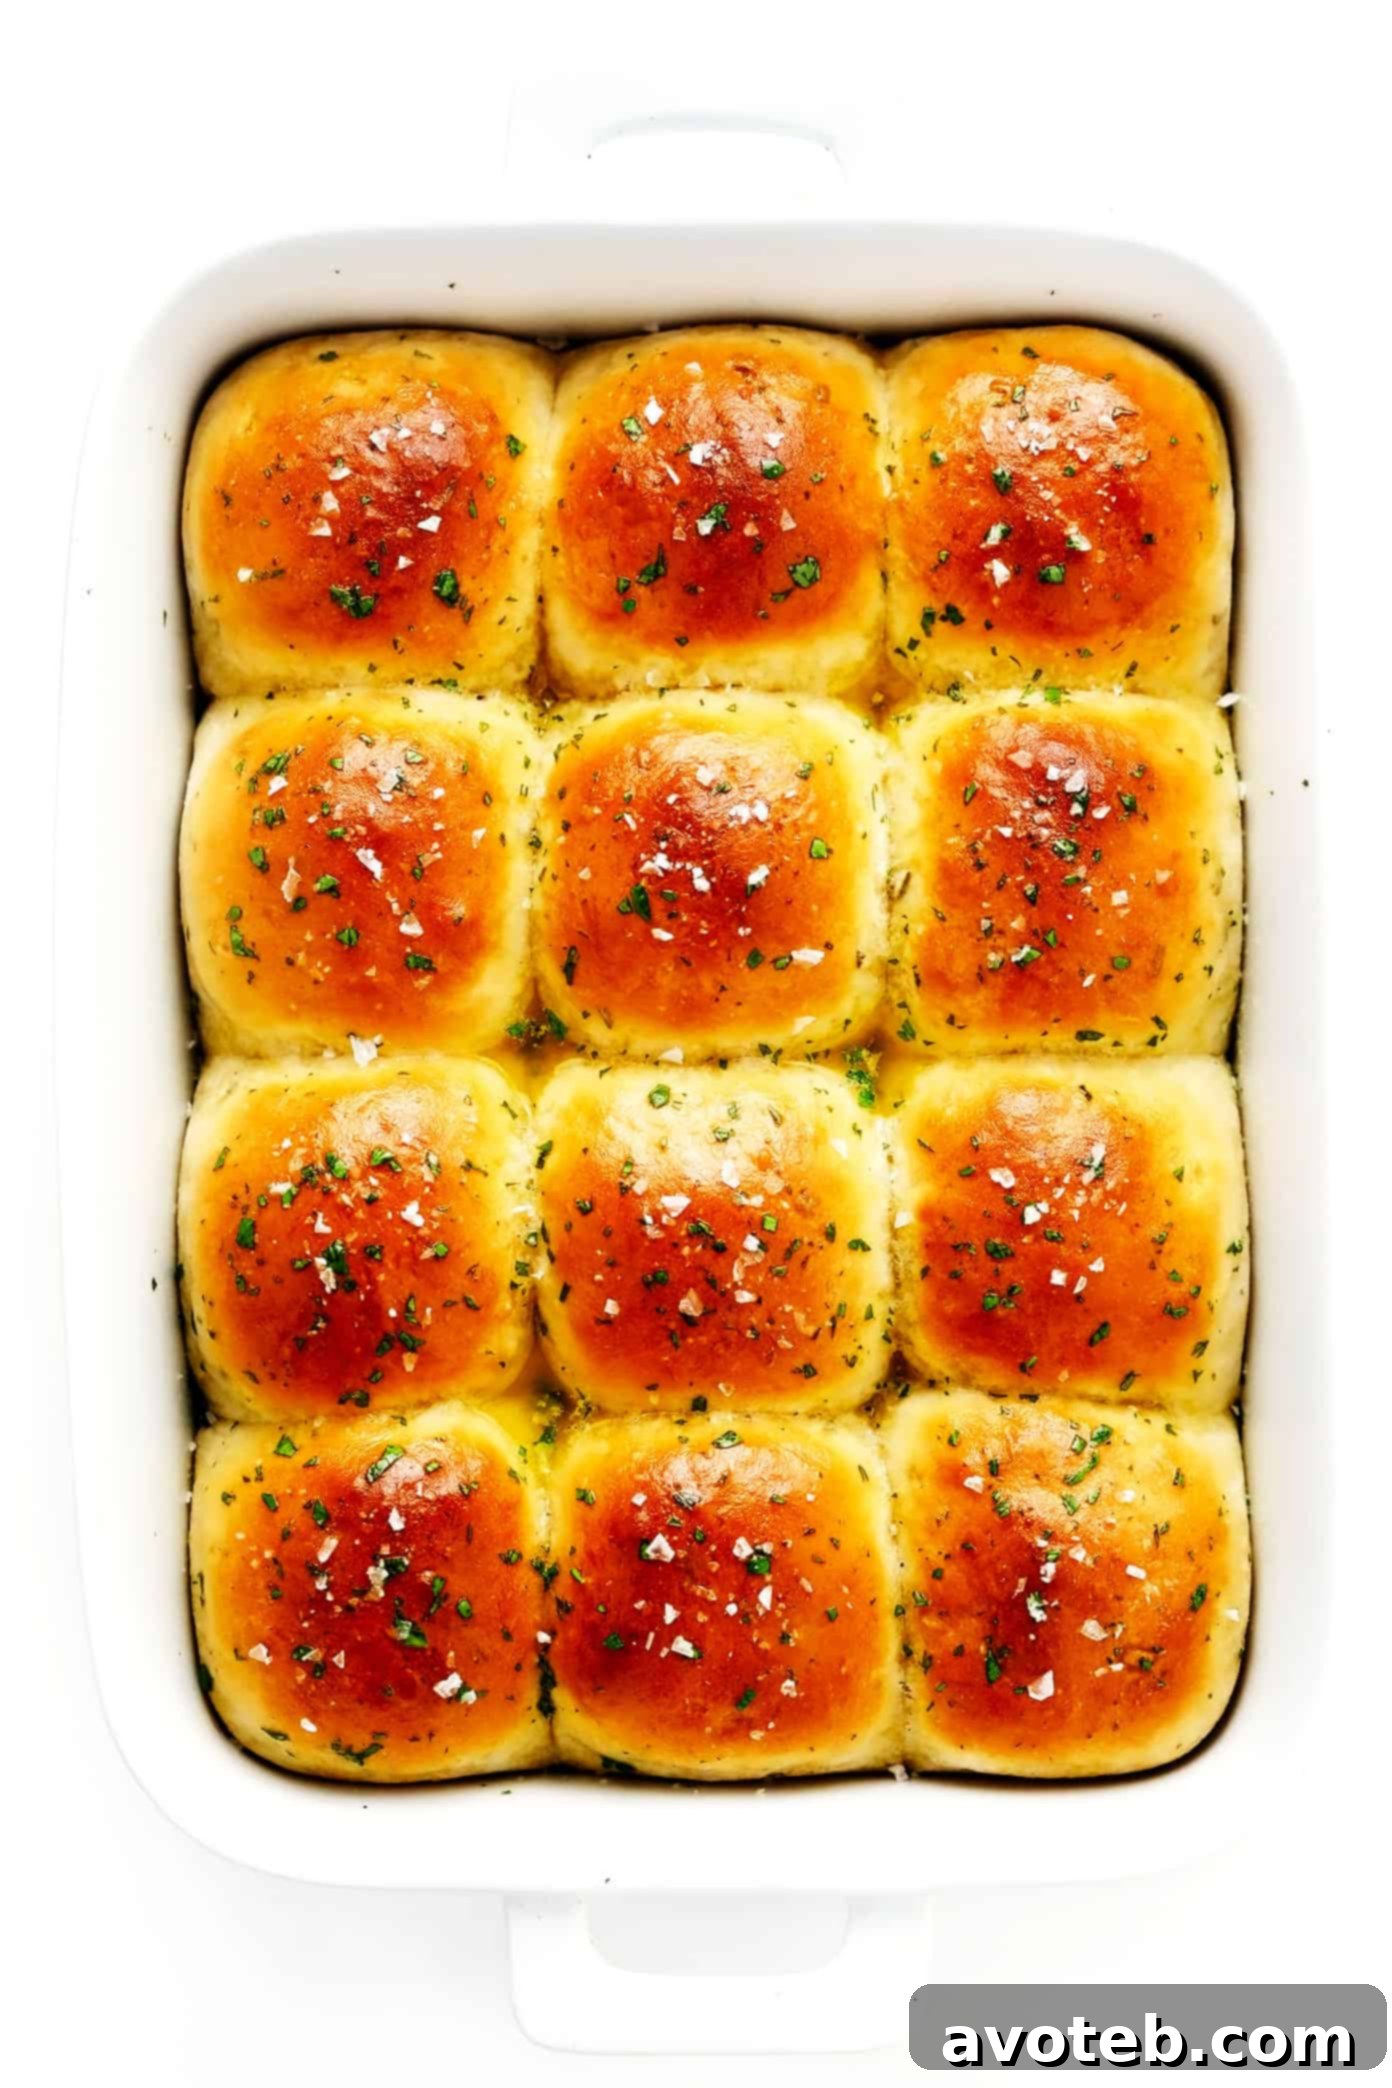
Customizing Your Dinner Rolls: Optional Recipe Variations
One of the beauties of this rosemary garlic dinner rolls recipe is its adaptability. While the classic version is undeniably delicious, here are a few ways you can customize it to suit your needs, dietary preferences, or simply to try something new and exciting:
- Make-Ahead Mastery: For those who love to plan, especially during busy holiday seasons, this recipe offers a fantastic make-ahead option. Follow the recipe instructions precisely through step 6, where you form the dinner rolls and place them in the baking dish. At this point, instead of letting them rise at room temperature, simply cover the baking dish tightly with plastic wrap and refrigerate for up to 48 hours. When you’re ready to bake, transfer the dish from the refrigerator to your kitchen counter and allow the rolls to warm up to room temperature for about 2 hours. This crucial step ensures a proper rise. Then, proceed with baking as directed. This method guarantees freshly baked, warm rolls with minimal effort on the day you plan to serve them.
- Crafting Vegan Delights: Making these rolls entirely plant-based is incredibly simple. Replace the dairy milk with an unsweetened plant-based milk such as oat milk, almond milk, or soy milk. Substitute the dairy butter with a high-quality non-dairy butter alternative. Lastly, for the sweetener, swap the honey for granulated white sugar, agave nectar, or maple syrup. These simple adjustments yield equally soft, flavorful, and wonderfully aromatic vegan dinner rolls that everyone can enjoy.
- A Cheesy Indulgence: For an extra layer of savory richness, consider adding cheese! These rolls would be absolutely magnificent with a generous sprinkle of freshly-grated Parmesan cheese mixed into the dough during the dry ingredients stage, or even sprinkled on top during the last 5-10 minutes of baking for a golden, bubbly crust. Other hard, sharp cheeses like Asiago or Pecorino Romano would also be excellent choices, adding a delightful salty tang.
- Herb Garden Fresh: Beyond rosemary and parsley, feel free to explore other fresh herbs. Thyme, sage, chives, or even a hint of dill can introduce different aromatic dimensions. Consider blending a mix of your favorite herbs for a unique signature flavor.
- Spice It Up: For a subtle kick, a pinch of red pepper flakes can be added to the garlic butter for a touch of heat. Alternatively, a sprinkle of smoked paprika can add a beautiful color and a smoky undertone to the dough.
Perfect Pairings and Serving Suggestions
These rosemary garlic dinner rolls are incredibly versatile and can elevate almost any meal. Their savory, aromatic profile makes them a wonderful accompaniment to a wide range of dishes. Here are some ideas for how to serve them:
- Holiday Feasts: They are a quintessential addition to Thanksgiving, Christmas, or Easter dinners. Their rich flavor complements roasted turkey, ham, prime rib, and all the traditional fixings perfectly.
- Hearty Soups and Stews: There’s nothing quite like dipping a warm, buttery roll into a comforting bowl of homemade soup, chili, or a rich stew. Their robust flavor stands up beautifully to hearty liquids.
- Pasta Dishes: Serve them alongside your favorite pasta dishes, from classic spaghetti and meatballs to creamy fettuccine alfredo. They’re perfect for soaking up any delicious sauces.
- Grilled Meats and Seafood: The herbs and garlic in the rolls pair wonderfully with grilled chicken, steak, pork chops, or even baked fish.
- Salads: Elevate a simple green salad or a more substantial grain salad with these rolls on the side, adding texture and flavor.
- As a Snack: Honestly, these rolls are so good, they can be enjoyed simply with a little extra butter or even plain, right out of the oven!
Storage and Reheating Tips
To ensure your rosemary garlic dinner rolls remain as delicious as possible, proper storage and reheating are key:
- Storing Leftovers: Once cooled, store any leftover rolls in an airtight container or a resealable plastic bag at room temperature for up to 2-3 days. To keep them fresh longer, you can refrigerate them for up to a week.
- Freezing for Later: These rolls freeze exceptionally well! Once completely cool, place them in a freezer-safe bag or container, removing as much air as possible. They can be frozen for up to 2-3 months. Thaw at room temperature overnight or gently reheat from frozen.
- Reheating:
- Oven: For the best results, reheat rolls in a preheated oven at 300°F (150°C) for about 5-10 minutes, or until warmed through and soft. If reheating from frozen, this may take 15-20 minutes. Wrapping them lightly in foil can help prevent them from drying out.
- Microwave: For a quick reheat, individual rolls can be microwaved for 10-20 seconds. Be careful not to overcook, as this can make them tough.
Explore More Favorite Bread Recipes
If you’ve enjoyed the delightful process of baking these rosemary garlic dinner rolls and are eager to expand your bread-making repertoire, you’re in luck! There’s a whole world of easy and delicious bread recipes waiting to be discovered. Here are a few more of my absolute favorites that promise fantastic results, whether you’re looking for minimal effort or a new flavor adventure:
- Effortless No-Knead Bread: A truly simple recipe that requires minimal effort for maximum reward, delivering a rustic, crusty loaf.
- Sweet & Savory Honey Beer Bread: A uniquely flavored quick bread that comes together in minutes, perfect for pairing with stews or as a standalone treat.
- Indulgent Cheesy Pesto Rolls: For cheese and herb lovers, these rolls combine the savory goodness of pesto with gooey melted cheese.
- Aromatic Rosemary Focaccia Bread: A flat, dimpled Italian bread infused with fragrant rosemary and olive oil, ideal for tearing and sharing.
Print Recipe

One Hour Rosemary Garlic Dinner Rolls
Author: Ali
Prep Time: 45 mins
Cook Time: 15 mins
Total Time: 1 hour
Yield: 12 servings 1x
Description
These buttery rosemary garlic dinner rolls are the epitome of comfort – incredibly soft, effortlessly fluffy, and bursting with aromatic flavor. Designed for both novice and experienced bakers, they can be easily made with or without a stand mixer and go from ingredients to warm, golden perfection in just about one hour! Perfect for holiday feasts, weeknight dinners, or any occasion craving a touch of homemade warmth. Vegan option included!
Ingredients
Scale
For the Dinner Rolls:
- 1 cup water (lukewarm, 100-110°F)
- 2 tablespoons unsalted butter, melted (or non-dairy butter for vegan)
- 1/2 cup milk (2% cow’s milk or plain plant-based milk)
- 2 tablespoons honey (or granulated sugar for vegan)
- 1 tablespoon active-dry yeast*
- 3 1/2 to 4 cups all-purpose flour, plus more for dusting
- 1 tablespoon finely chopped fresh rosemary
- 1 teaspoon fine sea salt*
- 1 teaspoon garlic powder
- optional: flaky sea salt, for serving
For the Garlic Herb Butter:
- 3 tablespoons unsalted butter (or non-dairy butter for vegan)
- 2 cloves fresh garlic, peeled and thinly sliced or finely minced
- 1 tablespoon finely chopped fresh parsley
Instructions
- Warm the Liquid Base: In a small saucepan, combine the water and melted butter, stirring gently. Add the milk and honey, mixing until thoroughly combined. Heat this mixture over medium-low heat, stirring frequently, until its temperature registers between 100-110°F (38-43°C) with a cooking thermometer. It should feel pleasantly warm, not hot, to the touch. *Alternatively, you can achieve this temperature by heating the mixture in a microwave in short bursts, checking the temperature after each interval.
- Activate the Yeast: Carefully pour the warmed liquid mixture into the large bowl of a stand mixer fitted with a dough hook attachment. (If kneading by hand, use a large mixing bowl.) Sprinkle the active-dry yeast evenly over the surface of the liquid and give it a quick, gentle stir. Let this mixture rest for 5 minutes. During this time, the yeast should activate, creating a foamy, bubbly layer on top, indicating it’s alive and ready to leaven your dough.
- Combine Dry Ingredients: To the foamy yeast mixture, add 3 1/2 cups of the all-purpose flour (reserve the remaining 1/2 cup for adjustments), along with the finely chopped fresh rosemary, fine sea salt, and garlic powder. With the dough hook attached, begin beating the dough on medium-low speed. Mix until the ingredients are just combined. Observe the dough’s consistency: if it appears too sticky and clings excessively to the sides of the bowl, add the remaining 1/4 cup of flour, one tablespoon at a time, until the dough begins to pull away from the bowl and is only slightly tacky to the touch. Avoid adding more than 4 cups of flour in total, as too much flour can result in dry rolls. Continue mixing on low speed for an additional 4-5 minutes until the dough becomes smooth, elastic, and well-developed.
- First Dough Rise (Quick Proof): Carefully remove the dough from the mixer bowl. Using your hands, gently form the dough into a cohesive ball. Transfer this dough ball to a clean, lightly greased bowl, turning it once to coat all sides with oil. Cover the bowl tightly with a damp kitchen towel or plastic wrap (or foil). Place the bowl in a warm, draft-free location and allow the dough to rise briefly for just 15 minutes. This quick rise is essential for developing flavor and initial fluffiness.
- Prepare for Baking: While the dough is undergoing its first rise, preheat your oven to 400°F (200°C). Generously grease a 9 x 13-inch baking dish. This ensures the rolls won’t stick and will bake to a beautiful golden brown. Set the prepared dish aside.
- Shape and Second Rise: Gently punch the risen dough down to release the air. Transfer the dough to a lightly floured work surface. Divide the dough into 12 equal-sized pieces (you can eyeball this or use a kitchen scale for precision). Take each piece and roll it into a smooth, round ball. Arrange these dough balls evenly in the prepared 9×13-inch baking dish. Once again, cover the dish with a damp towel or plastic wrap and let the formed rolls rise for an additional 15-20 minutes in a warm spot. They should look noticeably puffier.
- Bake to Golden Perfection: Uncover the baking dish. Transfer the dish to the preheated oven and bake for 15 to 20 minutes. The rolls are ready when their tops are beautifully golden brown and they feel light and springy to the touch. Baking times can vary, so keep an eye on them. Once baked, carefully remove the pan from the oven and transfer it to a wire cooling rack.
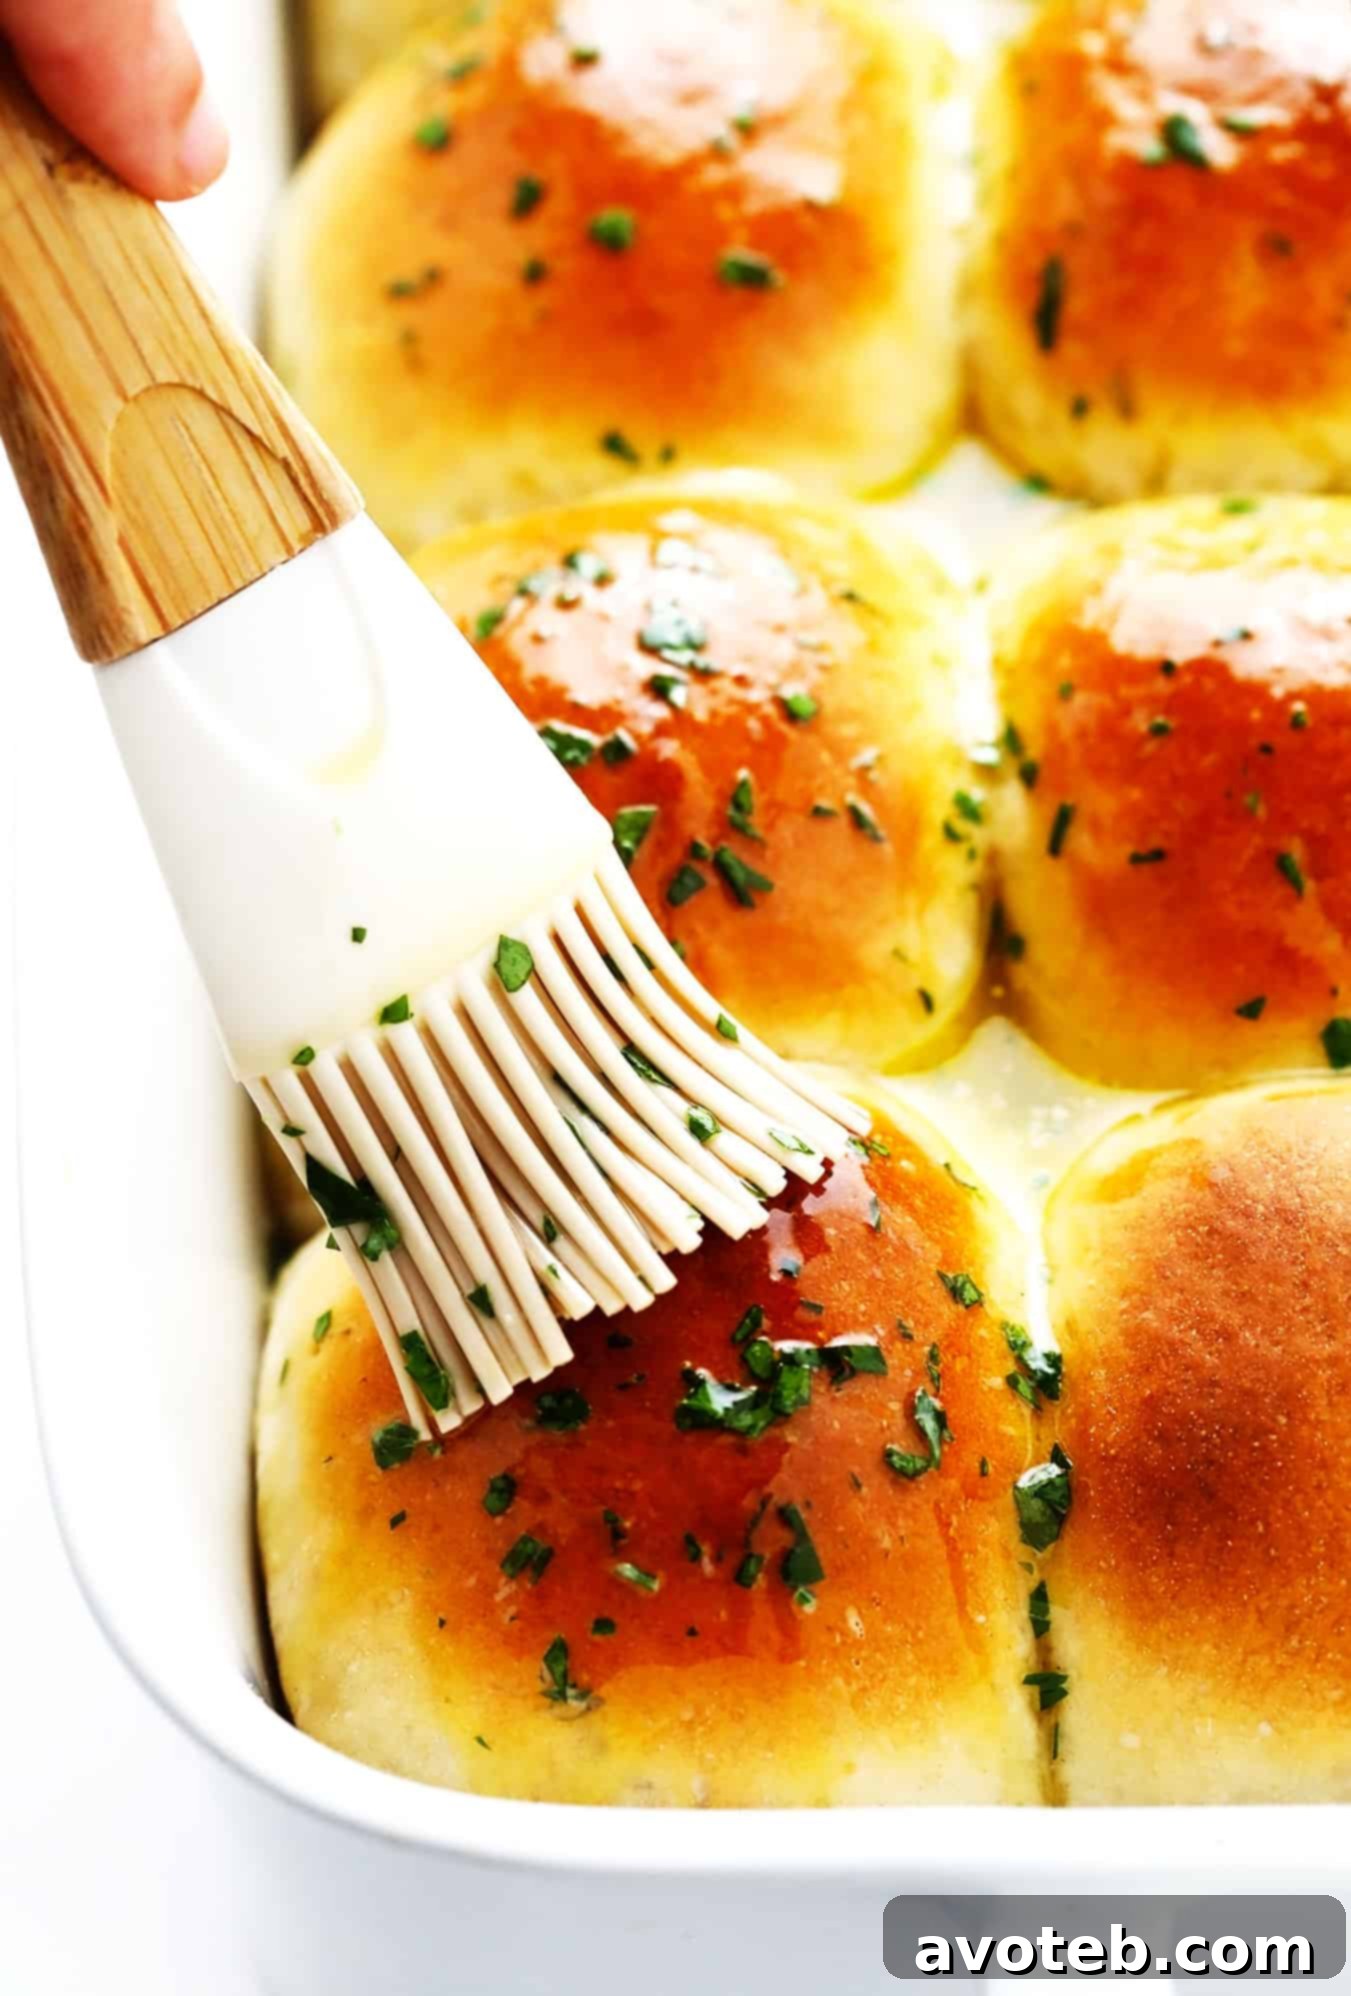
- Prepare the Aromatic Garlic Butter: While your rolls are baking, prepare the flavorful garlic herb butter topping. In a small saucepan, melt the butter over low heat. Add the thinly sliced (or minced) fresh garlic cloves and let them simmer gently for about 2 minutes. This infuses the butter with deep garlic flavor. Remove the pan from the heat. For a smoother butter, strain out and discard the garlic slices (if you prefer, you can keep finely minced garlic in for more texture and flavor). Stir in the finely chopped fresh parsley until well combined.
- Brush, Season & Serve: As soon as the rolls come out of the oven, while they are still hot, generously brush their tops with the prepared garlic herb butter. The warm rolls will absorb the butter beautifully. For an exquisite finish and a delightful textural crunch, sprinkle the rolls with a pinch of flaky sea salt (if using). Serve these warm, irresistible rosemary garlic dinner rolls immediately and savor every soft, aromatic bite!
Equipment Essentials
Active Dry Yeast
View on Amazon →
Flaky Sea Salt
View on Amazon →
Instant-Read Thermometer
View on Amazon →
Recipe Notes & Expert Tips
Hand-Kneading Instructions: No stand mixer? No problem! To prepare these rolls by hand, follow steps 1 and 2 in a large mixing bowl. Once the flour, rosemary, salt, and garlic powder have been added and roughly stirred into the liquid, transfer the shaggy dough to a lightly floured work surface. Knead the dough vigorously by hand for 5 minutes until it becomes smooth, elastic, and less sticky. Then, proceed with the rest of the recipe from step 4 onwards.
Understanding Salt Measurements: Please note that all my recipes, including this one, specify the use of fine sea salt. Fine sea salt is less dense than iodized table salt and has a slightly different salinity level. If your pantry only contains iodized table salt, it’s crucial to adjust the quantity. You will need to halve the amount of salt called for in the recipe (using 1/2 teaspoon instead of 1 teaspoon) to prevent the rolls from becoming overly salty.
Customizing the Garlic Butter: You have a few options for the garlic butter. If you prefer to have the texture of garlic within the butter, ensure you finely mince the garlic cloves instead of thinly slicing them, and then you can choose not to strain them out. Alternatively, for a quick and easy solution, you can substitute the fresh garlic entirely with a generous pinch (about 1/2 teaspoon) of garlic powder stirred directly into the melted butter before adding the parsley.
Achieving a Deeper Golden Crust: For a richer golden-brown top, you can brush the rolls with an egg wash (one egg beaten with a tablespoon of water or milk) before baking. This also adds a slight sheen to the crust.
Don’t Over-Flour: While it’s tempting to keep adding flour if the dough feels sticky, too much flour will result in dry, dense rolls. Only add flour gradually and minimally until the dough just pulls away from the sides of the bowl and is manageable.