
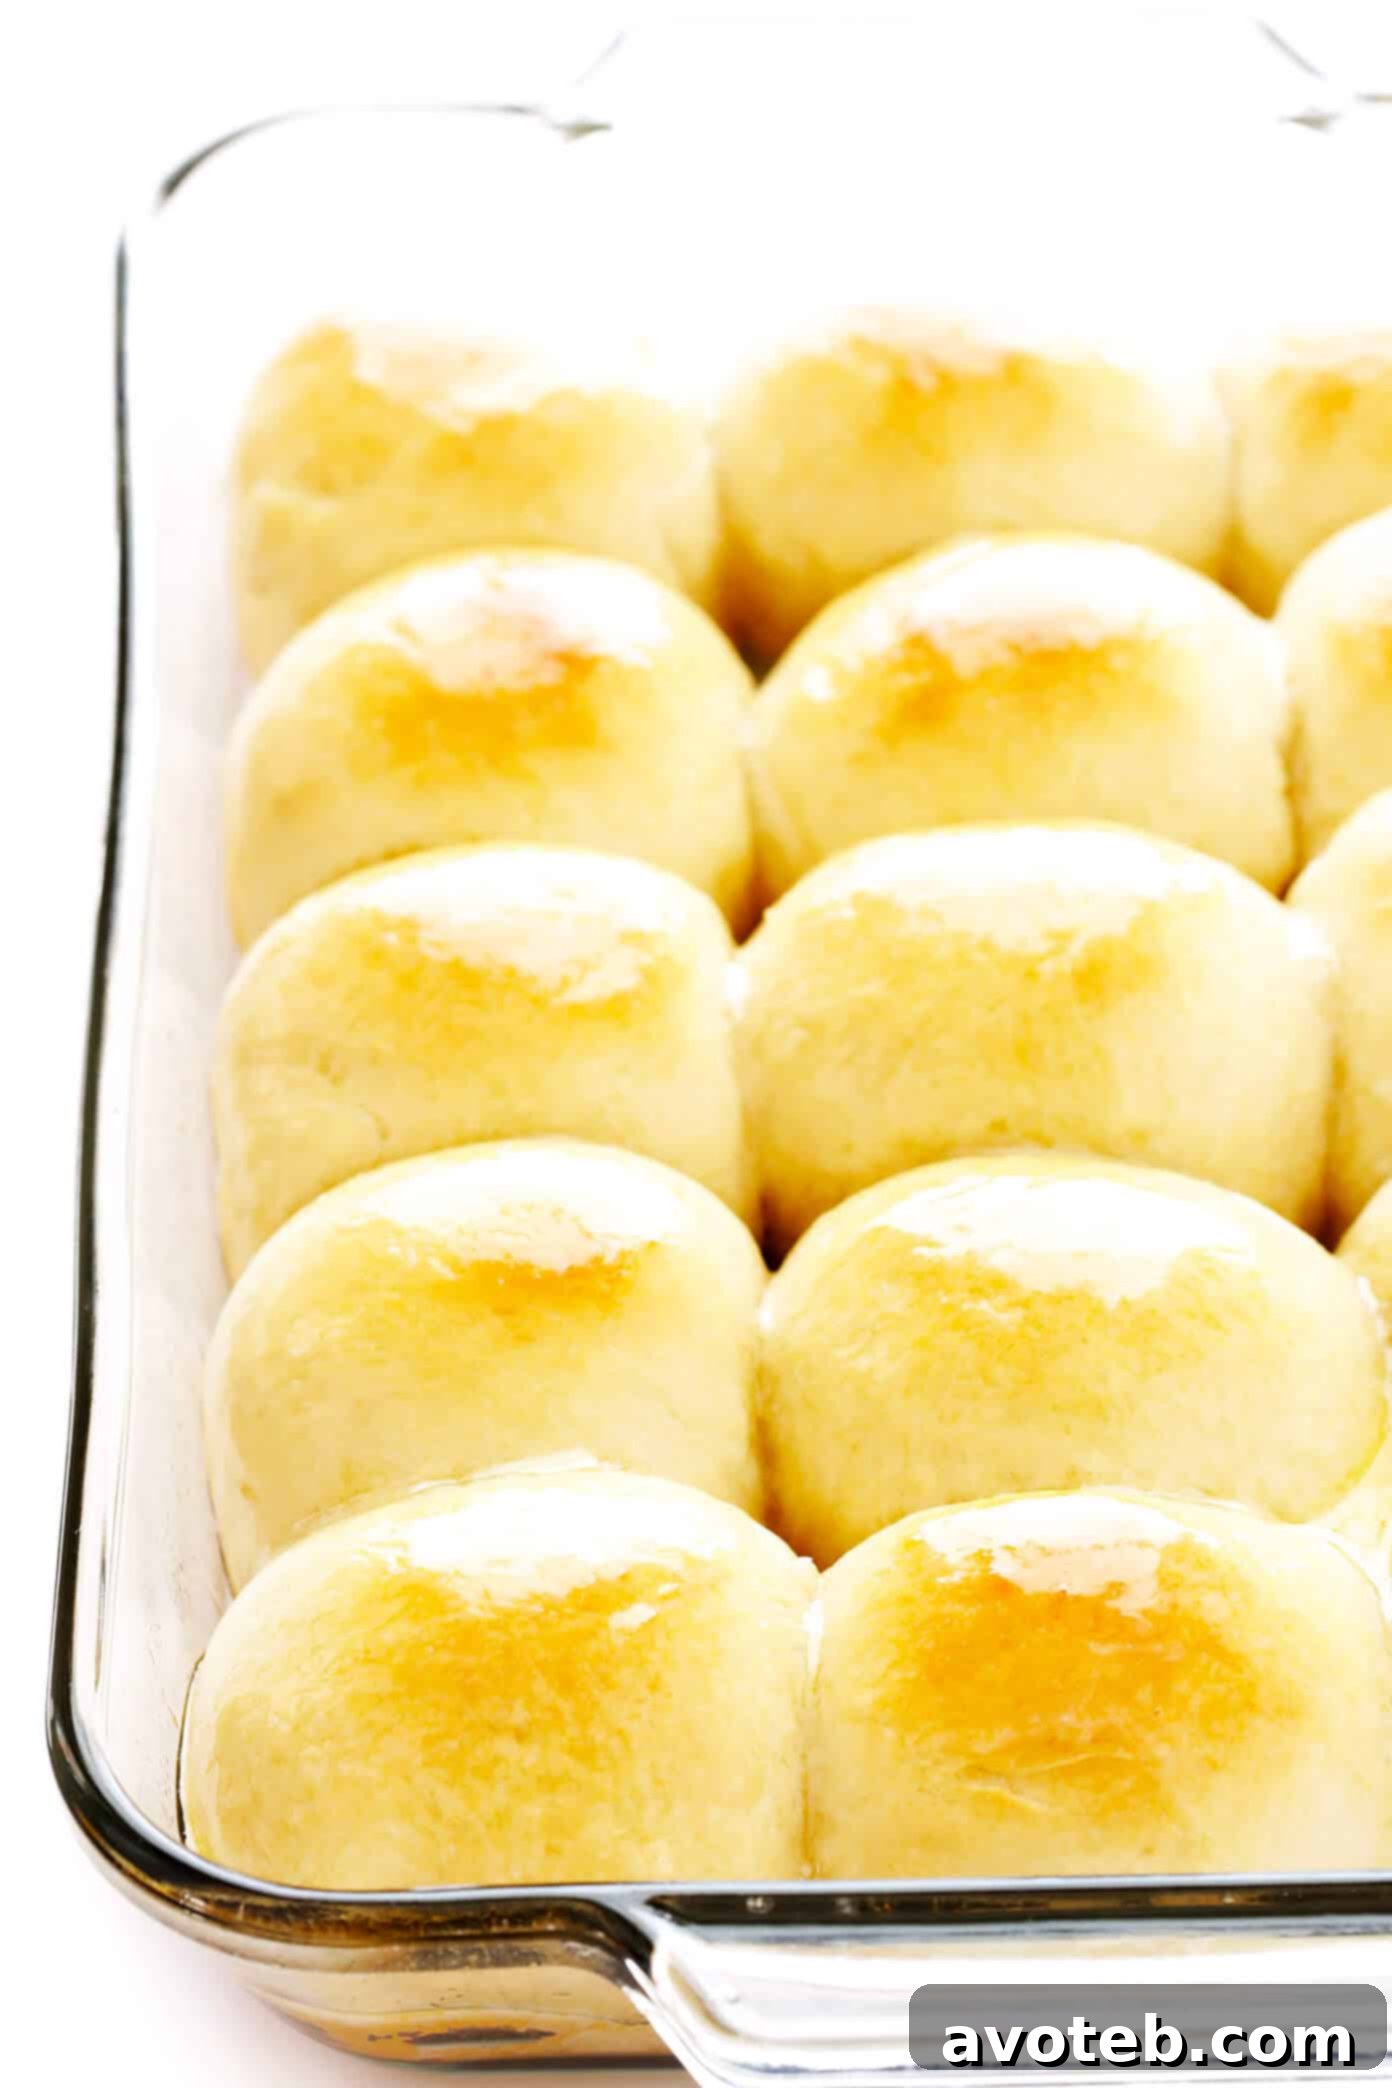
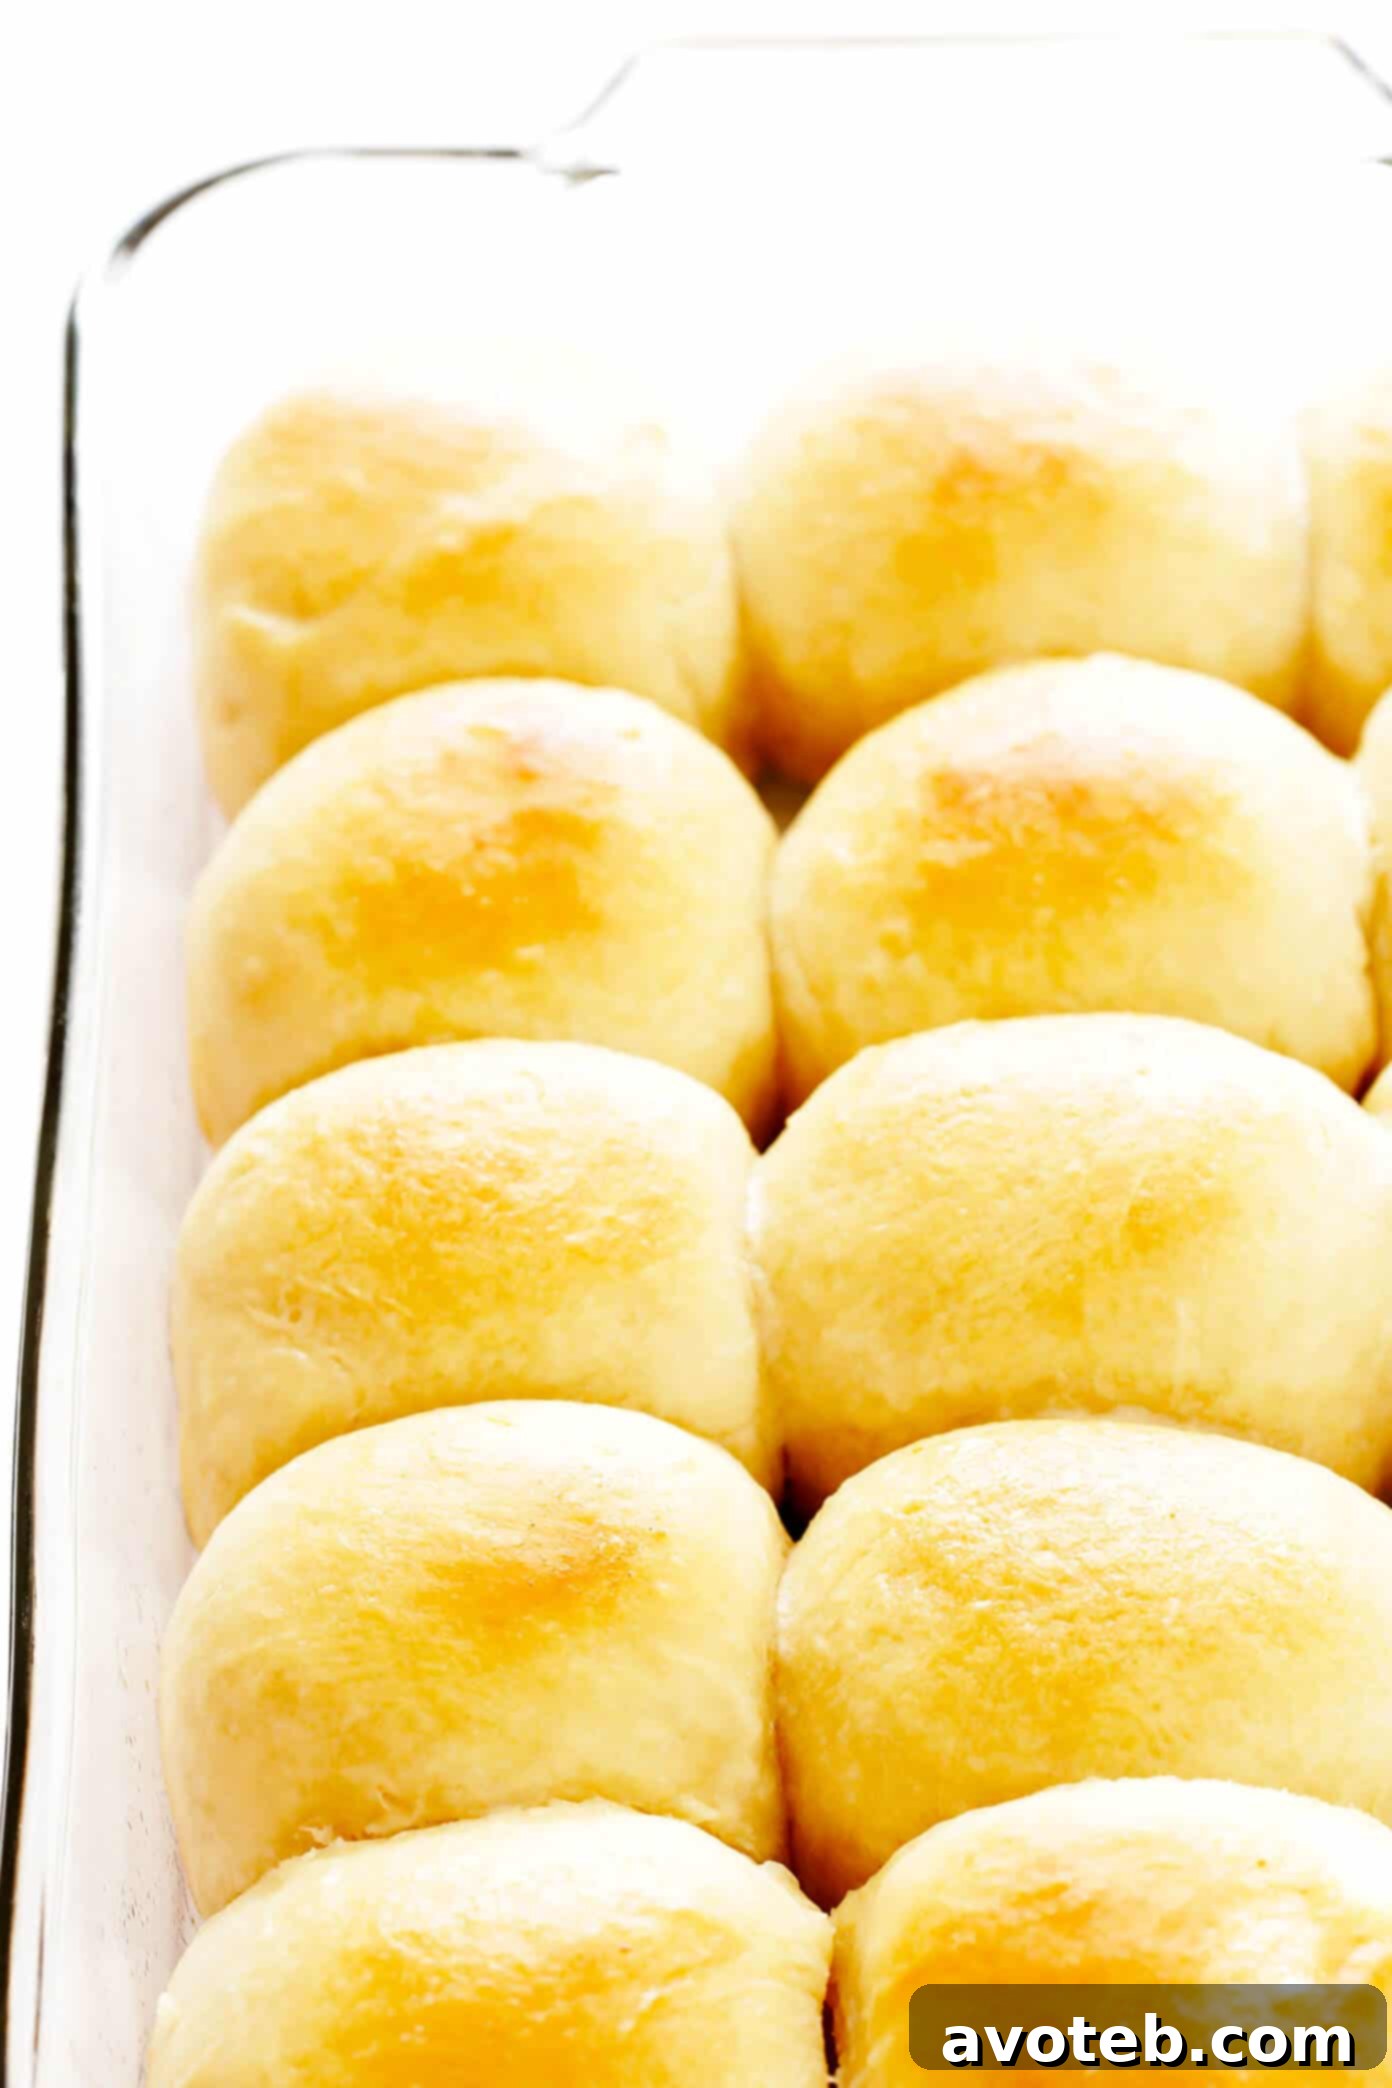
Discover the ultimate recipe for Soft and Buttery Dinner Rolls, crafted to be ready in just one hour! This beloved recipe promises perfectly fluffy, melt-in-your-mouth rolls, easily made by hand or with a stand mixer, and absolutely divine served warm straight from your oven.
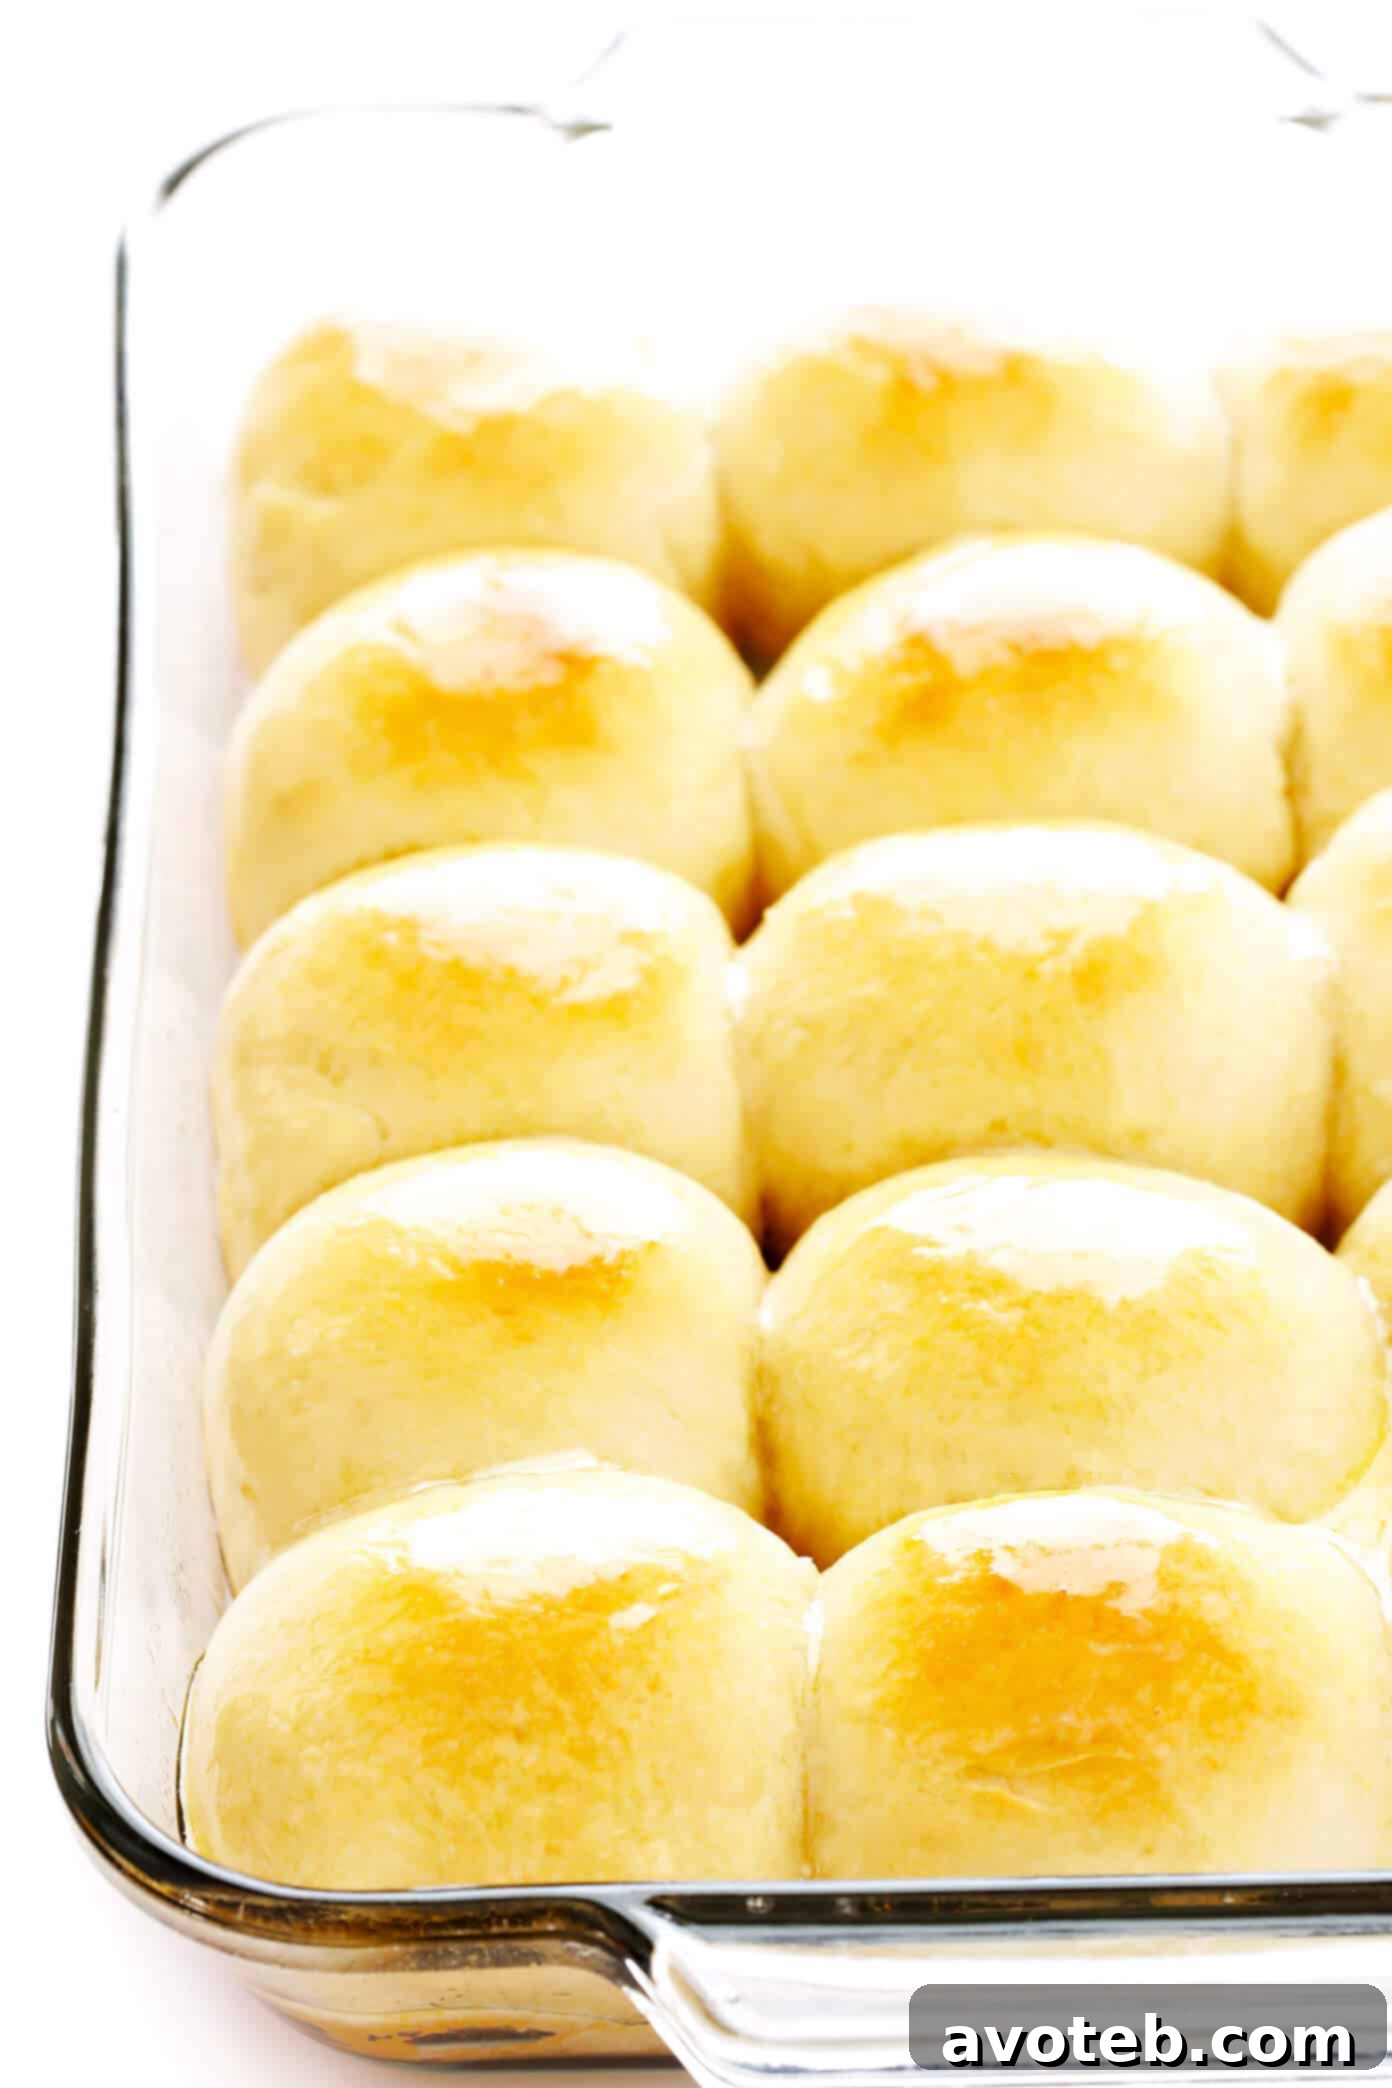
Is there anything more comforting than a freshly baked batch of homemade dinner rolls? The aroma alone is enough to transport you to a cozy kitchen, and the taste of a warm, fluffy roll slathered with butter is simply irresistible. This isn’t just any dinner rolls recipe; it’s *the* easy dinner rolls recipe that remarkably delivers a pan of golden, buttery perfection in just about an hour!
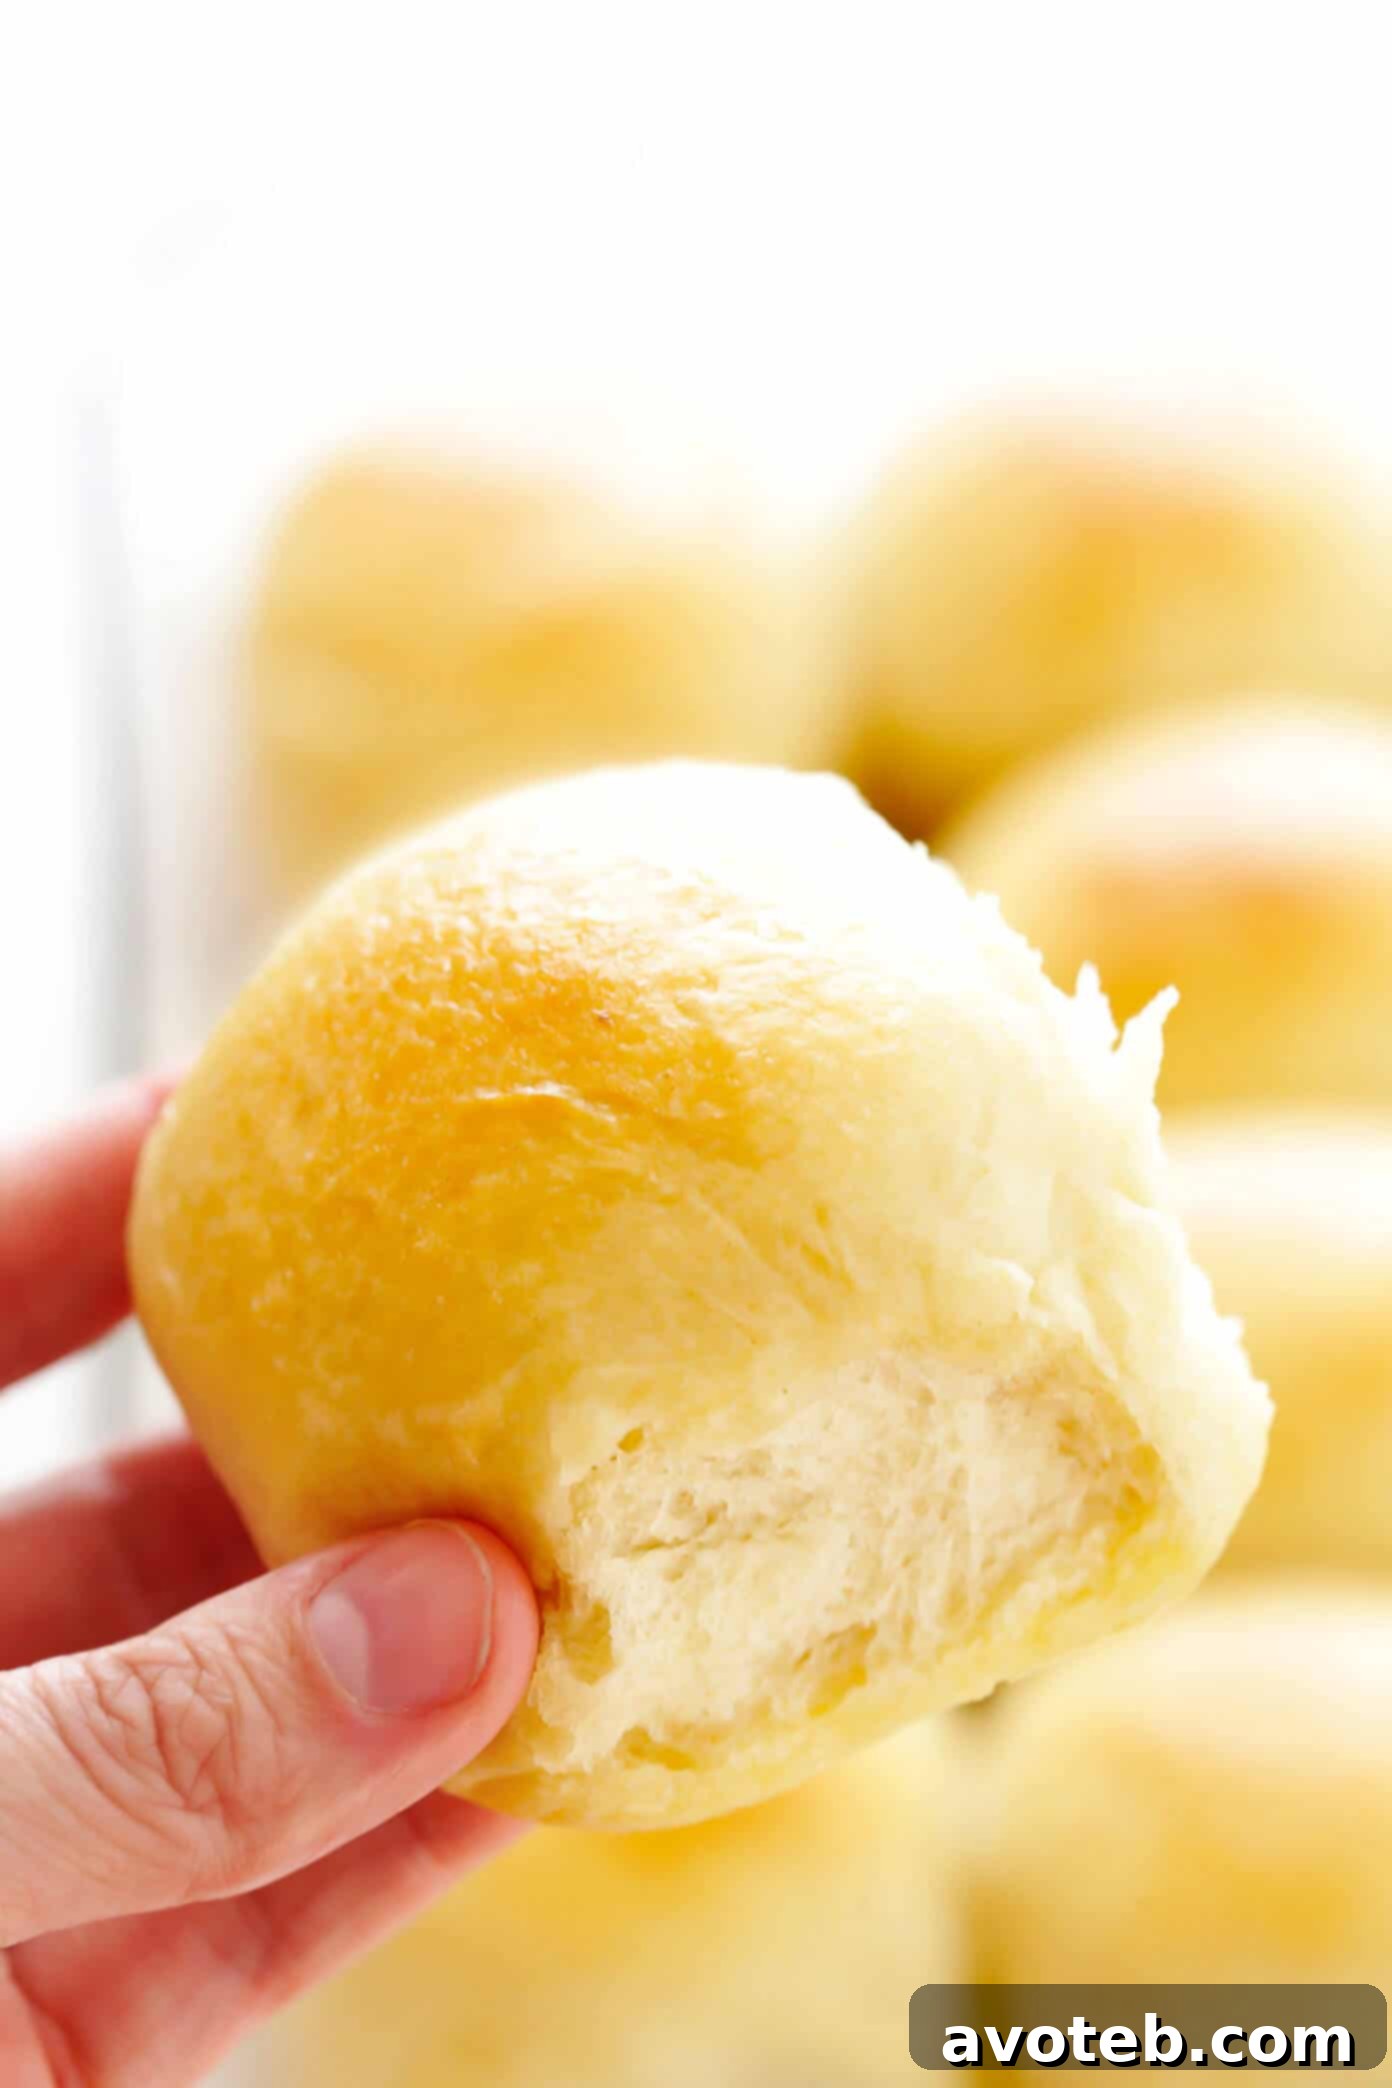
For years, this recipe has been my trusted companion in the kitchen, consistently yielding the most wonderfully soft, fluffy, and buttery rolls. Its genius lies in its simplicity: a short and accessible ingredient list, minimal rise times, and the flexibility to prepare the dough either by hand or with the convenience of a stand mixer. This incredible efficiency makes it a perfect choice for those busy weeknights when a craving for homemade bread strikes, and an invaluable asset during holiday feasts when your kitchen is a hub of activity. Imagine serving up piping hot, homemade rolls without the usual lengthy commitment!
Many of you have inquired about ways to prepare these delicious dinner rolls in advance, and I’m thrilled to share updated instructions for make-ahead options. Plus, for those who love to experiment with flavors, I’ve included exciting variations to infuse your rolls with garlic, aromatic herbs, or rich cheese, transforming them into a personalized treat.
In essence, this quick and easy dinner rolls recipe is a true culinary gem, consistently delivering outstanding results. If you’re looking to add a reliable and crowd-pleasing bread recipe to your collection, bookmark this one. It’s guaranteed to become a household favorite!
Quick Dinner Rolls: A 1-Minute Video Guide
For a visual guide to making these amazing 1-hour soft and buttery dinner rolls, check out our brief video tutorial. It walks you through each step, ensuring your baking success.
Essential Ingredients for Homemade Dinner Rolls
Before diving into the full recipe, let’s take a closer look at the key ingredients that make these homemade dinner rolls so exceptionally soft and buttery:
- Water and Milk: These form the foundational liquids for our tender bread dough. I typically use dairy milk, but feel free to substitute it with a plain plant-based milk like oat milk or almond milk for a dairy-free alternative. The combination of water and milk helps create a rich, moist crumb that contributes significantly to the rolls’ ultimate softness.
- Melted Butter: A critical component for both flavor and texture. Melted butter is incorporated directly into the dough for richness, and an extra brush of melted butter over the warm, baked rolls adds that irresistible golden sheen and enhances their buttery flavor even further.
- Honey: Not just for sweetness, honey plays a vital role in activating the yeast, giving it a readily available food source to kickstart the fermentation process. It also contributes a subtle, pleasant sweetness that perfectly balances the savory notes of the rolls without making them overly sweet.
- Active Dry Yeast: The magic behind the rise! This recipe calls for 1 tablespoon of active dry yeast. If you’re using the smaller 0.25-ounce packets, each contains approximately 2.25 teaspoons, so you’ll need slightly more than one packet. Ensuring your yeast is fresh and active is paramount for successful rising.
- All-Purpose Flour: I’ve developed and tested this particular recipe using all-purpose flour, which provides the ideal balance of structure and tenderness. While other flours might work, all-purpose flour ensures the light and fluffy texture we’re aiming for. If you experiment with different types of flour, please share your results in the comments!
- Salt: A crucial flavor enhancer, salt brings out the inherent deliciousness of the butter and other ingredients. Without salt, bread can taste flat. For an extra touch of gourmet flair, consider sprinkling a pinch of flaky sea salt on top of the warm rolls just before serving.
Expert Tips for Baking Perfect Dinner Rolls
Achieving perfectly soft and fluffy dinner rolls is simpler than you might think, especially with these helpful tips in mind:
- Verify Yeast Freshness and Activity: This is arguably the most critical step. Expired or inactive yeast is the most common reason for bread dough failing to rise. Always double-check the expiration date on your yeast. After mixing the yeast with the warm liquid ingredients, it should become foamy and bubbly within 5 minutes. If it doesn’t, discard the mixture and start again with fresh yeast. This process, known as “proofing” the yeast, confirms its viability.
- Precisely Measure Liquid Temperature: The temperature of your combined liquid ingredients (water, melted butter, milk, and honey) is vital for yeast activation. It must fall within the range of 100-110°F (38-43°C). Liquids that are too hot will kill the yeast, preventing any rise. Conversely, liquids that are too cool won’t properly activate the yeast, leading to sluggish or no rising. The mixture should feel warm, not hot, to the touch. For accuracy, always use a cooking thermometer.
- Embrace the Rise Times: Don’t be tempted to rush the rising process. These periods are essential for developing the dough’s airy, soft, and fluffy texture. The yeast needs time to ferment and produce carbon dioxide, which creates the characteristic bubbles and lightness in the bread. Skipping or shortening these steps will result in dense, heavy rolls.
- Kneading for Optimal Texture: Whether by hand or with a stand mixer, kneading is key. It develops the gluten in the flour, creating an elastic dough that can trap the gasses produced by the yeast. A well-kneaded dough will be smooth and supple. If using a stand mixer, knead for 4-5 minutes until the dough pulls away from the sides of the bowl. If kneading by hand, expect to work the dough for 5-7 minutes.
- Don’t Obsess Over Perfect Portions: When dividing the dough into 12-15 rolls, aim for roughly equal sizes but don’t stress about absolute perfection. They will all bake together in the pan and expand to fill the space. A slight variation in size won’t impact the overall deliciousness of your homemade rolls. Remember, homemade baking is about love, not flawlessness!
- Achieving the Golden Brown Finish: Keep an eye on your rolls during the final minutes of baking. They should turn a beautiful golden brown on top and sound hollow when lightly tapped on the bottom. This indicates they are fully cooked and have developed a delicious crust.
Creative Variations to Elevate Your Dinner Rolls
While these soft and buttery dinner rolls are fantastic on their own, they also serve as a wonderful canvas for creative flavor additions. Here are a few popular variations to customize your next batch:
- Make-Ahead Option for Convenience: Planning ahead for a special meal or a busy week? You can prepare these dinner rolls up to 48 hours in advance. Follow the recipe through the step where you shape the individual rolls and arrange them in the baking dish. Then, tightly cover the baking dish with plastic wrap and refrigerate. About 2 hours before you plan to bake, transfer the dish to the counter to allow the dough to warm up to room temperature and complete its final rise, then bake as directed. This option is a lifesaver for holidays!
- Transform Them into Vegan Dinner Rolls: It’s simple to adapt this recipe for a vegan diet. Just substitute the dairy milk with your favorite plain plant-based milk (almond, oat, or soy work great), use a high-quality plant-based butter (melted), and swap out the honey for an equal amount of maple syrup or agave nectar. The result will be equally delicious and dairy-free.
- Garlic Lover’s Rolls: For an aromatic twist, add 1 teaspoon of garlic powder to the bread dough along with the flour and salt. This infuses a subtle garlic flavor throughout the rolls. For an even more intense garlic experience, gently simmer 2-3 cloves of minced garlic in the extra melted butter that you’ll brush on top of the rolls after baking. The aroma and taste are incredible!
- Herb-Infused Rolls: Incorporate 1 to 2 tablespoons of finely chopped fresh herbs into the bread dough during the mixing stage. Rosemary, parsley, chives, or thyme are excellent choices, each lending its unique fragrance and flavor. You can also mix some of these fresh herbs into the melted butter brushed on top after baking for an extra layer of herbal goodness.
- Cheesy Dinner Rolls: Elevate your rolls with a cheesy twist! Mix in 1/3 to 1/2 cup of freshly grated sharp cheddar cheese or a blend of your favorite cheeses into the dough before the first rise. For an irresistible golden crust and extra flavor, sprinkle some freshly grated Parmesan cheese over the tops of the rolls during the final 5 minutes of baking. The melted cheese will create a wonderfully savory and gooey interior.
More Favorite Bread Recipes to Explore
If you’ve enjoyed making these incredible 1-hour dinner rolls and are eager to expand your baking skills, here are a few more easy and delicious bread recipes that are sure to impress:
- No Knead Bread
- Homemade Buttermilk Biscuits
- Rosemary Focaccia Bread
- Honey Beer Bread
- Healthy Banana Bread
Print Recipe
1-Hour Soft and Buttery Dinner Rolls
Prep Time: 45 minutes
Cook Time: 15 minutes
Total Time: 60 minutes
Yield: 15 servings
Description
My favorite 1-Hour Soft and Buttery Dinner Rolls recipe is easy to make by hand or with a stand mixer and absolutely heavenly served warm out of the oven.
Ingredients
- 1 cup water
- 2 tablespoons melted butter
- 1/2 cup milk
- 2 tablespoons honey
- 1 tablespoon active-dry yeast*
- 3 1/2 to 4 cups all-purpose flour
- 1 teaspoon fine sea salt
- extra melted butter, for brushing on top
Instructions
- Prepare your oven and baking dish. Preheat the oven to 400°F (200°C). Lightly grease a 9 x 13-inch baking dish with cooking spray or butter, and set it aside.
- Gently heat the liquids. In a microwave-safe bowl (or a saucepan), combine the water and melted butter, then stir in the milk and honey until well combined. Microwave the mixture for 1 minute, then stir. Continue microwaving in 15-second intervals, stirring after each, until the mixture reaches a temperature of 100-110°F (38-43°C). It should feel warm, not hot, to the touch. (Alternatively, you can heat the mixture over medium-low heat in a saucepan, stirring constantly, until it reaches 100-110°F.)
- Activate the yeast. Pour the warm liquid mixture into the large bowl of a stand mixer. Sprinkle the active dry yeast evenly over the surface, give it a quick gentle stir with a fork, and let it rest for 5 minutes. The yeast should become foamy and bubbly, indicating it’s active.
- Add dry ingredients. Add 3 1/2 cups of all-purpose flour (reserve the remaining 1/2 cup for later, if needed) and the fine sea salt to the yeast mixture in the bowl.
- Mix and knead the dough. Using the dough hook attachment on your stand mixer, mix the ingredients on medium-low speed until they are just combined and a soft dough begins to form. If the dough appears too sticky and clings to the sides of the bowl, add the remaining 1/4 cup of flour, one tablespoon at a time, until the dough pulls away from the sides and is only slightly sticky when touched. (Do not exceed 4 cups of flour total.) Continue mixing on low speed for 4-5 minutes until the dough is smooth and elastic. Once kneaded, form the dough into a ball with your hands and transfer it to a lightly greased bowl. (For kneading by hand, see the notes section below for detailed instructions.)
- First short rise. Cover the bowl with a damp towel or paper towel and let the dough rise in a warm spot for a brief 15 minutes. This quick rise helps to kickstart the yeast and develop flavor.
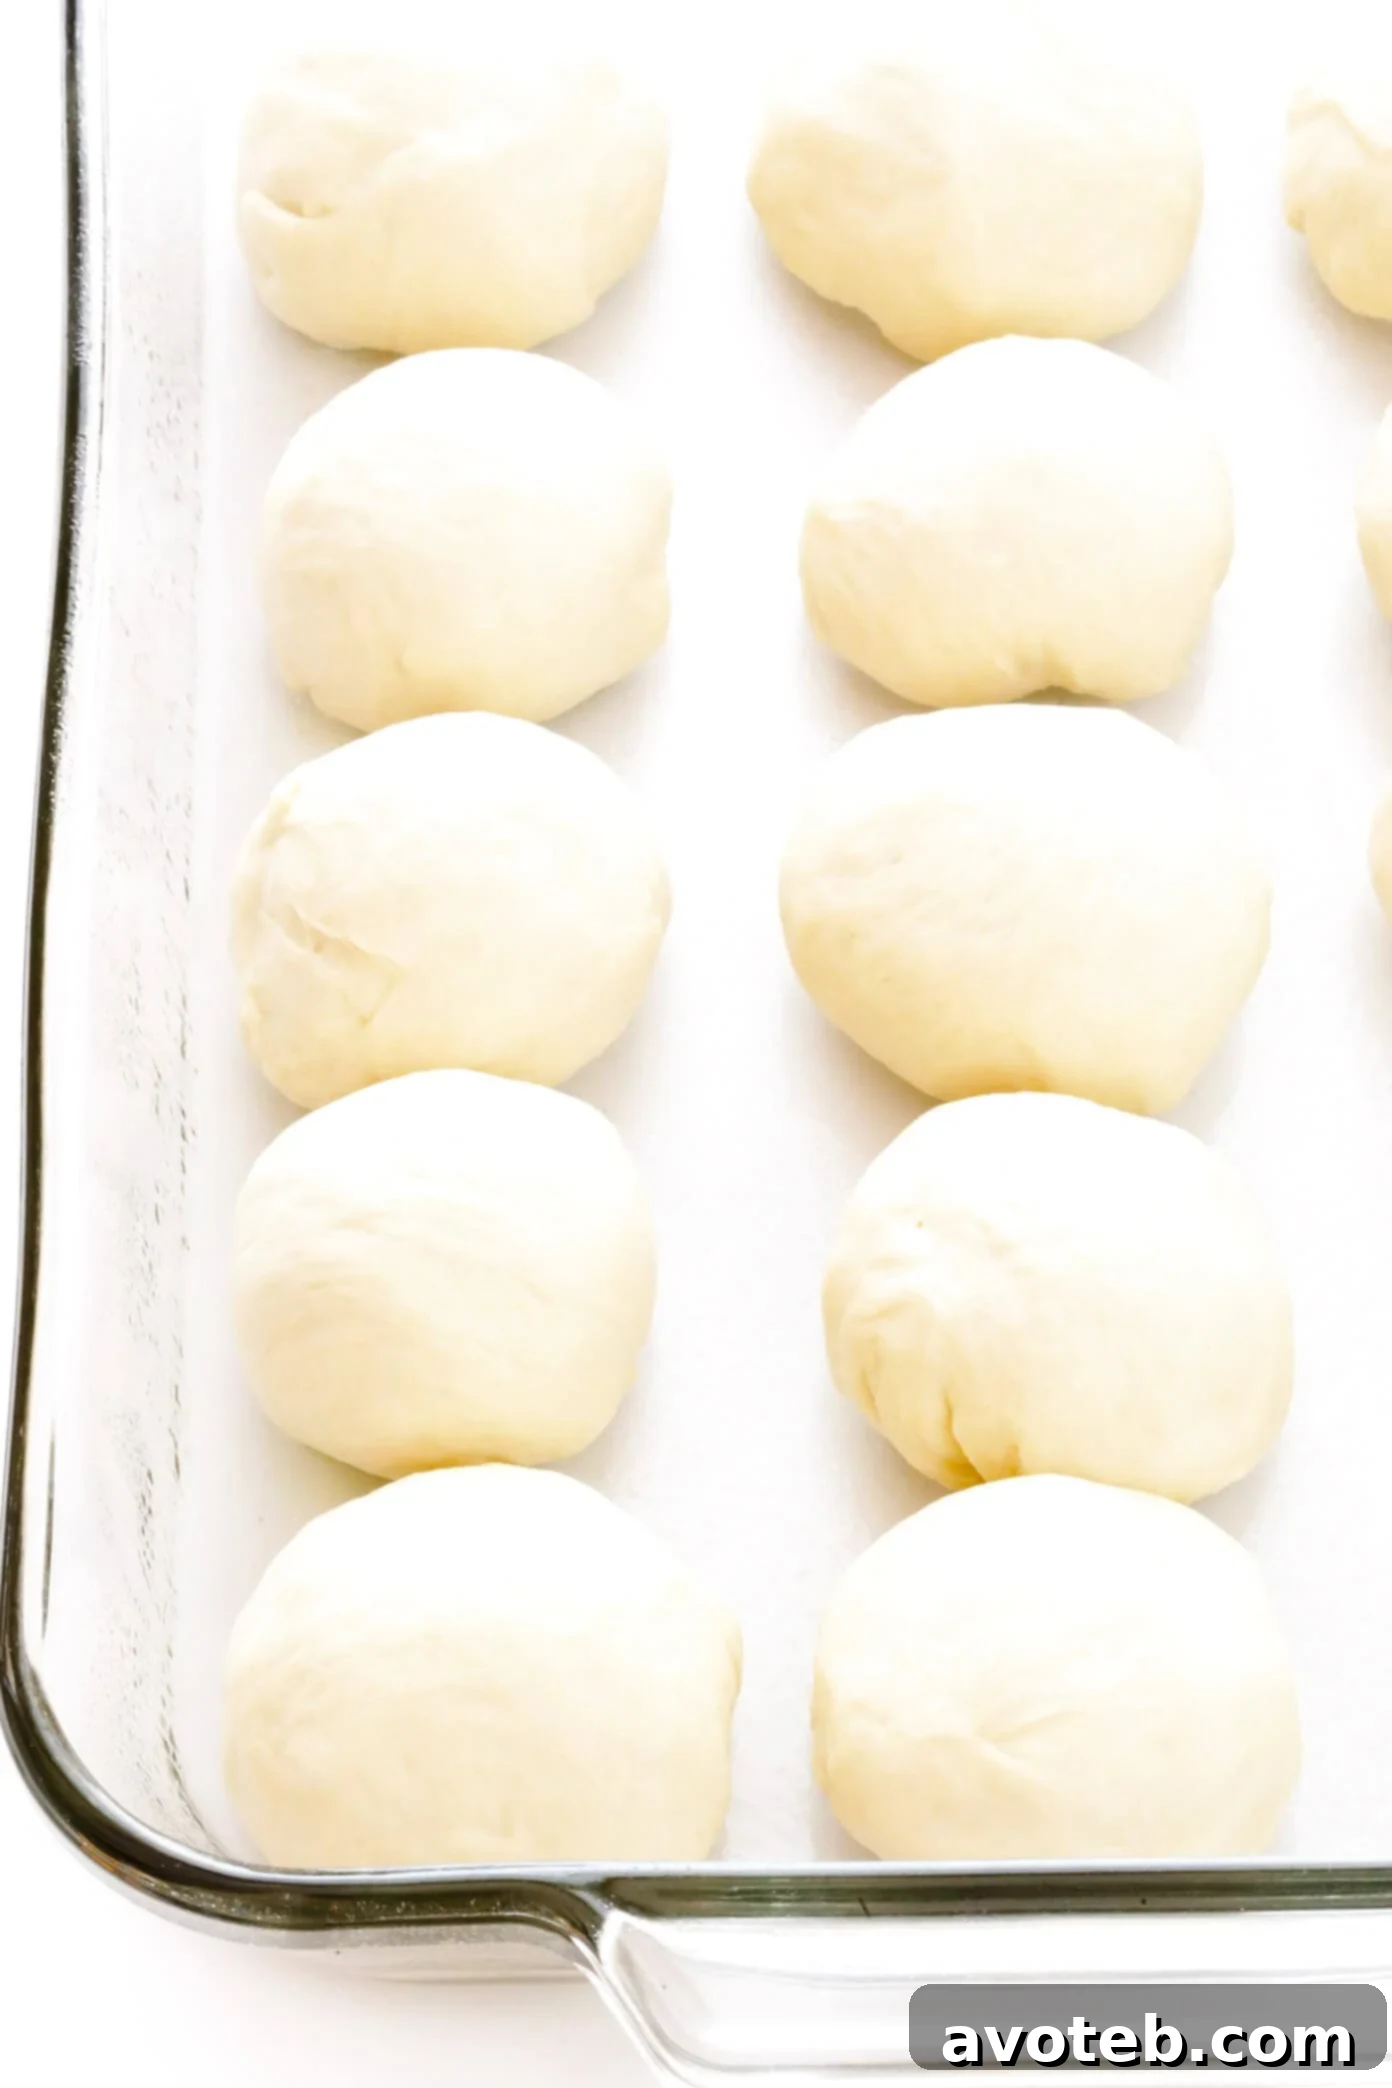
- Shape and second rise. Gently punch the risen dough down to release the air. Turn it out onto a lightly floured surface and divide it into 15 equal-sized pieces. Form each piece into a smooth ball and arrange them evenly in the prepared 9×13-inch baking dish. Cover the dish again with a damp towel or paper towel and let the dough balls rise for an additional 15-20 minutes, or until noticeably puffy.
- Bake to golden perfection. Uncover the baking dish and transfer it to the preheated oven. Bake for 15 minutes, or until the dinner rolls are beautifully golden brown on top and cooked through.
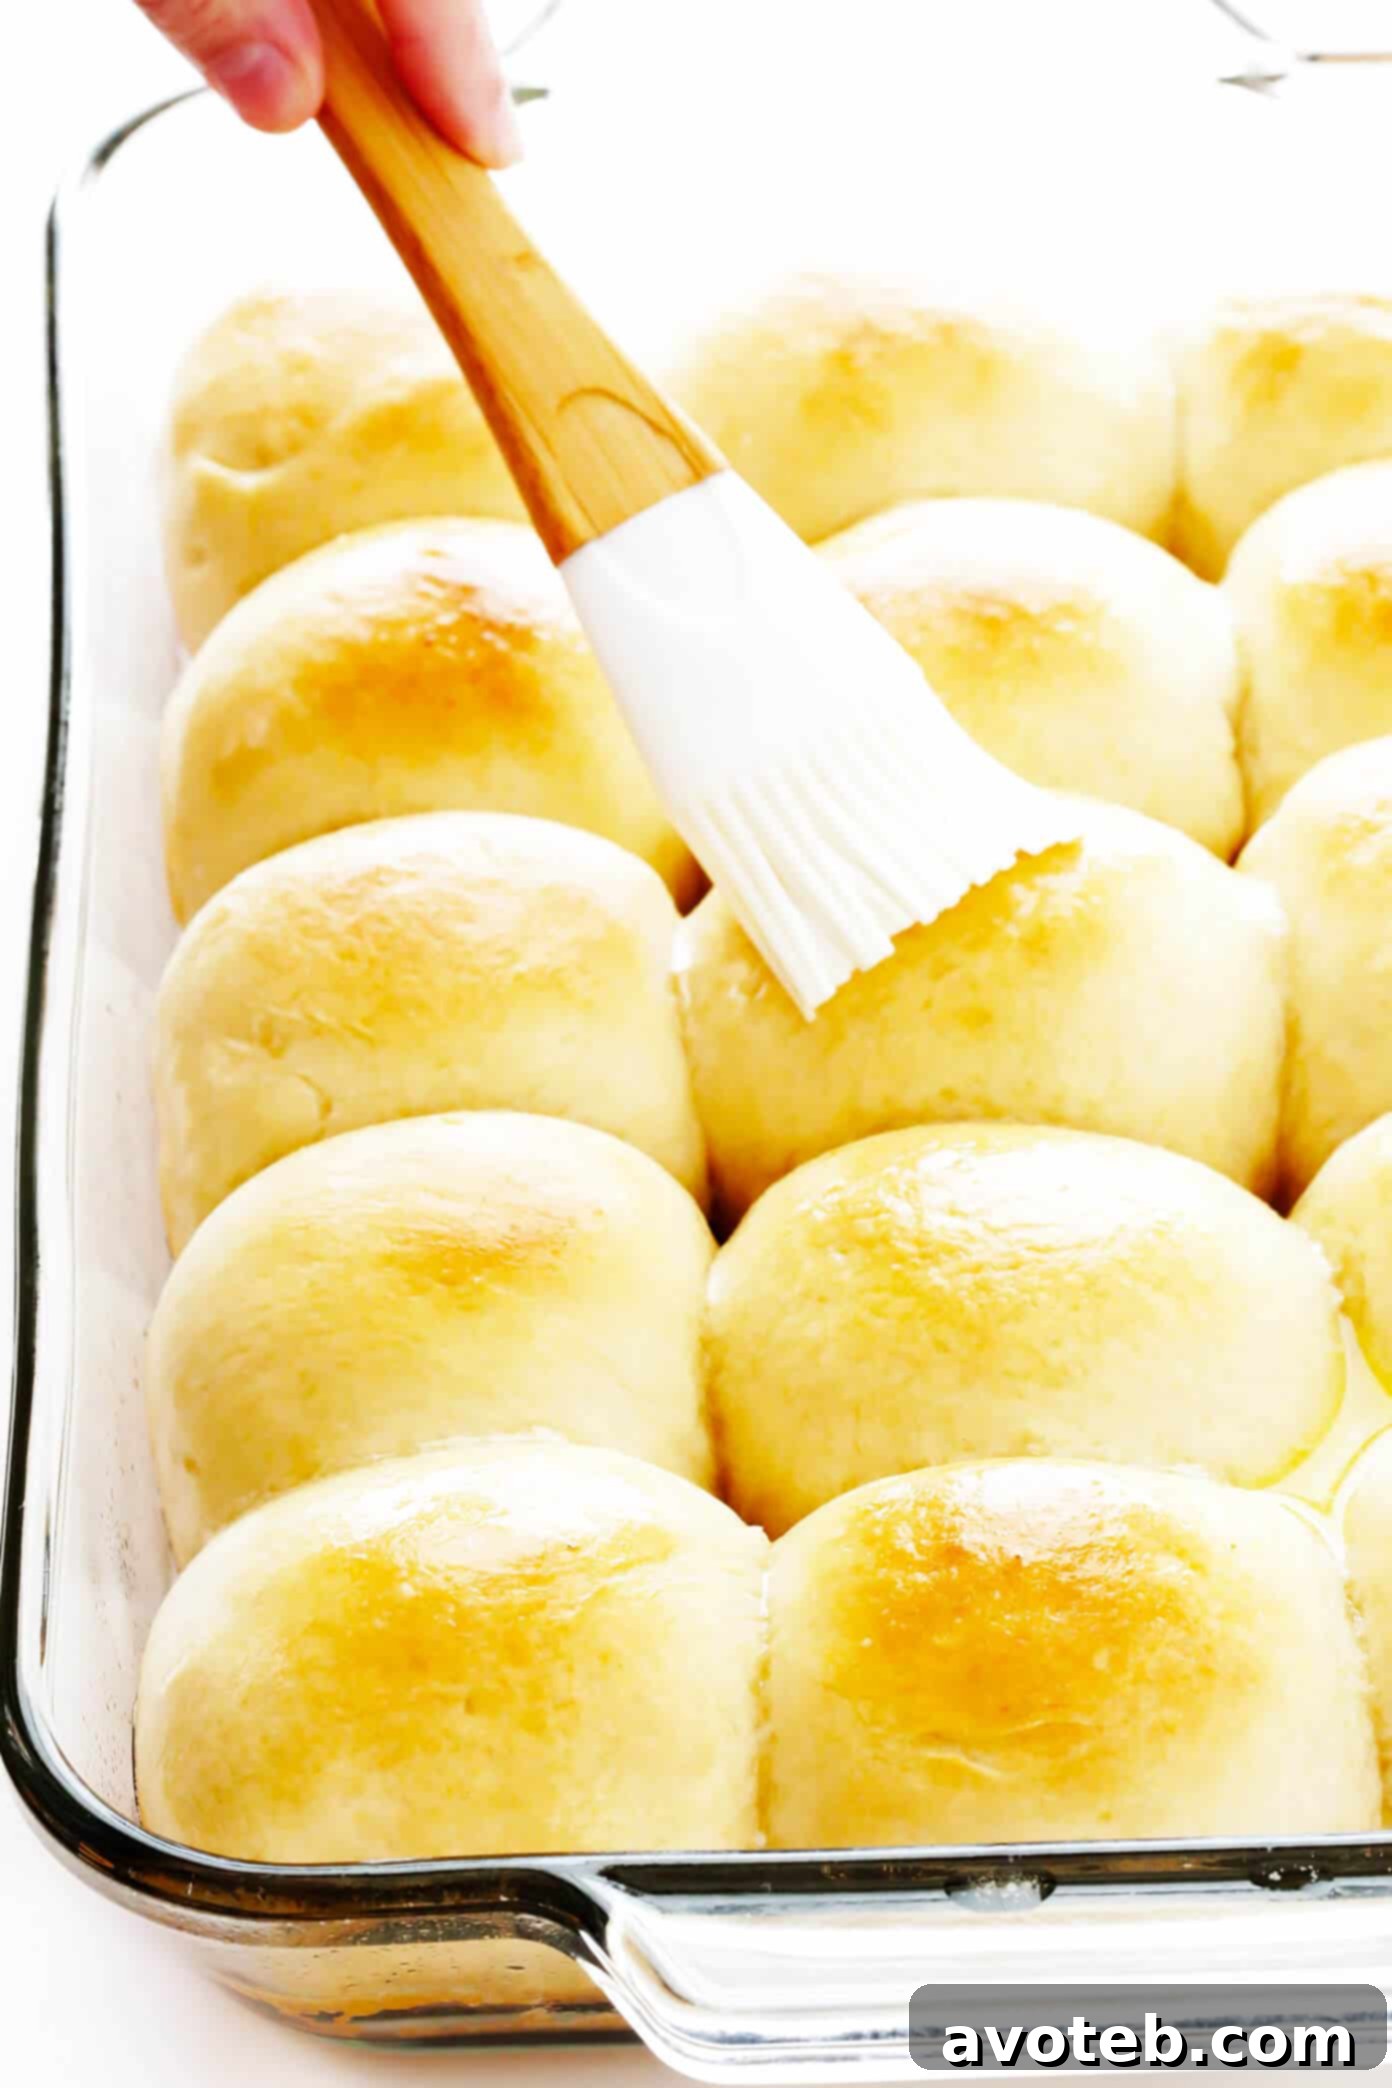
- Brush with melted butter. Once baked, immediately transfer the baking dish to a wire cooling rack. Brush the tops of the hot rolls generously with extra melted butter. This adds a fantastic sheen and enhances their rich, buttery flavor.
- Serve and enjoy! Serve the soft and buttery dinner rolls warm, straight from the oven. They are absolutely delightful on their own or alongside your favorite meal.
Equipment
Active Dry Yeast
Buy Now →
Mixing Bowls
Buy Now →
9×13″ Baking Dish
Buy Now →
Notes
Yeast Storage and Measurement: I typically purchase my active dry yeast in bulk for convenience and freshness. If you are using standard 0.25-ounce packets of yeast, each packet contains approximately 2.25 teaspoons of yeast. Therefore, for this recipe, you will need to use slightly more than one packet to reach the required 1 tablespoon.
How to Knead the Dough by Hand (No Stand Mixer? No Problem!): If you don’t own a stand mixer, you can absolutely make these delicious rolls by hand. For step 5 (mixing and kneading the dough), simply stir the dry ingredients into the liquid mixture as thoroughly as possible using a sturdy spoon or spatula until a shaggy dough forms. Then, turn the dough out onto a lightly floured surface. Knead the dough by hand for 5 to 7 minutes, using a push-and-fold motion, until it becomes smooth, elastic, and less sticky. If the dough is too sticky to handle, add up to 1/4 cup of extra flour, one tablespoon at a time, until it reaches the desired consistency. Continue with the remaining steps as directed.
Serving and Storage Suggestions: These soft and buttery dinner rolls are best enjoyed fresh and warm from the oven. They pair wonderfully with almost any meal, from hearty stews and roasted meats to simple salads. Leftover rolls can be stored in an airtight container at room temperature for up to 2-3 days. For best results, gently reheat them in the microwave for 15-20 seconds or in a warm oven for a few minutes before serving.