
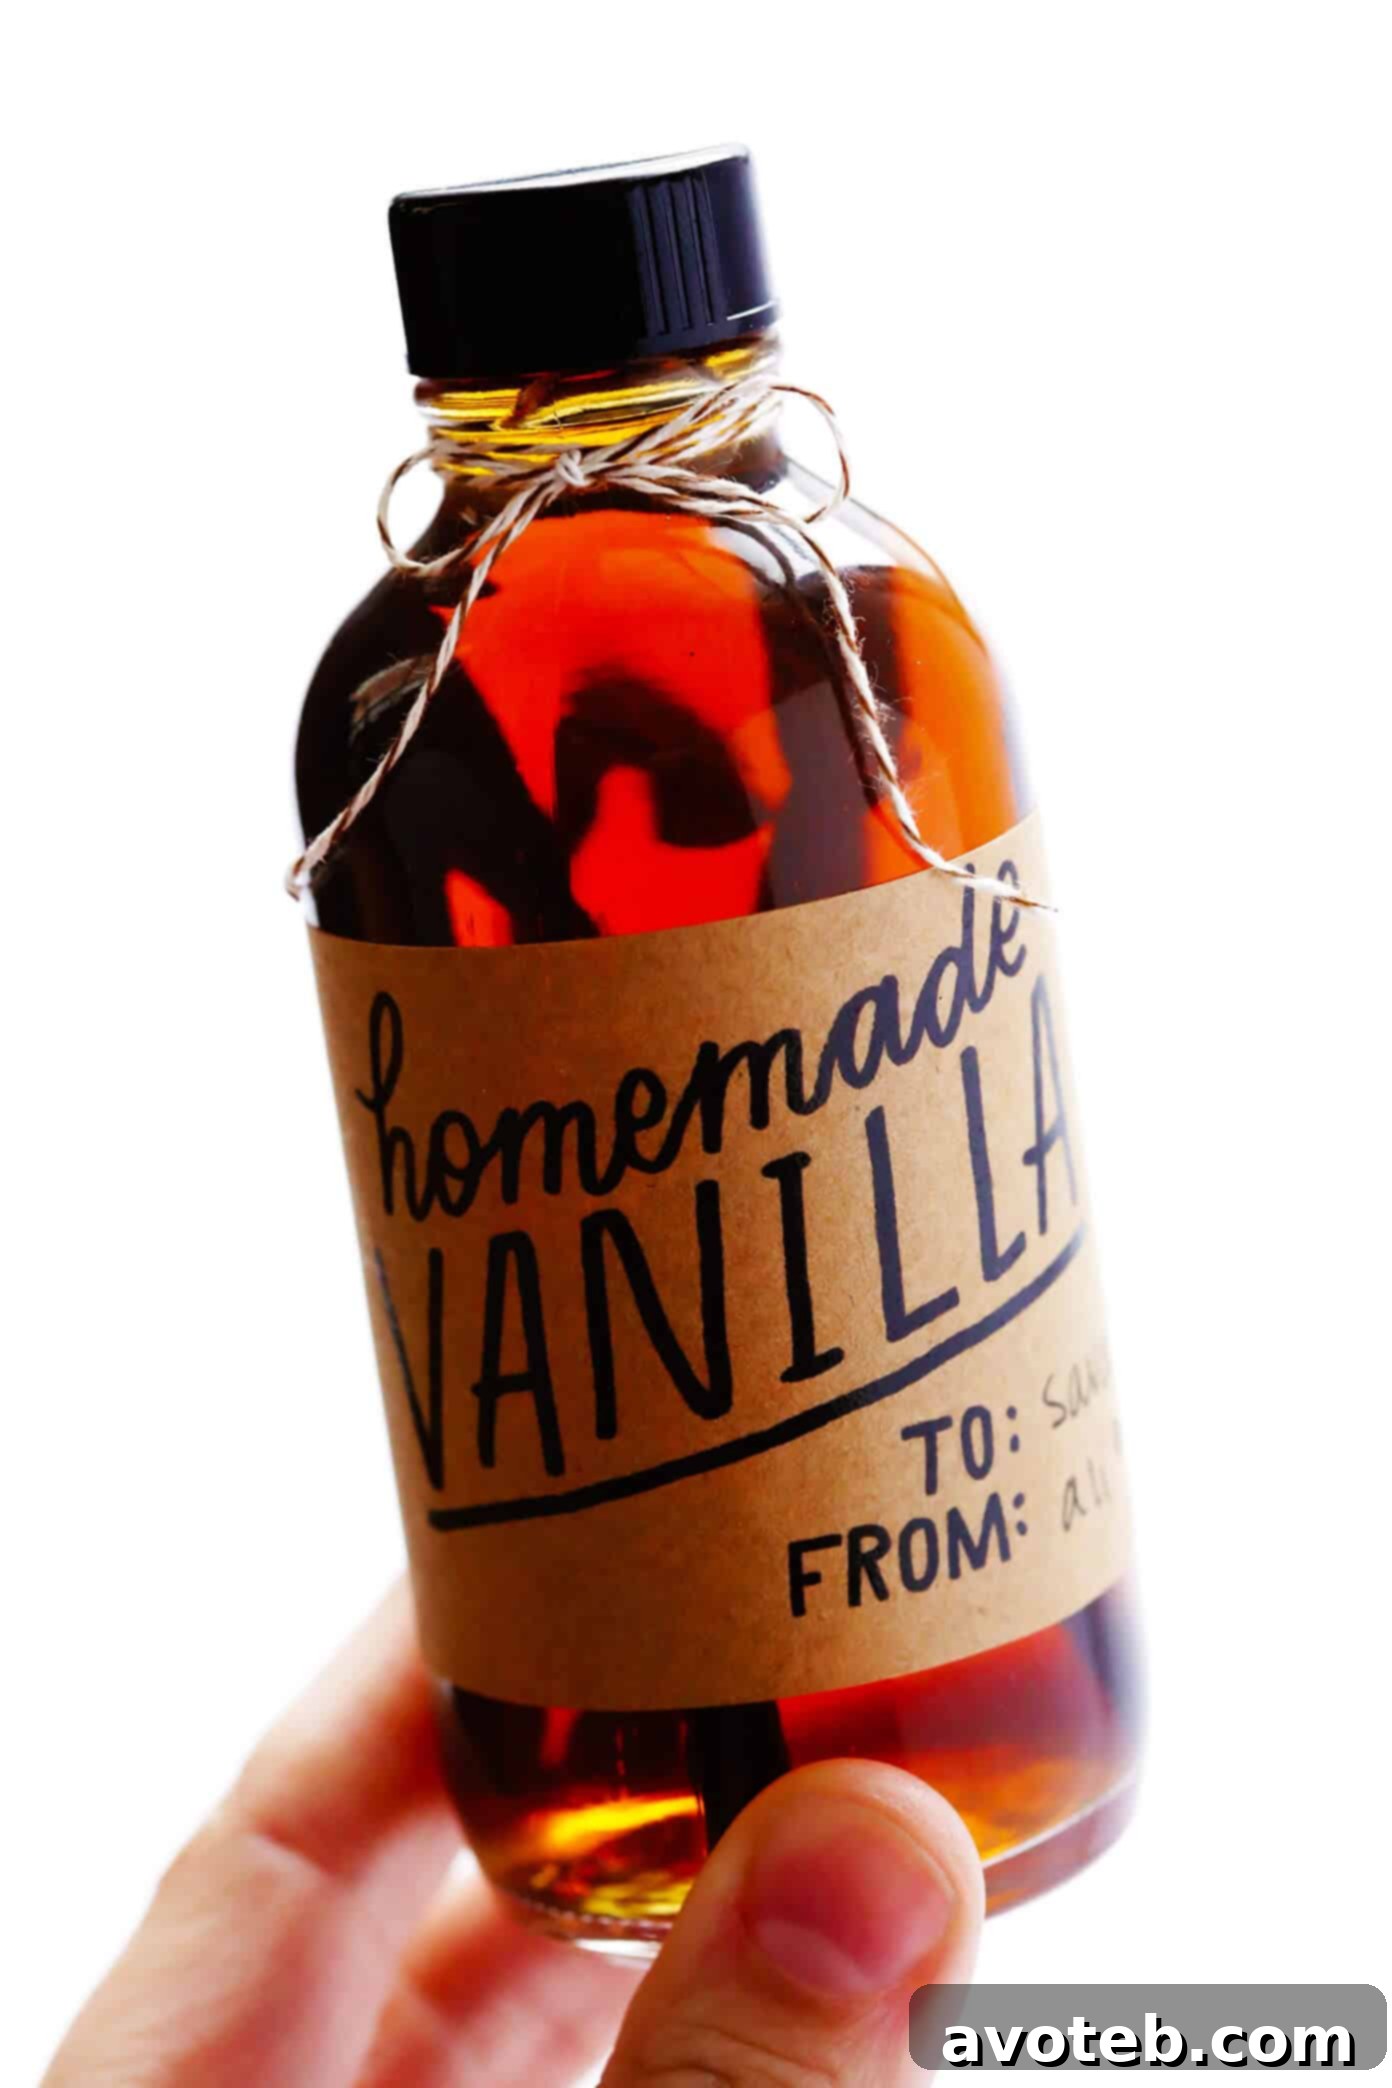
Craft Your Own Exquisite Homemade Vanilla Extract: A Comprehensive Guide
Imagine the rich, aromatic scent of pure vanilla wafting from your kitchen, knowing you created it with just two simple ingredients. This isn’t just a fantasy; it’s the beautiful reality of making homemade vanilla extract. Perfect for seasoned bakers, aspiring home cooks, or anyone searching for a truly unique and heartfelt DIY gift, this guide will show you how to easily craft your own premium vanilla extract that far surpasses store-bought varieties in both flavor and value. Plus, we’ve included charming printable labels to make your creations gift-ready!
Why Choose Homemade Vanilla Extract?
In a world full of mass-produced goods, the allure of crafting something by hand holds a special charm. Homemade vanilla extract is more than just a kitchen staple; it’s a labor of love that offers numerous benefits:
- Unmatched Flavor Profile: Store-bought vanilla often contains artificial flavors or is made with lower-quality beans. By making your own, you control the quality of ingredients, resulting in an extract with a depth, richness, and complexity of flavor that simply cannot be replicated by commercial alternatives. The longer it ages, the more intense and nuanced the flavor becomes.
- Significant Cost Savings: Premium vanilla extract from the store can be shockingly expensive. While the initial investment in vanilla beans might seem like a lot, homemade extract proves to be dramatically more economical in the long run, especially when made in larger batches. The ability to re-steep the vanilla beans for multiple batches further enhances its affordability.
- Perfect Personalized Gift: Looking for a thoughtful, practical, and impressive gift for holidays, birthdays, or hostess favors? Homemade vanilla extract is an absolute winner. Bottle it in elegant containers, adorn it with custom labels, and you have a gift that speaks volumes about your care and creativity.
- Customizable Strength and Alcohol Base: Are you a fan of a robust vanilla flavor? You can easily create “double-fold” or even “triple-fold” extract by adjusting your bean-to-alcohol ratio. Furthermore, you have the freedom to choose your alcohol base – whether it’s classic vodka, a warm bourbon, a rich rum, or a subtle brandy – each imparting its own unique characteristics to the final product.
- Empowering DIY Project: There’s immense satisfaction in knowing you’ve created a pantry essential from scratch. This simple project is incredibly rewarding and gives you complete control over what goes into your food.
Making vanilla extract is surprisingly easy, requiring minimal effort and just a couple of ingredients. In just about five minutes of active prep time, you can set yourself on the path to enjoying superior vanilla for months, or even years, to come. For those seeking a non-alcoholic option, we’ve got you covered too!
The Essential Ingredients: Unlocking Vanilla’s Magic
The beauty of homemade vanilla extract lies in its simplicity. You truly only need two core ingredients: quality vanilla beans and a suitable alcohol base (or a non-alcoholic alternative).
Choosing Your Vanilla Beans: The Heart of the Flavor
- Variety Matters: While you can technically use any vanilla bean, different varieties offer distinct flavor profiles.
- Madagascar (Bourbon) Vanilla Beans: The most common and widely recognized, known for their classic, sweet, creamy, and mellow flavor with velvety undertones. These are an excellent choice for a versatile extract.
- Mexican Vanilla Beans: Offer a deeper, creamy, and spicy-sweet character, often with notes of clove or nutmeg. Ideal for rich desserts and chocolate-based recipes.
- Tahitian Vanilla Beans: Distinctly floral and fruity, with a cherry-like or anise aroma. Perfect for lighter, fruit-based desserts or custards.
Experimenting with different types can lead to truly unique extracts!
- Grade of Beans: Vanilla beans are typically categorized into Grade A (gourmet/prime) and Grade B (extract grade).
- Grade A Beans: These are plump, moist, and pliable, releasing their flavor quickly. While great for direct cooking, they are not strictly necessary for extract.
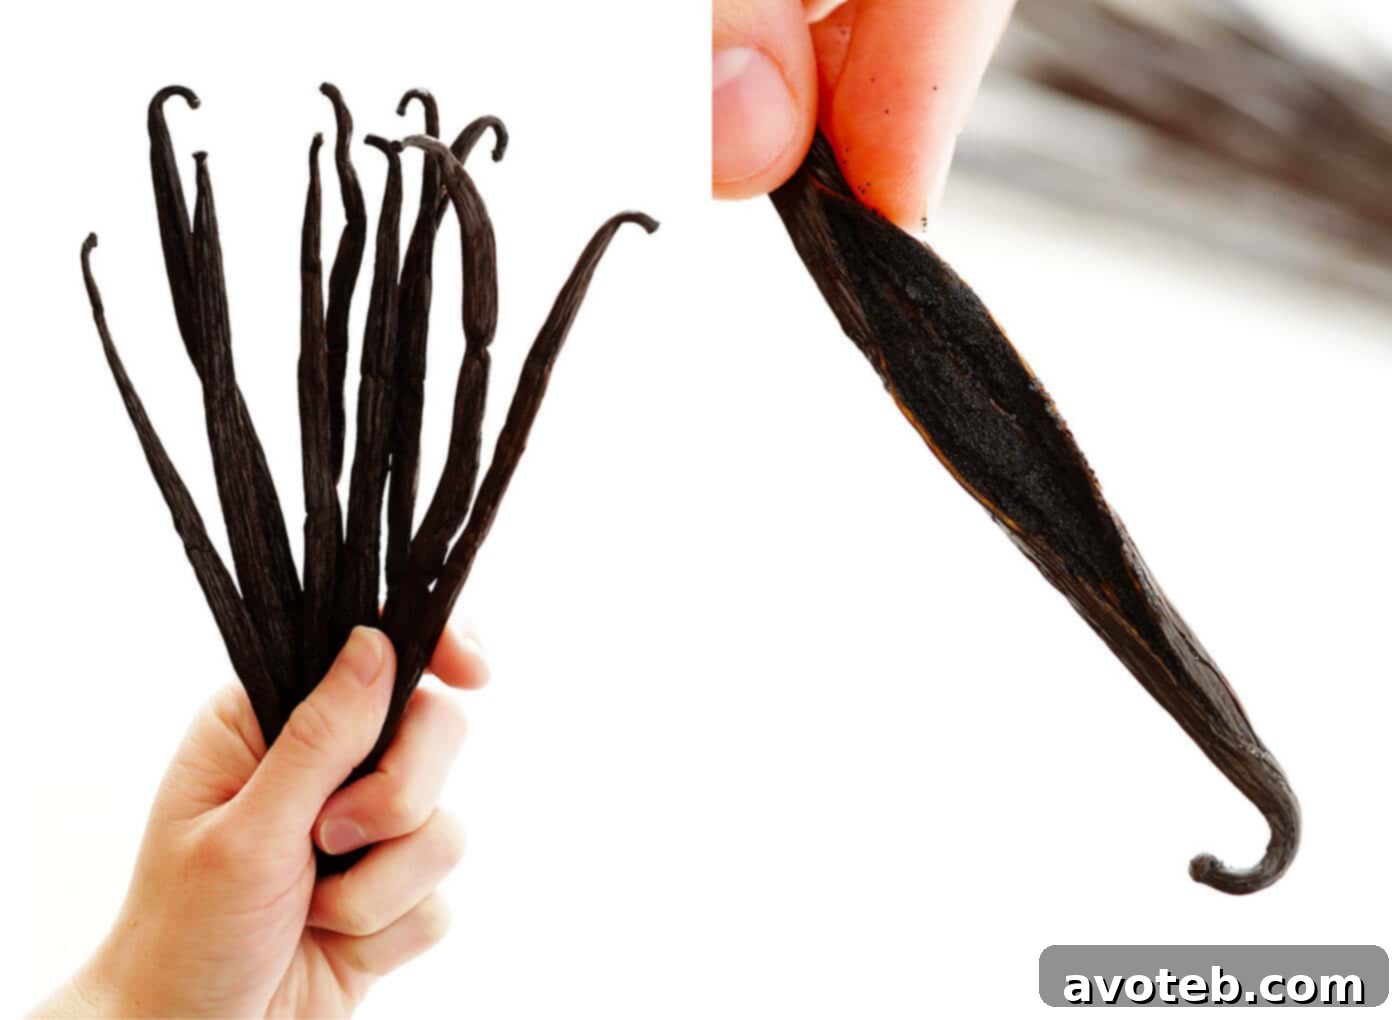
- Grade B Beans: Also known as “extract grade,” these beans are drier, less aesthetically perfect, and often split. Crucially, they have a more concentrated vanilla flavor that takes longer to extract, making them ideal and more cost-effective for extract production. Don’t let their appearance fool you; they are packed with flavor!
- Where to Buy: Regular grocery stores often carry vanilla beans at a premium price. For better value and selection, consider purchasing them online from reputable spice dealers or specialized vanilla bean suppliers. Look for fresh, pliable beans for the best results.
- Storage: Store your unused vanilla beans in an airtight container in a cool, dark place, away from direct sunlight or extreme temperatures. Avoid refrigerating, as this can dry them out.
Selecting Your Alcohol Base: The Flavor Carrier
The alcohol acts as a solvent, drawing out the complex vanilla flavor compounds from the beans. The type of alcohol you choose will subtly influence the final taste of your extract.
- Vodka (Recommended for Traditional Flavor): For a classic, pure vanilla flavor reminiscent of store-bought extracts, 80-proof vodka is your best bet. There’s no need to splurge on expensive brands; an affordable, unflavored vodka will work perfectly as its taste will be completely masked by the vanilla. The high alcohol content efficiently extracts the flavor without imparting its own strong notes.
- Other Alcohol Options:
- Bourbon: Imparts a smoky, caramel, and slightly sweet flavor to the vanilla extract, wonderful for desserts like pecan pie or bread pudding.
- Rum: Creates a warmer, sweeter extract with molasses and spice notes, excellent in tropical desserts or glazes.
- Brandy: Offers a fruity, slightly sweet, and woody complexity, making it a sophisticated choice for special occasion baking.
Remember that these alcohols will introduce their own characteristics, so choose based on your desired flavor profile.
- Alcohol Proof: Ensure your chosen alcohol is at least 80 proof (40% alcohol by volume). This strength is optimal for efficient flavor extraction and acts as a preservative for your vanilla extract.
Non-Alcoholic Vanilla Extract Option:
For those who prefer to avoid alcohol in their baking or dietary restrictions, a delicious non-alcoholic vanilla extract is entirely possible.
- Food-Grade Vegetable Glycerin: This sweet, syrupy liquid is an excellent alternative solvent. It’s crucial to use only food-grade vegetable glycerin. Always double-check product labels, as some industrial glycerin is not safe for consumption.
- Ratio: To substitute vodka, use a mixture of 3/4 cup food-grade vegetable glycerin combined with 1/4 cup water for every 1 cup of vodka called for in the recipe.
- Shelf Life: Be aware that glycerin-based vanilla extract typically has a shorter shelf life than alcohol-based versions, usually lasting about one year.
Essential Supplies for Your Vanilla Extract Project
Gathering the right tools will make your vanilla extract-making process smooth and enjoyable.
- Glass Jars or Bottles: You’ll need clean, airtight glass containers to house your vanilla extract during the extraction process.
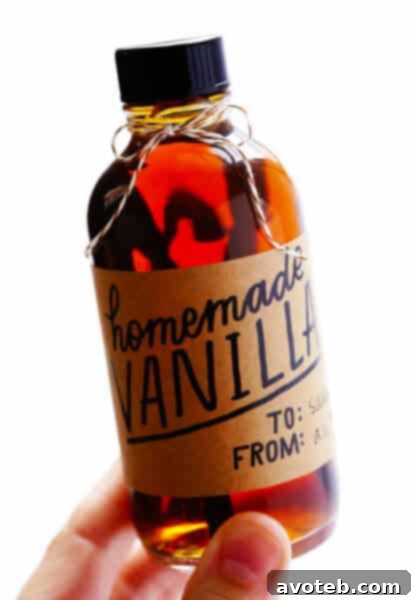
- For Gifting: Consider small 4-ounce amber or clear Boston round bottles. Amber bottles are excellent as they help protect the extract from light, which can degrade flavor over time.
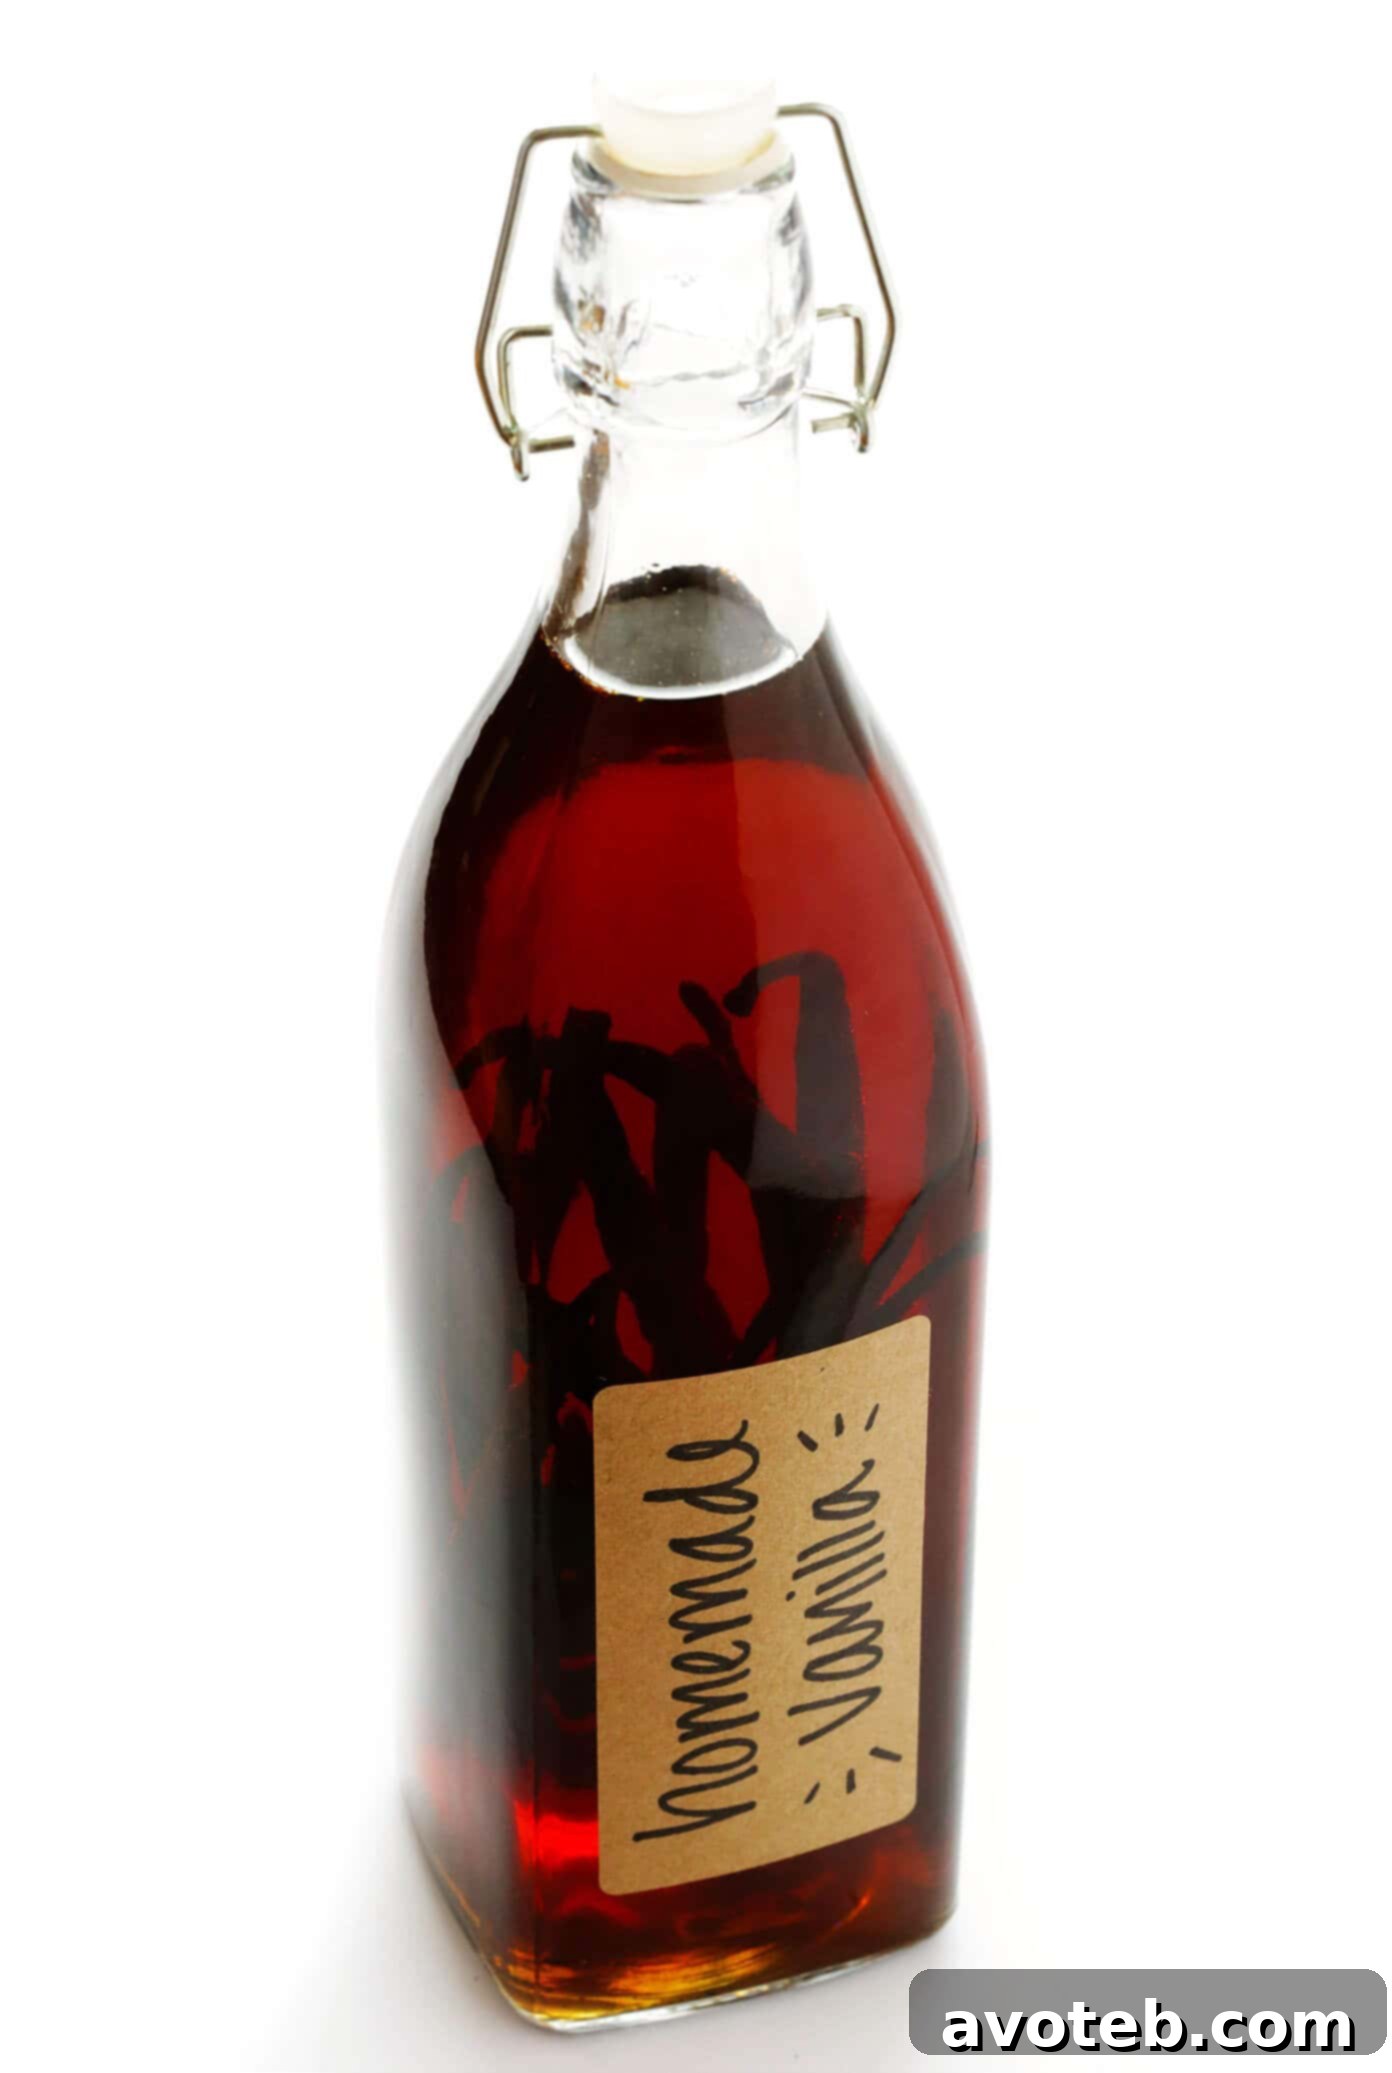
- For Bulk Production: A large 1-quart bottle like this 1-quart bottle or even standard mason jars are perfect for making larger quantities for your own use or for multiple gifts.
The key is a secure lid to prevent evaporation.
- Paring Knife: A small, sharp paring knife is essential for carefully splitting the vanilla beans.
- Cutting Board: To protect your work surface while preparing the beans.
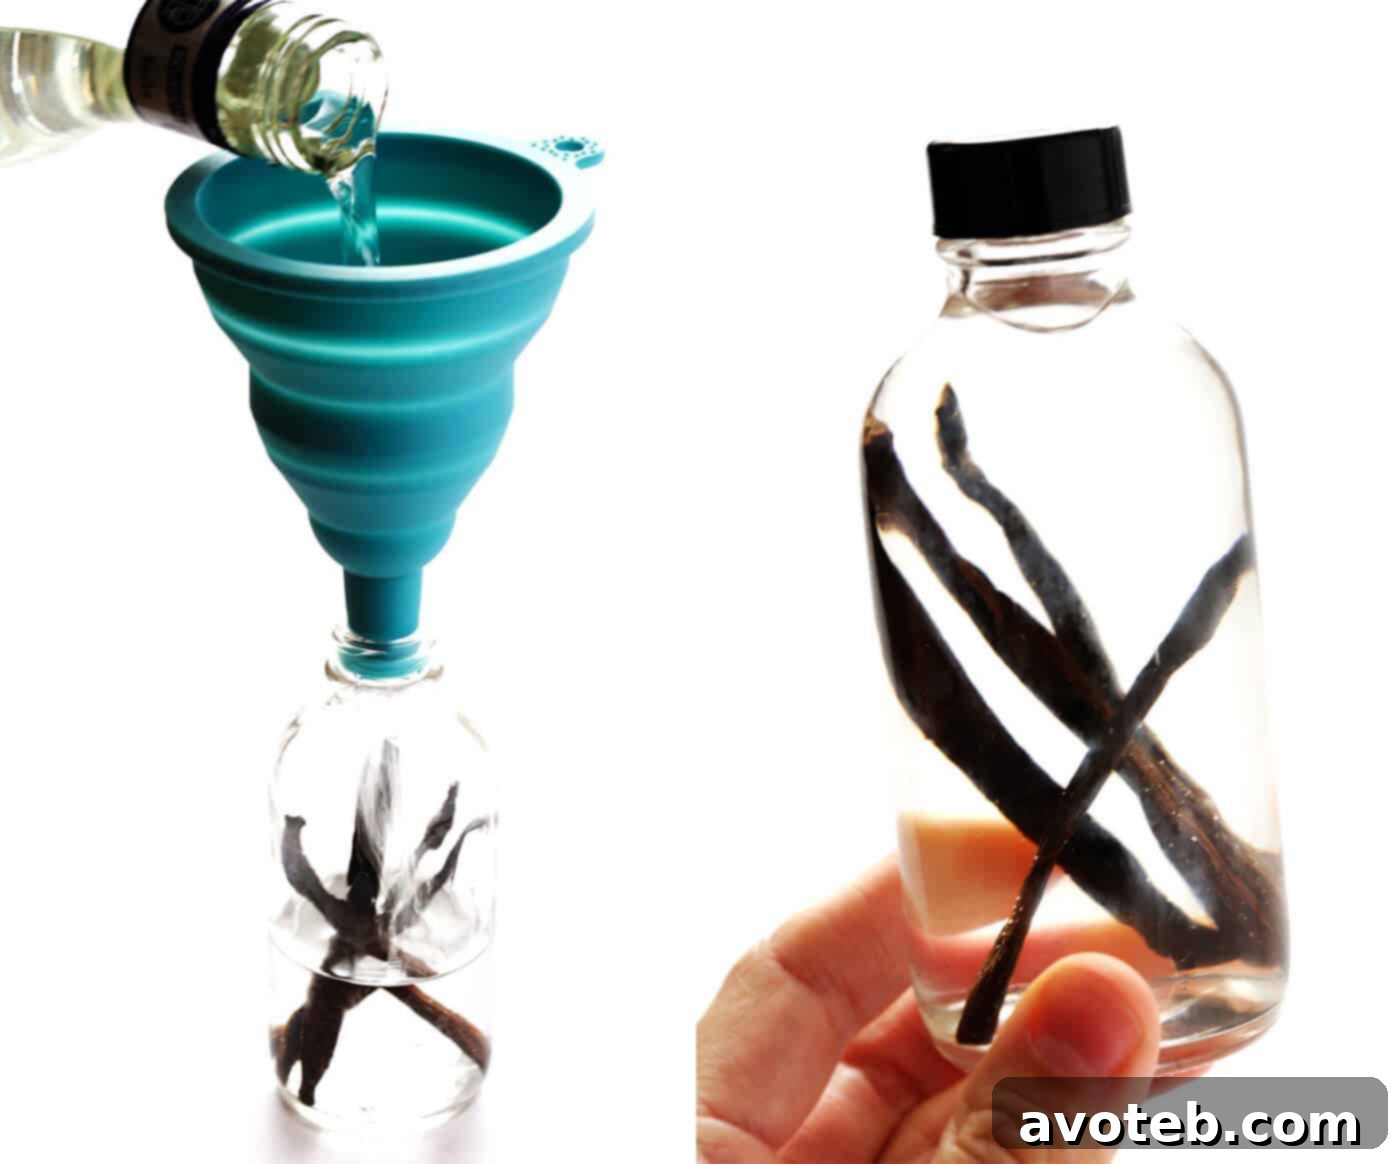
- Small Funnel (Optional but Recommended): If you’re using bottles with narrow necks, a small funnel will make pouring the alcohol much easier and prevent spills.
- Bottle Labels (Optional): Personalize your bottles with attractive labels. We’ve included free printable designs below, but you can also find blank Brown Kraft labels if you prefer to handwrite your details.
Crafting Your Homemade Vanilla Extract: A Step-by-Step Guide
Making vanilla extract is a straightforward process that rewards patience with incredible flavor.
- Prepare the Vanilla Beans: Lay each vanilla bean flat on a cutting board. Using a sharp paring knife, carefully make a slit lengthwise down the middle of each bean. You want to cut about halfway through the bean, exposing the tiny, flavorful seeds inside. This allows the alcohol to penetrate and extract the flavor more efficiently. There’s no need to scrape out the seeds; they will naturally infuse into the extract as it ages.
- Combine in a Jar: Place the prepared vanilla beans into your clean glass jar or bottle. If you’re using smaller bottles, you might need to cut the beans in half or thirds to ensure they fit and are fully submerged.
- Add the Alcohol: Pour your chosen alcohol (vodka, bourbon, rum, brandy, or glycerin/water mixture) into the jar, completely submerging the vanilla beans. Ensure the beans are fully covered by the liquid. Seal the jar tightly with its lid. Give the jar a gentle shake to distribute everything.
- Age with Patience: Store your sealed jar in a cool, dark place – a pantry, cabinet, or cellar works perfectly. Now, the waiting begins! The vanilla extract needs time to mature. While it can be used after 8 weeks, the flavor truly intensifies and deepens over 3 to 4 months. For optimal flavor, some enthusiasts even let their extract age for 6-12 months. Give the jar a good shake once a week or every couple of days to help with the infusion process.
- Enjoy Your Creation: Once your vanilla extract has reached your desired level of flavor intensity, it’s ready to use in all your favorite recipes! You can strain out the beans and seeds for a clear extract, but many prefer to leave them in the bottle, as they continue to deepen the flavor. Plus, leaving the beans in allows for easy refilling, extending the life of your extract.
Maximizing Your Vanilla Investment: Refilling and Reusing
One of the fantastic benefits of homemade vanilla extract is its reusability! The vanilla beans are potent enough to infuse multiple batches. As you use your extract, simply replenish the bottle with more of your chosen alcohol. One batch of beans can typically yield at least two full batches of extract, and sometimes even more. Just keep the beans submerged and the bottle topped off, allowing it to re-infuse for another 8-12 weeks before using again. This makes your initial investment in vanilla beans go a long, long way.
Homemade Vanilla Extract: Frequently Asked Questions
Here are answers to some common questions about making and using your own vanilla extract:
Q: How can I use homemade vanilla extract in my cooking and baking?
A: Homemade vanilla extract can be used in any recipe that calls for commercial vanilla extract. Its superior flavor will elevate everything from cookies, cakes, and brownies to pancakes, custards, ice creams, and even coffee or cocktails. Don’t be afraid to experiment!
Q: What is “double-fold” vanilla extract, and how do I make it?
A: Double-fold vanilla extract refers to an extract made with twice the amount of vanilla beans as standard (single-fold) extract. This results in a much more concentrated and potent vanilla flavor. To make it, simply double the quantity of vanilla beans in the recipe while keeping the amount of alcohol the same.
Q: Can I use different types of alcohol besides vodka?
A: Absolutely! As mentioned, bourbon, rum, and brandy are popular alternatives. Each will impart its own distinct background notes to the vanilla, creating unique flavor profiles. Just ensure the alcohol is at least 80 proof (40% ABV).
Q: Is it safe to use water instead of alcohol for vanilla extract?
A: No, using water instead of alcohol is generally not recommended. Alcohol acts as a preservative, preventing mold and bacteria growth. Without it, your vanilla extract would not be shelf-stable and could quickly spoil. Always stick to alcohol or food-grade vegetable glycerin as your solvent.
Q: How do I know when my vanilla extract is ready to use?
A: The main indicator is color and aroma. Over time, the alcohol will darken to a rich amber or dark brown color, similar to store-bought extract. More importantly, it should have a strong, sweet, and complex vanilla aroma. While 8 weeks is the minimum, waiting 3-6 months yields a much more pronounced and desirable flavor.
Q: What’s the difference between Type A (“gourmet”) and Type B (“extract grade”) vanilla beans?
A: Type A beans are plump, moist, and visually appealing, often preferred for direct cooking where their moisture content helps them release flavor quickly. Type B beans are drier, sometimes split, and contain a higher concentration of vanillin, making them ideal for extraction. Their robust flavor takes longer to release but results in a deeper, more intense extract.
Q: Do vanilla beans from different regions (Madagascar, Mexico, Tahitian) taste different?
A: Yes, very much so! Each region’s unique terroir imparts distinct characteristics:
- Madagascar: Classic, sweet, creamy, mellow, velvety.
- Mexican: Deep, creamy, spicy-sweet (like clove or nutmeg).
- Tahitian: Floral, fruity, sometimes with cherry or anise notes.
These differences allow for creative culinary exploration!
Q: How does the cost of homemade vanilla extract compare to store-bought?
A: While vanilla bean prices can fluctuate, homemade extract is almost always more cost-effective. For example, if 10 vanilla beans cost $19 and a 750ml bottle of 80-proof vodka costs $15, you can make roughly 3 cups (24 ounces) of extract. This breaks down to about $11.33 per 8 ounces. A comparable 4-ounce bottle of pure vanilla extract from the store can cost upwards of $10-$15. So, homemade often yields twice the amount for a similar price, with superior flavor, especially when you factor in bean reusability.
Presenting Your Masterpiece: Free Printable Vanilla Extract Labels
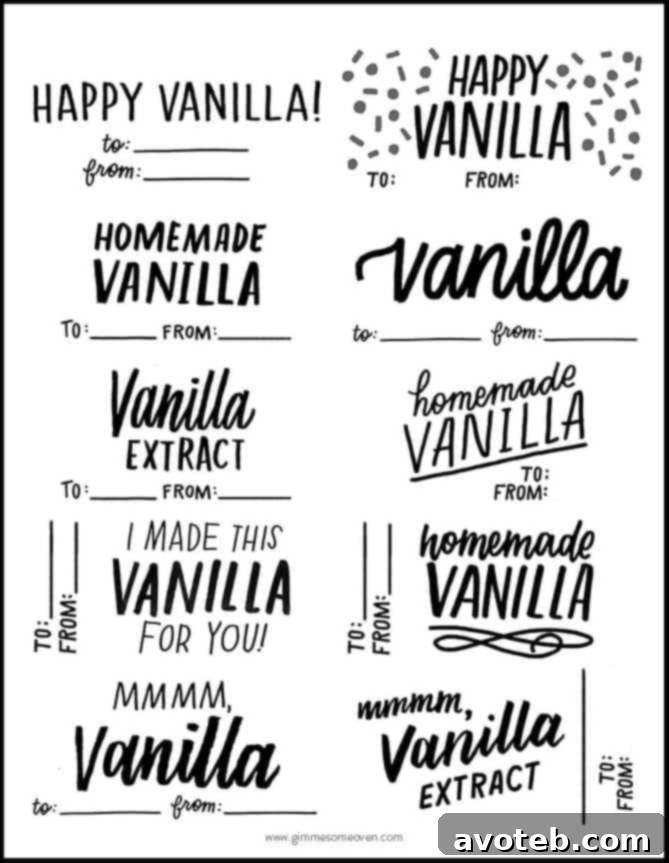
Elevate your homemade vanilla extract into a truly special gift with beautiful labels. Our free printable PDF designs, thoughtfully created by our talented friend Kelly, are perfect for adding that professional and personalized touch.
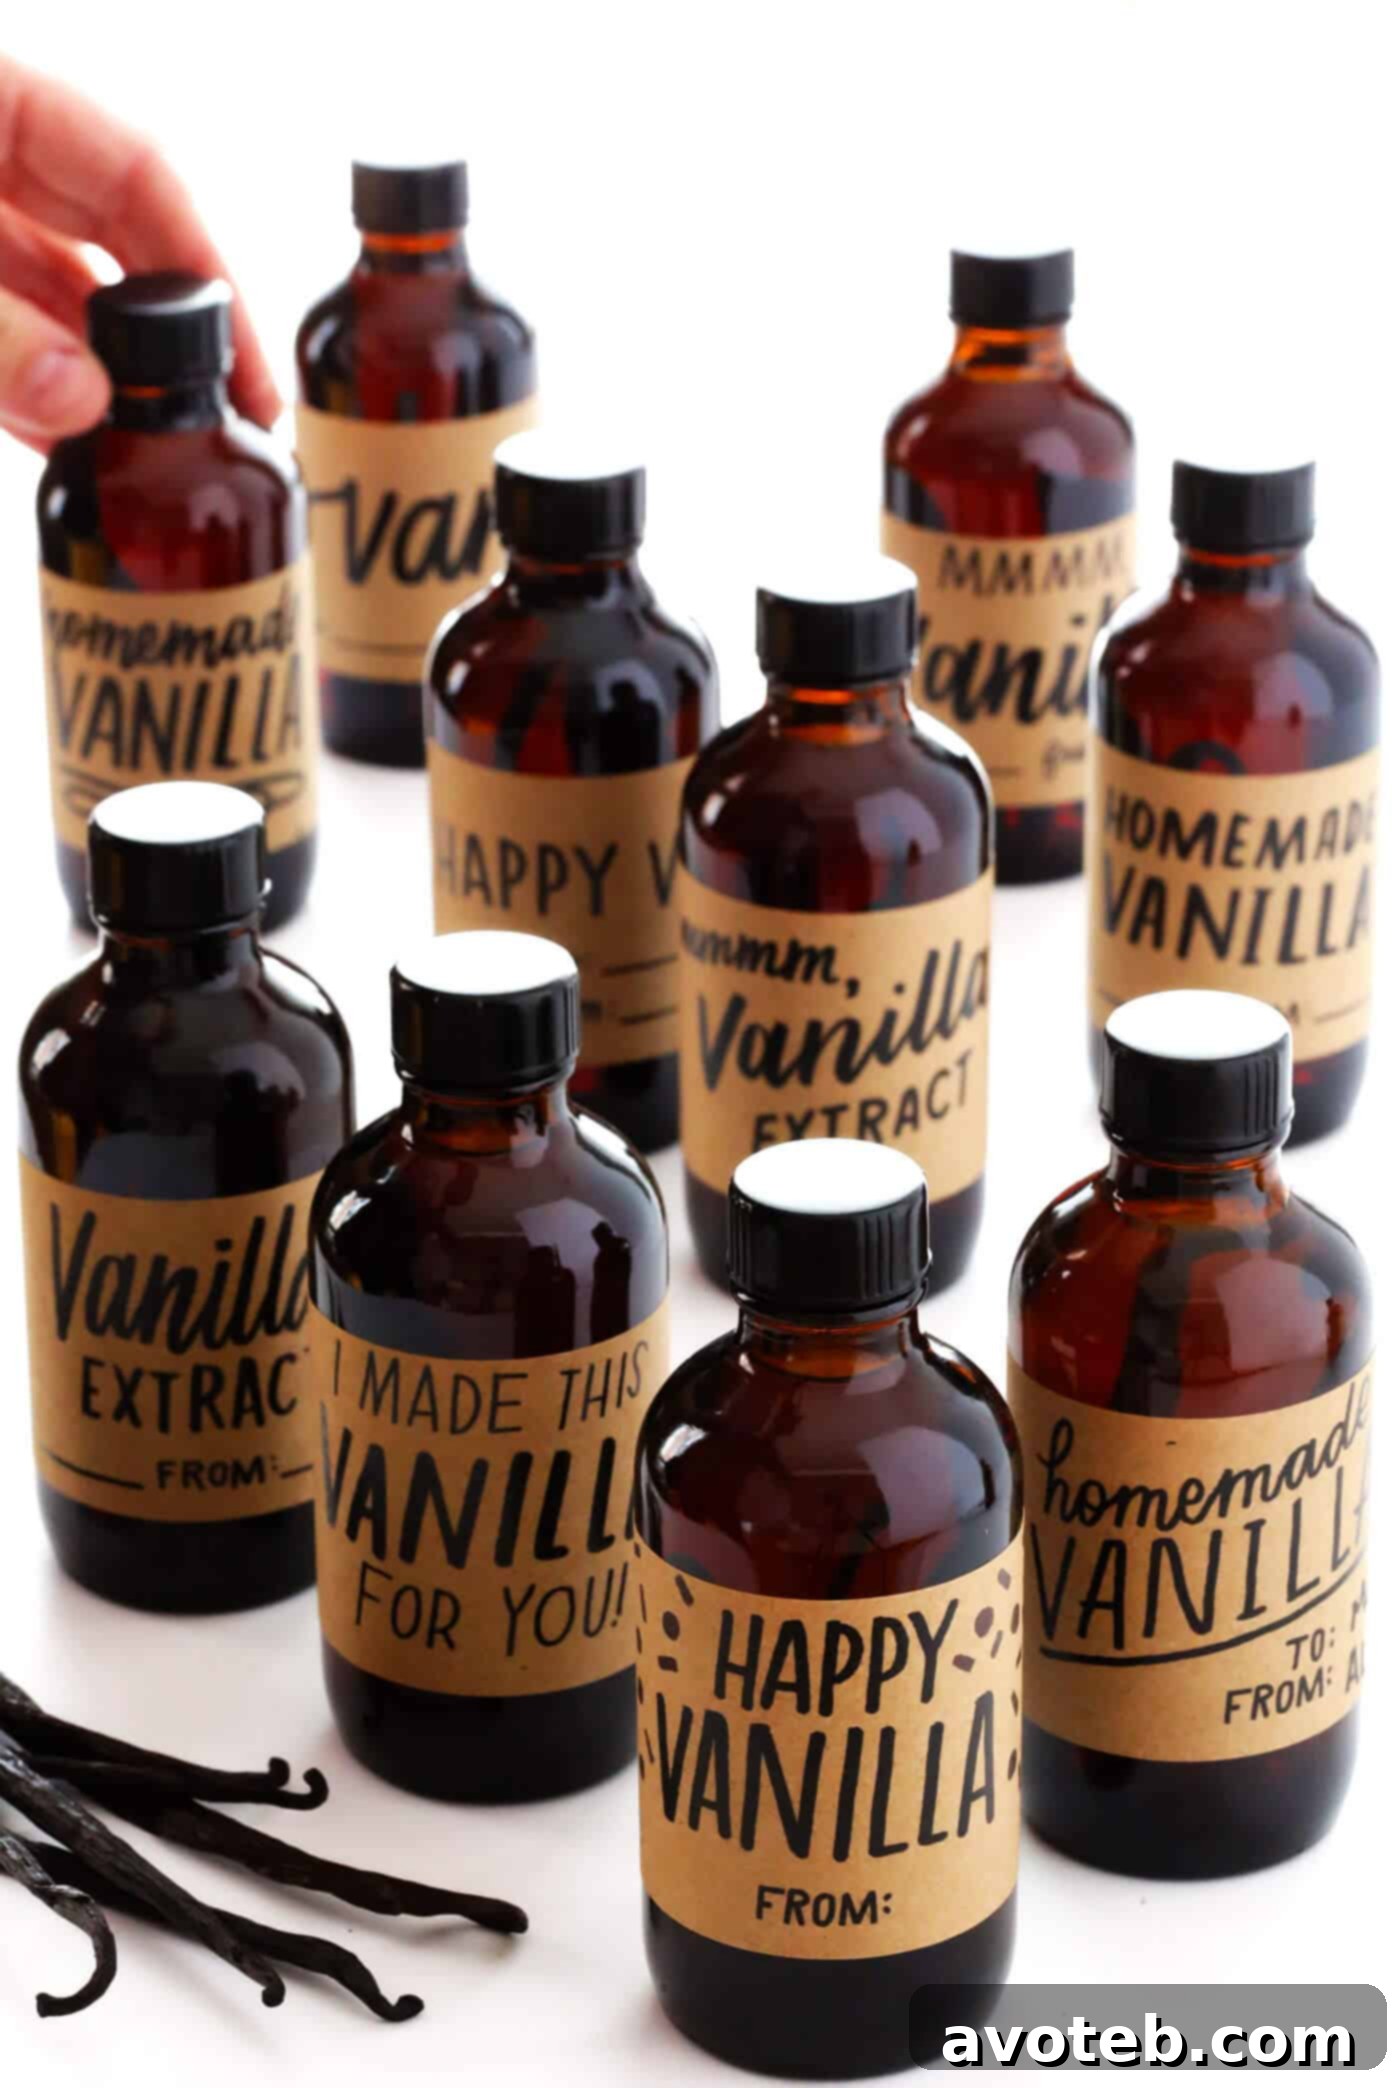
For the bottles featured in our photos, we used elegant 4-ounce amber and clear Boston round bottles. These pair beautifully with Brown Kraft 2 x 4-inch labels, giving your gifts a rustic, charming appeal.
You can download the comprehensive PDF featuring all 10 distinct label designs. Or, if a particular design catches your eye, feel free to print individual sheets for your favorites:
- Happy Vanilla!
- Happy Vanilla (with confetti)
- Vanilla
- HomemadeVanilla
- Homemade Vanilla
- Mmmm, Vanilla Extract
- Mmmm, Vanilla
- I Made This Vanilla For You!
- Vanilla Extract
- Homemade Vanilla
If you plan to gift your vanilla extract before it has fully matured (less than 8 weeks), it’s a thoughtful gesture to write the recommended “ready-to-use” date on the label. This ensures the recipient enjoys the extract at its peak flavor.
Happy extracting, and enjoy the wonderful world of homemade vanilla!
Print Recipe
How To Make Homemade Vanilla Extract
- Prep Time: 5 minutes
- Cook Time: 0 mins
- Total Time: 5 minutes
- Yield: 1 cup
Description
Learn how to make homemade vanilla extract with this easy recipe and tutorial. Supplies for making cute gift-able bottles are listed above.
Ingredients
- 4 whole vanilla beans
- 1 cup vodka (or see notes below for a non-alcoholic substitution)
Instructions
- Open the vanilla beans. Use a paring knife to carefully split each vanilla bean down the middle lengthwise, cutting halfway through the bean so that the seeds are exposed.
- Combine ingredients in a jar. Place the vanilla beans in a glass jar or small bottle. Pour in the vodka and submerge the beans so that they are covered. Place a lid on the jar/bottle, and give it a gentle shake.
- Store. Store in a dark place for at least 8 weeks, until the vanilla is a dark amber color.
- Use and enjoy. Use in any recipes that call for vanilla extract. If you would like to strain out the vanilla bean seeds, you can do so with a fine-mesh strainer. But I recommend leaving the vanilla beans with their seeds in the jar. That way, you can continue to gradually refill the bottle with more vodka as you use the vanilla extract. (The beans will last for at least two batches of vanilla extract.)
Equipment
1-Quart Glass Bottle
Buy Now →
4-Ounce Glass Bottles
Buy Now →
Vanilla Beans
Buy Now →
Notes
For a 4-ounce (1/2 cup) small bottle: You will need 2 beans and 1/2 cup vodka per bottle. (I cut the beans in each in half to help them fit in the bottles more easily.)
For the large 4-cup bottle: You will need 16 beans and 4 cups of vodka per bottle.
Non-alcoholic option: In place of 1 cup of vodka, you can substitute 3/4 cup food-grade vegetable glycerin plus 1/4 cup water.
Cooking time: “Cook time” listed above does not include the 8+ weeks needed for the vanilla to soak and infuse.