
Unleash Your Inner Artist: Crafting Whimsical DIY Sprinkles Art!
While our kitchen often overflows with delicious aromas and culinary creations, today we’re taking a delightful detour into the world of creative crafting! Prepare to swap your mixing bowls for glue and sprinkles, as we dive into a truly enchanting DIY project: personalized sprinkles art. This isn’t just a craft; it’s a burst of joy, a splash of color, and a truly unique way to express your personality or create a heartfelt gift.
The Sweet Inspiration Behind This Sparkling Creation
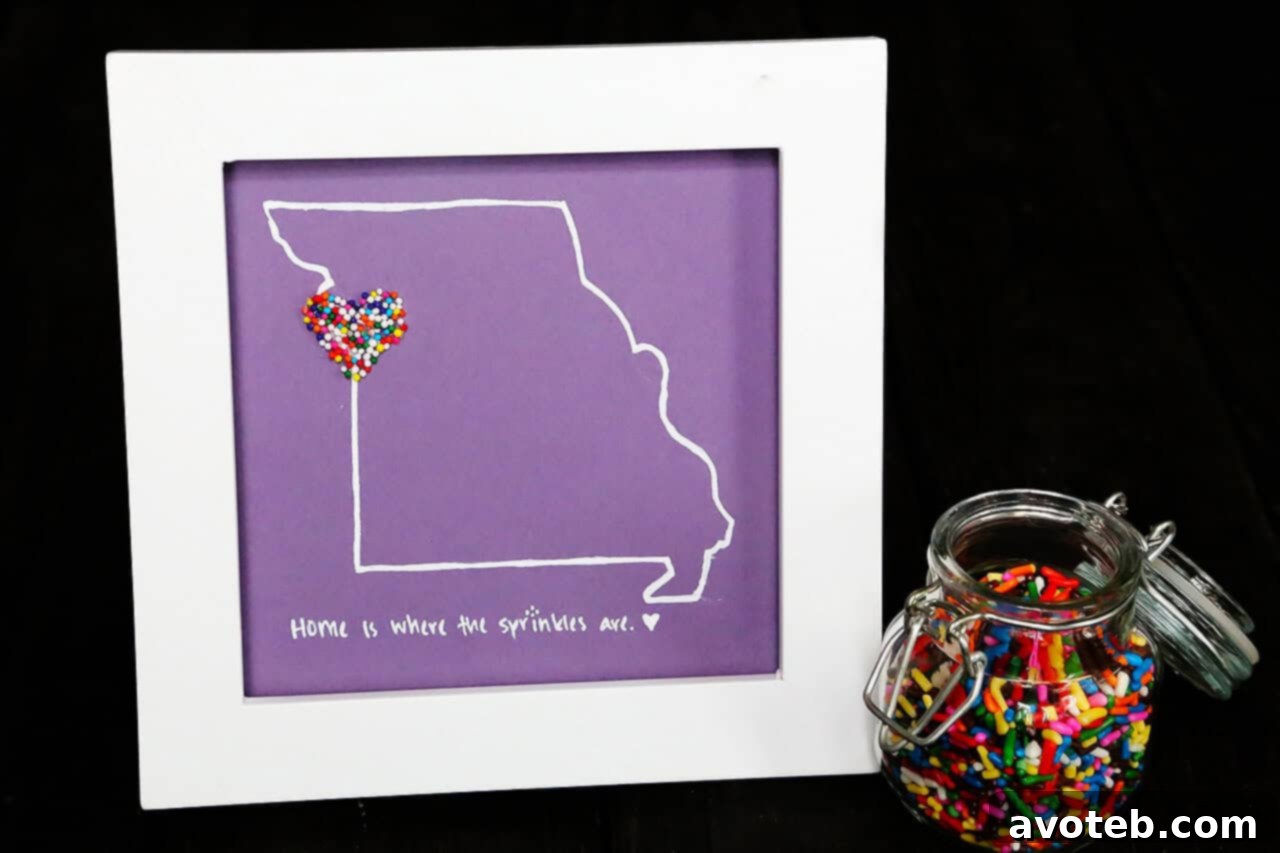
Every great project often begins with a story, and this sprinkles art piece is no exception. The idea first sparked as I sought to create a memorable going-away gift for my dear friend and neighbor, Cassie, and her husband Paul, as they embarked on a new chapter away from Kansas City. Knowing Cassie shared my passion for both vibrant sprinkles and our beloved state of Missouri, a vision emerged: combine these two loves into a simple, yet profound, piece of DIY art they could cherish in their new home.
The original artwork I crafted for Cassie featured two distinct hearts, symbolizing their two cherished homes—the one they were leaving and the one they were heading towards. It was a deeply personal gesture, encapsulating memories and anticipation. However, when some friends witnessed the piece in progress, their enthusiasm was infectious! They expressed a desire to create similar art for themselves, perhaps featuring a single significant city or a beloved symbol. This spark of shared excitement led me to create a second, more generalized version, meticulously documenting the process to share with all of you. Because joy, especially the sprinkle-filled kind, is always meant to be shared!
Why You’ll Fall in Love with DIY Sprinkles Art
Beyond its undeniable charm, this DIY sprinkles art project offers a myriad of reasons to pick up your crafting supplies today:
A Touch of Personalized Charm for Any Space
One of the most captivating aspects of this craft is its incredible versatility and potential for personalization. Unlike mass-produced decor, your sprinkles art will be a true reflection of you. You can choose to outline your home state, a favorite city, initials, a meaningful date, or even a simple, inspiring word. Imagine a vibrant heart, a sleek ampersand, or the outline of your beloved pet, all shimmering with colorful sprinkles. This level of customization makes it perfect for adding a personal touch to your kitchen, a child’s bedroom, a vibrant living room, or even a cozy home office. It’s an instant mood booster and a conversation starter.
Simple, Satisfying, and Budget-Friendly
Don’t let the dazzling results intimidate you; this project is remarkably simple and accessible for crafters of all skill levels, from beginners to seasoned DIY enthusiasts. The materials required are basic and readily available at most craft stores or even your local grocery store. You likely already have some of the essentials at home! This makes it an incredibly budget-friendly way to create stunning, unique art without breaking the bank. The process itself is wonderfully meditative and satisfying, offering a delightful escape from daily routines as you watch your vision come to life, one sprinkle at a time.
The Pure Joy and Whimsy of Sprinkles
Let’s be honest: who doesn’t smile at the sight of sprinkles? They evoke feelings of celebration, happiness, childhood memories, and pure, unadulterated joy. Incorporating them into art infuses any space with this same lighthearted, whimsical energy. It’s a playful nod to the sweet things in life, a constant reminder to find beauty and happiness in simple pleasures. This art project taps into that universal appeal, transforming a simple confectionery item into a vibrant, textural, and utterly delightful piece of home decor. It truly embodies the spirit that “Home is where the sprinkles are!”
Gather Your Tools: What You’ll Need for Your Sprinkled Masterpiece
Before you embark on your creative journey, let’s ensure you have all the necessary components. The beauty of this project lies in its simplicity and the common availability of its materials:
- A Canvas or Wood Panel: Choose a size that suits your desired display area. Stretched canvases are lightweight and easy to hang, while wood panels offer a more rustic, substantial feel.
- Craft Glue: A good quality white craft glue (like Elmer’s Glue-All or Mod Podge) works perfectly. Ensure it dries clear and has decent adhesive strength to hold the sprinkles securely.
- An Assortment of Sprinkles: This is where the fun truly begins! Gather jimmie sprinkles, nonpareils, confetti sprinkles, or even sugar pearls. Experiment with different colors, shapes, and sizes to create unique textures and visual interest. Consider a rainbow mix, a monochromatic palette, or sprinkles themed for a specific holiday.
- Pencil and Eraser: For sketching your design lightly onto the canvas before applying glue.
- Paintbrush or Small Spreader: To apply an even layer of glue within your design.
- Paper Plate or Tray: To catch excess sprinkles, allowing you to reuse them.
- A Template or Stencil (Optional but Recommended): For precise shapes, letters, or outlines. You can print one from online, freehand draw, or use a cutting machine to create a custom stencil.
- Clear Acrylic Sealer (Optional but Recommended): A spray-on clear coat will help protect your sprinkles from flaking off and provide a subtle sheen.
You can find a more extensive, full step-by-step tutorial, complete with detailed instructions and helpful tips, over at Gimme Some Style, our dedicated crafty page. This resource will walk you through each phase, ensuring your sprinkles art project is a resounding success.
Your Journey to a Sprinkled Masterpiece: A Quick Overview
While the detailed guide is available on Gimme Some Style, here’s a general outline of the process to pique your interest:
- Prepare Your Canvas: Ensure your canvas or panel is clean and dry. You might choose to paint a base color or leave it plain.
- Sketch Your Design: Lightly draw your chosen shape, word, or outline onto the canvas with a pencil. If using a stencil, secure it in place.
- Apply Glue: Carefully apply a thin, even layer of craft glue within the lines of your design. Work in small sections if your design is large, to prevent the glue from drying too quickly.
- Shower with Sprinkles: Generously pour your chosen sprinkles over the glued areas, ensuring full coverage. Don’t be shy!
- Gently Press and Remove Excess: Lightly pat the sprinkles down to ensure good adhesion. Once the glue is still wet but the sprinkles are settled, carefully lift and tilt your canvas over your paper plate to remove any loose, unglued sprinkles.
- Allow to Dry: Let your masterpiece dry completely, ideally for several hours or even overnight, before handling.
- Seal (Optional): Once fully dry, apply a light coat of clear acrylic sealer in a well-ventilated area to protect your artwork.
Endless Creativity: Ideas for Your Sprinkles Art
The possibilities for sprinkles art are as boundless as your imagination. Here are a few ideas to spark your creativity and help you design a piece that’s uniquely yours:
Shapes, Letters, and Symbols
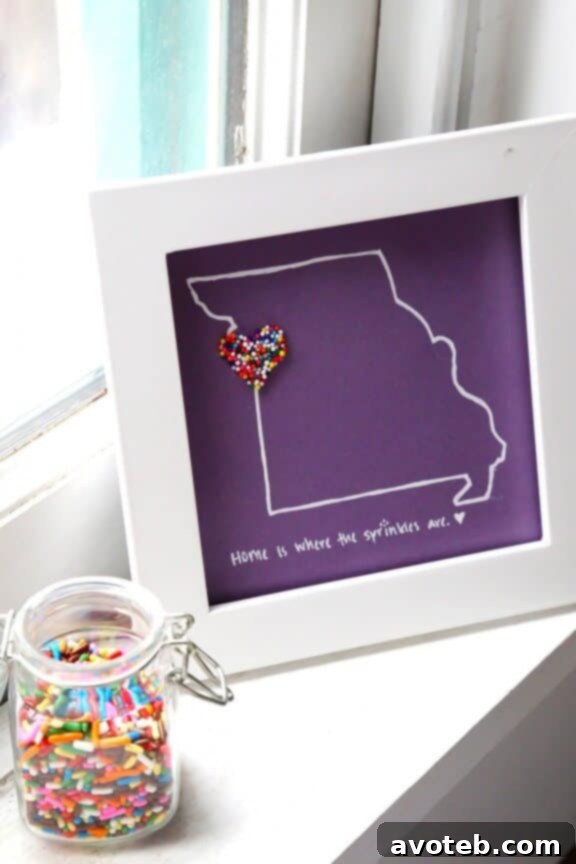
- Geographic Pride: Outline your home state, a significant city, or even a country. This makes for a fantastic housewarming gift or a memento of a special trip.
- Meaningful Monograms: Create your initial, a family initial, or combined initials for a personalized touch.
- Iconic Symbols: Hearts, stars, anchors, crowns, or even simple abstract shapes can look incredibly chic when rendered in sprinkles.
- Favorite Quotes: Use stencils to spell out short, impactful phrases like “Home Sweet Home,” “Spread Joy,” “Dream Big,” or our beloved “Home is where the sprinkles are!”
Color Palettes and Thematic Designs
- Rainbow Bright: Embrace the full spectrum with a multi-colored sprinkle design for maximum cheer.
- Monochromatic Magic: Use various shades and types of sprinkles within a single color family (e.g., all blues, all pinks) for a sophisticated yet playful look.
- Holiday Cheer: Think red and green for Christmas, pastels for Easter, orange and black for Halloween, or patriotic colors for national holidays.
- Room Coordination: Match your sprinkle colors to your existing room decor for a cohesive aesthetic.
Beyond the Canvas: Unique Applications
While canvases are popular, don’t limit your sprinkles art to just wall decor:
- Coasters: Seal a sprinkle design onto small wooden or ceramic tiles for unique coasters.
- Ornaments: Apply sprinkles to cut-out wooden or cardboard shapes for festive tree ornaments.
- Gift Tags: Create mini sprinkle designs on sturdy cardstock for personalized gift tags.
- Party Decor: Use sprinkle art for table centerpieces or themed party signs.
Displaying Your Joyful Creation
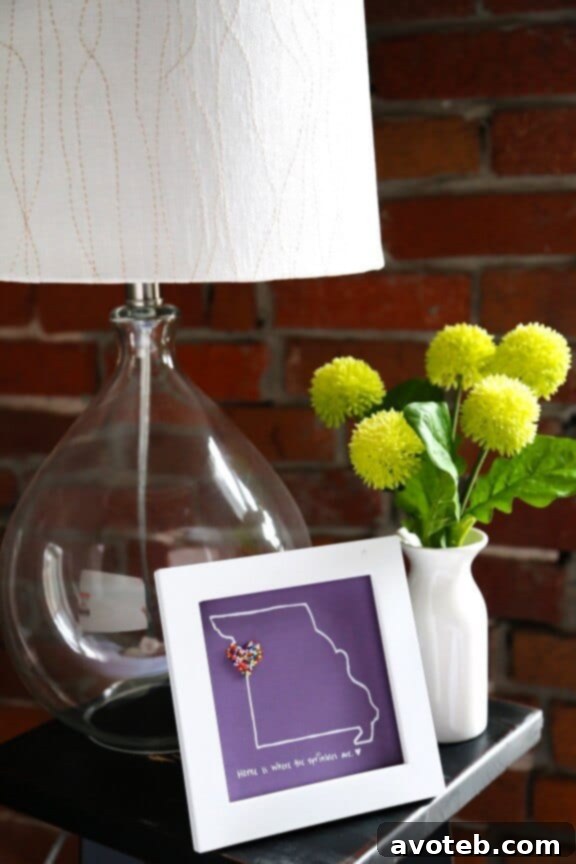
Once your sprinkles art is complete and fully dry, the next delightful step is finding its perfect spot! Consider framing it to give it a more polished, gallery-worthy look. Simple white or black frames often work best, allowing the vibrant colors of the sprinkles to pop. For a more rustic vibe, a natural wood frame can complement the textures beautifully. Hang your finished piece in the kitchen, a child’s playroom, an entryway to greet guests with cheer, or even your workspace for a daily dose of happiness.
Beyond personal enjoyment, remember that these personalized sprinkles art pieces make truly exceptional gifts. Whether it’s a housewarming present for new neighbors, a birthday surprise for a friend, a farewell token for a loved one moving away, or a unique holiday offering, a handmade sprinkles art piece speaks volumes about your thoughtfulness and creativity.
More Sprinkles, More Smiles!
There’s something inherently delightful about sprinkles. They are small, vibrant, and instantly bring a sense of celebration and lightheartedness to anything they adorn, be it a cupcake or a canvas. This DIY sprinkles art project is more than just a craft; it’s an invitation to infuse your surroundings with that same playful energy and joyful spirit. It’s a testament to the idea that beauty can be found in the simplest of things, and that a little bit of color can go a long way in brightening your day.
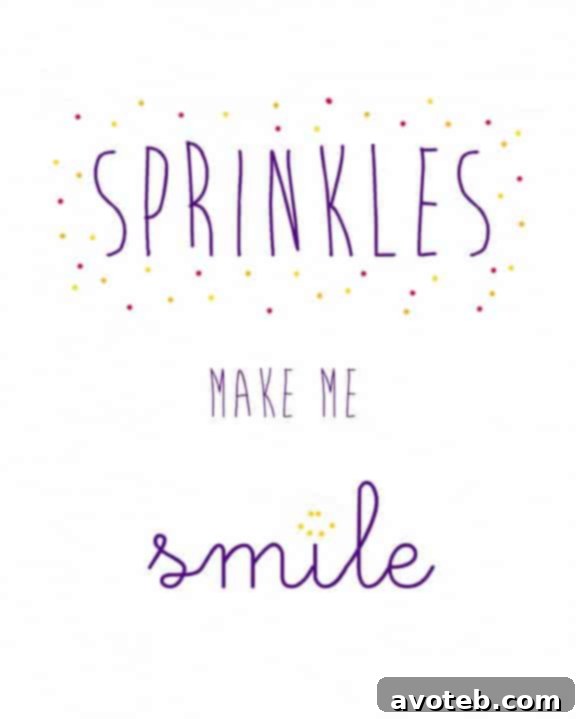
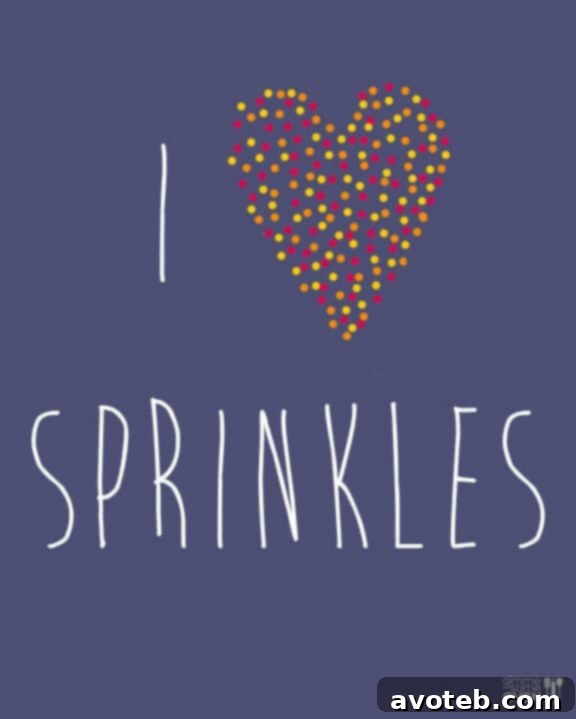
As the popular sayings go, “Sprinkles make me smile” and “I heart sprinkles!” We hope this project inspires you to channel your inner artist and create something truly unique and full of joy. Don’t hesitate to dive into this fun and rewarding craft!
Ready to get started? Head over to Gimme Some Style for the complete, detailed step-by-step tutorial. We can’t wait to see your dazzling creations!
This page contains affiliate links.