
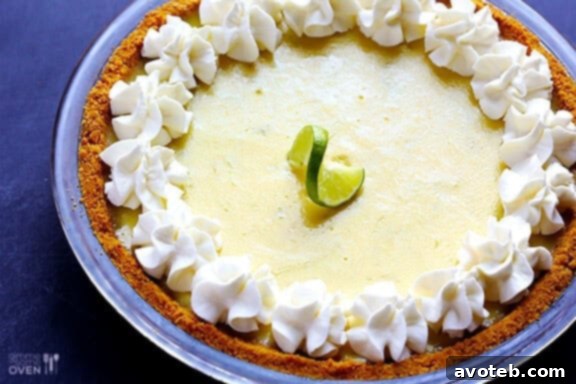
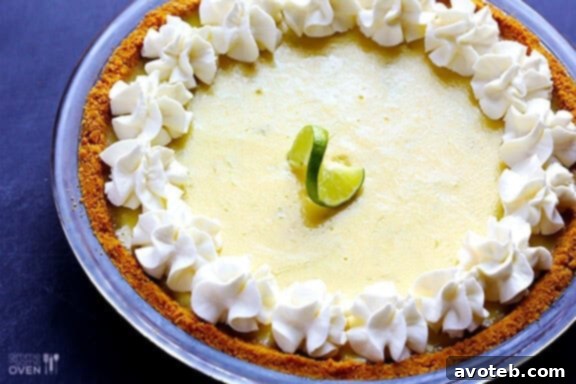
The Ultimate Guide to Making the Best Key Lime Pie at Home
There’s an undeniable magic that happens when a perfectly baked pie emerges from the oven. It’s a culinary spectacle, often accompanied by lively debates among friends and family about which pie reigns supreme. From the comforting warmth of an apple crumble to the rich indulgence of a chocolate silk pie, everyone harbors a cherished favorite, a dessert that speaks to their soul. Recently, during my own foray into the delightful world of pie-making, I discovered just how passionate people can be about their preferred pastry. Conversations with dear friends, some of whom I’ve known for years, revealed a surprising depth of opinion on this subject.
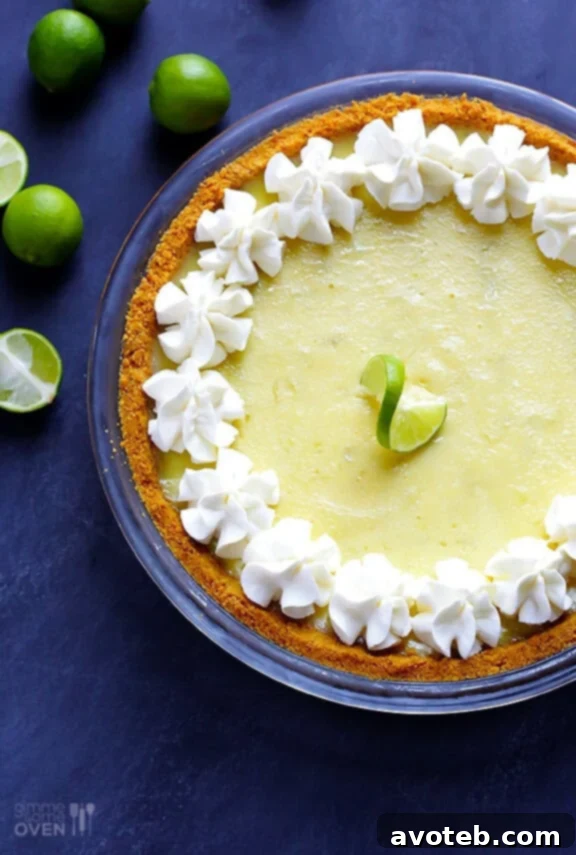
It was fascinating to hear the diverse preferences: some championed the nutty richness of pecan pie, others yearned for the velvety texture of French Silk, and a few adventurous souls even suggested a touch of bourbon in a peach pie. Yet, amidst this symphony of sweet desires, one pie consistently rose above the rest, receiving an overwhelming number of votes: the classic Key Lime Pie. Its bright, zesty allure seemed to captivate nearly everyone, sparking vivid memories and strong affirmations of its unparalleled deliciousness.
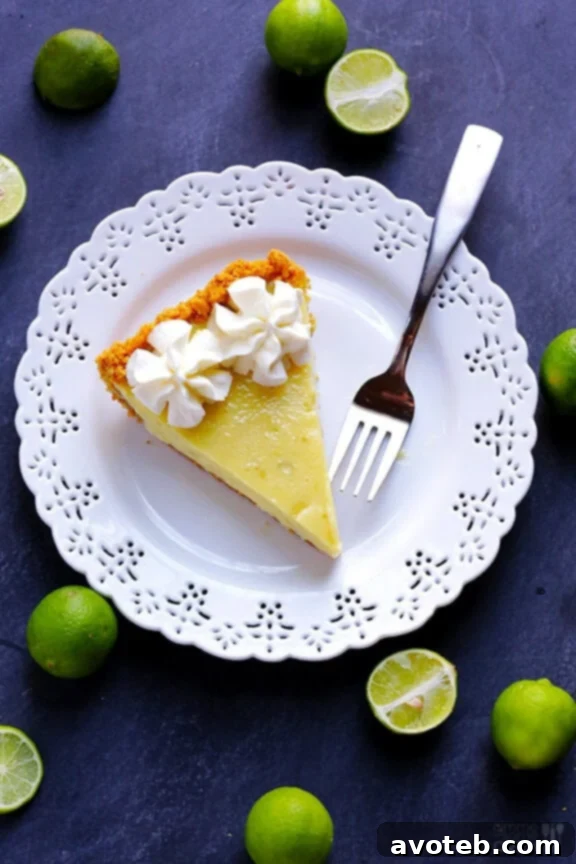
The reasons behind this profound affection for Key Lime Pie were as varied as the friends themselves. For some, it evoked nostalgic memories of childhood baking sessions with family, the air thick with the scent of fresh limes and graham crackers. For others, particularly those of us in landlocked Kansas City, it brought forth visions of sun-drenched beaches and lush lime groves, a refreshing escape in every bite. Many shared traditions of ordering it at their favorite seaside restaurants, associating it with special occasions and cherished moments. And for a significant portion, the love was simply pure and unadulterated – they just flat-out adored its unique blend of tartness and sweetness.
During our recent taste-testing gathering, the Key Lime Pie I prepared vanished in a flash, a testament to its universal appeal. Of course, I made sure to snag a generous slice for myself before it was all gone! Its quick disappearance reaffirmed its status as a true crowd-pleaser, a dessert that transcends individual tastes and unites everyone in appreciation.
Why Key Lime Pie is a Must-Try Dessert
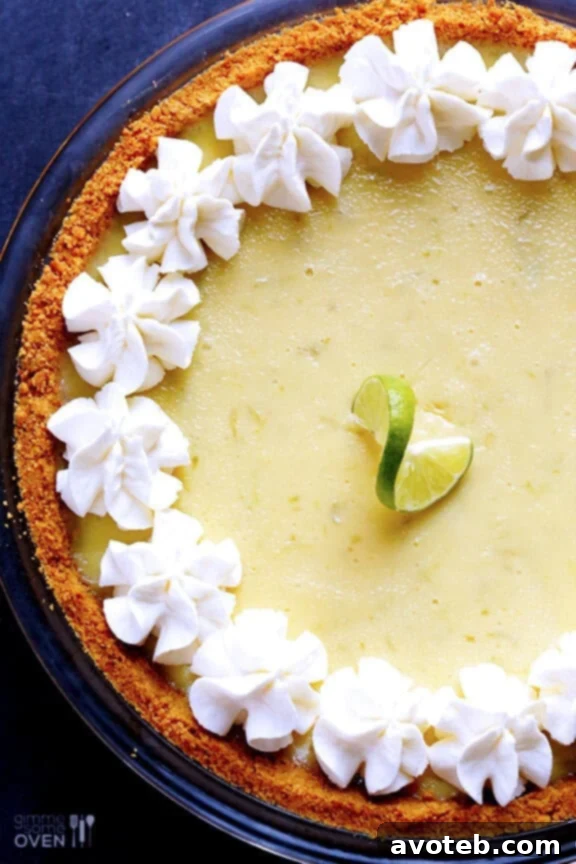
Key Lime Pie was actually the first pie I decided to tackle during my recent baking marathon. My choice was twofold: first, because I personally adore its bright, tangy flavor, and second, because it happens to be one of the easiest pies to prepare. Seriously, this recipe is remarkably foolproof, making it an excellent choice for both novice and experienced bakers alike. The beauty of Key Lime Pie lies in its simplicity and the vibrant burst of flavor it delivers with minimal effort.
The Secret to a Perfect Key Lime Pie: Simple Steps, Incredible Flavor
Crafting this delightful dessert requires just a few straightforward steps. You begin with creating a sturdy and flavorful graham cracker crust, which provides the perfect counterpoint to the zesty filling. Next, you whisk together the magical ingredients for the filling – a harmonious blend of sweet, tart, and creamy. A brief stint in the oven, followed by a crucial refrigeration period, transforms these simple components into a truly irresistible pie. With less than 30 minutes of active prep time, you can have a luscious Key Lime Pie ready to chill. If you’re looking to shave off even more time (and save your fingers from squeezing countless tiny limes), bottled Key lime juice is a perfectly acceptable “cheat” that yields delicious results. There’s absolutely no judgment here – convenience often wins, and the flavor remains fantastic.
The origin of Key Lime Pie dates back to the late 19th century in the Florida Keys, where Key limes grow abundantly. The original recipe famously didn’t require baking, as cans of sweetened condensed milk were a staple for many, and the acidity of the lime juice naturally “cooked” the egg yolks and thickened the mixture. While many modern recipes, like this one, include a short bake to ensure a firm set and enhanced flavor, the spirit of simplicity and fresh ingredients remains at its core.
Unlocking the Best Key Lime Pie: Tips for Success
To ensure your Key Lime Pie is nothing short of spectacular, consider these tips:
- Fresh Key Lime Juice: While bottled Key lime juice is a convenient alternative, fresh Key lime juice offers an unparalleled brightness and depth of flavor. If using fresh, make sure to zest the limes before juicing them.
- Perfect Graham Cracker Crust: Don’t skimp on pressing the crumbs firmly into the pie dish. A well-compacted crust prevents crumbling and provides a solid base. A quick pre-bake helps it set and become wonderfully crisp.
- Sweetened Condensed Milk: This ingredient is crucial for both sweetness and the creamy, custardy texture of the filling. Do not confuse it with evaporated milk.
- Egg Yolks: The egg yolks contribute to the rich color and smooth, dense consistency of the filling. They are essential for achieving that classic Key Lime Pie texture.
- Gentle Whisking: Over-whisking the filling can introduce too much air, which might lead to a less dense pie. Whisk by hand until just combined and slightly thickened.
- Refrigeration is Key: The pie needs ample time in the refrigerator (at least 3 hours, preferably overnight) to fully set and achieve its signature firm yet creamy texture. This step is non-negotiable for a perfect slice.
So, if you’re among the many who would enthusiastically declare “Key Lime!” as your favorite pie without a moment’s hesitation, then this recipe is an absolute must-try. It’s a journey into tangy bliss, a refreshing escape, and a guaranteed crowd-pleaser that will leave everyone asking for another slice. Enjoy the process, and savor every exquisite bite!
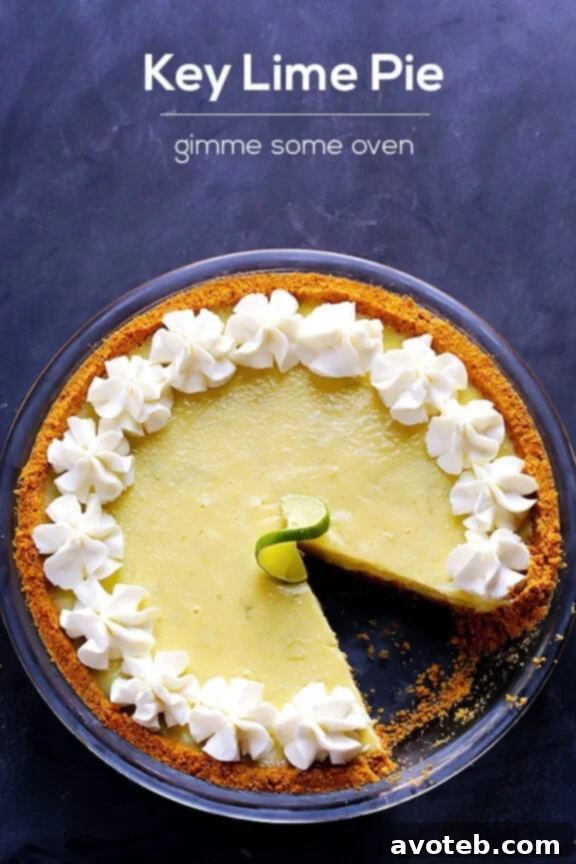
Classic Key Lime Pie Recipe
This recipe for the best Key Lime Pie is quick, fresh, perfectly balanced, and utterly delicious. It’s a simple dessert that consistently earns rave reviews!
Recipe Details
- Rating: 4.8 out of 5 stars from 12 reviews
- Prep Time: 30 minutes
- Cook Time: 25 minutes
- Total Time: 55 minutes (plus refrigeration)
- Yield: 12-16 slices
Ingredients
Graham Cracker Crust Ingredients:
- 1 1/2 cups finely-ground graham cracker crumbs
- 2 tablespoons white granulated sugar
- 6 tablespoons melted unsalted butter
Filling Ingredients:
- 1 (14-ounce) can sweetened condensed milk
- 4 large egg yolks
- 1/2 cup key lime juice (preferably fresh, but bottled juice also works)
- 1 tablespoon lime zest
- Optional Toppings: whipped cream, fresh lime slices or twists, extra lime zest for garnish
Instructions
To Make The Graham Cracker Crust:
- Prep the oven. Heat oven to 350°F (175°C).
- Mix the crust. In a medium mixing bowl, stir together the graham cracker crumbs, sugar, and melted butter until evenly combined. The mixture should resemble wet sand. Press the mixture firmly and evenly into the bottom and up the sides of a 9-inch pie dish. Use the bottom of a glass or your knuckles to ensure a compact crust.
- Bake. Bake the crust for 10 minutes. This helps to set the crust and give it a slight crispness. Transfer the baked crust to a wire rack and let it cool completely while you prepare the filling.
To Make The Filling:
- Whisk the filling. While the crust is cooling, in a separate medium mixing bowl, whisk together the sweetened condensed milk and egg yolks until well combined and smooth. This step ensures a uniform texture.
- Add lime juice and zest. Gradually add the key lime juice and lime zest to the mixture. Continue to whisk by hand for 1 minute until the mixture is fully combined and has thickened slightly. The acidity of the lime juice will begin to “cook” the egg yolks, contributing to the thickening.
- Bake. Pour the prepared key lime filling into the cooled, pre-baked graham cracker crust. Carefully transfer the pie dish to the oven and bake for 15 minutes. The center of the pie should be mostly set, with a slight jiggle. Avoid overbaking.
- Cool and refrigerate. Transfer the baked pie to a wire rack and let it cool completely to room temperature. This gradual cooling helps prevent cracking. Once cooled, refrigerate the pie for at least 3 hours, or ideally overnight, until it is thoroughly chilled and completely set.
- Garnish and serve. Just before serving, top the pie with freshly whipped cream if desired. Sprinkle with a hint of fresh lime zest for an extra burst of aroma and color, and finish with a decorative lime twist or thin lime slice. Slice and serve this refreshing dessert to your eagerly awaiting guests. Enjoy every tangy, sweet bite!
We absolutely love seeing your culinary creations! If you made this delicious Key Lime Pie, please share your photos with us!
Tag @gimmesomeoven on Instagram and use the hashtag #gimmesomeoven. We can’t wait to see your masterpiece!
Disclaimer: This post contains affiliate links, which means I may earn a small commission if you make a purchase through them, at no extra cost to you. These commissions help support this blog and allow me to continue sharing delicious recipes. Thank you for your support!