
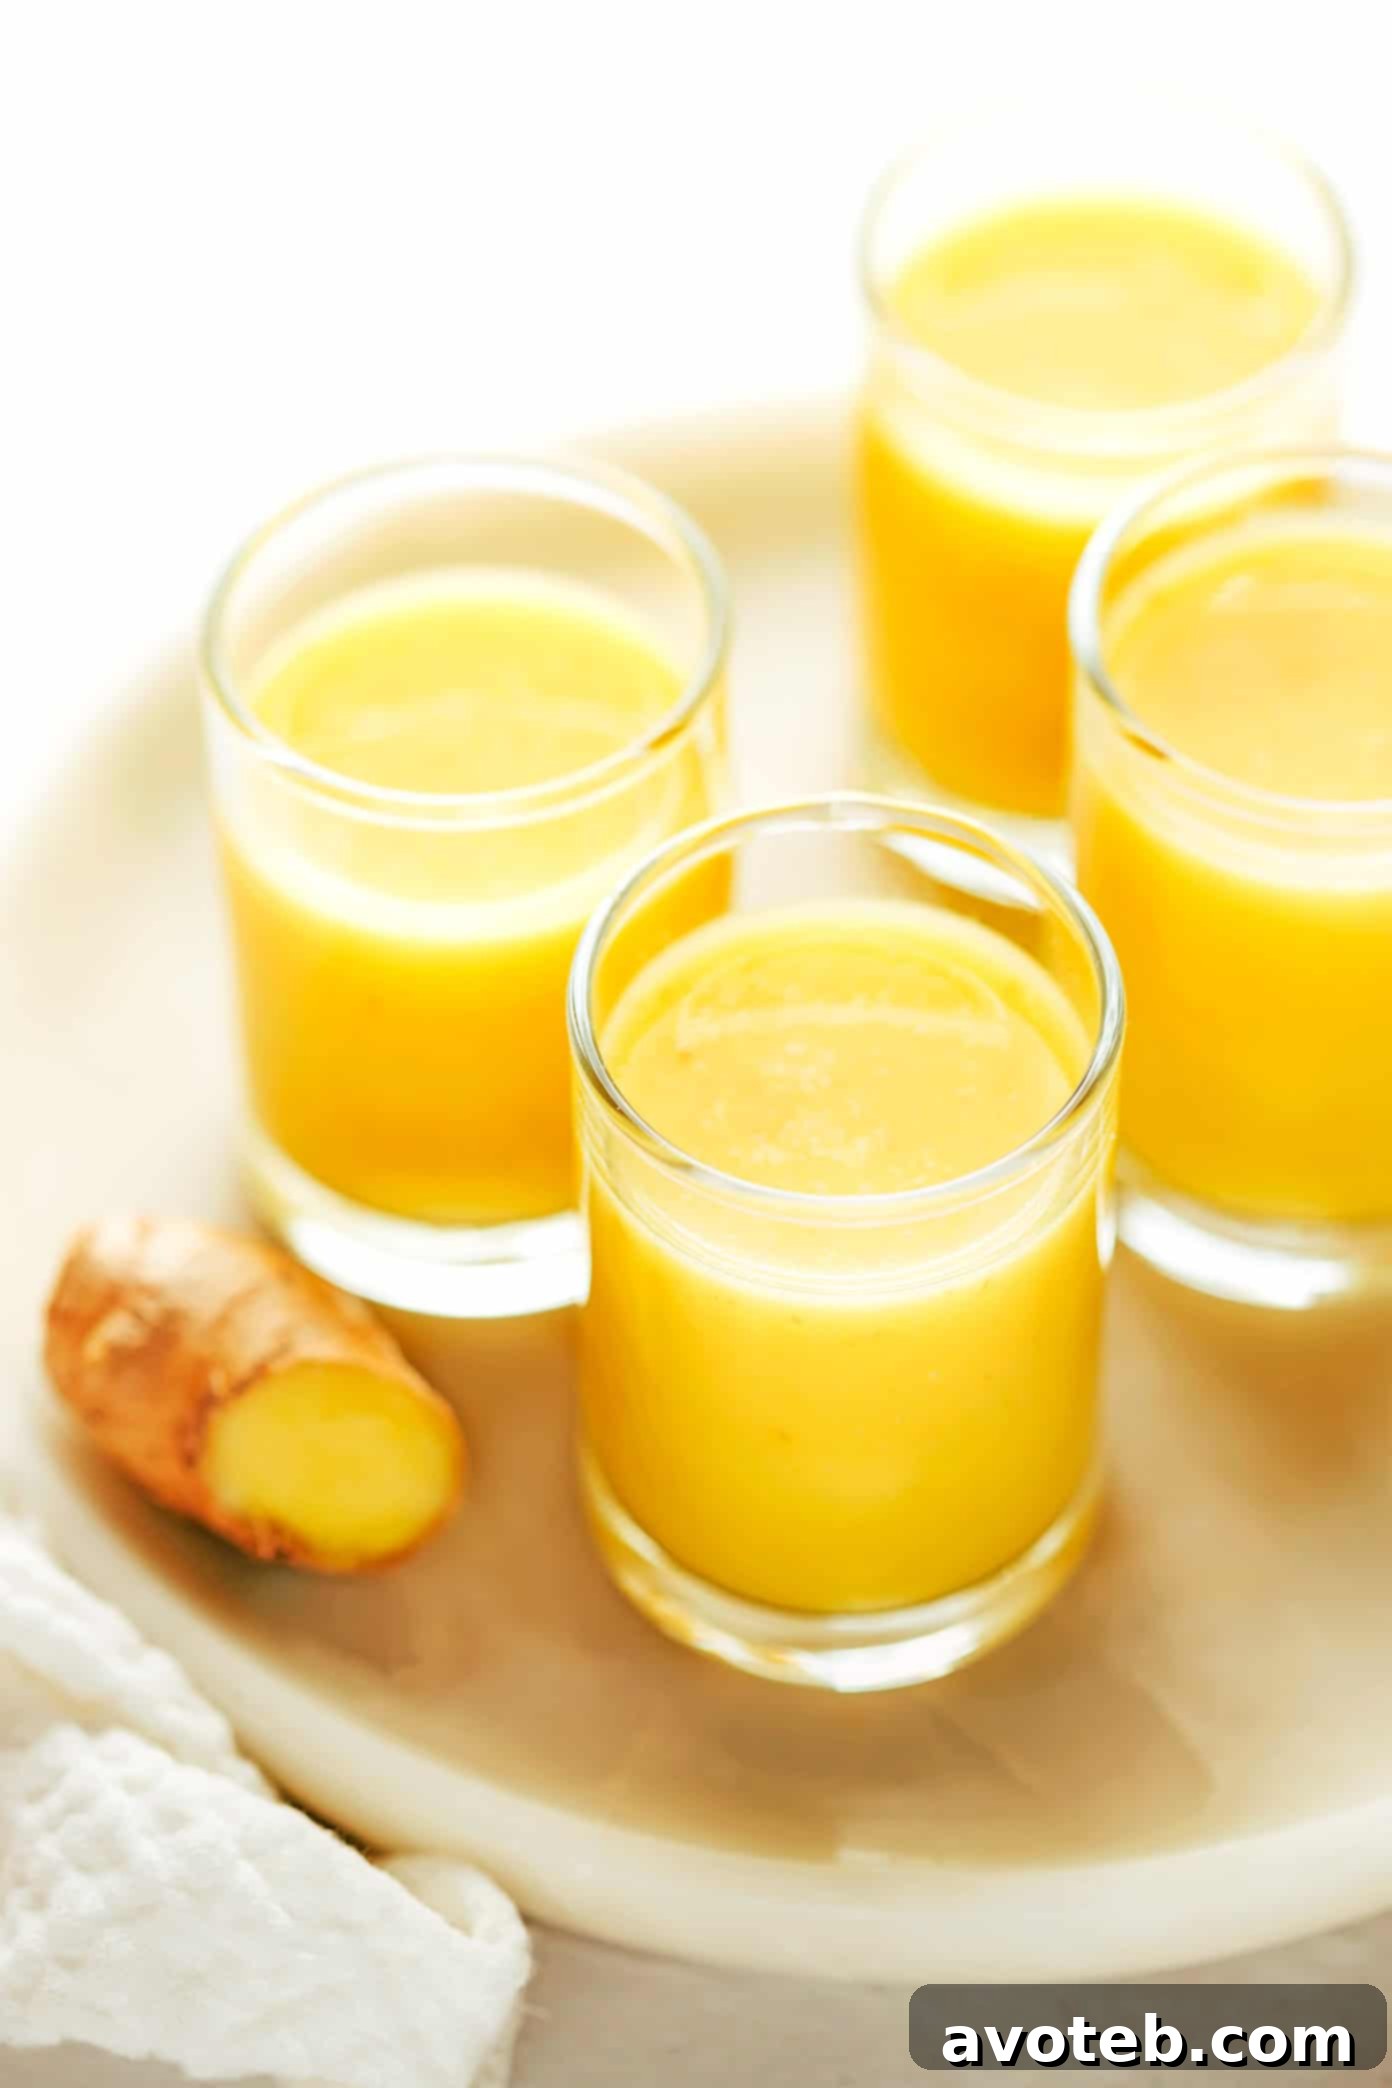
Your go-to ginger shot recipe is here – effortlessly made in a blender, significantly more economical than store-bought options, and fully adaptable to your personal taste preferences.
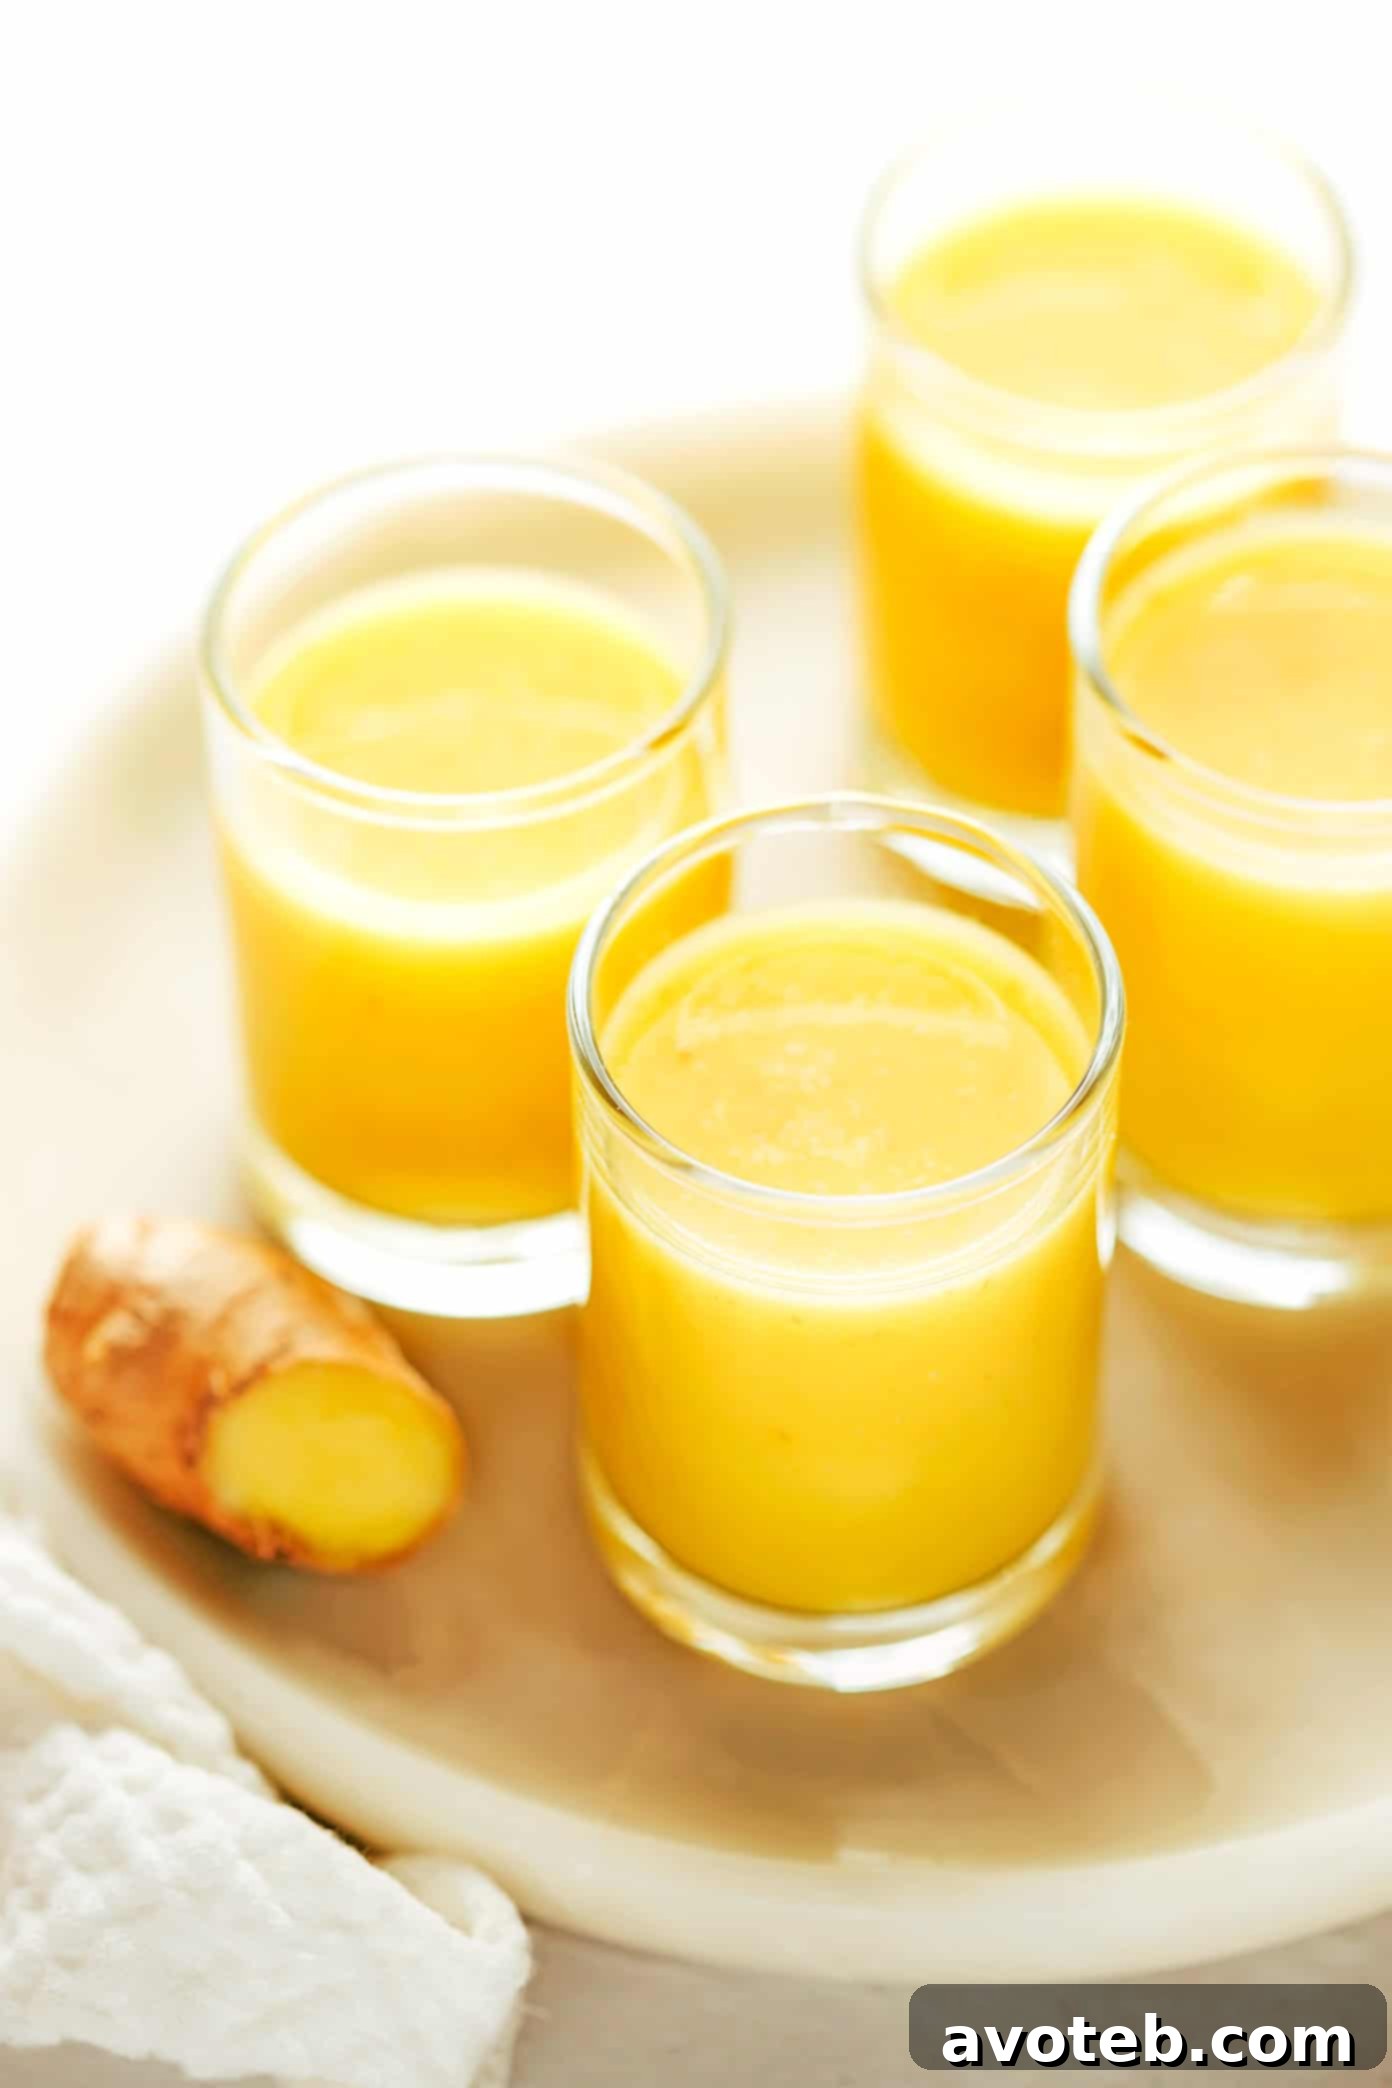
Mastering Homemade Ginger Shots: Your Path to Wellness
As a true enthusiast of the potent, spicy kick of ginger, I absolutely adore a meticulously crafted ginger shot. The invigorating jolt and myriad health benefits make them a daily essential for many. However, the recurring expense of those small, store-bought bottles can quickly accumulate, making a consistent wellness routine quite costly.
This is precisely where the magic of crafting your own ginger shots at home comes into play! With just a few fresh ingredients and the power of a blender, you can whip up a batch of these health elixirs in less than 10 minutes – no specialized juicer required. The real beauty of homemade ginger shots lies in the unparalleled control you gain. You dictate the intensity of the ginger, ensuring it’s exactly to your liking, and choose every ingredient that goes into your glass.
My personal favorite base blends the bright, tangy notes of fresh orange and lemon with the subtle sweetness and electrolytes of coconut water. This trio creates a perfectly balanced and refreshing foundation for the ginger’s robust flavor. Yet, the possibilities are endless! Feel free to experiment with any fruit juice you prefer—be it grapefruit, pineapple, or apple—or simply use plain water. While I personally crave a strong, spicy ginger kick in my shots, you can easily adjust the amount of ginger to either mellow or amplify the heat to suit your palate.
I find immense satisfaction in starting my week by preparing a fresh batch of these potent shots. It sets a positive, health-conscious tone for the days ahead. If you share my passion for the incredible benefits and vibrant flavor of ginger shots, I invite you to join me in this simple, rewarding culinary adventure!
Why Choose Homemade Ginger Shots?
Beyond the undeniable satisfaction of creating something healthful from scratch, making your own ginger shots offers several compelling advantages:
- Cost-Effectiveness: Store-bought ginger shots are often quite expensive per serving. By purchasing ingredients in bulk and preparing them at home, you drastically reduce the cost, making it feasible to enjoy these healthful beverages regularly without breaking the bank.
- Ingredient Control: When you make ginger shots yourself, you know exactly what’s going into them. You can opt for organic produce, avoid artificial sweeteners, preservatives, or other additives often found in commercial versions. This level of transparency ensures purity and maximizes the health benefits.
- Customizable Flavor & Potency: Are you a ginger aficionado who loves an extra spicy punch? Or do you prefer a milder, more approachable flavor? Homemade shots allow you to adjust the amount of ginger, citrus, and other add-ins to create a personalized taste profile that perfectly suits your preferences.
- Freshness Guaranteed: Enjoy the vibrant, potent flavor and maximum nutritional value of freshly blended ingredients. Store-bought options may have been sitting on shelves for a while, potentially diminishing their nutritional potency.
- Reduced Waste: By making your own, you can minimize packaging waste often associated with single-serving bottles, contributing to a more sustainable lifestyle.
Key Ingredients for Your Homemade Ginger Shots
Before diving into the full recipe, let’s explore the essential components that make up these powerful wellness shots:
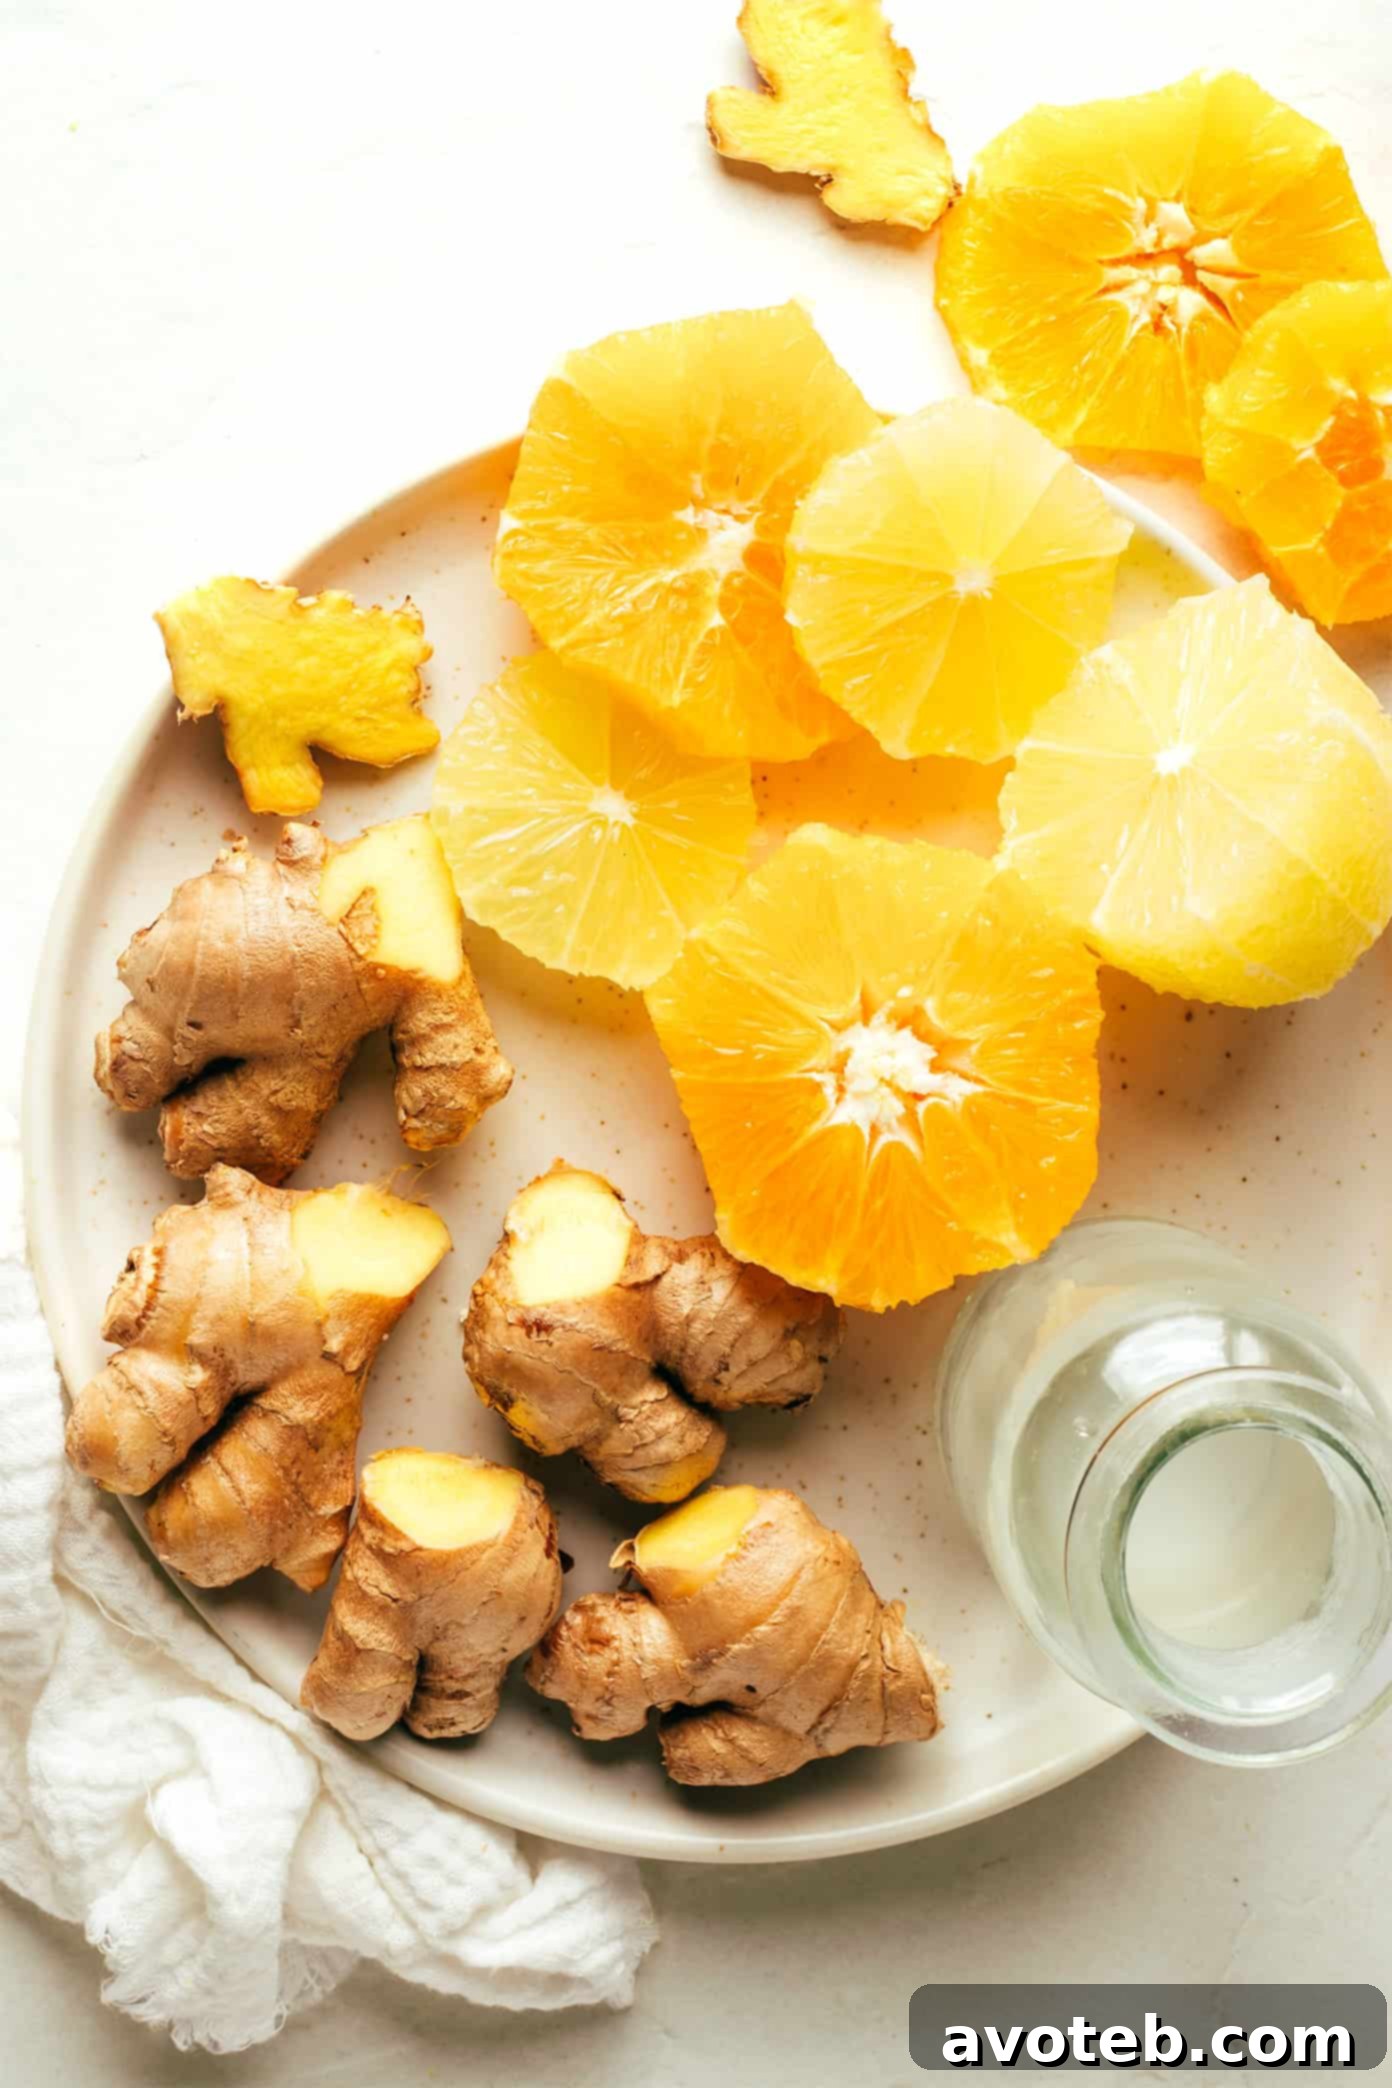
- Fresh Ginger: This is the star of our show, celebrated for its pungent flavor and potent health benefits. The quantity of fresh ginger you incorporate is entirely up to your personal preference; feel free to experiment to find your ideal spice level. For this recipe, there’s no need to meticulously peel the ginger, as the pulp will be strained out anyway. A quick wash to remove any dirt, followed by a rough chop into smaller pieces, is all the preparation required. When selecting ginger, look for firm, smooth roots with thin skin, avoiding any soft spots or mold.
- Citrus (Lemon and Orange): I particularly love the combination of fresh lemon and orange as the vibrant base for my ginger shots. Lemon provides a zesty tartness, while orange adds a touch of natural sweetness and mellows the ginger’s intensity. Both are excellent sources of Vitamin C and antioxidants. You can opt for just one citrus fruit if preferred, or explore other fantastic fruit alternatives mentioned below. To simplify the process and avoid washing an extra strainer, I typically peel both the orange and lemon and toss them directly into the blender with the ginger. However, if you prefer a smoother texture, you can strain the citrus juice first before adding it to the blender.
- Coconut Water: Coconut water not only imparts a subtle, tropical flavor to the shots but also provides natural electrolytes, aiding in hydration. It’s a fantastic addition for a more nutrient-rich beverage. If coconut water isn’t readily available or to your taste, plain filtered water works perfectly fine as a neutral base, allowing the ginger and citrus flavors to shine through.
Effortless Preparation: How to Make Ginger Shots
Crafting your own homemade ginger shots is a straightforward process that takes just a few minutes. Here’s how to do it:
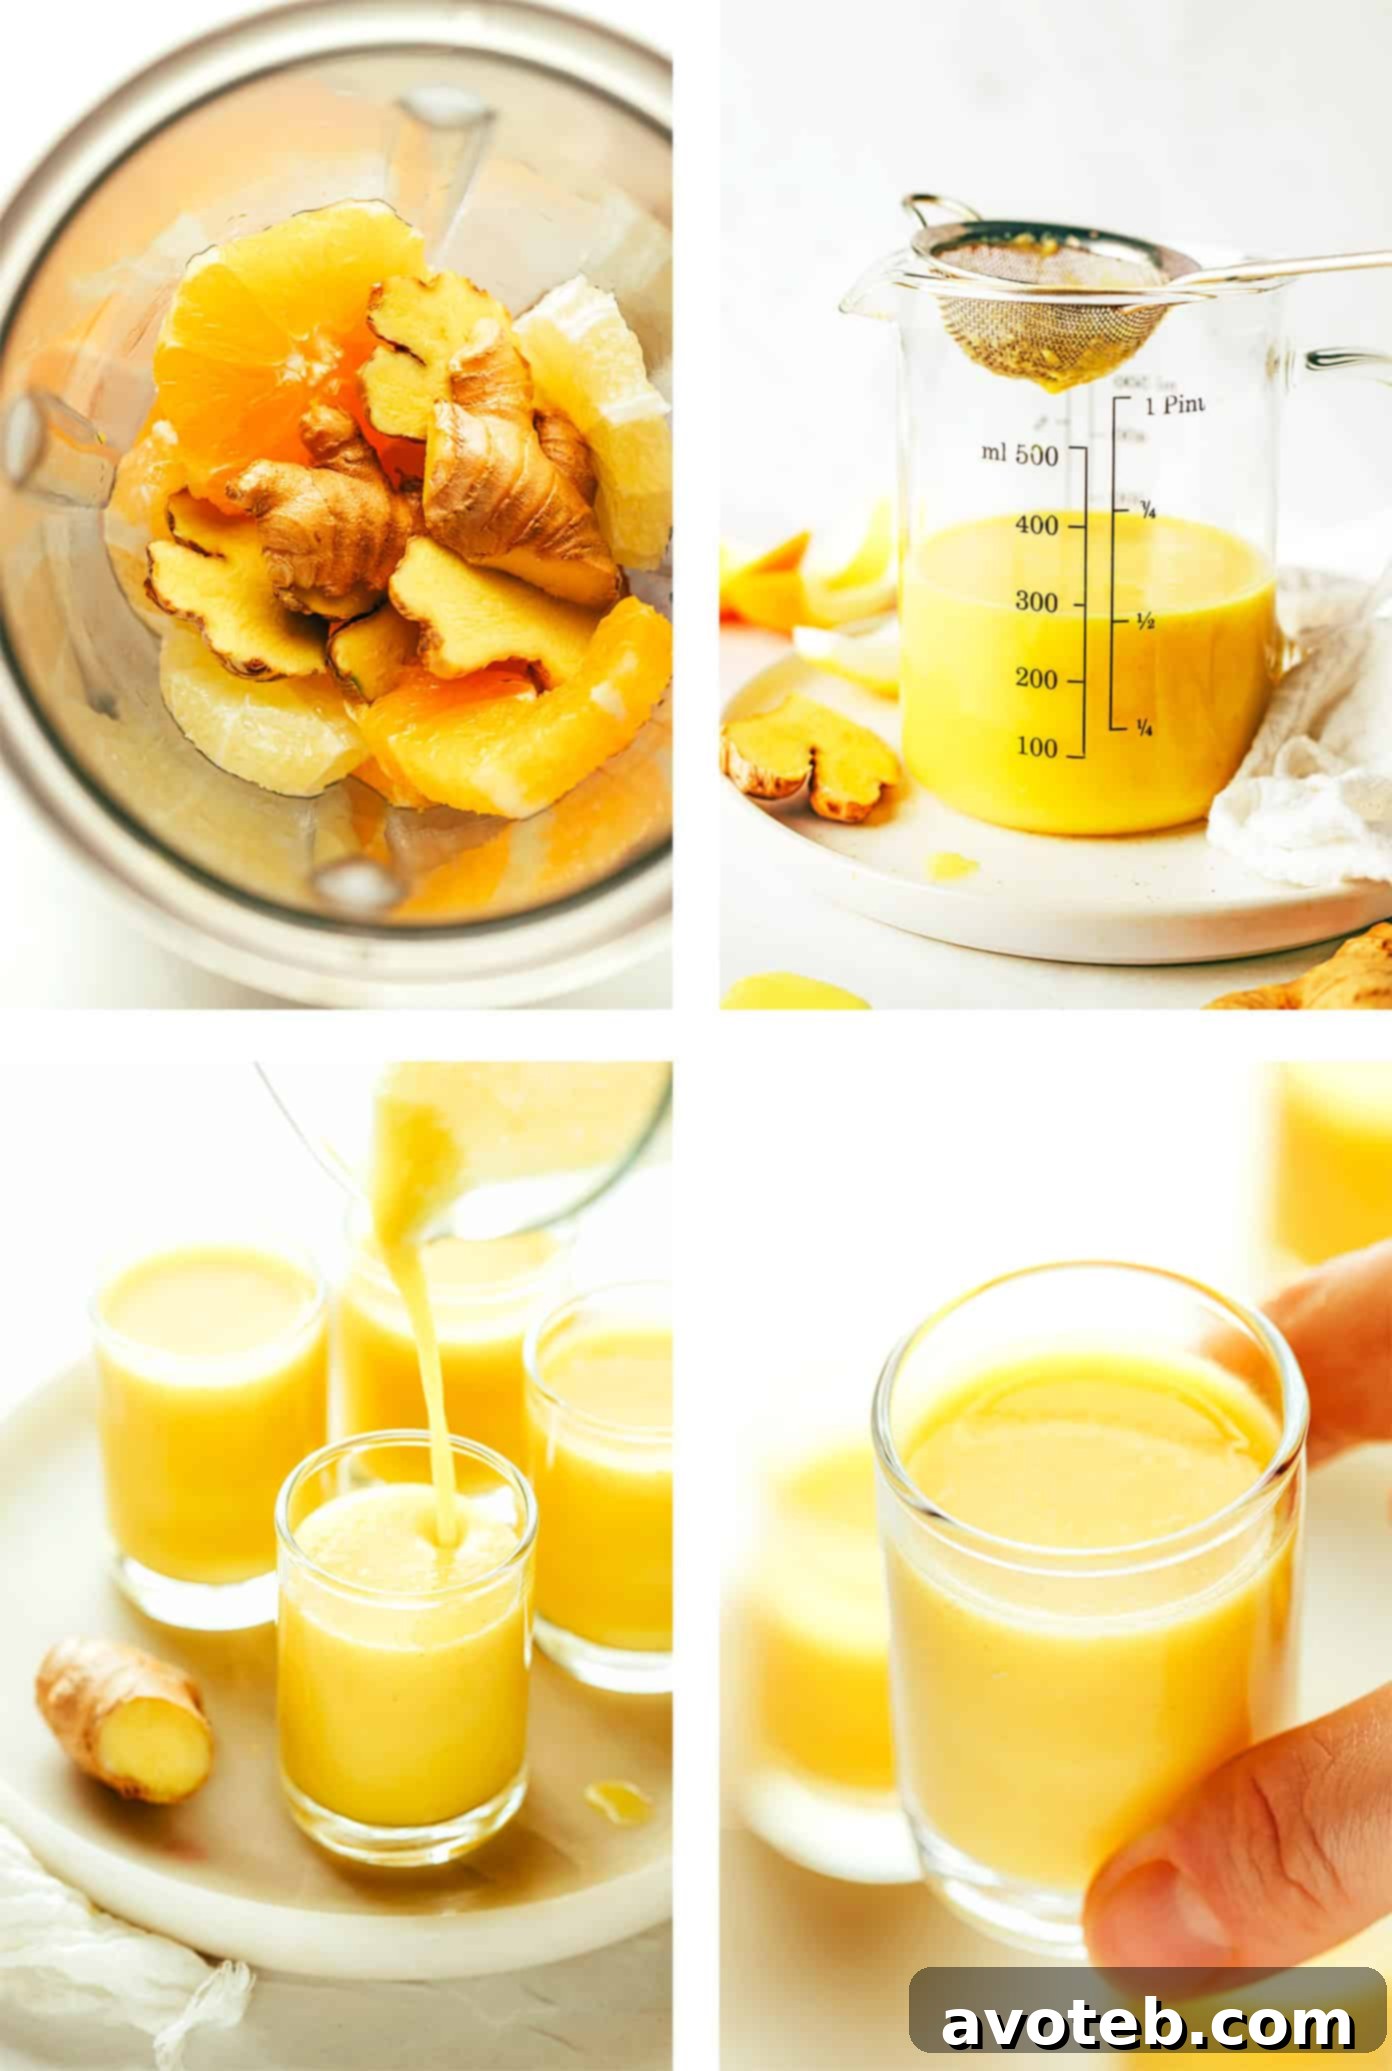
- Blend with Precision: Begin by combining all your prepared ingredients—fresh ginger, peeled orange, peeled lemon, and coconut water—into a high-speed blender or a robust food processor. Secure the lid and purée the mixture for about 20-30 seconds, or until it reaches a relatively smooth consistency. The goal is to break down the ginger and citrus thoroughly to extract maximum flavor and nutrients.
- Strain for Smoothness: Carefully pour the blended mixture through a fine-mesh strainer or a nut milk bag. Position your chosen straining tool over a measuring cup or a bowl to collect the juice. Using the back of a spoon or your hands (if using a nut milk bag), firmly press down on the remaining pulp to extract every last drop of the precious ginger juice. Once thoroughly strained, discard the fibrous pulp.
- Serve and Savor: Your potent ginger shots are now ready to be enjoyed! Serve them immediately to experience their freshest flavor and potency. For convenient future consumption, transfer the ginger shots into a sealed container and refrigerate for up to 3 days. It’s natural for the mixture to settle over time, so remember to give it a quick stir or a gentle shake just before serving to reincorporate all the flavors.
Storing Your Homemade Ginger Shots for Freshness
Preparing a larger batch of ginger shots is a fantastic way to ensure you have a healthful boost ready whenever you need it. Proper storage is key to maintaining their freshness and potency.
Refrigeration
Once blended and strained, your ginger shots can be stored in an airtight container in the refrigerator for up to 3 days. Glass bottles with tight-fitting lids are ideal for this, as they don’t absorb odors and keep the shots fresh. Always shake or stir well before drinking, as natural separation will occur.
Freezing for Extended Enjoyment
For longer-term storage and ultimate convenience, freezing your ginger shots is an excellent option. This method allows you to enjoy them for weeks or even months!
- Prepare Your Recipe: Follow the blending and straining instructions above to create your ginger shot base.
- Portion into Servings: After giving the mixture a good stir to ensure even distribution, pour the ginger shots into ice cube trays or specialized freezer trays. I find trays that make 2-ounce cubes particularly useful, as each cube then equates to a single serving. However, any standard ice cube tray will work perfectly.
- Freeze Solid: Place the filled trays into the freezer and allow the ginger shot cubes to freeze completely solid. This usually takes a few hours.
- Transfer for Storage: Once fully frozen, you can easily pop the individual cubes out of the trays and transfer them into a large, freezer-safe bag or an airtight container. This frees up your trays for other uses and makes for neat, compact storage in your freezer. Label with the date for best practice.
- Thaw and Enjoy: When you’re ready to enjoy a frozen ginger shot, simply remove a cube (or a few, depending on your preferred serving size) and place it in a sealed container in the refrigerator. Allow it to thaw completely until it returns to its liquid state. Once thawed, drink and savor! Thawed ginger shots can be safely stored in the refrigerator for up to 3 days.
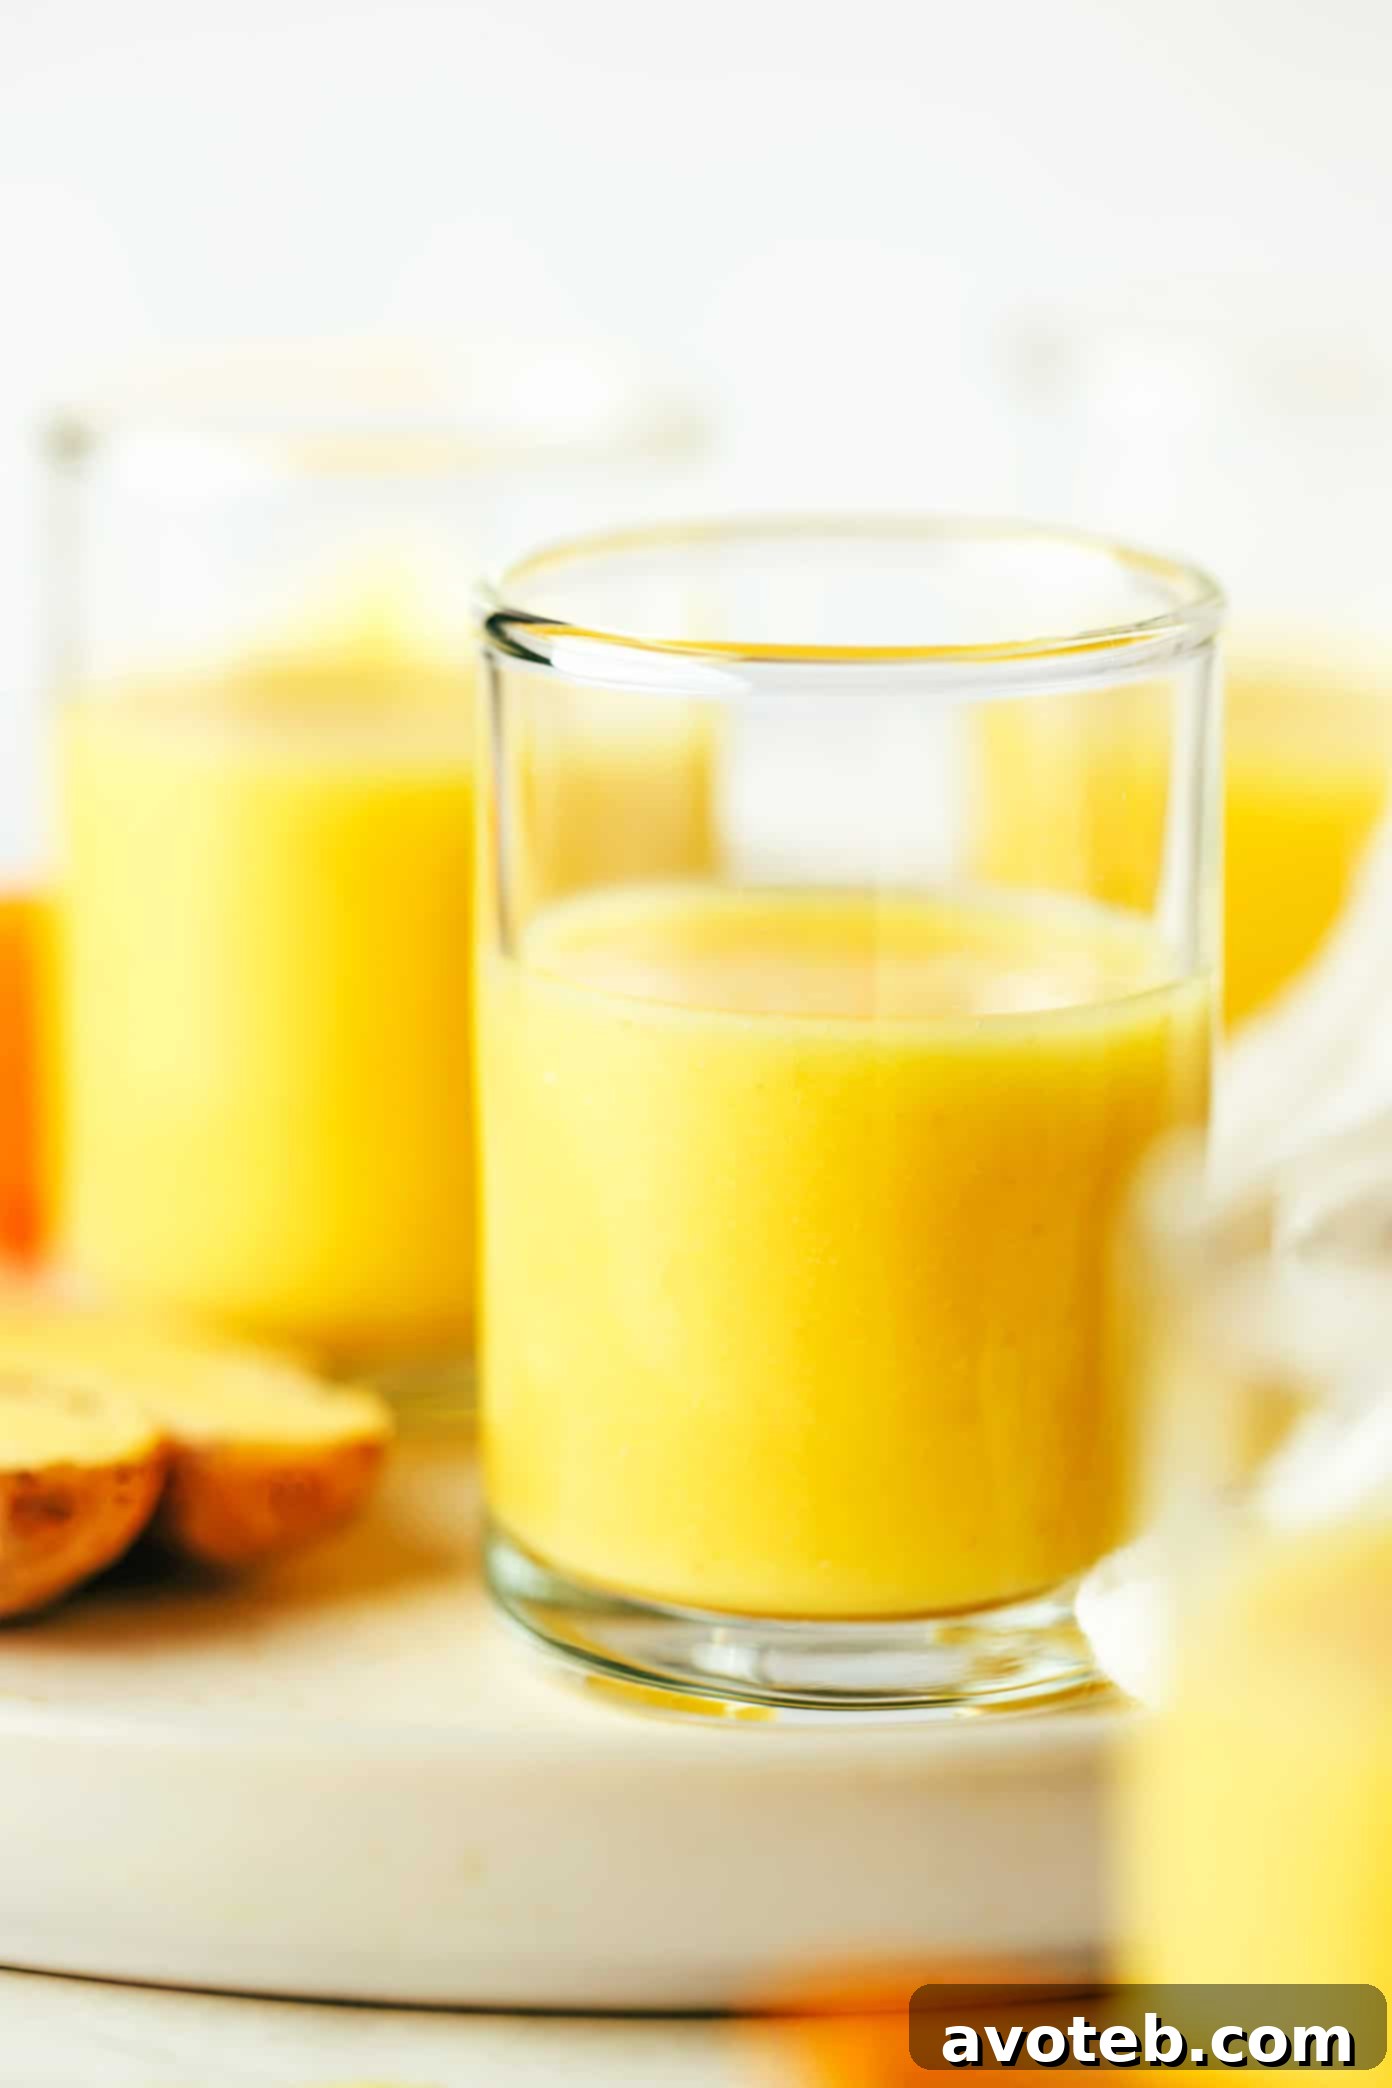
Unleash Your Creativity: Exciting Ginger Shot Variations
The beauty of making your own ginger shots lies in the endless possibilities for customization. Don’t hesitate to experiment and tailor this recipe to perfectly match your palate and nutritional goals! Here are some fun and flavorful ways you can modify your ginger shots:
- Add Natural Sweetener: If you find the ginger’s spice a bit too intense, or simply prefer a sweeter profile, feel free to add a natural sweetener. Maple syrup, honey, agave nectar, or a few drops of stevia can be incorporated to taste. Start with a small amount and adjust until you reach your desired sweetness.
- Boost with Turmeric: For an anti-inflammatory powerhouse, add fresh turmeric root along with the fresh ginger. Turmeric shares many health benefits with ginger and adds a beautiful golden hue. Remember to include a small pinch of black pepper, as piperine in black pepper significantly enhances the absorption of curcumin, turmeric’s active compound.
- Infuse with Fresh Mint: For a wonderfully refreshing twist, add a handful of fresh mint leaves to the blender. Mint offers a bright, cooling contrast to the ginger’s warmth and can also aid in digestion, making for a truly invigorating shot.
- Experiment with Different Fruit Bases: Don’t limit yourself to lemon and orange! Explore other juicy fresh fruits to create distinct flavor profiles. Grapefruit adds a bitter tang, pineapple offers tropical sweetness and bromelain, watermelon brings hydration, mango provides a lush sweetness, and pear offers a subtle, delicate flavor. Alternatively, for ultimate convenience, you can simply use about 1/3 cup of your favorite store-bought fruit juice (ensure it’s 100% juice with no added sugars).
- Embrace the Pulp (Fiber Boost): If you prefer to maximize fiber intake and don’t mind a thicker, less smooth texture, you can skip the straining step entirely. In this case, it’s advisable to peel the ginger root before blending to avoid a overly fibrous consistency. Simply purée all ingredients until very smooth and serve as is!
- A Kick of Cayenne: For those who love extra heat and a metabolism boost, a tiny pinch of cayenne pepper can be added to the blend. Start with a very small amount, as a little goes a long way!
- Superfood Add-ins: Consider stirring in a small amount of spirulina powder, chlorella, or other superfood powders after blending and straining for an extra nutritional punch.
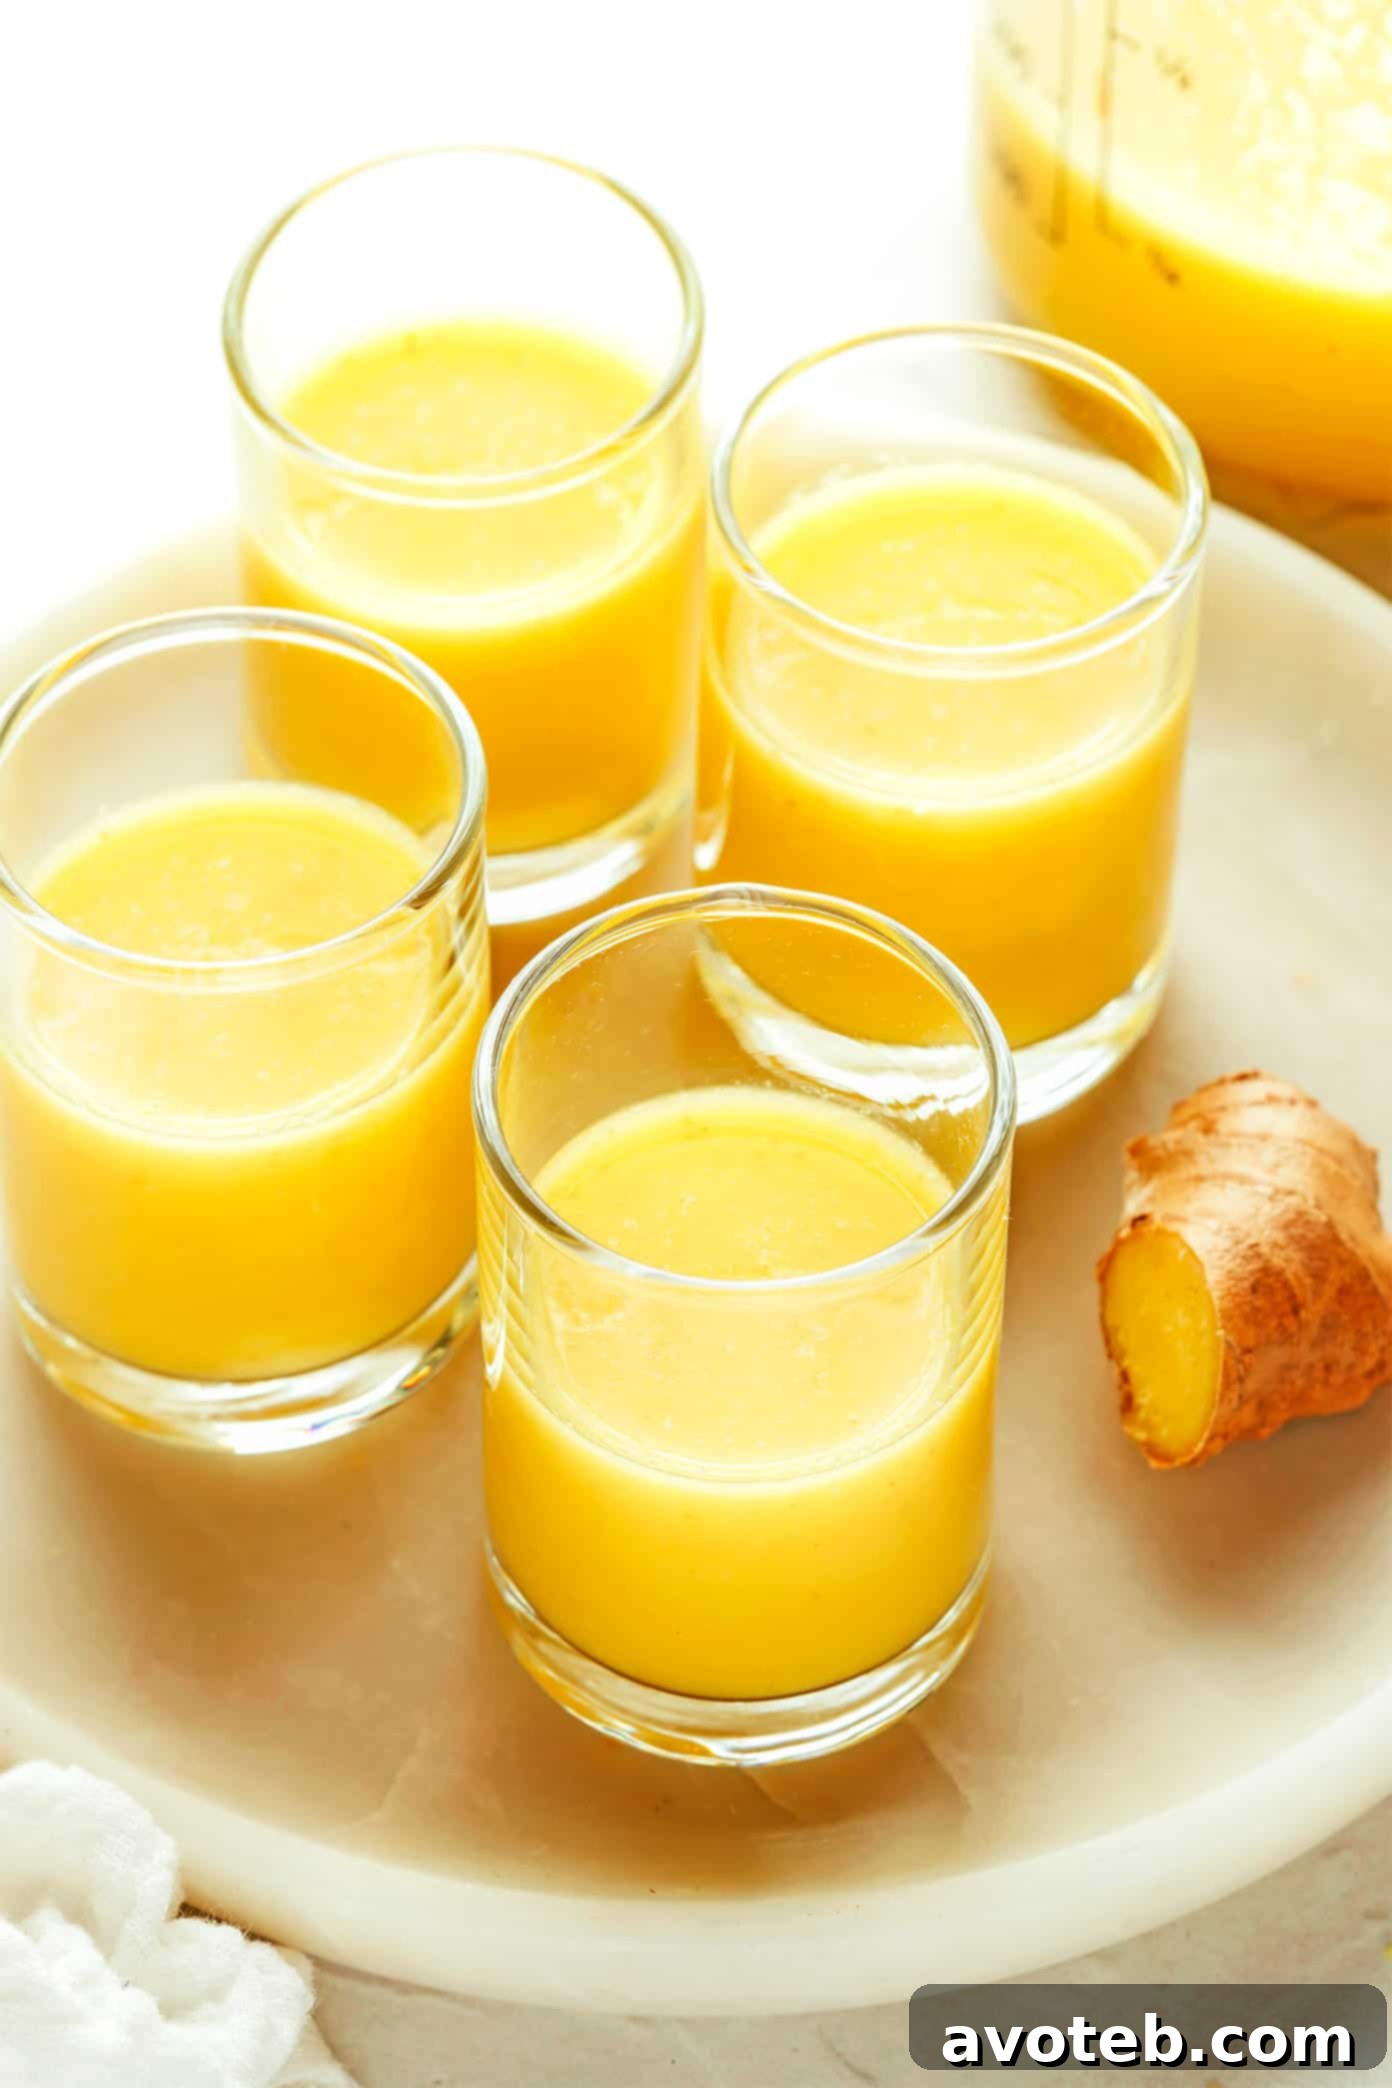
The Powerful Health Benefits of Ginger Shots
Beyond their incredible flavor, fresh ginger shots are celebrated for being powerhouses of potent antioxidants and beneficial nutrients. While I am not a medical professional, ginger has a long-standing history in traditional medicine and is widely researched for its potential health-promoting properties. Here are some of the potential benefits you might experience:
- Immune System Support: Ginger is rich in gingerols, compounds known for their antioxidant and anti-inflammatory effects. These can help strengthen the immune system, particularly during cold and flu season, by fighting off free radicals and supporting overall cellular health.
- Anti-Inflammatory Properties: Gingerols are powerful anti-inflammatory agents that can help reduce chronic inflammation throughout the body. This may contribute to alleviating symptoms of various inflammatory conditions, including muscle soreness after exercise, arthritis, and other inflammatory responses.
- Digestive Aid & Nausea Relief: Ginger is perhaps best known for its ability to soothe the digestive system. It can help alleviate indigestion, bloating, and stomach discomfort. Furthermore, ginger is highly effective in reducing nausea, whether it’s morning sickness, motion sickness, or chemotherapy-induced nausea.
- Enhanced Hydration: Especially when made with coconut water, ginger shots contribute to your daily hydration needs. Proper hydration is crucial for every bodily function, from metabolism to nutrient transport.
- Potential Blood Sugar Regulation: Some studies suggest that ginger may help lower blood sugar levels and improve various heart disease risk factors in people with type 2 diabetes. However, more research is needed in this area.
- Pain Relief: Due to its anti-inflammatory properties, ginger may also help reduce various types of pain, including menstrual pain, muscle pain, and joint pain.
Important Disclaimer: While the potential benefits of ginger are widely recognized, it is crucial to understand that I am not a doctor. The information provided here is for general knowledge and informational purposes only, and does not constitute medical advice. For detailed, expert insights into the science behind ginger’s benefits, you can refer to reputable sources such as Cleveland Clinic and Healthline.
Furthermore, it’s important to note that ginger, especially in high doses, can act as a blood-thinner and may increase heartburn in some individuals. If you have any underlying health conditions, are pregnant, breastfeeding, or taking any medications (especially blood thinners), please always consult with a qualified medical professional before incorporating ginger shots into your routine. Your health and safety are paramount.
Essential Equipment for Perfect Ginger Shots
To effortlessly create your homemade ginger shots, having the right tools makes all the difference:
- High-Speed Blender (e.g., Vitamix Blender): A powerful blender is crucial for thoroughly breaking down the fibrous ginger and citrus fruits, ensuring you extract the maximum amount of juice and nutrients, resulting in a smooth purée ready for straining.
- Fine Mesh Strainer or Nut Milk Bag: This tool is essential for separating the smooth, potent ginger juice from the fibrous pulp. A fine mesh strainer will yield a clear liquid, while a nut milk bag can often extract even more juice with firm squeezing.
Tips for the Best Homemade Ginger Shots
- Ginger Intensity: Remember, 3 ounces of fresh ginger provides a quite intense and spicy kick. If you’re new to ginger shots, you might want to start with a smaller amount, perhaps 1.5 to 2 ounces, and gradually increase to find your preferred potency. Some ginger lovers might even prefer more than 3 ounces for an extra fiery boost!
- Choose Organic: Whenever possible, opt for organic ginger and citrus. Since you’re not peeling the ginger, and often not the citrus, this minimizes exposure to pesticides.
- Taste and Adjust: Always taste your mixture before straining. This is your chance to add more ginger for spice, more citrus for tang, or a touch of sweetener if desired.
- Optimal Freshness: While refrigerated shots are good for up to 3 days, they are most potent and vibrant when consumed fresh, ideally within 24-48 hours.
- Serving Temperature: Ginger shots are typically enjoyed chilled. You can add a small ice cube or two if serving immediately.
Ginger Shots: The Ultimate Homemade Recipe
Description
This easy-to-make ginger shot recipe comes together quickly in your blender. It’s a fantastic way to enjoy a potent, customizable, and affordable wellness boost. See the notes and variations section above for creative ideas to adapt this recipe to your liking!
Recipe Overview
- Author: Ali
- Prep Time: 10 mins
- Cook Time: 0 mins
- Total Time: 10 mins
- Yield: 5 (2-ounce) servings
Ingredients
- 3 ounces* fresh ginger, unpeeled, washed and roughly chopped
- 1 orange, peeled
- 1 lemon, peeled
- 1/4 cup coconut water (or plain water)
Instructions
- Blend: Combine all ingredients (fresh ginger, peeled orange, peeled lemon, and coconut water) in a high-speed blender. Blend for 20-30 seconds, until the mixture is relatively smooth and the ginger is finely processed.
- Strain: Place a fine-mesh strainer or a nut milk bag over a measuring cup or bowl. Pour the blended mixture through, using a spoon to press down on the pulp firmly to extract as much juice as possible. Discard the remaining pulp.
- Serve: Pour the strained ginger shots into small glasses and serve immediately for maximum freshness. Alternatively, transfer to an airtight container and refrigerate for up to 3 days. The mixture will naturally separate; stir or shake well before serving.
Equipment
- Vitamix Blender (or other high-speed blender)
- Fine Mesh Strainer (or nut milk bag)
Notes
*Amount of Fresh Ginger: Please be aware that 3 ounces of fresh ginger will result in a very intense and spicy shot! If you are new to ginger shots or prefer a milder flavor, feel free to reduce the amount to 1.5-2 ounces. Conversely, if you crave an extra fiery kick, you can increase the ginger quantity. Adjust to your personal taste preference.