
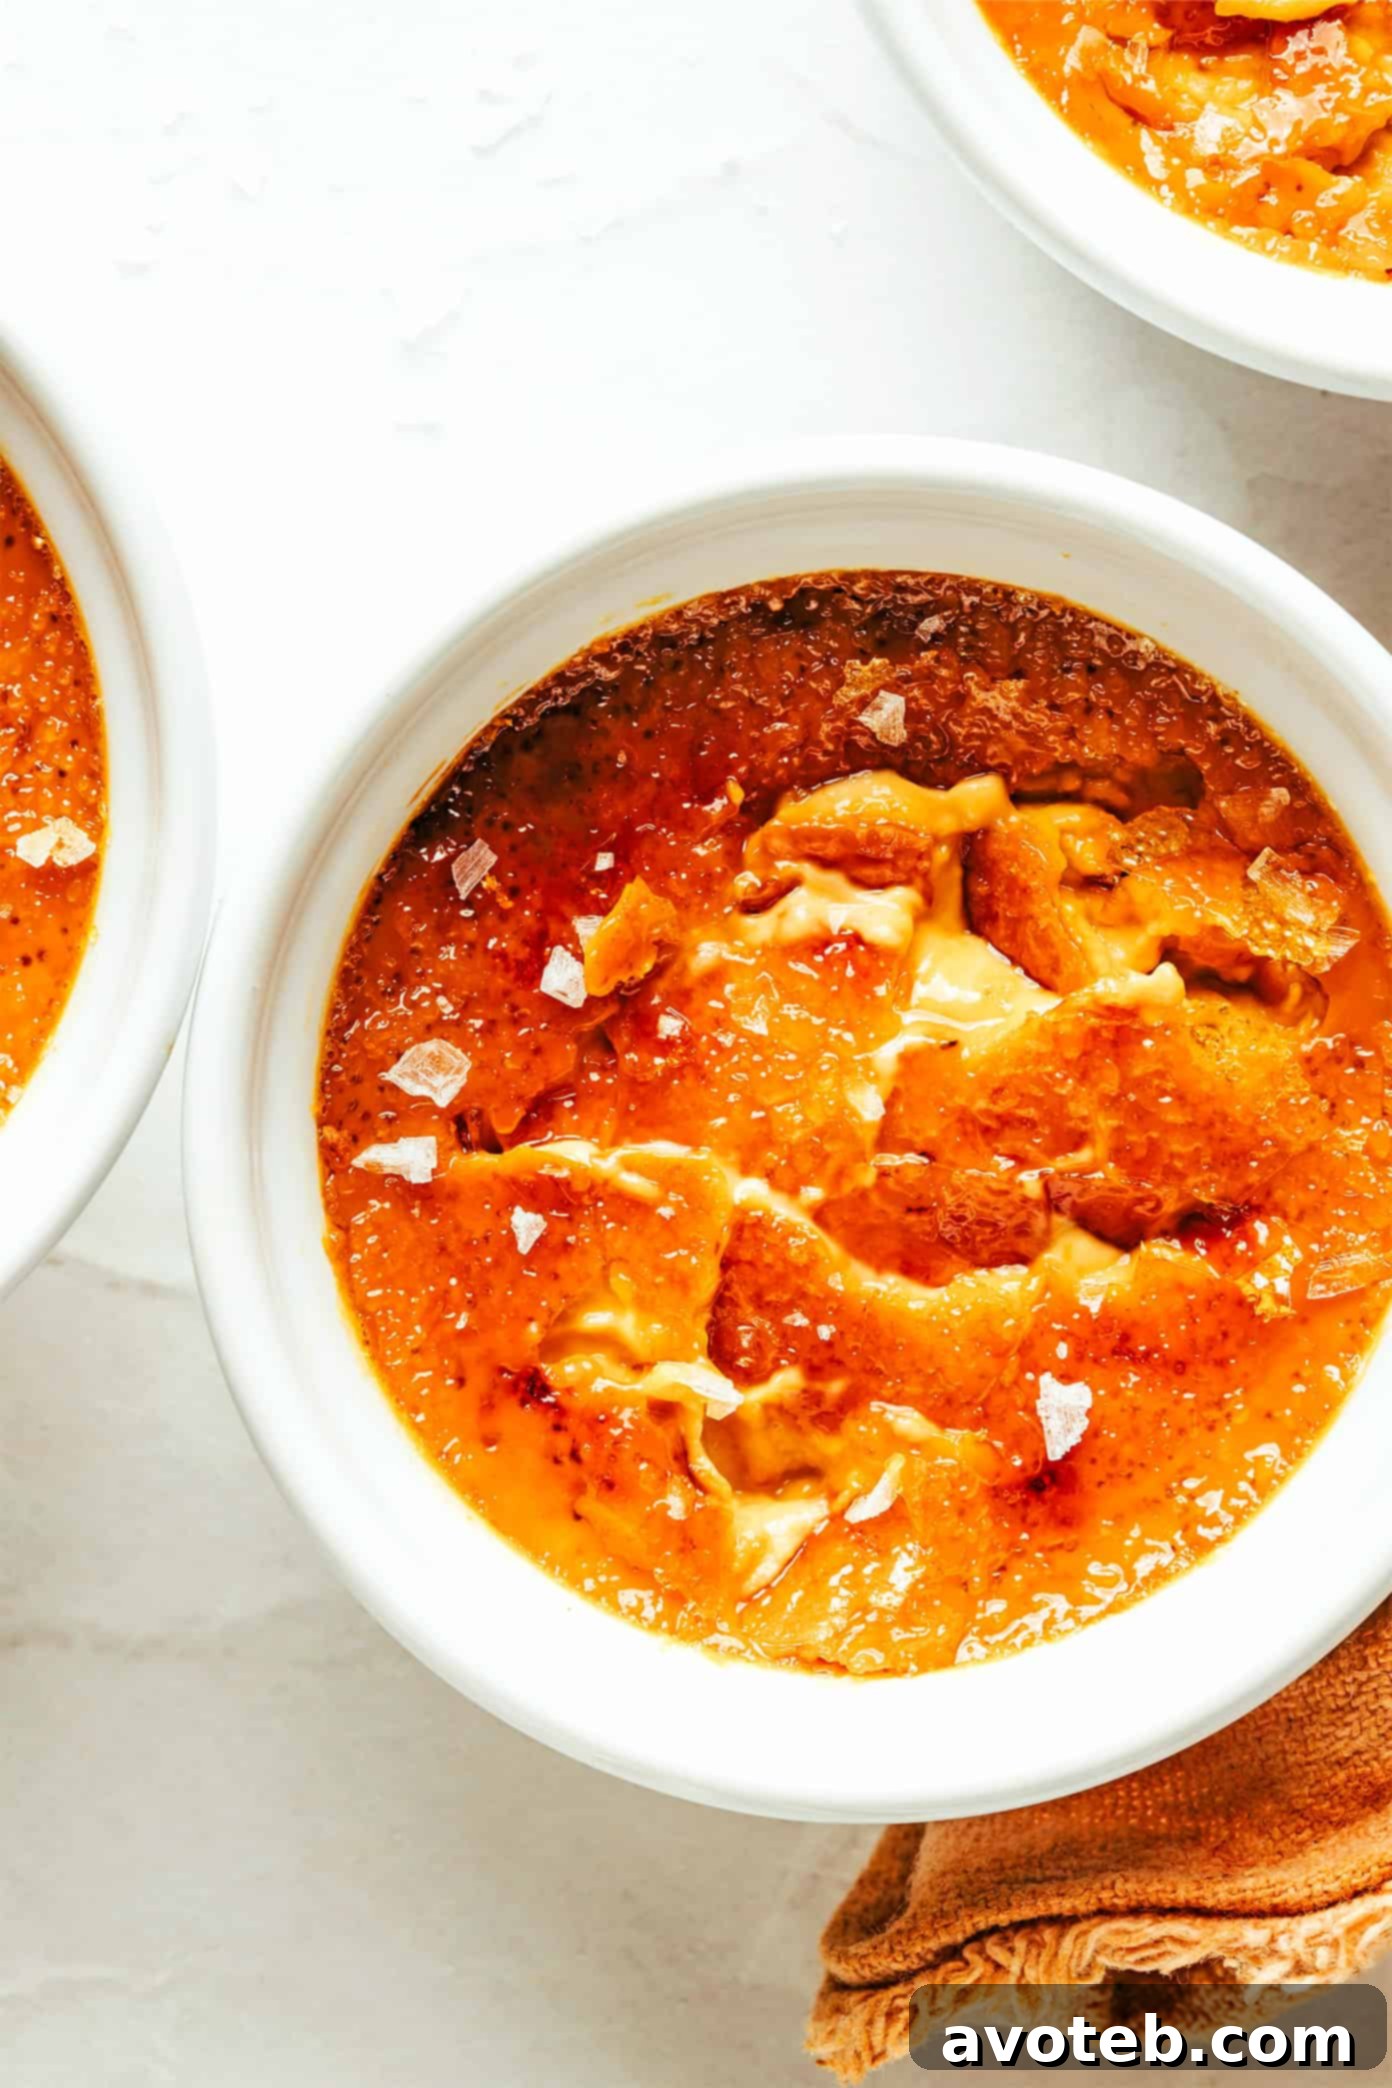
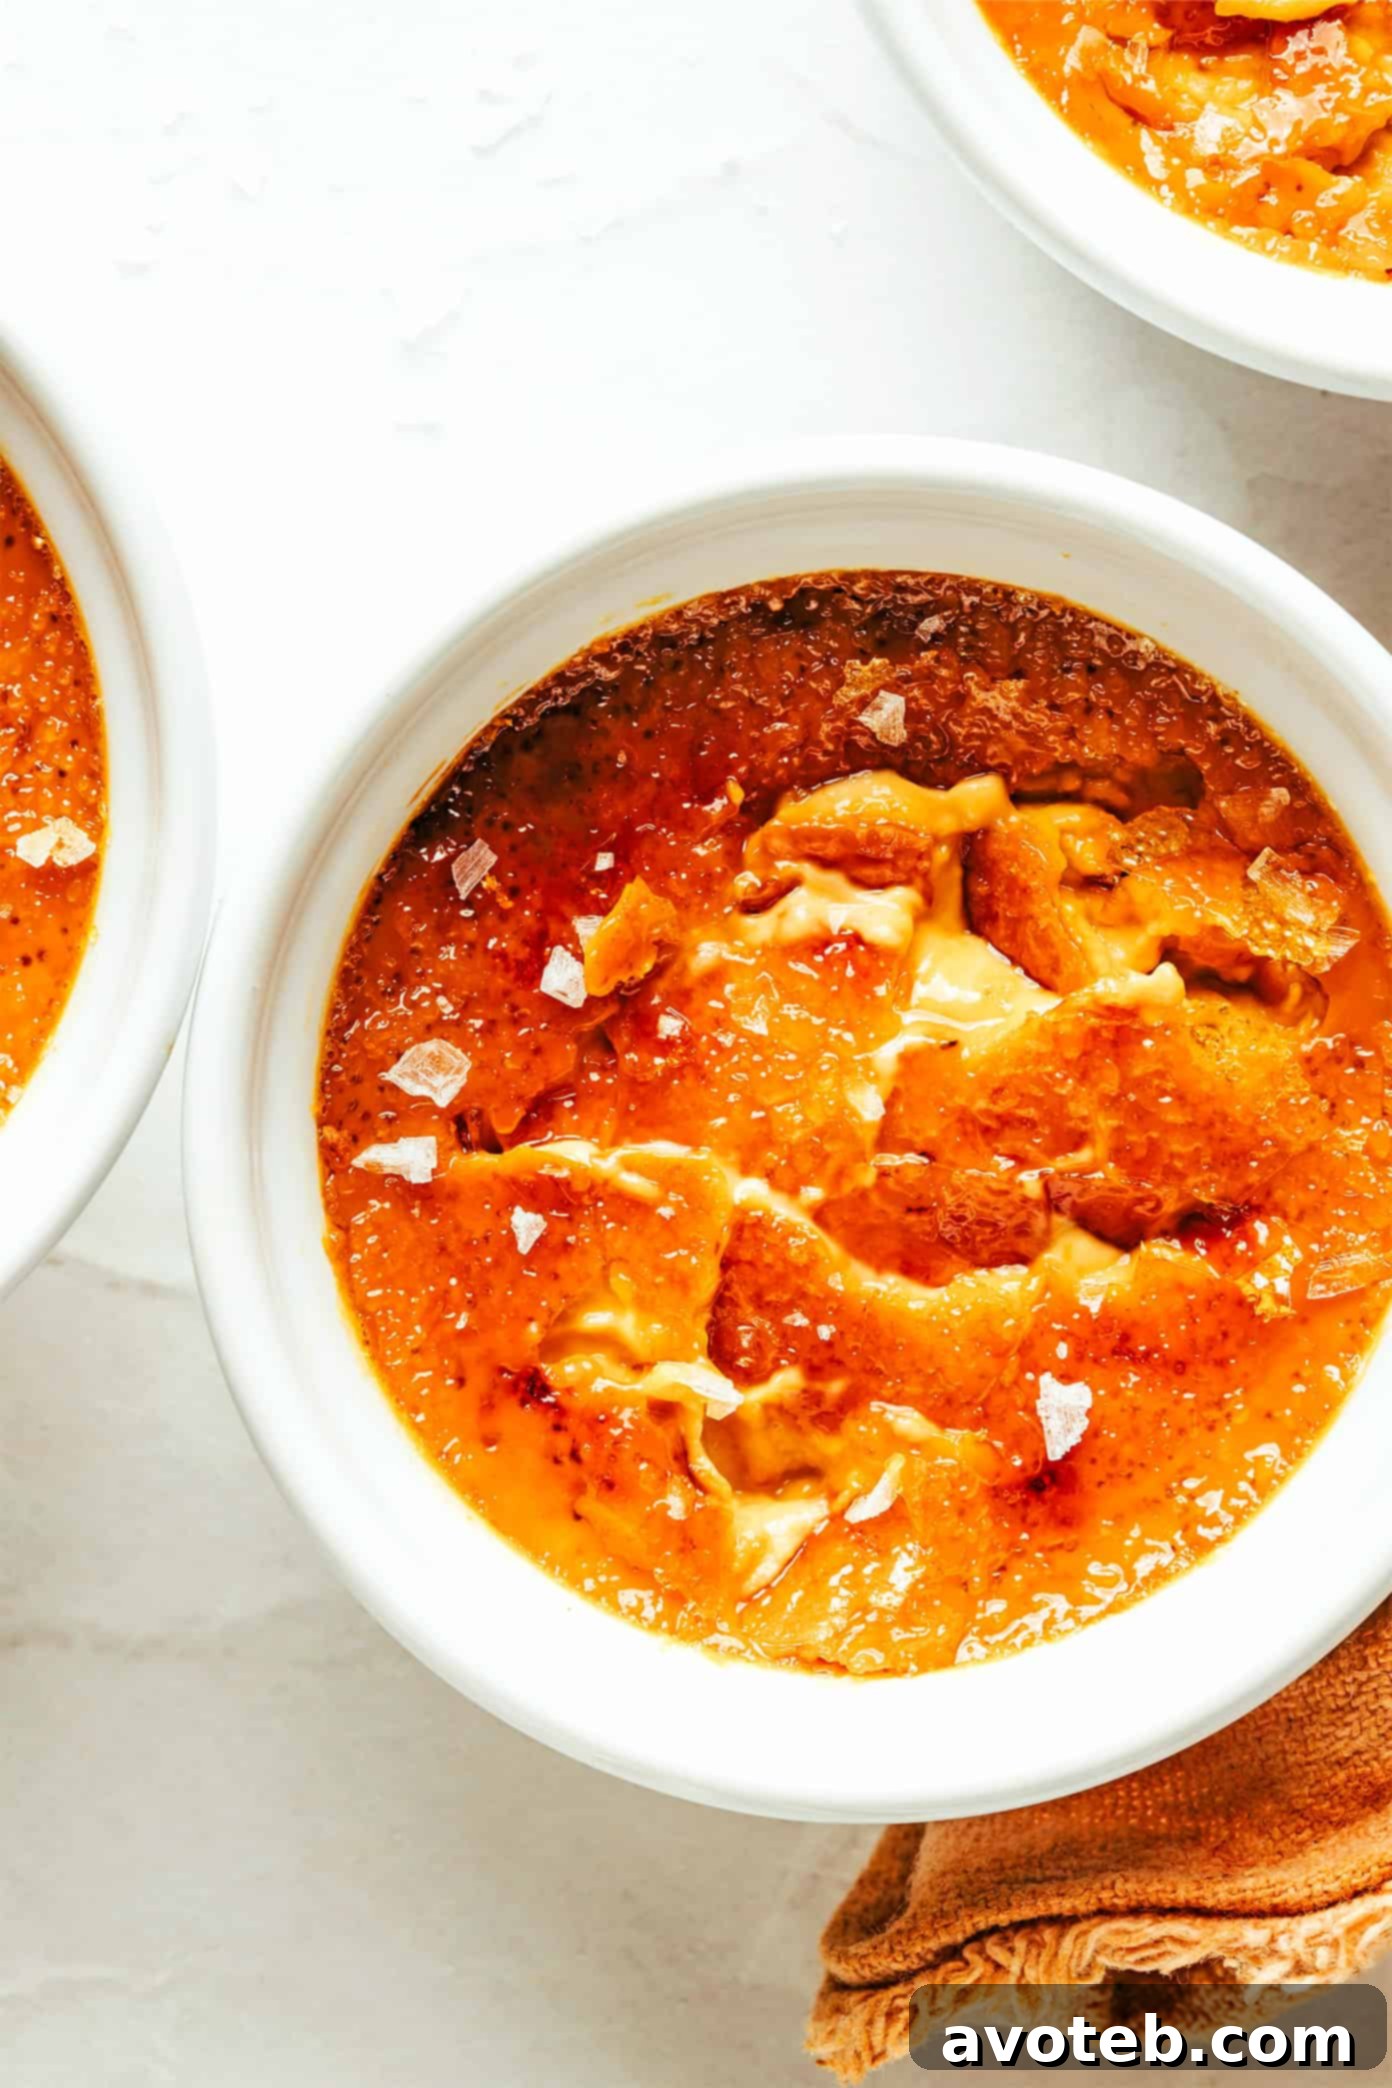
Indulge in the exquisite delight of this Salted Caramel Crème Brûlée, a surprisingly simple dessert that promises a luxurious experience with every spoonful. Featuring a rich, creamy salted caramel custard crowned with a perfectly crisp, caramelized sugar topping, this recipe is designed for both ease and elegance. Its prepare-ahead flexibility makes it an ideal choice for entertaining, allowing you to dazzle your guests with minimal last-minute effort.
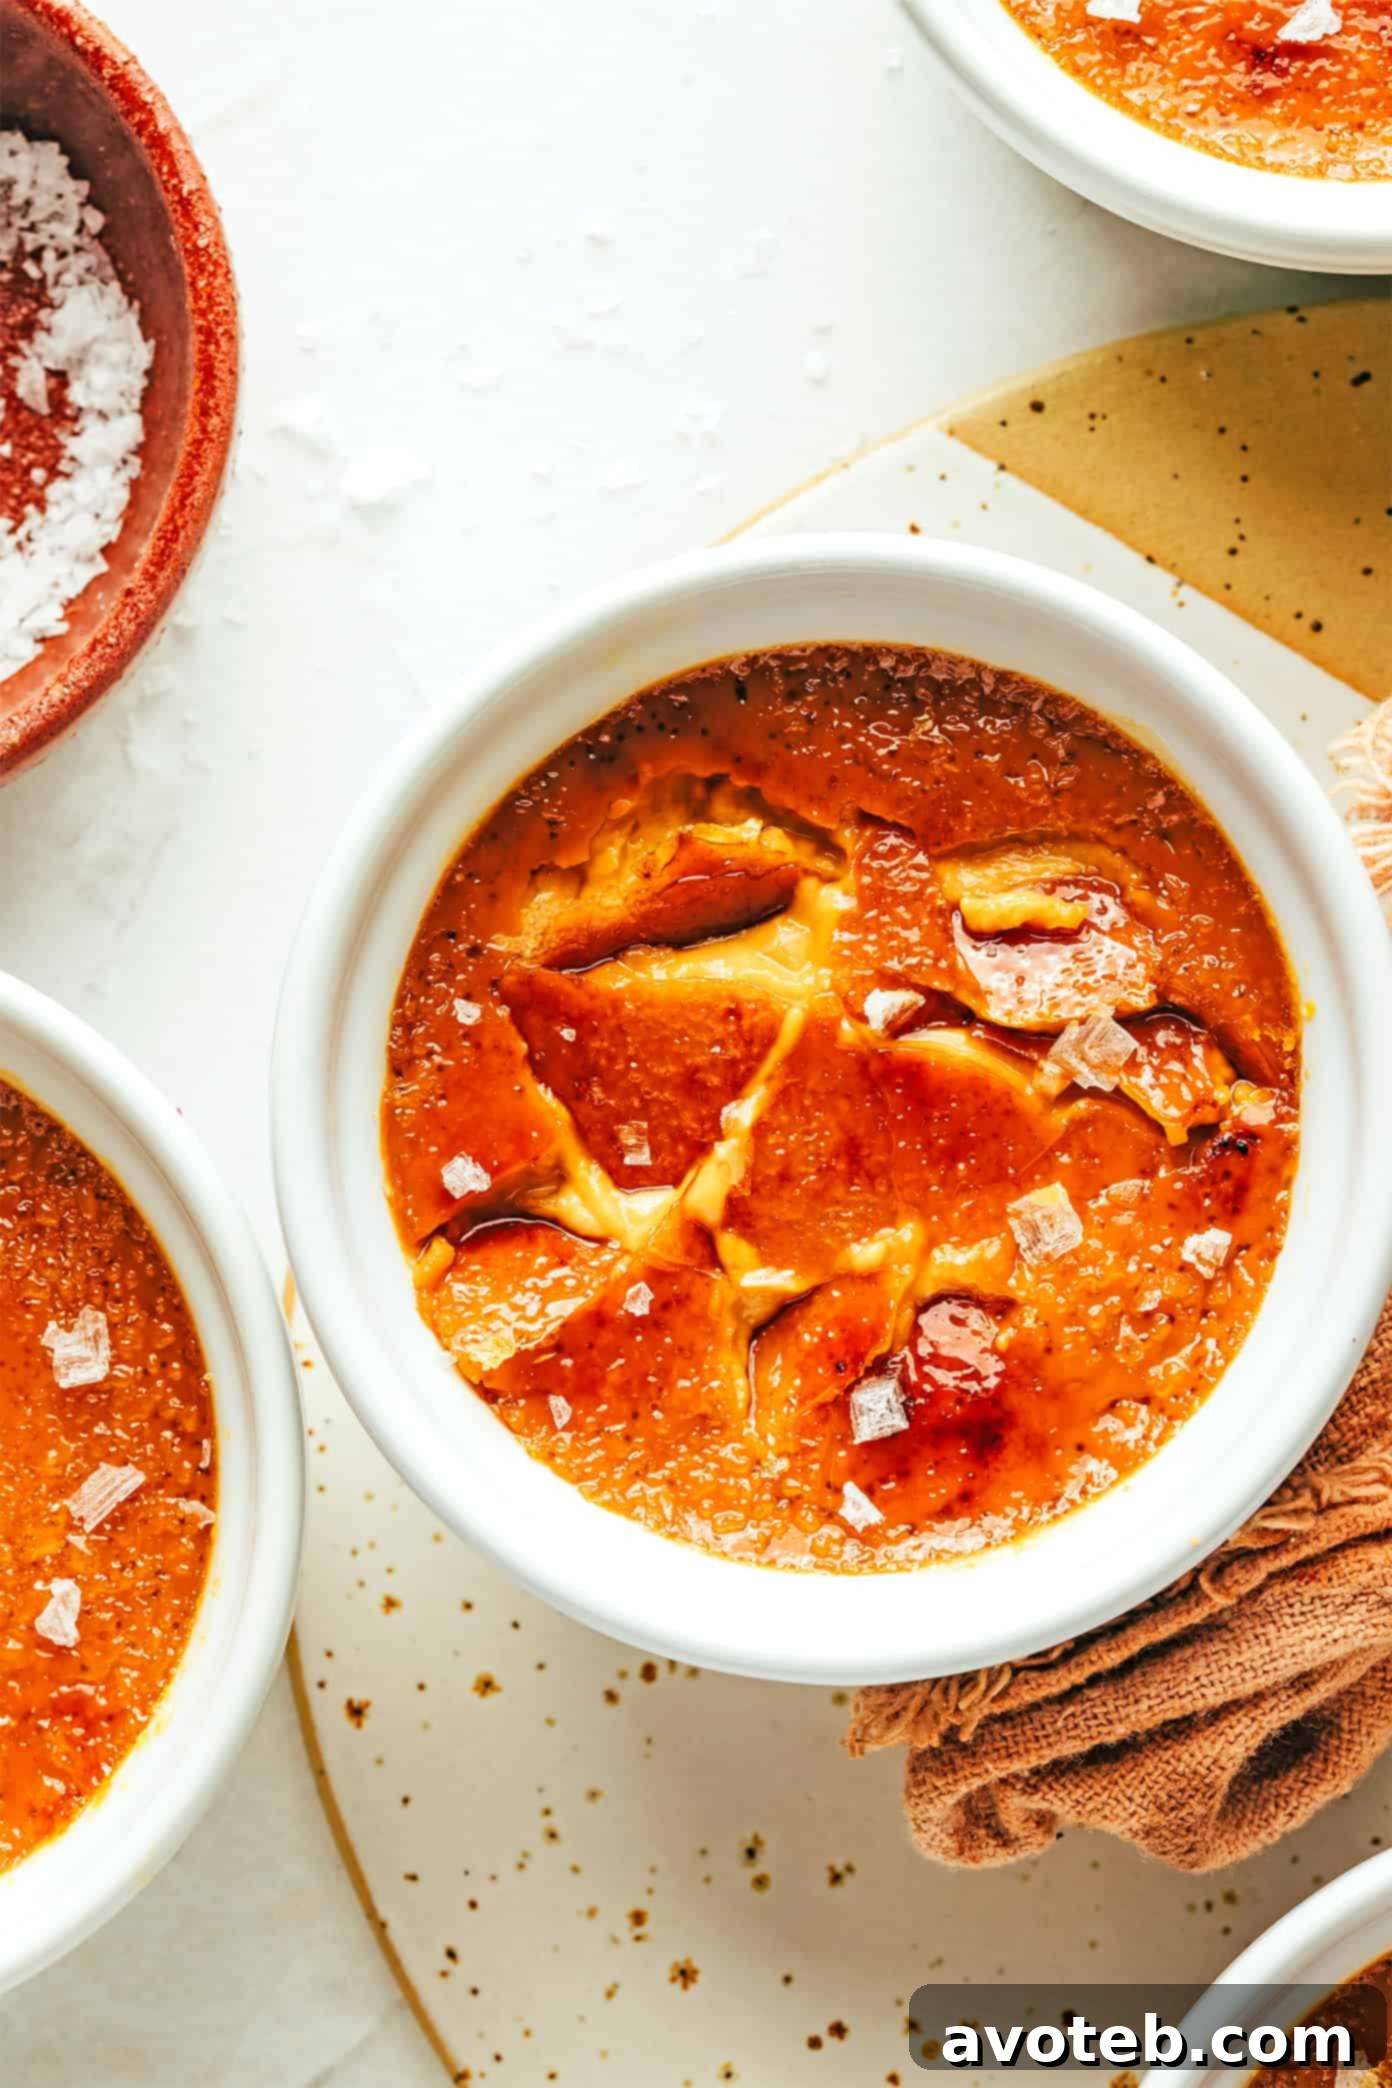
There’s something undeniably enchanting about the ritual of preparing and serving crème brûlée. As the festive season, or indeed any special occasion, approaches, I find myself reaching for my trusty kitchen torch, ready to transform simple ingredients into a masterpiece. The sheer joy of torching sugar to a glistening, crackly, caramelized perfection, just moments before serving, is a culinary delight in itself. It elevates an already wonderful dessert to an extraordinary level of sophistication and fun.
For me, creamy custards have always been a go-to for effortless entertaining. Their ability to be prepared hours, or even days, in advance means less stress and more enjoyment when guests arrive. However, by adding that final, mesmerizing touch of a torched sugar crust, crème brûlée truly shines. This moment of culinary magic not only enhances the visual appeal but also introduces an irresistible textural contrast that makes each bite heavenly.
Lately, my culinary explorations have led me to deepen the caramel experience even further. I’ve been experimenting with caramelizing the sugar *within* the custard base itself, a delightful twist on the classic French crème brûlée. This innovative step infuses the custard with an additional layer of nutty, sweet, and profoundly rich flavor, making it incredibly irresistible. When this deeply caramelized custard is harmoniously blended with fragrant vanilla, a hint of sea salt, and luxurious cream, then topped with that iconic warm, crackly sugar crust, it truly becomes a salted caramel lover’s dream brought to life.
This dessert is more than just a sweet treat; it’s a symphony of flavors and textures—lovely, intensely flavorful, and decadently rich. Yet, despite its gourmet presentation, it is astonishingly easy to create using just a handful of straightforward ingredients. Its make-ahead nature solidifies its position as an exceptional dessert for entertaining. Imagine enjoying your meal, then slipping away for mere minutes to perform the dazzling torching act (or utilize your oven’s broiler), returning to present individual servings of pure joy. Even friends who claim to be “custard-wary” have been utterly captivated by this dessert, so I wholeheartedly hope it brings the same delight to your table.
Let’s embark on the journey of crafting this sublime salted caramel crème brûlée.
Mastering Salted Caramel Crème Brûlée: Essential Ingredients
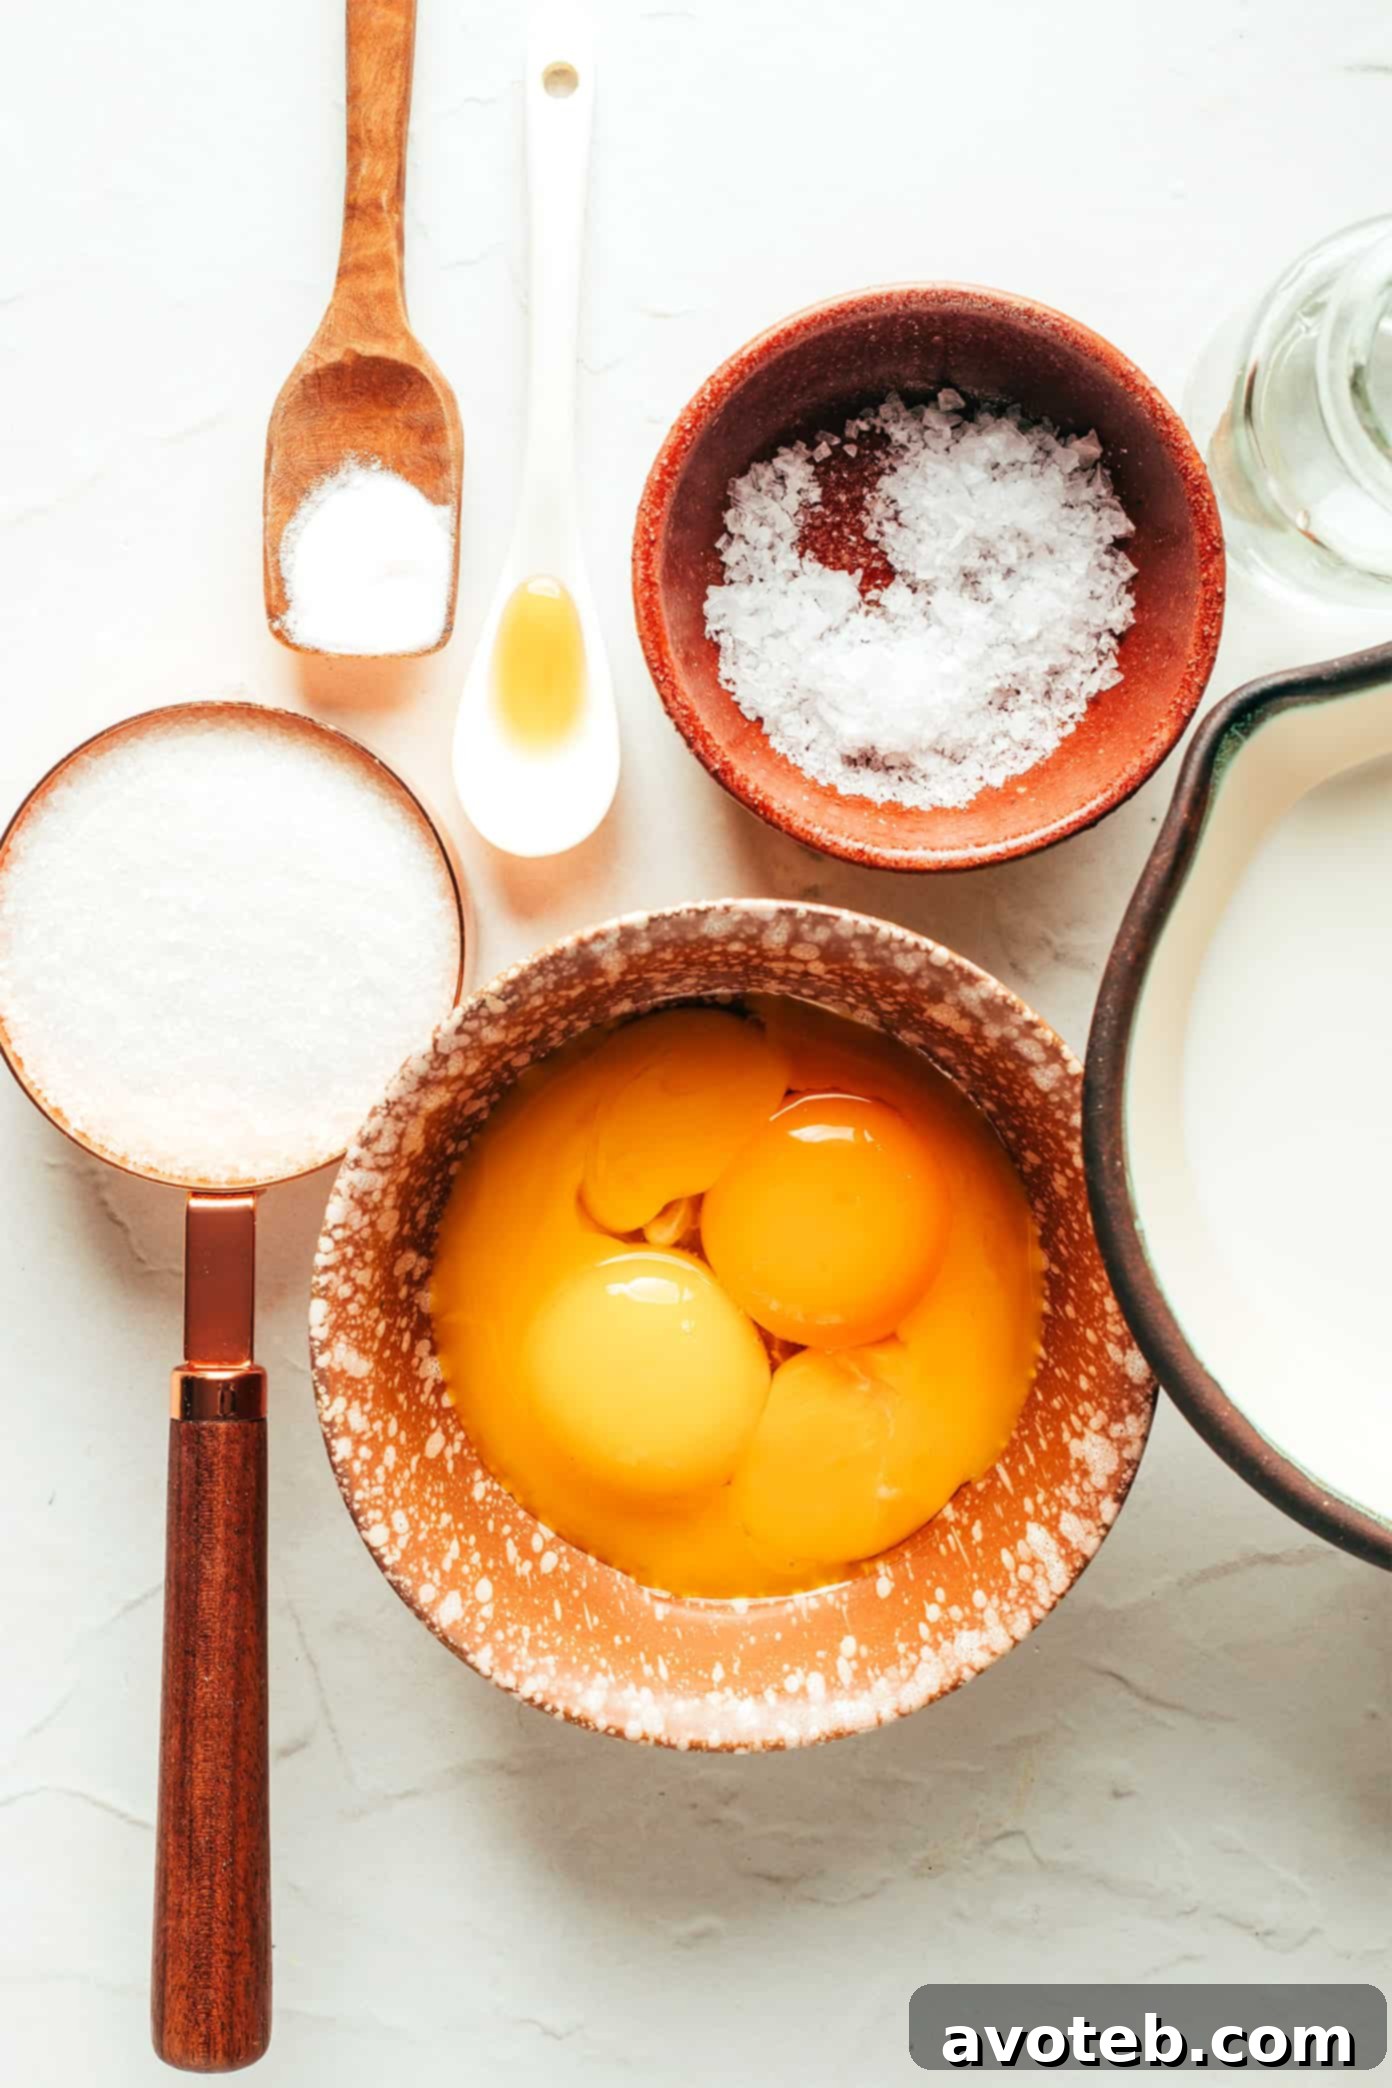
Before diving into the full recipe, let’s take a closer look at the key ingredients that form the heart of our exquisite salted caramel crème brûlée. Quality ingredients are paramount for achieving that rich, authentic flavor and creamy texture.
- Heavy Whipping Cream: This is the foundation of our custard, providing its signature richness and velvety mouthfeel. It is crucial to use full-fat heavy cream (typically containing 36% or more milk fat) to achieve the classic, luxurious texture that defines a perfect crème brûlée. Lighter creams or milk will result in a less decadent and possibly thinner custard.
- Granulated Sugar: Our recipe utilizes white granulated sugar in two vital ways. Firstly, it forms the luscious caramel base for the custard, transforming into a deep amber syrup when heated with water. Secondly, a generous sprinkle of this sugar atop the chilled custards will create that iconic, crisp, brûléed crust. The interplay between these two forms of caramelization is what makes this dessert so special.
- Egg Yolks: These golden yolks are the primary thickeners for our custard, contributing significantly to its smooth, creamy consistency and adding a beautiful richness of flavor. They are emulsifiers, helping to bind the cream and sugar into a stable, silky custard. Always separate your eggs carefully to avoid any whites getting into the yolks, as this can affect the custard’s texture.
- Pure Vanilla Extract: A subtle hint of pure vanilla extract is an indispensable component, enhancing the deep, complex flavors of the caramel. Its warm, aromatic notes complement the sweetness and richness, adding depth without overpowering. Choose a high-quality extract for the best flavor profile.
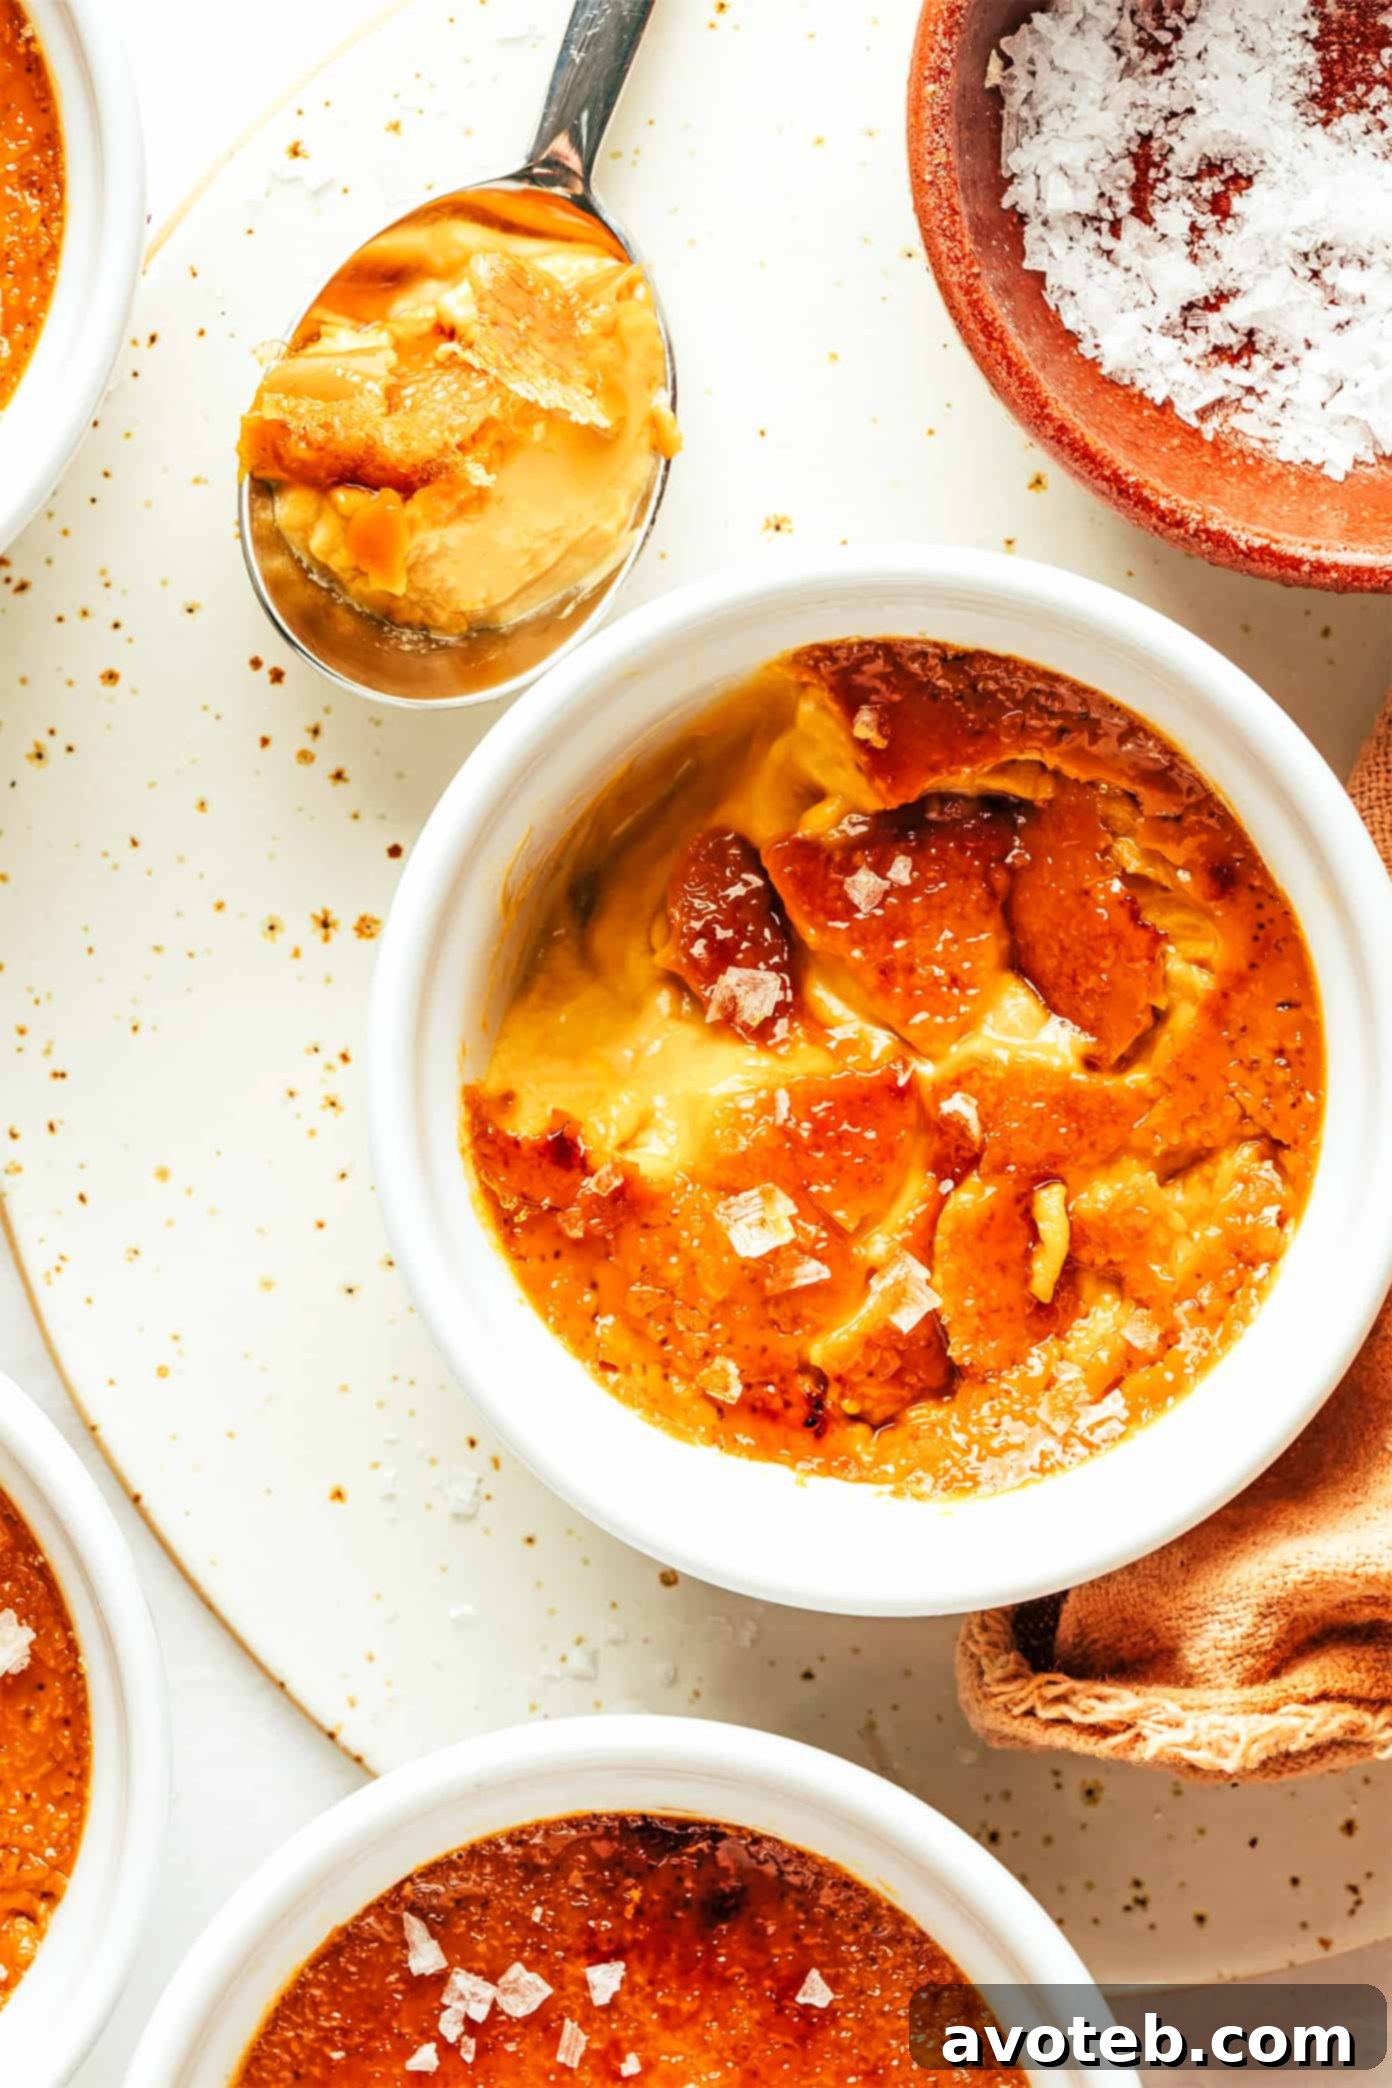
- Sea Salt: Salt is the magic ingredient that transforms this from simply caramel to salted caramel. We incorporate fine sea salt directly into the custard to balance the sweetness and deepen the caramel notes. For an exceptional finish, I highly recommend a final sprinkle of delicate flaky sea salt on top of each brûléed custard. This provides a delightful textural crunch and a burst of savory contrast that elevates the entire experience.
Crème Brûlée Equipment: Tools for Culinary Success
Beyond your standard mixing bowls and whisks, a few specialized pieces of equipment are essential for crafting the perfect crème brûlée. Investing in these tools will make the process smoother and more enjoyable, ensuring professional-quality results every time.
- Ramekins: These individual ceramic dishes are fundamental for crème brûlée. This recipe is specifically developed for four 6-ounce ramekins. Using ramekins of this size ensures proper cooking time and an ideal custard-to-sugar crust ratio. If you opt for larger ramekins, be aware that you may need to adjust the baking time (likely reduce it) and ensure you have enough sugar for a proportional topping. Consistency in size across your ramekins is key for even baking.
- Baking Dish (for Water Bath): A water bath (bain-marie) is critical for cooking custards evenly and gently, preventing them from cracking or curdling. You’ll need a baking dish large enough to comfortably accommodate all four of your ramekins in a single, even layer. A basic 9 x 9-inch baking dish typically works well. The water bath provides insulation and moist heat, which is ideal for the delicate nature of custards.
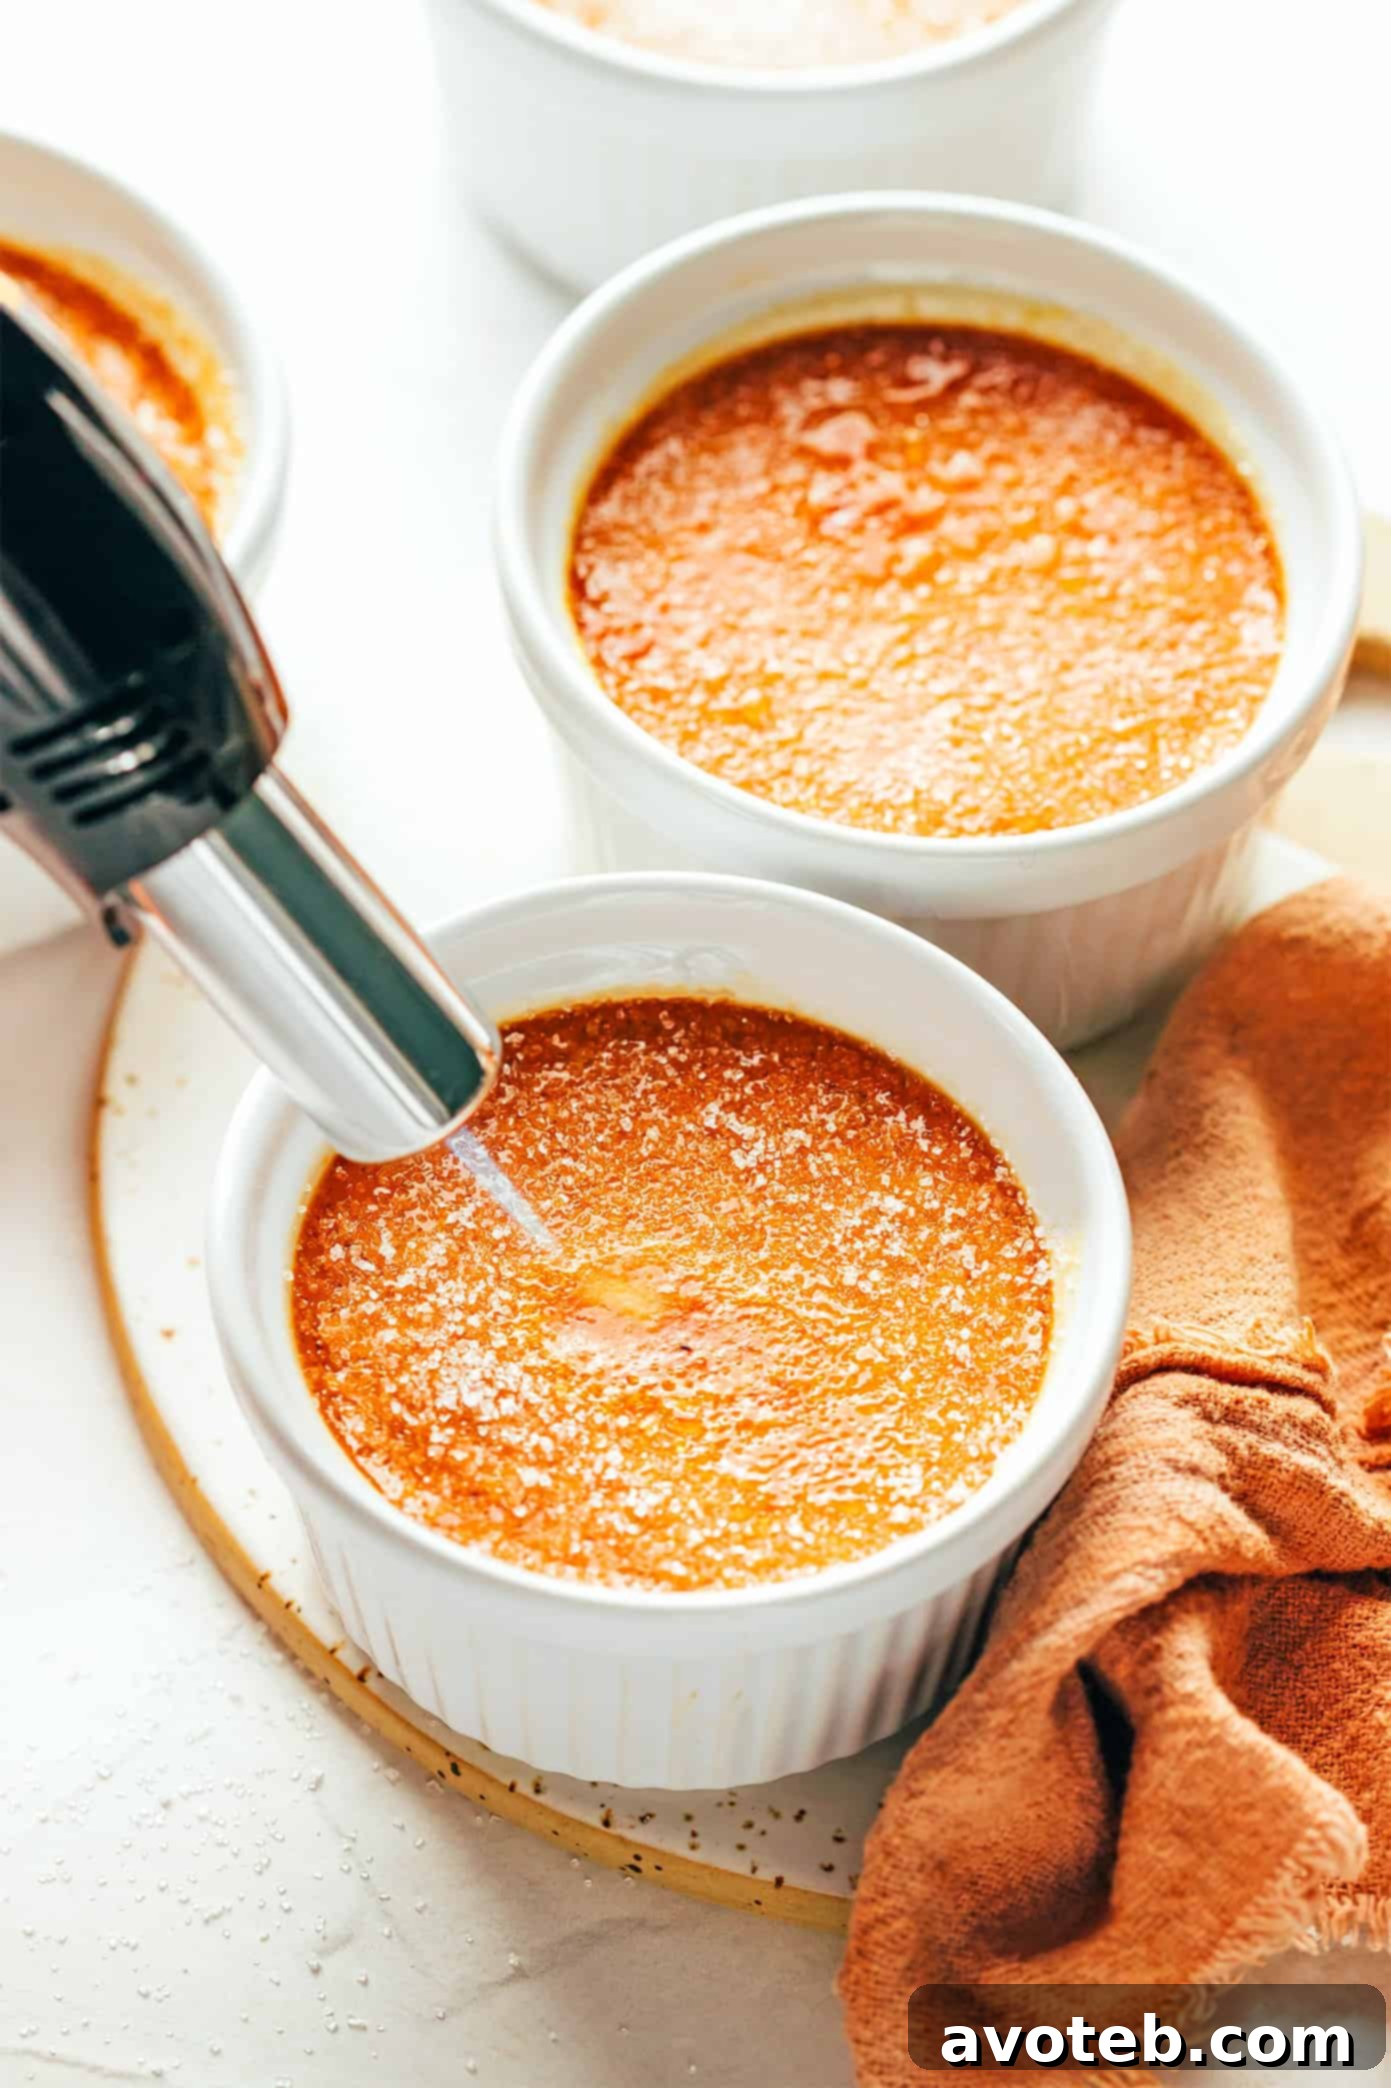
- Kitchen Torch: While there are alternative methods, a small kitchen torch is by far the easiest, most efficient, and arguably the most fun way to achieve that signature crackly sugar topping. It offers precise control over the caramelization process, resulting in an even, deep amber crust. Remember that most kitchen torches require butane fuel, which is usually sold separately. If you don’t own a kitchen torch, don’t worry—you can use your oven’s broiler, though it requires more vigilance and may yield less even results. (See FAQ below for more details on broiler method).
Crafting Your Salted Caramel Crème Brûlée: A Detailed Guide
Creating this spectacular dessert involves a few key stages, each contributing to the final luxurious outcome. Here, we’ll walk through the process with a focus on technique and timing, ensuring you achieve a flawless crème brûlée every time.
The journey begins with preparing your oven and setting up the essential water bath. Preheat your oven to a gentle 325°F (160°C). Arrange your four 6-ounce ramekins neatly within a larger baking dish. While the oven preheats, bring a kettle of water to a boil. This hot water will be crucial for the water bath, providing the gentle, even heat necessary for perfectly cooked custards. Simultaneously, in a small saucepan, gently warm the heavy cream over medium-low heat until it’s hot but not yet simmering. This ensures it’s ready to be incorporated into the caramel without cooling it down too much, preventing crystallization.
The next, and arguably most captivating, step is caramelizing the sugar. In a separate, clean saucepan, combine your granulated sugar with water. Stir just until the sugar is moistened, then stop stirring completely. Heat this mixture over medium-low heat. Patience is key here; the sugar will bubble and simmer for a while before it begins to transform. Resist the urge to stir, as this can cause crystallization, leading to a grainy caramel. Keep a vigilant eye on the pan. As the water evaporates, the sugar will start to turn a light golden color, progressively deepening to a rich amber. If you have a candy thermometer, aim for 355°F (180°C). The moment it reaches this beautiful deep amber, remove the pan from the heat immediately, as caramel can burn quickly, developing a bitter taste.
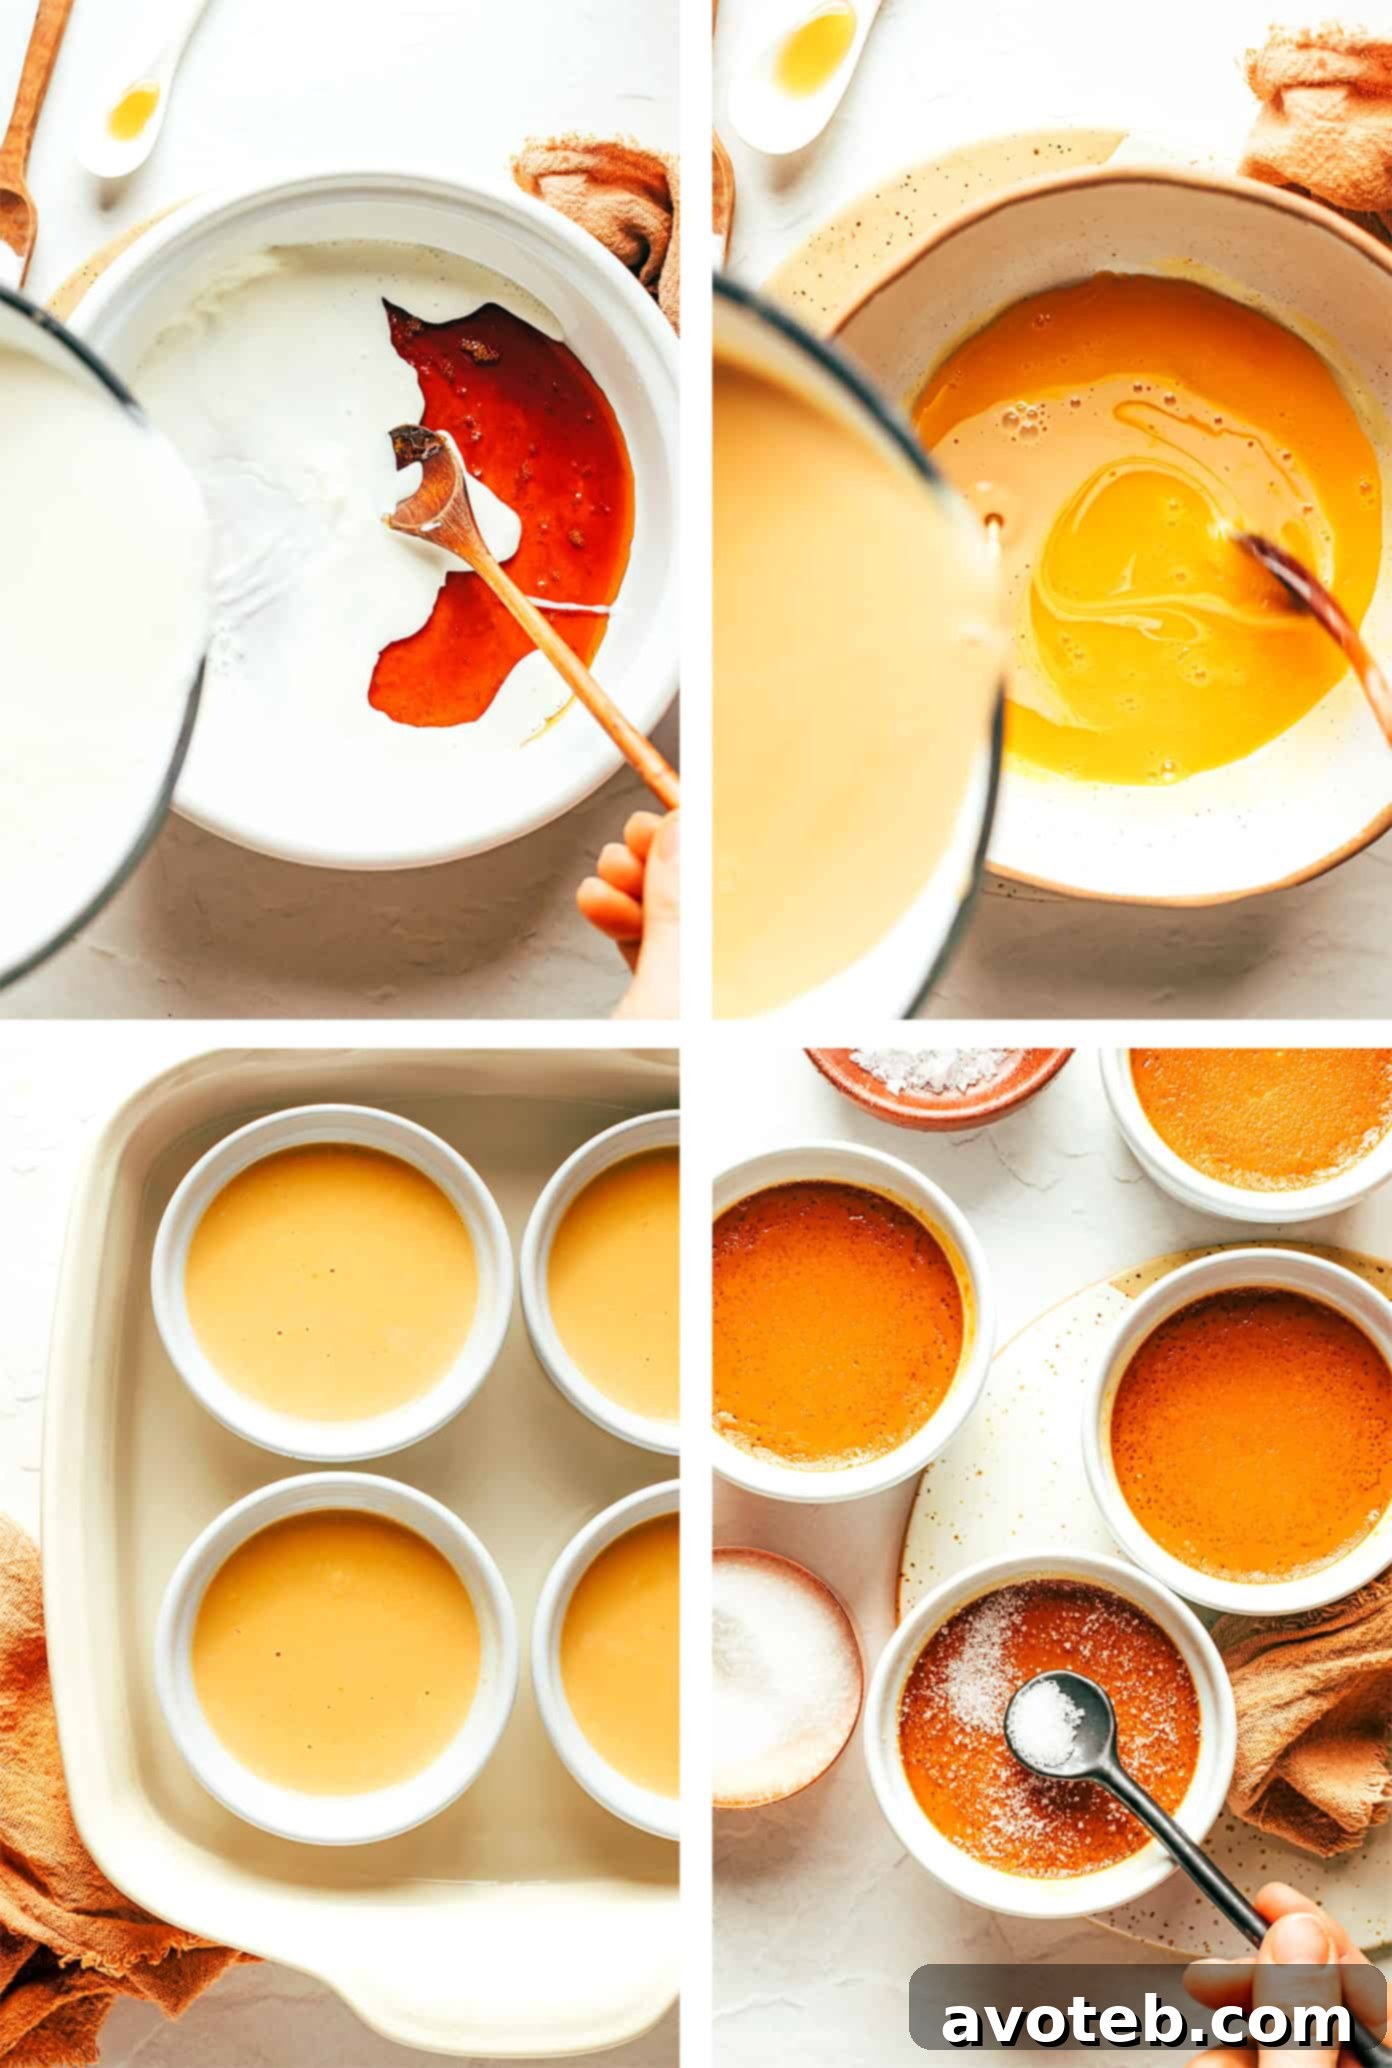
With the caramel ready, it’s time to carefully introduce the hot cream. Slowly and steadily, pour the warmed heavy cream into the caramelized sugar while continuously whisking the mixture with your other hand. Be prepared for a dramatic reaction—the mixture will bubble vigorously and release a lot of steam, so exercise extreme caution. Continue whisking until the caramel is fully dissolved into the cream, forming a smooth, aromatic salted caramel cream.
Now, we’ll temper the egg yolks to prevent them from scrambling. In a large, heat-safe mixing bowl, gently whisk your egg yolks. With one hand, slowly drizzle about half a cup of the warm caramel cream mixture into the whisked egg yolks, whisking constantly with the other hand. This gradually raises the temperature of the yolks. Repeat this process with another half cup, then slowly pour the remaining caramel cream into the eggs, whisking continuously until everything is thoroughly combined. Finally, stir in the pure vanilla extract and fine sea salt, giving it one last whisk to ensure everything is evenly distributed.
For an impeccably smooth custard, it’s essential to strain the mixture. Pour the entire custard through a fine-mesh strainer into a clean bowl. This step catches any small lumps of scrambled egg or undissolved sugar, ensuring a silky-smooth texture for your crème brûlée. Once strained, carefully divide the mixture among your prepared ramekins, filling them almost to the brim.
The water bath comes into play for baking. With the ramekins in the baking dish, carefully pour the hot water from your kettle into the baking dish, taking care not to splash water into the custards themselves. Fill the water bath until the water reaches about halfway up the sides of the ramekins. (A helpful trick is to place the baking dish with ramekins into the oven first, and then carefully pour the hot water into the dish, minimizing the risk of spills.)
Gently transfer the baking dish into the preheated oven. Bake for approximately 30 to 40 minutes. The custards are done when the edges are set, but the centers still have a slight wobble when gently jiggled. They should no longer be liquid. If you’re using a cooking thermometer, the internal temperature of the custard centers should read around 170°F (76°C).
Once baked, carefully remove the baking dish from the oven (remembering the hot water!). Extract the ramekins and place them on a wire rack to cool completely to room temperature. This gradual cooling is important for the custard’s setting process. Once cooled, transfer the ramekins to the refrigerator and chill for several hours, or ideally overnight, until they are thoroughly cold and firm. This chilling process is crucial for optimal flavor and texture development.
The grand finale: brûléeing the topping. Just before serving, remove the chilled ramekins from the refrigerator. If you notice any condensation on the surface of the custards, gently blot it away with a paper towel. Sprinkle a thin, even layer of granulated sugar over each custard, swirling the ramekin to ensure full coverage (about 1 teaspoon per custard is usually sufficient). Using your kitchen torch, hold the flame about 2-3 inches from the sugar surface and move it slowly and steadily across until the sugar melts, bubbles, and transforms into a deep amber, glassy crust. Let the custards rest for at least one minute to allow the caramel to harden. Then, serve immediately, perhaps with a final sprinkle of flaky sea salt for an extra touch of gourmet magic, and enjoy the satisfying crack of the spoon!
Crème Brûlée Tips: Ensuring Perfection
Achieving the perfect crème brûlée is all about technique and attention to detail. Beyond the full instructions in the recipe card, these expert tips will help you navigate the process like a seasoned pro.
- Caramelization — No Stirring Allowed: When making the caramel for the custard base, it is absolutely crucial not to stir the sugar once it begins to melt and caramelize. Stirring can introduce air, causing the sugar to crystalize and turn grainy, ruining the smooth texture of your caramel. Simply let it melt and deepen in color on its own.
- Vigilance During Caramelization: Sugar can go from perfectly caramelized to burnt in a matter of seconds. Once the sugar starts to change color, keep a very close eye on it. The moment it reaches a rich, deep amber hue, remove the pan from the heat immediately. If you have a cooking thermometer, aim for 355°F (180°C). Erring on the side of slightly lighter caramel is better than having a bitter, overcooked one.
- Adding the Water Bath Safely: For safety and ease, I highly recommend placing your baking dish with the ramekins into the oven first. Then, carefully pour the hot water from your kettle into the baking dish, ensuring it reaches halfway up the sides of the ramekins without splashing into the custard. This minimizes the risk of carrying a heavy, hot, water-filled dish.
- Avoid Over-Baking the Custards: This is a common pitfall. Crème brûlée custards should be just barely set in the center. When you gently jiggle a ramekin, the custard should still have a slight wobble, but the center should no longer be liquid. Over-baking can lead to a rubbery or curdled texture. If using a thermometer, the internal temperature should be around 170°F (76°C).
- Brûlée Just Before Serving: The signature crispy, crackly sugar topping is a delicate thing. Its magical texture lasts only a short while before moisture from the custard can cause it to soften and become soggy. For the ultimate experience, caramelize the sugar topping no more than 30 minutes before serving, ideally right before you present the dessert to your guests.
Salted Caramel Crème Brûlée: Frequently Asked Questions
Here are answers to some common questions about making and enjoying crème brûlée, ensuring your dessert is a complete success.
- What does crème brûlée mean? Crème brûlée is a French term that literally translates to “burnt cream.” This refers to the signature caramelized sugar crust that tops the creamy custard.
- How do you pronounce crème brûlée? The correct pronunciation is roughly crehm-broo-LEH. For the most accurate phonetic guide, it’s always best to listen to a native speaker’s pronunciation here.
- Can I make crème brûlée without a kitchen torch? Yes, you can. The broiler function of your oven can be used to caramelize the sugar topping, but it requires much more attention and may not yield as even results as a torch. Oven broilers vary significantly in intensity, and they tend to heat unevenly. To use the broiler: Place your chilled ramekins on a baking sheet. Turn on your broiler (it’s best to put the ramekins in before it fully preheats to avoid shocking the cold custard with extreme heat). Place the baking sheet on the top rack of the oven, close to the heating element. Watch continuously! The sugar will caramelize quickly, usually within 2-5 minutes. Rotate the ramekins with long tongs as needed to ensure even browning. Remove immediately once a deep amber crust forms.
- Why is a water bath important for crème brûlée? A water bath, or bain-marie, is essential for baking custards. It provides gentle, even heat distribution, which helps the delicate custard cook slowly and prevents the edges from overcooking or becoming rubbery while the center sets. It also helps prevent the custards from cracking on the surface.
- Can I prepare crème brûlée in advance? Absolutely! This is one of its best features for entertaining. You can fully prepare, bake, and cool the custards as directed (steps 1-8). Once completely chilled, cover each ramekin tightly with plastic wrap and refrigerate for up to 3 days. Then, simply remove them from the fridge, blot any condensation, add the sugar topping, and brûlée just before you’re ready to serve.
- How should I store leftover crème brûlée? If you have any leftovers, cover the ramekins tightly with plastic wrap and store them in the refrigerator. The caramelized sugar topping will soften over time due to moisture from the custard, so it’s best consumed within 1-2 days. If the topping becomes too soft, you can gently scrape it off, sprinkle with fresh sugar, and re-torch (if the custard is still very cold).
More Indulgent Ramekin Dessert Recipes
If you’ve fallen in love with the elegance and individual serving charm of ramekin desserts, you’re in for a treat! These small, perfectly portioned delights are fantastic for entertaining or simply treating yourself. Here are a few more of my favorite recipes designed to be made in small ramekins:
- Classic Crème Brûlée: The original, pure vanilla custard with that iconic crack. A timeless favorite.
- Easy Chocolate Pots de Crème: Rich, silky smooth chocolate custard that’s surprisingly simple to prepare and incredibly decadent.
- Dreamy Chocolate Lava Cakes: Individual molten chocolate cakes with a gooey, warm center that oozes out upon cutting.
- Dark Chocolate Avocado Mousse: A surprisingly healthy yet incredibly rich and creamy chocolate mousse that’s vegan and gluten-free.

Salted Caramel Crème Brûlée
Author: Ali
Prep Time: 15 mins
Cook Time: 45 mins
Total Time: 1 hour
Yield: 4 servings 1x
Ingredients
Scale
- 2 cups heavy whipping cream
- 1/2 cup granulated white sugar, plus extra for topping
- 1/4 cup water
- 4 egg yolks
- 1 teaspoon pure vanilla extract
- 1/2 teaspoon fine sea salt
- flaky sea salt, for topping
Instructions
- Prep oven and ramekins. Heat oven to 325°F (160°C). Place 4 (6-ounce) ramekins side by side in a large baking dish.
- Heat the cream and prepare water bath. In a small saucepan over medium-low heat, heat the cream until it is hot but not simmering, then set it aside. Place a kettle of water on the heat to boil for the water bath.
- Caramelize the sugar. Add the sugar and water to a separate saucepan and stir just to combine. Heat the mixture over medium-low heat, without stirring, until it caramelizes and reaches a deep amber color, or 355°F (180°C). Remove the pan from the heat immediately.
- Add the cream. Immediately and very slowly, pour the hot cream into the caramelized sugar with one hand while continuously whisking the mixture with the other. Be cautious as the cream will bubble up dramatically.
- Temper the eggs. Add the egg yolks to a large heat-safe mixing bowl. While whisking the eggs, slowly add about 1/2 cup of the warm cream mixture to the eggs. Slowly add an additional 1/2 cup, then pour the remaining cream mixture into the eggs and whisk until combined. Stir in the vanilla and fine sea salt and whisk once more.
- Strain. Strain the entire mixture through a fine-mesh strainer into a clean bowl to remove any potential clumps and ensure a silky-smooth custard.
- Fill the ramekins. Pour the strained custard mixture evenly into the ramekins until they are nearly full. Carefully pour the hot water from the kettle into the baking dish surrounding the ramekins (avoid pouring water into the ramekins) until the water reaches halfway up their sides. (It’s often easiest to place the baking dish in the oven first, then add the hot water.)
- Bake. Very carefully transfer the baking dish to the oven. Bake for 30 to 40 minutes, or until the custard edges are set but the centers still have a slight wobble. (The internal temperature should measure 170°F (76°C) if checked with a thermometer.)
- Cool. Carefully remove the baking dish from the oven, then gently remove the ramekins and transfer them to a wire rack. Let them cool completely to room temperature, then transfer to the refrigerator and chill until thoroughly cold, at least 4 hours or preferably overnight.
- Brûlée. Once the custard is chilled, remove the ramekins from the refrigerator. If any condensation is visible, gently blot it with a paper towel. Add a thin, even layer of granulated sugar on top of each custard (about 1 teaspoon per custard). Use a kitchen torch, holding it 2-3 inches from the surface, and move the flame slowly across the sugar until it melts, bubbles, and turns a deep amber color. Let the caramelized sugar rest for at least one minute to harden.
- Serve. Serve immediately, topped with a sprinkle of flaky sea salt, and enjoy the delightful crack!
Equipment
Ramekins (6 ounce)
Buy Now →
Kitchen Torch
Buy Now →
Flaky Sea Salt
Buy Now →