
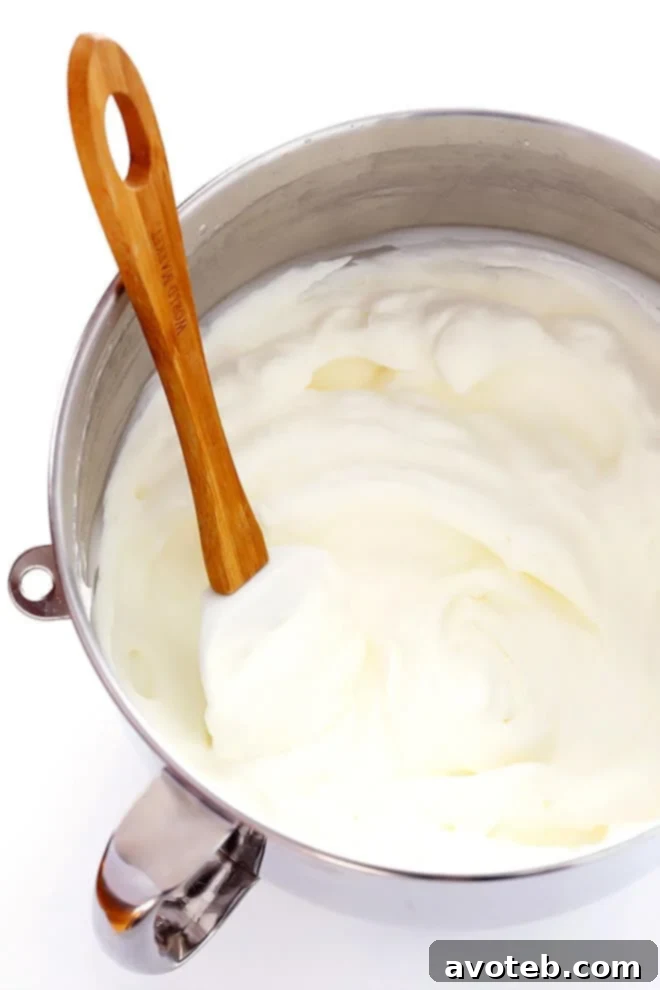
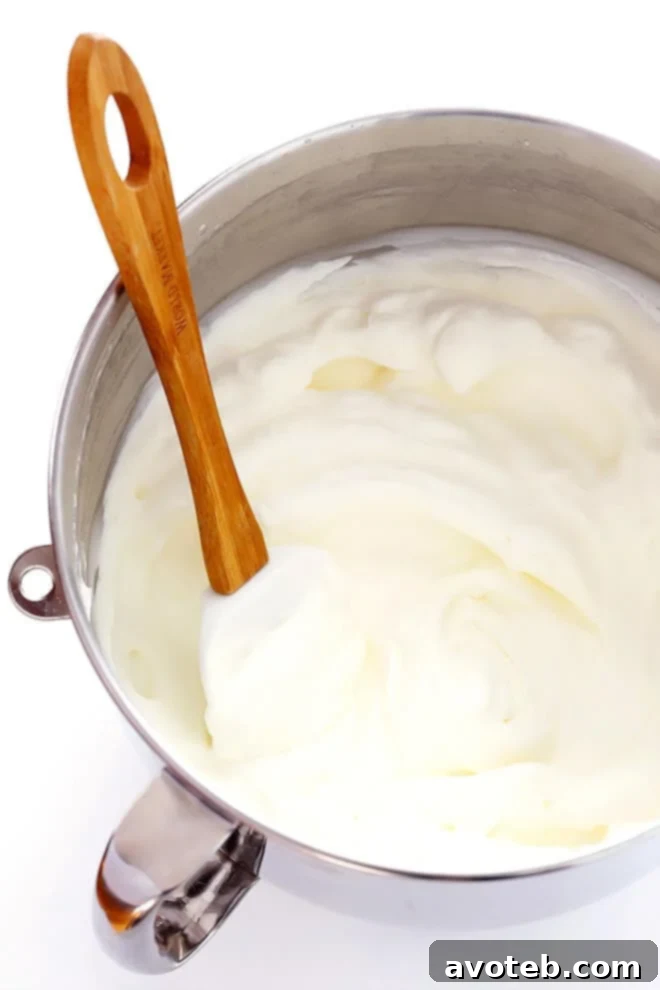
Welcome, culinary enthusiasts! Get ready to elevate your dessert game this holiday season and beyond. Whether you’re topping a classic apple pie, enriching a mug of rich hot cocoa, or adding a delicate touch to a celebratory cake, nothing beats the fresh, luxurious taste of homemade whipped cream. Forget those store-bought cans; making your own whipped cream is not only incredibly simple but also offers a superior flavor and texture that will impress everyone.
If you’ve never ventured into the world of homemade whipped cream, prepare to be amazed. It’s a surprisingly quick and easy process, requiring minimal ingredients and equipment. In just a few minutes, you can transform simple heavy cream into a fluffy, dreamy topping that’s infinitely better than anything you can buy. The core recipe calls for just two main components: high-quality cream and a touch of sweetener. From there, you can customize it with a splash of vanilla extract, a pinch of salt to balance the flavors, or even more adventurous additions like cocoa powder, cinnamon, or a hint of bourbon for an adult twist. The possibilities are truly endless!
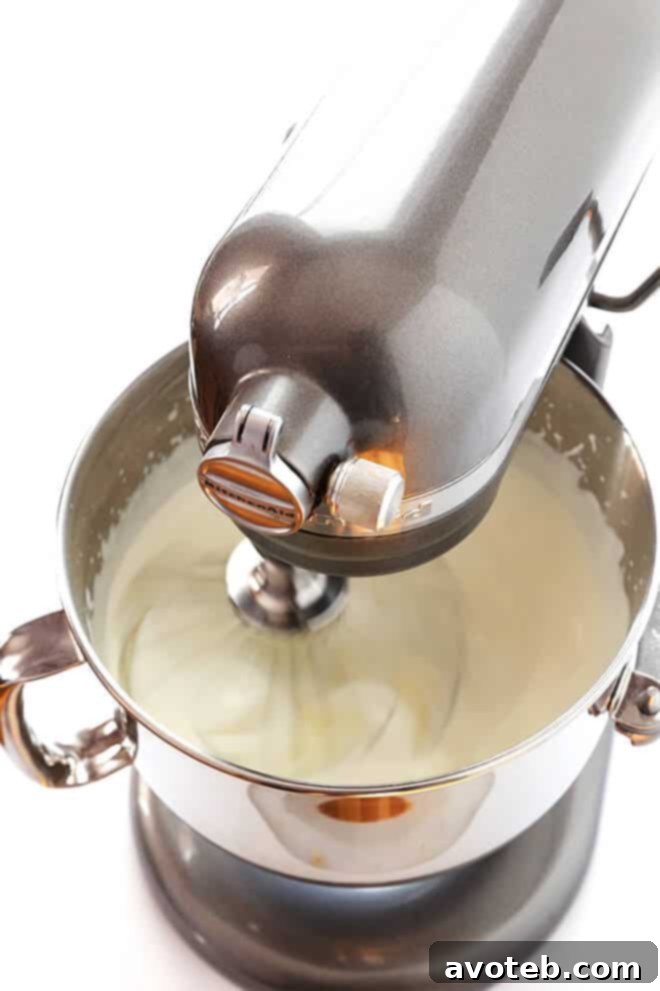
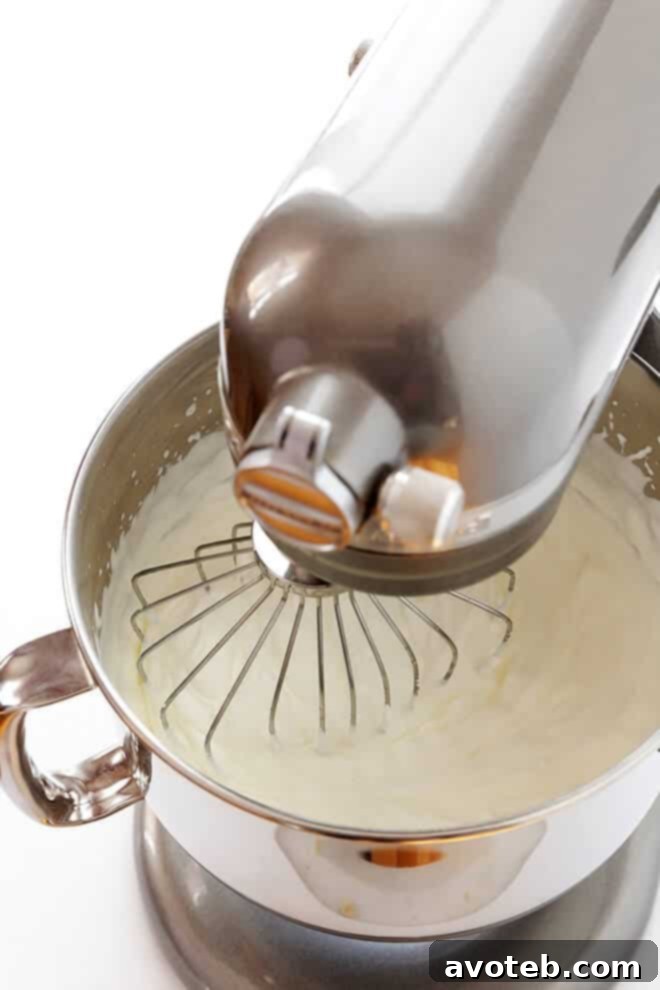
All you need is a sturdy bowl and an electric mixer – be it a hand mixer, a stand mixer with a whisk attachment, or even an immersion blender – to achieve perfect results. The magic unfolds as you whip the cream, watching it transform from a liquid into a velvety cloud of deliciousness. Let’s dive into the details and make some extraordinary whipped cream together!
Mastering Homemade Whipped Cream: Your Essential Guide
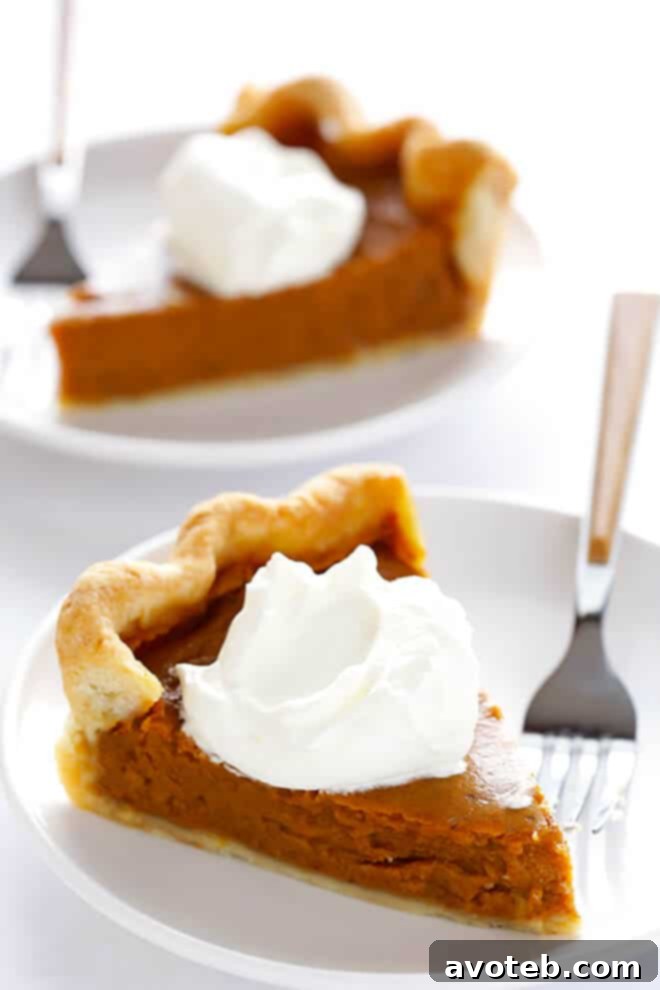
Creating perfect whipped cream every time is a skill that’s easily mastered with a few key tips and a basic understanding of the process. While the recipe itself is minimalist, paying attention to ingredient quality and technique can make all the difference between good and truly outstanding whipped cream.
The Science Behind the Fluff: Why Cold Matters
The secret to light, airy whipped cream lies in temperature. Cold heavy cream whips up faster and holds its shape longer. This is because the fat molecules in cold cream are firmer and better able to encapsulate air bubbles. For the best results, ensure your heavy cream is thoroughly chilled, ideally straight from the refrigerator. Some professional bakers even go a step further, chilling their mixing bowl and whisk attachment in the freezer for 10-15 minutes before starting. This extra step helps maintain a low temperature throughout the whipping process, promoting stability and preventing the cream from warming up too quickly and potentially turning buttery.
Choosing Your Cream: Heavy vs. Whipping
While often used interchangeably, “heavy cream” and “heavy whipping cream” have slightly different fat content. Heavy cream contains at least 36% milk fat, whereas heavy whipping cream contains between 30% and 36%. Both will work beautifully for whipped cream, but heavy cream typically yields a richer, more stable result due to its higher fat content. Avoid using “light cream” or “half-and-half” as they lack sufficient fat to whip properly and maintain their structure. For a dairy-free alternative, full-fat canned coconut cream (chilled, with the solid cream scooped out) can be a fantastic substitute, offering a unique tropical flavor.
Sweetening the Deal: Beyond Just Sugar
The type of sweetener you choose can influence both the taste and texture of your whipped cream:
- Powdered Sugar (Confectioners’ Sugar): This is the most common choice and often recommended. Its fine texture dissolves instantly, preventing a grainy mouthfeel, and the cornstarch content helps stabilize the whipped cream, making it hold its shape longer.
- Granulated Sugar: Can be used, but it might take slightly longer to dissolve, especially if you’re not using a powerful mixer. If using granulated sugar, add it slowly and ensure it’s fully dissolved to avoid grittiness.
- Maple Syrup or Honey: For a natural, unrefined sweetness, these liquid sweeteners work wonderfully. Add them carefully, as they can thin out the cream if too much is used. Start with a small amount and taste as you go.
- Artificial Sweeteners: If you’re looking to reduce sugar intake, many sugar substitutes (granular or liquid) can be used. Experiment to find your preferred taste and texture.
Remember, the amount of sweetener is always adjustable to your taste. Start with the suggested amount and add more if you prefer a sweeter topping.
Flavor Boosters: The Art of Customization
Vanilla extract is the classic addition, enhancing the cream’s natural sweetness and aroma. Use good quality vanilla, or even better, homemade vanilla extract, for the best flavor. But don’t stop there! Consider these exciting variations:
- A Pinch of Salt: A tiny dash of fine sea salt can miraculously balance and brighten all the flavors, preventing the whipped cream from tasting flat.
- Cocoa Powder: Sift in a tablespoon or two of unsweetened cocoa powder for a rich chocolate whipped cream, perfect for hot fudge sundaes or chocolate desserts.
- Cinnamon or Pumpkin Pie Spice: Ideal for fall-themed treats, adding warmth and aromatic spice.
- Espresso Powder: A hint of instant espresso powder can deepen chocolate flavors or add a subtle coffee note to any dessert.
- Liqueurs: For an adult-friendly topping, a tablespoon of bourbon, rum, brandy, or an orange liqueur like Grand Marnier adds sophisticated depth.
- Citrus Zest: Finely grated lemon, orange, or lime zest can provide a bright, fresh counterpoint.
- Other Extracts: Almond, peppermint, or coconut extracts can create distinct flavor profiles for specific dessert pairings.
Equipment Matters: Choosing Your Whipping Tool
While a sturdy whisk and arm strength can get the job done for small batches, an electric mixer makes the process effortless:
- Stand Mixer: The easiest method. Use the whisk attachment on medium-high speed. It frees your hands for other tasks.
- Hand Mixer: A versatile and common tool. Use medium-high speed and move the beaters around the bowl to ensure even whipping.
- Immersion Blender: Surprisingly effective for small batches (1/2 cup cream or less). Use a tall, narrow container to prevent splattering and whip until peaks form. Be careful not to overmix!
- Food Processor/Blender: Can work in a pinch, but watch carefully. The blades can over-process the cream quickly, turning it into butter if you’re not vigilant. Pulse in short bursts.
- Mason Jar (by hand): For a fun, manual method, pour chilled cream into a mason jar (no more than half full), seal tightly, and shake vigorously for several minutes until firm. A good arm workout!
How To Make Whipped Cream
5 out of 5 stars from 2 reviews
- Prep Time: 5 minutes
- Total Time: 5 minutes
- Yield: 2 cups
Description
Homemade whipped cream is quick and easy to make with just 2 ingredients! This recipe guides you to a perfectly fluffy, delicious topping that elevates any dessert.
Ingredients
- 1 cup heavy cream, thoroughly chilled
- 1 tablespoon sweetener (powdered sugar recommended, or maple syrup)
- 1/2 teaspoon vanilla extract (optional, but highly recommended)
- Pinch of salt (optional, for flavor balance)
Instructions
- Prepare: Ensure your heavy cream is very cold. If desired, chill your mixing bowl and whisk attachment in the freezer for 10-15 minutes prior to starting for optimal results.
- Combine: Pour the chilled heavy cream into your large mixing bowl. Add the sweetener, vanilla extract (if using), and pinch of salt (if using).
- Whip: Using a hand mixer or a stand mixer with the whisk attachment, begin mixing on low speed to combine the ingredients, then gradually increase to medium-high speed. Continue to mix, scraping down the sides of the bowl as needed, until the cream begins to thicken and forms soft, medium, or stiff peaks, depending on your preference.
- Identify Peaks:
- Soft Peaks: The cream will be light and airy, barely holding its shape, and will gently flop over when the whisk is lifted.
- Medium Peaks: The cream will hold its shape more firmly but still have a slight curl or droop at the tip when the whisk is lifted. This is a versatile consistency for most toppings.
- Stiff Peaks: The cream will stand up straight and hold its sharp shape perfectly when the whisk is lifted. Be careful not to over-whip beyond this point.
- Serve: Serve your freshly made whipped cream immediately for the best texture and flavor. If you need to prepare it in advance, cover it tightly and refrigerate for up to 24 hours. Enjoy!
Troubleshooting Common Whipped Cream Woes
Even with the simplest recipes, challenges can arise. Here’s how to tackle them:
- It’s Not Whipping: Most likely, your cream isn’t cold enough, or it’s not heavy cream. Ensure your ingredients and equipment are thoroughly chilled. If using an old carton of cream, it might have lost some of its fat content.
- It’s Grainy/Curdled: You’ve over-whipped it! Once the cream separates and starts to look grainy, it’s on its way to becoming butter. Unfortunately, there’s no going back to fluffy whipped cream once it reaches this stage. You can either continue whipping it into butter (and separate the buttermilk) or try to salvage it by gently folding in a tablespoon or two of fresh, unwhipped heavy cream to loosen it slightly, though it won’t be as perfect.
- It’s Weeping/Deflating: Whipped cream is best served fresh. Over time, it can lose its air and release liquid (weep). Using powdered sugar instead of granulated sugar can help stabilize it due to the cornstarch. You can also add a small amount of gelatin or cream of tartar for extra stability, especially if you need it to hold up for a longer period.
Serving Suggestions: The Perfect Companion for Any Treat
Homemade whipped cream is incredibly versatile. Here are just a few ideas to inspire you:
- Pies and Tarts: A dollop on apple pie, pumpkin pie, pecan pie, or fruit tarts is a timeless classic.
- Hot Beverages: Swirl a generous amount into hot chocolate, coffee, or even chai lattes.
- Cakes and Cupcakes: Use it as a lighter frosting or a delicious filling. It pairs beautifully with sponge cakes, angel food cake, or chocolate lava cakes.
- Fresh Fruit: Berries, sliced peaches, and bananas are instantly elevated with a cloud of whipped cream.
- Pancakes and Waffles: Take your breakfast or brunch to the next level.
- Cobblers and Crisps: A warm fruit dessert practically begs for cool, creamy whipped cream.
- Ice Cream Sundaes: A must-have topping for any ice cream creation.
- Puddings and Mousse: A light, airy finish for rich desserts.
With this comprehensive guide, you’re now equipped with all the knowledge and tips to create consistently perfect, delectable homemade whipped cream. It’s a simple pleasure that brings a touch of elegance and homemade goodness to every dish. So go ahead, grab your cream, your mixer, and whip up some magic!