
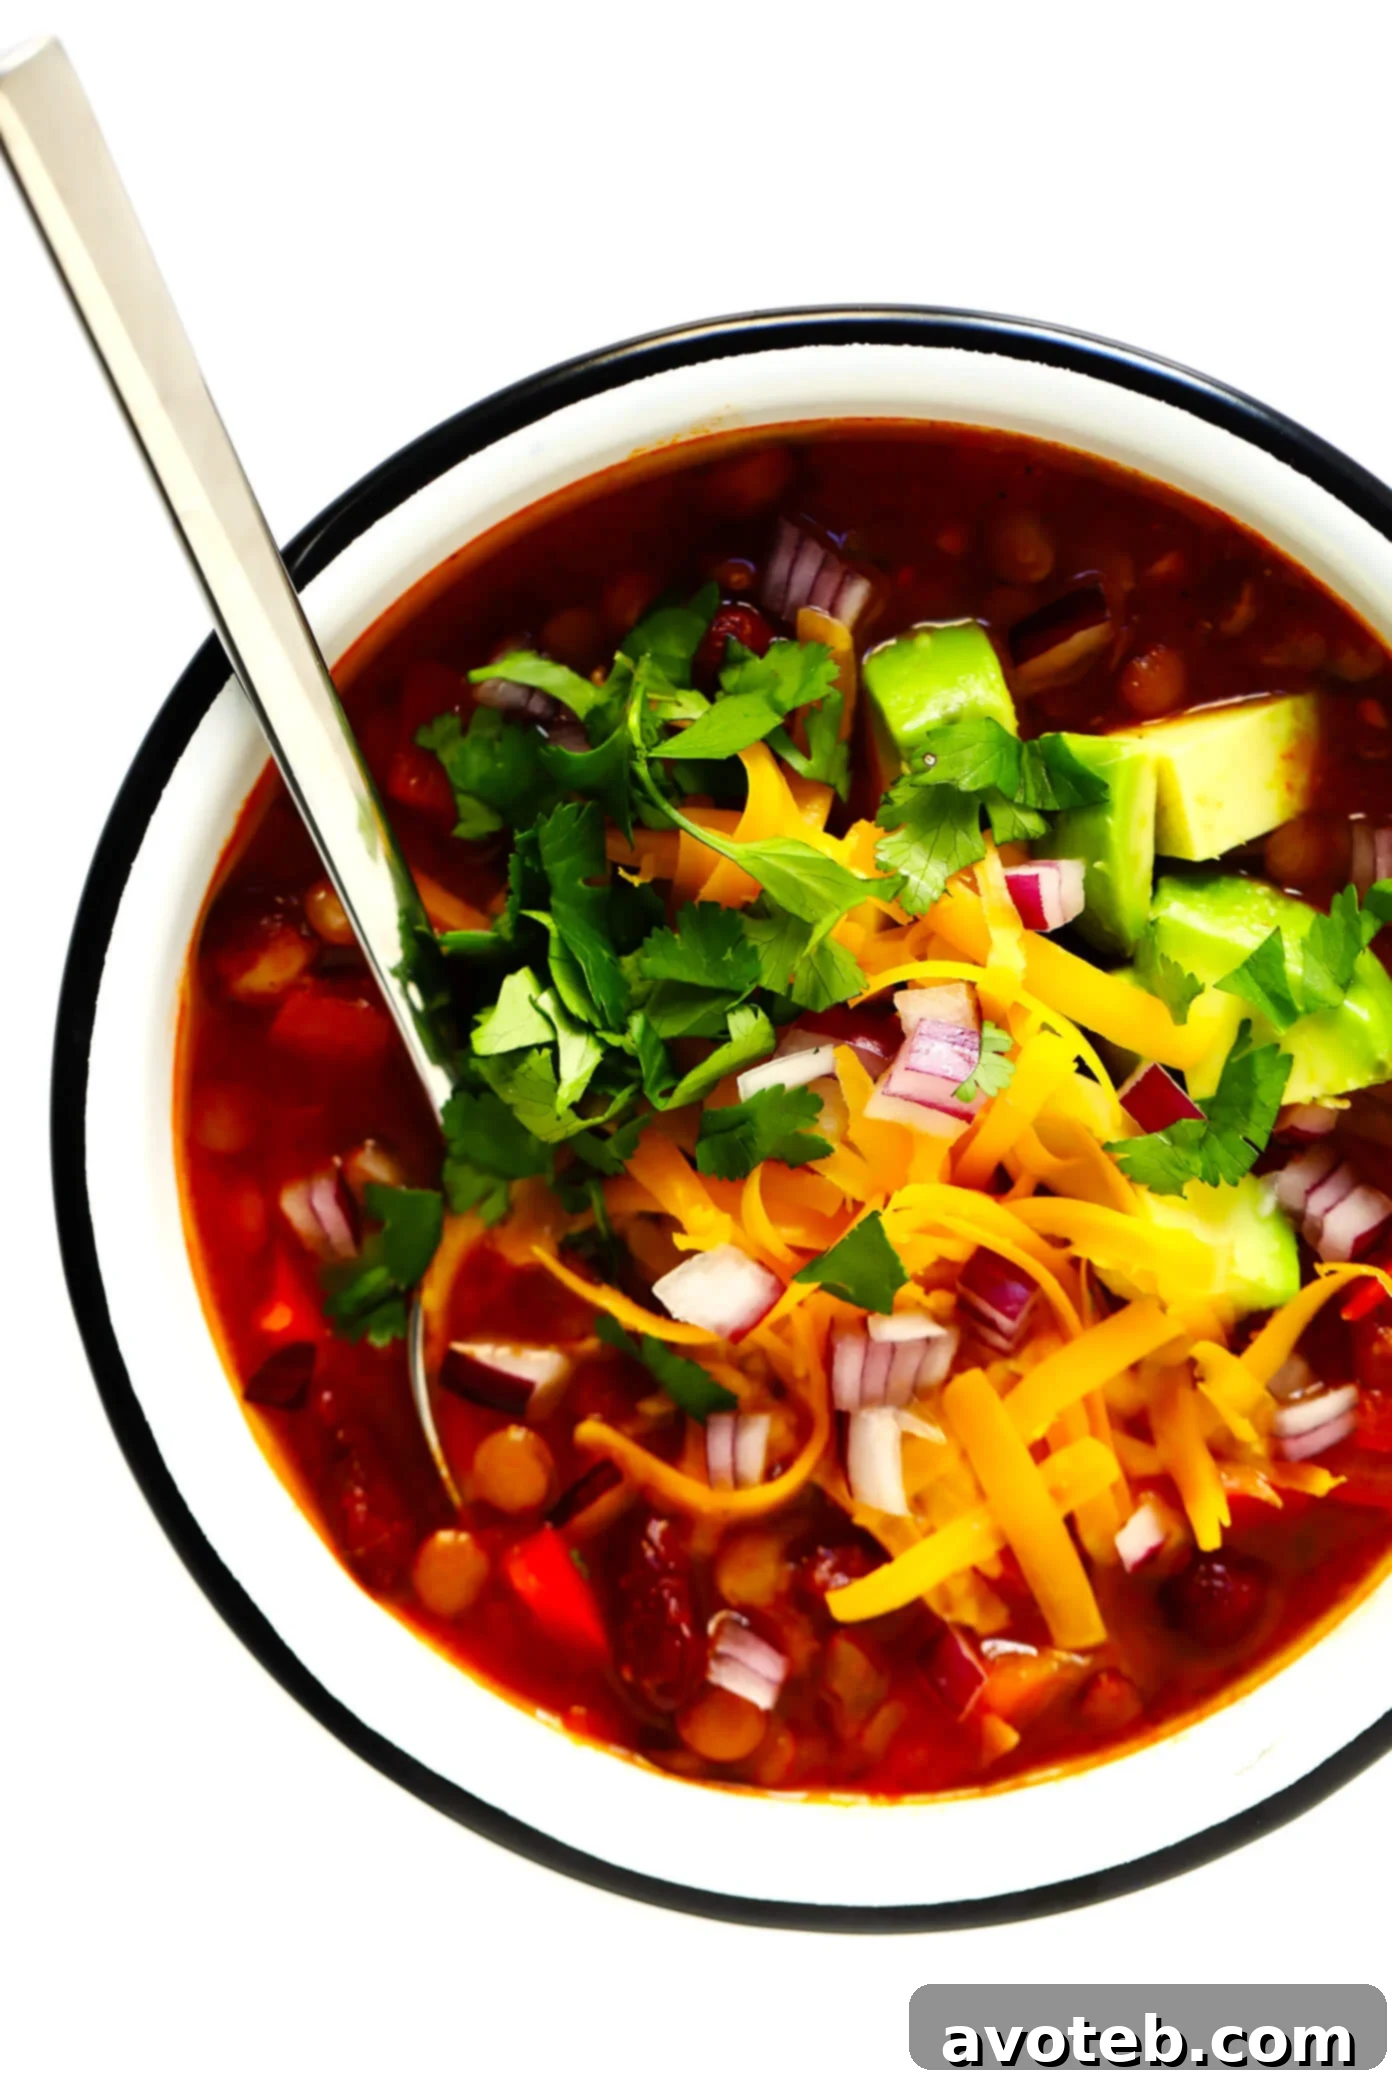
This amazing vegetarian chili recipe is incredibly easy to prepare using your Instant Pot, Crock-Pot, or a classic stovetop method. It’s naturally gluten-free and vegan, packed with wholesome ingredients, and most importantly, it’s absolutely delicious and incredibly satisfying.
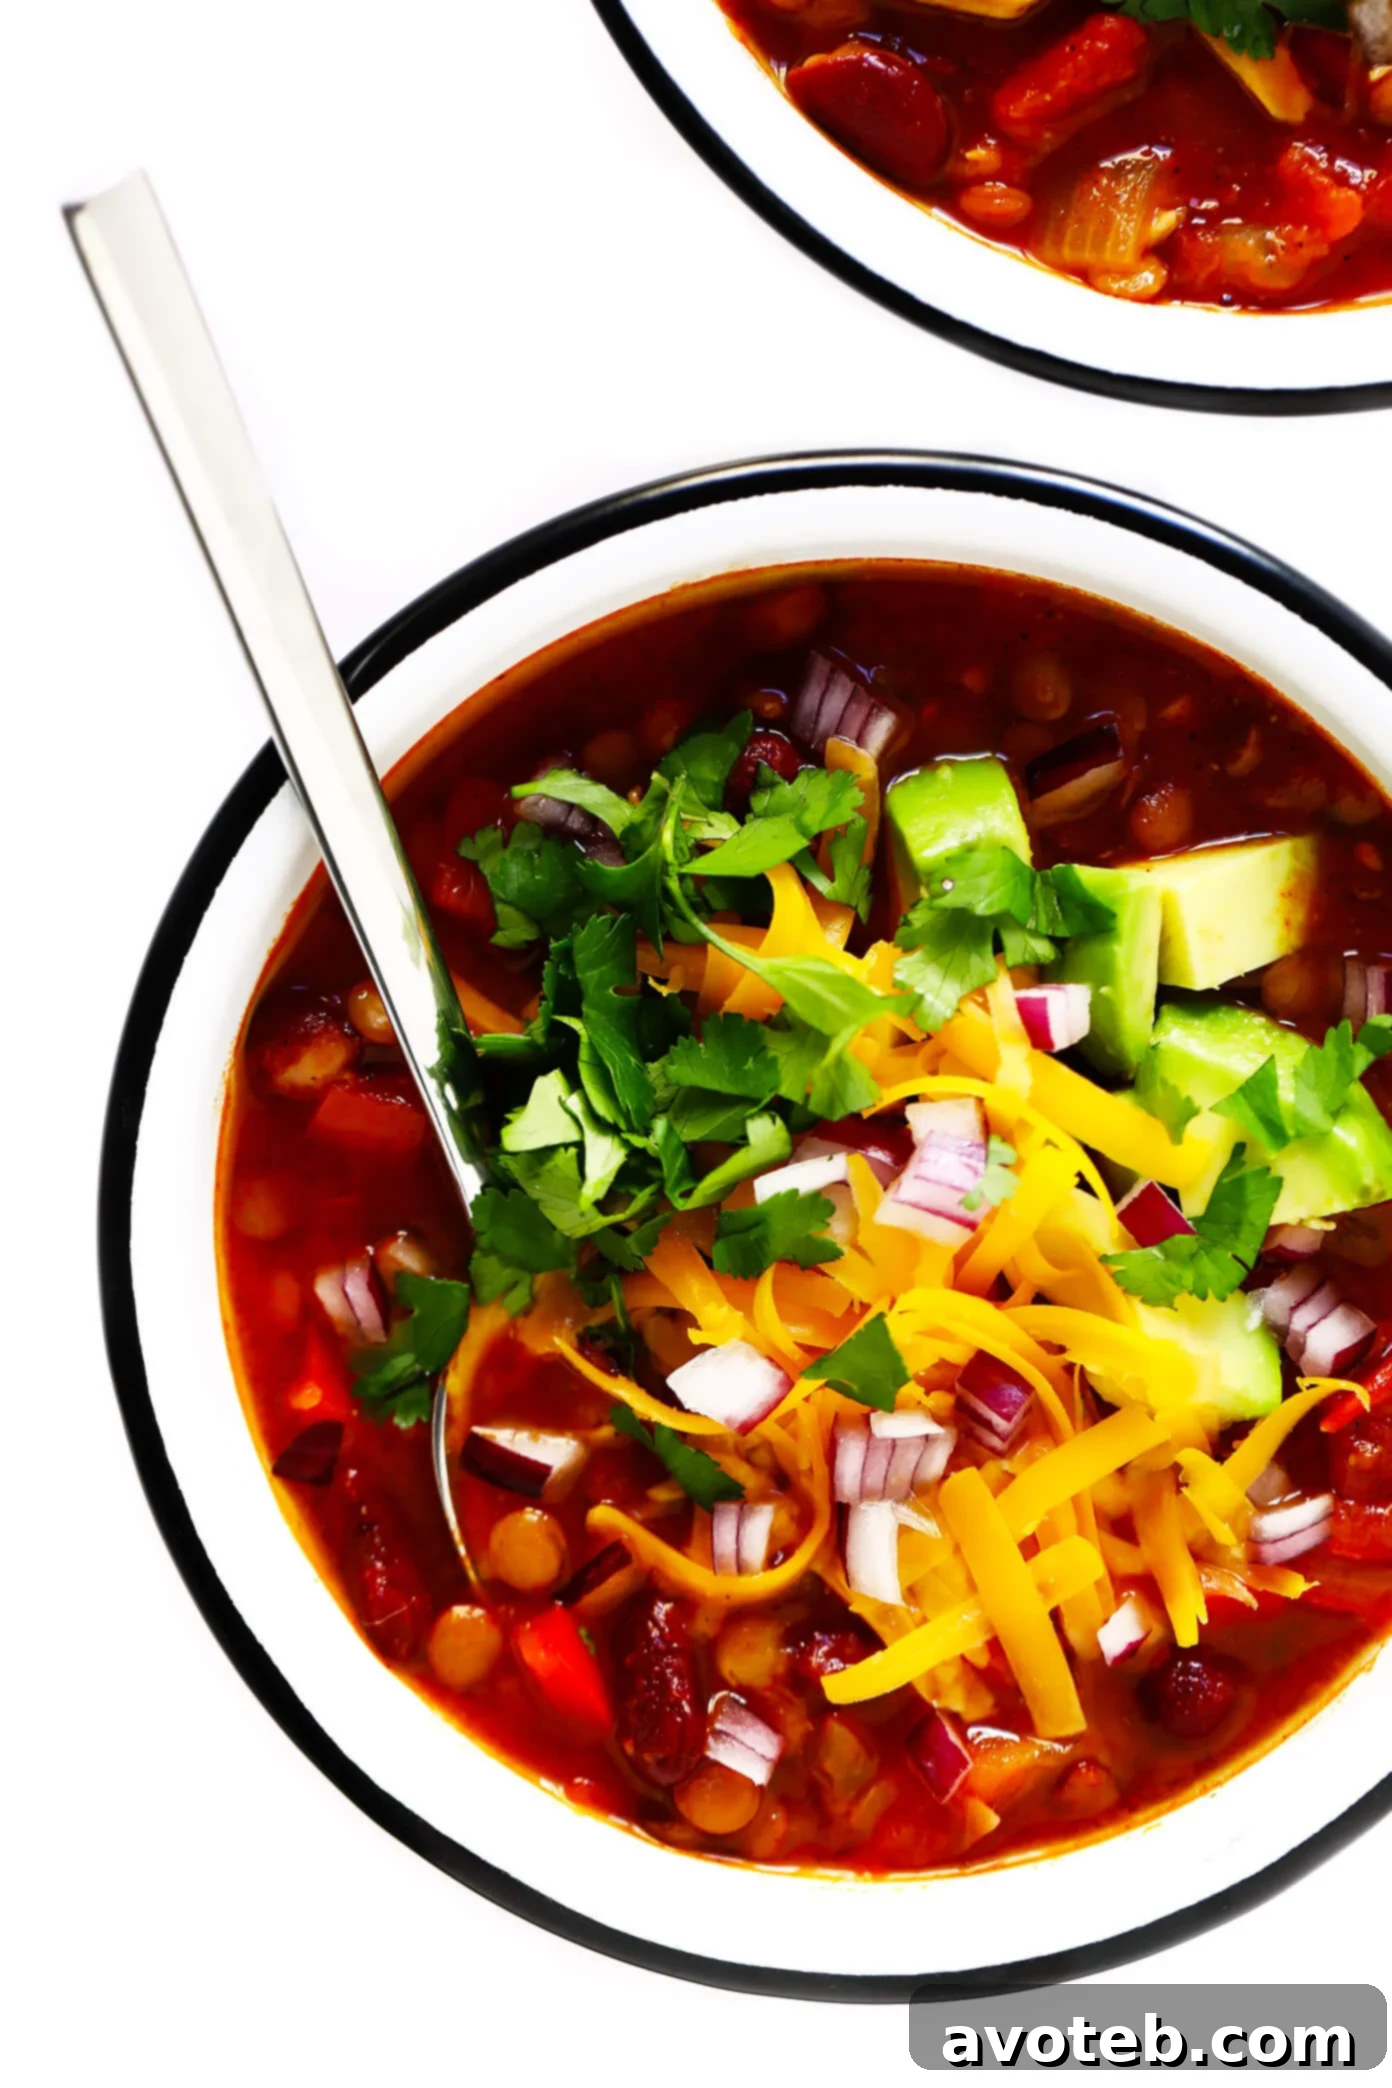
The Ultimate Vegetarian Chili: A Wholesome & Flavorful Plant-Based Classic
Prepare to meet your new go-to chili recipe! This isn’t just *any* vegetarian chili; it’s a robust, flavor-packed dish that consistently wins over everyone who tastes it, from devoted meat-lovers to staunch vegans. Its rich, savory profile is crafted from a harmonious blend of classic chili spices and hearty plant-based ingredients, ensuring a deeply satisfying experience without the need for meat. Beyond its incredible taste, this recipe shines with convenience and nutritional value, making it a perfect addition to your weekly meal rotation and a true family favorite.
Crafted to be naturally gluten-free and vegan, this chili is brimming with beneficial protein and essential nutrients, making it a truly wholesome meal. We’ve streamlined the preparation process to minimize chopping, allowing you to get this delicious dish on the table with minimal fuss. Whether you prefer the lightning speed of an Instant Pot, the hands-off simplicity of a Crock-Pot, or the traditional charm of a stovetop, we’ve got you covered with detailed, easy-to-follow instructions for each method. It’s also a dream for meal prep – the flavors only deepen overnight, and it freezes beautifully, making future busy-night meals effortless.
What truly sets this vegetarian chili apart is its universal appeal. Time and again, this recipe has proven to be a crowd-pleaser, earning rave reviews from diverse palates. It’s that versatile “back pocket” recipe you can rely on for a quick weeknight dinner, a casual game-day gathering, or even to proudly enter in a neighborhood chili cook-off. Every time it’s made in our kitchen, it disappears quickly, leaving everyone asking for seconds. So, if you’re searching for a healthier, hearty vegetarian chili that everyone can savor this season, gather your beans, stock up on your favorite toppings, and let’s dive into making a batch!
Visual Guide: How to Make Our Amazing Vegetarian Chili (1-Minute Overview)
For a quick and engaging visual walkthrough, we invite you to watch our brief 1-minute video. This concise guide demonstrates the simplicity and key steps involved in preparing this healthy, protein-rich vegetarian chili, adaptable for the Instant Pot, Crock-Pot, or stovetop. It’s the perfect way to get inspired before you start cooking!
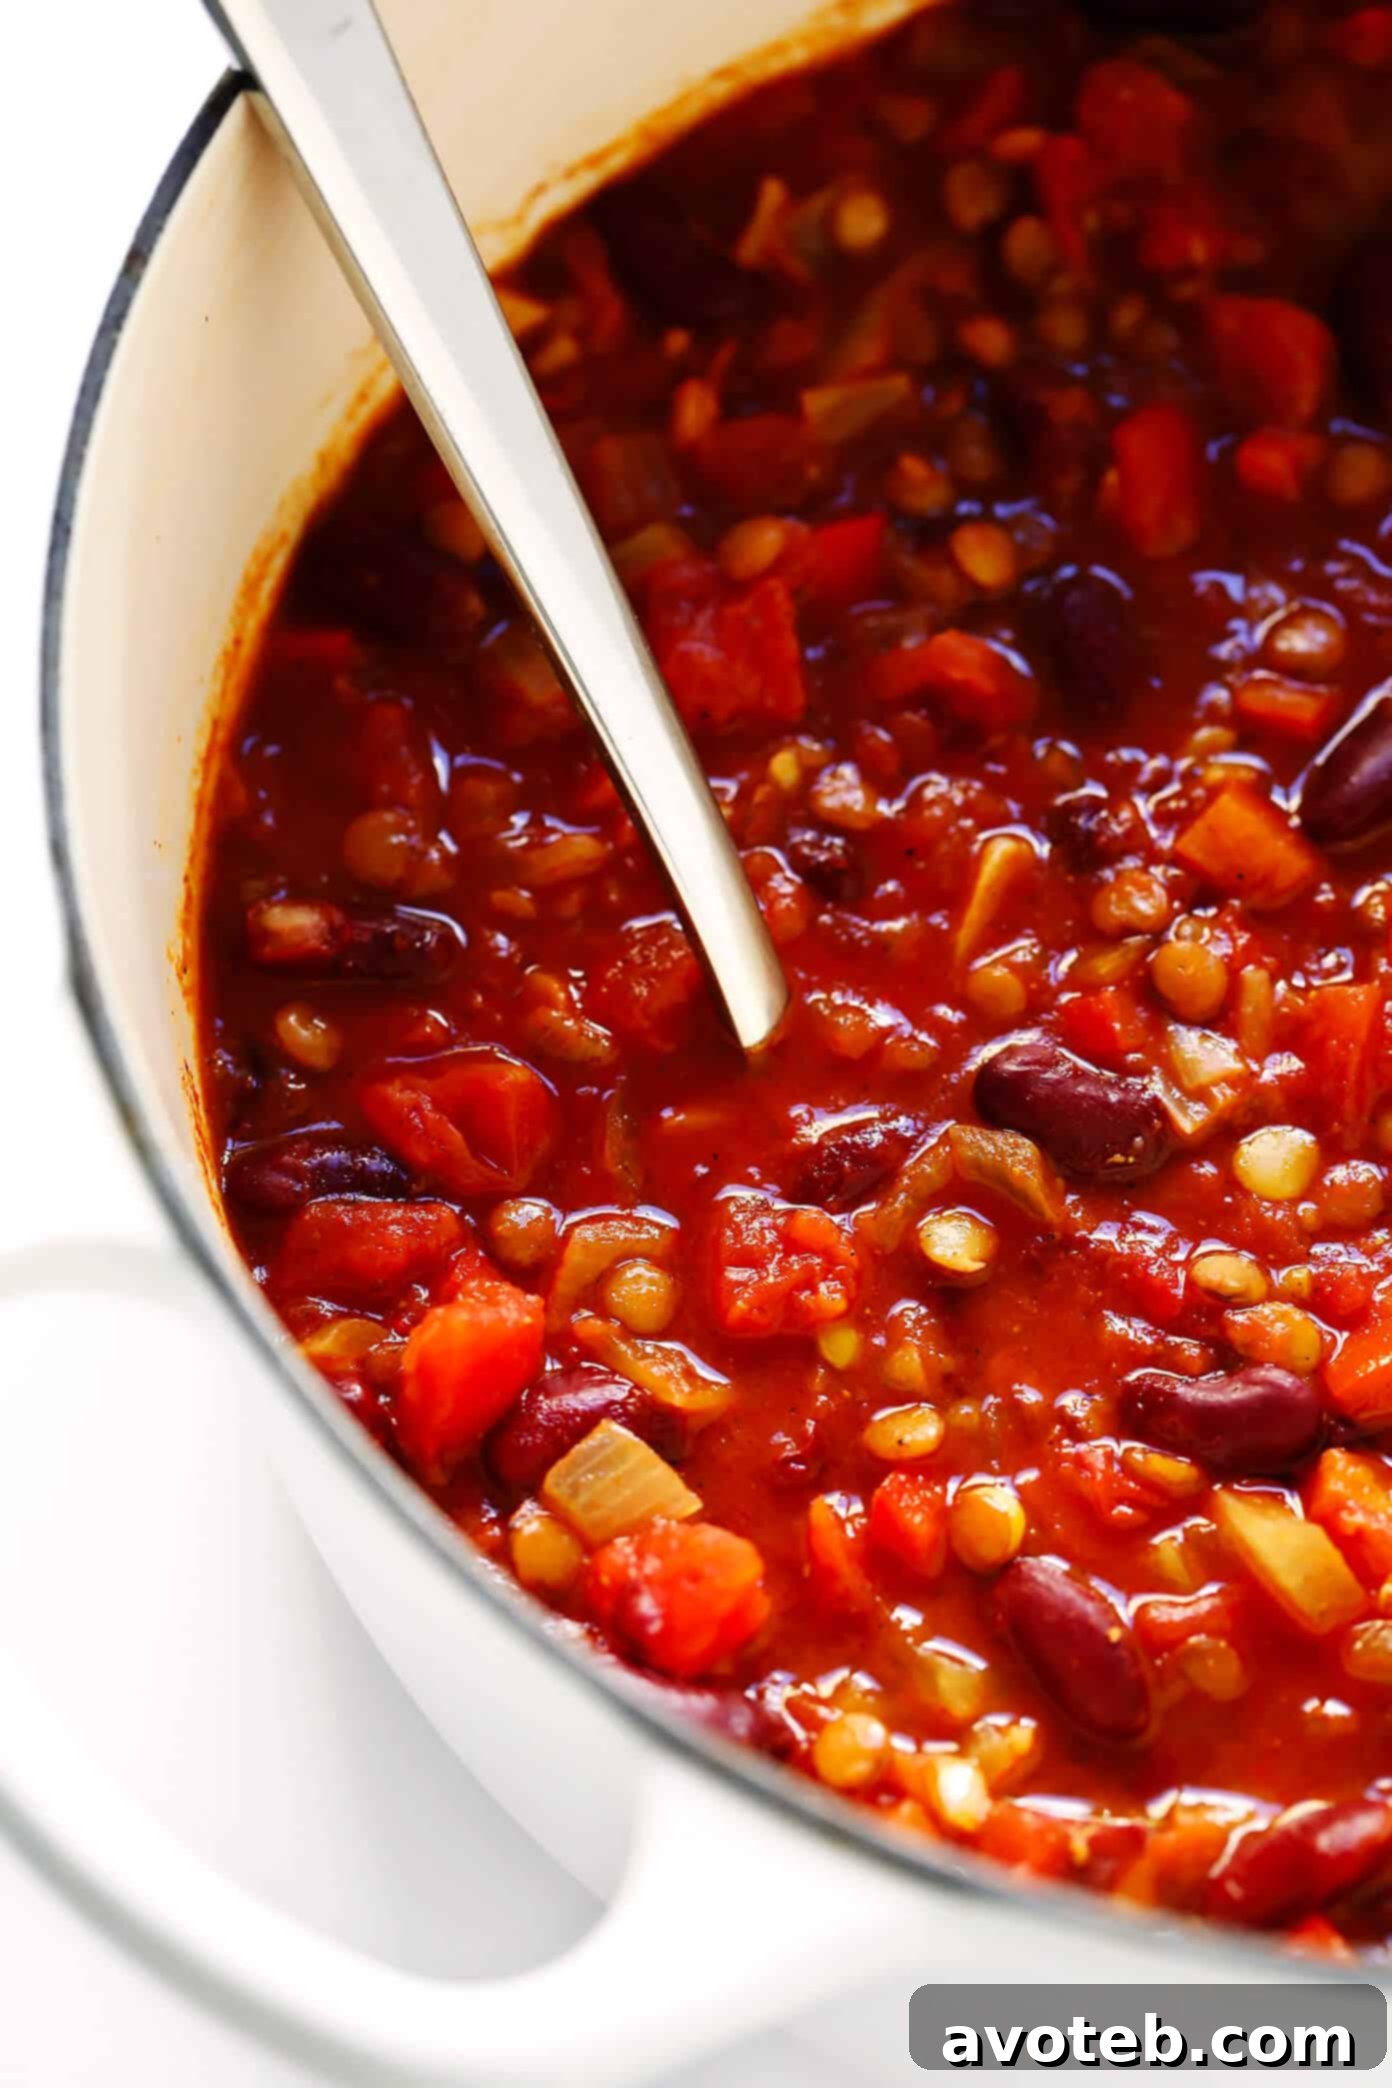
Essential Ingredients for Crafting Your Perfect Vegetarian Chili
Creating this truly exceptional chili requires a thoughtful selection of fresh, wholesome ingredients. We’ve focused on maximizing flavor and texture while keeping the ingredient list approachable and straightforward. Each component plays a vital role in building the rich, layered taste profile of this delicious meal. Here’s what you’ll need to gather:
- Aromatic Vegetables: The flavor foundation begins with simple yet powerful aromatics. You’ll need one medium onion (either white or yellow works well), peeled and diced. For sweetness and a vibrant splash of color, include one medium red bell pepper, cored and diced. If you’re looking to add an extra layer of smoky depth without much effort, jarred roasted red peppers can be a fantastic substitute or addition. Four cloves of fresh garlic, minced, complete this aromatic trio, providing a pungent, savory kick. For those who enjoy a subtle hint of sweetness in their chili, a small diced sweet potato can be a wonderful, nutrient-dense addition, though we typically prefer a more savory and robust profile for this recipe.
- Rich Vegetable Stock: The quality of your vegetable stock significantly influences the chili’s overall flavor. Opt for a good quality, low-sodium vegetable stock to ensure you can control the saltiness of the final dish. The quantity (3-4 cups) is flexible and can be adjusted based on your desired chili consistency – use less for a thicker, heartier chili, and more if you prefer a soupier texture.
- Diced Tomatoes: Fire-roasted diced tomatoes are our top recommendation here. Their inherent smokiness and slightly charred flavor add an incredible layer of complexity that truly elevates the chili beyond ordinary. If fire-roasted varieties are unavailable, standard diced tomatoes will work perfectly fine. Remember to add them undrained, as the liquid contributes essential moisture and body to the chili.
- Hearty Canned Beans: For convenience and a substantial protein boost, we rely on one 15-oz can of your preferred beans. Dark red kidney beans are a classic choice for their robust flavor, firm texture, and ability to hold their shape during prolonged cooking. However, feel free to experiment with pinto beans, black beans, or Great Northern beans to suit your personal taste and texture preferences. It’s crucial to always rinse and drain canned beans thoroughly under cold water before adding them to your chili to remove excess sodium and any starchy liquid, which can sometimes cause digestive discomfort.
- Nutrient-Packed Lentils: This is our “secret weapon” for giving vegetarian chili a satisfying, “meaty” texture and incredible substance without any actual meat. One cup of uncooked green or brown lentils works best as they retain their shape well during the cooking process, preventing them from becoming overly mushy. Red lentils tend to break down more, which isn’t ideal for the desired hearty texture in this particular chili. Beyond texture, lentils also add a significant boost of plant-based protein, fiber, and various essential minerals. Always pick through your lentils before rinsing to remove any small stones or debris.
- Signature Chili Seasonings: The magic of any great chili lies in its spice blend. You’ll need a generous tablespoon of chili powder, a teaspoon of smoked paprika (essential for that indispensable smoky depth), and a teaspoon of ground cumin (for earthy warmth and a signature chili flavor). Sea salt and freshly-cracked black pepper are added to taste, allowing you to fine-tune the seasoning. Don’t be shy about tasting and adjusting these as the chili cooks to achieve your perfect balance of flavors.
No chili experience is complete without an array of delectable toppings! We firmly believe in the “more-the-merrier” approach here. Pile your bowls high with a vibrant selection of fresh ingredients: creamy diced avocado, bright chopped fresh cilantro, crisp diced green or red onions, a generous sprinkle of shredded cheddar cheese (or your favorite dairy-free alternative for a vegan option), a dollop of cool sour cream (or a vegan sour cream), and a handful of crunchy crumbled corn tortilla chips for texture. Remember to choose your topping ingredients wisely if you are making this chili strictly vegan or gluten-free.
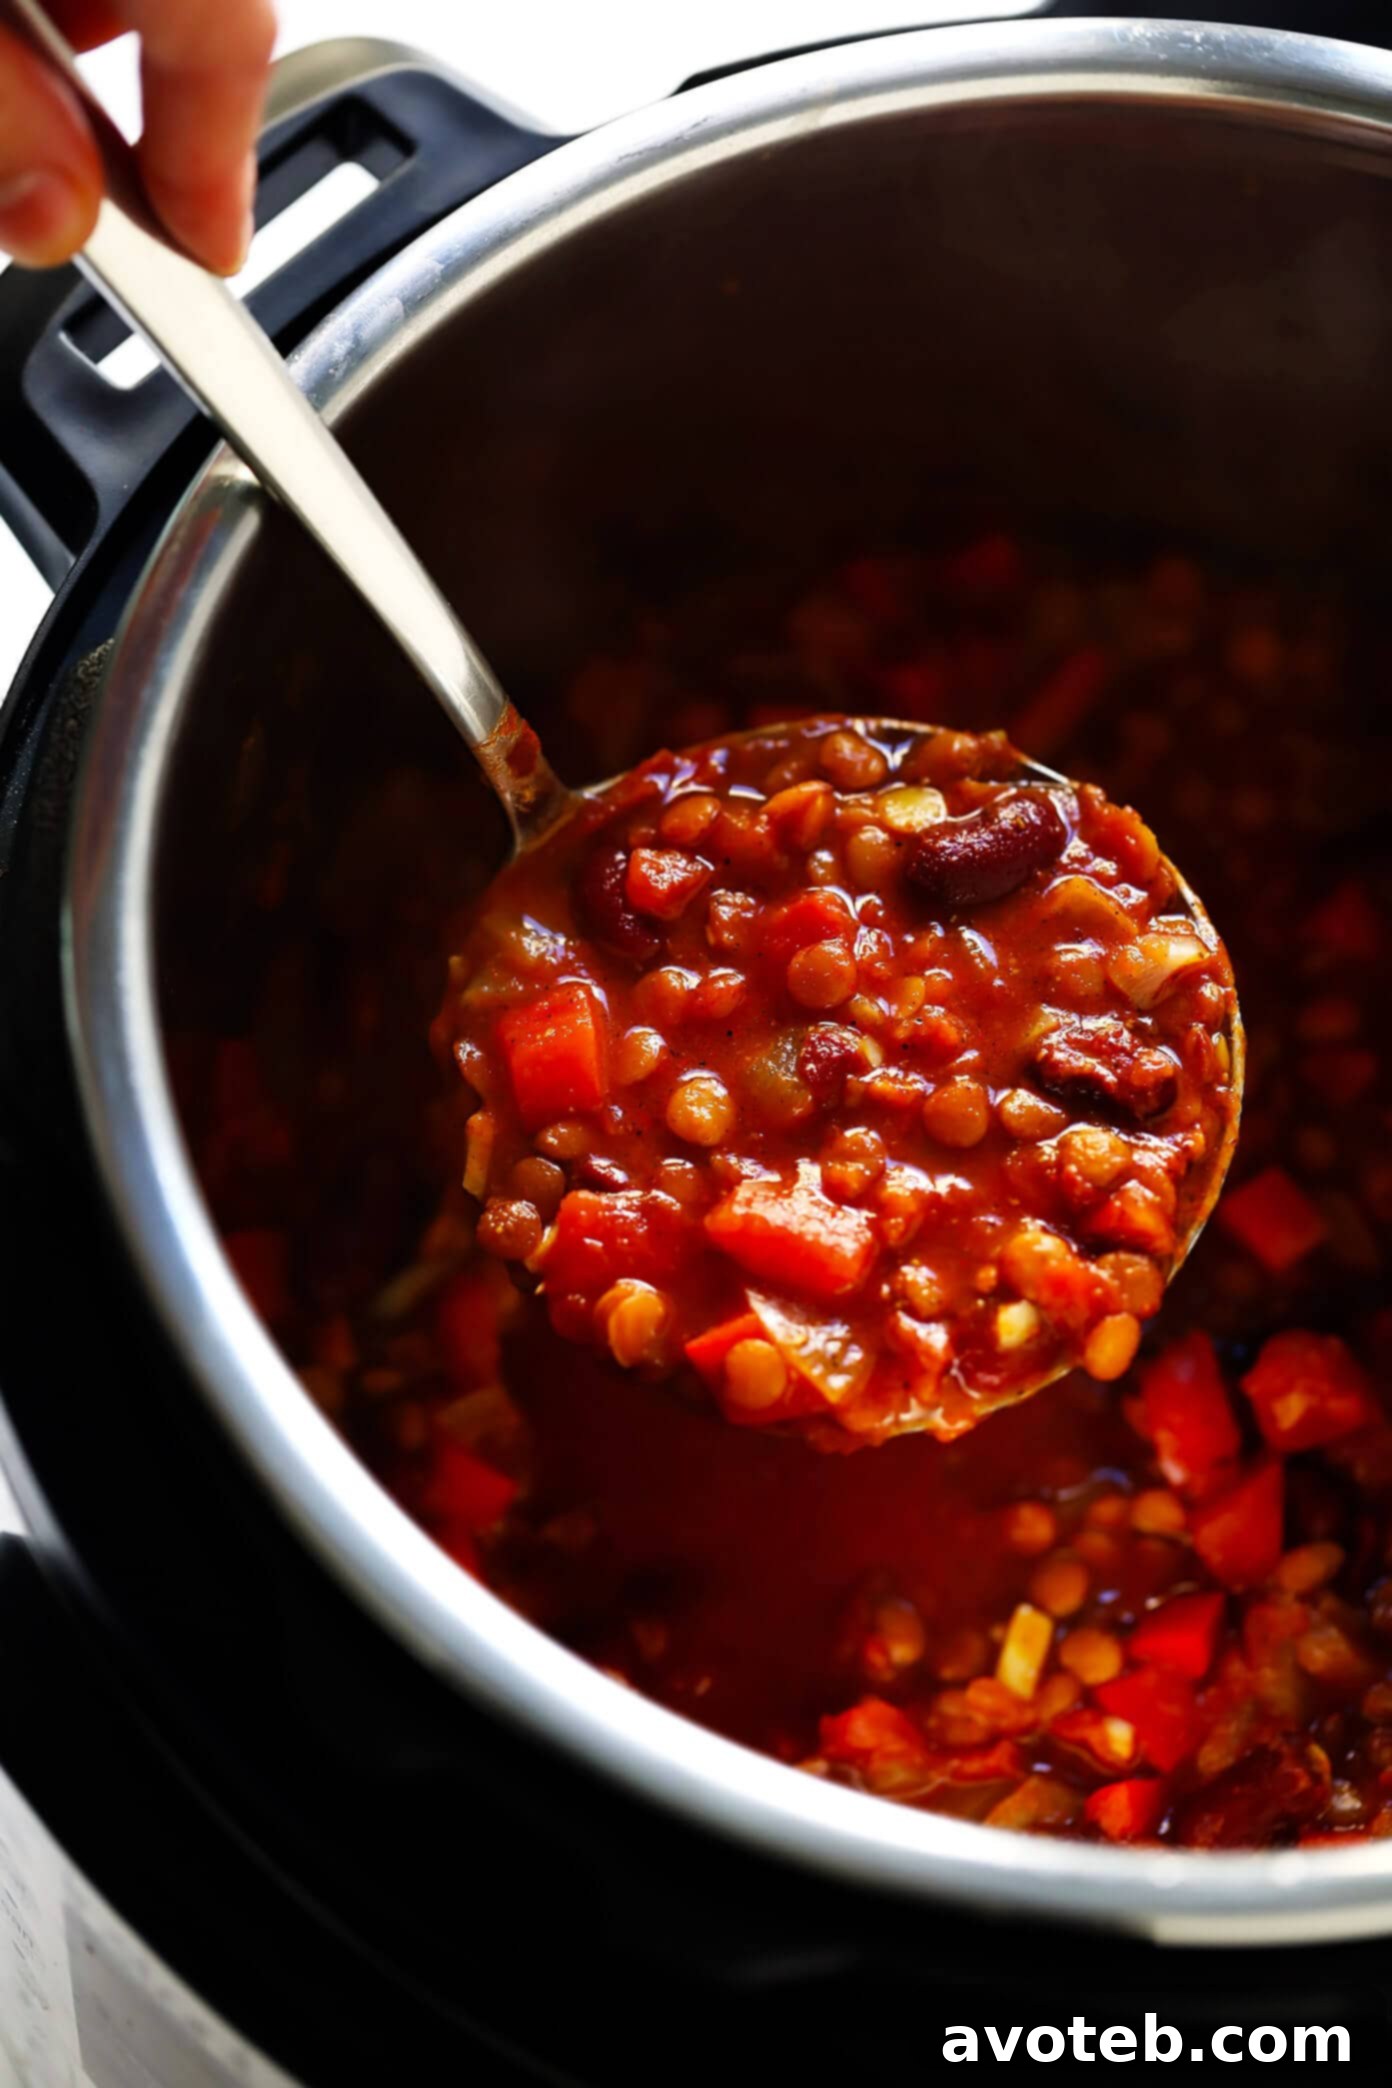
Effortless Instant Pot Vegetarian Chili: Quick & Flavorful
The Instant Pot is a game-changer for preparing this delicious vegetarian chili in a fraction of the time. Its pressure cooking capabilities infuse flavors deeply and tenderize ingredients beautifully, perfect for a quick and hearty meal after a busy day. The sealed environment ensures maximum flavor retention and reduces cooking time dramatically. Here’s how to achieve a perfect Instant Pot vegetarian chili that tastes like it simmered all day:
- Sauté Aromatics (Optional, but Highly Recommended): While you *can* simply add all ingredients at once for a truly minimal effort meal, we highly recommend taking an extra few minutes to sauté your aromatics. This crucial step builds a foundational layer of flavor that truly enhances the finished chili. Press the “Sauté” button on your Instant Pot. Once hot, add 1 tablespoon of olive oil. Add the diced onion and red bell pepper, and sauté for about 5 minutes, stirring occasionally, until they begin to soften, become translucent, and release their fragrant aromas. Then, add the minced garlic and sauté for just 1 more minute until it becomes wonderfully aromatic. Press “Cancel” to turn off the Sauté function.
- Combine Remaining Ingredients and Pressure Cook: Carefully add the remaining ingredients into the Instant Pot’s inner pot: the specified amount of vegetable stock, the can of diced tomatoes (undrained, to preserve their liquid and flavor), the rinsed and drained beans of your choice, the uncooked green or brown lentils, chili powder, smoked paprika, and ground cumin. Give all the ingredients a good stir to ensure they are well combined and the spices are evenly distributed. Secure the lid, making sure the sealing vent is set to the “Sealing” position. Select the “Manual” (or “Pressure Cook” on newer models) button and set the cooking time to 12 minutes on High Pressure.
- Perform Quick Release and Final Seasoning: Once the cooking cycle is complete, the Instant Pot will beep. Carefully perform a quick release of the pressure by turning the sealing vent to “Venting” (use a long-handled spoon or towel to protect your hand from the steam). Allow the steam to fully escape until the float valve drops, then you can safely remove the lid. Give the chili a thorough stir to redistribute all the delicious flavors and ensure the lentils are perfectly tender. Taste the chili and adjust the seasonings as needed. This is the perfect time to add sea salt and freshly-cracked black pepper to taste, and any additional pinches of cumin, chili powder, or smoked paprika if you desire a bolder, more intense flavor profile.
- Serve Immediately or Store: Ladle the hot, steaming chili into individual bowls. Pile it high with all your favorite toppings – think fresh cilantro, creamy avocado, a sprinkle of shredded cheese (dairy or plant-based), and a dollop of sour cream or a vegan alternative. Serve immediately and savor every spoonful of this hearty meal. Leftovers can be stored in an airtight container in the refrigerator for up to 3 days or frozen for up to 3 months for convenient, quick future meals.
Hearty Crockpot Vegetarian Chili: Set It & Forget It Comfort
For those days when you need a comforting meal with minimal hands-on effort, the slow cooker is your best friend. This Crock-Pot vegetarian chili method allows the flavors to meld beautifully over several hours, resulting in a rich, deeply satisfying dish that’s ready when you are. It’s perfect for busy weekdays when you want to come home to a delicious, hot meal, or for lazy weekends when you prefer a more relaxed cooking approach.
- Effortless Ingredient Assembly: The beauty of the slow cooker method is its simplicity. Simply add all of the chili ingredients directly into the bowl of your slow cooker. This includes the olive oil, diced onion, red bell pepper, minced garlic, vegetable stock, the can of diced tomatoes (undrained), the rinsed and drained beans of your choice, the uncooked green or brown lentils, chili powder, smoked paprika, and ground cumin. Give everything a brief stir to combine the ingredients gently and ensure the spices are evenly distributed throughout the mixture. This recipe is versatile and will fit comfortably in either a 4-quart or a 6-quart slow cooker.
- Slow Cook to Perfection: Once all ingredients are in the pot, secure the lid firmly on your slow cooker. Cook the chili on the LOW setting for 6-8 hours, or if you’re in a bit more of a hurry, on the HIGH setting for 3-4 hours. The chili is ready when the lentils are perfectly tender and have absorbed much of the liquid, creating a wonderfully thick and hearty consistency. Keep in mind that longer cooking times on the low setting often result in a deeper, more developed, and complex flavor profile as the ingredients have more time to truly meld.
- Taste and Adjust Seasoning: Once the designated cooking time has passed and the chili is ready, give it a good stir. Carefully taste a spoonful (it will be hot!) and season generously with sea salt and freshly-cracked black pepper to your liking. This is also the ideal moment to adjust any other spices like chili powder, cumin, or smoked paprika to your preference, aiming for a perfectly balanced and robust flavor. Don’t be afraid to add a little extra if it feels like it needs a boost!
- Serve Warm and Enjoy: Dish out the warm, aromatic chili into individual bowls. Crown each serving with an abundance of your chosen toppings – whether it’s creamy avocado, fresh cilantro, crisp green onions, a sprinkle of cheese, or a dollop of sour cream. Enjoy this comforting and satisfying meal right away. Store any remaining chili in an airtight container in the refrigerator for up to 3 days, or freeze for up to 3 months for a convenient future meal that’s just as delicious.
Classic Stovetop Vegetarian Chili: Traditional Simmering Perfection
Sometimes, the traditional stovetop method is simply the best, allowing you to monitor and adjust the chili’s development with precision. This method is fantastic for creating a rich, flavorful vegetarian chili with a satisfying simmer, filling your kitchen with an irresistible aroma. It offers excellent control over the texture and depth of flavor. Here’s how to cook it on your stovetop for a truly classic experience:
- Sauté the Aromatics and Build Flavor: Begin by heating 1 tablespoon of olive oil in a large, heavy-bottomed stockpot or Dutch oven over medium-high heat. Add the diced onion and red bell pepper to the pot. Sauté for about 5 minutes, stirring occasionally, until the vegetables soften, become translucent, and start to release their natural sweetness. Next, add the minced garlic and continue to sauté for just 1 more minute until it becomes wonderfully fragrant. Be careful not to burn the garlic, as burnt garlic can impart a bitter taste. This initial sautéing step is crucial for developing a deep flavor base.
- Combine, Simmer, and Cook: Add all the remaining ingredients to the pot: the specified amount of vegetable stock, the can of fire-roasted diced tomatoes (undrained, for maximum flavor), the rinsed and drained beans of your choice, the uncooked green or brown lentils, chili powder, smoked paprika, ground cumin, a pinch of sea salt, and freshly-cracked black pepper. Stir everything thoroughly to combine all the ingredients and ensure the spices are well distributed. Bring the mixture to a gentle simmer. Once simmering, reduce the heat to medium-low, cover the pot, and continue cooking for approximately 20-25 minutes, or until the lentils are tender and the chili has thickened to your desired consistency. Stir occasionally to prevent any sticking to the bottom of the pot and to ensure even cooking.
- Final Seasoning Check: Remove the lid from the pot and give the chili a good stir. Carefully taste a spoonful and adjust the seasonings as needed. This is your prime opportunity to add more salt, pepper, chili powder, cumin, or smoked paprika to achieve the perfect flavor balance that suits your palate. Don’t be afraid to add a little extra if it feels like it needs a boost of flavor! A squeeze of fresh lime juice at this stage can also brighten the overall taste.
- Serve Hot and Garnish: Ladle the steaming, hearty chili into individual bowls. Garnish generously with an array of your favorite toppings, such as creamy diced avocado, vibrant chopped fresh cilantro, crisp green onions, a sprinkle of shredded cheese (dairy or plant-based), and a dollop of cool sour cream or a vegan alternative. Serve immediately for a satisfying and warming meal. Leftovers can be refrigerated in an airtight container for up to 3 days, or frozen for up to 3 months for a convenient future meal.
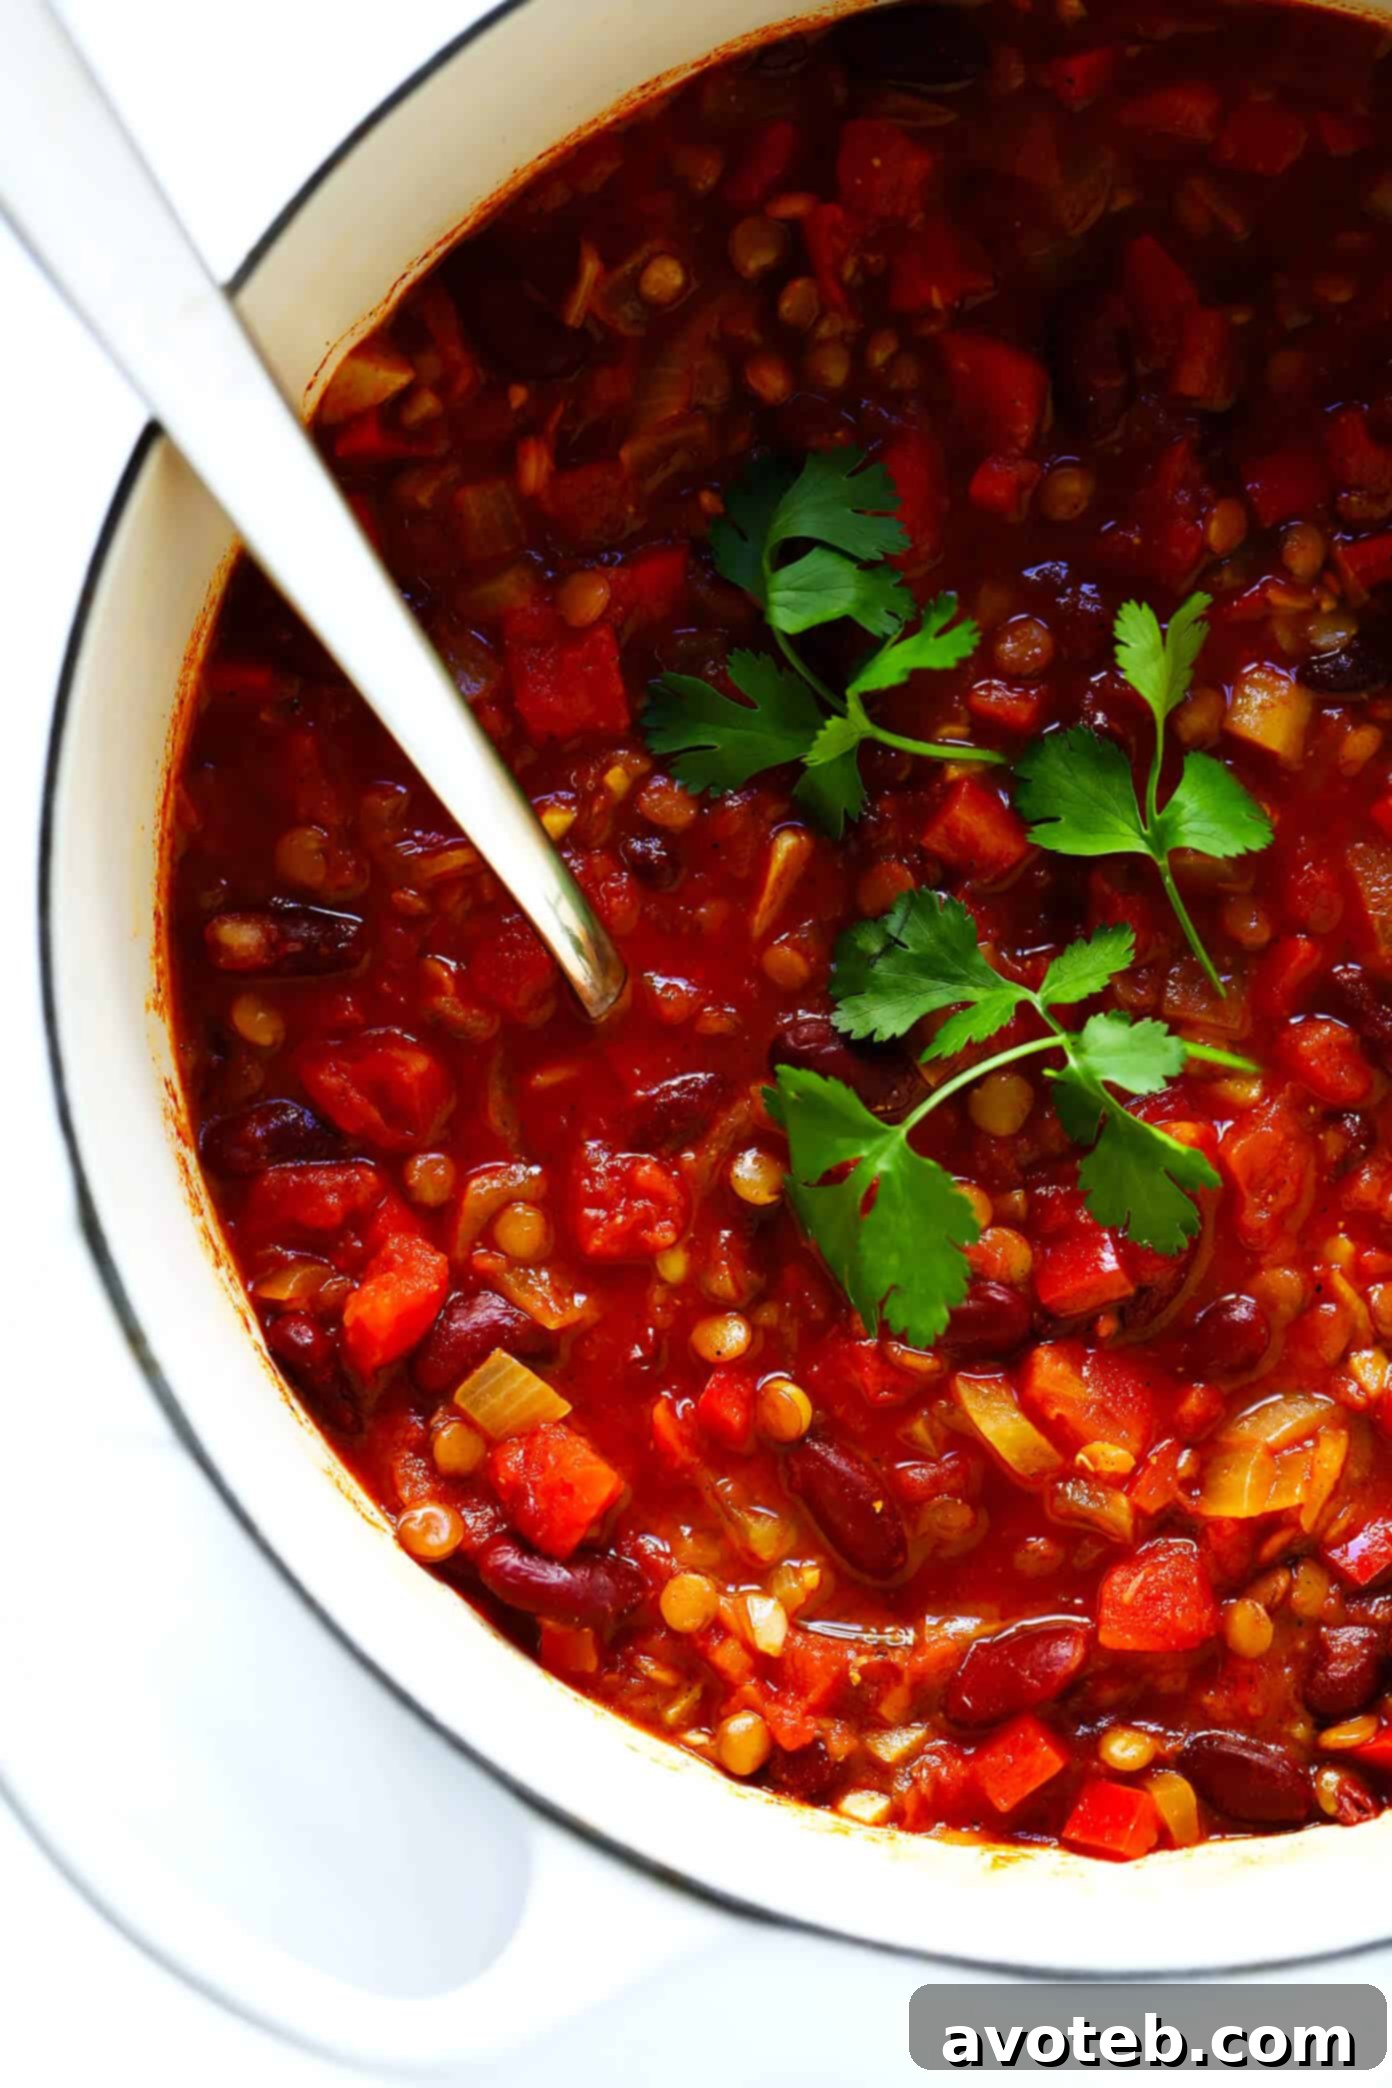
Exciting Variations to Customize and Elevate Your Chili Experience
One of the most appealing aspects of this vegetarian chili recipe is its incredible adaptability. The base is robust enough to welcome a myriad of additions and substitutions, allowing you to unleash your culinary creativity and customize it to your heart’s content! Here are some fantastic ways to modify the base recipe and explore new flavor profiles:
- Amplify the Heat: If you’re a fan of spicy food, it’s incredibly easy to add a fiery kick to your chili. Incorporate 1 or 2 finely-diced jalapeño peppers; add them when you sauté the onions for a milder, integrated heat, or closer to the end for a fresher, spicier punch. For an even greater level of heat, a few pinches of cayenne pepper or a dash of your favorite hot sauce can be stirred in to taste. For a smoky heat, consider adding a finely minced habanero or serrano pepper along with the jalapeños, adjusting quantity to your heat tolerance.
- Boost the Smoky Flavor: Beyond the essential smoked paprika, you can deepen the smoky notes significantly. Try adding one roughly chopped chipotle pepper in adobo sauce to the chili (remove seeds for less heat, if desired). The adobo sauce itself contributes a rich, complex, and subtly tangy flavor. For an intense smoky aroma, a tiny dash of liquid smoke, used sparingly, can also be effective. Grilling your bell peppers before dicing them can also impart a natural char and smoky taste.
- Incorporate More Vegetables: This base recipe is intentionally simple, but it acts as a fantastic canvas for a variety of extra veggies. Consider adding diced sweet potatoes, carrots, celery, bell peppers of different colors, mushrooms, zucchini, corn, or even hardy greens like kale or spinach (add these towards the end of cooking, as they wilt quickly). If you introduce a significant amount of additional vegetables, you might need to increase the vegetable broth and seasonings slightly to maintain the chili’s balance and ensure there’s enough liquid.
- Add Grains or Nuts for Extra Heartiness: To make your chili even more substantial, filling, and satisfying, stir in some cooked or uncooked grains. Quinoa, farro, barley, or bulgur are excellent choices that contribute both texture and nutritional value. If adding uncooked grains, remember to increase the vegetable stock as they will absorb liquid during cooking. Alternatively, for a unique texture and added richness, very finely chopped soft nuts like walnuts or pecans can be added during the last 10-15 minutes of cooking. These also provide healthy fats and an earthy undertone.
- Different Bean Combinations: While the recipe calls for one can of beans, don’t hesitate to mix and match for diverse textures and flavor profiles. A combination of black beans and pinto beans, or cannellini beans and dark red kidney beans, can add wonderful complexity and visual appeal. Chickpeas can also be a delicious addition.
- Herbal Infusion: Fresh herbs like oregano, thyme, or bay leaves (remember to remove bay leaves before serving) can add an aromatic layer of complexity. Dried Italian seasoning or a mix of individual dried herbs can be added with the other spices at the beginning of cooking.
- Sweetness Balance: A touch of sweetness can beautifully balance the acidity of the tomatoes and the richness of the spices. A teaspoon of maple syrup, brown sugar, or even a small amount of finely grated dark chocolate (like unsweetened cocoa powder) can subtly enhance the flavor profile and add depth without making the chili overtly sweet.
- Tangy Finish: A splash of apple cider vinegar, a squeeze of fresh lime juice, or even a dash of balsamic vinegar added just before serving can brighten the chili’s flavors and cut through its richness, adding a refreshing zing.
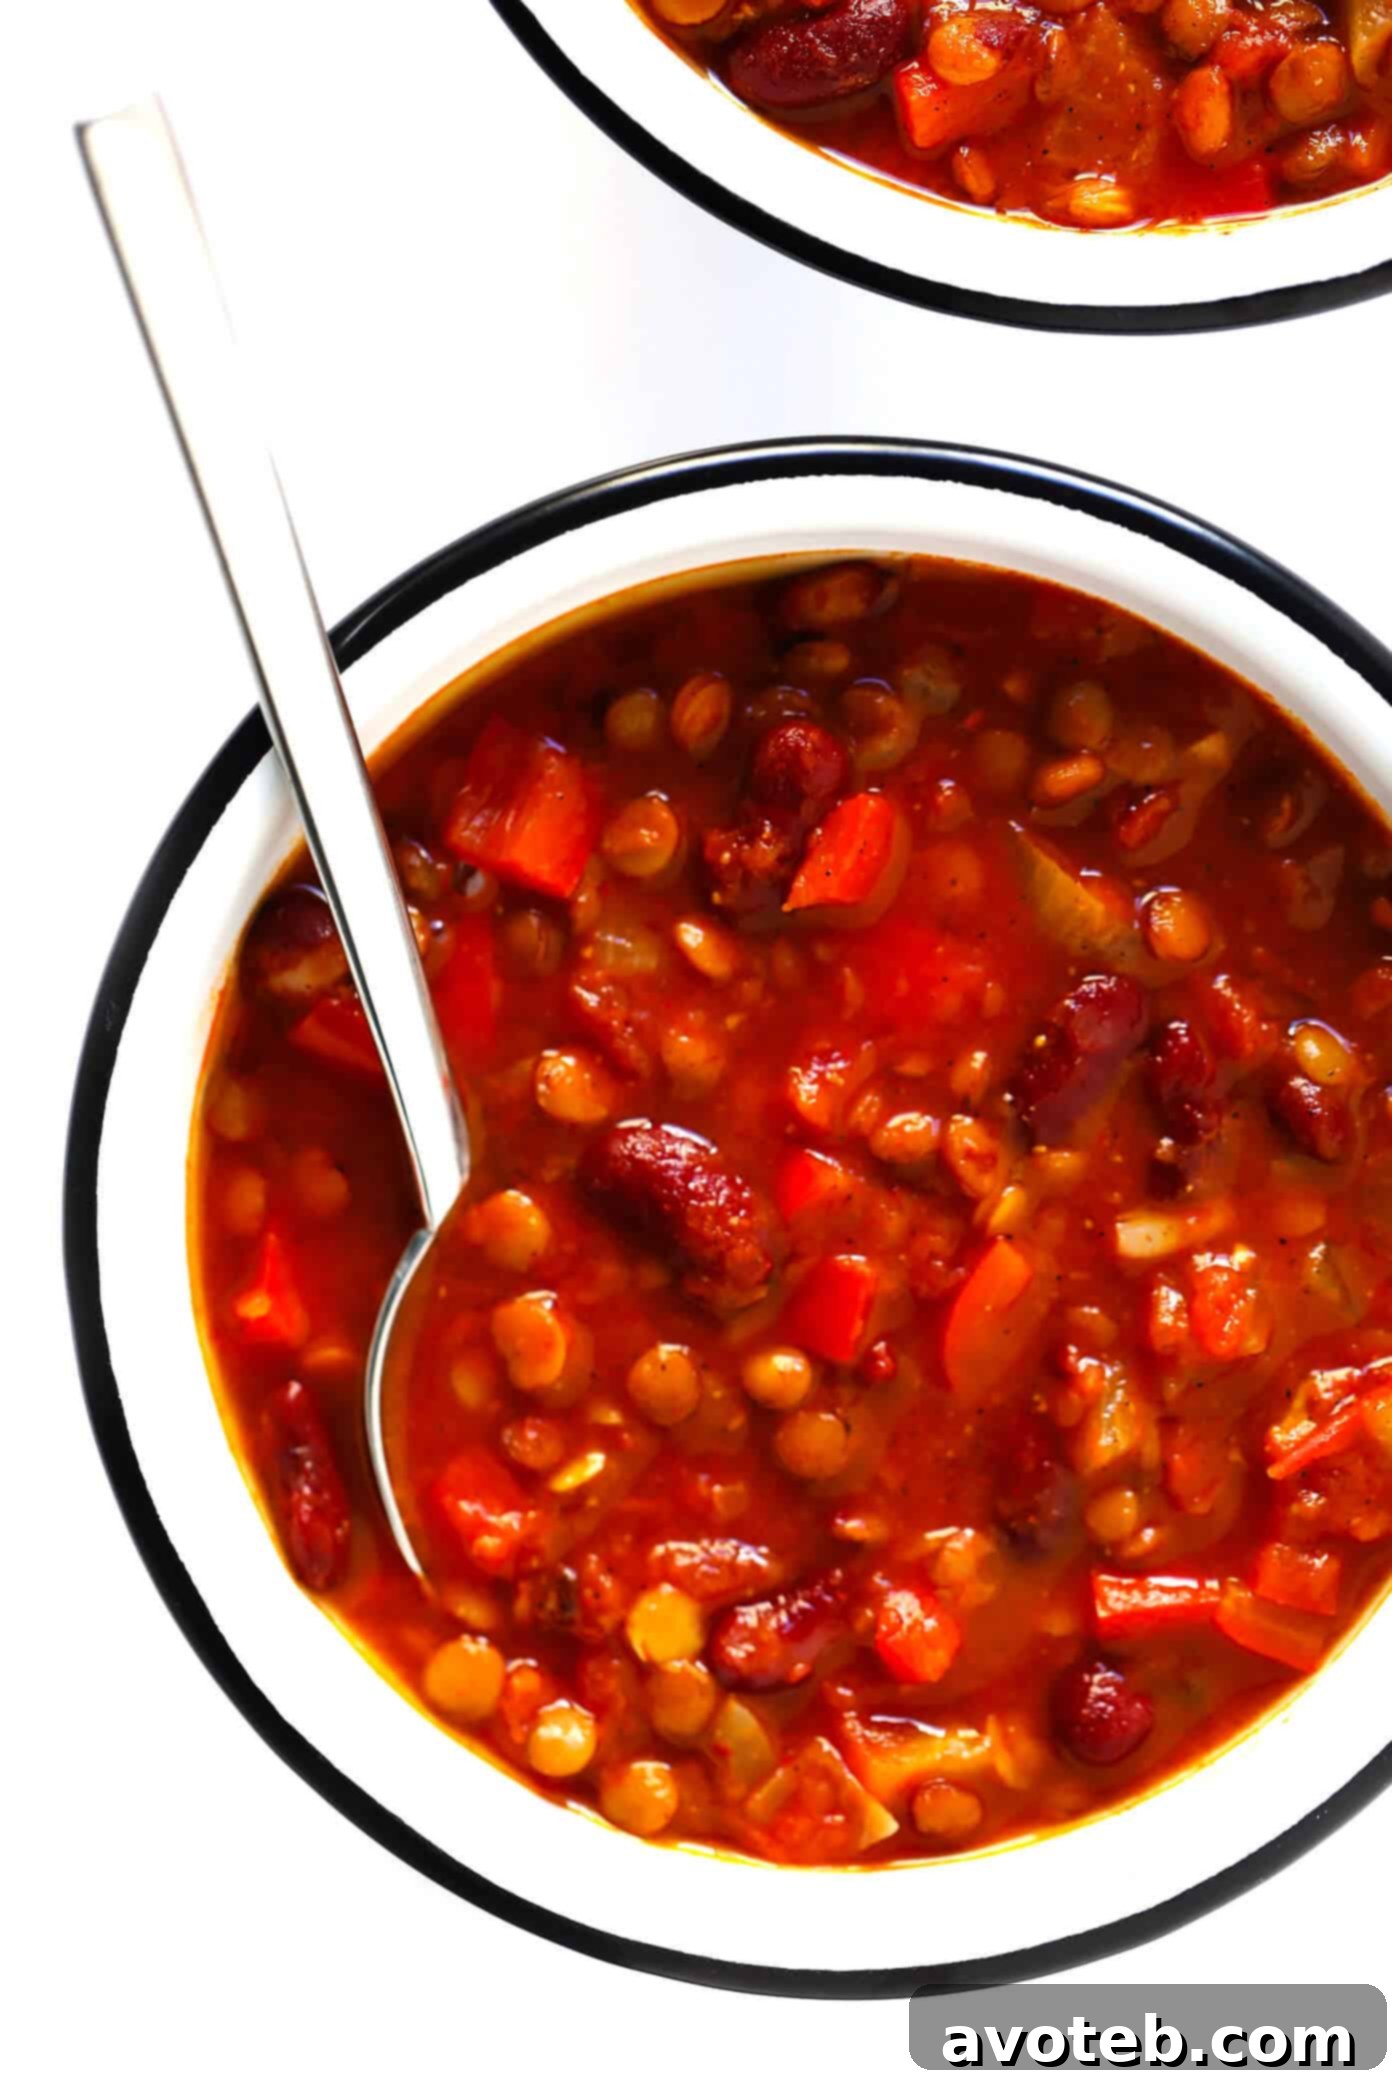
Perfect Pairings: What to Serve with Your Vegetarian Chili
A delicious bowl of vegetarian chili can certainly be a meal in itself, but pairing it with the right side dishes elevates the entire dining experience, adding complementary textures, flavors, and nutritional elements. Whether you’re looking for something light and fresh, or hearty and comforting, here are some classic and creative ideas to complement your chili and create a complete, satisfying meal:
- Fresh and Crisp Salads: A vibrant, refreshing salad provides a wonderful contrast to the warmth and richness of chili. Our Everyday Salad with its simple vinaigrette is always a good choice, offering a bright, clean palate cleanser. For a thematic twist that perfectly complements the chili’s flavors, a zesty Mexican Caesar Salad adds a creamy, spicy element. You could also opt for a simple green salad dressed with a light lime-cilantro dressing, or a corn and black bean salad for added texture and flavor.
- Hearty Breads for Dipping: Nothing quite beats a good piece of bread for dipping into flavorful chili, soaking up every last drop of that savory broth. Our Honey Beer Bread is incredibly quick and easy to prepare, yielding a slightly sweet, dense loaf that’s perfect for this purpose. Alternatively, classic cornbread (whether you prefer it sweet or savory), crusty artisan bread, or even warm flour or corn tortillas can be excellent choices. Garlic bread or cheese bread can also add an extra layer of indulgence and savory goodness.
- Crunchy Chips and Zesty Salsas: For a casual and fun addition that brings a festive element, you can never go wrong with a basket of crunchy corn tortilla chips alongside fresh, flavorful salsa. We highly recommend either our vibrant Restaurant-Style Salsa for a classic taste, or the tangy and bright Salsa Verde for an authentic Mexican touch. Freshly made guacamole is another fantastic accompaniment, adding creamy richness and healthy fats.
- Refreshing Beverages: To complete your meal, consider beverages that complement the robust and sometimes spicy flavors of chili. For adult refreshments, a zesty Margarita, a cool and spicy Moscow Mule, or a refreshing Mojito would all be delightful choices. For non-alcoholic options, unsweetened iced tea, homemade lemonade, or even sparkling water with a squeeze of fresh lime or lemon would be excellent palate cleansers.
- Baked Potatoes or Sweet Potatoes: For an incredibly satisfying and wholesome meal, serve your chili spooned generously over a warm baked potato or baked sweet potato. The creamy interior of the potato offers a fantastic, neutral base that beautifully absorbs the rich flavors of the chili.
- Rice: A simple bed of fluffy white or brown rice is a classic pairing with chili. It helps to absorb the chili’s flavorful broth and adds another comforting carbohydrate, making the meal even more filling and balanced.
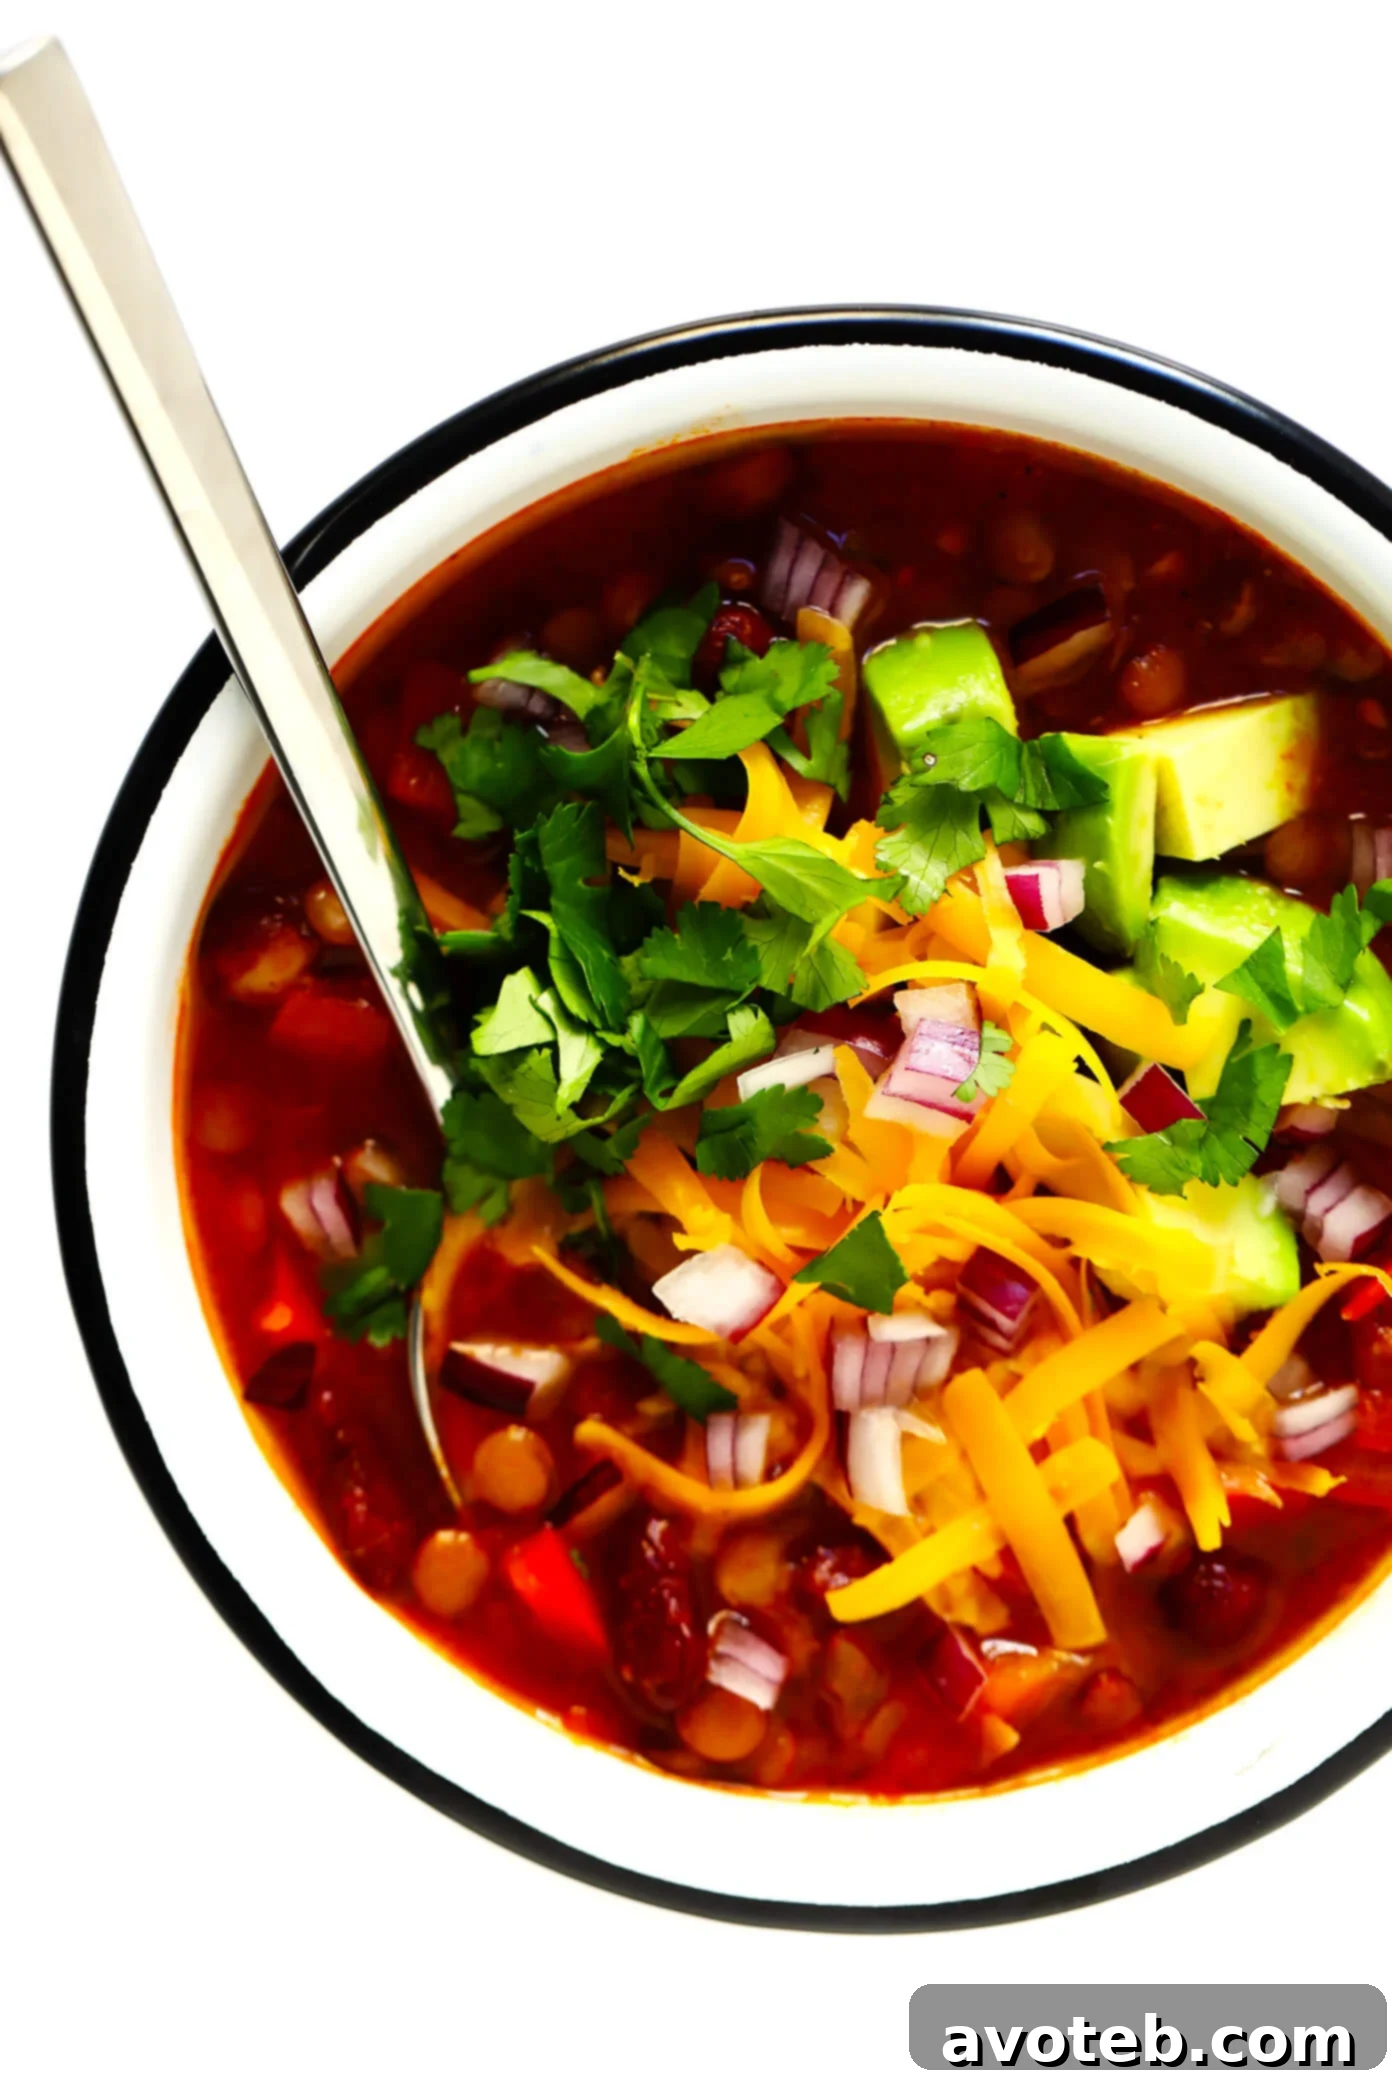
Expert Tips for Making Your Best Vegetarian Chili Every Time
To ensure your vegetarian chili turns out perfectly delicious, consistently rich in flavor, and with the ideal texture every single time, keep these expert tips in mind. These small adjustments can make a big difference in the final outcome of your homemade chili:
- Don’t Skimp on Sautéing Aromatics: While it might seem like an optional or extra step, thoroughly sautéing your onions, bell peppers, and garlic before adding other ingredients is absolutely crucial. This process doesn’t just soften the vegetables; it caramelizes their natural sugars, building a deep, complex flavor base (often called fond) that canned ingredients alone simply can’t provide. This step sets the stage for a truly flavorful chili.
- Always Rinse Your Canned Beans and Lentils: This is a simple but vital step. Always rinse canned beans thoroughly under cold, running water to remove excess sodium and any starchy liquid that can sometimes contribute to an off-flavor or digestive discomfort. For lentils, picking through them to remove any small stones or debris (though rare with packaged lentils, it’s good practice) and then rinsing them ensures a clean, smooth texture in your chili and removes any residual dust or impurities.
- Taste and Adjust Seasoning Religiously: This is perhaps the most important tip for any recipe, and chili is no exception. Spice potency can vary greatly between brands, and individual preferences for salt and heat differ. Always taste your chili towards the end of cooking and adjust salt, freshly-cracked black pepper, chili powder, cumin, or smoked paprika as needed. A squeeze of fresh lime juice or a dash of apple cider vinegar at the very end can also brighten all the flavors and balance the richness.
- Achieve Your Desired Consistency: Chili consistency is largely a matter of personal preference – some like it thick and stew-like, others prefer it a bit soupier. If you prefer a thicker chili, simply simmer it uncovered for a bit longer, allowing some of the liquid to evaporate. If, on the other hand, it turns out too thick, simply stir in a splash more vegetable stock or water until it reaches your desired texture.
- Embrace the Leftovers: Chili is one of those magical dishes that often tastes even better the next day as the flavors have more time to meld, deepen, and fully develop. Plan for leftovers! Store them in an airtight container in the refrigerator for up to 3-4 days for quick and delicious future meals.
- Master Freezing for Future Convenience: This chili freezes exceptionally well, making it perfect for meal prepping. Allow it to cool completely to room temperature before transferring it to freezer-safe containers or heavy-duty freezer bags. Leave a little headspace (about an inch) at the top for expansion during freezing. It can be safely frozen for up to 3 months. To reheat, thaw overnight in the refrigerator and then gently warm on the stovetop over low heat, or in the microwave, adding a splash of broth if needed.
- Add a Touch of Acidity at the End: A tablespoon of apple cider vinegar, a squeeze of fresh lime juice, or even a dash of balsamic vinegar added at the very end of cooking can dramatically brighten the chili’s flavors and cut through its richness, preventing it from tasting flat. This final acidic touch awakens all the other ingredients.
We genuinely hope you enjoy crafting and savoring this incredible vegetarian chili. It’s a recipe that promises warmth, flavor, and satisfaction to any table, any time of year. Please let us know how your chili-making adventure goes by tagging us on social media; we absolutely love hearing from you and seeing your delicious creations! Happy cooking! 🙂

This post includes affiliate links, which means we may earn a small commission if you make a purchase through them, at no extra cost to you. We only recommend products and services we genuinely trust and use ourselves.

Vegetarian Chili
- Author: Ali
- Prep Time: 10 minutes
- Cook Time: 30 minutes
- Total Time: 40 minutes
- Yield: 4-6 servings
Description
Instructions included below for how to make this amazing vegetarian chili in either the pressure cooker, slow cooker, or stockpot. See the detailed sections above for possible recipe variations and serving suggestions!
Ingredients
- 1 tablespoon olive oil
- 1 medium white or yellow onion, peeled and diced
- 1 medium red bell pepper, cored and diced
- 4 cloves garlic, peeled and minced
- 3-4 cups vegetable stock
- 1 (15-oz) can fire-roasted diced tomatoes, undrained
- 1 (15-oz) can beans of your choice, rinsed and drained (e.g., dark red kidney beans, pinto, or black beans)
- 1 cup uncooked green or brown lentils, picked over and rinsed
- 1 tablespoon chili powder
- 1 teaspoon smoked paprika
- 1 teaspoon ground cumin
- Sea salt and freshly-cracked black pepper, to taste
- Optional Toppings: diced avocado, chopped fresh cilantro, diced green or red onions, shredded cheddar cheese (or vegan alternative), sour cream (or vegan alternative), and/or crumbled corn tortilla chips
Instructions
Instant Pot Chili Instructions:
- Press the “Sauté” button on the Instant Pot. Add oil, followed by the onion and red pepper. Sauté for 5 minutes, stirring occasionally, until the onion has softened. Add garlic and sauté for 1 more minute, stirring occasionally. Press the “Cancel” button.
- Add the remaining ingredients (vegetable stock, diced tomatoes, beans, lentils, chili powder, smoked paprika, ground cumin) to the bowl of the Instant Pot. Place the lid on and set to “Sealing.” Using the “Manual” (or “Pressure Cook”) button, cook the chili on high pressure for 12 minutes, followed by a quick release.
- Taste and season with salt and pepper (or any other additional seasonings) as needed.
- Serve immediately, piled high with all of your favorite toppings. Or transfer to a sealed container and refrigerate for up to 3 days, or freeze for up to 3 months.
Crockpot Chili Instructions:
- Add all ingredients (olive oil, onion, red pepper, garlic, vegetable stock, diced tomatoes, beans, lentils, chili powder, smoked paprika, ground cumin, salt, pepper) to the bowl of a slow cooker, and stir briefly to combine.
- Cover and cook on high for 3-4 hours or on low for 6-8 hours, until the lentils are tender and the chili has thickened.
- Taste and season with salt and pepper (or any other additional seasonings) as needed.
- Serve immediately, piled high with all of your favorite toppings. Or transfer to a sealed container and refrigerate for up to 3 days, or freeze for up to 3 months.
Stovetop Chili Instructions:
- Heat oil in a large stockpot or Dutch oven over medium-high heat. Add onion and red pepper and sauté for 5 minutes, stirring occasionally, until the onion has softened. Add garlic and sauté for 1 more minute, stirring occasionally.
- Add the remaining ingredients (vegetable stock, diced tomatoes, beans, lentils, chili powder, smoked paprika, ground cumin, salt, pepper) and stir to combine. Continue cooking until the chili reaches a simmer. Then reduce heat to medium-low, cover, and continue cooking for 20-25 minutes, or until the lentils have softened and the chili has thickened. Stir occasionally.
- Taste and season with salt and pepper (or any other additional seasonings) as needed.
- Serve immediately, piled high with all of your favorite toppings. Or transfer to a sealed container and refrigerate for up to 3 days, or freeze for up to 3 months.
Notes
*The “Total Time” and “Cook Time” noted in the recipe card above are primarily reflective of the stovetop method, which requires active simmering. Instant Pot and Crock-Pot methods will vary as detailed in their specific instructions.