
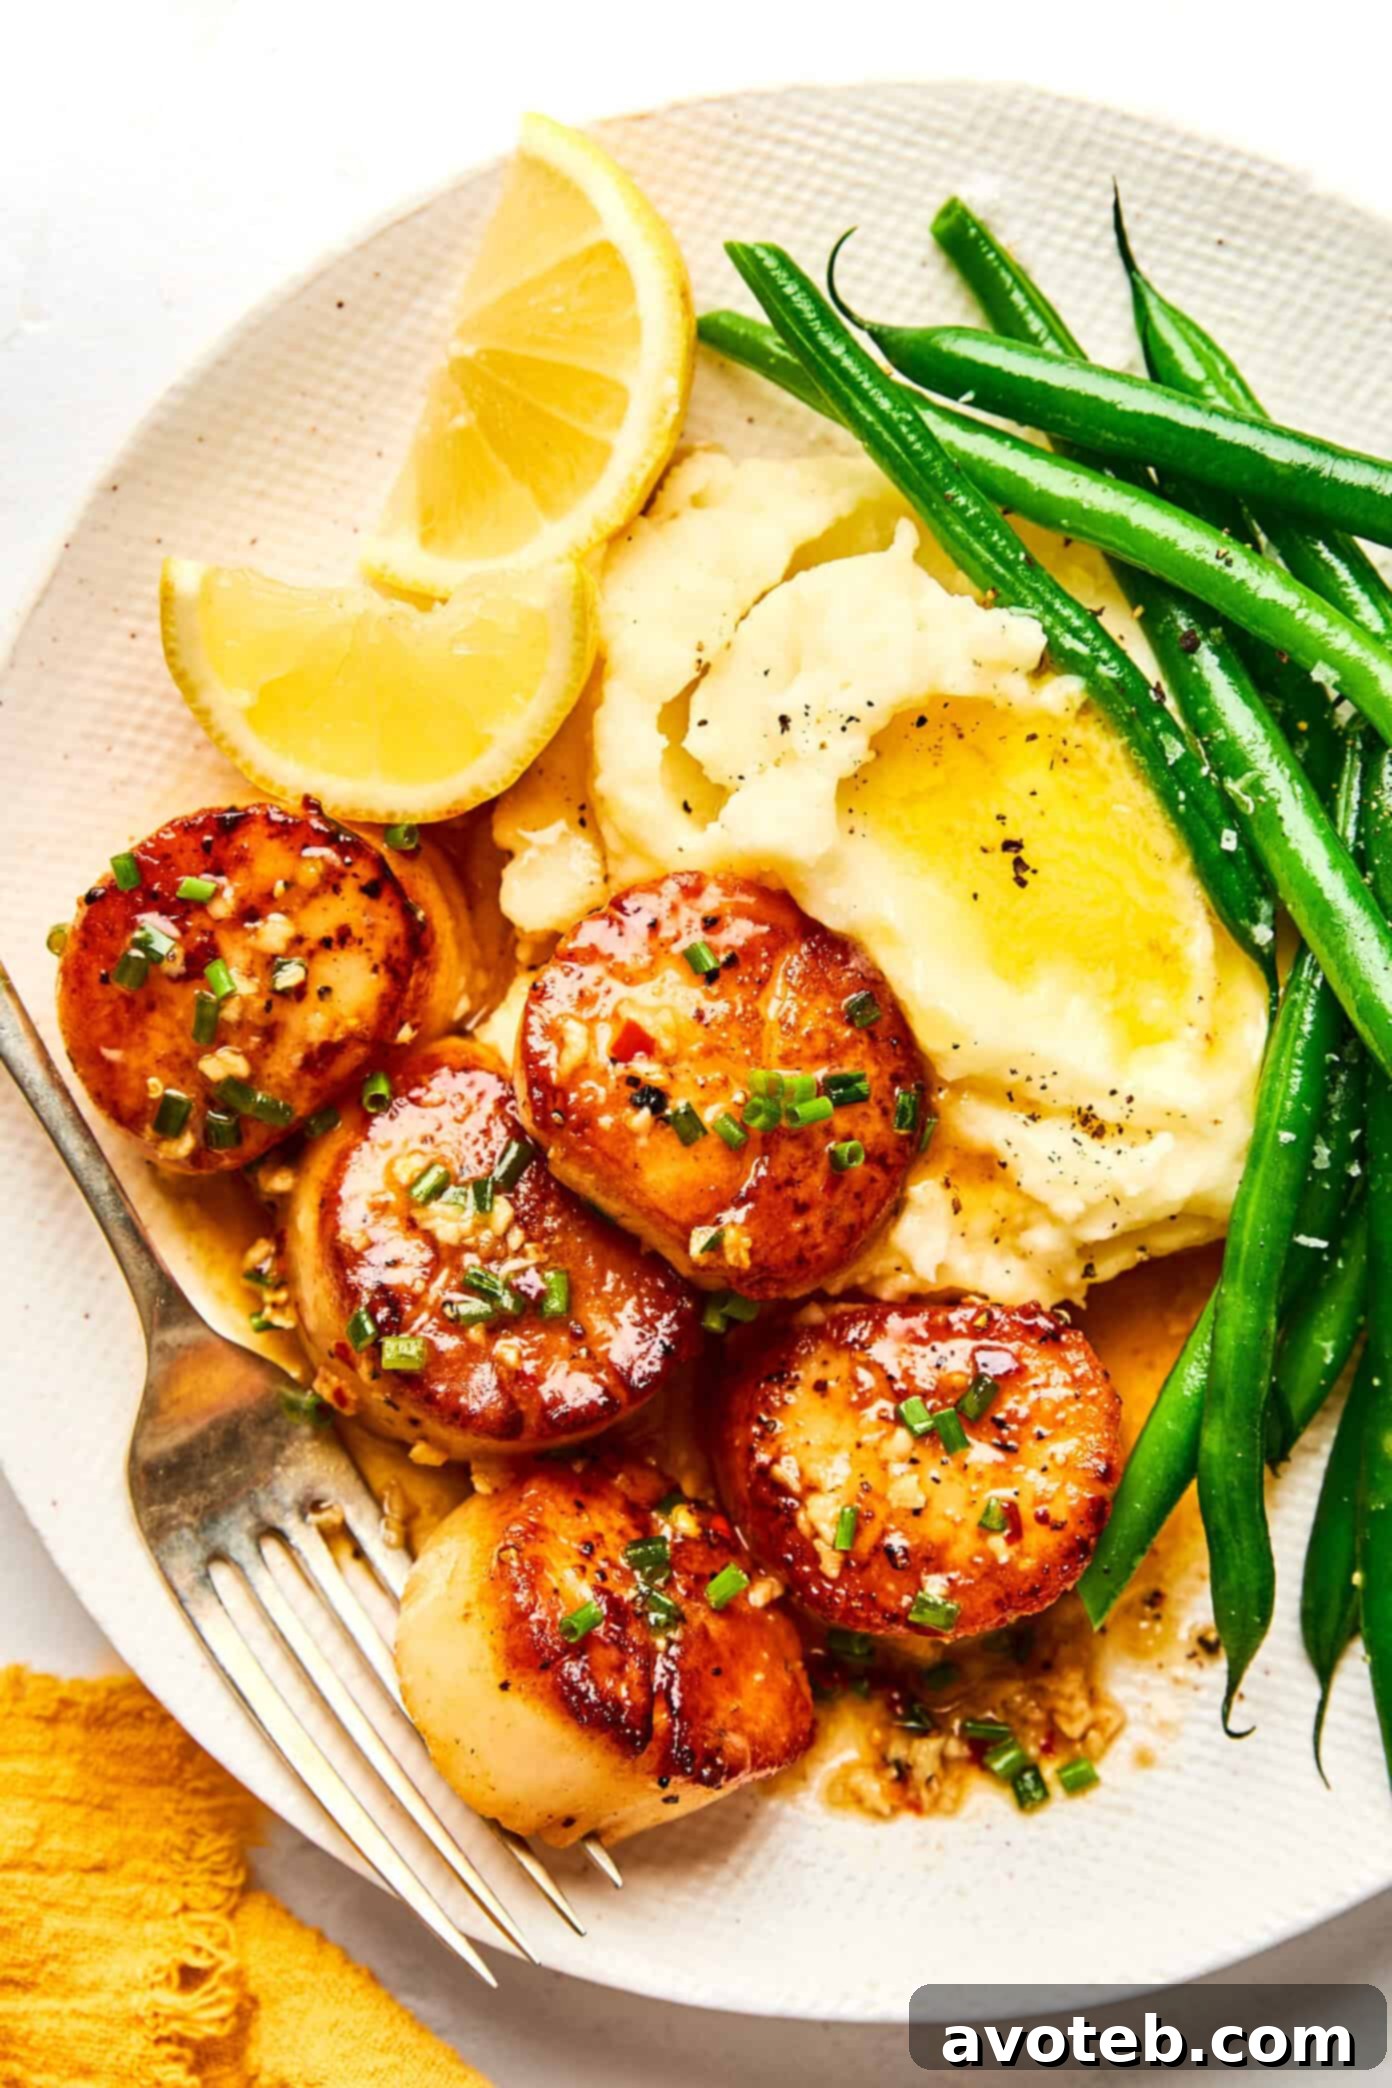
My Favorite Way To Cook Scallops

Seared scallops are a true favorite in our household, especially my husband’s! This lemon garlic butter version is the one I consistently turn to because it’s incredibly simple, consistently delivers amazing results, and tastes absolutely fantastic every time. ♡
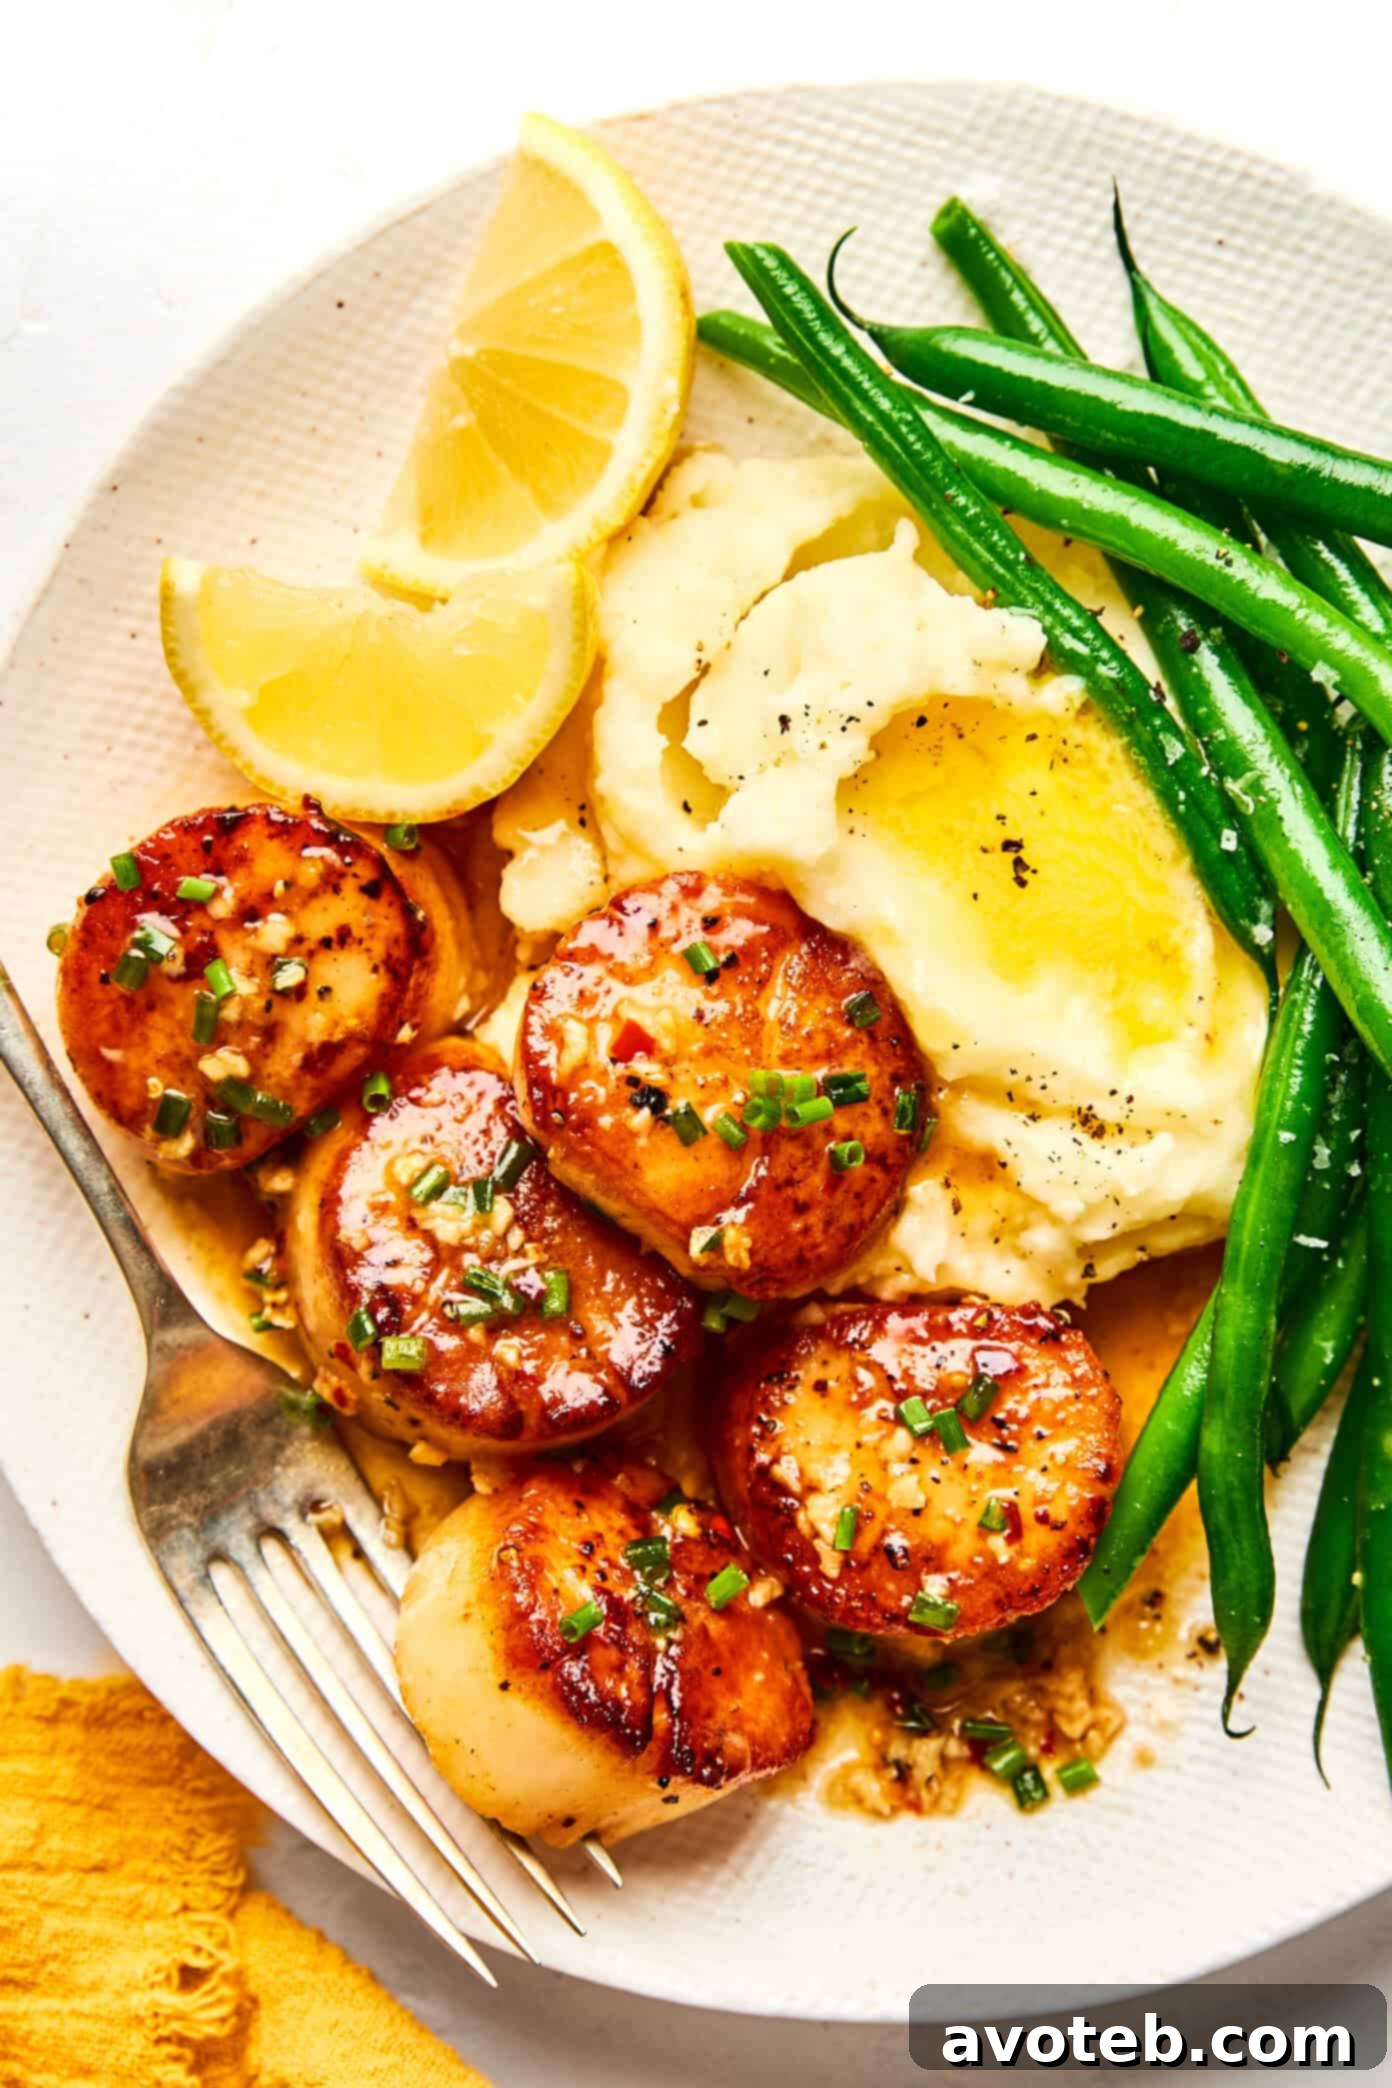
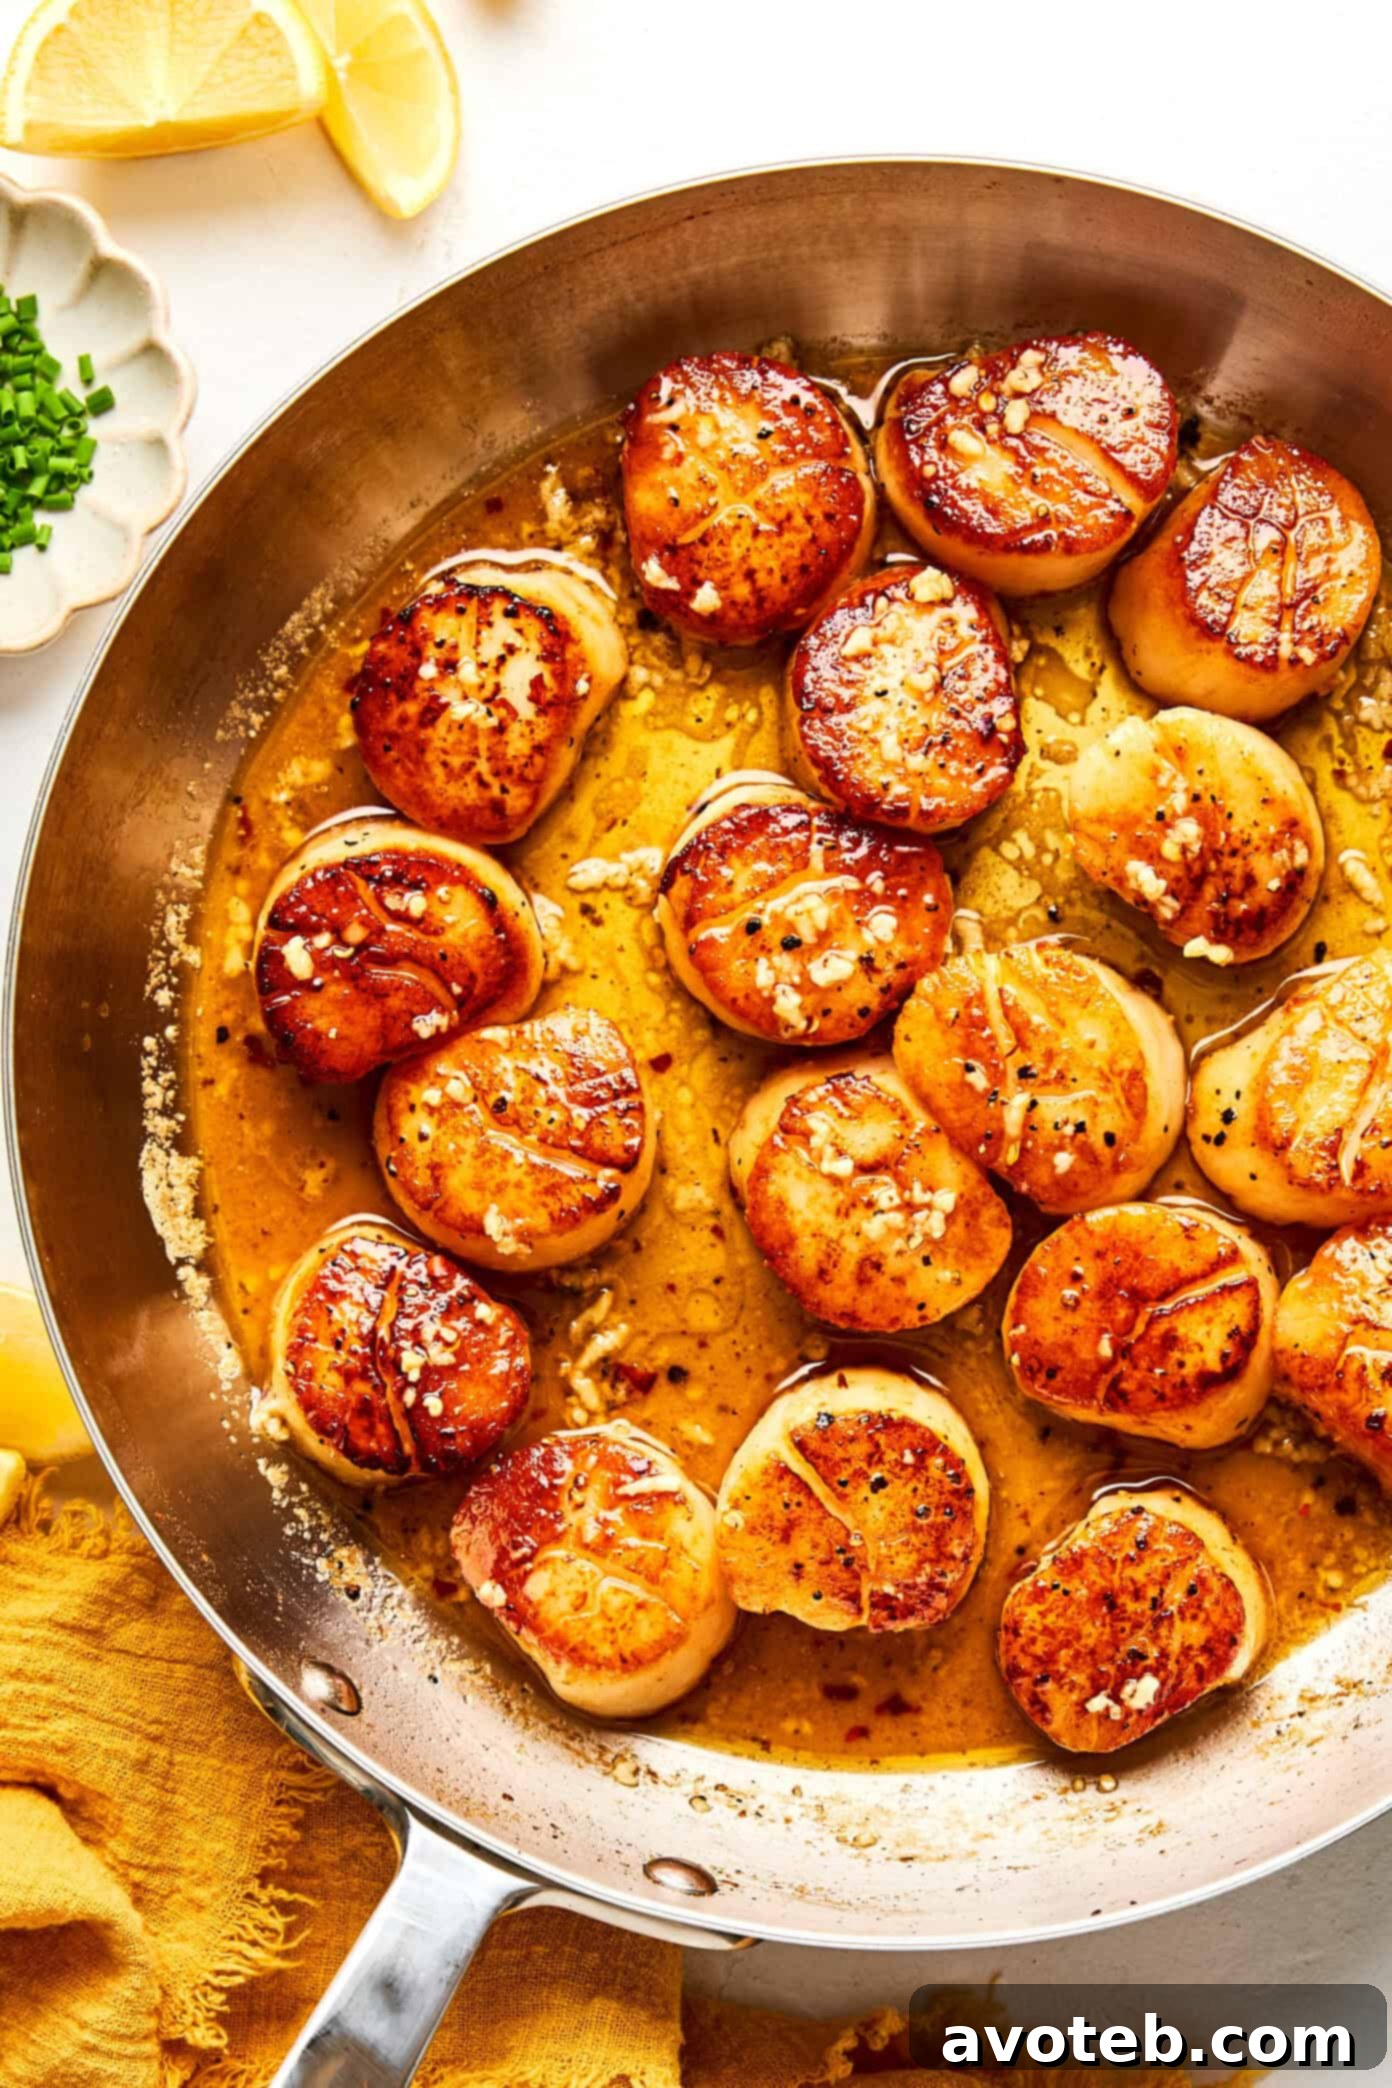
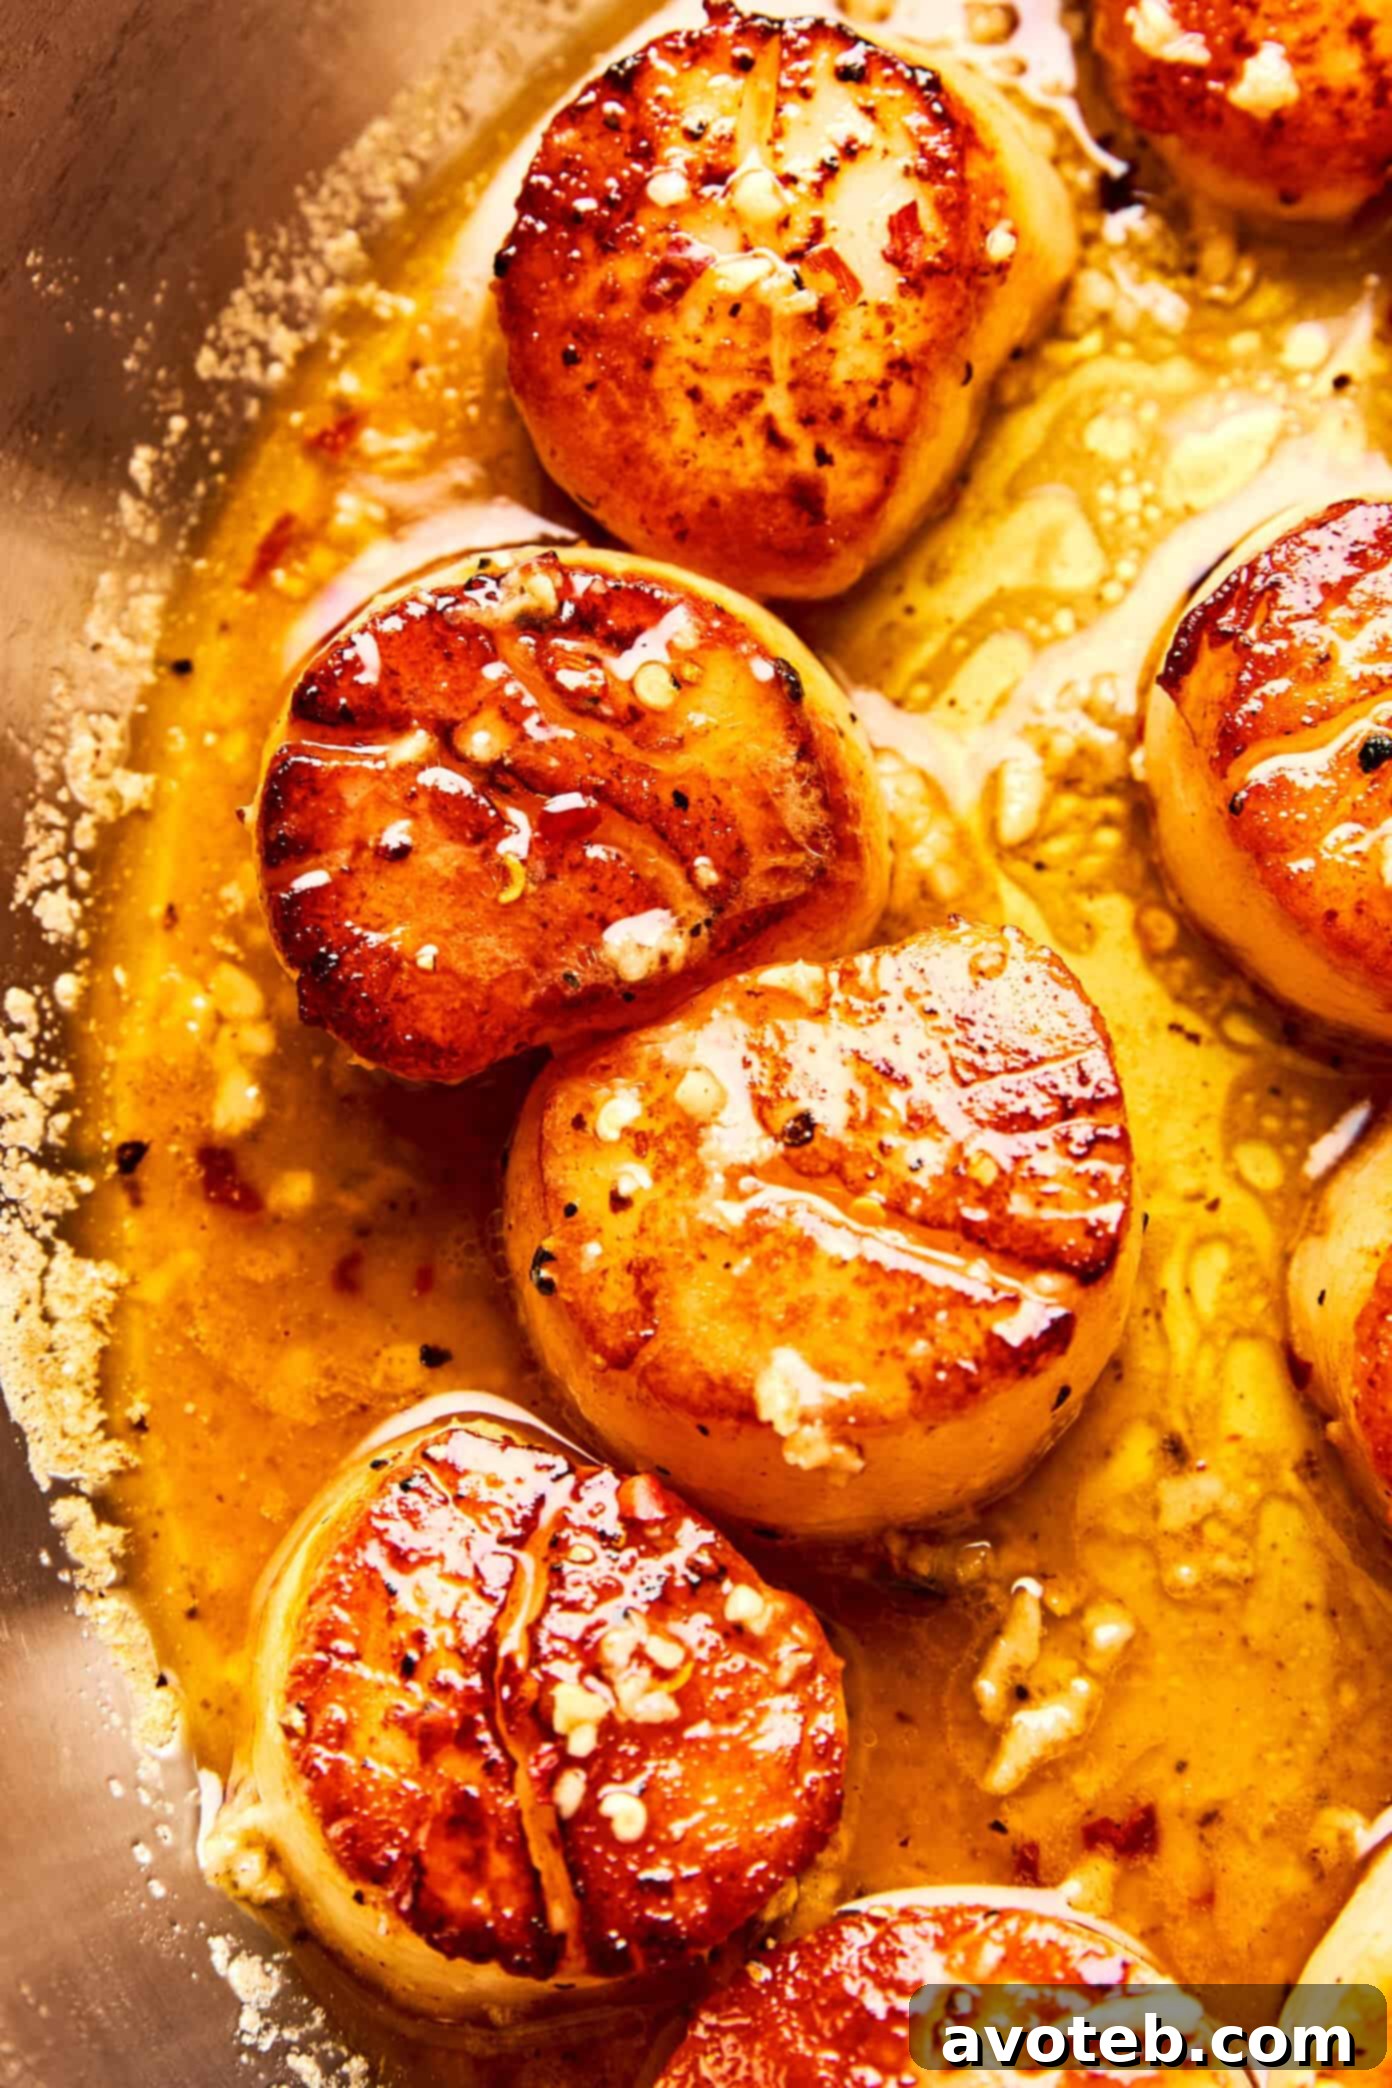
The ingredient list is short and straightforward. However, once the scallops sizzle in the hot pan and are finished with that delectable garlic-lemon butter, the dish feels remarkably luxurious, far exceeding expectations. The scallops develop a beautiful golden crust on the outside, remain tender and succulent on the inside, and achieve restaurant-quality perfection.
If you’ve ever felt intimidated by scallops, this recipe is designed to put your mind at ease! I’ve aimed for maximum simplicity and included numerous helpful tips below, particularly useful if this is your first time searing scallops. This recipe is ideally suited for Valentine’s Day, a romantic date night, or whenever you’re simply craving the exquisite taste of scallops. Enjoy!
Perfectly Seared Scallops: Tips and Tricks for Success
Seared scallops are a delicacy that can be easily achieved at home with a few simple techniques. This guide provides essential tips to ensure your scallops are perfectly cooked every time, boasting a beautiful golden crust and a tender, succulent interior. Whether you’re preparing a romantic dinner or a quick weeknight meal, mastering the art of searing scallops will impress your guests and elevate your culinary skills.
Choosing the Right Scallops
The quality of your scallops is crucial for achieving the best results. Look for “dry” scallops, which have not been treated with phosphates and will sear beautifully without releasing excess moisture. Fresh scallops should have a sweet, clean smell, while frozen scallops should be properly thawed before cooking. Avoid scallops that appear milky or have a strong odor, as these may be past their prime.
Essential Steps for Perfectly Seared Scallops
Follow these detailed steps to achieve restaurant-quality seared scallops in the comfort of your own kitchen:
- Thawing Frozen Scallops: Most scallops are sold frozen, which is perfectly acceptable. Thaw them properly to ensure even cooking. The best method is to thaw them overnight in the refrigerator. If you’re short on time, place them in a sealed bag and submerge them in cold water for 30–45 minutes. Avoid thawing scallops at room temperature, as this can lead to uneven texture and potential bacterial growth.
- Drying the Scallops Thoroughly: This is a non-negotiable step! Any moisture on the surface of the scallops will cause them to steam instead of sear, resulting in pale, lackluster scallops without a desirable crust. Pat them very dry with paper towels, pressing gently to remove excess moisture. After patting them dry, let them rest uncovered on a fresh layer of paper towels for a few minutes to air-dry. This allows the surface to become even drier, promoting optimal searing.
- Using a Very Hot Pan: Scallops require an immediate blast of high heat to develop a deep golden crust before the inside overcooks and becomes rubbery. Use a heavy-bottomed skillet, such as cast iron or stainless steel, which retains heat well. Place the empty skillet over high heat and let it preheat for a full 2–3 minutes until it’s extremely hot. When you add the oil, it should appear fluid and shimmer easily as you tilt the pan – you may even see faint wisps of heat rising from the surface. This is your cue to add the scallops. A hot pan also helps prevent the scallops from sticking, ensuring they release easily when properly seared.
- Avoiding Overcrowding the Pan: If the scallops are touching each other in the pan, the temperature will drop, and they will steam instead of sear. This leads to uneven cooking and a lack of crust. Give the scallops ample space in the pan. If necessary, work in two or even three batches to ensure each scallop has enough room to sear properly. Overcrowding the pan is a common mistake that prevents achieving the desired golden crust.
- Resisting the Urge to Move Them: Once the scallops are in the hot pan, resist the temptation to move them around. Let them cook undisturbed until they naturally release from the pan. This usually takes about 1½–2 minutes. If you try to move them too early, they will stick and tear. Once flipped, the second side cooks very quickly – usually under a minute – so keep a close eye on them to prevent overcooking.
- Adding Garlic After Lowering the Heat: Garlic burns easily at high temperatures, so it’s crucial to reduce the heat once the scallops are removed from the pan. Lower the heat to medium-low before adding the butter and garlic. This allows the garlic to infuse the butter with its aromatic flavor without becoming bitter or burnt. Cook the garlic for about 30 seconds, stirring constantly, until it becomes fragrant but not browned.
- Finishing Off the Heat: To keep the sauce bright, fresh, and balanced, remove the pan from the heat before adding the lemon juice. The residual heat will gently warm the lemon juice without causing it to evaporate or lose its vibrant flavor. Stir the lemon juice into the garlic butter sauce to create a harmonious blend of flavors that perfectly complements the seared scallops.
Recipe Variations
While this lemon garlic butter seared scallops recipe is delicious as is, feel free to experiment with these variations to customize it to your preferences:
- Add Capers: For a salty, briny pop that complements the lemon beautifully, add a tablespoon or two of capers to the garlic butter sauce.
- Make it Creamy: Stir in a splash of heavy cream or crème fraîche at the end for a richer, more decadent sauce. About 2-3 tablespoons should be sufficient.
- Add White Wine: Before adding the butter, deglaze the pan with a splash of dry white wine (such as Sauvignon Blanc or Pinot Grigio) and let it reduce briefly for extra depth of flavor.
- Add Fresh Herbs: Enhance the flavor of the lemon butter sauce with fresh herbs like thyme, basil, or tarragon. Stir in a tablespoon of chopped herbs at the end for a burst of freshness.
- Finish with Browned Butter: Instead of regular butter, use browned butter for a nuttier, richer sauce. Brown the butter in the pan before adding the garlic and proceeding with the recipe. Be careful not to burn the butter.
Frequently Asked Questions (FAQ)
Yes! Just be sure they’re fully thawed and very well dried before cooking. See notes above about proper thawing and drying techniques.
They should be golden brown on the outside and just opaque in the center. Avoid overcooking, as overcooked scallops turn rubbery and lose their delicate texture. The internal temperature should reach around 120-130°F (49-54°C).
Scallops are best served immediately after cooking. If needed, you can prep all the ingredients in advance (thaw and dry the scallops, mince the garlic, measure the lemon juice) and cook them just before serving. Reheating cooked scallops is not recommended, as they can become tough.
Serving Suggestions
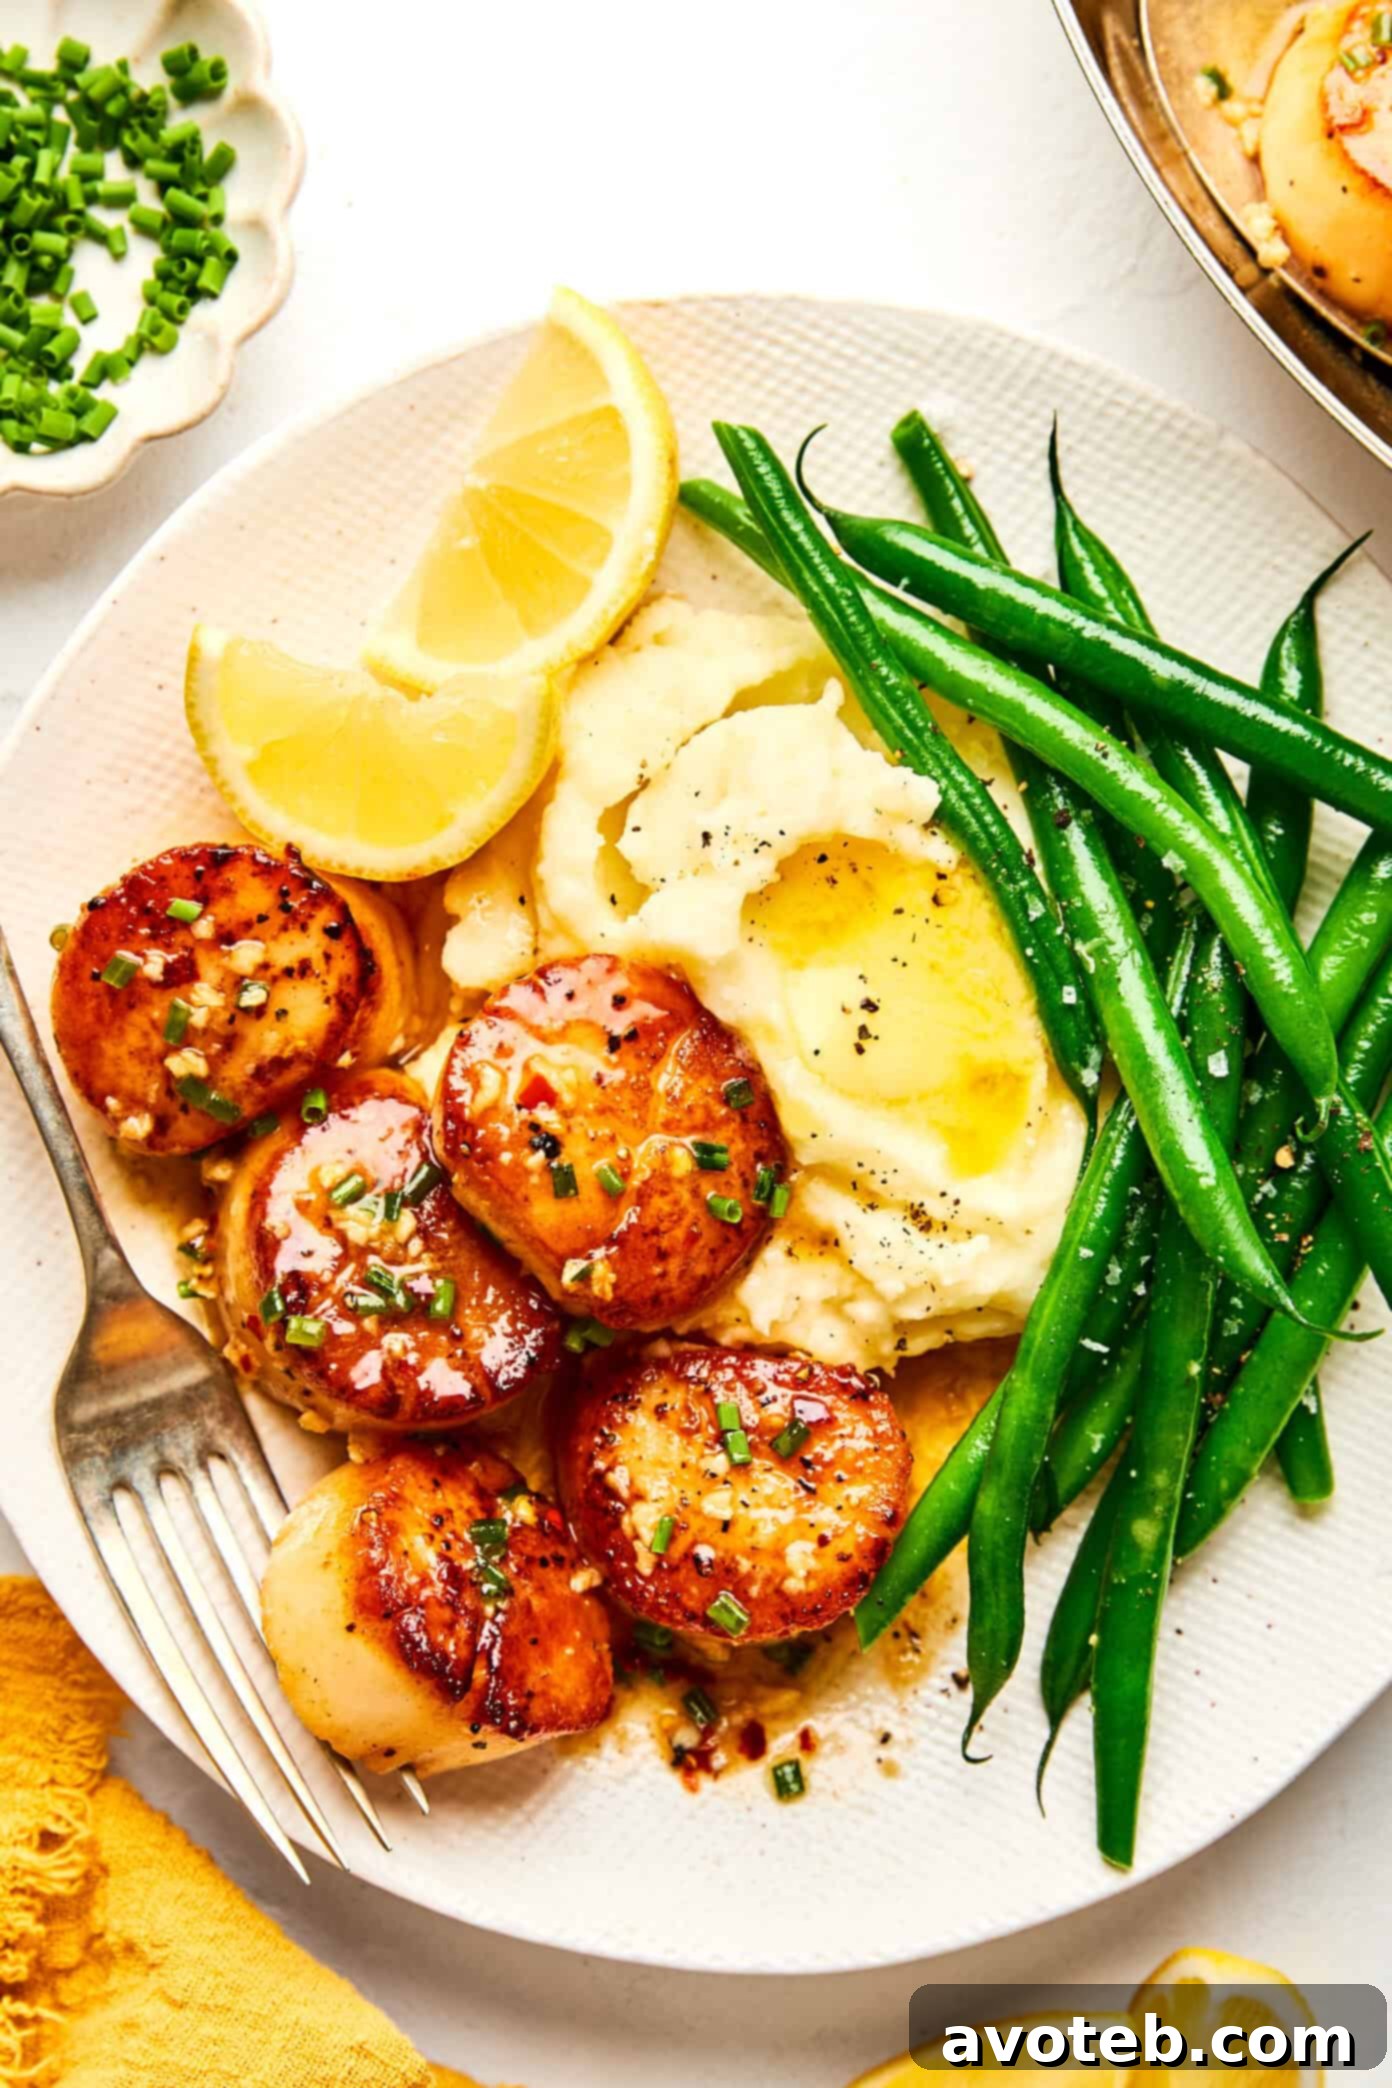
Seared scallops with lemon garlic butter are incredibly versatile and pair well with a variety of side dishes. Here are some delicious serving suggestions:
Creamy Mashed Potatoes: The classic pairing! Fluffy, buttery mashed potatoes provide a comforting base for the rich scallops and sauce.
Air Fryer Green Beans: A quick and healthy side dish that adds a nice crunch and vibrant color to the plate.
Arugula Salad: A simple arugula salad with Parmesan cheese, lemon juice, and olive oil provides a peppery and refreshing contrast to the richness of the scallops.
Crusty Bread: Serve with crusty bread to soak up the delicious lemon garlic butter sauce. A simple no-knead bread is perfect.
Seared Scallops with Lemon Garlic Butter Recipe
Ingredients:
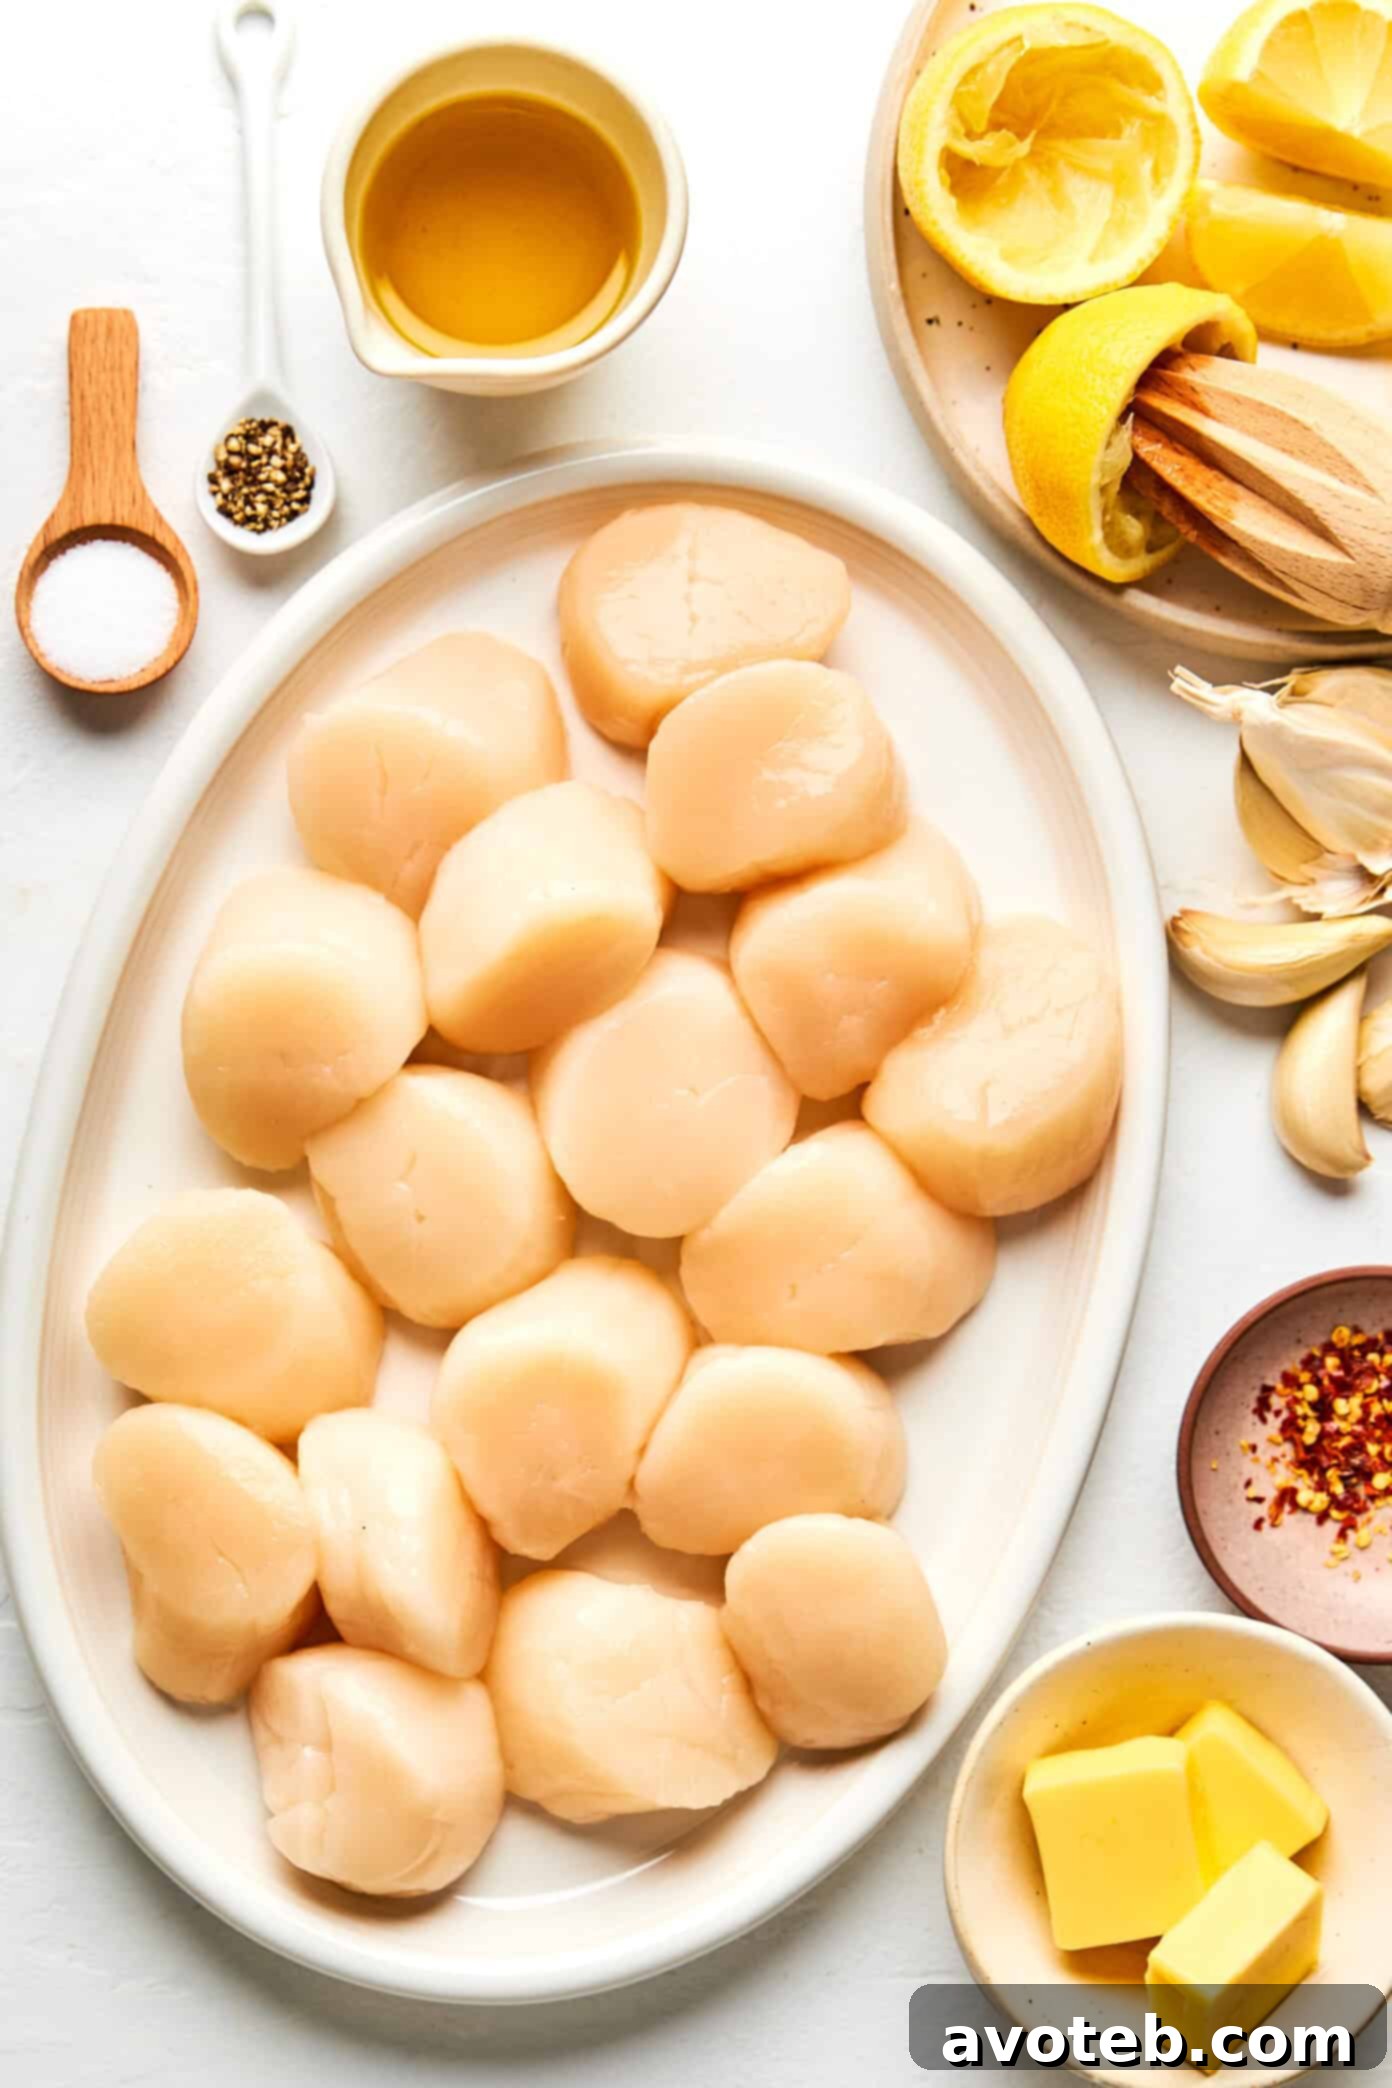
- 1.5 pounds large sea scallops, thawed
- 0.5 teaspoon fine sea salt
- 0.5 teaspoon freshly cracked black pepper
- 2 tablespoons olive oil
- 3 tablespoons unsalted butter
- 3 cloves garlic, pressed or minced
- 2 tablespoons fresh lemon juice, plus lemon wedges for serving
- Pinch of crushed red pepper flakes (optional)
- Chopped fresh parsley or chives, for garnish (optional)
Instructions:
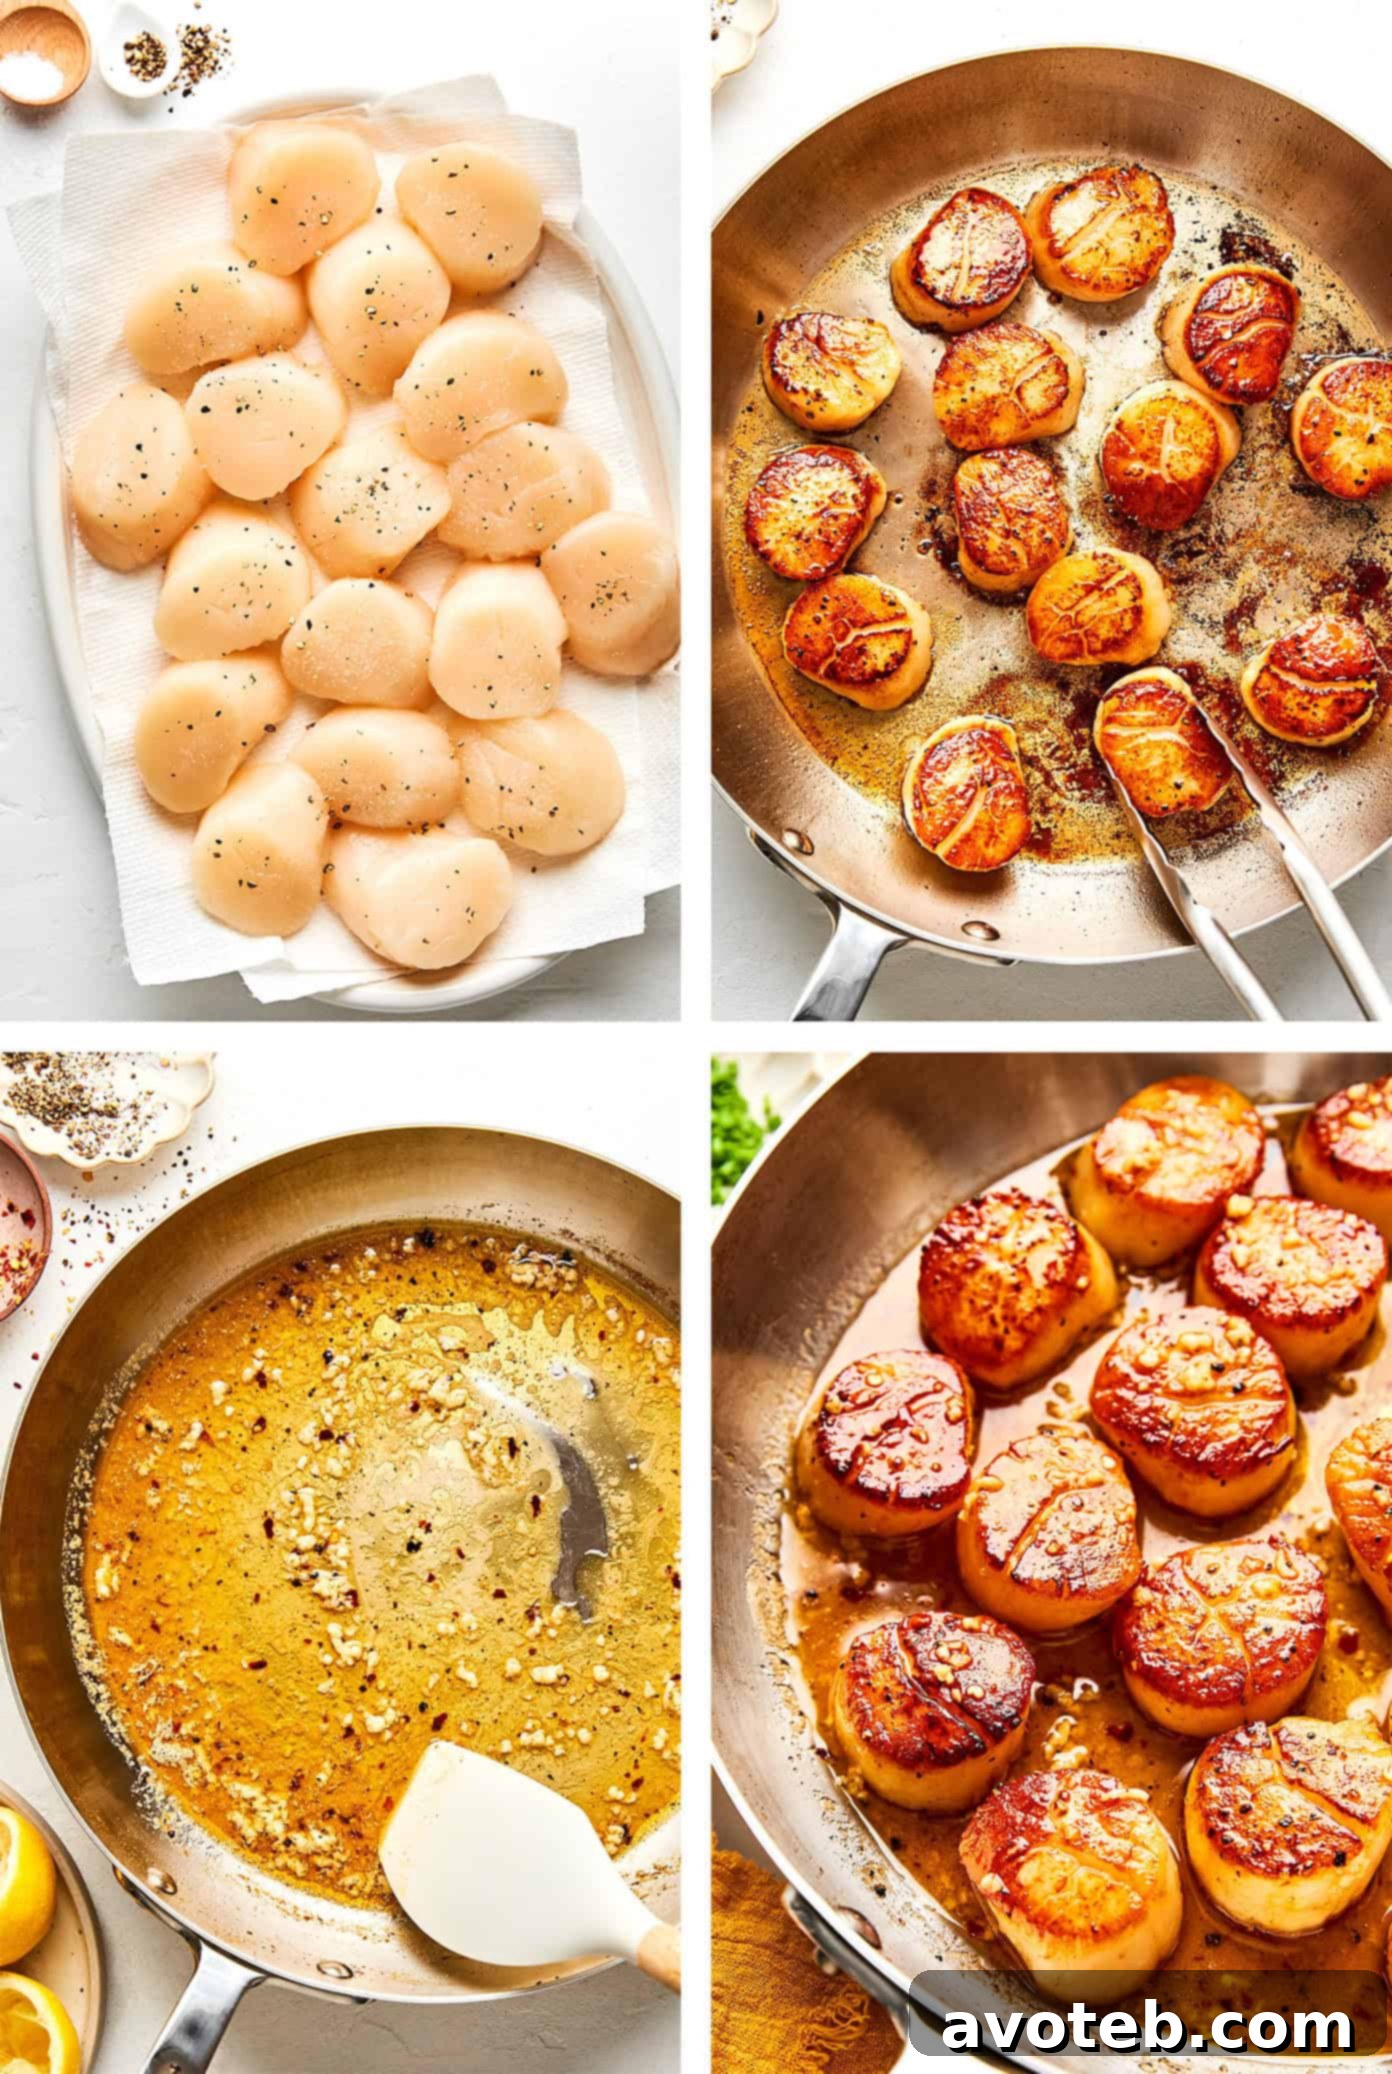
- Prep the scallops: If your scallops have a small, tough side muscle attached, gently pull it off and discard. Pat the scallops very, very dry with paper towels. Let them rest uncovered on fresh paper towels for 5–10 minutes to air-dry. Season both sides evenly with the fine sea salt and black pepper right before cooking.
- Heat the pan: Place a large skillet (preferably cast iron or stainless steel) over high heat and let it preheat for 2–3 minutes. Add the olive oil and heat until shimmering and fluid (just shy of smoking).
- Sear the scallops: Add the scallops in a single layer, making sure they are not touching. (Do this in two batches if needed.) Cook undisturbed for 1½–2 minutes, until a deep golden crust forms on the bottom and the scallops release easily from the pan. Flip and cook for 30–45 seconds, just until the sides turn opaque. Transfer quickly to a plate.
- Finish with garlic butter: Reduce the heat to medium-low. Add the butter to the skillet, along with a pinch of salt and pepper, and let it melt. Add the garlic and crushed red pepper flakes and cook for about 30 seconds, stirring constantly, until fragrant but not browned. Remove the pan from heat and stir in the lemon juice.
- Return the scallops briefly: Add the scallops back to the pan and gently toss for 10–15 seconds, just to coat them in the garlic butter. Do not cook longer.
- Serve: Transfer to a serving plate, spoon the pan sauce over the scallops, and finish with a sprinkle of fresh herbs. Serve immediately with lemon wedges and enjoy!
Enjoy your perfectly seared scallops with lemon garlic butter!