
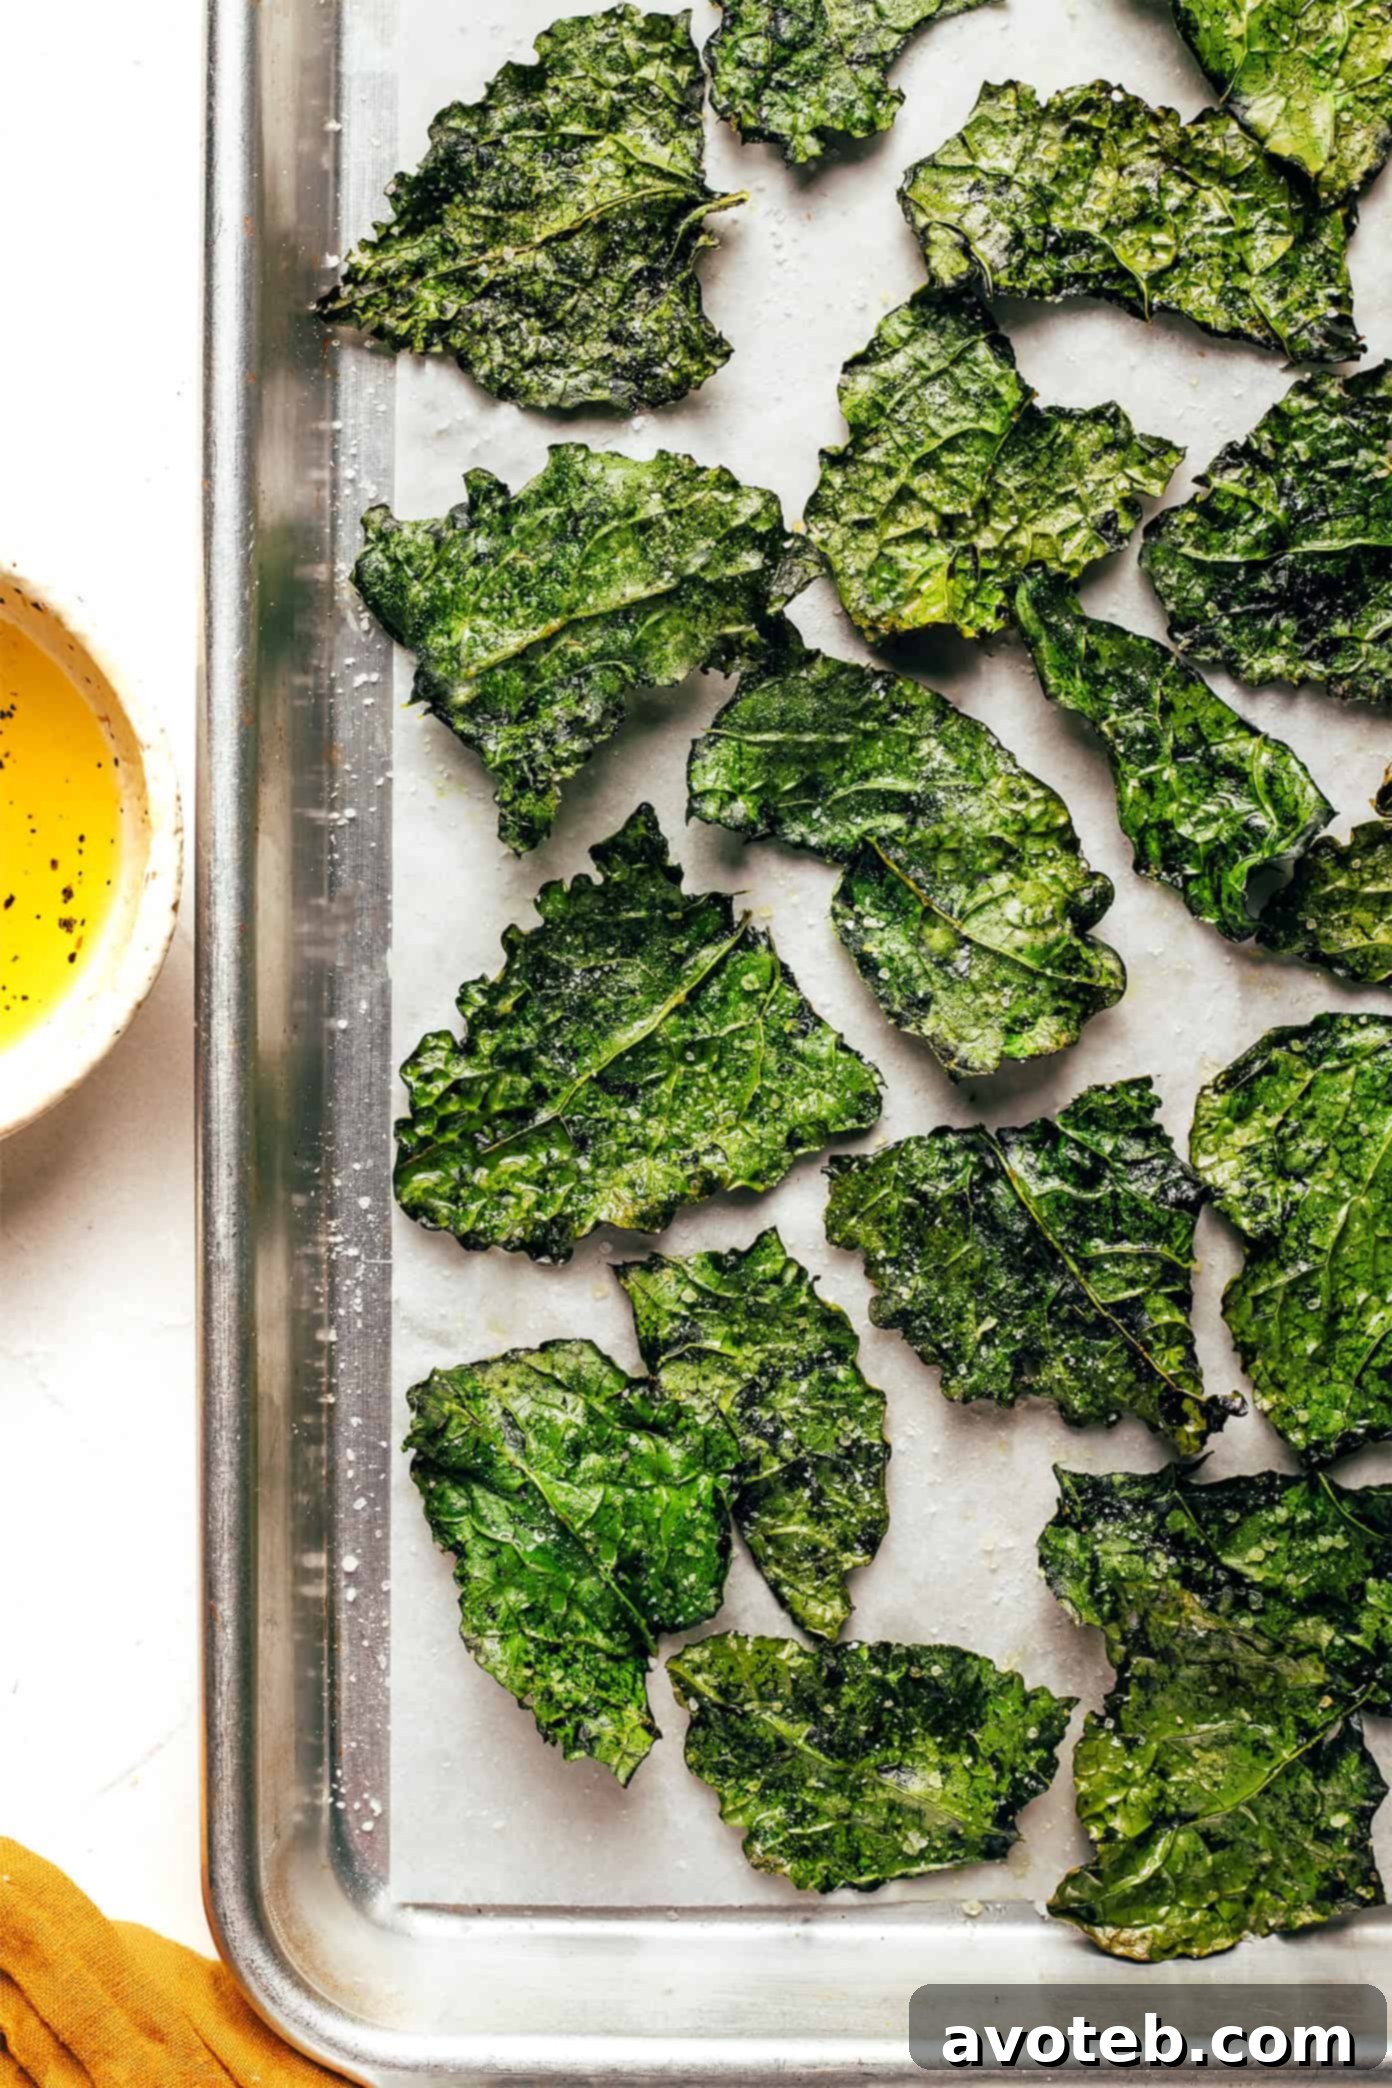
The Ultimate Guide to Crispy Kale Chips: A Healthy and Flavorful Snack
This simple 3-ingredient kale chips recipe is your gateway to a quick, easy, and incredibly satisfying snack. Customize it effortlessly with your favorite seasonings for a unique flavor every time!
Why Homemade Kale Chips Are Your New Go-To Healthy Snack
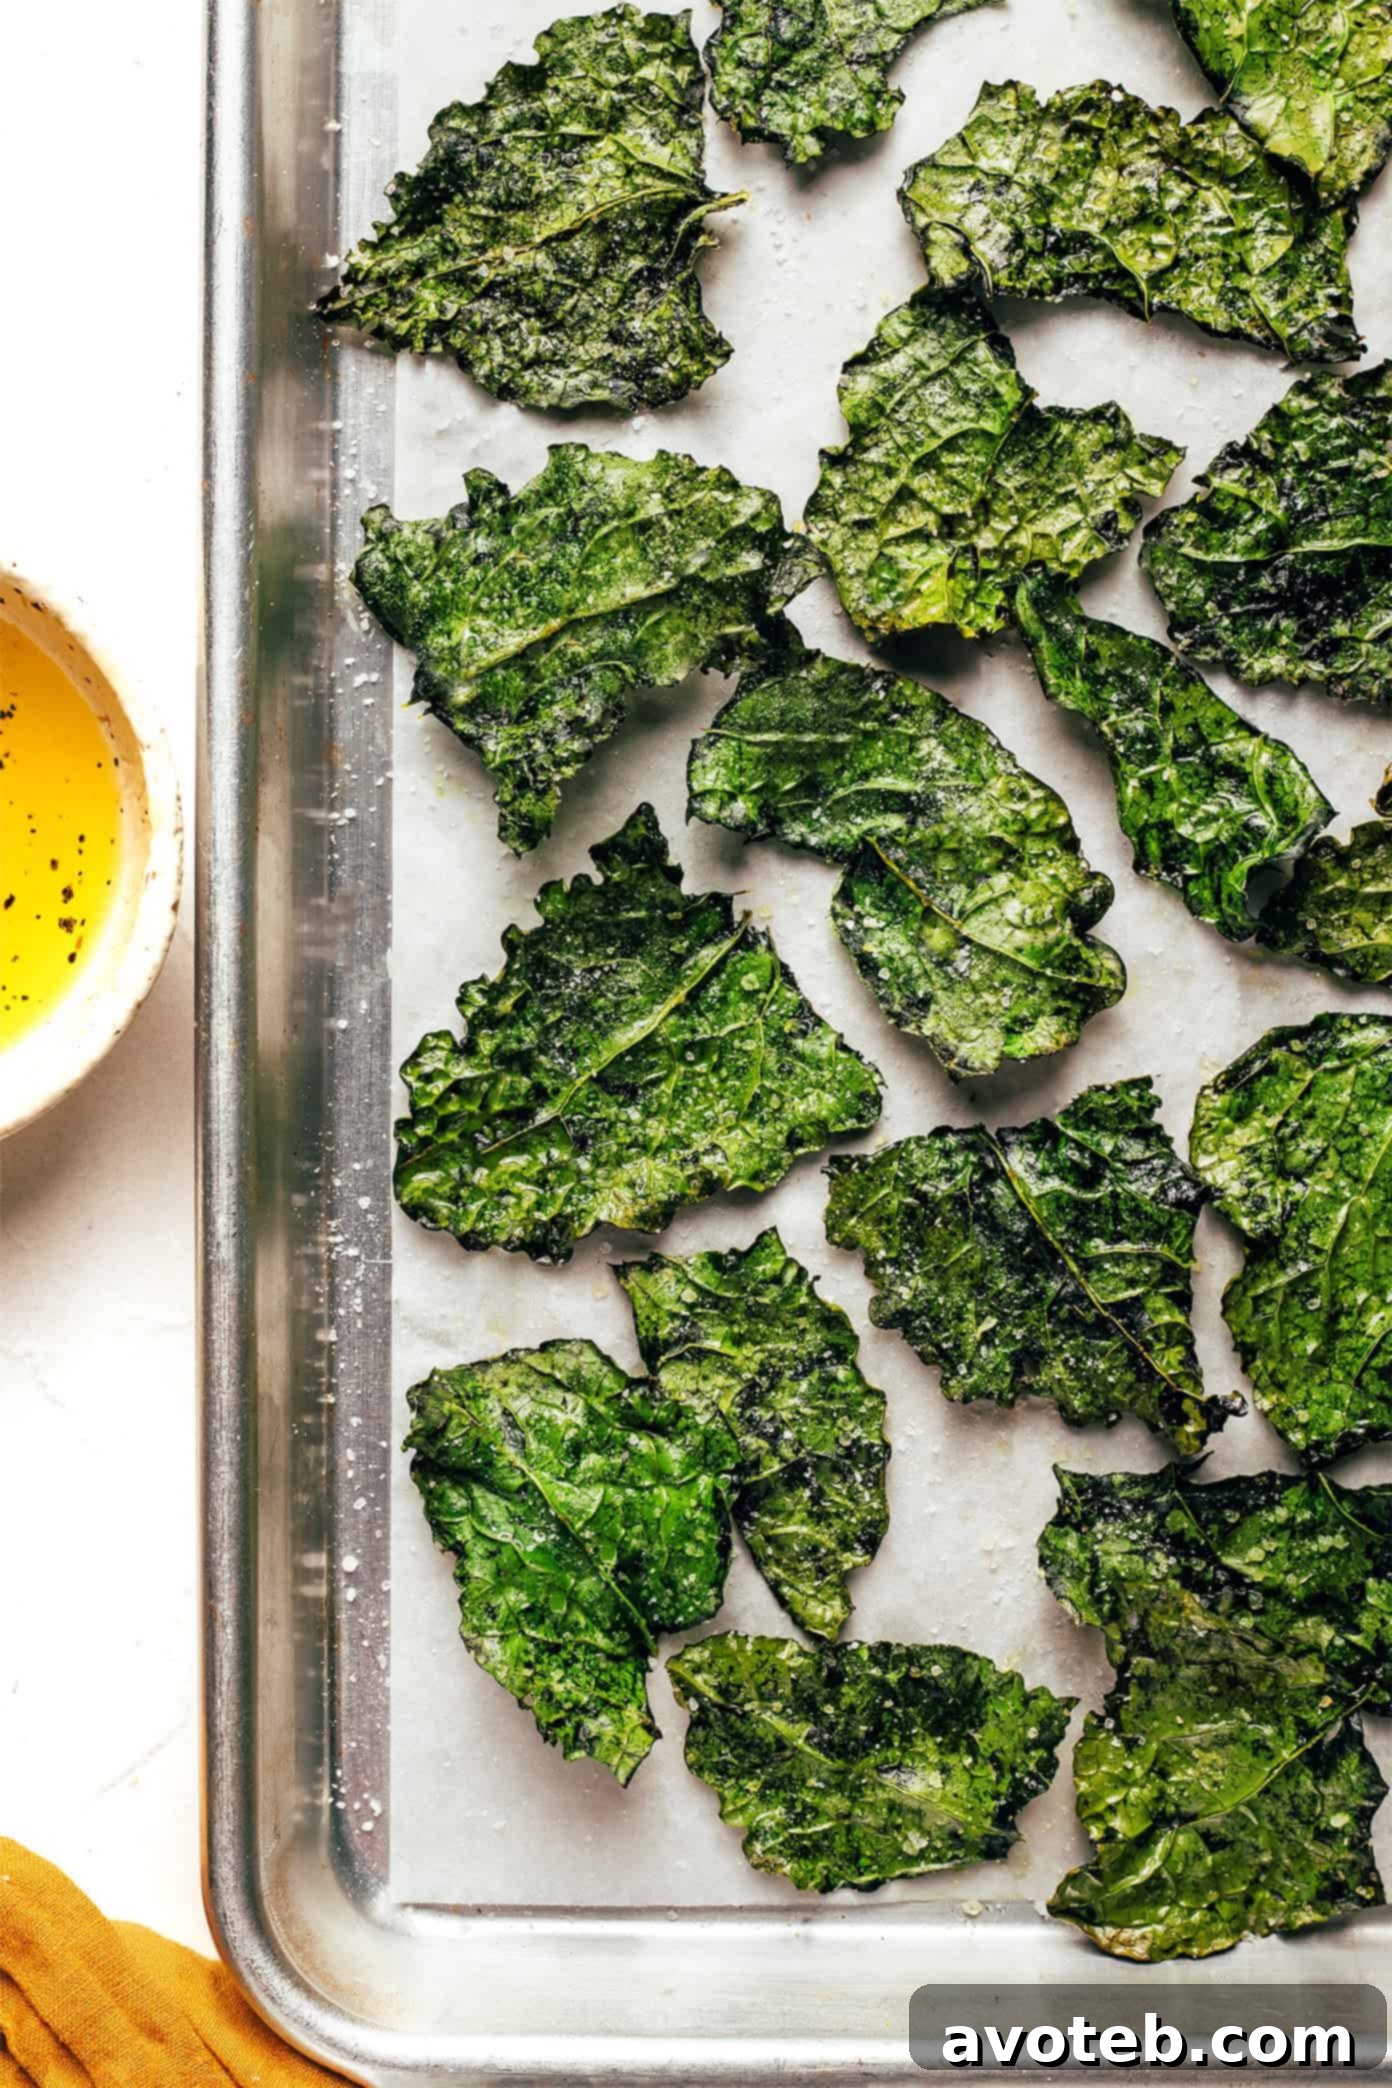
In a bustling world filled with convenient yet often unhealthy processed snacks, discovering a genuinely nutritious and delicious alternative can be a game-changer. Homemade kale chips effortlessly fill this void. They offer a delightful, satisfying crunch that rivals traditional potato chips, but without the guilt, artificial ingredients, or excessive sodium. More than just a tasty treat, kale chips are a powerhouse of essential nutrients, making them an ideal choice for anyone looking to incorporate more vegetables into their diet in an enjoyable and flavorful way.
Kale, widely celebrated as a superfood, brings an impressive array of health benefits to your snack plate. It’s exceptionally rich in vitamins K, A, and C, vital for robust bone health, optimal vision, and a strong immune system. Beyond these, kale is packed with potent antioxidants that actively combat oxidative stress and inflammation within the body. Transforming kale into crispy chips is an ingenious method to harness these benefits, especially appealing to those who might typically shy away from raw kale salads. This simple recipe elevates humble kale leaves into a savory, crunchy masterpiece that not only satisfies your cravings but also nourishes your body from the inside out.
The Essential Trio: Ingredients for Perfect Kale Chips
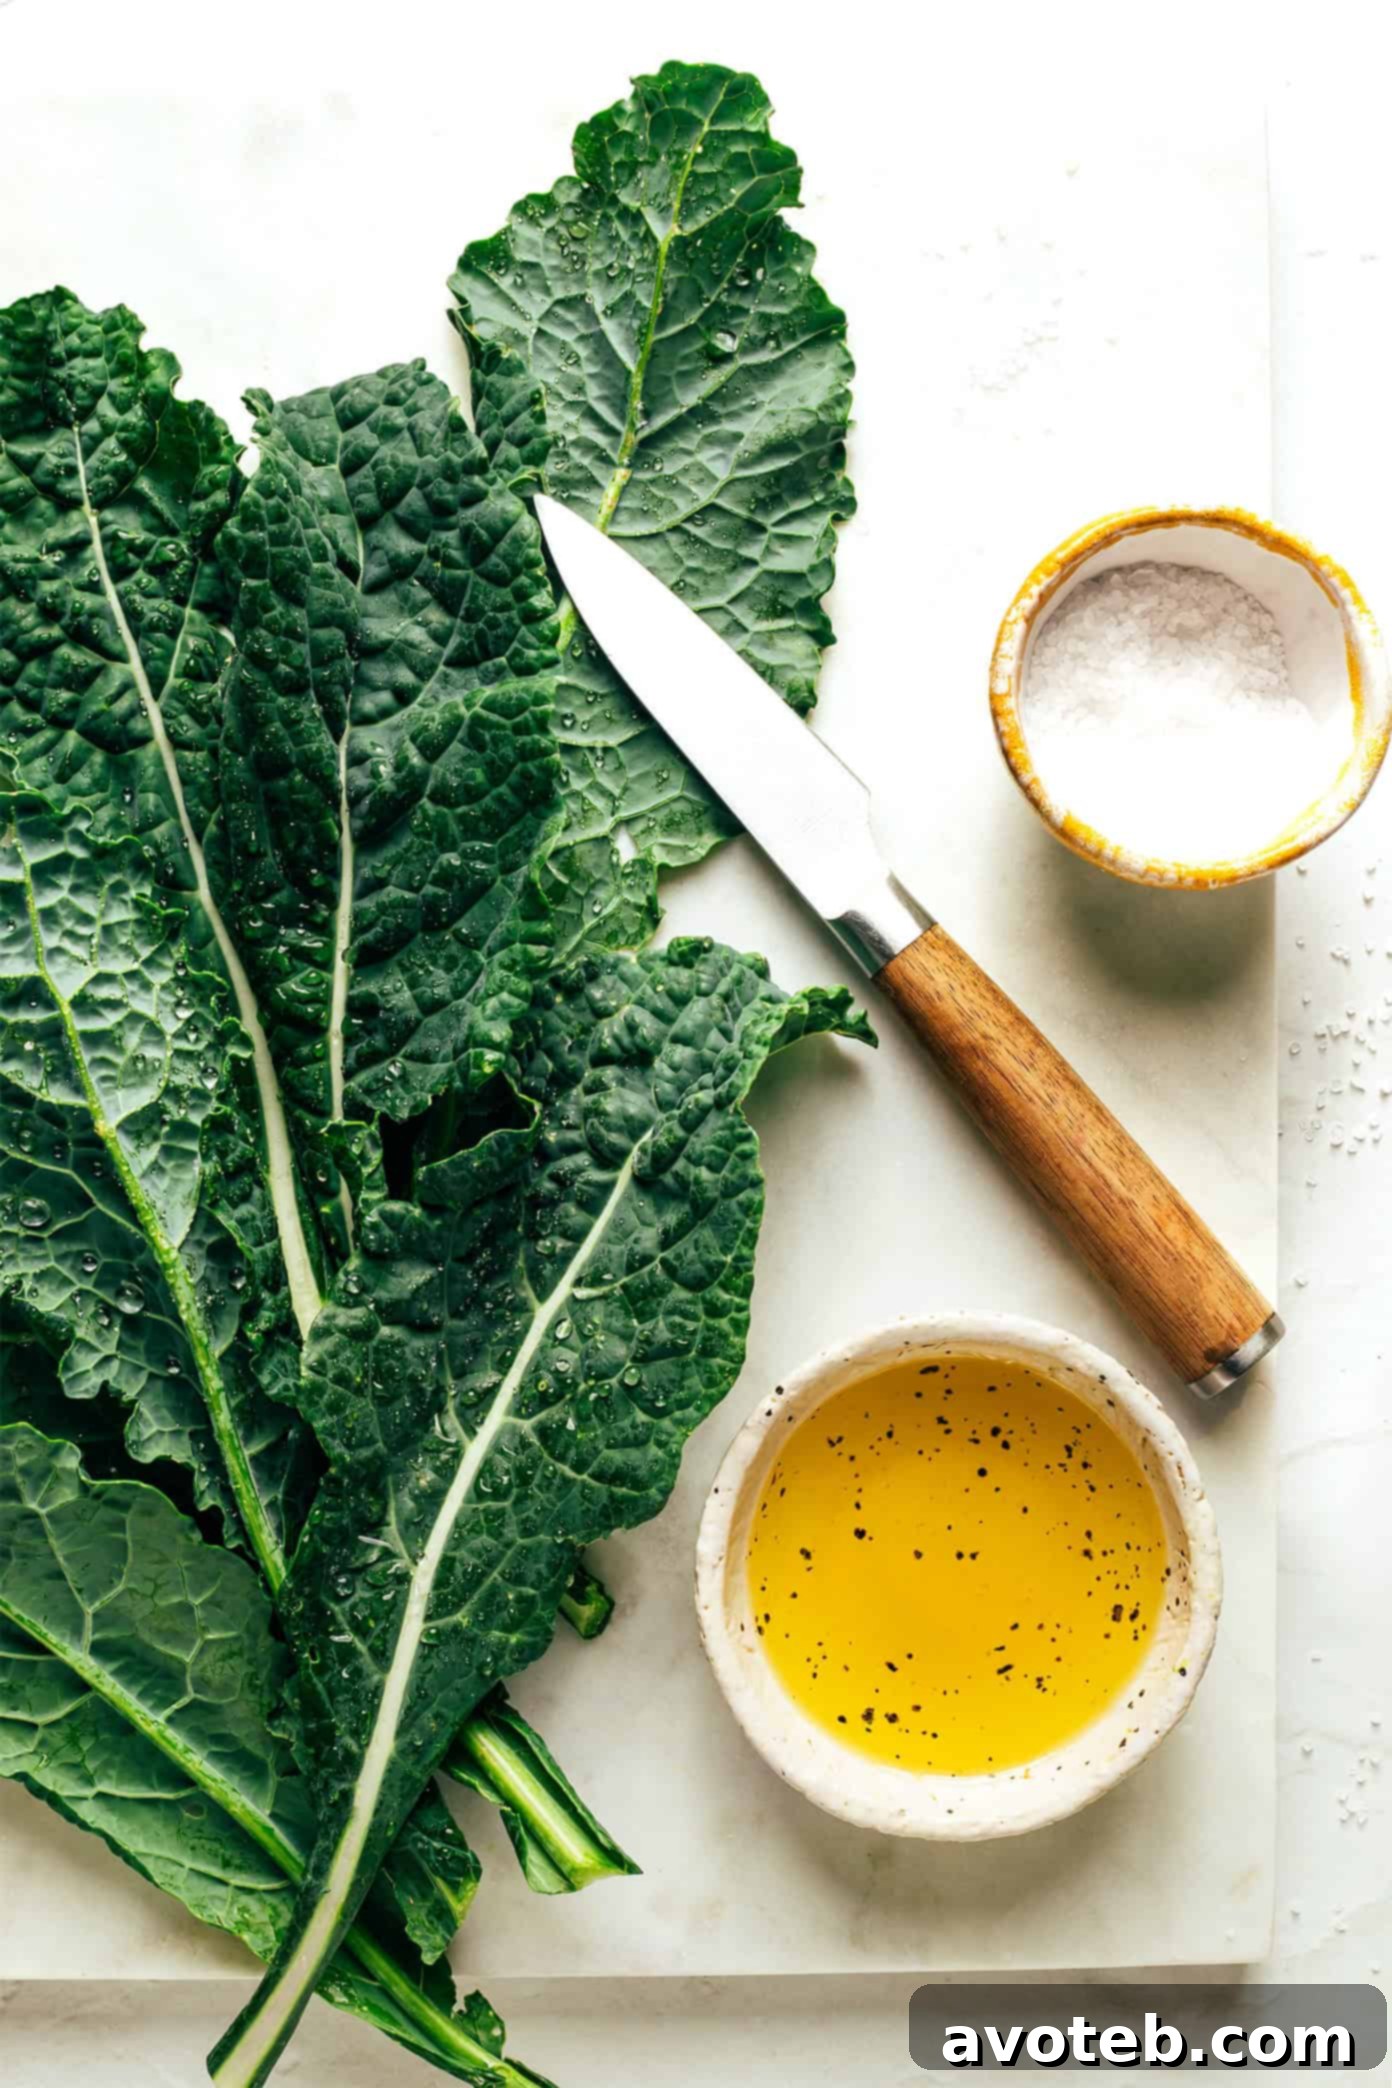
Crafting an impeccable batch of crispy kale chips requires remarkably few ingredients – just three fundamental components to be precise. While deceptively simple, understanding the unique role each ingredient plays is crucial for achieving that coveted, irresistible crispiness and vibrant flavor. Let’s delve into the details of what you’ll need to get started:
- Fresh Kale: The Foundation of Flavor and Texture
The choice of kale variety significantly influences the texture of your finished chips. For the best results, aiming for optimal crispiness and structural integrity during baking, we strongly recommend using sturdy types such as curly kale or Lacinato kale (also affectionately known as “dinosaur kale”). Curly kale, with its beautifully ruffled edges, provides ample surface area for excellent crisping, while Lacinato kale offers firmer, flatter leaves that yield a satisfying, slightly more substantial bite. When selecting your kale, prioritize leaves that boast a vibrant, deep green hue, completely free from any yellowing or brown spots. The stems should feel firm and rigid, not limp or wilted, as this indicates peak freshness. It’s best to avoid pre-chopped bags of kale, as they often contain excess moisture, which is the nemesis of crispy chips. - Oil: The Catalyst for Crispiness and Flavor Absorption
Oil serves two critical purposes in the making of kale chips: it acts as a vital agent in achieving that sought-after crispy texture and functions as a binding medium for all your delicious seasonings. My personal preference is often extra-virgin olive oil, not only for its robust flavor profile but also for its healthy monounsaturated fats. However, feel entirely free to experiment with other mild-flavored cooking oils that align with your taste preferences. Avocado oil is another fantastic choice, known for its neutral flavor and high smoke point, making it excellent for baking. Grapeseed oil is similarly neutral, while a minimal touch of coconut oil can subtly infuse a unique sweetness if that appeals to you. The golden rule here is to coat the kale leaves very lightly and evenly; an excessive amount of oil will prevent them from crisping up and instead lead to an undesirable soggy or greasy texture. - Salt: The Unsung Hero of Flavor Enhancement
Never underestimate the transformative power of salt in unlocking and amplifying the natural, earthy deliciousness of kale. A judicious, generous sprinkle of salt before baking is essential; it draws out the vegetable’s inherent savory notes, elevating a plain leaf into a truly gourmet snack. I typically reach for fine sea salt for its even distribution across the delicate leaves, or flaky sea salt if I desire to add an additional layer of delicate crunch and visual appeal. Kosher salt also makes an excellent all-purpose choice. Don’t be timid with the seasoning, but also remember that you can always add more salt after baking if necessary, so start with a moderate amount and adjust to your preference.
Mastering Kale Chips: A Step-by-Step Guide for Ultimate Crispiness
Achieving perfectly crispy kale chips every single time is far simpler than you might imagine, yet a few crucial techniques and tips can significantly elevate your homemade snack from merely good to truly outstanding. While comprehensive instructions are detailed in the recipe card that follows, let’s delve deeper into the nuanced aspects of each step to ensure your kale chip success:
- Choosing and Inspecting Your Kale: The foundation of exceptional kale chips begins right at the produce aisle. As emphasized earlier, always opt for robust varieties such as curly or Lacinato kale. Visually inspect the leaves for a vibrant, rich deep green color, meticulously avoiding any leaves that show signs of yellowing or browning. Crucially, the stems should feel firm and rigid, not at all limp or wilted, which is a key indicator of peak freshness. Fresh, high-quality kale holds up remarkably better during the baking process and consistently yields a superior, more satisfying crisp.
- The Golden Rule of Crispiness: Dry Your Kale Thoroughly! Without exaggeration, this is arguably the single most critical step for achieving truly crispy kale chips. Moisture is the absolute nemesis of crispiness. After giving your kale leaves a thorough rinse under cold water to eliminate any dirt or debris, you must embark on the mission to dry them meticulously. A salad spinner is an invaluable tool for swiftly expelling excess water. If you don’t have one, meticulously lay the leaves flat on clean kitchen towels or several layers of paper towels and gently blot them dry, pressing out as much moisture as possible. For an extra guarantee, consider allowing them to air-dry for an additional 15-20 minutes after blotting. Any lingering residual water will cause the kale to steam rather than crisp in the oven, inevitably resulting in disappointing chewy or soggy chips.
- Proper Kale Preparation: De-stemming and Tearing: The tough, fibrous central stems of kale are not conducive to a pleasant chip texture. To prepare, firmly hold each leaf by its stem and strip away the tender leafy greens, discarding the tough stems. Once de-stemmed, proceed to tear the kale leaves into manageable, chip-sized pieces. It’s important to remember that kale shrinks considerably during baking, so it’s wise to err on the side of slightly larger pieces than you might initially think. Aim for relatively uniform sizes to ensure consistent and even baking across the entire batch. Place these perfectly prepped pieces into a large mixing bowl.
- Optimal Oiling and Seasoning: The Art of the Light Touch: Drizzle your chosen oil over the kale pieces in the mixing bowl. Begin with a conservative amount (e.g., 1 tablespoon for an average-sized bunch) and only add more sparingly if genuinely needed. Gently massage or toss the kale with your clean hands until every individual leaf is *very lightly* and evenly coated. The goal is just enough oil to cover the surface and facilitate crisping, not to drench the kale. Over-oiling is a common pitfall that leads to heavy, greasy chips. Once adequately oiled, sprinkle generously with your sea salt and any other desired seasonings, ensuring an even distribution.
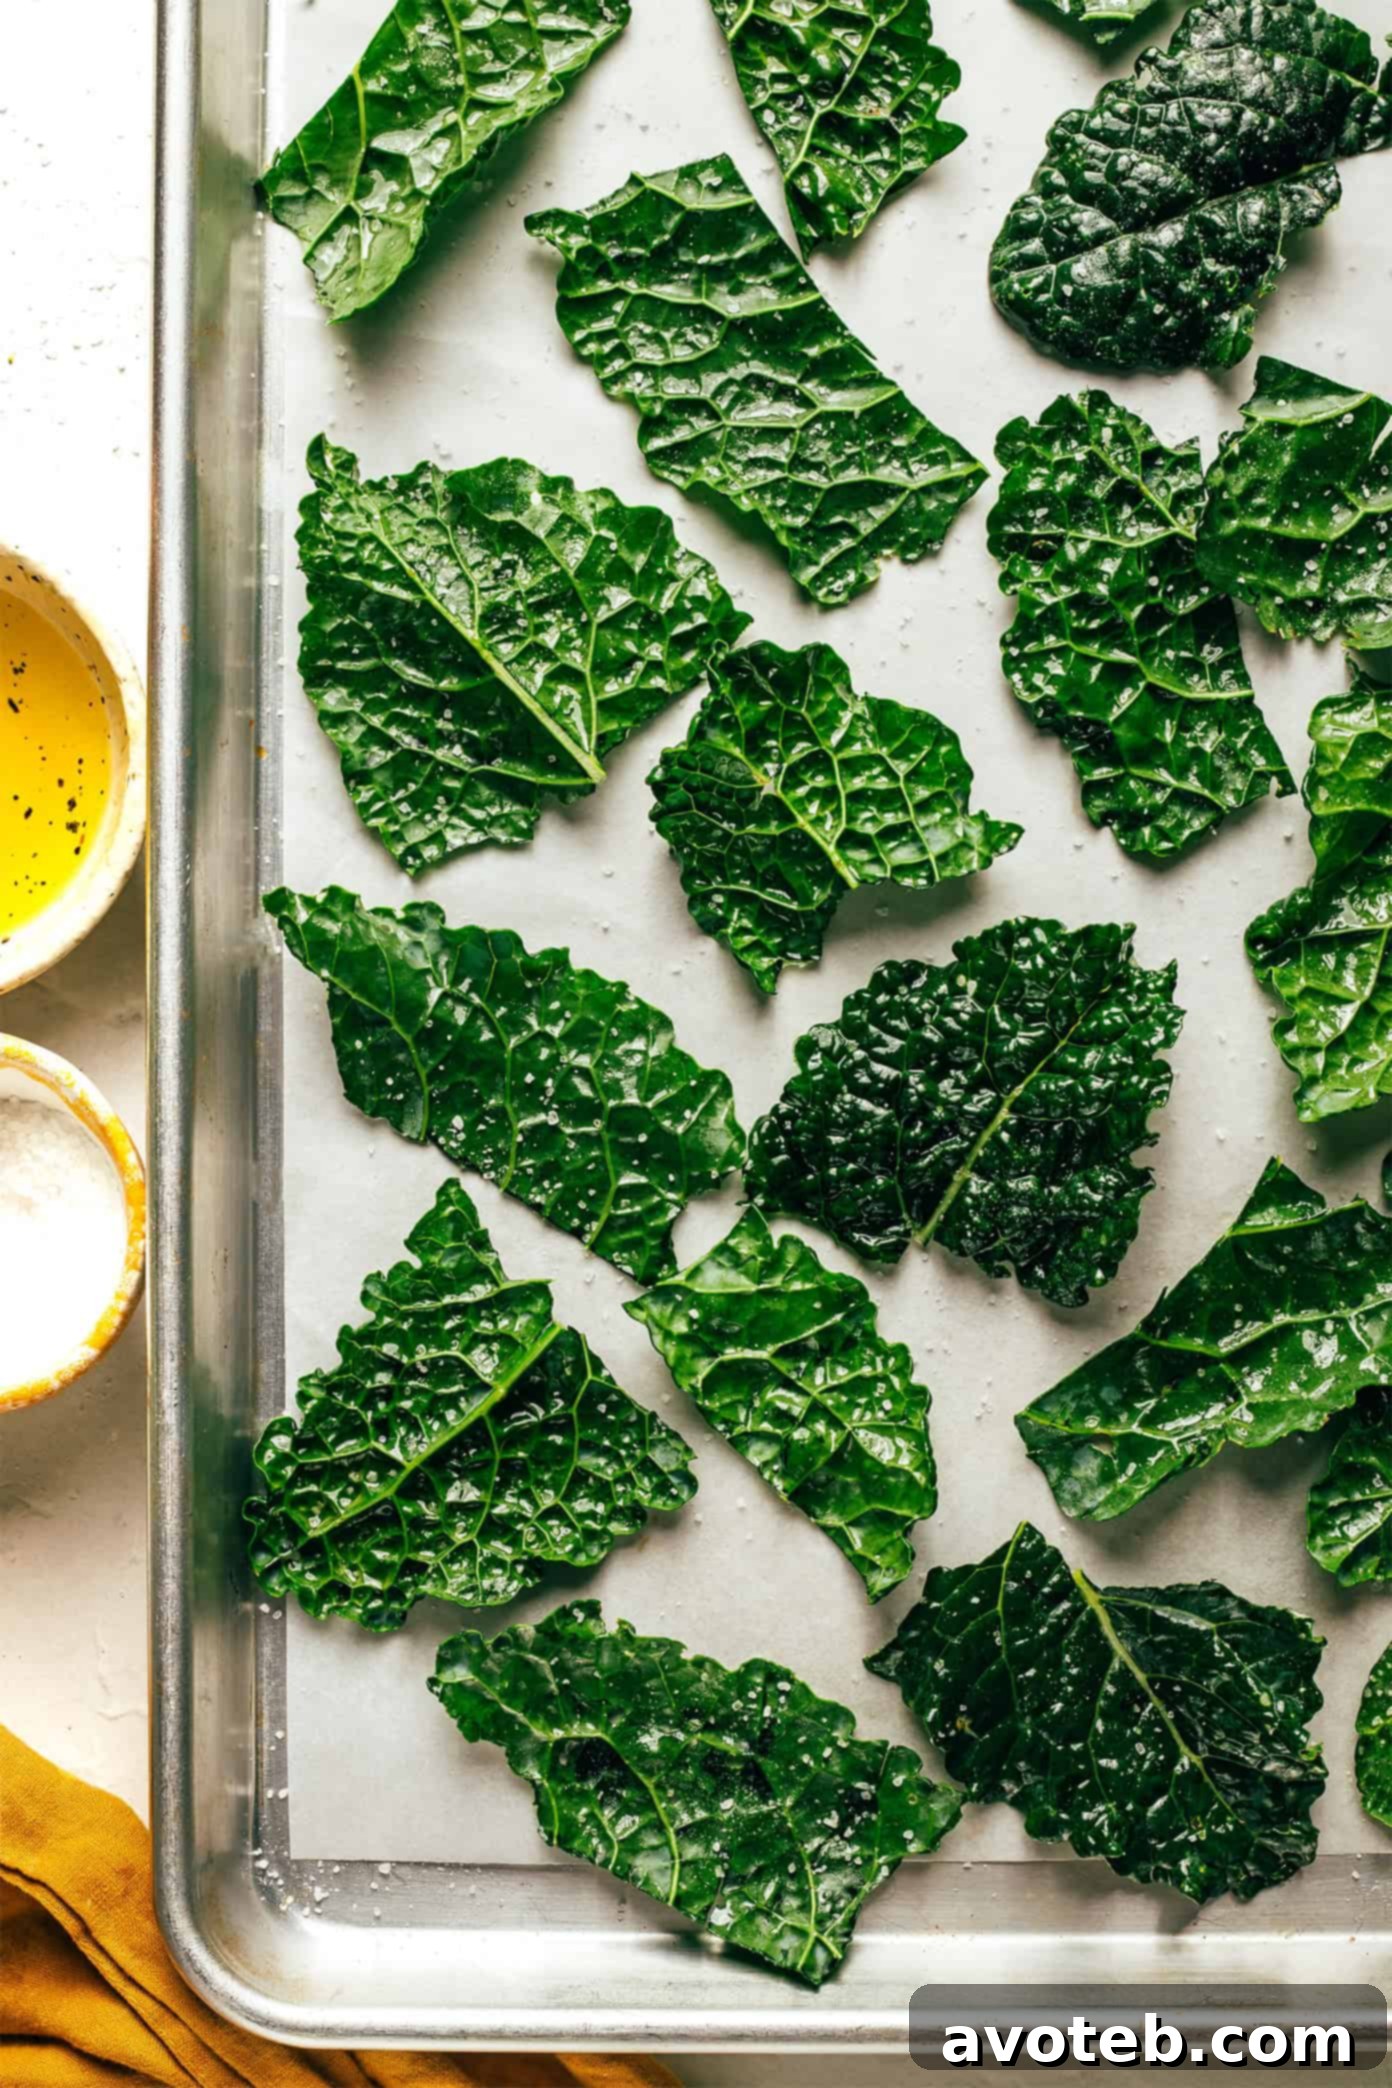
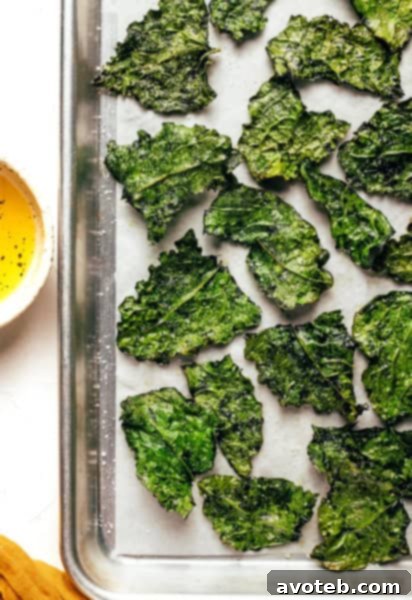
- Avoid Overcrowding the Baking Sheet: Allow for Ample Airflow: This tip is paramount for uniform crisping. Carefully arrange the seasoned kale leaves in a single, distinct layer on your parchment-lined baking sheet. It is absolutely essential that the leaves do not overlap. If your batch of kale is too large for a single layer, do not hesitate to use a second baking sheet. Overcrowding traps moisture and hinders proper air circulation, causing the kale to steam rather than bake and crisp, inevitably resulting in a less-than-crispy texture. Good airflow is non-negotiable for effective dehydration and optimal crisping.
- Vigilant Monitoring During Baking: The Brink of Perfection and Burn: Kale chips are famously quick to bake, and the delicate transition from perfectly crispy to regrettably burnt can occur in mere minutes. Preheat your oven to 350°F (175°C) and bake for approximately 13 to 16 minutes. Begin monitoring your chips very closely around the 10-minute mark, particularly if you know your oven tends to run hot or bakes unevenly. Look for the edges of the leaves to just begin browning slightly and for the leaves to feel unmistakably firm and brittle. If some chips achieve crispness faster than others, carefully remove the done ones and allow the rest to continue baking.
- The Cooling Phase: Essential for Final Crispness: Once you’ve removed the golden-green kale chips from the oven, resist the urge to immediately devour them all. Instead, allow them to cool completely on the baking sheet for at least 5-10 minutes. This cooling period is crucial; the chips will continue to crisp up and firm as they come to room temperature. This step is absolutely vital for achieving that deeply satisfying, shatteringly crisp snap you desire.
- Proper Storage for Maintaining Crispness: Kale chips are, without a doubt, at their absolute best when enjoyed fresh and warm straight from the oven. However, should you find yourself with any delightful leftovers, store them in an airtight container at room temperature. They should maintain a good level of crispness for up to 48 hours, though they may soften slightly over time. To revive their crunch, you can briefly reheat them in a low oven (250°F/120°C) for 5-7 minutes, or a quick minute or two in an air fryer.
Elevate Your Snack Game: Creative Kale Chip Seasoning Ideas
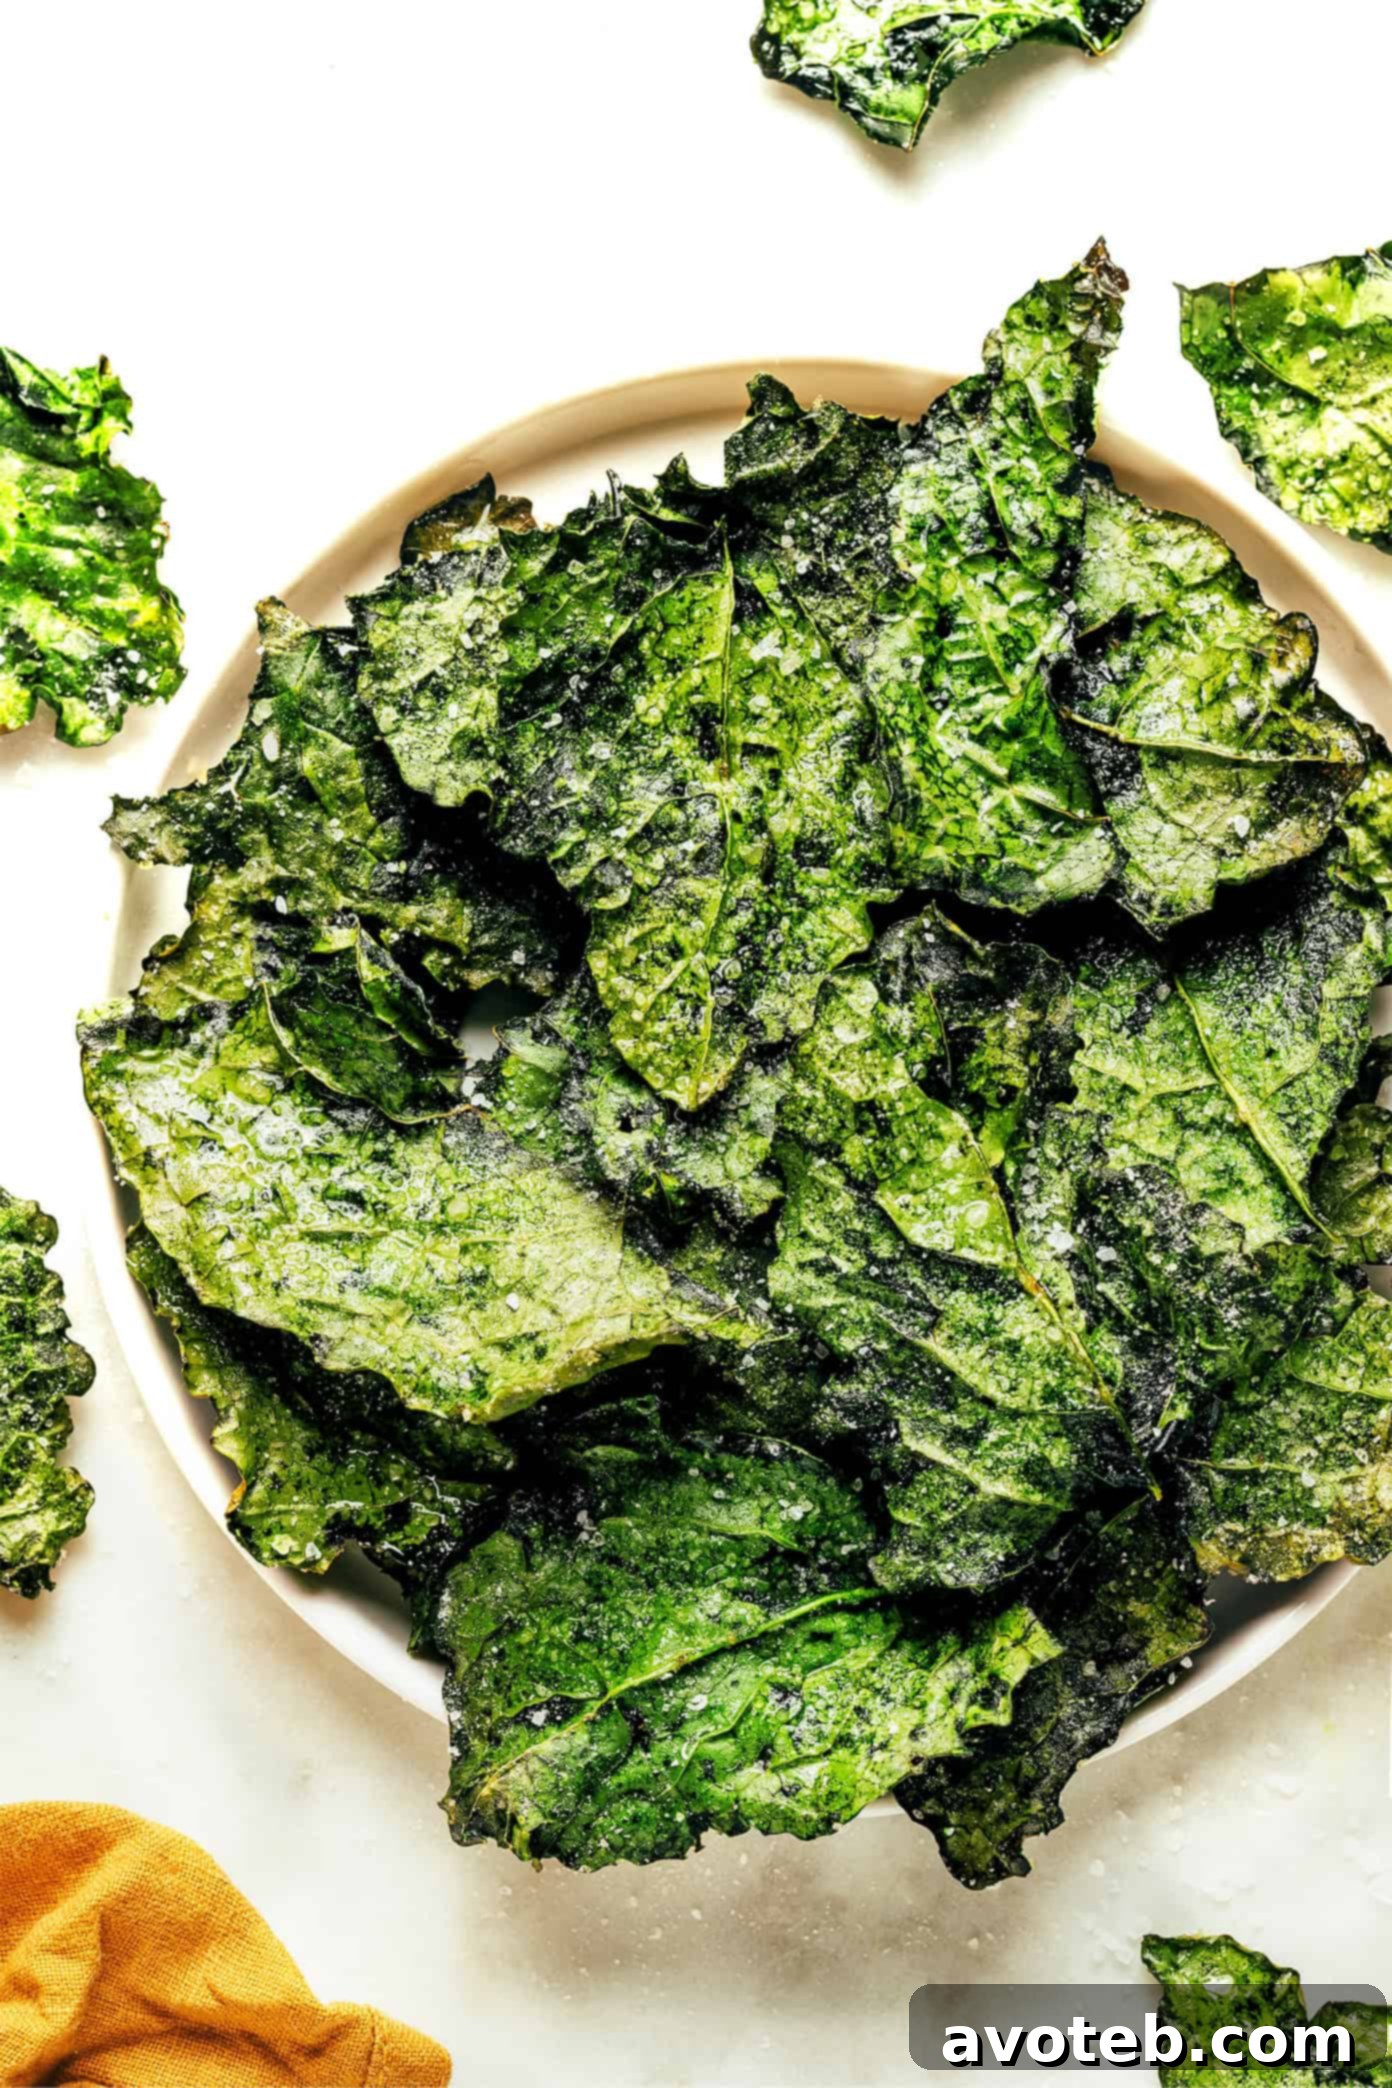
While a classic combination of olive oil and sea salt is undeniably a winner, kale chips offer an incredible canvas for culinary innovation and creativity. Don’t hesitate to venture beyond the basics and experiment with a myriad of flavor profiles to perfectly match your mood and palate. Here are some of our absolute favorite seasoning variations to inspire your next batch of gourmet kale chips:
- Garlic Parmesan: For an irresistible savory and cheesy kick, liberally sprinkle your kale chips with both garlic powder and finely grated Parmesan cheese before they go into the oven. For an even more pronounced Parmesan flavor, you can also add a fresh dusting immediately after they emerge from the oven, while still warm.
- Nutritional Yeast (“Cheesy” Vegan): If you’re seeking a dairy-free yet distinctly “cheesy” flavor, nutritional yeast is your ultimate ally. After oiling, toss your kale with a generous amount of nutritional yeast before baking. This creates a wonderfully umami-rich and deeply savory profile that’s surprisingly similar to cheese.
- Lemon Herb: Brighten up your kale chips with a wonderfully refreshing citrus-herb fusion. After oiling, toss the kale with a light squeeze of fresh lemon juice and your favorite blend of dried herbs, such as Italian seasoning, dried oregano, Herbes de Provence, or a mix of all three, just before baking.
- Everything Bagel: Replicate the beloved, complex flavor of an everything bagel by liberally sprinkling your chips with everything bagel seasoning. This popular mix typically features a harmonious blend of toasted sesame seeds, poppy seeds, dried garlic flakes, dried onion flakes, and coarse sea salt, delivering a truly satisfying crunch and robust flavor.
- Cool Ranch: For a tangy, zesty, and herbaceous flavor reminiscent of your favorite cool ranch dressing, dust your kale with a high-quality ranch seasoning mix before popping them into the preheated oven.
- Chili Lime: Craving a vibrant, zesty, and subtly spicy snack? Toss your kale with a hint of fresh lime juice and a generous amount of Tajín Clásico seasoning (a popular Mexican spice blend featuring chili peppers, dehydrated lime, and sea salt) before baking.
- Za’atar: Embark on a journey of Middle Eastern flavors with Za’atar seasoning. This incredibly aromatic blend typically combines toasted sesame seeds, dried thyme, marjoram, and ground sumac, offering a unique earthy, tangy, and nutty taste that beautifully complements the robust character of kale.
- Smoked Paprika & Cumin: For a warm, inviting, and subtly smoky depth of flavor, combine a good amount of smoked paprika with a pinch of earthy ground cumin and toss with your oiled kale before baking.
- Sweet & Spicy: For an intriguing contrast of flavors, lightly drizzle your kale with a touch of maple syrup or a hint of honey, then sprinkle with a pinch of fiery cayenne pepper and sea salt before baking. This creates a wonderfully addictive sweet and savory profile with a kick.
Troubleshooting: Common Kale Chip Problems and Solutions
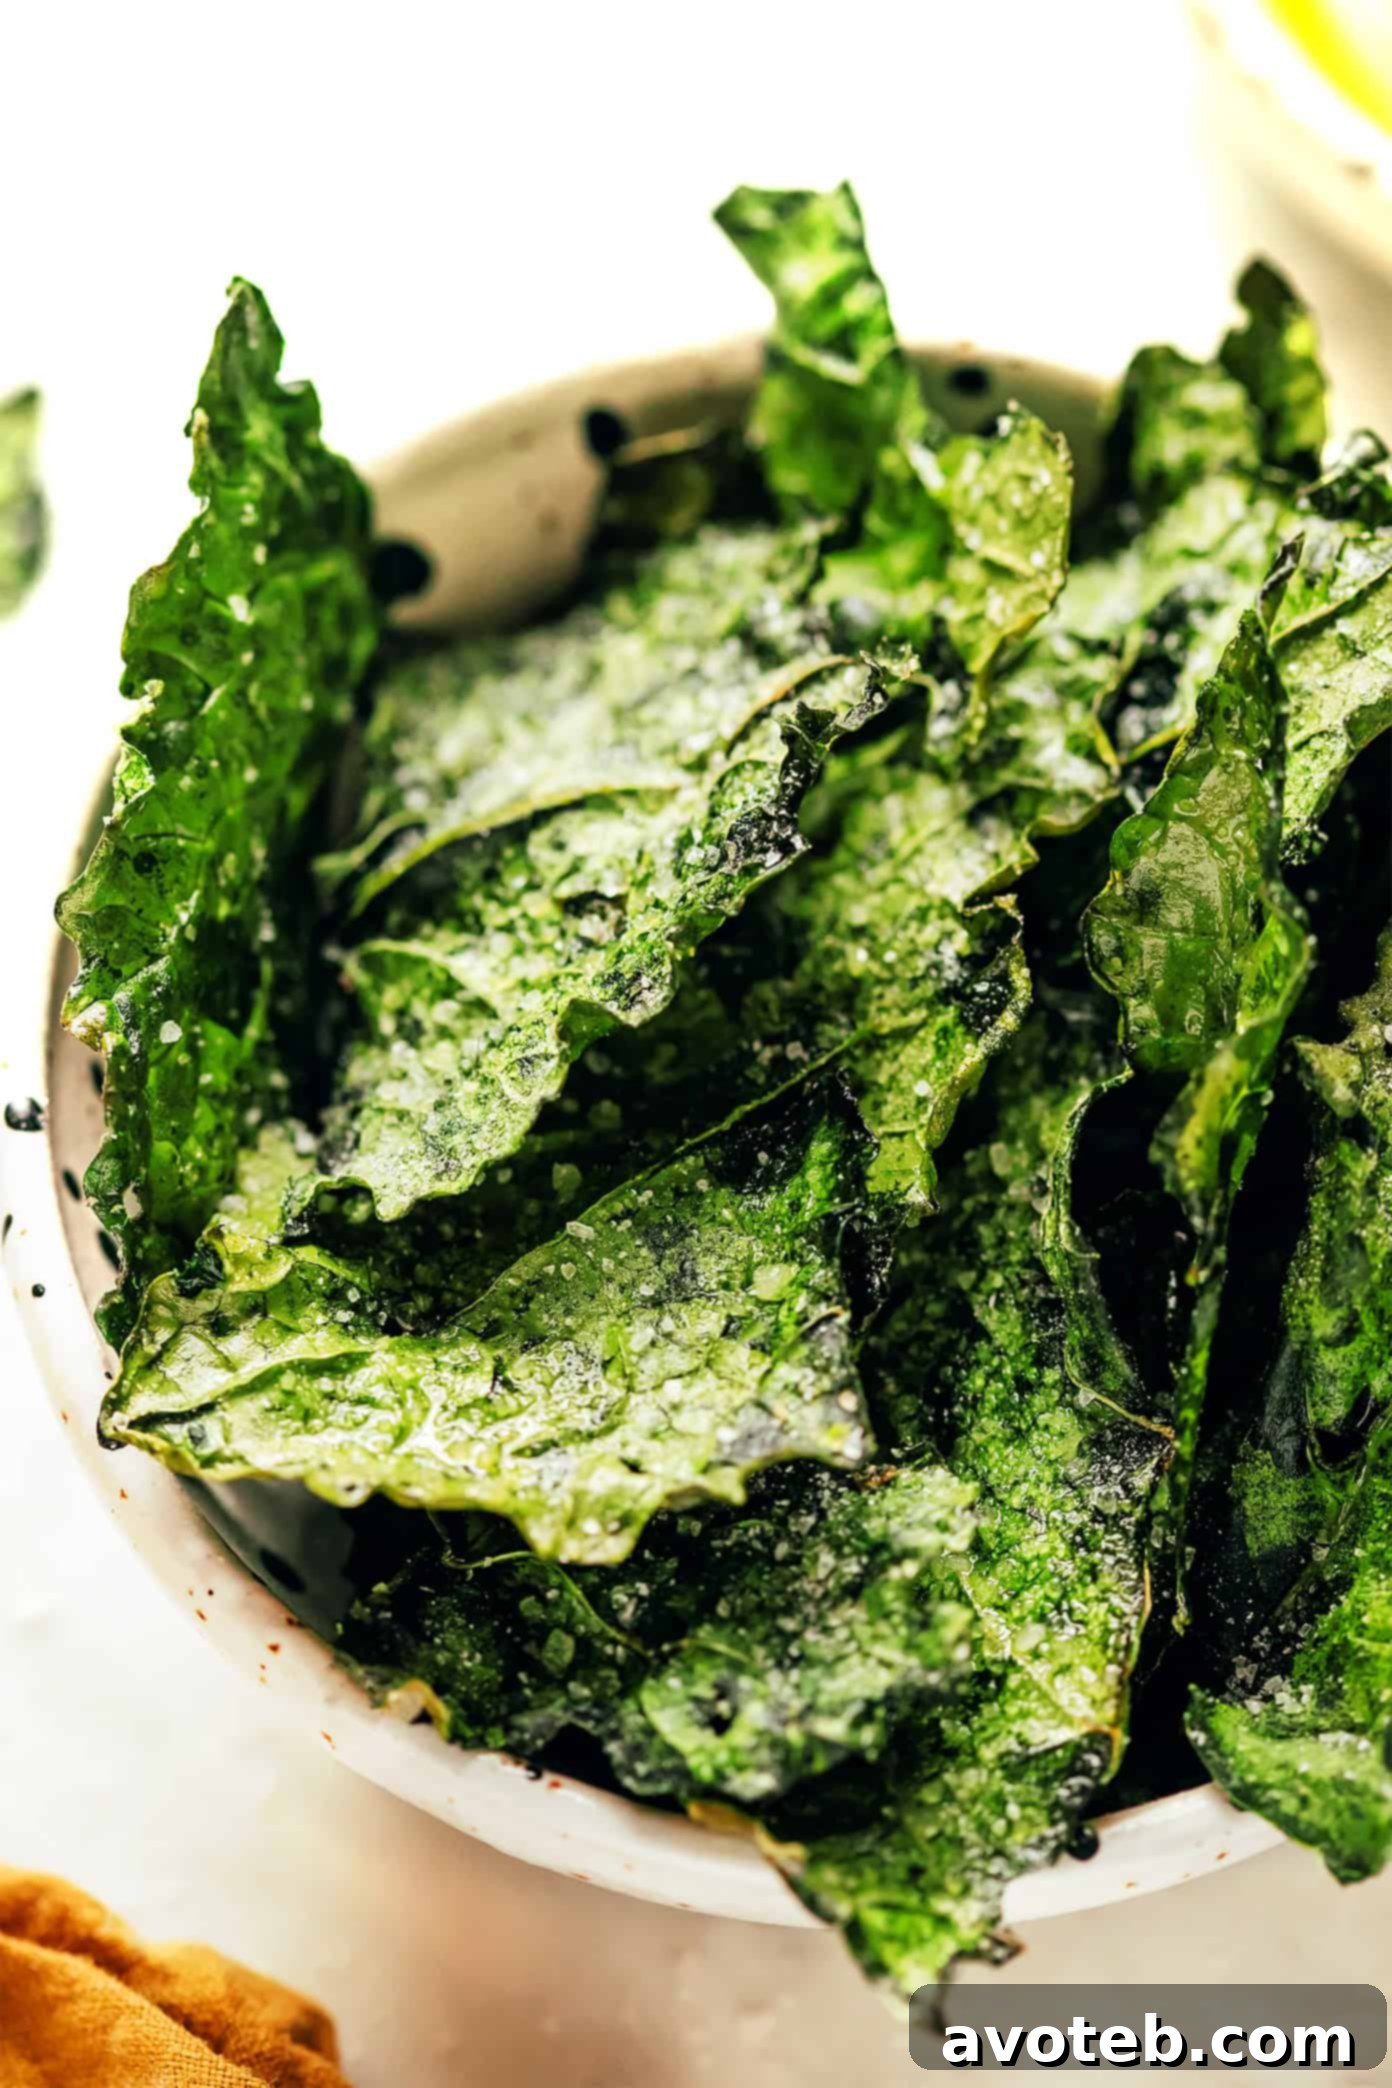
Even with the best intentions and careful adherence to instructions, your kale chips might occasionally fall short of that elusive crispy perfection. Don’t fret! These common issues are typically easy to diagnose and rectify, ensuring your next batch is a resounding success:
- Soggy or Chewy Chips: This is by far the most frequent complaint, and the number one culprit is almost always insufficient drying. Revisit the golden rule: ensure your kale is bone-dry before you even think about oiling it. Other contributing factors can include applying too much oil, overcrowding the baking sheet (which inhibits proper air circulation), or an oven temperature that is too low, causing the kale to steam rather than crisp.
- Burnt Chips: The unfortunate phenomenon of burnt kale chips often occurs when the oven is set too high or, more commonly, when the chips are left in for too long without adequate monitoring. Oven temperatures can vary significantly, so it’s imperative to keep a very close eye on your chips, especially during the last few minutes of baking. Uneven oven heating can also cause some areas of the chips to burn faster; rotating the baking sheet halfway through the baking process can often help achieve more uniform crisping.
- Flavorless Chips: If your perfectly crispy chips taste bland or uninspired, the most probable reason is an inadequate amount of salt or seasoning. Do not be shy when it comes to seasoning generously! You can always add a tiny pinch more salt or a fresh sprinkle of garlic powder, nutritional yeast, or your chosen seasoning after baking to boost the flavor to your liking.
Beyond the Snack: Creative Serving Suggestions for Your Crispy Kale Chips
Once you’ve mastered the satisfying art of creating perfectly crispy kale chips, the possibilities for incorporating them into your meals and snacks are virtually endless. They are incredibly versatile and can be enjoyed in a multitude of delicious ways:
- Standalone Snack: The most straightforward and often most preferred method of enjoyment is savoring them directly from the cooling rack as a healthy, satisfying, and utterly addictive snack.
- Soup Topping: Gently crumble your kale chips over creamy soups (such as tomato, butternut squash, lentil, or potato soup) to introduce a delightful crunch, an extra layer of savory flavor, and a boost of nutrition.
- Salad Crouton Alternative: Elevate your salads by replacing traditional, often calorie-dense, croutons with these lighter, more nutritious, and equally crunchy kale chips. They add a unique texture and robust flavor.
- Dip Companion: Serve your crispy kale chips alongside your favorite healthy dips, such as homemade hummus, chunky guacamole, a vibrant salsa, or a light, herb-infused yogurt-based dip.
- Side Dish or Garnish: Pair them alongside sandwiches, wraps, burgers (as a healthy alternative to fries!), or use them as an intriguing garnish for various weeknight meals to add an unexpected textural element.
Frequently Asked Questions About Homemade Kale Chips
- Can I use frozen kale to make kale chips?
- No, unfortunately, frozen kale is not suitable for this recipe. It contains a significant amount of moisture that will prevent it from achieving a crispy texture when baked, inevitably resulting in soggy chips. Always use fresh kale for the best and crispiest results.
- Is it possible to make kale chips in an air fryer?
- Absolutely! An air fryer is a fantastic and efficient appliance for making incredibly crispy kale chips. To do so, preheat your air fryer to 350°F (175°C). Toss the fresh kale with oil and your desired seasonings as you would for oven baking. Cook the kale in batches, making sure not to overcrowd the air fryer basket, for approximately 5-8 minutes. Shake the basket halfway through cooking to ensure even crisping. Keep a very close eye on them, as air fryers can cook quite rapidly, and they can go from perfectly crisp to burnt very quickly.
- How long do homemade kale chips stay crispy?
- Kale chips are undeniably at their absolute peak of crispness and flavor when eaten fresh, shortly after cooling from the oven. However, if stored properly in an airtight container at room temperature, they can maintain a reasonable level of crispness for up to 2 days. Beyond that, they tend to soften significantly. To refresh and revive their crunch, you can briefly reheat them in a low oven (around 250°F / 120°C) for 5-7 minutes or a quick minute or two in an air fryer.
- Are kale chips genuinely a healthy snack option?
- Yes, absolutely! Kale chips are a remarkably healthy snack choice. When made at home, they retain the vast majority of kale’s impressive nutritional profile, including generous amounts of vitamins K, A, and C, essential fiber, and powerful antioxidants. By making them yourself, you have complete control over the type and quantity of oil and salt used, allowing you to create a significantly healthier alternative to many store-bought, heavily processed snack foods.
More Delicious Kale Recipes To Explore!
If these delightful kale chips have sparked your interest in incorporating more of this incredible superfood into your diet, here are a few more of our favorite kale-centric recipes that are definitely worth trying:
- Everyday Kale Salad
- Blueberry Kale Smoothie
- Ginger Kale Fried Rice
- Sweet Potato Avocado Kale Salad
- Colcannon (Kale Mashed Potatoes)
Classic Crispy Kale Chips
- Author: Ali
- Prep Time: 5 minutes
- Cook Time: 15 minutes
- Total Time: 20 minutes
- Yield: 4 servings
Description
This classic kale chips recipe is incredibly simple to prepare and offers a delightful, healthy crunch. It’s easily customizable with a variety of seasonings to suit any palate, making it a perfect guilt-free snack.
Ingredients
- 1 medium bunch of fresh kale (preferably curly kale or Lacinato/dinosaur kale)
- 1 to 2 tablespoons extra-virgin olive oil (or other mild cooking oil like avocado or grapeseed)
- Sea salt, to taste (fine or flaky)
Instructions
- Prepare the Oven and Baking Sheet: Preheat your oven to 350°F (175°C). Line a large baking sheet with parchment paper to prevent sticking and ensure effortless cleanup.
- Prepare the Kale: Rinse the kale leaves thoroughly under cold water. This is the most critical step for crispiness: dry the leaves completely using a salad spinner, clean kitchen towels, or paper towels until bone-dry. Strip away and discard the tough central stems. Tear the remaining kale leaves into chip-sized pieces, remembering they will shrink during baking. Place the prepped pieces in a large mixing bowl.
- Oil and Season the Kale: Drizzle 1 tablespoon of olive oil over the kale in the bowl. Gently toss or massage the leaves with your hands until every piece is very lightly and evenly coated with oil. Add more oil sparingly if necessary, but be careful not to overcoat. Then, season generously and evenly with sea salt (and any other desired seasonings).
- Arrange and Bake: Arrange the seasoned kale leaves in a single, even layer on the prepared baking sheet. Ensure there is no overlapping; use a second baking sheet if necessary to allow for proper airflow. Bake for 13 to 16 minutes, or until the leaves are wonderfully crispy and the edges are slightly browned. Begin monitoring closely around the 10-minute mark, as they can burn quickly.
- Cool and Serve: Once baked, remove the baking sheet from the oven and let the kale chips cool completely on the sheet for at least 5-10 minutes. They will crisp up further as they cool. Serve immediately and enjoy your perfectly crunchy, healthy snack!