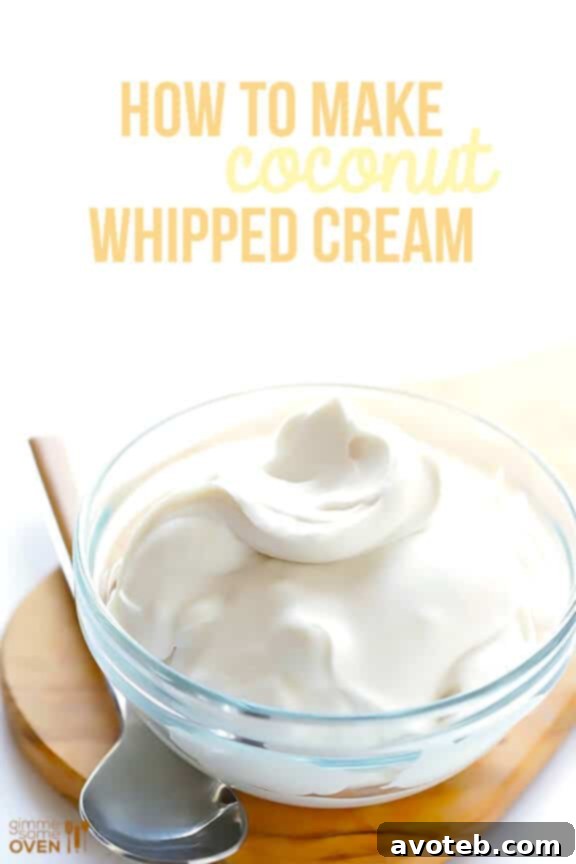
Mastering Homemade Coconut Whipped Cream: A Dairy-Free Delight for Every Occasion
In today’s diverse culinary landscape, hosting gatherings can sometimes feel like navigating a minefield of dietary restrictions, allergies, and personal preferences. Whether you’re accommodating vegans, vegetarians, those with gluten or dairy intolerances, or simply friends who have unique taste buds, crafting a menu that delights everyone is a joyful challenge. I’ve even started a spreadsheet, like many of my organization-loving friends, to keep track of who eats what! From friends avoiding nuts and shellfish to those who adore a hearty steak or steer clear of onions, remembering everyone’s needs and favorites is a task in itself.
One common hurdle often arises when planning desserts: traditional whipped cream, a beloved topping for countless sweet treats, is a no-go for many. This is where a truly versatile and universally appealing alternative comes into play: homemade coconut whipped cream. This delightful creation has become an indispensable staple in my kitchen, warmly embraced by vegans, dairy-free diners, and even those who typically enjoy conventional whipped cream. Its creamy texture and subtle sweetness make it a fantastic substitute that ensures no one misses out on a delicious dessert topping. While its popularity has soared across the internet, I realized I hadn’t shared my go-to tutorial here yet. So, prepare to unlock the secrets to creating this simple yet elegant dairy-free delight!
What is Coconut Whipped Cream? Your Go-To Dairy-Free Topping
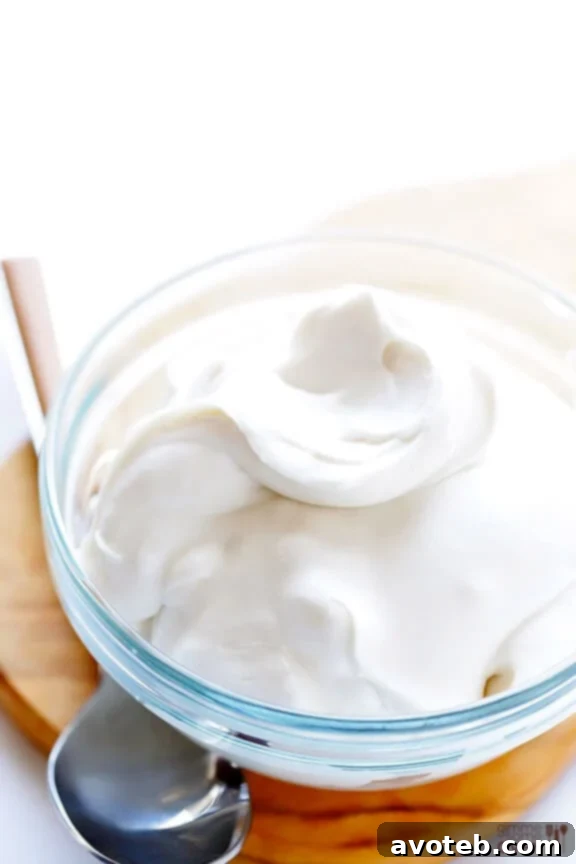
Before diving into the how-to, let’s clarify what coconut whipped cream is and what to expect. Often referred to as whipped coconut cream, this alternative isn’t an exact replica of its dairy counterpart, but it offers a fantastic, rich, and fluffy experience in its own right. You’ll notice a delicate, slightly coconut-y flavor, which many find delightful. It might not always form the super-stiff peaks that dairy cream can achieve, but it will certainly fluff up enough to provide a wonderfully creamy topping for most desserts, hot beverages, and fruit salads. Its distinct taste and texture are part of its charm, adding an exotic twist that can elevate any dish.
The Essential Foundation: Choosing the Right Coconut Base
The success of your homemade coconut whipped cream hinges significantly on starting with the correct type of coconut product. There are two primary routes you can take: using full-fat canned coconut milk or purchasing pre-separated coconut cream. Each has its nuances, and understanding them is key to achieving that perfect fluffy consistency.
Using Full-Fat Canned Coconut Milk
If you opt for coconut milk, attention to detail is crucial:
- Full-Fat is Non-Negotiable: This is perhaps the most critical rule. For coconut whipped cream to work, you absolutely must use full-fat coconut milk. We’re talking about the kind that comes in a can, not the thinner, refrigerated cartons often found in the dairy aisle alongside almond milk. Those cartons are typically designed for drinking or lighter culinary uses and lack the high-fat content necessary for whipping. Steer clear of any “lite” or reduced-fat coconut milk varieties, as they will not separate or whip properly.
- Check the Ingredients: Take a moment to read the label. Some brands include stabilizers like guar gum. While not always a deal-breaker, some chefs find that guar gum can inhibit proper separation and whipping. It’s often best to choose brands with minimal ingredients, primarily coconut and water.
- Refrigeration is Mandatory (18-24 Hours): This step is critical and cannot be rushed. To ensure the thick, creamy coconut fat separates from the thinner coconut water, your can of full-fat coconut milk needs to chill in the refrigerator for at least 18 to 24 hours, or even up to 48 hours for best results. This extended chilling period allows the dense coconut cream to solidify and rise to the top of the can.
- The Separation Process: Once thoroughly chilled, remove the can from the fridge without shaking or tilting it (this is important to keep the layers separated). Carefully open the can. You should see a distinct, solid layer of coconut cream at the top, with clear coconut water at the bottom. Gently scoop out the thick, solidified coconut cream into your mixing bowl. Don’t discard the coconut water! It’s excellent for smoothies, curries, or other recipes.
Recommended Brands for Coconut Milk:
Brand consistency can vary, but some brands are generally more reliable for producing a good separation of cream. Look for those where the cream visibly separates well. Brands like Whole Foods 365, Native Forest, and sometimes Thai Kitchen (though it can be inconsistent) are often cited as good choices. Natural Value is another brand that often performs well. Be prepared to experiment a bit to find your personal favorite.
Using Canned Coconut Cream
Fortunately, pure coconut cream is becoming more readily available in cans, simplifying the process considerably. A can of coconut cream essentially gives you the thick, solid cream already separated, eliminating the need to discard any coconut water.
- Still Requires Refrigeration: Even if you’re using canned coconut cream, it’s still essential to refrigerate it overnight (at least 12 hours) to ensure optimal chilling and firmness, which are crucial for achieving that airy, fluffy texture.
- Adjusting the Recipe: Keep in mind that a can of pure coconut cream often contains roughly double the amount of cream you’d get from a single can of full-fat coconut milk. If you’re using a recipe designed for coconut milk, you’ll likely need to double the amount of sweetener and vanilla extract to match the increased volume of cream. Brands like Trader Joe’s and Whole Foods often offer good quality canned coconut cream.
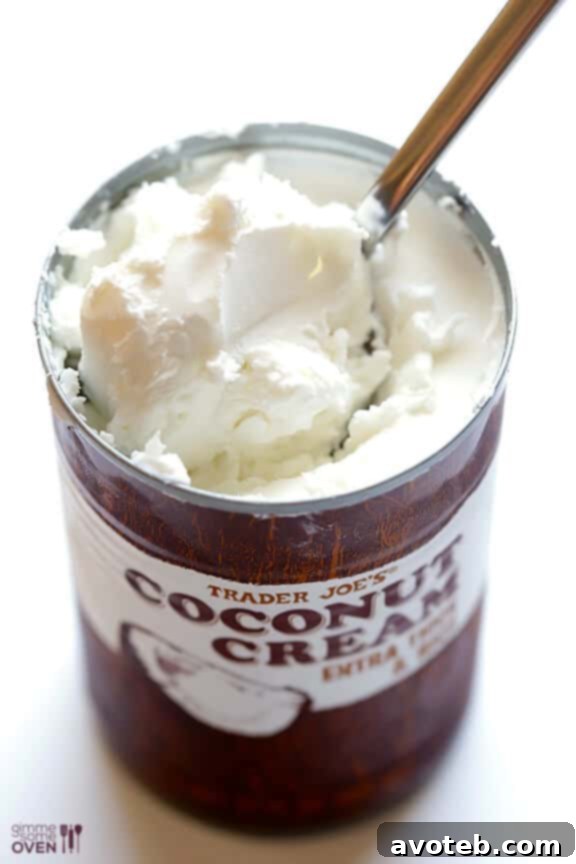
A Very Important Consideration: Brand Inconsistency
While the process sounds straightforward, it’s crucial to acknowledge one of the most common frustrations among those making coconut whipped cream: brand inconsistency. Different brands of coconut milk and cream can yield vastly different results. Even two cans of the exact same brand purchased at the same time might perform differently – one whipping up beautifully, while the other unexpectedly flops.
This variability can be due to changes in manufacturing processes, slight differences in coconut harvest, or even how the cans were stored. Don’t let a single “flop” deter you! If your first attempt doesn’t achieve the desired fluffiness, it’s likely not your fault. Try a different brand or another can from a fresh batch. Persistence and experimentation are your allies in finding the perfect coconut product for whipping.
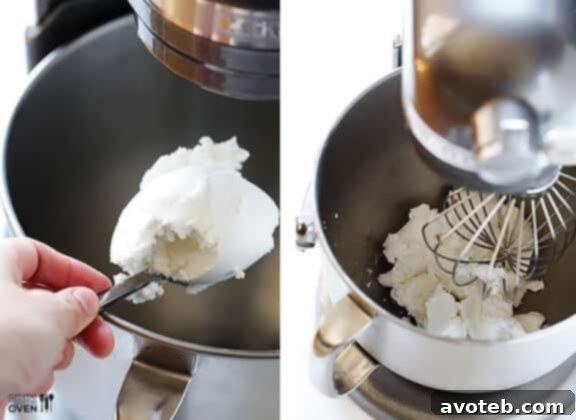
The Whipping Process: Step-by-Step to Fluffy Perfection
Once you have your perfectly chilled coconut cream, the actual whipping process is quick and satisfying. Follow these steps for the best results:
- Chill Your Equipment: Before you even scoop the cream, place your metal or glass mixing bowl and the whisk attachment (from your stand mixer or hand mixer) into the freezer for 5 to 10 minutes. The colder your equipment, the better it will help maintain the cold temperature of the coconut cream, which is vital for proper whipping. While not strictly necessary for plastic bowls, it’s a helpful step for maximum fluffiness.
- Scoop the Cream: Take your chilled can of coconut milk (or cream) and gently scoop the thick, solidified coconut cream into your cold mixing bowl. Be careful not to include any of the clear coconut water that has separated to the bottom.
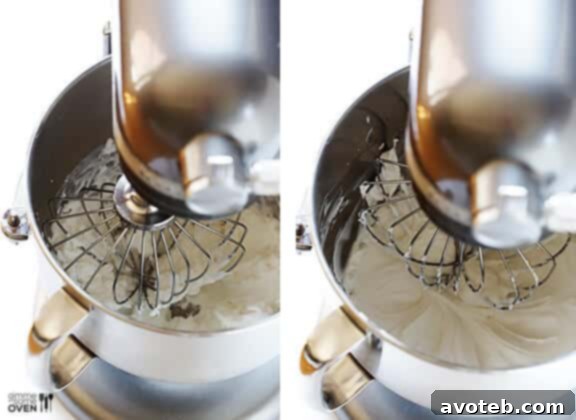
- Whip Until Fluffy: Attach the whisk to your mixer and begin beating the coconut cream on medium speed. Start slowly to avoid splattering, then increase the speed. Whip for about 1 to 2 minutes, or until the cream becomes noticeably lighter, fluffy, and soft peaks begin to form.
- Add Sweetener and Flavor: Now it’s time to customize! Add your desired sweetener. Powdered sugar (confectioner’s sugar) is often preferred for its fine texture, which dissolves easily and contributes to a smooth consistency. However, granulated sugar, maple syrup, agave nectar, or even a touch of honey (if not strictly vegan) can also be used. Adjust the amount to your taste preferences. I also highly recommend adding a splash of vanilla extract. Vanilla not only enhances the overall sweetness but can also help to mellow out any prominent coconut flavor for those who might be less keen on it.
- Final Whip: Continue to whip the mixture for another 30 seconds to 1 minute, ensuring the sweetener and vanilla are fully incorporated and the cream reaches your desired fluffy consistency.
Serving and Storage Tips for Coconut Whipped Cream
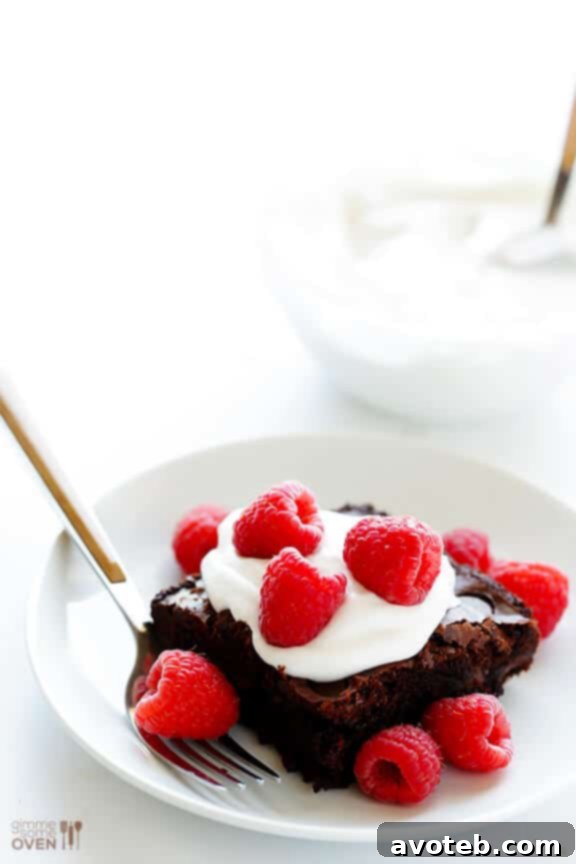
Your freshly made coconut whipped cream is now ready to be enjoyed!
- Best Served Immediately: For the lightest and fluffiest texture, coconut whipped cream is best served right after it’s made.
- Storing Leftovers: If you have leftovers or need to make it ahead of time, transfer it to an airtight container and store it in the refrigerator. It will typically hold well for 2-3 days.
- Re-whipping: Over time, especially in the cold fridge, coconut whipped cream can firm up quite a bit. Don’t worry if it becomes too solid; simply give it another quick whip with your mixer for about 30 seconds to a minute until it regains its desired consistency.
Creative Ways to Enjoy Your Coconut Whipped Cream
The versatility of coconut whipped cream extends far beyond a simple dollop. Here are some inspiring ideas to incorporate this creamy, dairy-free treat into your culinary creations:
- Dessert Topping: The classic use! Spoon it over pies, cakes, fruit tarts, puddings, or crumbles for an instant touch of elegance.
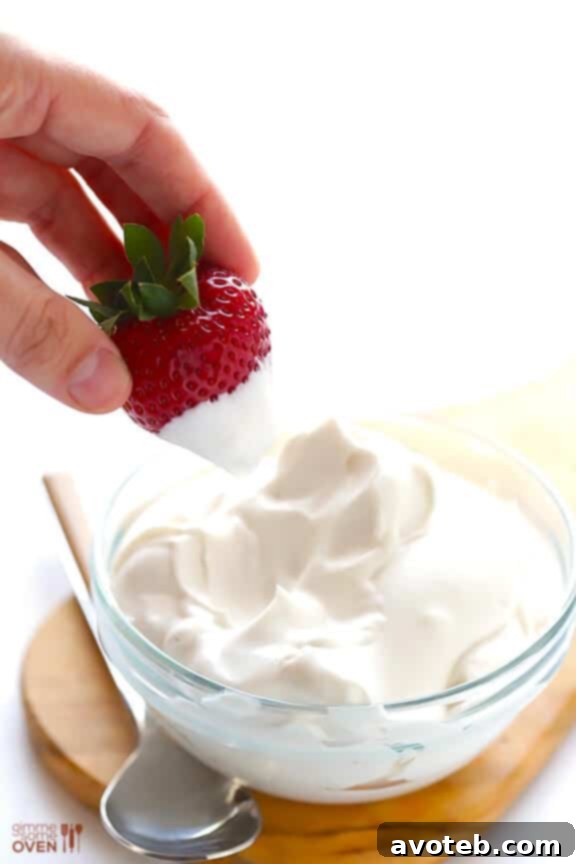
- With Fresh Fruits: It pairs beautifully with fresh berries, sliced peaches, mangoes, or a vibrant fruit salad. The coconut flavor complements tropical fruits exceptionally well.
- Hot Beverages: Elevate your morning coffee, hot chocolate, or chai latte with a generous swirl of coconut whipped cream. It melts into a luxurious, creamy topping.
- Smoothies & Shakes: Blend a spoonful into your next smoothie for added creaminess and a boost of healthy fats, or top your vegan milkshakes for an extra special touch.
- Breakfast Treats: Dollop it onto pancakes, waffles, or French toast for a decadent breakfast or brunch option.
- Parfaits: Layer it with granola, fruit, and yogurt (dairy-free, if preferred) to create stunning and delicious parfaits.
Troubleshooting Common Coconut Whipped Cream Issues
Even with the best intentions, things can sometimes go awry. Here are solutions to common problems:
- It didn’t whip up at all!
- Was it full-fat? This is the most common reason. Lite coconut milk simply won’t work.
- Was it cold enough? Ensure the can was refrigerated for at least 18-24 hours. Warm coconut fat won’t solidify or whip.
- Brand inconsistency: As mentioned, some brands are better than others. Try a different brand next time.
- It’s too watery.
- You might have accidentally scooped some coconut water along with the cream. Be very careful during separation.
- It wasn’t chilled enough, or the room temperature was too warm, causing it to melt quickly.
- It’s too firm or grainy.
- This can happen if it’s been chilled for too long or if the coconut cream is naturally very firm. A quick re-whip should smooth it out.
- Some brands can have a slightly grainy texture; this is often a brand-specific issue.
- The coconut flavor is too strong.
- Increase the amount of vanilla extract or try adding other flavorings like almond extract, a pinch of cinnamon, or cocoa powder for a chocolate variation.
- A squeeze of lemon or lime zest can also cut through the richness and add brightness.
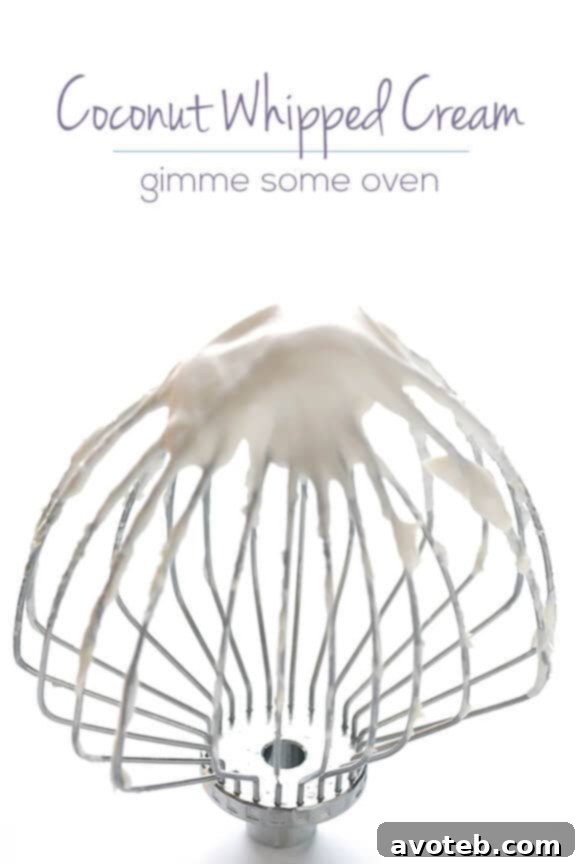
Coconut Whipped Cream
Prep Time: 5 minutes
Total Time: 5 minutes
Yield: About 1.5 cups 1x
Description
Learn how to make coconut whipped cream with this simple tutorial.
Ingredients
Scale
- 1 (14 ounce) can full-fat coconut milk, refrigerated for 24 hours
- 1–3 tablespoons powdered sugar (add to taste, also see other sweetener options below)
- 1 teaspoon vanilla extract, store-bought or homemade
Instructions
- First, place your mixing bowl and beater in the freezer for 5-10 minutes to chill.
- When you are ready to make the coconut whipped cream, remove the mixing bowl from the freezer. Then carefully remove the can of coconut milk from the refrigerator without shaking or tipping it. Remove the top of the can, then use a spoon to carefully spoon out the thick layer of coconut cream that should have separated to the top of the can, and transfer it to your chilled mixing bowl. (You will not use the layer of coconut water that has settled to the bottom of the can.)
- Using a whisk attachment, beat the coconut cream on medium speed for 2-4 minutes, or until the cream becomes light and fluffy and small peaks form. Add in your sugar (or other sweetener) and vanilla extract, and beat until incorporated.
- Serve the coconut whipped cream immediately, or transfer to a sealed container and refrigerate until ready to use. If the whipped cream becomes too firm in the refrigerator, you can re-whip it to reach the desired consistency.
- *The level of sweetness in this recipe is totally up to you, and different brands of coconut milk have varying levels of sweetness, so I recommend adding sweetener to taste. I prefer to use powdered sugar, but you can also use granulated sugar, honey, agave or other sweeteners. The texture of different sweeteners may affect the consistency of the coconut whipped cream.
Notes
Different brands of coconut milk perform differently in this recipe. And even different cans of the SAME brand of coconut milk have been known to perform differently. I wish things were more reliable, but brands have changed their recipes over the years, and batches are not always consistent. So just keep in mind that worked once may not always work again.
Final Thoughts: Embrace the Versatility of Coconut Whipped Cream
Making homemade coconut whipped cream might seem like a small culinary feat, but it opens up a world of possibilities for inclusive and delicious desserts. It’s a testament to how simple ingredients can be transformed into something truly special, catering to a wide array of dietary needs without sacrificing flavor or texture. Once you master this technique, you’ll find yourself reaching for that can of full-fat coconut milk again and again, eager to add a touch of creamy, dairy-free magic to your favorite treats.
Whether you’re a seasoned vegan chef or simply looking for a healthier, allergen-friendly alternative, this tutorial provides all the insights you need to succeed. Don’t be discouraged by potential brand inconsistencies; view it as an opportunity to discover your go-to coconut product. Experiment with different sweeteners and flavorings to tailor it to your exact preferences, and most importantly, have fun with it!
I hope this comprehensive guide inspires you to try your hand at making this wonderful topping. Share your tips, favorite brands, or creative serving ideas in the comments below. Cheers to making desserts and dishes that all of our friends and family can genuinely enjoy!