
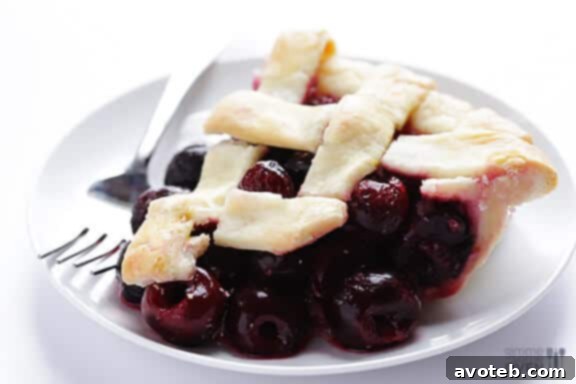
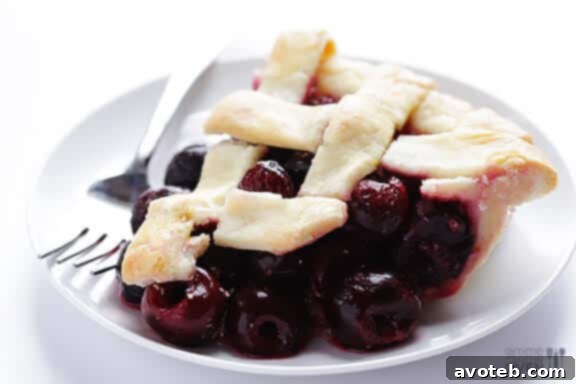
The Ultimate Homemade Sweet Cherry Pie Recipe
There’s something undeniably nostalgic and comforting about a classic cherry pie. It evokes memories of warm summer days, family gatherings, and the simple joy of a truly delicious homemade dessert. While many wonderful pies exist, cherry pie often holds a special place in our hearts – and on our dessert tables. This comprehensive guide will show you how to bake a magnificent sweet cherry pie from scratch, featuring a vibrant fresh cherry filling that will captivate your senses and leave everyone asking for more.
The journey to crafting the perfect cherry pie often begins with a choice: which fruit will grace your pastry? While blueberry pie is a strong contender for summer fruit desserts, and undoubtedly delicious in its own right, the allure of a perfectly ripe cherry often wins out. On a recent trip to the market, I initially planned to gather blueberries for a pie to demonstrate our popular Lattice Pie Crust tutorial. I had just made an incredible blueberry pie for a “pieathon” night with friends, and the temptation to recreate it was strong. However, destiny, in the form of an enormous bin of fresh, sweet Bing cherries on sale, intervened. It was an opportunity I couldn’t resist – a perfect chance to dive into the art of making a truly exceptional cherry pie.
Embracing the spontaneity of seasonal produce is one of the greatest pleasures of baking. And with a bounty of fresh Bing cherries, the decision was made. It was time to master the sweet cherry pie.
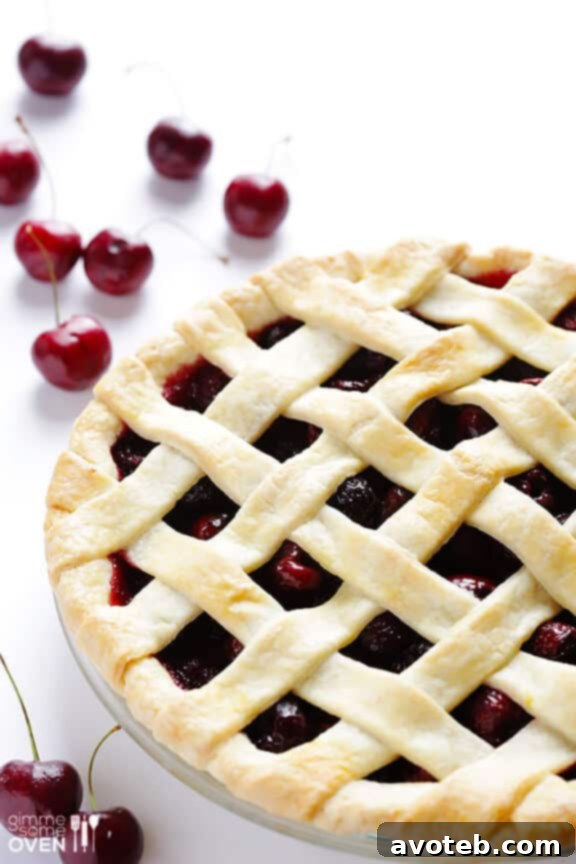
The Essential First Step: Pitting Cherries
One of the most labor-intensive, yet surprisingly satisfying, parts of making a fresh cherry pie is pitting the cherries. On the day I embarked on this cherry pie adventure, my summer intern, Rachel, was in the kitchen with me. Having never used a cherry pitter before, she eagerly volunteered for the monumental task of pitting what felt like a zillion cherries. What an invention a good cherry pitter is! Our trusty little pitter made quick work of the project, turning what could have been a tedious chore into an enjoyable rhythm. It certainly made us appreciate the generations of bakers who came before us, who meticulously pitted each cherry by hand, demonstrating true dedication to their craft.
Mastering the Pie Crust and Effortless Filling
After numerous pie-making sessions, my recipe for Homemade Pie Crust has become second nature. Achieving a perfectly flaky, golden crust is fundamental to any great pie, and with practice, it becomes surprisingly intuitive. However, Rachel and I were genuinely surprised to discover just how incredibly easy it was to prepare the cherry pie filling itself!
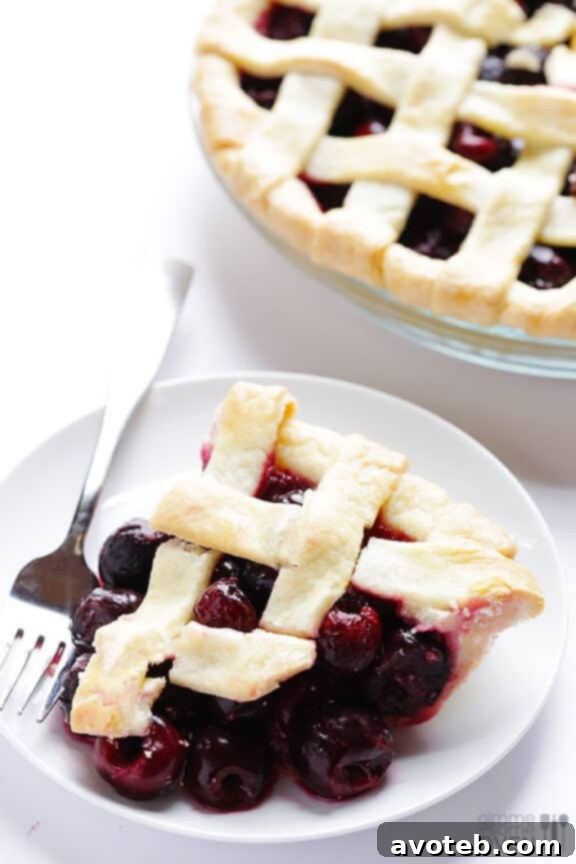
We opted for a method that involves simply tossing the fresh, pitted cherries with a dry mix of ingredients, rather than pre-cooking them on the stove. This approach, similar to my popular Peach Bourbon Pie recipe, preserves the fresh flavor and texture of the fruit beautifully. Once the cherries were pitted, it literally took only a minute or two to combine them with the sugar, lemon, extracts, and cornstarch. The vibrant mixture quickly came together, ready to be enveloped in a tender crust. We then carefully laced up the elegant lattice crust – a stunning detail that adds both beauty and function, allowing steam to escape and the filling to bubble enticingly. With the pie assembled, it was time to bake, transforming simple ingredients into a golden, bubbling masterpiece!
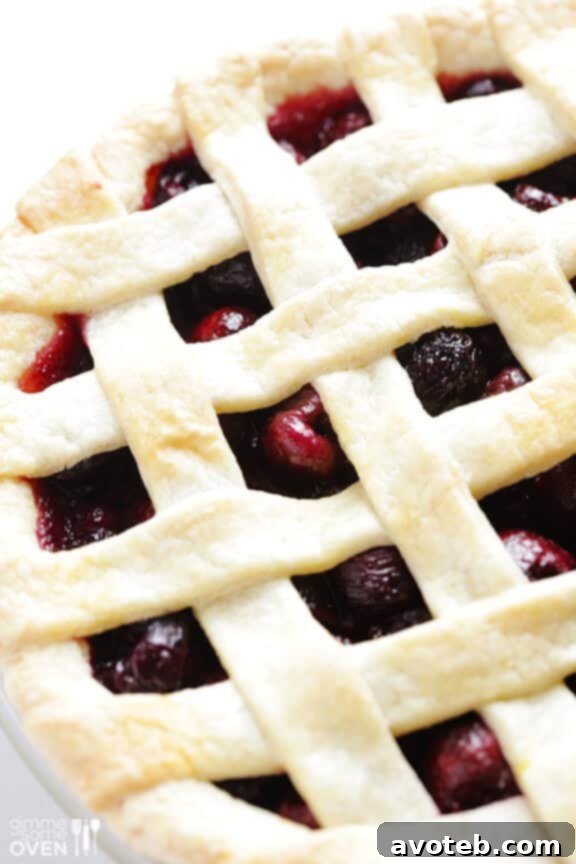
The Sweet Reward: A Perfectly Baked Pie
The anticipation as the pie bakes is almost as delightful as eating it. As the warm, sweet aroma of cherries and buttery crust fills your kitchen, you know you’re in for a treat. And the results did not disappoint. Both Rachel and I wholeheartedly agreed: that impulsive decision to buy fresh Bing cherries instead of blueberries was a brilliant stroke of luck. Homemade cherry pie is, without a doubt, one of life’s greatest simple pleasures!
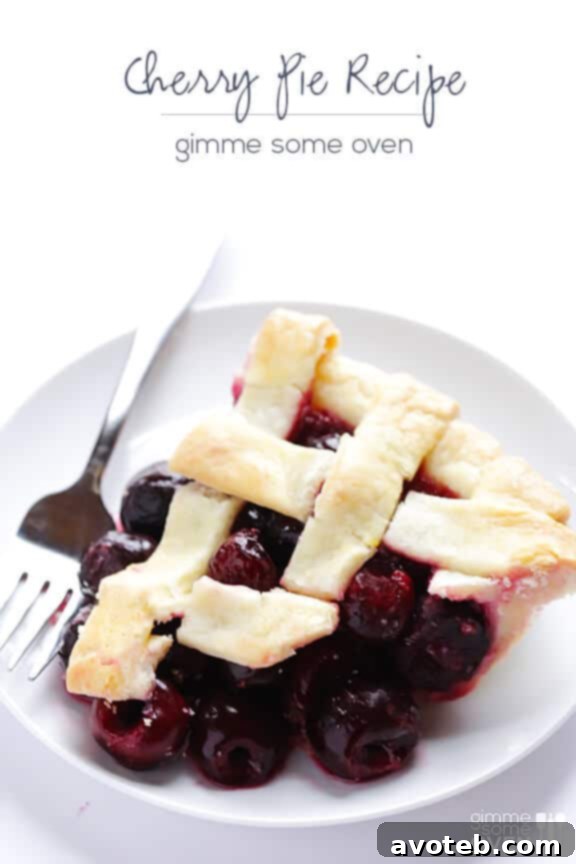
This sweet cherry pie recipe exceeded all expectations. I admit I had a slight reservation about using sweet Bing cherries instead of the more traditional tart cherries often found in canned fillings. Would it be overly sweet? Would the flavors balance? My concerns quickly vanished with the first slice. The pie was perfectly balanced, not at all cloyingly sweet, and the distinct freshness of the Bing cherries shone through beautifully. The hint of lemon zest and almond extract truly elevated the cherry flavor, creating a filling that was both rich and bright. It was, quite simply, the ideal dessert to celebrate the essence of summer.
I genuinely hope you find as much joy in baking and savoring this magnificent sweet cherry pie as we did. It’s a recipe that promises to become a beloved staple in your kitchen, bringing smiles and delicious memories with every single slice.
Cherry Pie
- Prep Time: 30 minutes
- Cook Time: 60 minutes
- Total Time: 90 minutes
- Yield: 12-16 slices (1 pie)
Description
A delicious cherry pie recipe made with a fresh sweet cherry pie filling, perfect for any occasion.
Ingredients
- 1 unbaked double pie crust recipe (enough for a top and bottom crust)
- 5 cups sweet cherries, pitted
- 1/2 cup granulated sugar
- 1 Tbsp. fresh lemon juice
- 1 tsp. fresh lemon zest
- 1/2 tsp almond extract
- 1/2 tsp vanilla extract
- 1/4 cup corn starch
- 1 Tbsp of unsalted butter, cut into tiny pieces
- 1 Tbsp. milk
- Granulated sugar for sprinkling (turbinado sugar recommended for extra crunch)
Instructions
- Preheat your oven to 425°F (220°C).
- In a large mixing bowl, combine the pitted cherries, sugar, lemon juice, lemon zest, almond extract, vanilla extract, and cornstarch. Toss gently until all the cherries are evenly coated.
- Roll out one half of your pie dough and carefully lay it into a 9-inch pie pan. Ensure it’s snugly fitted without stretching. (For detailed instructions on making and handling pie crust, see here.) Pour the prepared cherry filling evenly into the bottom pie crust. Dot the top of the filling with the small pieces of butter.
- Roll out the second half of your pie dough. You can either lay it directly on top of the filling, making a full double pie crust (remember to cut a few slits in the middle to allow steam to escape), or cut it into strips to create an elegant lattice pie crust. Seal the edges of the top and bottom crusts together, trimming any excess.
- For a golden finish, brush the top pie crust with milk and sprinkle generously with granulated sugar (turbinado sugar adds a lovely sparkle and crunch), if desired. Then, refrigerate the assembled pie for at least 30 minutes, or place it in the freezer for 10 minutes, before baking. This step helps the crust hold its shape and prevents shrinking.
- Place the pie on the middle rack of your preheated oven. To catch any potential drippings and keep your oven clean, place a baking sheet or a piece of aluminum foil on the rack directly below the pie. Bake for 15 minutes at 425°F (220°C). After 15 minutes, reduce the oven temperature to 350°F (175°C) and continue to bake for an additional 35-45 minutes, or until the pie crust is beautifully golden brown and the cherry filling is visibly thick and bubbly. If the crust begins to brown too quickly, you can loosely cover the edges with aluminum foil.
- Once baked, remove the pie from the oven and place it on a wire rack to cool completely. This crucial step allows the filling to set properly, ensuring clean slices. Resist the temptation to cut into it too soon!
Tips for Cherry Pie Perfection
Creating a truly memorable cherry pie goes beyond just following a recipe; it involves understanding a few key principles that ensure success every time. Here are some additional tips to help you achieve cherry pie perfection:
- Choose Your Cherries Wisely: While this recipe uses sweet Bing cherries for a delightful, less tart flavor, you can absolutely use sour (tart) cherries if you prefer that classic tang. If using sour cherries, you might want to increase the sugar content slightly, typically by another 1/4 to 1/2 cup, depending on your sweetness preference and the tartness of the fruit. Frozen cherries can also be used; simply thaw them completely and drain any excess liquid before tossing with the filling ingredients to prevent a watery pie.
- The Role of Cornstarch: Cornstarch is your friend for achieving a perfectly thick, sliceable filling. Don’t be tempted to skimp on it. It ensures that your pie filling isn’t runny, giving you those beautiful, clean slices. Some bakers also use tapioca starch or flour, but cornstarch tends to give a clearer, glossy finish.
- Preventing a Soggy Bottom: A soggy bottom crust is the bane of any pie baker’s existence. To combat this, ensure your pie crust is well-chilled before baking. The initial high temperature bake helps to set the bottom crust quickly. You can also sprinkle a thin layer of breadcrumbs or crushed cornflakes on the bottom crust before adding the filling, which acts as a barrier absorbing excess moisture.
- Achieving a Golden Crust: Brushing the top crust with milk or an egg wash (one egg yolk whisked with a tablespoon of water) before baking helps it brown beautifully. A sprinkle of turbinado sugar not only adds sweetness but also a lovely sparkle and satisfying crunch.
- Cooling is Crucial: Patience is truly a virtue when it comes to pie. Cooling the pie completely, often for several hours, allows the filling to fully set. Cutting into a warm pie can result in a delicious but messy, runny filling. The waiting is the hardest part, but it’s essential for the structural integrity of your pie.
Serving Suggestions for Your Homemade Masterpiece
A slice of homemade cherry pie is a joy in itself, but a few simple additions can elevate the experience even further:
- À la Mode: The classic pairing! A scoop of high-quality vanilla bean ice cream melting gently over a warm slice of pie is pure bliss. The cold creaminess provides a wonderful contrast to the warm, fruity filling.
- Whipped Cream: A dollop of freshly whipped cream, lightly sweetened, adds a luxurious lightness and subtle sweetness that complements the cherries beautifully.
- Aromatic Herbs: For an unexpected gourmet touch, consider a small sprig of fresh mint or a dusting of finely chopped basil on top of your serving. These herbs can add a surprising freshness that enhances the fruit flavor.
- Morning Delight: Don’t limit cherry pie to dessert! A slice of cold cherry pie with your morning coffee or tea is a truly indulgent way to start your day.
The satisfaction of baking a pie from scratch, especially one as timeless and beloved as cherry pie, is immense. From the vibrant color of fresh cherries to the flaky, buttery crust, every element contributes to a sensory experience that is both comforting and exhilarating. This recipe, designed to be straightforward and rewarding, invites you to embrace the simple pleasures of homemade baking. Enjoy the process, savor the aromas, and delight in sharing this wonderful sweet cherry pie with those you love. Happy baking!
Disclaimer: This post contains affiliate links.