
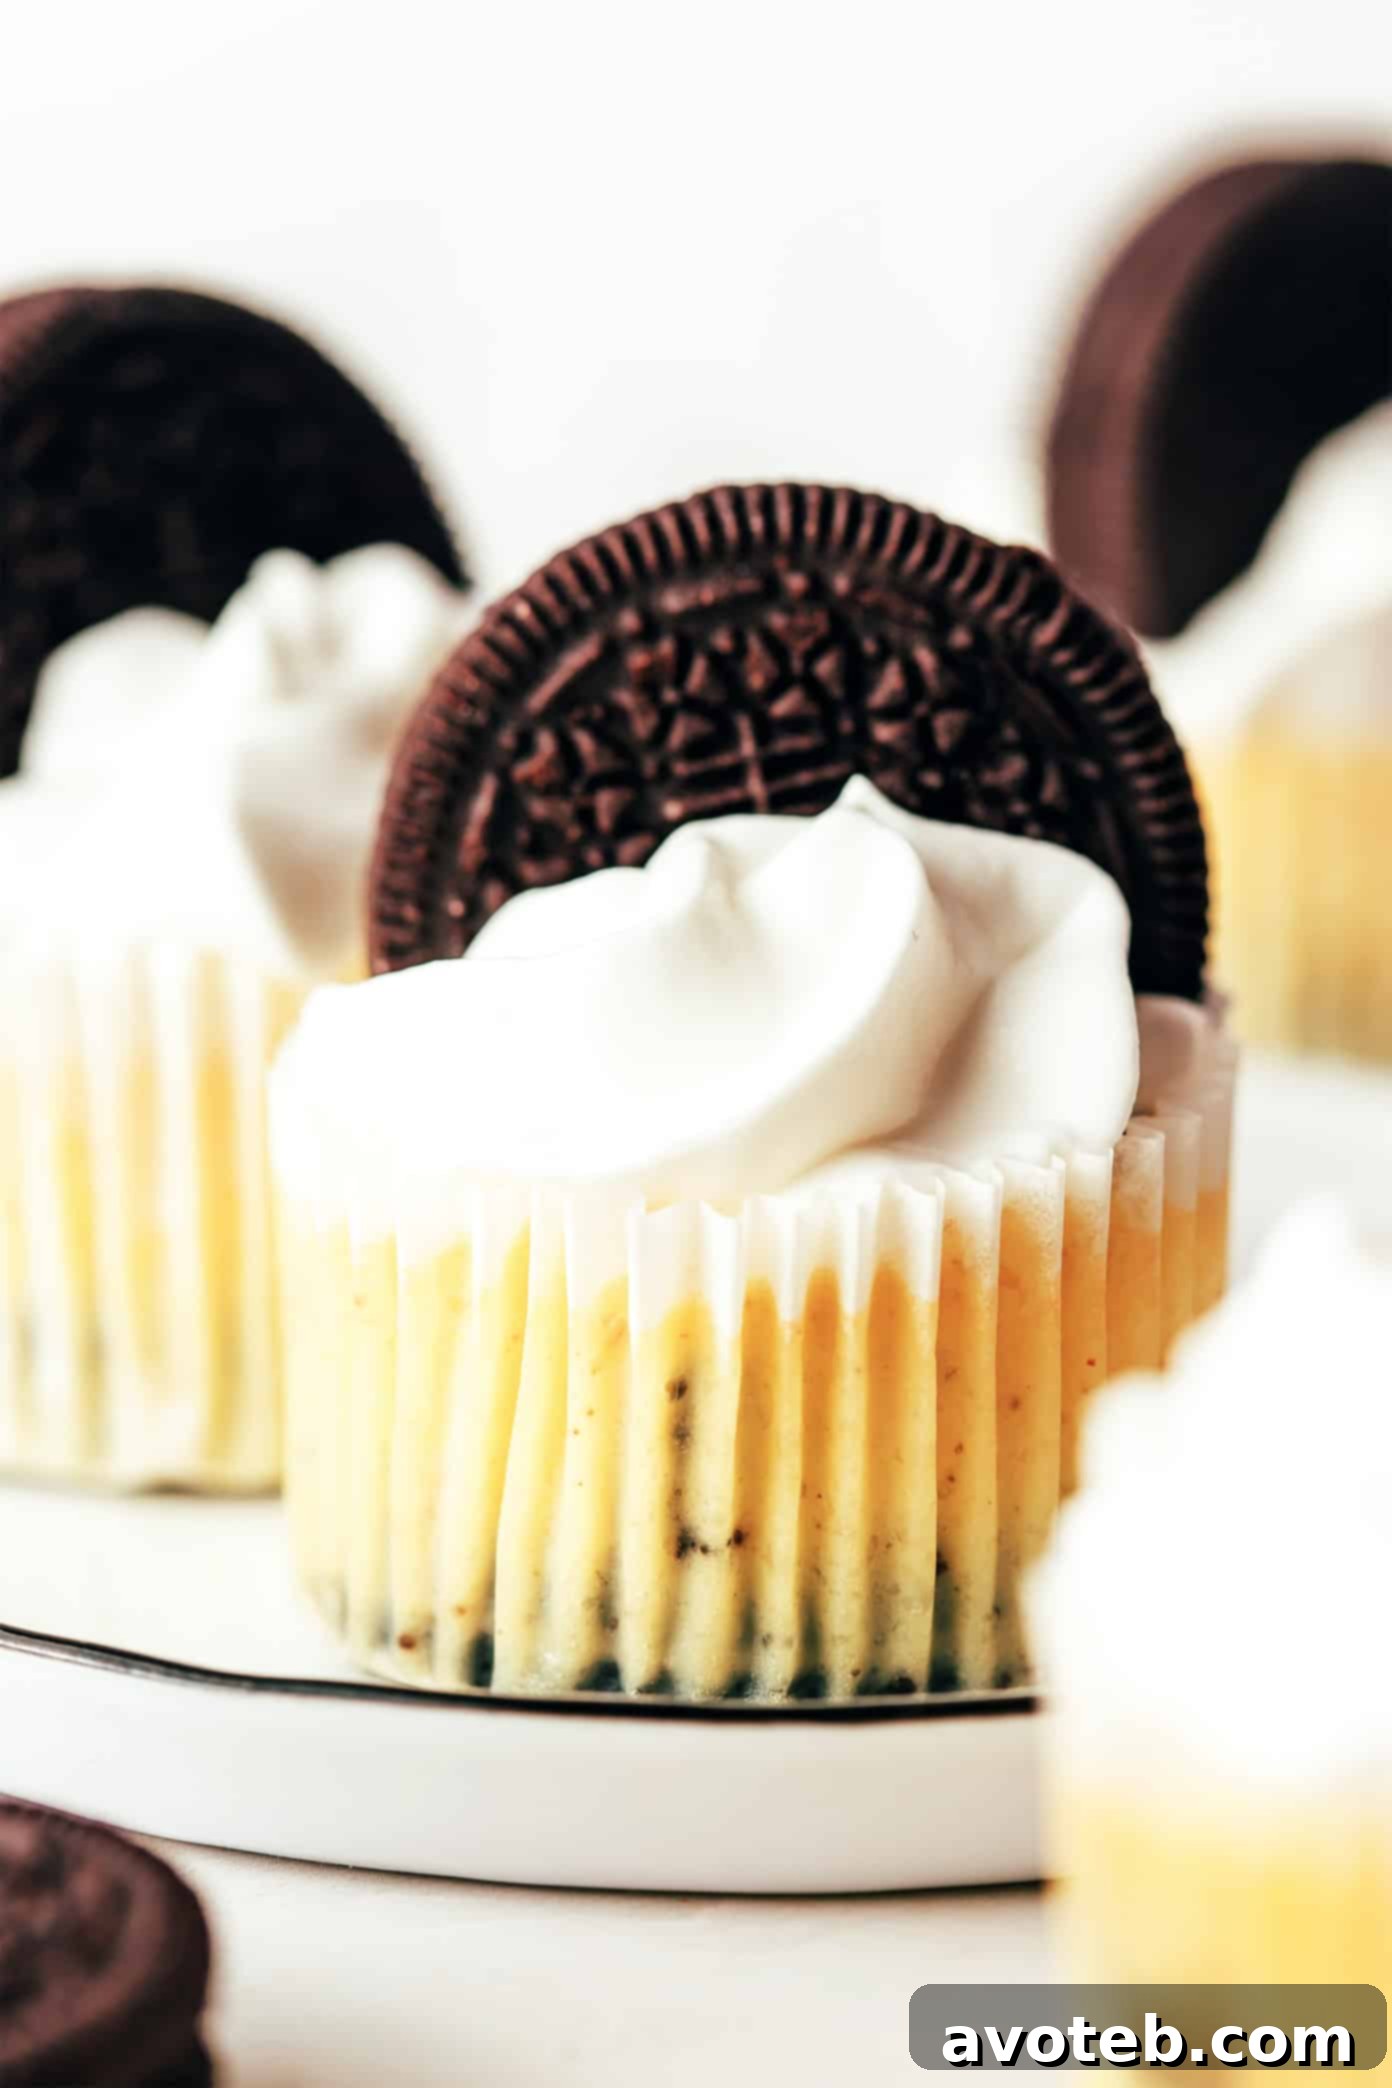
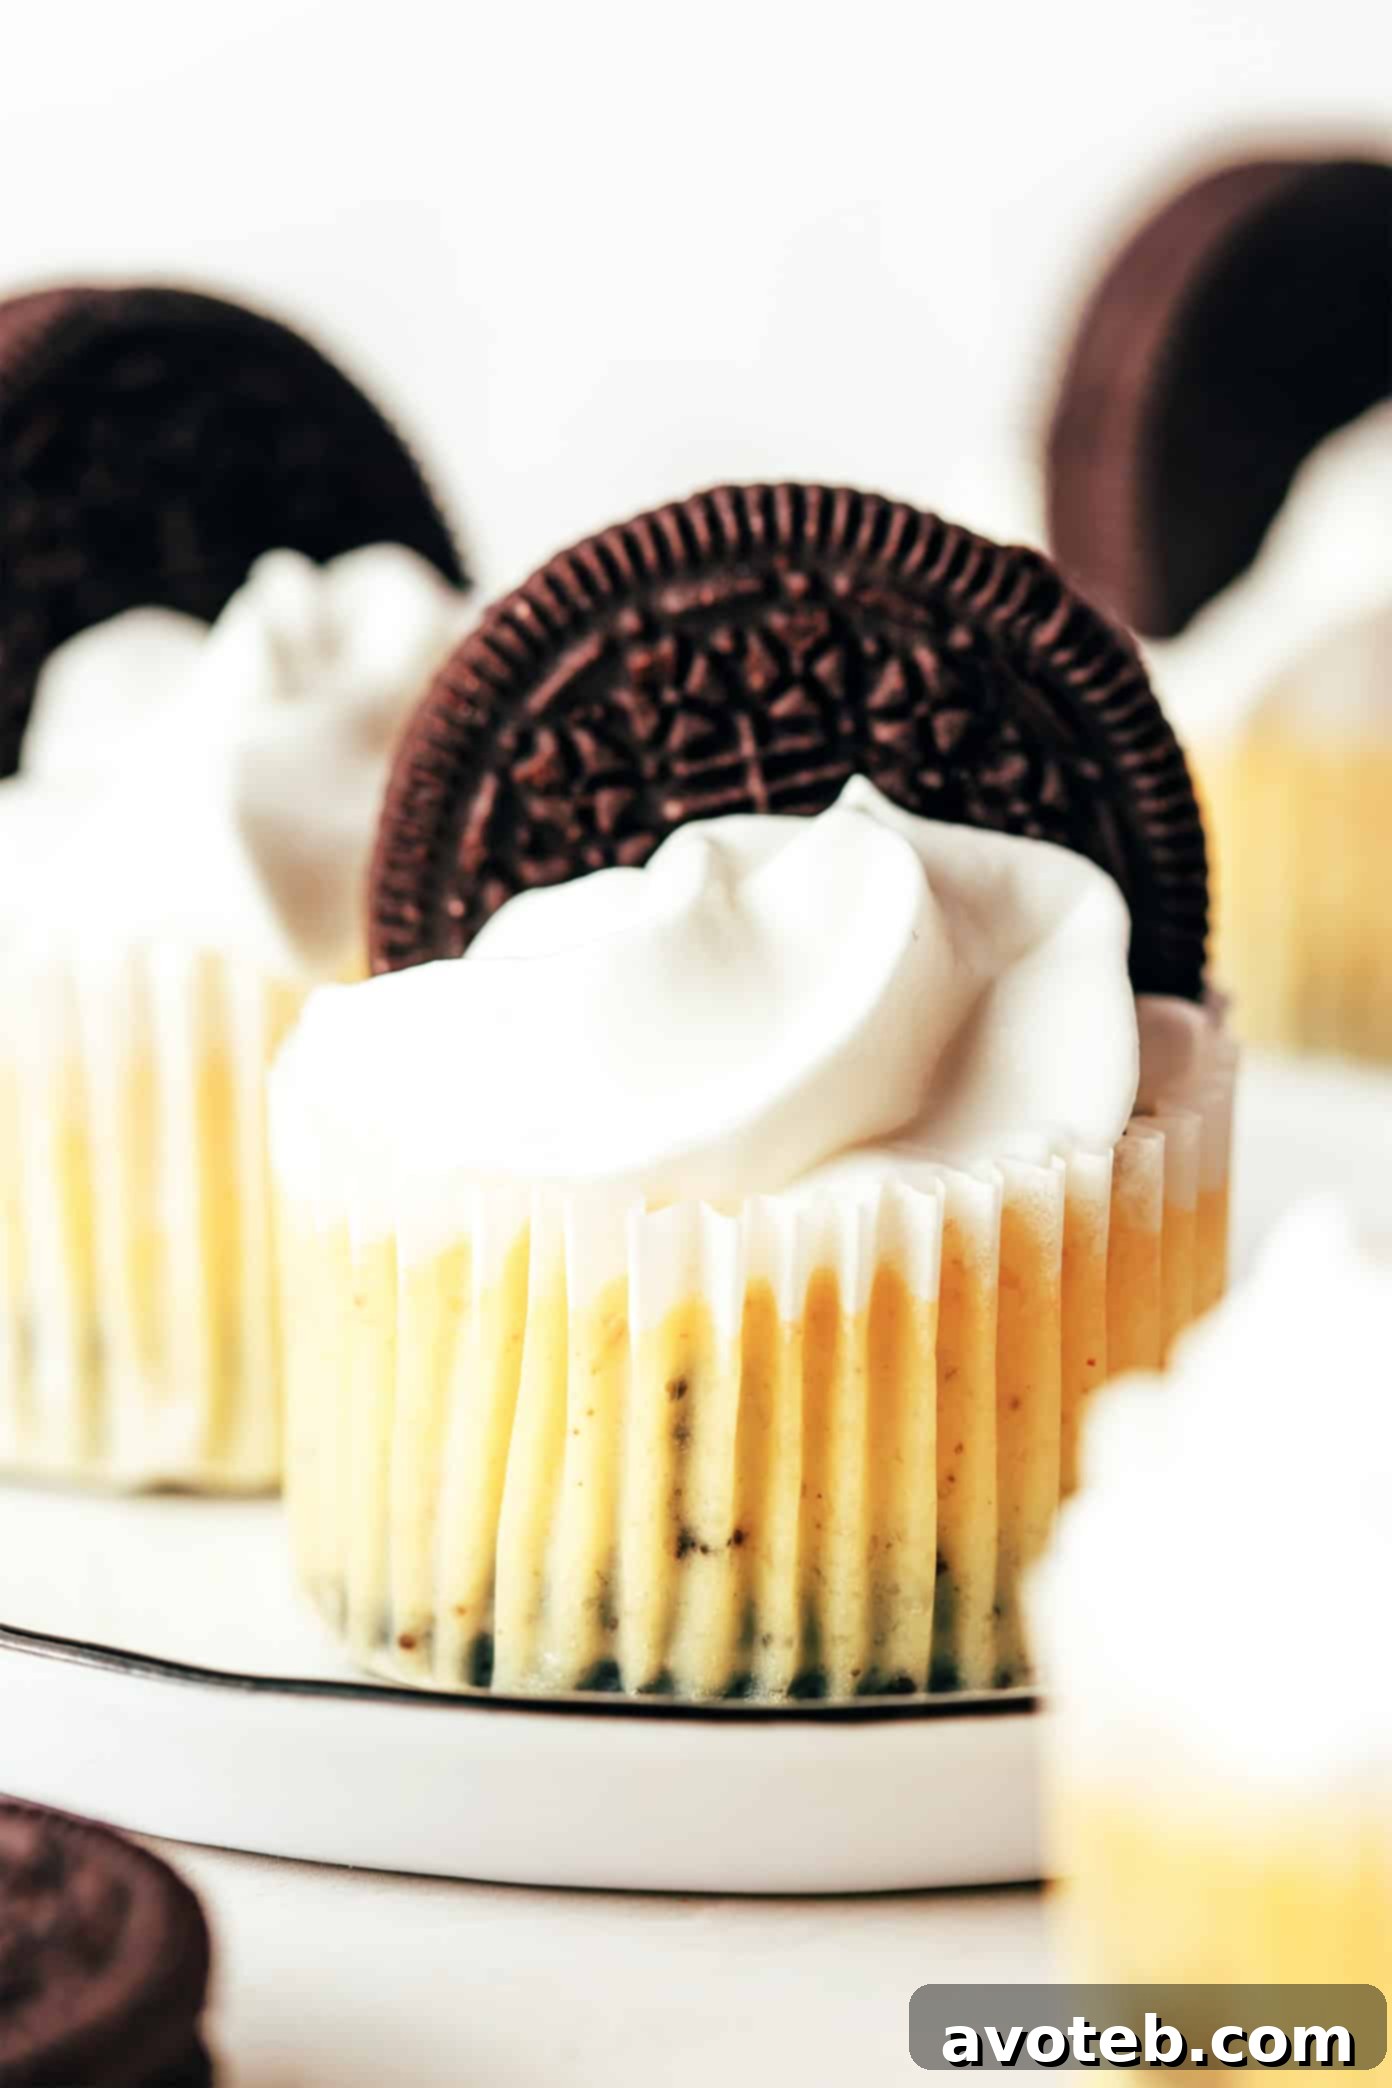
Discover the ultimate easy dessert: Mini Oreo Cheesecakes, featuring a delightful cookies and cream blend and a whole Oreo cookie as the perfect, no-fuss crust.
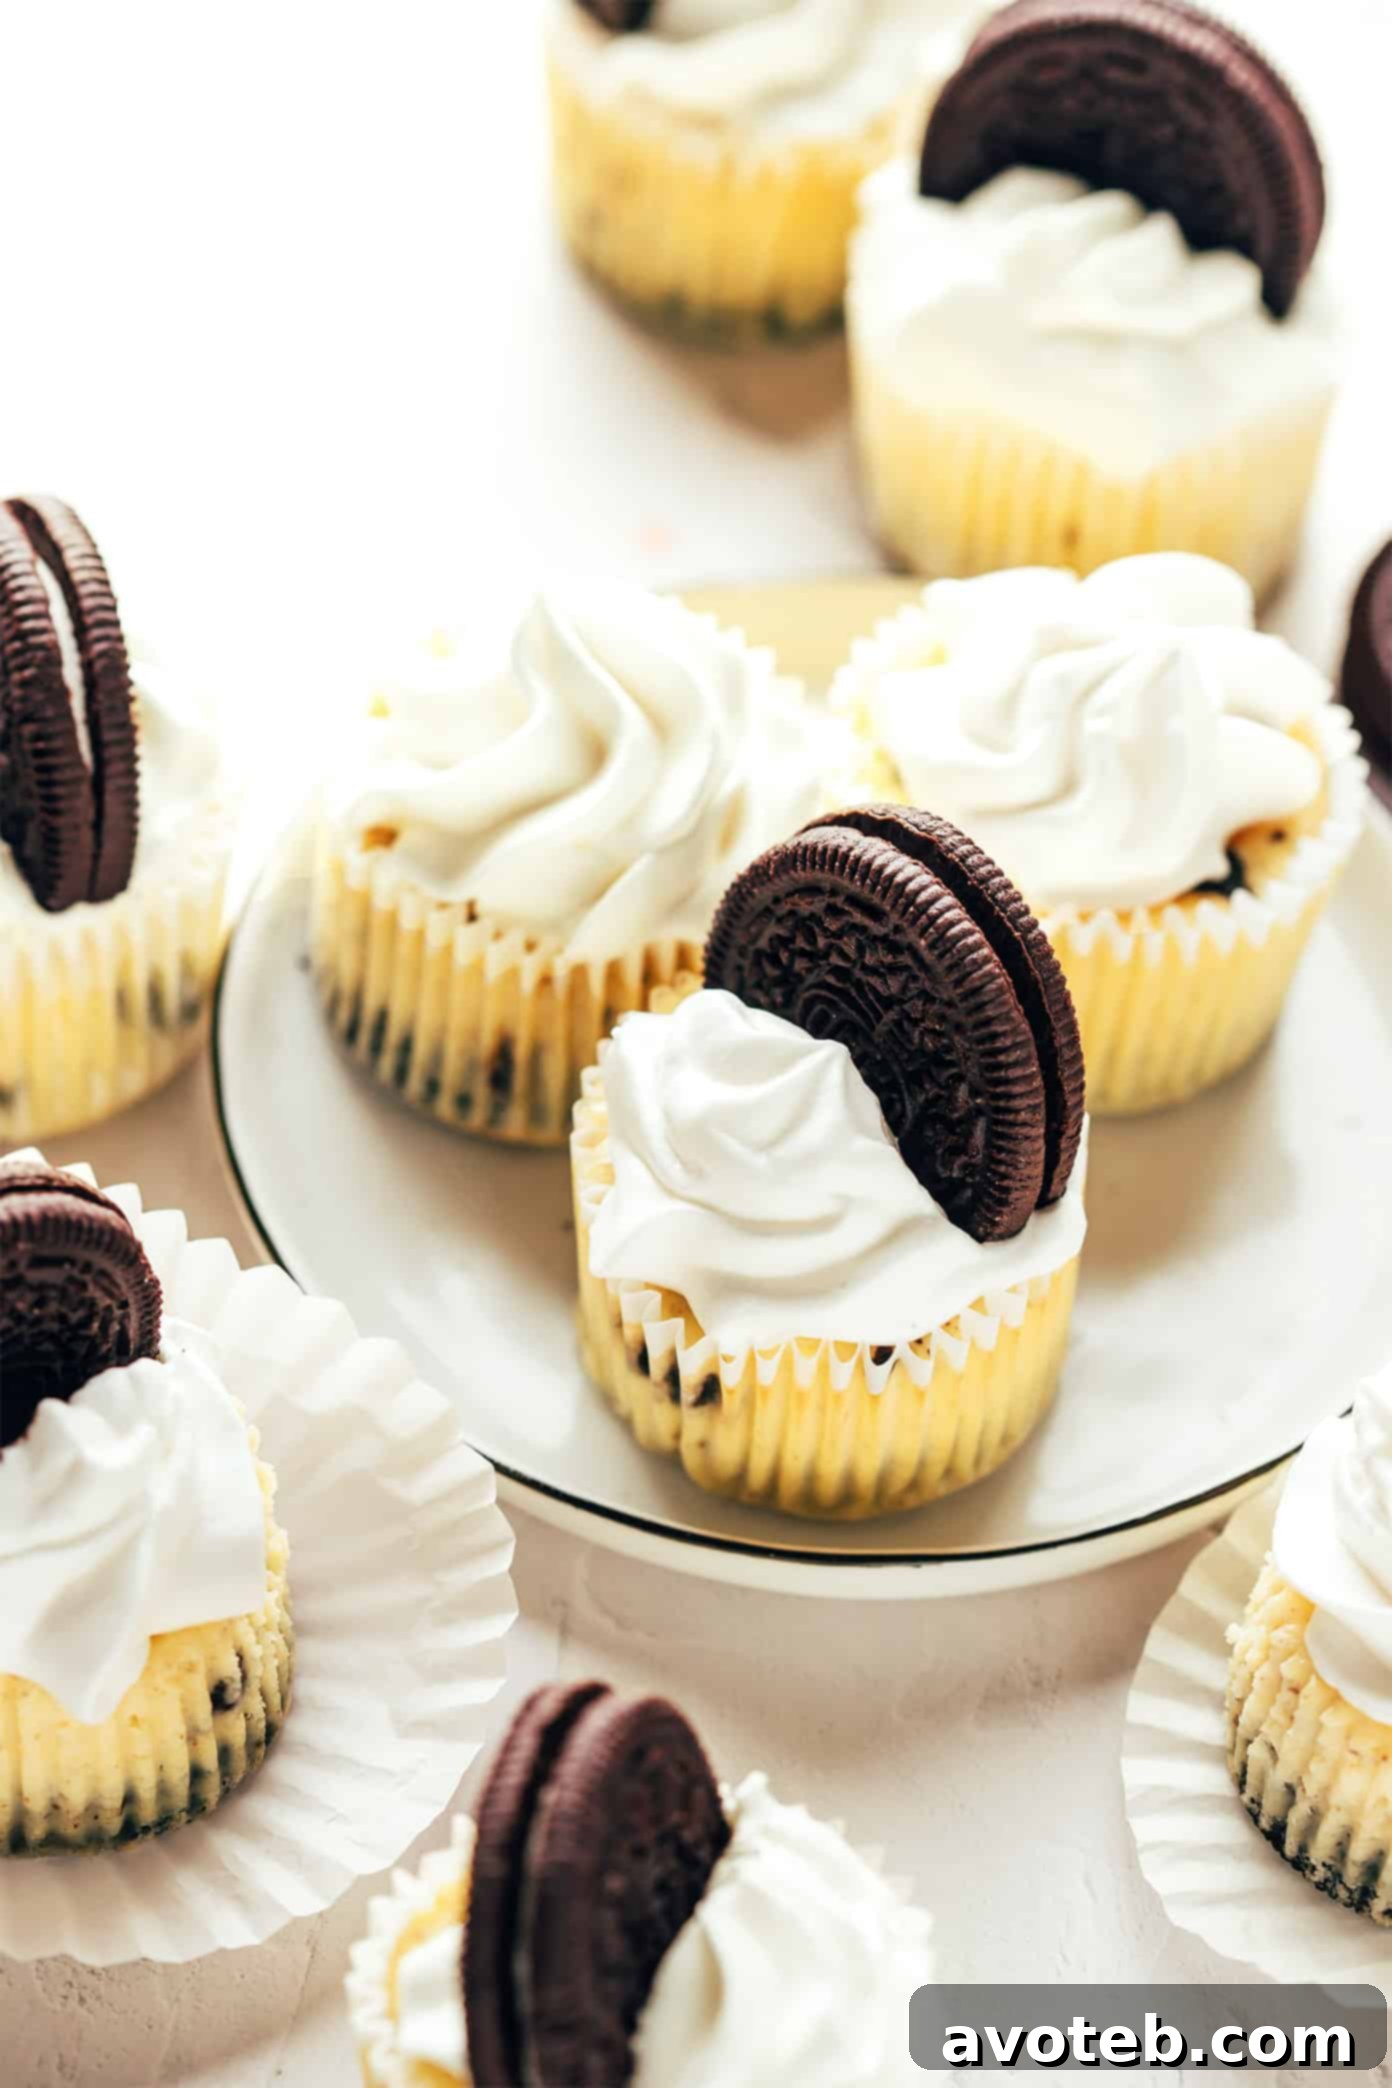
Irresistible Mini Oreo Cheesecakes: Your Go-To Easy Dessert
For over a decade, these delightful mini Oreo cheesecakes have been my secret weapon for any gathering or when a sudden sweet craving strikes. When it comes to cheesecake recipes, it simply doesn’t get any easier, cuter, or more delicious than this. Prepare to fall in love with a dessert that’s as simple to make as it is heavenly to taste. They truly embody the perfect balance of rich, creamy cheesecake and the beloved crunch of classic Oreo cookies, all in a convenient, individual serving size.
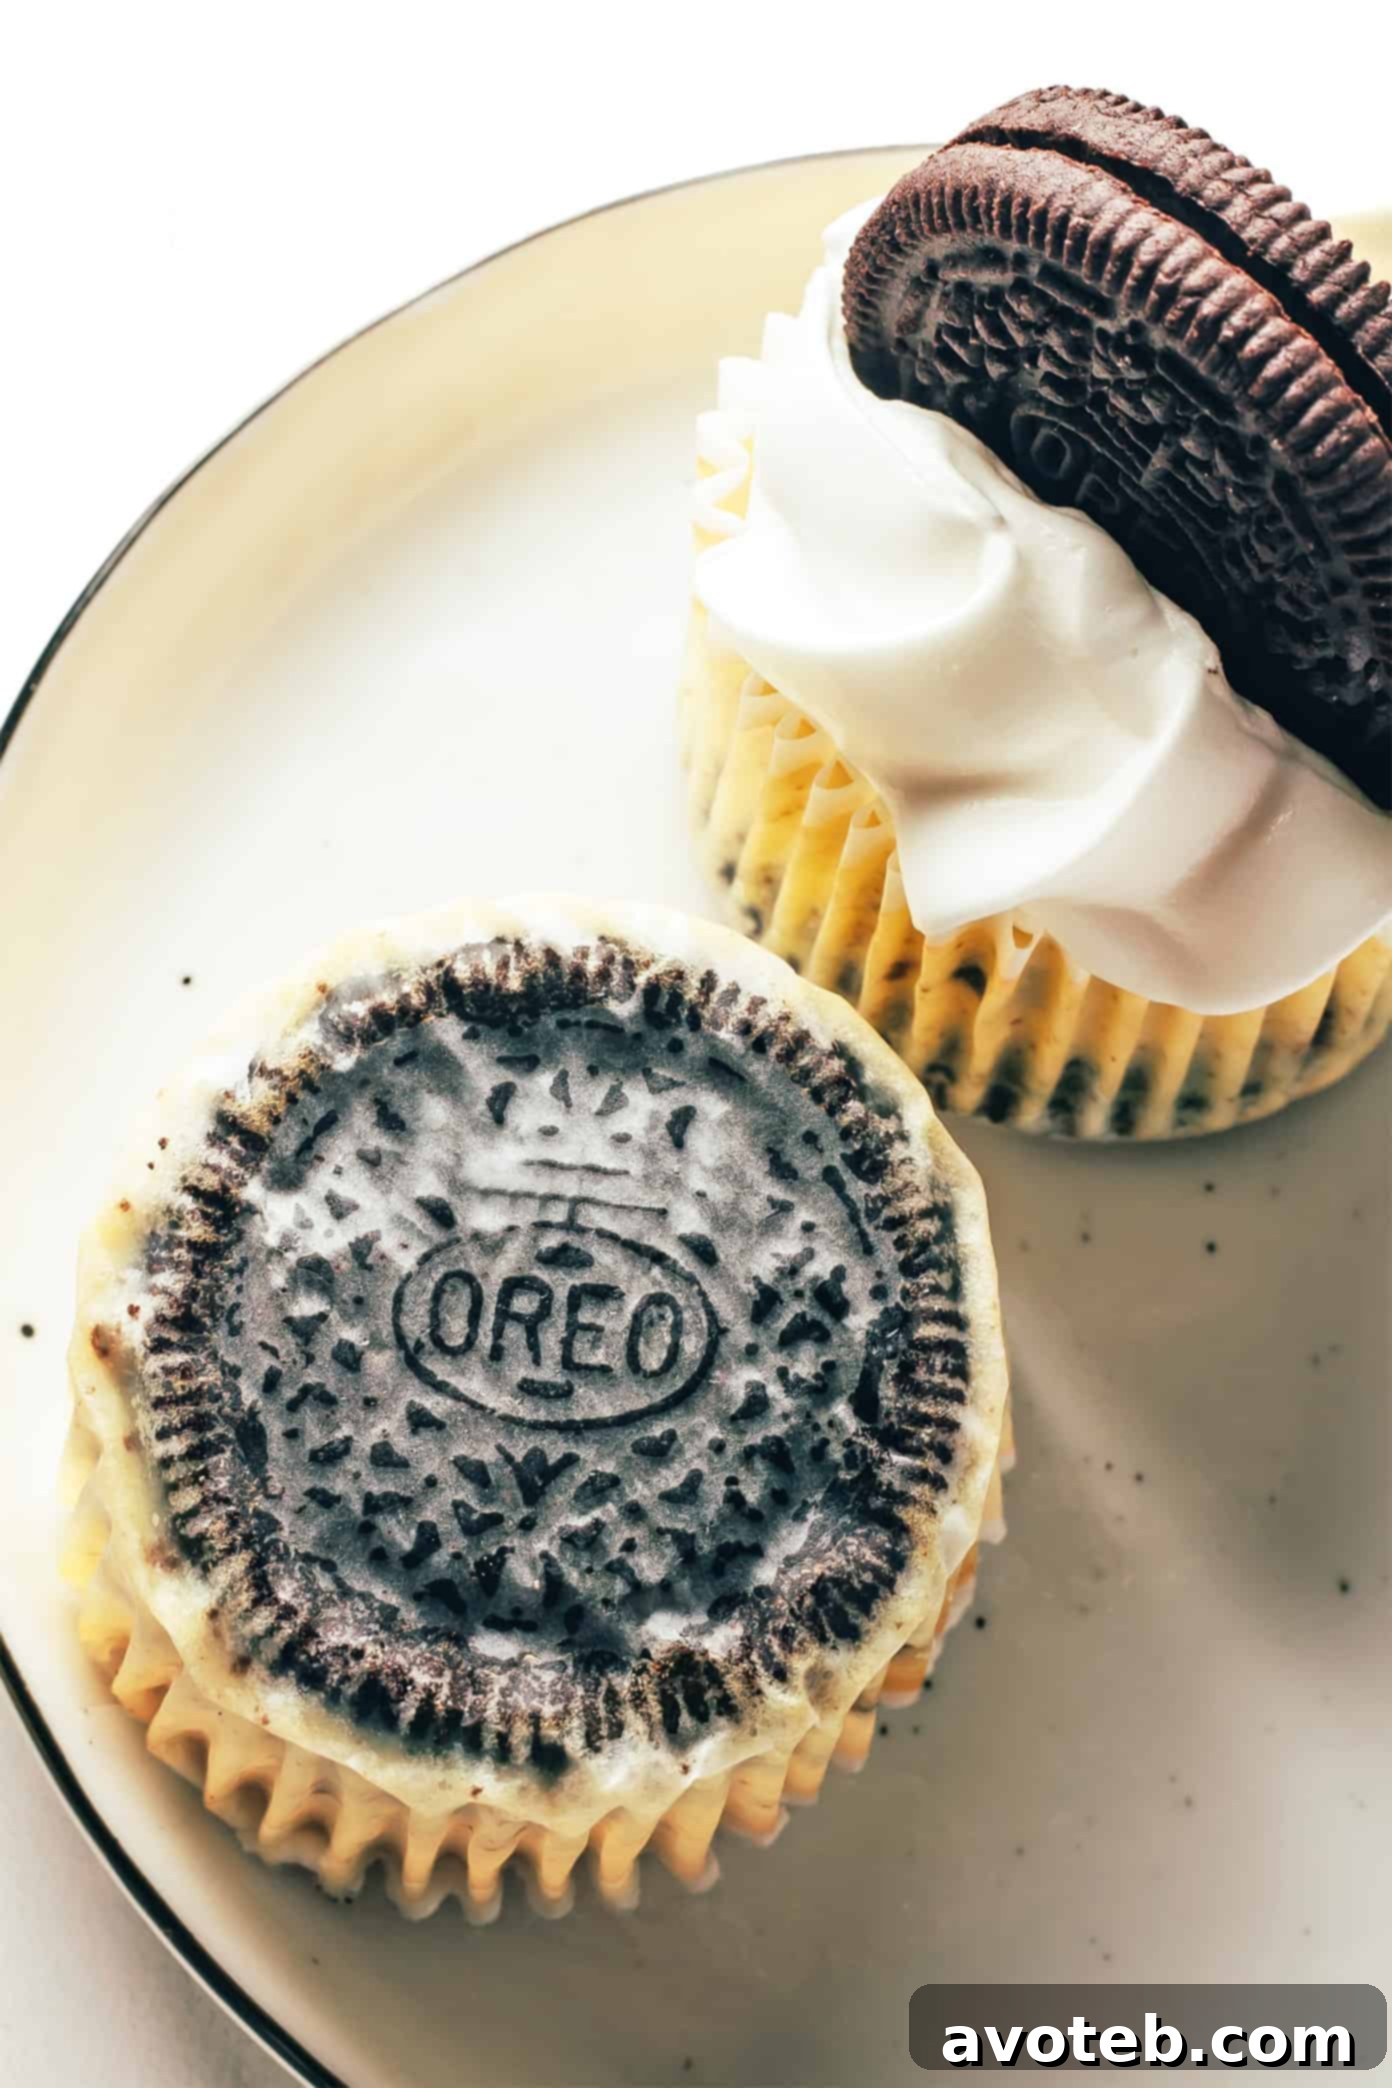
My absolute favorite feature of this mini cheesecake recipe is the ingenious crust solution. Forget the tedious crumbling, mixing, and pressing of traditional crusts. With this recipe, you simply place a whole Oreo cookie at the bottom of each baking cup, and you’re all set! It’s a game-changer that shaves precious time off your baking process without compromising on flavor or texture. The vanilla cheesecake batter itself is incredibly quick and easy to whip up, requiring just five basic ingredients you likely already have on hand.
After a mere 15 to 17 minutes in the oven, these charming treats emerge perfectly baked. A brief cooling period, followed by a chill in the refrigerator, transforms them into a firm, creamy delight. To complete this masterpiece, simply top them with a dollop of fresh whipped cream and an extra Oreo for garnish. The result is a fun, simple, and incredibly delicious make-ahead dessert that’s guaranteed to be a hit!
These mini Oreo cheesecakes are the ultimate make-ahead dessert for virtually any occasion. Whether you’re hosting an elegant dinner party, cheering on your favorite team on game day, or simply indulging your sweet tooth on a quiet evening, they fit the bill perfectly. While I personally adore making this recipe with classic Oreo cookies for that timeless cookies and cream flavor, don’t hesitate to unleash your creativity and experiment with your favorite Oreo flavors. The possibilities are endless, and the results are always spectacular.
Let’s dive into creating these sensational Oreo cheesecakes and bring some sweet joy to your kitchen!
Why Mini Oreo Cheesecakes Are a Must-Try
Beyond their undeniable deliciousness, these mini cheesecakes offer a host of benefits that make them a standout dessert choice:
- Effortless Elegance: Each mini cheesecake is a perfectly portioned treat, offering an elegant presentation without any complicated slicing or serving. They look impressive with minimal effort.
- Simplified Crust: The whole Oreo cookie crust is a revolutionary time-saver. It provides a stable, flavorful base with zero prep work, making this recipe incredibly beginner-friendly.
- Make-Ahead Marvel: These cheesecakes are ideal for preparing in advance. Their flavors deepen and textures set beautifully with refrigeration, making them perfect for busy hosts.
- Customizable Fun: The recipe is a fantastic canvas for customization. From different Oreo flavors to various toppings, you can tailor them to any palate or theme.
- Portion Control: Their individual size makes portion control easy, whether you’re serving a crowd or just enjoying a single treat.
Key Ingredients for Your Oreo Cheesecake Masterpiece
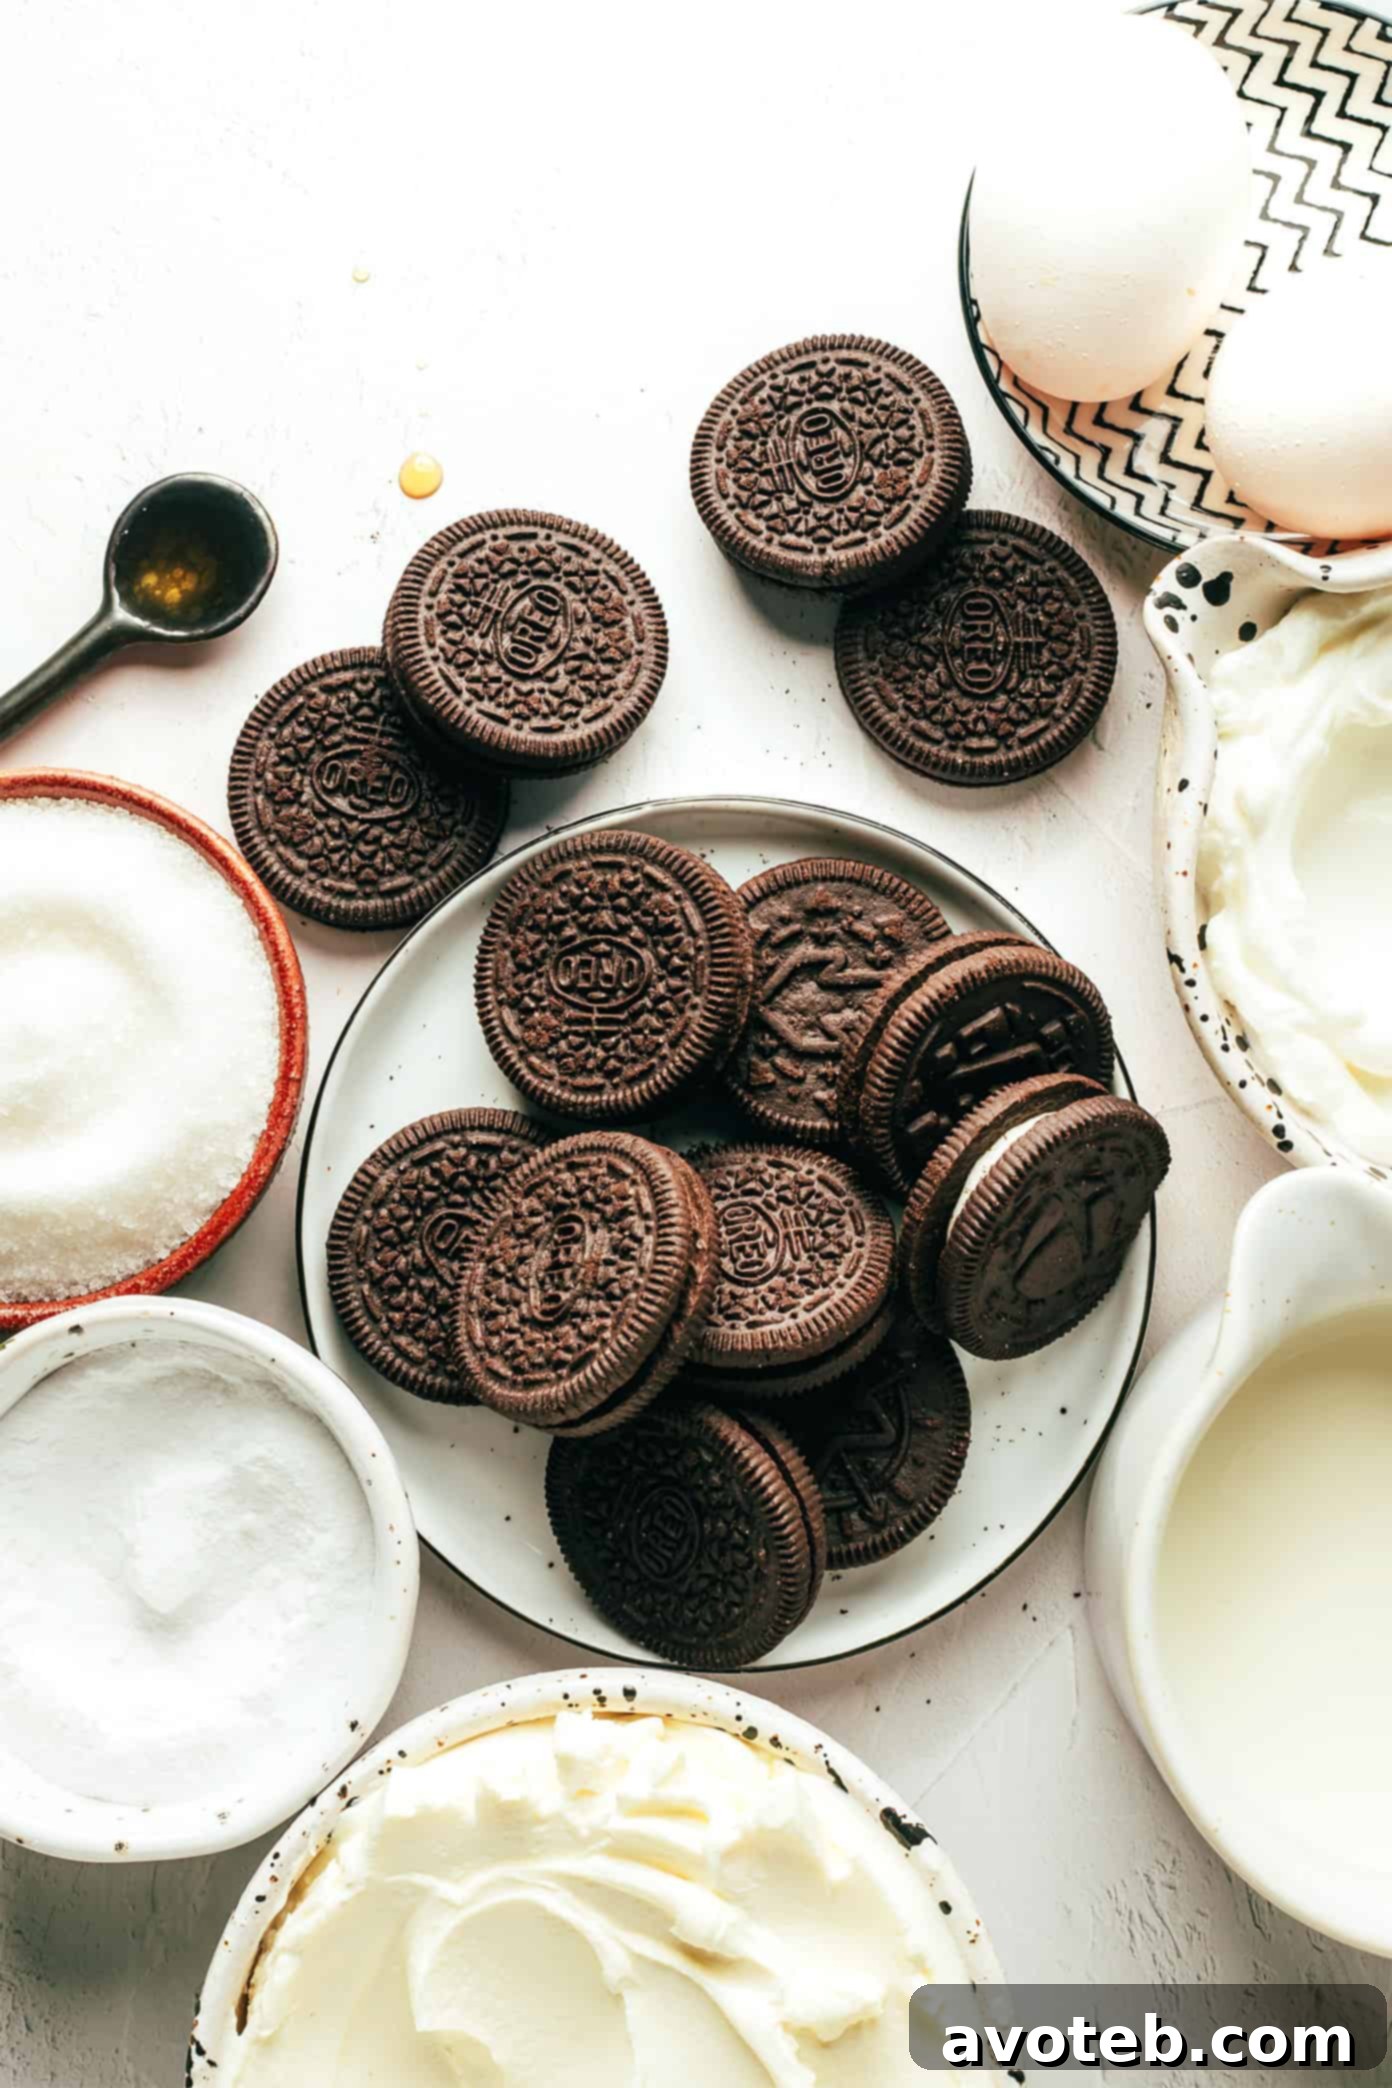
Crafting these delectable mini Oreo cheesecakes requires a few simple ingredients, each playing a crucial role in achieving that perfect cookies and cream flavor and creamy texture. Here are some detailed notes about the ingredients you’ll need:
- Oreo Cookies: The star of the show! While I typically reach for basic Oreos to create a classic cookies and cream profile, feel absolutely free to explore different Oreo flavors and fillings. Imagine the possibilities with mint, peanut butter, or even golden Oreos! Just ensure you pick a variety with the standard cookie-to-cream ratio, as excessively thin or thick-stuffed versions might not form the ideal base.
- Cream Cheese: The heart of any cheesecake. This recipe works beautifully with either traditional full-fat cream cheese or its low-fat counterpart. The most vital tip here is to ensure your cream cheese is at room temperature before mixing. This allows it to blend smoothly with the other ingredients, preventing lumps and ensuring a consistently creamy batter.
- Granulated Sugar: Providing the perfect touch of sweetness to balance the richness of the cream cheese. Basic white granulated sugar is all you need here to achieve that classic cheesecake flavor.
- Sour Cream (or Plain Greek Yogurt): I particularly love how sour cream introduces a subtle, delightful tang that cuts through the sweetness and adds an incredible velvety texture to the cheesecake. If you’re looking for a slightly healthier alternative or prefer a different flavor profile, plain Greek yogurt makes an excellent substitute, offering similar moisture and tang. Remember to bring this to room temperature too!
- Vanilla Extract: A splash of high-quality vanilla extract is indispensable. It enhances all the other flavors in the cheesecake batter, adding depth and a comforting aroma that truly elevates the dessert.
- Eggs: Eggs are crucial for the structure and richness of your cheesecake. They act as a binder, holding all the ingredients together, and contribute significantly to that smooth, luxurious texture characteristic of a well-made cheesecake. Just like the cream cheese and sour cream, ensure your eggs are at room temperature for optimal blending.
- Whipped Cream (Optional, but highly recommended): For that final flourish, a cloud of whipped cream is perfect. You can easily make your own by beating chilled heavy cream and powdered sugar until stiff peaks form. The homemade version is wonderfully fresh and light. However, if convenience is key, feel free to use store-bought pre-made whipped cream.
Expert Tips for Flawless Mini Oreo Cheesecakes
While the full, detailed instructions for crafting these delectable mini cheesecakes are laid out in the recipe card below, keeping a few key tips in mind will ensure your baking experience is smooth and your cheesecakes turn out absolutely perfect every time. These insights are designed to help you avoid common pitfalls and achieve professional-level results:
- Embrace Room Temperature Ingredients: This is arguably the most critical tip for any cheesecake recipe. Allowing refrigerated ingredients like cream cheese, sour cream, and eggs to reach room temperature before you begin mixing is essential. Cold ingredients don’t emulsify as well, leading to a lumpy batter and potentially an unevenly baked cheesecake. Room temperature ingredients blend seamlessly, creating a silky-smooth batter that bakes evenly and yields a wonderfully creamy texture. Plan ahead and take them out of the fridge at least 30-60 minutes before you start.
- Master the Art of Gentle Mixing: When combining your batter ingredients, the goal is simply to incorporate them until they are smooth and uniformly blended. Avoid the temptation to over-mix! Excessive beating introduces too much air into the batter, which can cause your cheesecakes to puff up excessively in the oven and then crack or sink as they cool. Mix only until just combined – a smooth consistency is key, not vigorous aeration.
- Forget the Toothpick Test for Cheesecakes: Unlike cakes or muffins, the traditional toothpick test isn’t reliable for determining cheesecake doneness. Mini cheesecakes are ready when their edges appear set and firm, but their centers still exhibit a slight, delicate jiggle when you gently shake the pan. This subtle movement indicates that they are cooked through but not overbaked. The residual heat and subsequent chilling process will continue to firm them up to perfection. Overbaking can lead to dry, cracked cheesecakes.
- Add Whipped Cream Just Before Serving: While homemade whipped cream is a fantastic topping, it’s best enjoyed fresh. Although it can hold up in the refrigerator for about 24 hours, for the most pristine presentation and texture, I highly recommend piping or spreading the whipped cream onto your mini cheesecakes just before you plan to serve them. This prevents the whipped cream from softening, melting, or weeping, ensuring it looks and tastes its absolute best. If using store-bought whipped cream from a can, it’s even more crucial to add it right before serving.
Get Creative: Delicious Recipe Variations for Your Oreo Cheesecakes
This mini Oreo cheesecake recipe is wonderfully versatile, offering a fantastic foundation for your culinary creativity. Don’t be afraid to put your own spin on it! Here are a few exciting ideas to customize this recipe and make it uniquely yours, catering to different tastes and occasions:
- Explore Different Oreo Flavors: The world of Oreos is vast and delicious! While classic Oreos provide a timeless cookies and cream experience, feel free to swap them out for any other flavor you adore. Imagine the possibilities with Mint Oreos for a refreshing twist, Peanut Butter Oreos for a nutty delight, Birthday Cake Oreos for a celebratory treat, or even Golden Oreos for a vanilla-on-vanilla sensation. Just a word of caution: I recommend sticking to varieties with the classic cookie-to-cream ratio. Oreos with significantly more or less stuffing, such as Double-Stuf Oreos or Oreo Thins, might not form as stable or balanced a crust as the original.
- Experiment with Alternative Toppings: The whipped cream and whole Oreo garnish are delightful, but there are countless ways to elevate your cheesecakes with different toppings. Instead of a whole Oreo, try crushing extra Oreos and sprinkling them over the whipped cream for a textural contrast. Consider a drizzle of rich chocolate ganache, luscious caramel sauce, or a vibrant berry compote. A dusting of cocoa powder, a sprinkle of mini chocolate chips, or colorful sprinkles can also add visual appeal and extra flavor. Don’t forget toasted nuts for a textural crunch!
- Infuse Chocolatey Goodness: For all the chocolate lovers out there, transform these vanilla cheesecakes into a deeper, richer chocolate experience. Simply add two tablespoons of unsweetened cocoa powder to your cheesecake batter. This will give the cheesecake a lovely light brown hue and a more pronounced chocolate flavor that perfectly complements the Oreo crust.
- Add a Hint of Coffee: If you appreciate the subtle bitterness and depth that coffee adds to chocolate and cream-based desserts, consider incorporating espresso powder into your batter. Adding just 1 teaspoon of instant espresso powder will imbue your cheesecakes with a sophisticated coffee undertone, enhancing the overall flavor without making them taste overtly like coffee. It’s a fantastic way to add complexity.
- Fruity Freshness: For a brighter, more vibrant flavor profile, consider folding in a small amount of lemon zest (about 1 teaspoon) into the batter. This adds a lovely citrusy note that can cut through the richness. Alternatively, after baking and chilling, top your cheesecakes with fresh berries like strawberries, raspberries, or blueberries for a burst of fresh flavor and color.
More Divine Cheesecake Recipes to Explore
If these mini Oreo cheesecakes have ignited your passion for cheesecake, you’re in for a treat! There’s a vast world of creamy, dreamy cheesecakes waiting to be discovered. Whether you prefer classic flavors, unique cultural twists, or decadent chocolate creations, there’s a cheesecake recipe for every palate and occasion. Here are a few of our absolute favorite cheesecake recipes that we highly recommend trying next:
- Basque Cheesecake: A burnt cheesecake with a caramelized top and incredibly creamy, custardy interior. It’s rustic, elegant, and surprisingly easy to make, offering a unique texture and flavor experience.
- Samoa Cheesecake: Inspired by the beloved Girl Scout cookie, this cheesecake features a coconut and caramel swirl, chocolate drizzle, and a crunchy cookie crust. It’s a decadent and tropical delight.
- Chocolate Almond Cheesecake: For those who love the classic candy bar, this cheesecake layers rich chocolate with almond and coconut flavors, creating an irresistible treat that’s both familiar and gourmet.
- Bailey’s Chocolate Cheesecake: Indulge in the sophisticated flavors of Irish cream liqueur combined with rich chocolate in this incredibly smooth and creamy cheesecake. It’s an adult-friendly dessert perfect for special occasions.
Print Recipe
Mini Oreo Cheesecakes
- Author: Ali
Prep Time: 15 minutes
Cook Time: 30 minutes
Total Time: 45 minutes
Yield: 30 mini cheesecakes 1x
Description
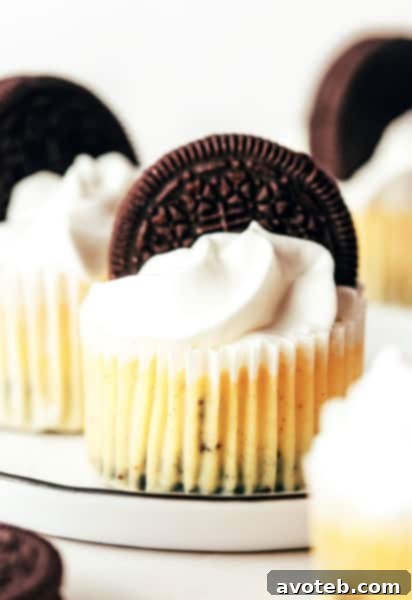
These mini Oreo cheesecakes are made with a delicious mix of cookies and cream, featuring a whole Oreo as the “crust.”
Ingredients
Scale
Oreo Cheesecake Ingredients:
- 16 Oreo cookies (plus 12 extra for topping, if desired)
- 12 ounces cream cheese, room temperature
- 1/2 cup granulated white sugar
- 1/3 cup sour cream or plain Greek yogurt, room temperature
- 1 teaspoon vanilla extract
- 2 large eggs, room temperature
(Optional) Whipped Cream Ingredients:
- 1 cup heavy whipping cream
- 1 tablespoon powdered sugar
Instructions
- Prep oven and baking cups. Begin by preheating your oven to 350°F (175°C). Prepare a standard 12-cup muffin pan by lining each cup with paper liners. This step ensures easy removal and makes cleanup a breeze.
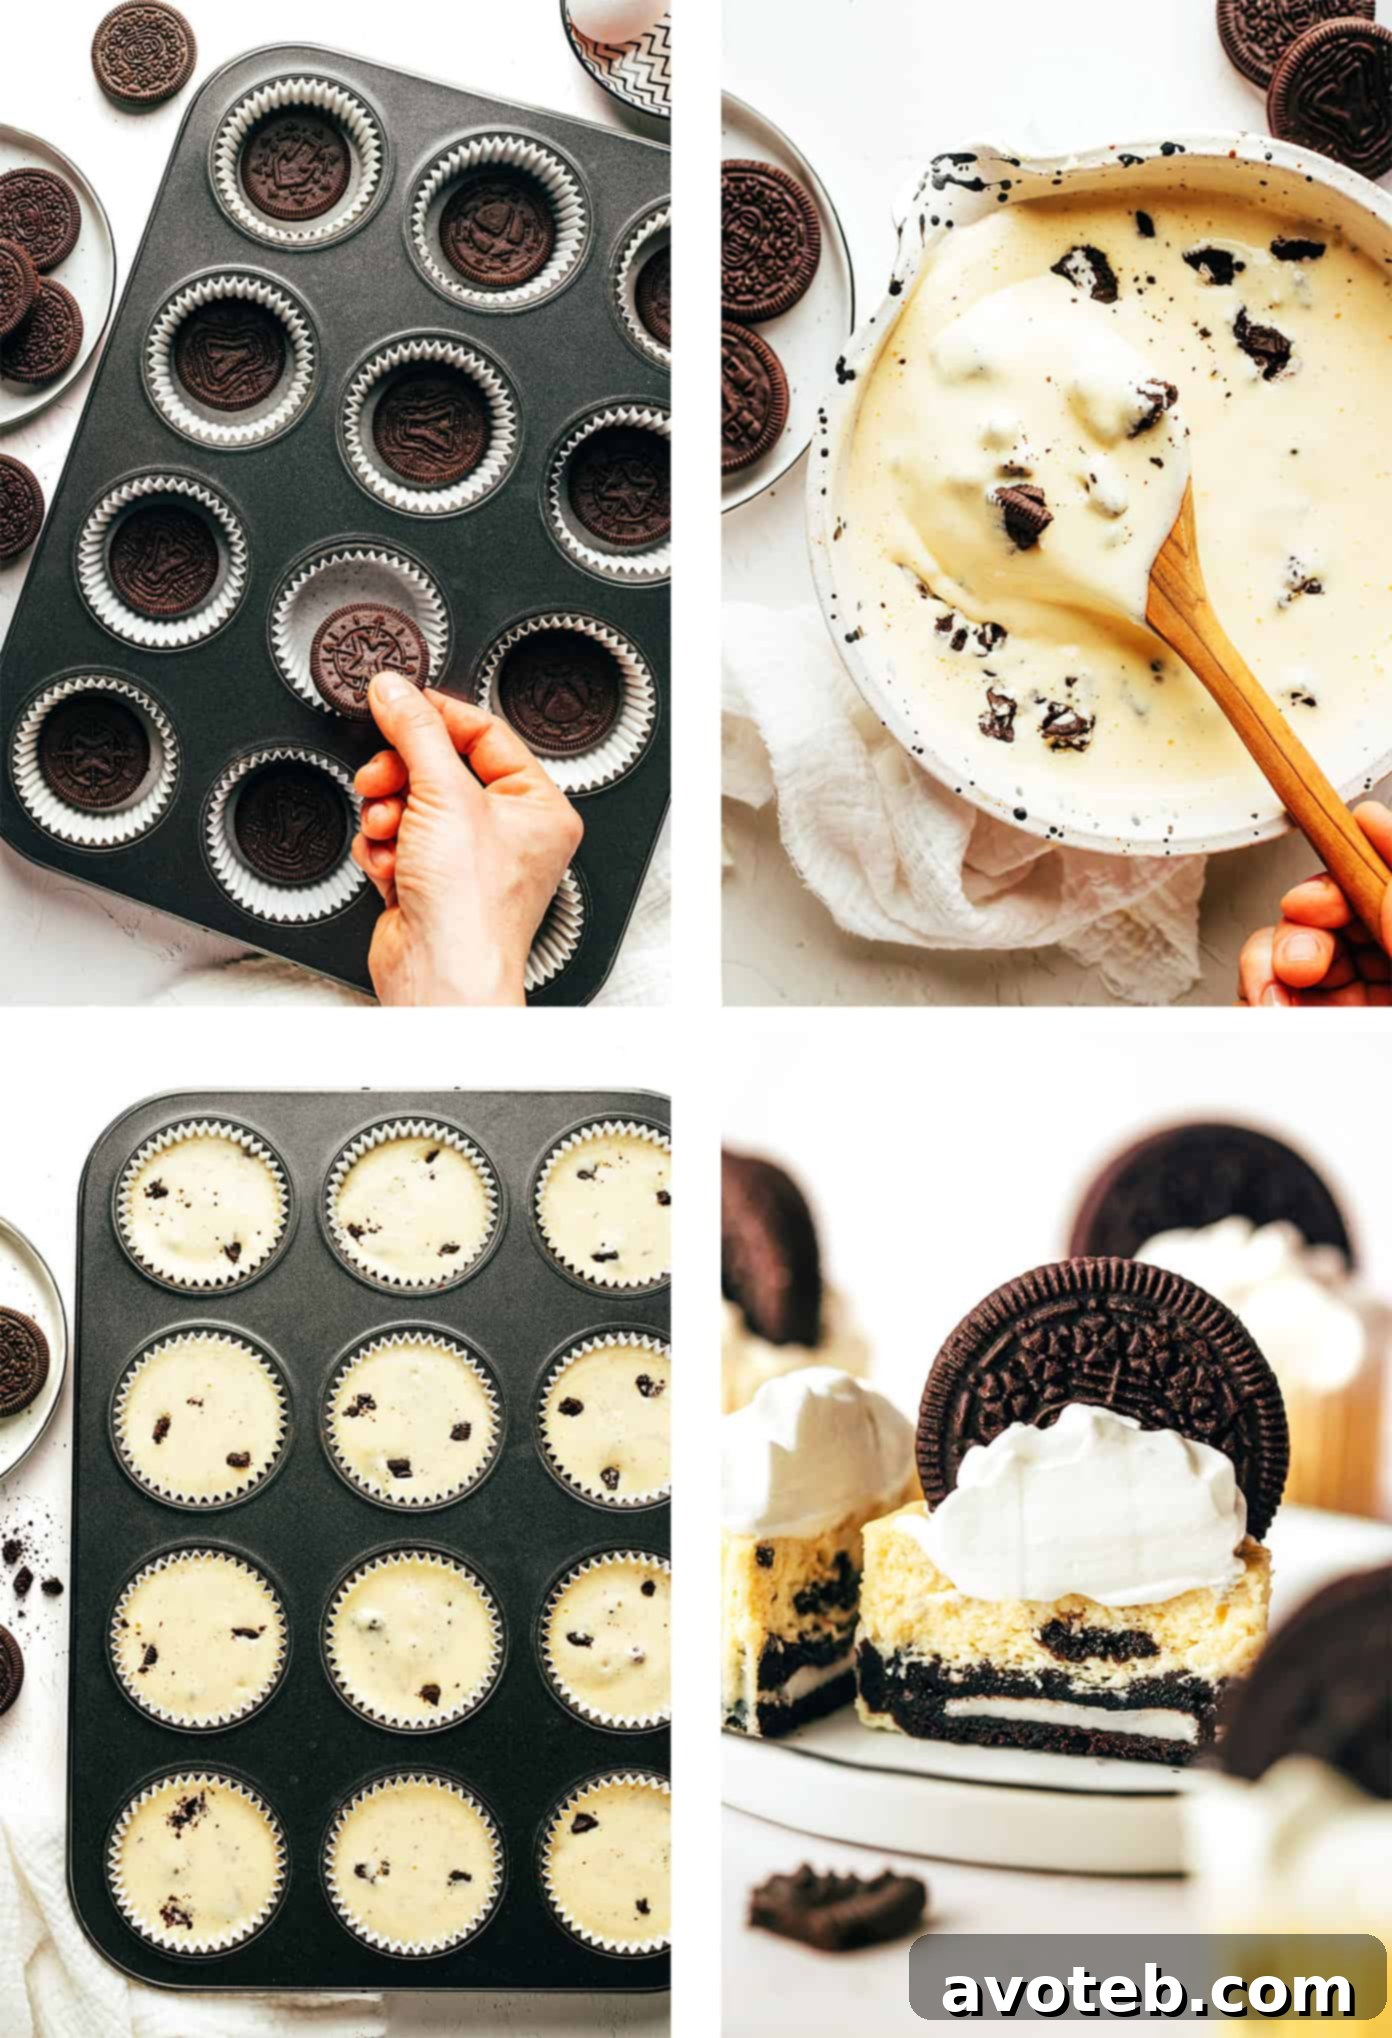
- Prep the Oreos. Place one whole Oreo cookie flat at the bottom of each prepared paper liner in the muffin pan. These will form your instant, delicious cheesecake crusts. Take the remaining 4 Oreos (from the initial 16) and roughly chop them into small pieces. Set these aside; they will be folded into the batter later.
- Mix the batter. In a large mixing bowl, add the room temperature cream cheese and granulated sugar. Using an electric mixer (or stand mixer with paddle attachment), beat on medium speed until the mixture is thoroughly combined and smooth, with no lumps of cream cheese visible. Next, add the room temperature sour cream (or Greek yogurt), vanilla extract, and room temperature eggs. Continue to beat on low speed just until the ingredients are smoothly incorporated. Be careful not to over-mix; you want to avoid incorporating too much air into the batter, which can lead to cracks in the finished cheesecakes. Finally, gently fold in the chopped Oreos by hand using a spatula until they are evenly distributed throughout the batter.
- Bake. Carefully divide the cheesecake batter evenly among the 12 Oreo-lined baking cups. A cookie scoop or an ice cream scoop works perfectly for this, ensuring consistent portions. Place the muffin pan into the preheated oven and bake for approximately 15 to 17 minutes. The cheesecakes are done when the edges appear set and slightly firm, but the centers still have a slight, delicate jiggle when the pan is gently moved. This slight jiggle is crucial; they will continue to firm up as they cool.
- Chill. Once baked, remove the muffin pan from the oven and transfer it to a wire rack. Allow the mini cheesecakes to cool completely at room temperature for about 30 minutes. Once cooled, lightly cover the pan with aluminum foil (avoid direct contact with the cheesecakes) and transfer it to the refrigerator. Chill for at least 3 to 4 hours, or preferably overnight, until the cheesecakes are thoroughly cold and firm. This chilling time is essential for optimal texture and flavor development.
- Make the whipped cream (optional). If you choose to make homemade whipped cream, combine the chilled heavy cream and powdered sugar in a chilled mixing bowl. Using an electric mixer, beat on medium-high speed until stiff peaks form. Be cautious not to over-beat, or you’ll end up with butter!
- Frost the cheesecakes. Just before serving, take the chilled mini cheesecakes out of the refrigerator. Using a piping bag fitted with your favorite tip, or simply a knife or small offset spatula, frost each cheesecake generously with the prepared whipped cream. For an extra decorative touch and a nod to the crust, add an additional whole or half Oreo cookie on top of each whipped cream swirl, if desired.
- Serve. Serve your beautiful and delicious mini Oreo cheesecakes immediately and watch them disappear! Enjoy every creamy, cookies-and-cream bite.
Notes
This recipe was updated in 2022 to yield a smaller batch (12 mini cheesecakes instead of 24), making it perfect for smaller gatherings or everyday indulgence.
Storage and Make-Ahead Brilliance
One of the many charms of these mini Oreo cheesecakes is their incredible make-ahead potential, making them perfect for planning parties or ensuring you always have a delightful treat on hand. Proper storage is key to maintaining their fresh taste and perfect texture.
How to Store Your Mini Cheesecakes:
Once your cheesecakes are completely chilled and firm, it’s important to store them correctly to preserve their quality. If you haven’t added whipped cream yet, place the cooled cheesecakes (still in their paper liners or gently removed and placed in an airtight container) in the refrigerator. They will stay fresh and delicious for up to 3-4 days. If they are already topped with whipped cream, they are best consumed within 24-48 hours, as whipped cream can start to break down over time.
For best results, always store them in an airtight container to prevent them from absorbing odors from other foods in the refrigerator and to keep them from drying out. This also helps maintain their creamy texture.
Can You Freeze Mini Cheesecakes?
Absolutely! These mini cheesecakes freeze beautifully, making them an excellent option for long-term storage or preparing a large batch for future events. To freeze them:
- Cool Completely: Ensure the cheesecakes are completely cooled and thoroughly chilled in the refrigerator before freezing.
- Freeze Individually: Place the unwrapped mini cheesecakes (without whipped cream topping) on a baking sheet and freeze until solid, about 1-2 hours. This prevents them from sticking together.
- Wrap Securely: Once frozen solid, wrap each cheesecake individually in plastic wrap, then place them in an airtight freezer-safe container or a heavy-duty freezer bag.
- Thaw and Serve: When ready to enjoy, simply transfer the desired number of cheesecakes to the refrigerator and let them thaw overnight, or for a few hours at room temperature. Top with fresh whipped cream and an Oreo piece just before serving. They will maintain their quality in the freezer for up to 1 month.
Frequently Asked Questions About Mini Oreo Cheesecakes
Got questions? We’ve got answers! Here are some common inquiries about making these delicious mini Oreo cheesecakes:
Q: Can I use different flavored Oreos for the crust and in the batter?
A: Yes, absolutely! This recipe is incredibly versatile. While classic Oreos provide a timeless flavor, feel free to experiment with any other Oreo flavor you love, such as Mint Oreos, Peanut Butter Oreos, or Golden Oreos. Just ensure the cookie has a standard cream-to-cookie ratio for the best crust structure.
Q: My cheesecake batter looks lumpy after mixing. What went wrong?
A: Lumpy batter is usually a sign that your cream cheese and other dairy ingredients were not at room temperature when you started mixing. Cold cream cheese doesn’t blend smoothly. For best results, always allow all refrigerated ingredients to sit out for at least 30-60 minutes before mixing.
Q: Why did my cheesecakes crack on top?
A: Cracks can occur for a few reasons, most commonly from over-mixing the batter (incorporating too much air) or over-baking the cheesecakes. Remember to mix only until just combined and remove them from the oven when the edges are set but the centers still have a slight jiggle. Rapid temperature changes during cooling can also contribute to cracking, so allow them to cool gradually on a wire rack before chilling.
Q: Can I make these without a muffin pan?
A: A muffin pan is highly recommended for achieving the mini cheesecake shape and ensuring even baking. However, you could potentially bake a larger cheesecake in a springform pan using crushed Oreos for the crust, but the baking time and ingredient quantities would need significant adjustment.
Q: How can I tell if the cheesecakes are done without a toothpick?
A: The “toothpick test” is not suitable for cheesecakes. Instead, look for visual cues: the edges of the cheesecake should be set and firm, but the very center should still have a slight, gentle jiggle when you carefully move the pan. They will continue to set as they cool and chill.
Q: Can I use a different cookie for the crust?
A: While Oreos are ideal for their sturdy structure and classic flavor, you could experiment with other flat, round cookies of similar size, such as chocolate wafers or shortbread cookies. Ensure they are robust enough to form a stable base.
Q: How long do these cheesecakes need to chill?
A: A minimum of 3-4 hours of chilling is necessary for the cheesecakes to fully set and for the flavors to meld beautifully. For the best texture and taste, chilling them overnight (8+ hours) is highly recommended.
We hope these answers help you confidently create your batch of Mini Oreo Cheesecakes. Happy baking!