
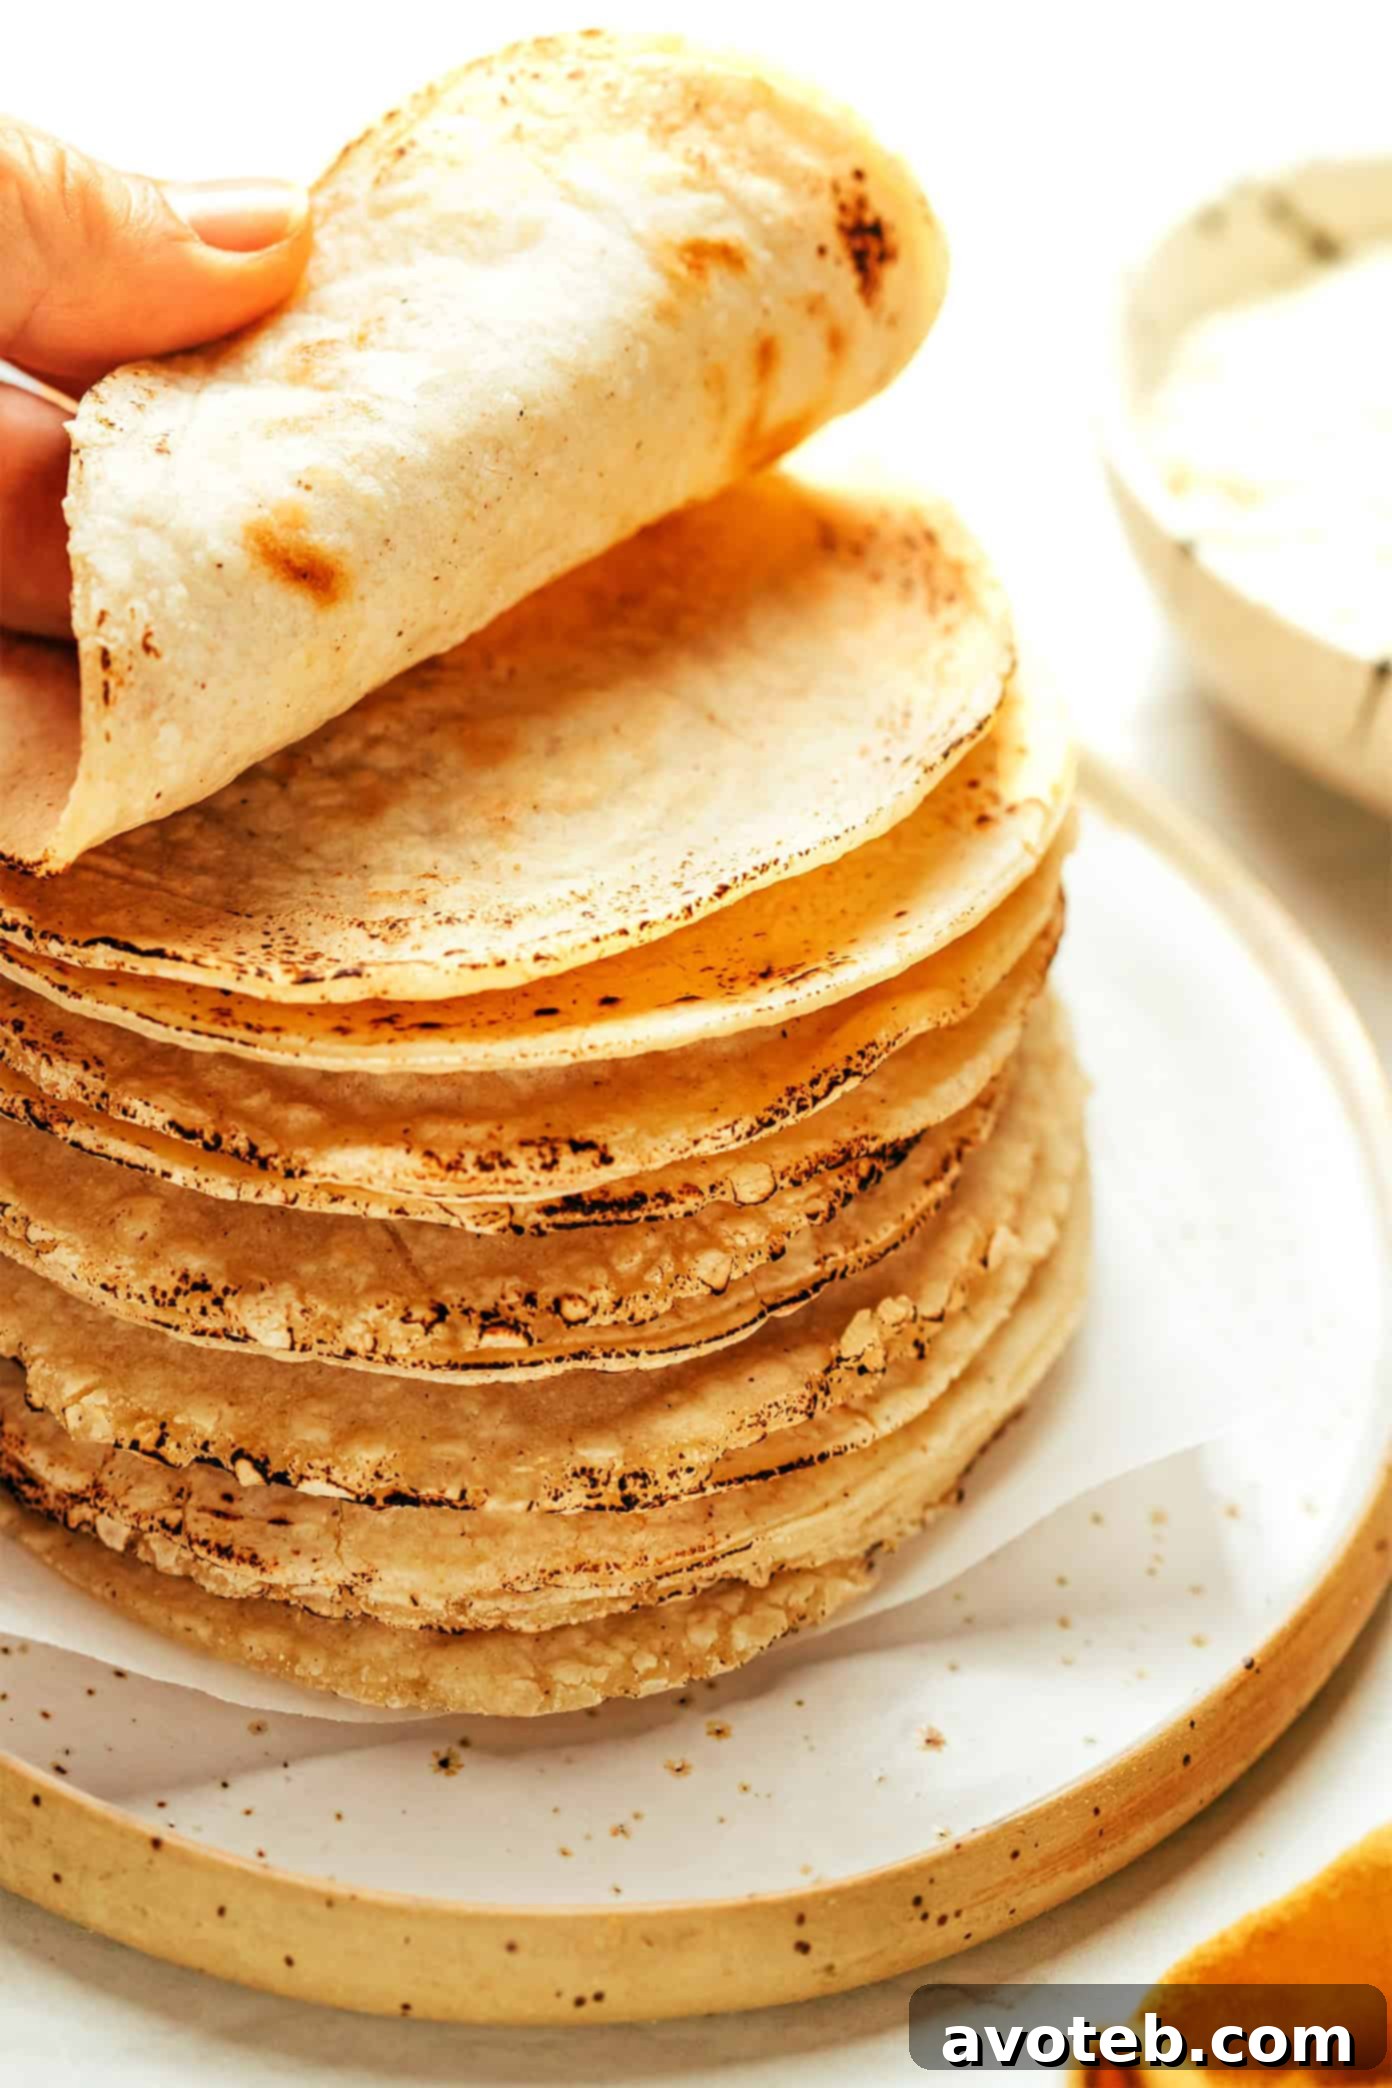
Master the Art of Homemade Corn Tortillas: Your Easy 3-Ingredient Guide
There’s a special kind of magic in homemade food, and when it comes to tortillas, that magic truly shines. Forget dry, brittle store-bought options that crack with every fold. This simple, 3-ingredient homemade corn tortilla recipe unveils a world of incredibly delicious, soft, and perfectly pliable tortillas. Naturally gluten-free and bursting with authentic toasted corn flavor, these tortillas are not just a meal component; they’re an experience, elevating your favorite Mexican dishes to new culinary heights.
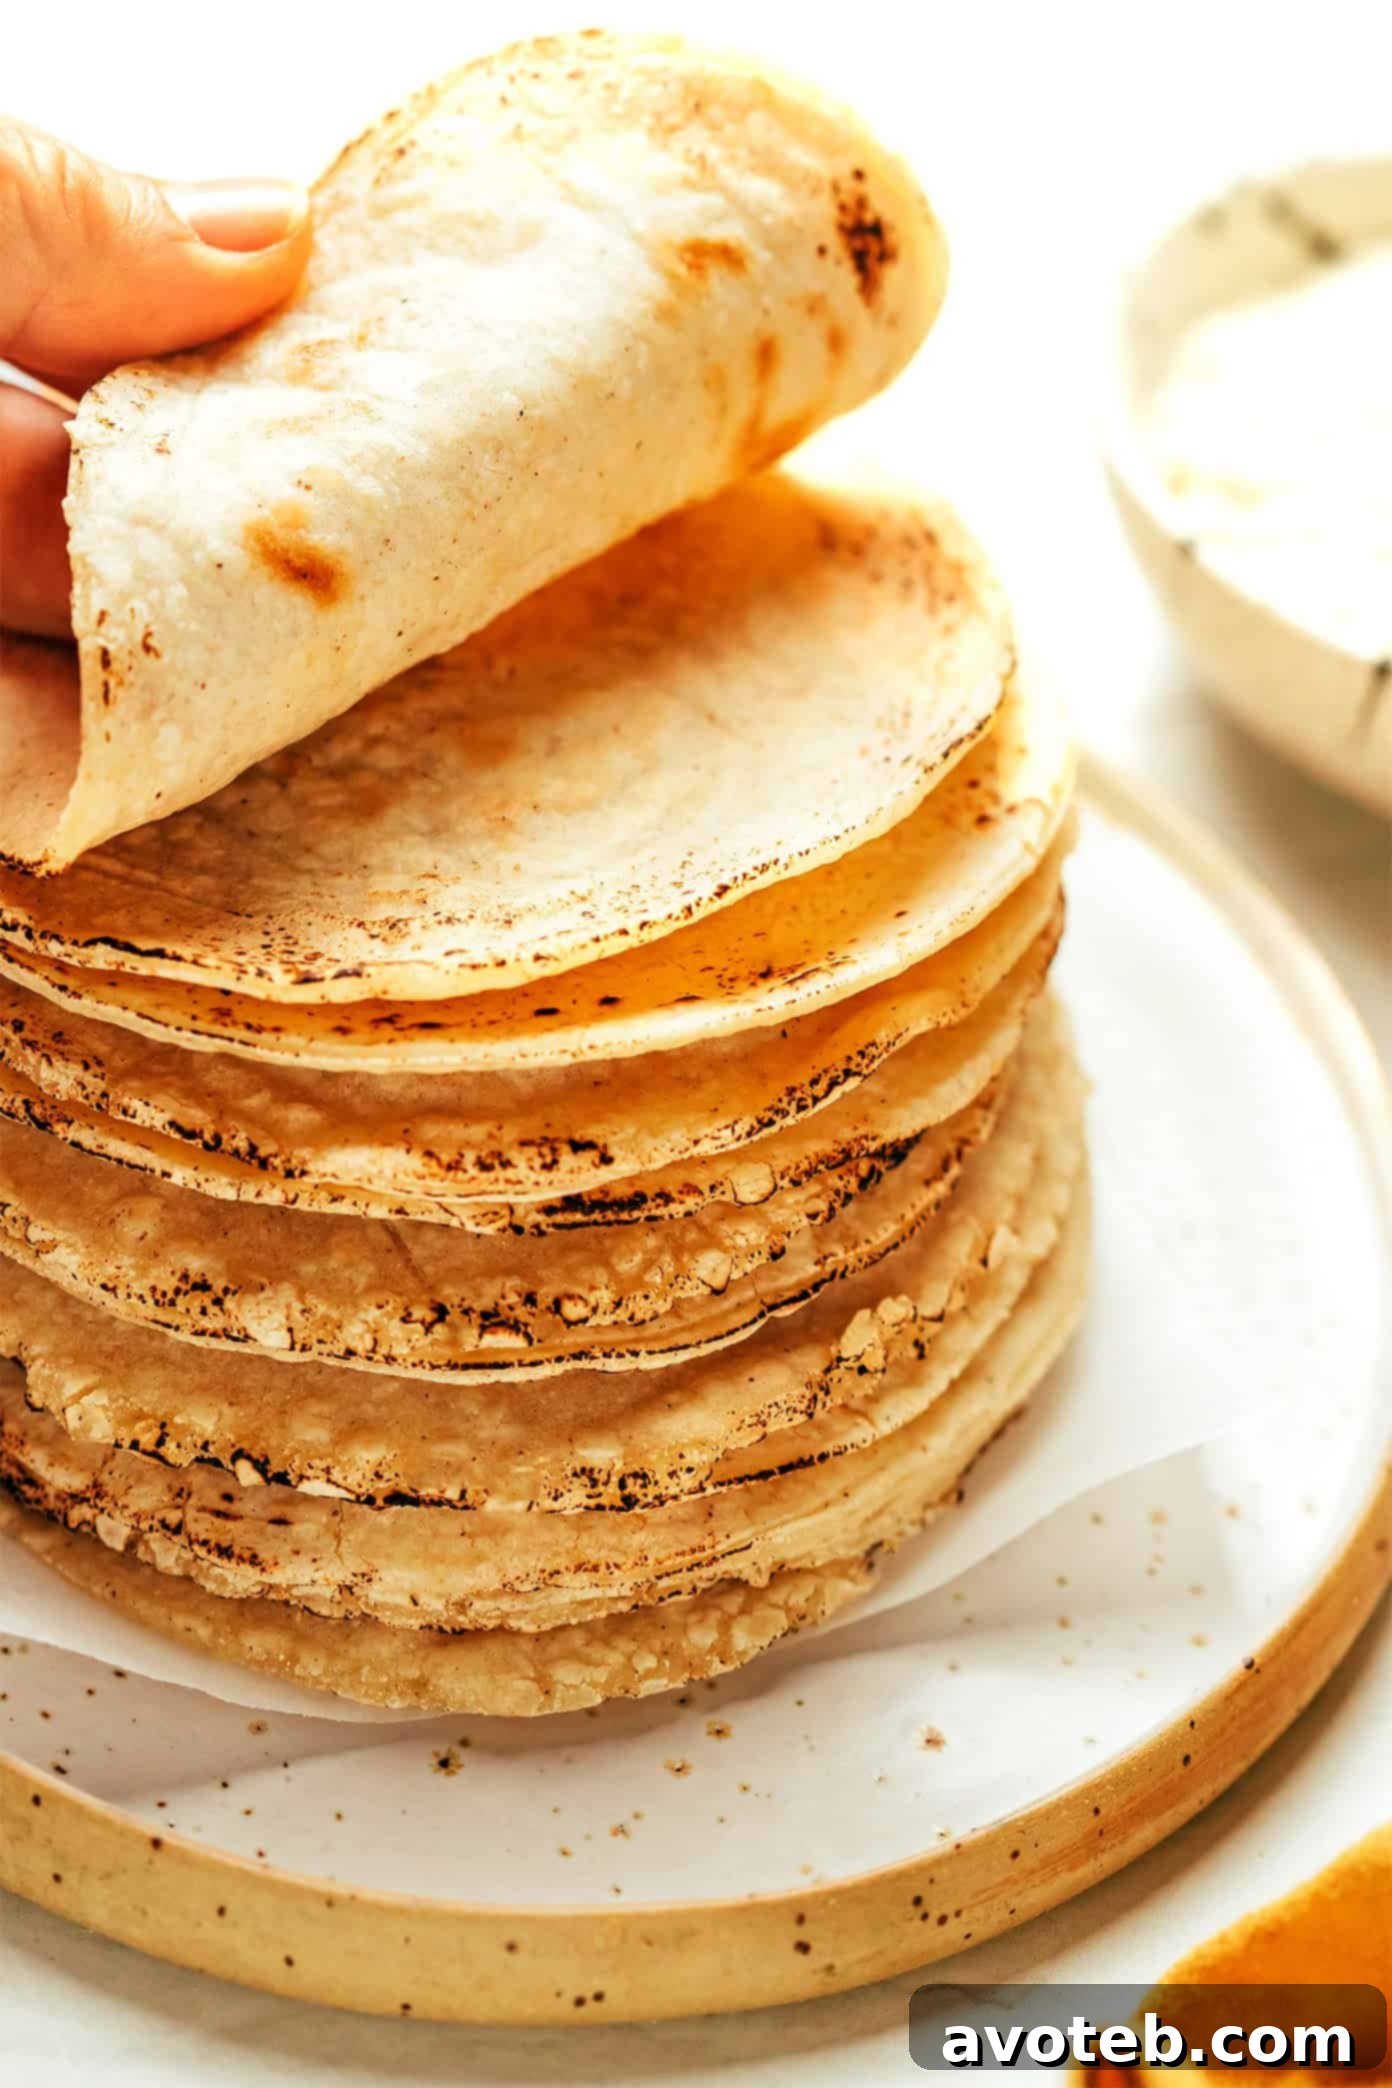
After mastering the craft of homemade flour tortillas, it’s time to delve into their equally famous — and naturally gluten-free — counterparts:
…homemade corn tortillas! ♡
These traditional Mexican-style corn tortillas are not only easy to make with just three basic ingredients, but they also offer an unparalleled texture and flavor that store-bought versions simply can’t match. The secret lies in their incredible pliability; they roll and fold effortlessly without any frustrating cracking or breaking. This means your tacos, enchiladas, and other creations will be more enjoyable and authentic. Plus, any leftover tortillas can be transformed into crunchy tortilla chips, savory chilaquiles, or loaded nachos, offering endless culinary possibilities.
Today, we’re diving deep into my go-to recipe for classic corn tortillas. I’ll share all my best tips, tricks, and shortcuts to ensure your success, making the process as easy and foolproof as possible. Whether you’re a seasoned chef or a kitchen novice, you’ll learn how to achieve perfect tortillas every time. We’ll even cover how to roll them out without a tortilla press, though I must emphasize that a tortilla press is a fantastic investment for anyone planning to make these regularly, significantly simplifying the process and ensuring consistent results.
So, gather your three simple ingredients, and let’s embark on this delicious journey to making the best homemade corn tortillas together!
Corn Tortillas Recipe | 1-Minute Video
Why Homemade Corn Tortillas are a Game Changer
If you’ve only ever experienced corn tortillas from a package, prepare to have your world rocked. Homemade corn tortillas offer an unparalleled freshness, flavor, and texture that store-bought versions simply cannot replicate. The difference is akin to fresh bread versus pre-packaged slices. When you make them yourself, you control every aspect, from the quality of ingredients to the perfect cook, resulting in tortillas that are incredibly soft, wonderfully pliable, and imbued with a deep, toasted corn aroma.
Flavor & Texture: A Taste of Authenticity
The moment you take a bite of a warm, homemade corn tortilla, you’ll understand. They have a delicate chewiness and a rich, earthy corn flavor that is far more pronounced than anything you’ll find in a supermarket aisle. Unlike commercial tortillas that can often be stiff and prone to cracking, especially when cold, these fresh beauties remain soft and flexible, making them ideal for wrapping around your favorite fillings without crumbling. This superior texture is key to truly authentic Mexican cuisine, ensuring your tacos, enchiladas, and quesadillas hold together beautifully and taste incredibly fresh.
Health Benefits: Naturally Gluten-Free and Wholesome
For those with gluten sensitivities or anyone seeking a healthier alternative, homemade corn tortillas are a fantastic choice. Made primarily from masa harina, which is derived from corn, they are naturally gluten-free. This offers peace of mind and allows you to enjoy traditional dishes without worry. Furthermore, by making them at home, you avoid the preservatives, artificial additives, and sometimes even hydrogenated oils often found in mass-produced tortillas. You’re simply enjoying a wholesome product made from corn, water, and salt.
Versatility: More Than Just a Wrapper
While their primary role is often as a delicious wrapper for tacos and enchiladas, homemade corn tortillas are incredibly versatile. Their robust flavor and tender texture make them perfect for frying into crispy tortilla chips, creating the base for hearty chilaquiles, layering into nachos, or serving as a foundation for tostadas. The possibilities are truly endless, making them a staple in any kitchen.
The Essential Ingredient: Understanding Masa Harina
The heart and soul of an authentic corn tortilla lie in a special ingredient: masa harina. This isn’t just any corn flour; it’s a unique product that gives corn tortillas their distinct flavor, texture, and pliability. Understanding what masa harina is and why it’s different from other corn products is crucial for your tortilla-making success.
What is Masa Harina? The Magic of Nixtamalization
Masa harina, which translates to “corn flour” in Spanish, is made from nixtamalized corn. Nixtamalization is an ancient Mesoamerican process where dried corn kernels are cooked and steeped in an alkaline solution (typically limewater, a solution of calcium hydroxide), then hulled, washed, and ground into a dough called masa. This masa is then dried and ground into a fine flour—masa harina. This process not only makes the corn easier to digest and more nutritious by releasing niacin (Vitamin B3), but it also dramatically alters its flavor and texture, imparting the characteristic earthy taste and springy consistency essential for tortillas.
Not Cornmeal or Cornflour: Clarifying the Distinction
It’s important to note that masa harina is distinctly different from cornmeal and American cornflour (which is typically just finely-ground cornmeal or cornstarch). Regular cornmeal is simply ground, dried corn and lacks the nixtamalization process, resulting in a gritty texture and different flavor that won’t yield soft, pliable tortillas. American cornflour (cornstarch) is a pure starch used as a thickening agent. Always look for “masa harina” specifically to achieve the desired results.
Types & Brands: Finding Your Perfect Masa
Masa harina comes in various colors, typically white, yellow, and sometimes blue, each offering a subtle difference in flavor and appearance. Maseca is by far the most popular and widely available brand of Mexican masa harina, and it’s an excellent choice for beginners and experts alike. You can find white Maseca, yellow Maseca, or even blue Maseca. For those seeking an organic option, Bob’s Red Mill also offers a high-quality masa harina.
Where to Find It
You can usually find masa harina in the Latin American or international foods section of your local grocery store. Alternatively, check the baking aisle alongside other flours. Its increasing popularity means it’s becoming more readily available.
Gathering Your Simple Ingredients and Key Equipment
The beauty of homemade corn tortillas lies in their simplicity. With just three core ingredients and a few recommended tools, you’ll be on your way to crafting culinary masterpieces.
The Three Essential Ingredients:
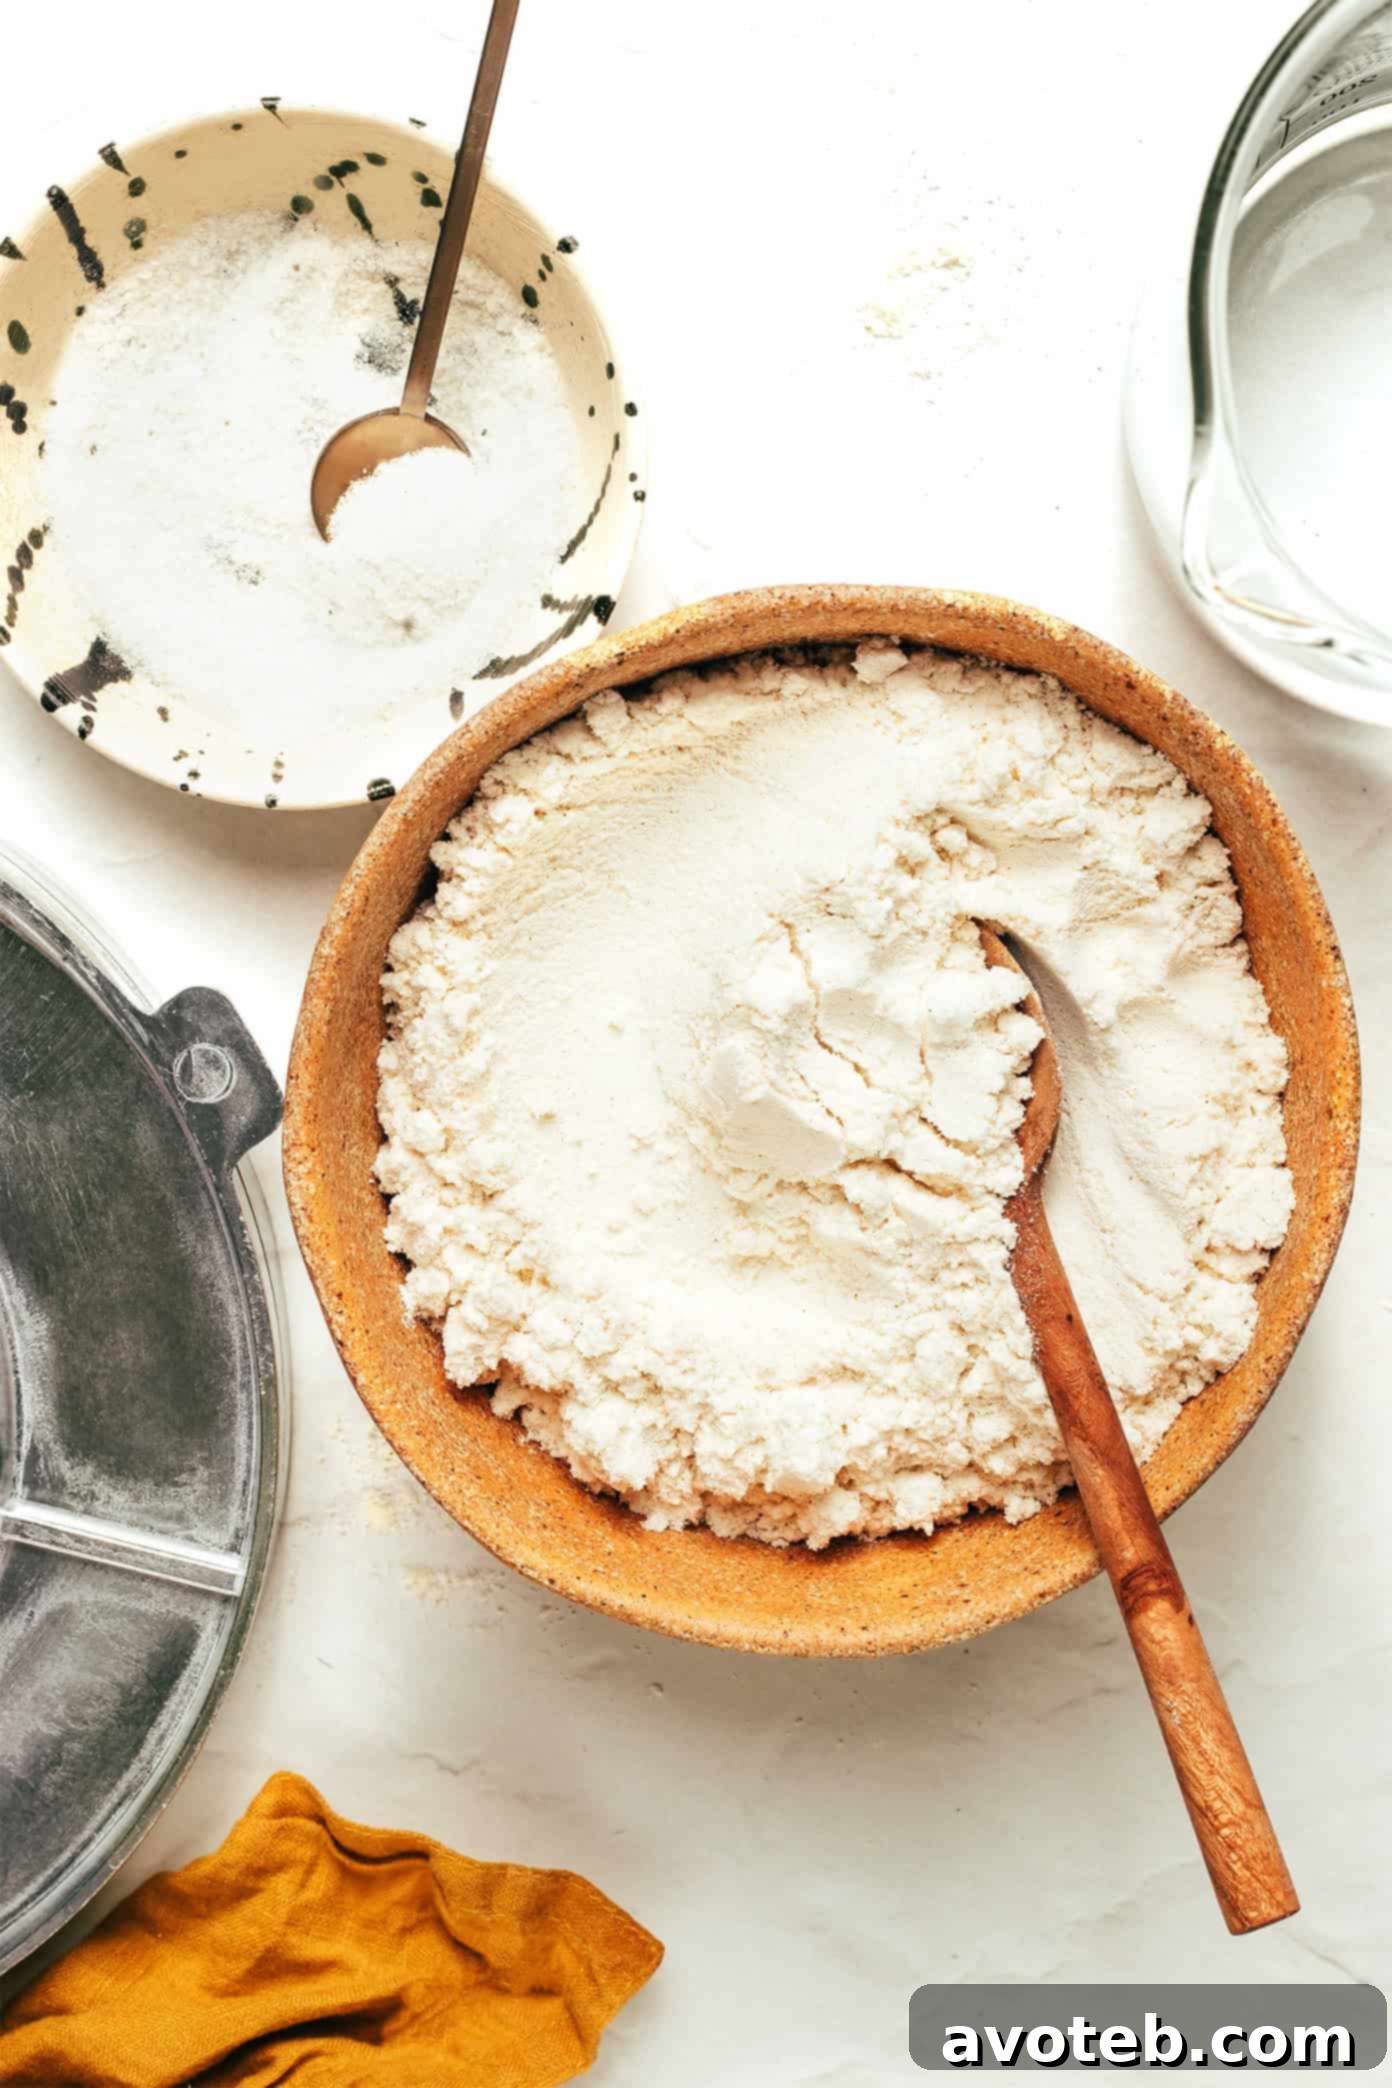
- Masa Harina: As discussed, this is the cornerstone of your tortillas. Ensure you’re using true masa harina for authentic flavor and texture. The amount needed is typically 2 cups (240 grams).
- Hot Water: The temperature of the water is important as it helps to properly hydrate the masa harina, creating a more pliable dough. The exact amount may vary slightly depending on the brand and humidity, but generally, you’ll need about 1.5 to 1 2/3 cups.
- Fine Sea Salt: A touch of salt is crucial for enhancing the natural, delicious corn flavor. If using standard table salt, you may need to adjust the quantity slightly.
Recommended Equipment for Tortilla Perfection:
While some items are optional, they can significantly improve your tortilla-making experience.
- Non-stick Skillet, Comal, or Griddle: You’ll need a reliable cooking surface to ensure your tortillas cook evenly without sticking. A well-seasoned cast-iron skillet works wonderfully, as do traditional comals (a flat, round griddle) or any good quality non-stick pan. The key is even heat distribution.
- Tortilla Press (Optional but Highly Recommended): I typically shy away from single-use kitchen gadgets, but a tortilla press is an absolute game-changer for corn tortillas. It effortlessly and consistently presses your dough balls into perfectly round, thin tortillas, saving you significant time and effort. It ensures uniform thickness, which is vital for even cooking. If you plan to make tortillas regularly, this investment is truly worthwhile.
- Alternatives for Pressing: If you don’t own a tortilla press, don’t worry! You can achieve good results by placing your dough ball between two sheets of plastic wrap and pressing down firmly and evenly with a flat-bottomed skillet or a heavy plate. A rolling pin can also work, but requires more practice to get an even thickness.
- Tortilla Warmer (Optional): This humble gadget is surprisingly handy for keeping your cooked tortillas soft, warm, and pliable as you finish the batch. The steam trapped inside keeps them from drying out. If you don’t have one, simply stack the cooked tortillas in a bowl and immediately cover them tightly with a clean kitchen towel.
- Medium (2-Tablespoon) Cookie Scoop (Optional but a Pro Tip!): For perfectly uniform tortillas, a medium cookie scoop is your secret weapon. It portions out just the right amount of dough for standard 5-6 inch tortillas, ensuring consistent size and cooking times across your batch. If you don’t have one, a regular spoon can be used to scoop an approximate 2-tablespoon amount, which you can then weigh for precision if you have a kitchen scale.
Step-by-Step Guide to Perfect Homemade Corn Tortillas
Making corn tortillas is a wonderfully rewarding process, but it does involve a little hands-on practice to get the dough consistency just right, master the pressing technique, and learn the cooking rhythm. Don’t be discouraged if your first few aren’t perfect; consider them “learning tortillas” and have patience. You’ll quickly get the hang of it, and the delicious results will undoubtedly be worth every effort! Here’s a detailed overview of the recipe instructions:
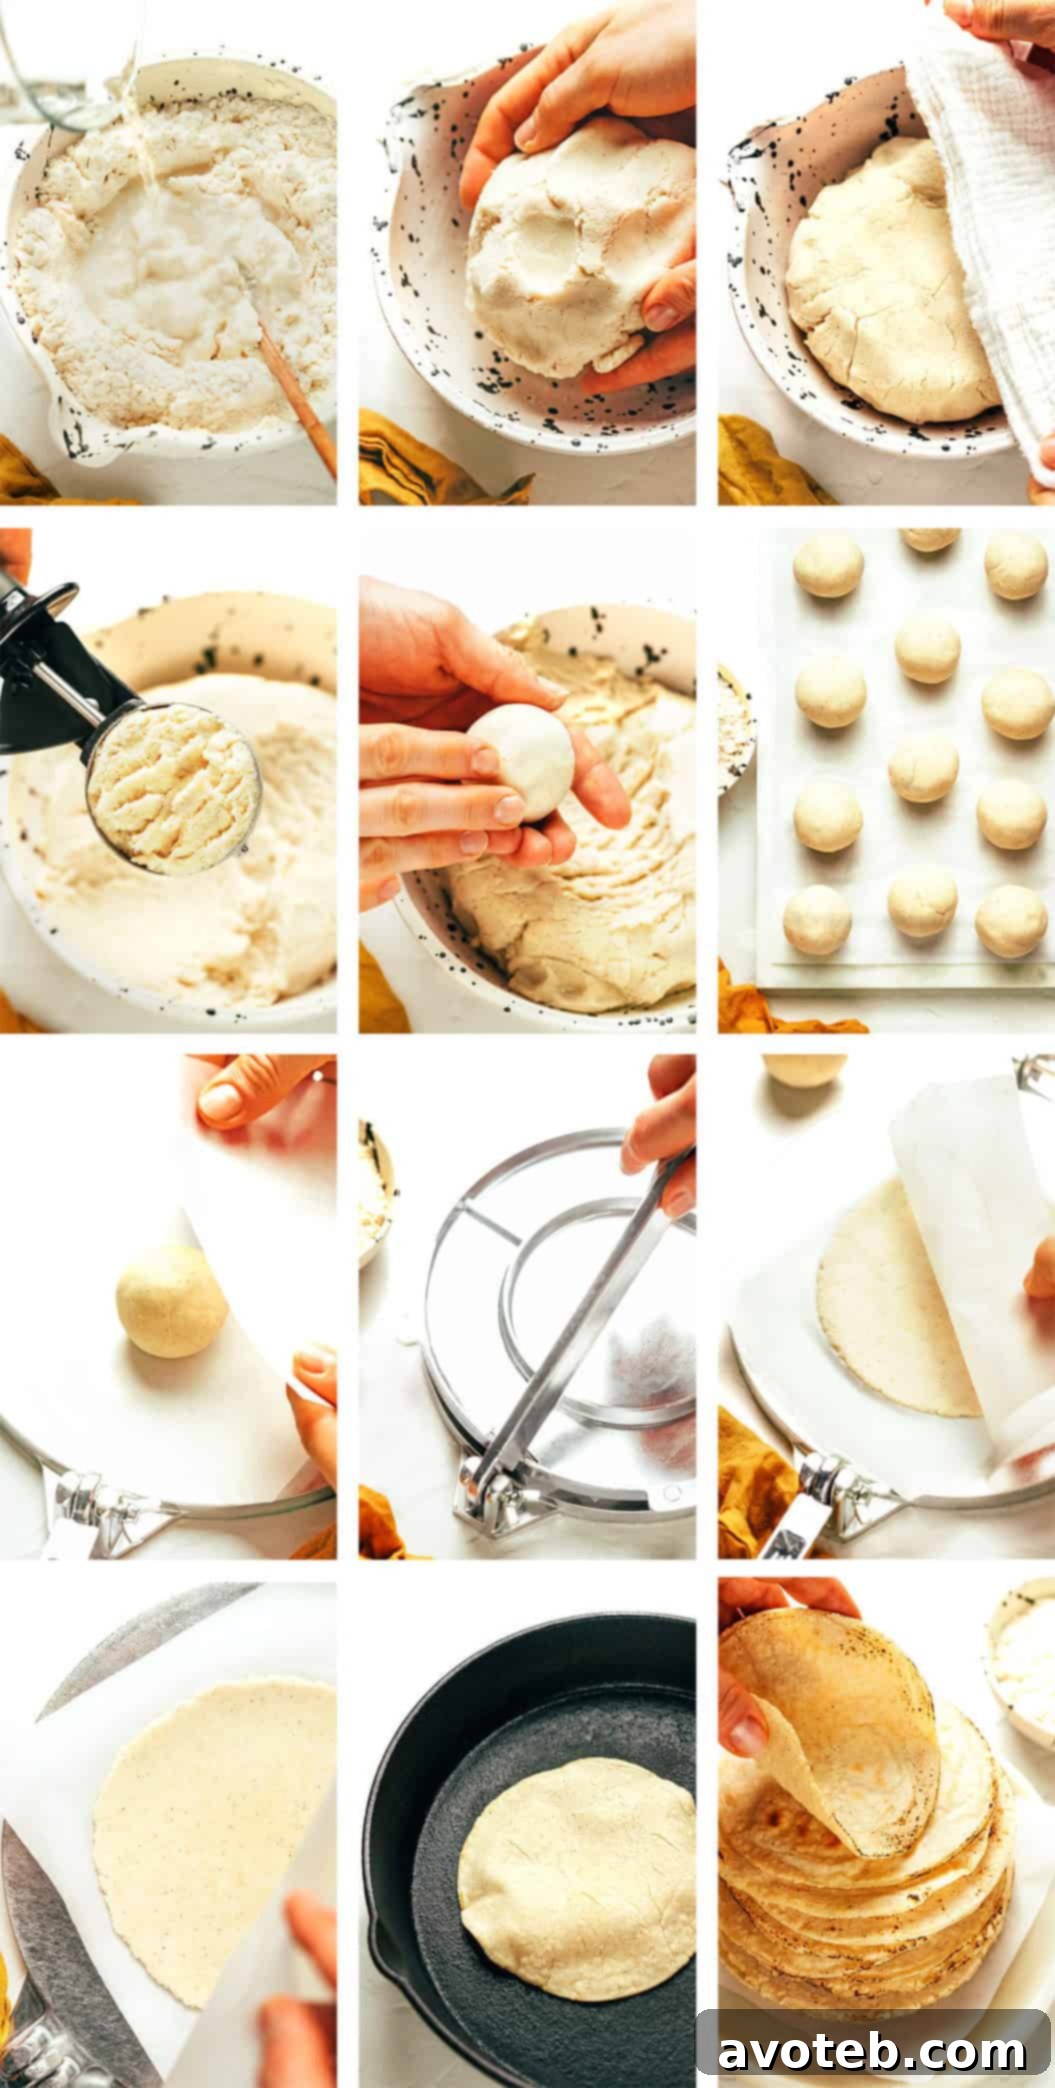
- Mix the Dough (The Foundation): In a large mixing bowl, start by whisking the masa harina and salt together briefly to ensure even distribution. Gradually pour in 1 1/2 cups of hot water, stirring with a wooden spoon or silicone spatula until the mixture begins to come together into a shaggy dough. Now, get your hands in there! Knead the dough directly in the bowl for about 2-3 minutes. You’re looking for a smooth, cohesive ball that feels springy and firm, much like Play-Doh. This kneading helps to activate the masa and ensures pliability.
- Troubleshooting Dough Consistency: This step is critical. If your dough feels too wet and sticky to your hands, add an extra tablespoon or two of masa harina, kneading until it reaches the desired texture. Conversely, if the dough feels too dry and crumbly or cracks easily when pressed, incorporate an extra tablespoon or two of hot water until it’s smooth and pliable. The ideal dough should be moist enough to hold together but not so sticky that it clings to your fingers.
- Rest the Dough (Patience is Key): Once your dough ball is perfectly smooth, cover the bowl with a damp kitchen towel (or paper towel). Let the dough rest for approximately 10 minutes. This resting period allows the masa harina to fully hydrate, resulting in a more tender and flexible tortilla.
- Portion the Dough for Perfection: After resting, use a medium cookie scoop (my preferred method for consistency!) or a spoon to portion the dough into 2-tablespoon sized balls (roughly 35-40 grams, or the size of a golf ball). Roll each portion smoothly between your palms until it forms a neat, round ball. Uniform balls lead to uniform tortillas.
- Pressing with Precision (Tortilla Press & Alternatives): This is where the magic happens!
- Using a Tortilla Press: Cut open a large Ziploc freezer bag along the top (zipper side) and sides, creating two separate plastic sheets that fit your press. Place one dough ball between these two sheets of plastic, centered on your tortilla press. Gently close the press and apply firm, even pressure to flatten the dough into a 4- to 5-inch round tortilla.
- Texture Check: Before cooking, quickly check the tortilla’s texture. It should peel away easily from the plastic without tearing or sticking excessively. If it’s sticky and difficult to remove, your dough is likely too wet, and you should knead a bit more masa harina into your main dough batch before continuing.
- Without a Press: If you don’t have a press, place the dough ball between two plastic sheets (cut from a Ziploc bag) on a flat, sturdy surface. Use the bottom of a heavy skillet or plate to press down firmly and evenly, rotating the dough occasionally, until it reaches the desired 4-5 inch diameter. For a rolling pin, roll from the center outwards, maintaining an even thickness.
- Cooking to Golden Perfection: Heat a non-stick skillet, comal, or griddle over medium-high heat. Allow it to get nice and hot (a drop of water should sizzle and evaporate immediately). Once ready, carefully peel the tortilla from the plastic wrap and lay it flat onto the hot cooking surface. Cook for approximately 40-60 seconds per side. You’ll know it’s time to flip when you see speckled brown spots begin to appear on the bottom. The tortillas will often bubble up while cooking, especially on the second side – this is a fantastic sign of a well-made tortilla! Once cooked through (usually after another 40-60 seconds), immediately transfer the tortilla to a tortilla warmer or a bowl wrapped in a clean kitchen towel. This step is crucial for keeping them soft and preventing them from drying out.
- Maintaining the Cycle: To keep things efficient, I recommend working in a continuous cycle: press the next dough ball while one tortilla is cooking. This rhythm helps you produce a steady stream of fresh tortillas. If your cooking surface seems to get too hot as you progress, simply reduce the heat slightly to prevent burning.
- Serve Warm and Soft: As the tortillas rest in a stack in your warmer or towel-lined bowl, they will continue to soften from the trapped steam. For the softest tortillas, use those from the bottom of the stack first. Serve them immediately with your favorite fillings and enjoy the unparalleled taste of homemade!
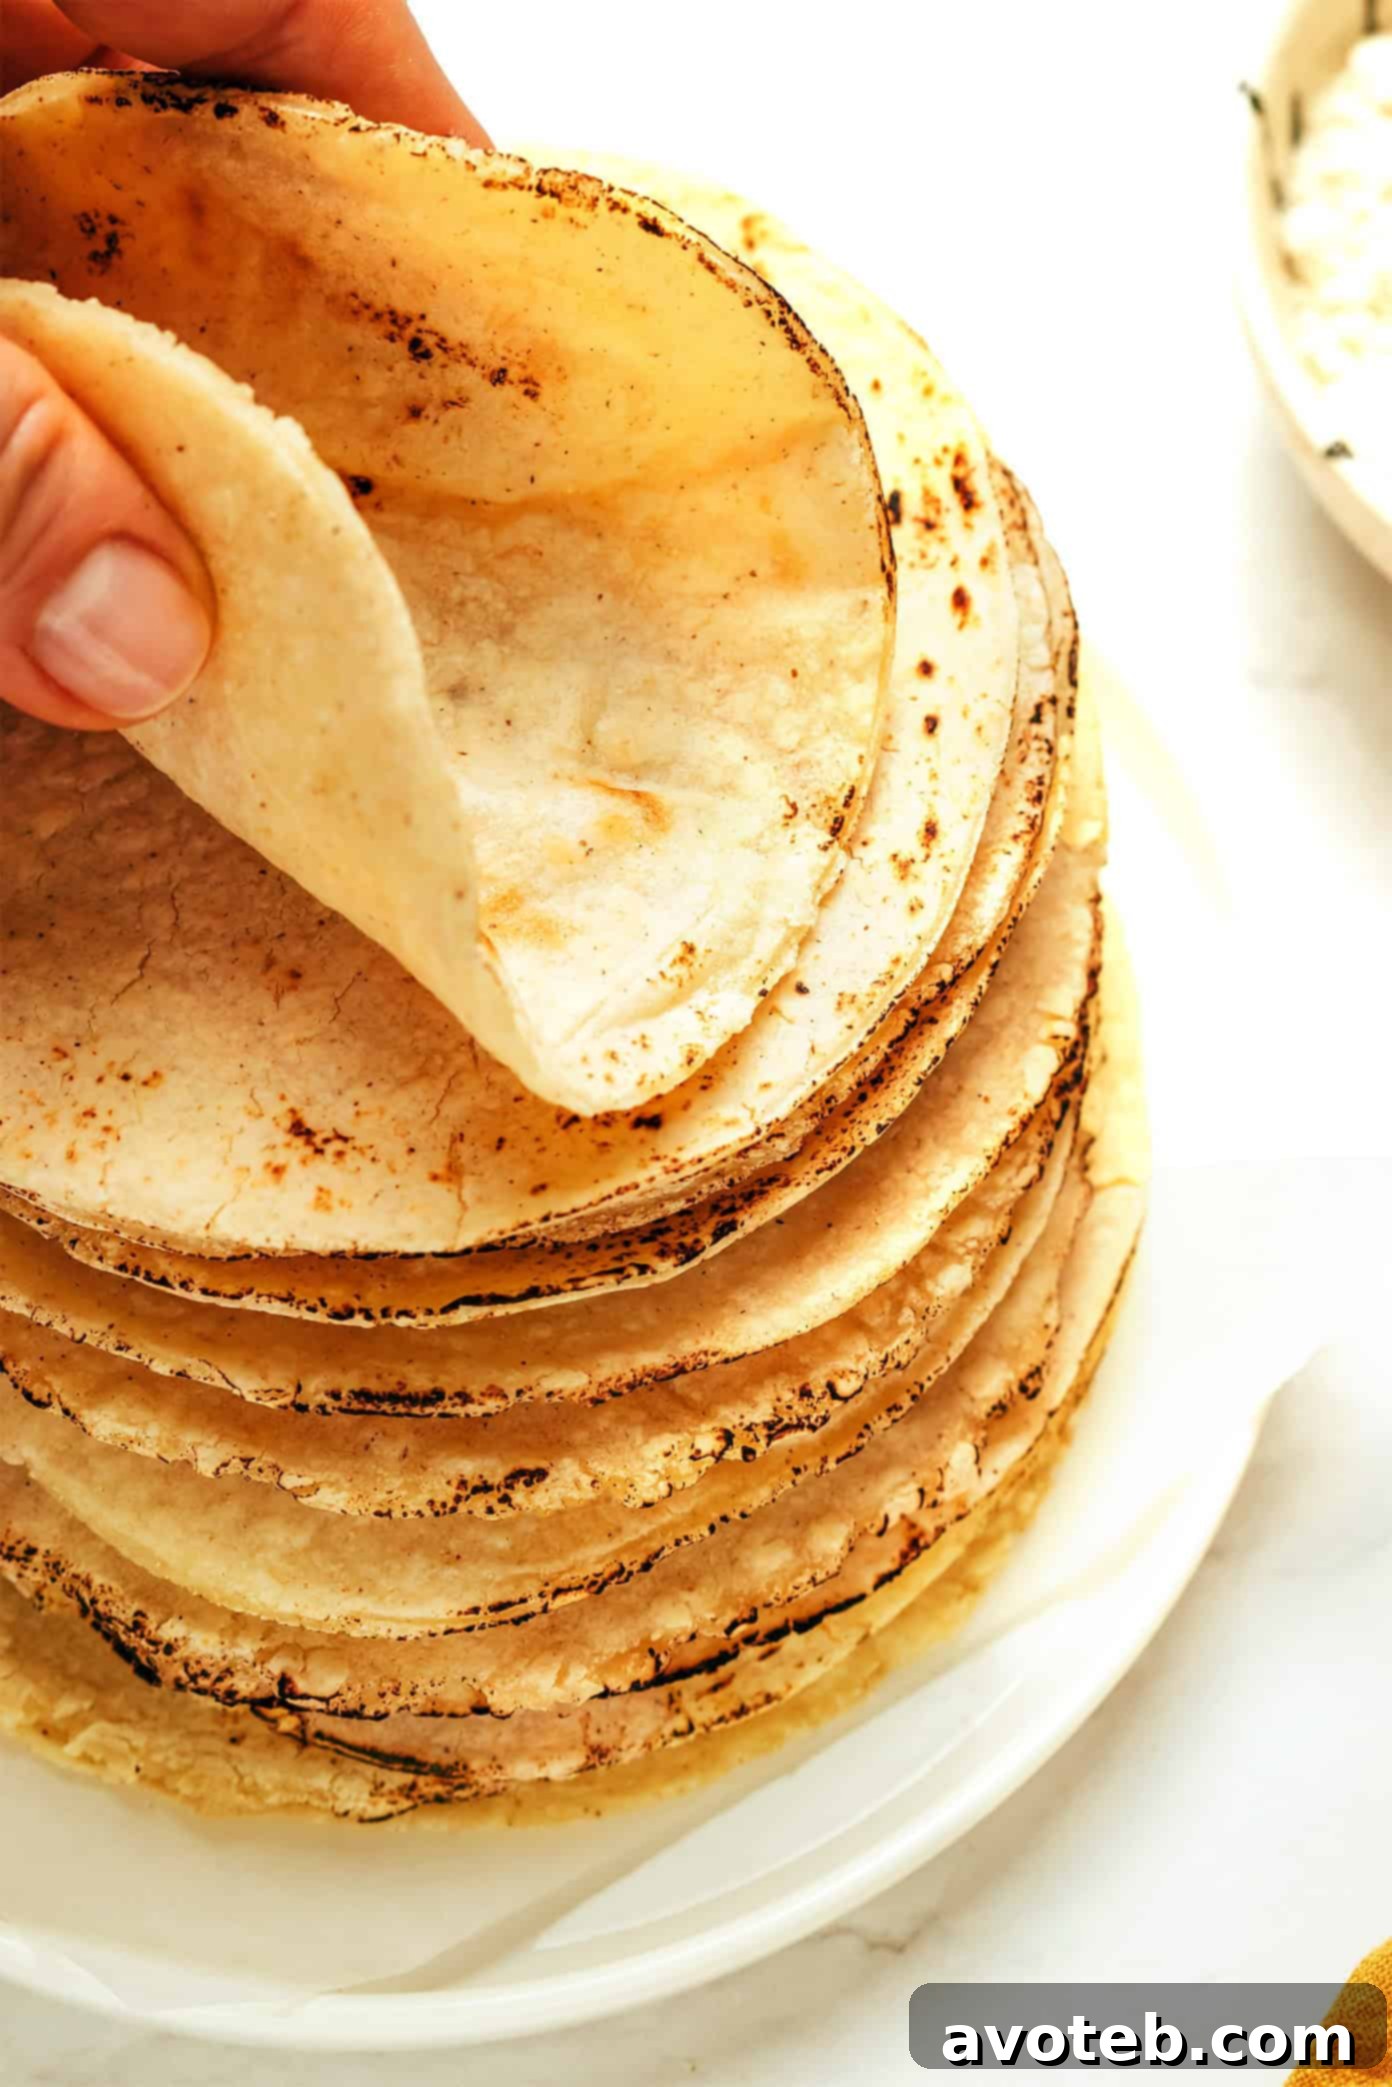
Frequently Asked Questions About Homemade Corn Tortillas
Here are answers to some common questions about making and enjoying corn tortillas:
Are homemade corn tortillas gluten-free and vegan?
Yes! This homemade corn tortilla recipe is inherently gluten-free and vegan, as it uses only masa harina (corn), water, and salt. However, when purchasing store-bought corn tortillas, always double-check the label, as some brands might include additives or even lard, making them unsuitable for vegan diets or potentially containing gluten cross-contamination.
How can I make white, yellow, or blue corn tortillas?
The color of your tortillas is determined by the color of the masa harina you use. You can easily find white masa harina, yellow masa harina, or even blue masa harina in many grocery stores or online. Each offers a slightly different visual appeal and a subtle variation in earthy flavor.
What’s the best way to reheat corn tortillas?
Definitely avoid the microwave for leftover corn tortillas – they will become dry, stiff, and prone to cracking. Also, don’t try to reheat them in oil if you want them soft, as this will make them crispy. To reheat for soft, pliable tortillas:
- Skillet Method: Heat a non-stick skillet over medium-high heat. Cook each tortilla for 15-30 seconds per side until warmed through.
- Gas Burner Method (use extreme caution!): If you have a gas stove, you can carefully use tongs to place individual tortillas directly over a low flame. As soon as a tortilla begins to brown slightly, flip it to the second side. Cook briefly until browned, then remove from heat. Keep a very close eye on them to prevent burning.
Always reheat corn tortillas one at a time and immediately transfer them to a tortilla warmer or wrap them in a clean kitchen towel to keep them soft and warm until ready to serve.
How should I store leftover corn tortillas?
To prevent your homemade corn tortillas from drying out, which is their biggest enemy, store them properly. Wrap leftover tortillas tightly in plastic wrap, beeswax wrap, or place them in a resealable plastic bag, pressing out any excess air. Store them in the refrigerator for up to 2-3 days. While they are best enjoyed fresh, proper storage will help maintain their texture for a couple of days.
How many carbohydrates are in a corn tortilla?
Using this recipe, if you yield approximately 15 tortillas, each corn tortilla will contain roughly 12.5 grams of carbohydrates. This can vary slightly based on the exact size and thickness of your tortillas.
Corn vs. Flour Tortillas: When to use each?
The choice between corn and flour tortillas often comes down to tradition and personal preference!
- Flour Tortillas: Generally sturdier and larger, flour tortillas are traditionally favored for dishes like burritos, fajitas, quesadillas, and many Tex-Mex style tacos and enchiladas where a robust wrapper is needed.
- Corn Tortillas: These are traditionally used in authentic Mexican cuisine for dishes such as street tacos, traditional Mexican enchiladas, flautas, taquitos, chilaquiles, and, of course, homemade tortilla chips. Their unique flavor complements these dishes perfectly.
That said, modern culinary practices often see corn and flour tortillas used interchangeably. Feel free to use whichever you prefer or mix them for different textures and flavors!
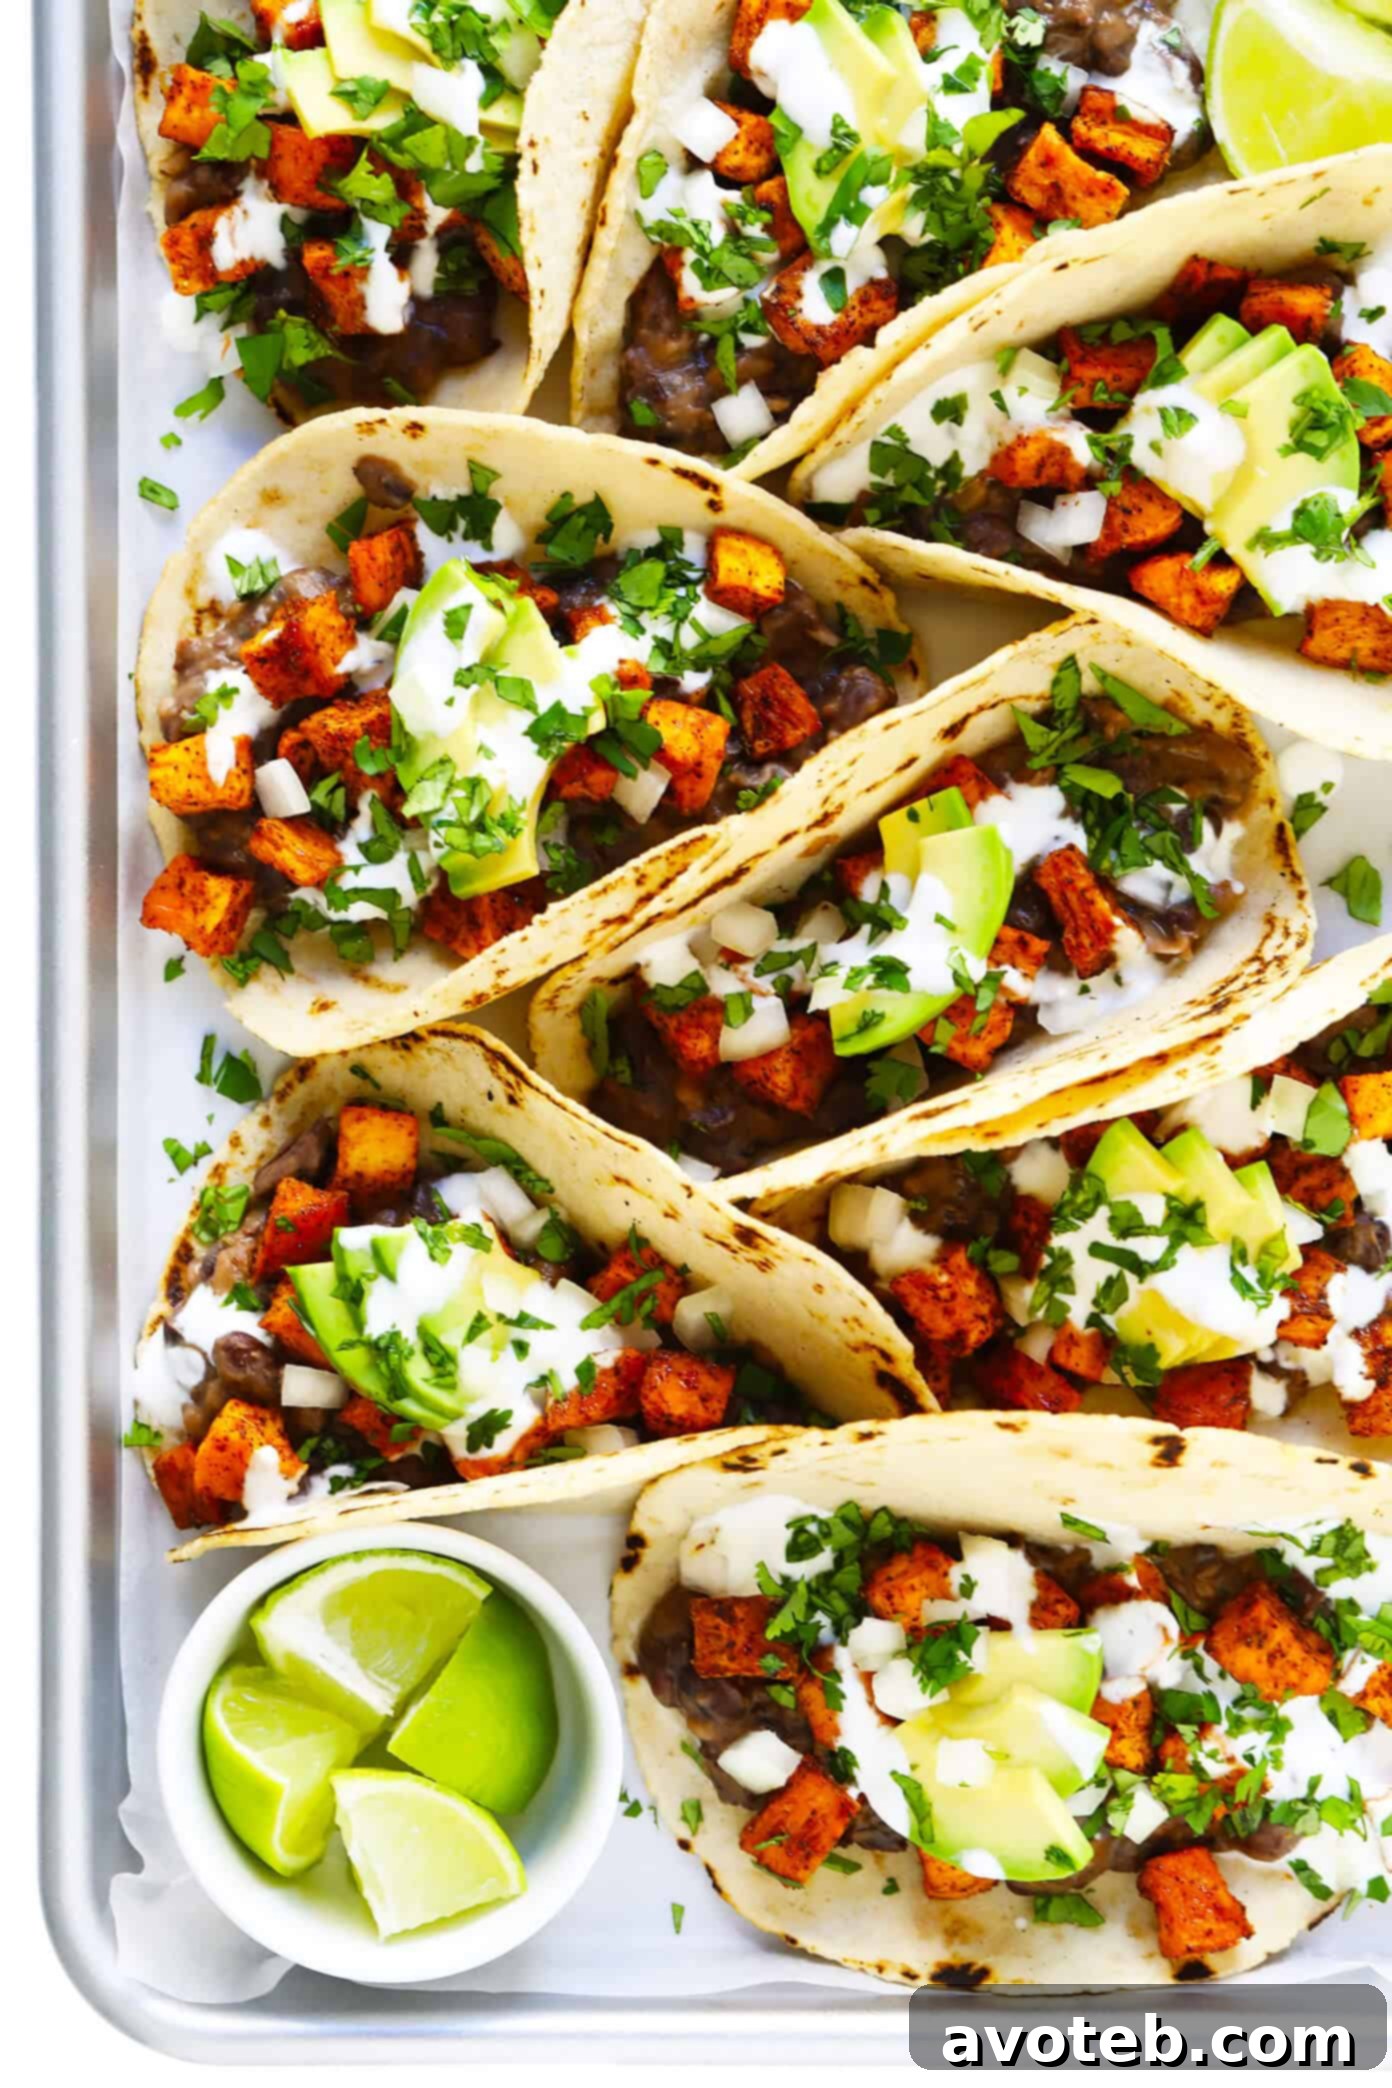
Creative Ways to Enjoy Your Homemade Corn Tortillas
Once you’ve mastered the art of making fresh corn tortillas, a world of culinary delights opens up. Their versatile flavor and perfect texture make them suitable for an array of dishes. Here are some of my favorite ways to use these delicious homemade treasures:
- Tacos: The classic choice! Load your warm, pliable corn tortillas with your favorite taco fillings. Think succulent carne asada, flavorful al pastor, spicy shredded chicken, or vegetarian options like black bean and sweet potato tacos. Garnish with fresh salsa, cilantro, and a squeeze of lime for an authentic street taco experience.
- Enchiladas: Transform your tortillas into comforting enchiladas. Briefly dip them in your favorite red or green enchilada sauce, fill them with cheese, chicken, or vegetables, roll them up, top with more sauce and cheese, then bake until bubbly and golden. The homemade tortillas absorb the sauce beautifully without falling apart.
- Tostadas: For a quick and easy meal, lightly toast or fry your corn tortillas until crispy and flat. Top them with a layer of refried beans, shredded lettuce, salsa, cotija cheese, and perhaps some seasoned ground beef or chicken for a satisfying open-faced meal.
- Homemade Corn Tortilla Chips: Say goodbye to store-bought! Cut your tortillas into triangles, then deep-fry them in hot oil or bake them until golden and crispy. Sprinkle immediately with a generous pinch of fine sea salt. These are perfect for snacking or serving with your favorite dips.
- Chilaquiles: A quintessential Mexican breakfast or brunch dish. Start by making your homemade tortilla chips (as above), then simmer them in a vibrant red or green salsa until slightly softened but still holding their shape. Top with a fried egg, a drizzle of crema, and crumbled cheese for an unforgettable meal.
- Nachos: Layer your freshly made corn tortilla chips onto a baking sheet, then pile them high with your favorite nacho cheese, jalapeños, beans, seasoned meat, and all your desired toppings. Bake until the cheese is melted and bubbly for a crowd-pleasing appetizer or meal.
- Flautas or Taquitos: Fill your homemade corn tortillas with shredded chicken, beef, or mashed potatoes, then roll them tightly into cigar shapes. Fry until golden and crispy, then serve with a dollop of guacamole, sour cream, and salsa for a delightful appetizer or light meal.
Conclusion: Embrace the Joy of Authentic Homemade Tortillas
Making your own corn tortillas is more than just cooking; it’s a connection to culinary tradition, a journey of flavor, and a rewarding experience that transforms everyday meals into something extraordinary. With just three ingredients and a little practice, you’ll be crafting soft, pliable, and incredibly flavorful tortillas that will impress your family and friends. So, don’t hesitate to dive in and discover the simple joy of authentic homemade corn tortillas. Your taste buds will thank you!
Print Recipe
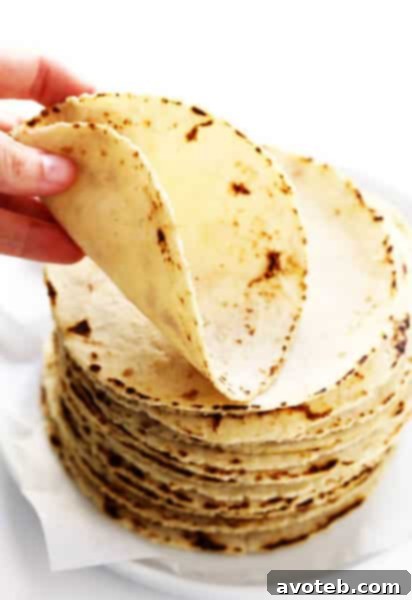
Homemade Corn Tortillas
- Author: Ali
- Prep Time: 25 mins
- Cook Time: 20 mins
- Total Time: 45 mins
- Yield: 15 tortillas 1x
Description
This homemade corn tortillas recipe is easy to make with 3 ingredients and yields the most delicious, soft, foldable, and naturally gluten-free tortillas.
Ingredients
- 2 cups (240 grams) masa harina
- 1 1/2 to 1 2/3 cups hot water*
- 3/4 teaspoon fine sea salt
Instructions
-
Mix the dough: In a large mixing bowl, briefly whisk together masa harina and salt. Gradually add 1 1/2 cups hot water, and stir the mixture with a wooden spoon or silicone spatula until an evenly-mixed dough begins to form. Use your hands to knead the dough for 2-3 minutes in the mixing bowl until it is smooth and forms a cohesive ball. The dough’s texture should feel springy and firm, similar to Play-Doh. If the dough feels too wet and is sticking to your hands, add in a few extra tablespoons of flour. If it feels too dry and crackly, add in an extra tablespoon or two of hot water.
- Rest the dough. Cover the bowl with a damp kitchen towel (or paper towel) and let the dough rest for 10 minutes.
-
Portion the dough. Use a spoon or a medium ice cream scoop to portion the dough into a 2-tablespoon ball (35-40 grams, or about the size of a golf ball), then use your hands to roll the ball until it is nice and round.
-
Press the dough balls. Place the dough ball between two pieces of plastic in a tortilla press. (I use a ziplock bag; see notes below.) Then gently press the dough ball until it forms a 4- to 5-inch tortilla.
-
Cook the tortilla. Heat a non-stick skillet or comal over medium-high heat. Once the pan is nice and hot, gently peel the tortilla away from the plastic wrap and lay the tortilla flat in the skillet. Cook the tortilla for about 40-60 seconds per side, flipping it once speckled brown spots begin to appear on the bottom of the tortilla. The tortillas will likely bubble up while cooking, especially on the second side, which is a good sign! Once it is cooked, transfer the tortilla to a tortilla warmer or a bowl wrapped in a clean kitchen towel, so that the tortillas do not dry out.
-
Repeat with the remaining tortillas. I recommend keeping the cycle going by cooking one tortilla while pressing the next dough ball at the same time. If you notice that the skillet begins to seem too hot, just turn down the heat a bit.
-
Serve. The tortillas will continue to soften a bit more as they sit in a stack in your tortilla warmer (or wrapped in a towel). So I recommend using the tortillas at the bottom of the stack first — they will be the softest. Serve however you would like and enjoy! See storage instructions below.
Equipment
Masa Harina
Buy Now →
Tortilla Press
Buy Now →
Tortilla Warmer
Buy Now →
Notes
Ingredient amounts: The amount of hot water needed will vary depending on the brand/type of masa harina that you use. I also recommend weighing the masa harina if you own a kitchen scale, versus using measuring cups, to be sure that you measure the accurate amount.
Plastic wrap instructions: I just use scissors to trim the top (zipper side) and sides away from a large ziplock freezer bag, so that it fit the size of my tortilla press. Alternately you can use beeswax wrap instead of a ziplock bag.
Peeling away the tortillas: The tortillas should be dry enough that they do not stick to the plastic when you gently peel it away. If they do stick, I recommend kneading a bit more flour into your dough before rolling out more dough balls.
Storage instructions: When serving these corn tortillas during your meal, I recommend always, always keeping them wrapped in a kitchen towel or in a tortilla warmer until ready to eat and enjoy, so that they do not dry out. Corn tortillas are definitely best served within a few hours of being made. But any leftover tortillas can be wrapped in plastic wrap, beeswax wrap, or a ziplock bag and stored in the refrigerator for up to 2-3 days.
Stand mixer option: If you own a stand mixer, you can use a dough hook to knead the dough on medium-low speed for 3 minutes.