
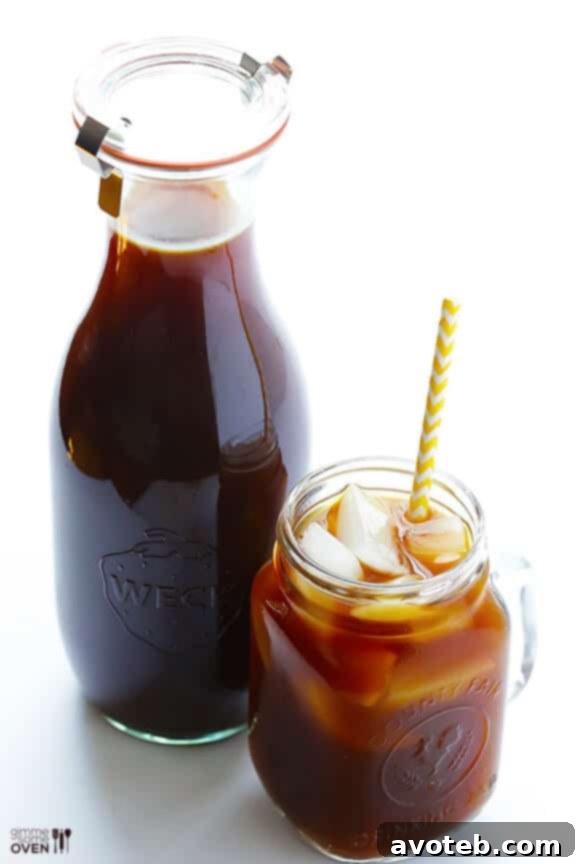
Discover the simple secret to perfectly smooth, low-acid coffee at home with this comprehensive guide and recipe!
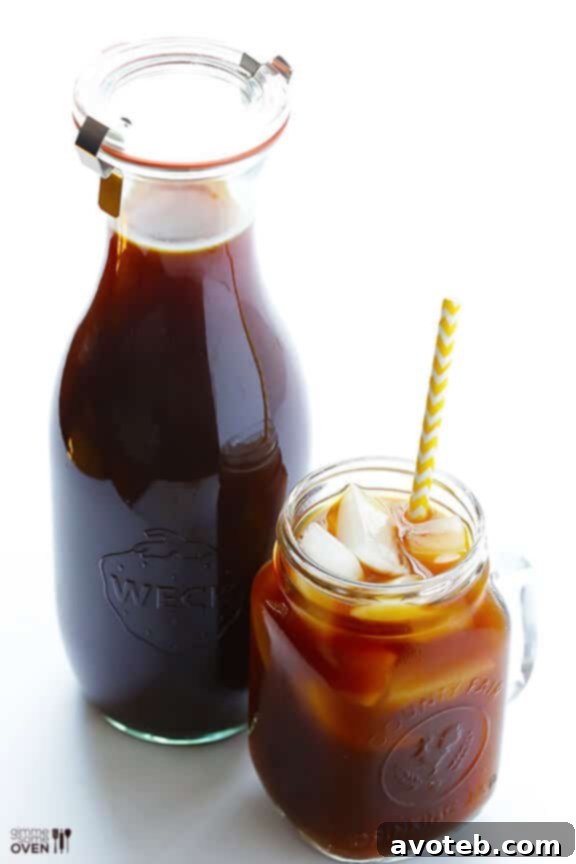
Embrace the Smoothness: Why Cold Brew Coffee Reigns Supreme
There’s a special comfort in finding your “third place” – that cherished spot between home and work. For me, it’s the bustling coffee shop next door, a vibrant hub that feels like my own personal “Central Perk.” It’s where ideas brew, friendships thrive, and the aroma of freshly roasted coffee fills the air. No matter the season, my order is consistently the same: iced coffee. While I adore a perfectly crafted pour-over coffee served over ice, my true obsession, especially in recent years, has become the remarkable cold brew.
Cold brew coffee is more than just iced coffee; it’s a completely different brewing methodology that unlocks a unique and highly sought-after flavor profile. Unlike traditional iced coffee, which is brewed hot and then cooled, cold brew utilizes cold or lukewarm water over an extended steeping period. This gentle, no-heat extraction process minimizes the release of bitter compounds and acidity, resulting in a remarkably smooth, naturally sweet, and incredibly flavorful coffee concentrate. It’s a game-changer for anyone who finds hot-brewed coffee too acidic or experiences stomach discomfort from regular coffee. The difference in taste and texture is truly astounding, and once you try it, you might never revert to your old ways.
The Undeniable Benefits of Brewing Cold Brew at Home
For years, I harbored the misconception that cold brew was a complex craft best left to skilled baristas. However, after persistent encouragement from my coffee shop friends, I finally ventured into making it myself. And oh, what a revelation it was! They were absolutely right – crafting cold brew at home is unbelievably simple, requiring mere minutes of active preparation for a week’s worth of delicious, café-quality coffee. It’s not only incredibly easy but also significantly more cost-effective, saving you countless trips to the local café.
Beyond the obvious convenience and financial savings, homemade cold brew offers several significant advantages that contribute to a superior coffee experience:
- Reduced Acidity: The cold water brewing process naturally extracts fewer acidic compounds from the coffee grounds. This makes cold brew considerably less acidic than hot-brewed coffee, which is excellent news for individuals with sensitive stomachs, acid reflux, or those simply seeking a gentler coffee option.
- Smoother, Mellow Flavor: Say goodbye to the harsh bitterness often associated with traditional coffee. The extended steeping in cold water creates a remarkably smooth, mellow taste profile that is exceptionally pleasant and easy to drink, even black.
- Naturally Sweet Undertones: Cold brew often possesses a natural sweetness due to the unique way its sugars and compounds are extracted during the cold process. This inherent sweetness means you might find yourself needing less, or even no, added sugar or sweetener.
- Incredible Versatility: The resulting cold brew concentrate is a fantastic base for a myriad of applications. From a simple refreshing iced coffee to sophisticated coffee cocktails, smoothies, and even desserts, its rich flavor enhances a wide range of recipes.
- Unbeatable Convenience: The ability to prepare a large batch once a week and then enjoy fresh, perfectly brewed coffee every single day with minimal effort is a major time-saver and a true luxury.
If you’re an avid iced coffee enthusiast, or simply looking to elevate your daily coffee ritual with a smoother, richer, and more forgiving brew, then this easy cold brew coffee recipe is an absolute must-try. Let’s delve into how you can become a cold brew master right in your own kitchen, unlocking a world of delicious possibilities!
Essential Equipment for Mastering Homemade Cold Brew
One of the most appealing aspects of making cold brew at home is that you likely already own most, if not all, of the necessary tools. You don’t need highly specialized gadgets; just a few basic kitchen items will suffice:
- Large Container for Steeping: A spacious vessel is needed to hold your coffee grounds and water during the steeping process. A large bowl, a glass pitcher, a generously sized measuring cup, or even a simple glass jar with a lid works perfectly. Aim for something with a capacity of at least 4-6 cups to comfortably accommodate the coffee and water mixture.
- Coffee Grinder: While it might be tempting to use pre-ground coffee, grinding your beans fresh just before brewing is a non-negotiable step for achieving the absolute best flavor. A burr grinder is ideal for producing a consistent coarse grind, which is crucial for cold brew. However, a blade grinder can also be used effectively with careful, short pulses to avoid creating fine powder.
- Efficient Straining Tools:
- French Press: If you’re fortunate enough to own a French press, it serves as an excellent all-in-one device for both brewing and filtering your cold brew. Its built-in plunger makes separation incredibly straightforward.
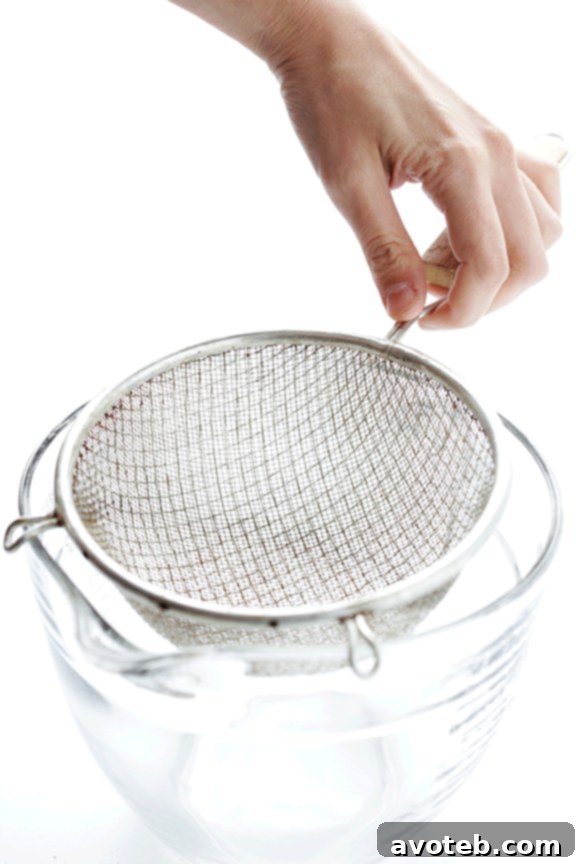
- Fine Mesh Strainer & Cheesecloth: For those using other containers, a fine mesh strainer lined with several layers of cheesecloth is the perfect combination. The cheesecloth provides an extra layer of filtration to ensure a clean, sediment-free concentrate. Standard paper coffee filters can also be used in a pinch, but they tend to filter slower.
- Airtight Storage Container: Once your cold brew concentrate is ready, you’ll need a clean, airtight glass jar or bottle to store it safely in the refrigerator. This preserves its freshness and flavor for days.
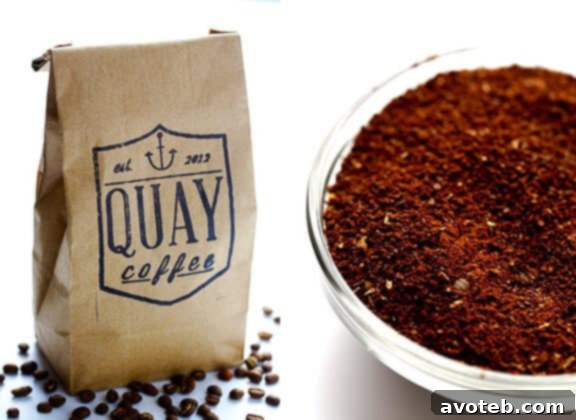
The Heart of the Brew: Selecting and Grinding Your Coffee Beans
The foundation of an exceptional cold brew experience begins with exceptional coffee beans. This isn’t merely a suggestion; it’s the golden rule for any aspiring coffee connoisseur. Here’s a detailed look at what to consider:
- Uncompromising Freshness: Always prioritize freshness when purchasing your coffee beans. Look for packaging that displays a roast date, ideally within a few weeks of your purchase. Freshly roasted beans retain their complex, nuanced flavors and enticing aromas much more effectively than older, stale beans.
- Whole Bean Superiority: Make it a habit to purchase whole beans and grind them yourself just before you embark on the cold brew process. Pre-ground coffee, while convenient, rapidly loses its freshness and can oxidize, leading to a duller, more stale flavor profile in your final brew.
- Choosing the Right Roast Level: While nearly any roast level can be used for cold brew, many enthusiasts find that medium to dark roasts yield the most satisfying results. These roasts typically possess richer, bolder, and deeper flavors that beautifully withstand the extended cold brewing process and subsequent dilution. Don’t be afraid to experiment with different origins and roast profiles – part of the joy is discovering your personal favorite!
- The Crucial Grind: Coarse, Not Fine: This is arguably the most critical step in achieving perfect cold brew. You absolutely need a coarse grind, resembling the texture of breadcrumbs or coarse sea salt. Using finely ground coffee will inevitably lead to over-extraction, resulting in an unpleasantly bitter taste and a muddy concentrate that is notoriously difficult to filter. A coarse grind ensures a slow, even extraction of flavors and allows for effortless separation of the grounds from the liquid, preventing unwanted sediment in your cup.
The Simple Art of Steeping: Brewing Your Cold Brew Concentrate
Once you’ve meticulously selected and perfectly ground your coffee beans, the actual brewing process is remarkably straightforward, requiring minimal effort and maximum patience:
- Combine Coffee and Water: Carefully pour your coarsely ground coffee into your chosen large steeping container – whether it’s a bowl, pitcher, or French press. Next, add an appropriate amount of cold, filtered water. Using filtered water is paramount, as it prevents any unwanted flavors or chemicals from tap water (like chlorine) from negatively impacting the clean, pure taste of your cold brew.
- Gentle Saturation Stir: Give the coffee and water mixture a brief, gentle stir for about 30 seconds. This step is important to ensure that all the coffee grounds are thoroughly saturated with water, promoting an even and efficient extraction of flavor compounds during the long steep.
- Cover and Refrigerate: Once stirred, cover your container tightly. This prevents any stray refrigerator odors from contaminating your precious cold brew concentrate. Place the covered container in the refrigerator for a minimum of 12 hours, and up to a maximum of 24 hours. The longer the steeping period, the stronger and more concentrated your brew will become. Many cold brew enthusiasts find that 16-18 hours offers the optimal balance of strength and smoothness, without venturing into any potential over-bitterness. I frequently prepare my batch in the evening, allowing it to steep overnight, ensuring it’s perfectly ready to filter and enjoy by the morning.
Filtering Your Cold Brew: The Final Step to Perfection
After its long, patient steeping period, your cold brew is ready to be transformed from a murky mixture into a clear, rich, and delicious concentrate. The filtering process is a crucial step to ensure a smooth, sediment-free drink:
Method 1: Using a French Press for Filtration
If you opted to brew your cold brew directly in a French press, this step couldn’t be simpler. Once the steeping time is complete, slowly and steadily press down the plunger. The French press’s integrated mesh filter will efficiently separate the coffee grounds from the liquid concentrate. As soon as you’ve pressed it, immediately pour the cold brew concentrate into a clean, airtight storage container. It’s advisable to avoid keeping the cold brew in the French press on top of the old grounds for more than 24 hours after brewing, as this can potentially lead to continued over-extraction and a slightly cloudy brew.
Method 2: Using a Strainer and Cheesecloth (or Coffee Filters)
For those who brewed their cold brew in a large bowl, pitcher, or jar, you’ll employ a more traditional two-step filtering process to achieve optimal clarity:
- Initial Coarse Strain: Begin by placing a fine mesh strainer over a second clean bowl or container. Carefully pour the entire coffee and grounds mixture from your steeping vessel into this strainer. This initial pass will effectively catch the bulk of the larger coffee grounds.
- Secondary Fine Filtration (Cheesecloth): For an ultra-smooth, sediment-free finish, line the fine mesh strainer with two layers of high-quality cheesecloth. Alternatively, you can use a large coffee filter nested within the strainer. Slowly pour the partially strained coffee mixture through the cheesecloth-lined strainer. Allow the liquid to drip naturally and completely – it’s important to resist the urge to squeeze the cheesecloth or filters. Squeezing can force fine sediment particles through the mesh, resulting in a cloudy or gritty concentrate.
Once all the liquid has fully drained, your pure cold brew concentrate is ready! Carefully discard the spent coffee grounds in an environmentally responsible manner.
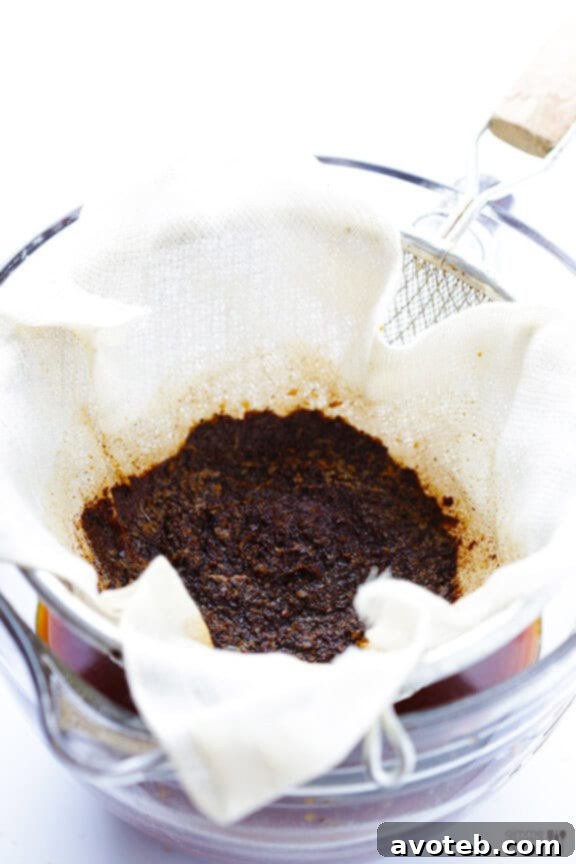
A Quick and Important Tip: Always remember that used coffee grounds are not friendly to your plumbing system! Never dispose of them down the sink or into your garbage disposal. Instead, either pop them into your compost bin where they can enrich soil, or simply toss them in the trash. It’s a small step that prevents big headaches and costly plumbing repairs.
Diluting and Enjoying Your Homemade Cold Brew
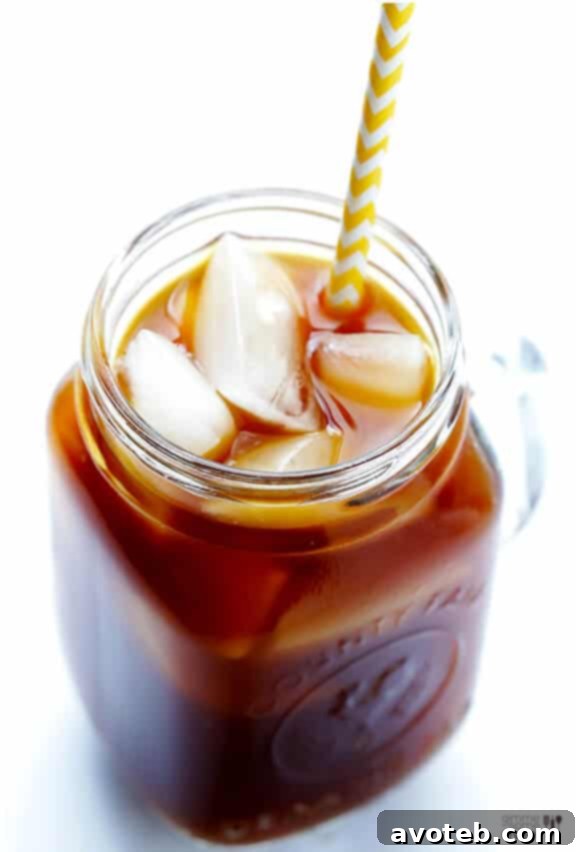
Now comes the most anticipated part – tasting and savoring your meticulously crafted cold brew! Cold brew is typically made as a concentrate, meaning it’s quite robust and needs to be diluted before drinking. This is where your personal preference truly gets to shine:
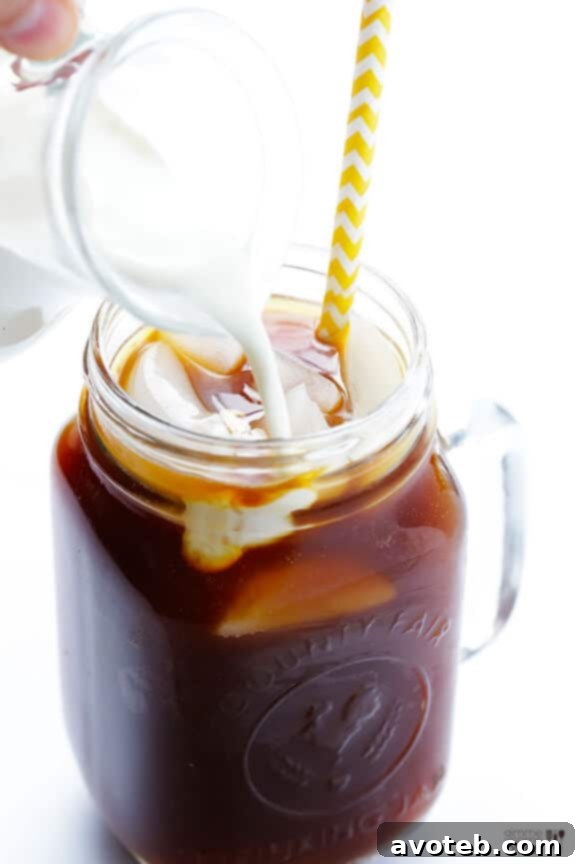
- Finding Your Perfect Dilution Ratio: A widely accepted starting point for dilution is a 1:1 ratio of cold brew concentrate to water (or milk). If you prefer a bolder, stronger cup, you might experiment with a 2:1 concentrate to water ratio. For a lighter, more subtle brew, a 1:2 or even 1:3 ratio might be more to your liking. I highly recommend beginning with a small amount of diluent (water or milk) and gradually adding more to taste until you discover your ideal strength.
- Sweeteners and Flavorings: While cold brew inherently boasts a smoother, less bitter profile and often a natural sweetness, feel completely free to enhance it with your favorite sweeteners. Simple syrup, honey, maple syrup, or a splash of vanilla extract are popular choices. However, always give your cold brew a taste test before adding anything – you might be pleasantly surprised by how little, if any, additional sweetness it requires! For a gourmet touch, consider a dash of cinnamon, a drop of almond extract, or even a drizzle of chocolate syrup.
- Creative Serving Suggestions: The classic way to enjoy cold brew is undeniably over a generous amount of ice. But don’t let your creativity stop there! Unleash its versatility by using it as a base for refreshing coffee cocktails, blending it into morning smoothies for an energizing kick, or incorporating its rich flavor into various baking and dessert recipes.
Storing Your Cold Brew Concentrate for Lasting Freshness
One of the true joys of making cold brew at home is the ability to prepare a batch that conveniently lasts for several days. Proper storage is key to maintaining its peak freshness and delicious flavor. Always store your finished cold brew concentrate in a clean, airtight container – such as a glass jar or bottle – in the refrigerator. When stored correctly, cold brew concentrate typically stays fresh and wonderfully delicious for up to 7 to 10 days. While it may remain safe to consume for a bit longer, you might notice the flavors beginning to mellow or slightly change over time. For the best taste experience, aim to enjoy it within this timeframe.
Easy Homemade Cold Brew Coffee Recipe

Cold Brew Coffee
- Prep Time: 3 minutes
- Total Time: 12-24 hours (steeping)
- Yield: Approximately 4 cups concentrate
Description
This incredibly easy cold brew coffee recipe yields a smooth, naturally sweet, and low-acid concentrate, perfect for a refreshing iced coffee experience at home. Say goodbye to bitterness and hello to convenience!
Ingredients
- 1 cup high-quality, coarsely-ground coffee beans
- 4 cups cold, filtered water
Instructions
- In a large bowl, pitcher, or French press, combine the coarsely ground coffee beans and cold filtered water. Stir gently for about 30 seconds to ensure all grounds are saturated.
- Cover the container tightly and refrigerate for a minimum of 12 hours, and up to 24 hours. For optimal flavor extraction, aim for 16-18 hours.
- Once steeped, filter the coffee. If using a French press, slowly press down the plunger. If using a bowl/pitcher, place a fine mesh strainer lined with cheesecloth (or a coffee filter) over a second clean container and pour the coffee mixture through it. Allow it to drip completely without squeezing the grounds. Discard the spent coffee grounds responsibly.
- Your cold brew concentrate is now ready. Serve over ice, diluting with water, milk, or your preferred liquid to taste (common ratios range from 1:1 to 1:2 concentrate to diluent). Add sweeteners or flavorings if desired, but taste first as cold brew is naturally sweeter.
- Store the remaining cold brew concentrate in an airtight container in the refrigerator for up to 7-10 days for optimal freshness.
This post may contain affiliate links, which means I may receive a small commission if you make a purchase through these links, at no extra cost to you.
Frequently Asked Questions About Cold Brew Coffee
Q: Can I use regular pre-ground coffee for cold brew?
A: While you technically can, it is highly recommended to use coarsely ground coffee that you grind fresh just before brewing. Fine grounds will lead to over-extraction, resulting in a bitter taste and a muddy, difficult-to-filter concentrate. Coarse grounds ensure a clean, smooth brew.
Q: What’s the ideal water-to-coffee ratio for cold brew concentrate?
A: A common starting ratio is 1:4 (one part coffee to four parts water) by weight or volume for a strong concentrate. For example, 1 cup of coffee grounds to 4 cups of water. You can adjust this slightly based on your desired strength, the specific beans you’re using, and your steeping time.
Q: How long does cold brew concentrate last in the refrigerator?
A: When stored in a clean, airtight container in the refrigerator, cold brew concentrate typically stays fresh and delicious for 7 to 10 days. While it may still be safe to consume after this period, the flavor might start to diminish or change.
Q: Do I have to use filtered water?
A: Using filtered water is highly recommended. Tap water can contain impurities, chlorine, or other minerals that can negatively impact the delicate taste of your cold brew. Good quality, filtered water contributes significantly to a clean, pure, and superior flavor.
Q: Can I heat cold brew to drink it hot?
A: Absolutely! While cold brew is primarily enjoyed cold, you can certainly gently heat it on the stovetop or in the microwave if you prefer a hot cup. It will retain its characteristic low acidity and smooth flavor, offering a hot coffee experience without the typical bitterness of hot-brewed coffee. Just be careful not to boil it, which can sometimes reintroduce bitterness.
Q: What if my cold brew tastes too weak or too strong?
A: If your cold brew tastes too weak, try using less water, milk, or other diluent when serving. For future batches, you can also increase the steeping time (up to 24 hours) or slightly increase your initial coffee-to-water ratio. If it’s too strong, simply add more water or milk when diluting it to your preferred taste. Adjusting your dilution ratio is the easiest way to fine-tune its strength.
Making cold brew coffee at home is a truly rewarding experience that yields consistently delicious results with surprisingly minimal effort. It’s a fantastic, cost-effective, and convenient way to enjoy a smoother, less acidic, and naturally sweeter coffee beverage that’s perfect for any time of year. So, gather your beans, a simple jar, and get ready to brew your best cup yet. Cheers to endless cold brew enjoyment and discovering your favorite way to savor this incredible drink!