
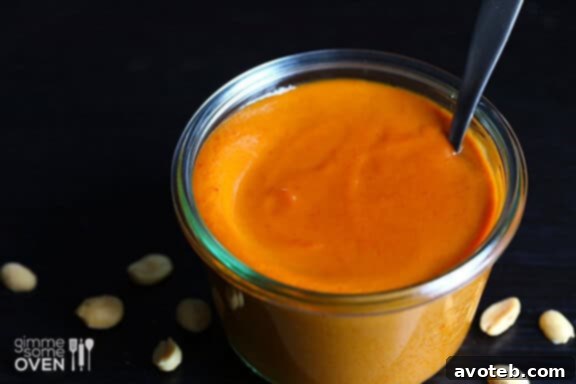
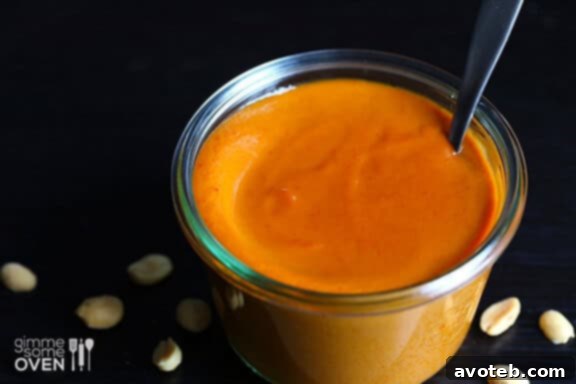
Unlock Unforgettable Flavors: Your Guide to Homemade Thai Peanut Sauce
Are you one of those culinary adventurers, forever on the hunt for that perfect, creamy, and irresistibly flavorful Thai peanut sauce? You know the one – that magical condiment that transforms a simple stir-fry into an exotic feast, elevates a mundane salad into a vibrant bowl of goodness, or serves as the ultimate dipping companion for succulent chicken satay. For years, like many, I relied on those convenient little jars from the Asian food aisle, a secret weapon for whipping up quick, delicious, and peanut-packed meals. But a little voice inside always wondered: could I make something even better, something truly extraordinary, right here in my own kitchen?
The quest for the ultimate homemade Thai peanut sauce became a delightful obsession. I experimented with countless recipes, tweaking proportions, testing different ingredients, and refining techniques. And after much whisking and tasting, I am absolutely thrilled to share with you a recipe that is not just good, but ridiculously good. This homemade version surpasses any store-bought sauce I’ve ever encountered. It boasts a rich, complex flavor profile that’s perfectly balanced – savory, subtly sweet, tangy, and with just the right amount of warmth, without being overpowering. The best part? It comes together in mere minutes, promising a truly heavenly sauce that will become a staple in your culinary repertoire.
For all my fellow peanut sauce enthusiasts, prepare to be amazed. Ditch the store-bought jars and embrace the unparalleled freshness and depth of flavor that only a homemade sauce can offer. I promise, once you try this recipe, you’ll wonder how you ever lived without it.
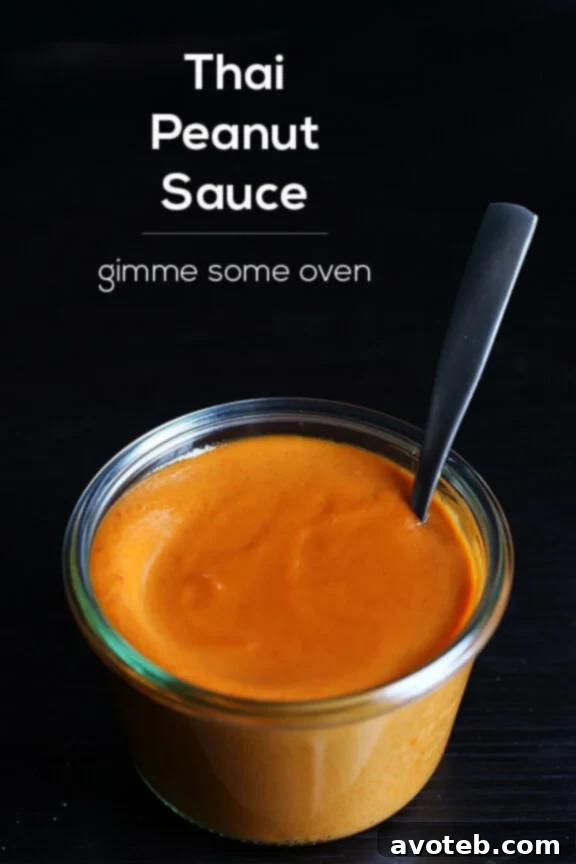
Why Homemade Thai Peanut Sauce is a Game Changer
While store-bought peanut sauces offer convenience, making your own at home provides a myriad of benefits that elevate your dishes to a whole new level. First and foremost, you gain complete control over the ingredients. This means you can avoid unwanted additives, preservatives, and excessive amounts of sugar or sodium often found in commercial products. For those with dietary restrictions or specific health goals, crafting your own sauce allows you to tailor it to your needs – opting for gluten-free soy sauce (tamari), reducing sugar, or choosing organic ingredients.
Beyond health considerations, the flavor of homemade Thai peanut sauce is simply superior. Freshly prepared, it boasts a vibrant taste and aroma that pre-packaged versions can rarely match. You can customize the spice level, adjust the sweetness to your preference, or add extra notes of ginger or garlic for an even richer complexity. This personalization transforms the sauce from a mere condiment into an integral part of your dish, perfectly harmonizing with other flavors. Moreover, making your own can often be more cost-effective, especially if you enjoy peanut sauce frequently, as pantry staples like peanut butter and coconut milk are generally affordable when bought in larger quantities.
Print Recipe

Thai Peanut Sauce
Prep Time: 5 minutes
Cook Time: 10 minutes
Total Time: 15 minutes
Yield: 3 cups 1x
Description
This quick and simple recipe yields a delicious, versatile homemade Thai peanut sauce perfect for everything from stir-fries and chicken satay to vibrant Asian salads and dipping. Experience an incredible depth of flavor that far surpasses any store-bought alternative!
Ingredients
Scale
- 1 (13.5 ounce) can coconut milk (full-fat is recommended for richness, but light can be used)
- 1/4 cup Thai red curry paste
- 1 cup natural (unsweetened) creamy peanut butter
- 3 Tbsp. soy sauce (use tamari for a gluten-free option)
- 1/3 cup granulated sugar (or adjust to taste)
- 2 Tbsp. white vinegar (rice vinegar is also a great alternative)
- ½ cup water (or more, to achieve desired consistency)
- 1/4 tsp. toasted sesame oil
- (optional add-ins for extra flavor: 1-2 teaspoons sriracha hot chile sauce for heat, 1 tablespoon grated fresh ginger, and/or 1 tablespoon minced garlic)
Instructions
- Combine Ingredients: In a medium saucepan, combine the coconut milk, Thai red curry paste, natural peanut butter, soy sauce, sugar, white vinegar, and water.
- Heat and Whisk: Place the saucepan over medium heat. Whisk the mixture constantly to ensure all ingredients are well combined and to prevent the peanut butter from sticking to the bottom. Bring the sauce to a very gentle simmer – it should not be a rolling boil.
- Simmer: Once simmering, reduce the heat to low and continue to cook for 3-5 minutes, whisking occasionally. Be diligent to prevent the mixture from scorching at the bottom of the pot. The sauce will begin to thicken slightly.
- Finish and Cool: Remove the saucepan from the heat. Stir in the toasted sesame oil. Allow the sauce to cool for at least 5-10 minutes. As it cools, the sauce will continue to thicken to a perfect, rich consistency.
- Serve or Store: Serve immediately with your favorite dishes, or transfer to a sealed container. It can be refrigerated for up to 1 month or frozen for up to 3 months for future use.
Notes
This recipe is adapted from a fantastic guide on She Simmers, a wonderful resource for authentic Thai cooking.
Tips for the Perfect Consistency:
- If your sauce is too thick after cooling, whisk in a tablespoon of warm water or a splash of coconut milk at a time until it reaches your desired consistency.
- If it’s too thin, simmer it gently for a few more minutes, stirring frequently, to allow more moisture to evaporate.
Flavor Customization:
- For more heat, increase the sriracha or add a pinch of red pepper flakes.
- For a deeper savory note, a dash of fish sauce can be added, though it’s optional and not always traditional in all versions of peanut sauce.
- Adjust sugar and vinegar to achieve your preferred balance of sweet and tangy.
The Incredible Versatility of Homemade Thai Peanut Sauce
Once you’ve experienced the unparalleled flavor of homemade Thai peanut sauce, you’ll find endless ways to incorporate it into your cooking. Its creamy texture and complex taste make it incredibly versatile, capable of transforming simple ingredients into gourmet meals.
Classic Pairings and Beyond:
- Chicken Satay: This is arguably the most iconic pairing. Skewered grilled chicken, marinated and served with a generous side of this rich peanut sauce, is a quintessential Thai delight.
- Stir-fries: Use it as a luscious sauce for quick weeknight stir-fries featuring your favorite vegetables, tofu, chicken, beef, or shrimp. Simply toss it with cooked ingredients in the last few minutes of cooking.
- Noodle Dishes: From cold peanut noodles with crisp vegetables to hot stir-fried noodles, this sauce is a dream. It coats every strand with its savory goodness, creating a satisfying and flavorful meal.
- Salad Dressing: Thin it slightly with a little extra water or lime juice, and it becomes an incredible dressing for Asian-inspired salads. Think crisp lettuce, shredded carrots, bell peppers, cucumbers, and grilled chicken or tofu.
- Dipping Sauce: It’s fantastic as a dipping sauce for fresh spring rolls, crispy vegetable dumplings, grilled prawns, or even simple raw vegetable sticks.
- Marinade: Prior to grilling or baking, marinate chicken, pork, or firm tofu in a thinned-out version of the sauce. It infuses a deep, nutty flavor that makes for incredibly tender and delicious results.
- Sandwich or Wrap Spread: Spread a thin layer on bread or tortillas for an unexpected and delightful flavor boost in sandwiches, wraps, or even burgers.
- Grain Bowls: Drizzle generously over rice or quinoa bowls packed with roasted vegetables, avocado, and protein for a complete and flavorful meal.
The possibilities are truly limitless. This sauce is not just a recipe; it’s an invitation to explore a world of flavors and creativity in your kitchen.
Storage and Make-Ahead Tips
One of the best aspects of this homemade Thai peanut sauce is how well it stores, making it an excellent candidate for meal prep. After preparing the sauce, allow it to cool completely before transferring it to an airtight container. You can keep it in the refrigerator for up to one month. Its robust flavor often deepens over time, making it even more delicious on subsequent uses.
For longer storage, this peanut sauce freezes beautifully. Pour it into freezer-safe bags or containers, leaving a little headspace for expansion. It can be frozen for up to three months. When you’re ready to use it, simply thaw it in the refrigerator overnight or gently warm it on the stovetop over low heat, stirring frequently until smooth. You might need to add a splash of water or coconut milk to achieve its original creamy consistency after thawing, as separation can sometimes occur. A quick whisk will bring it right back together.
Having a batch of this versatile sauce ready to go in your fridge or freezer means you’re always just minutes away from a flavorful meal. It truly streamlines weeknight cooking, allowing you to whip up impressive dishes with minimal effort.