
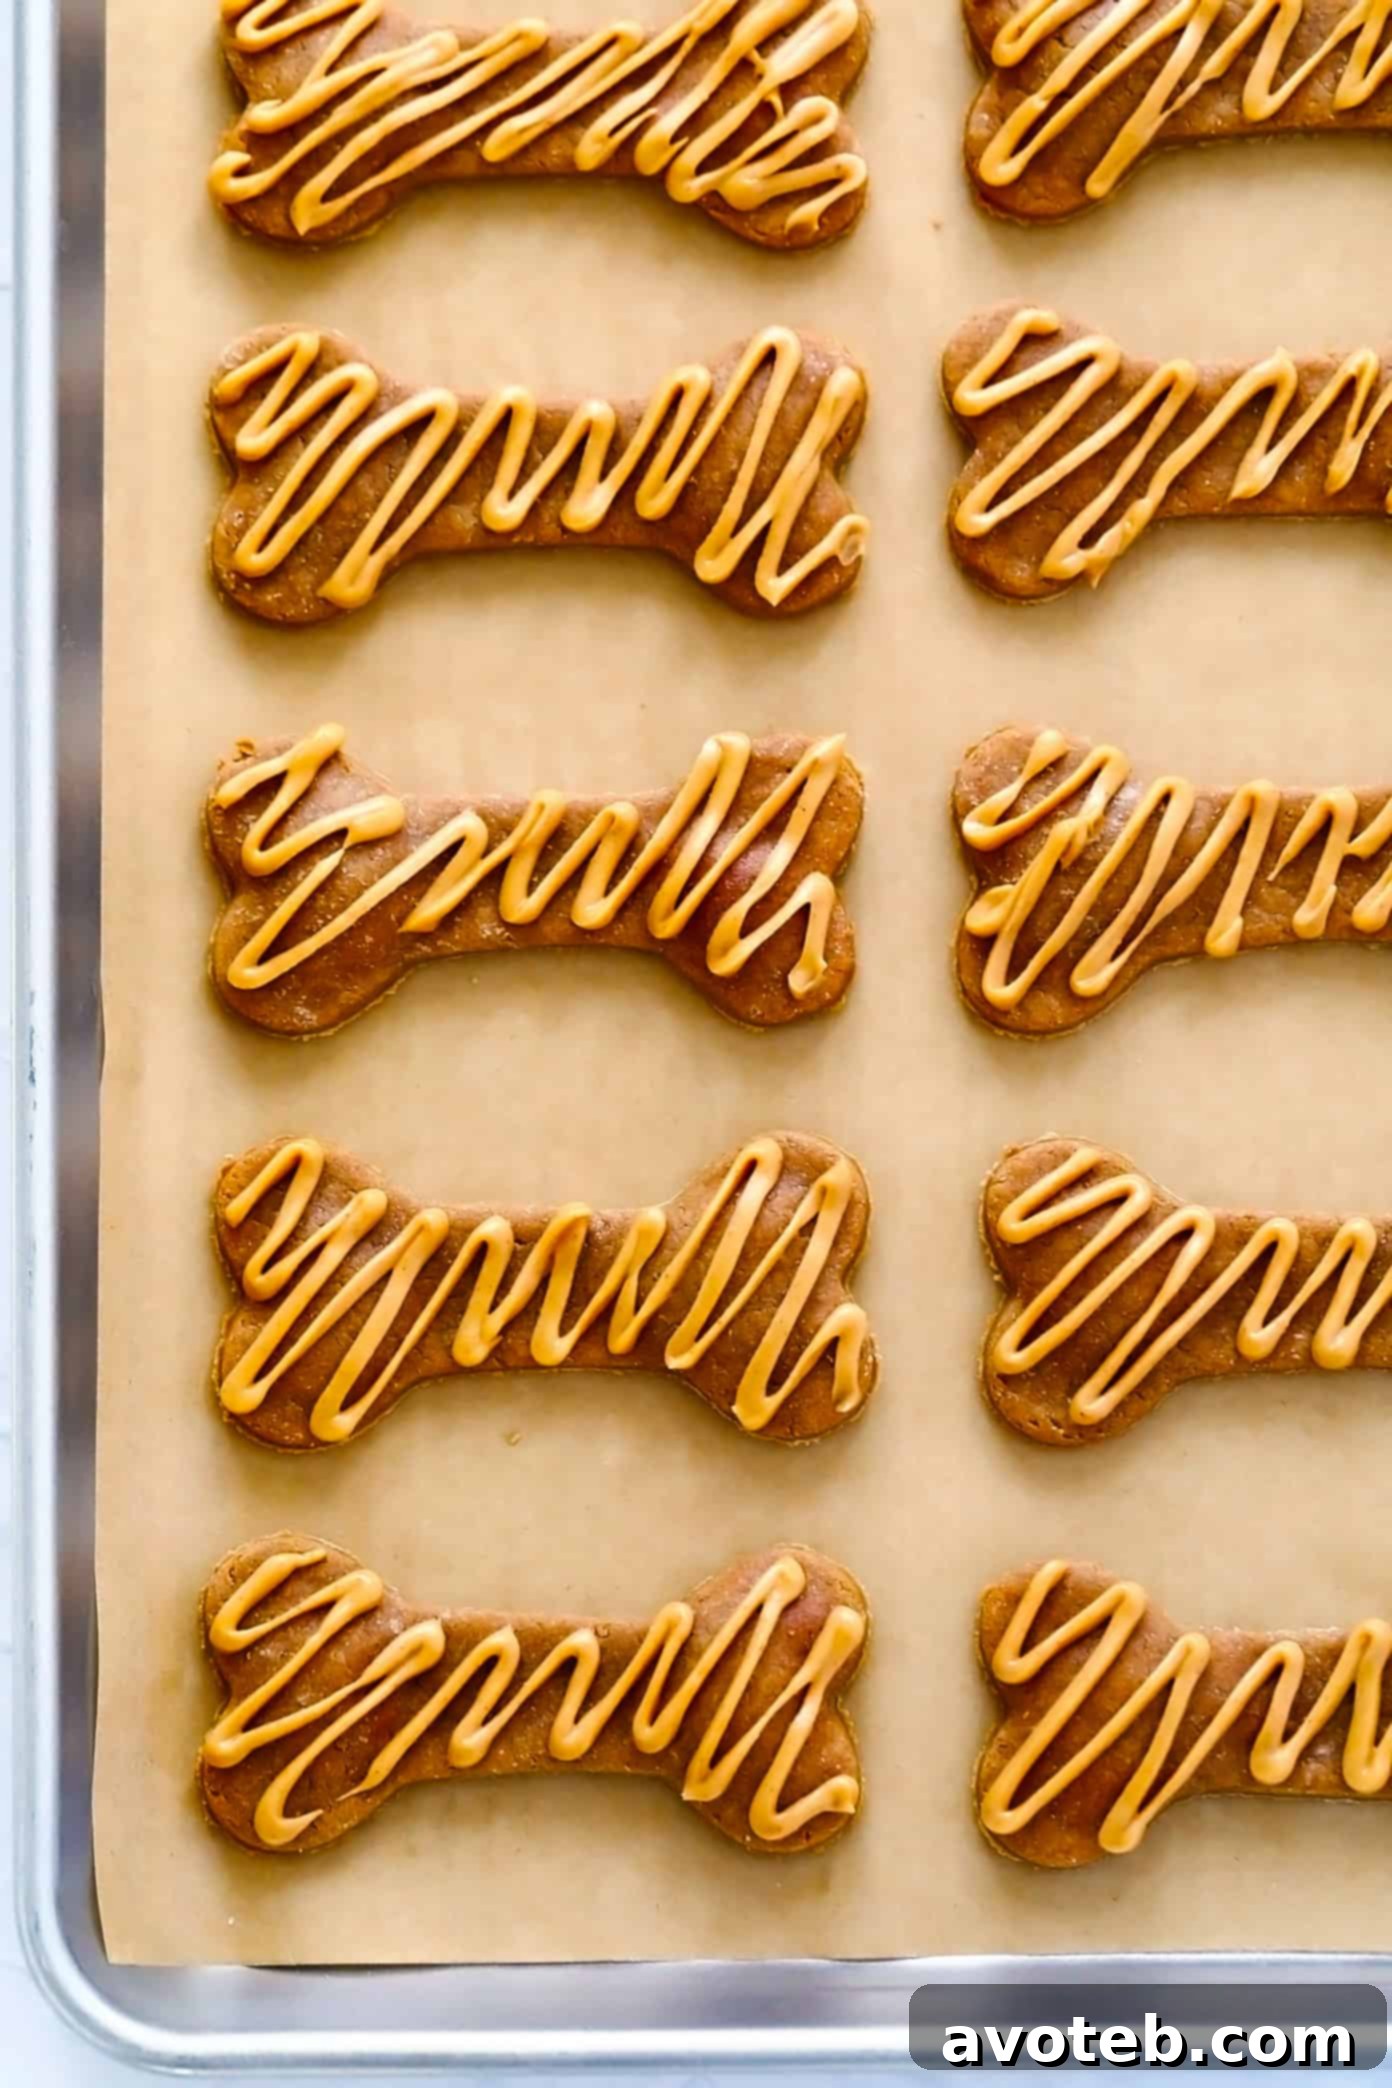
The Ultimate 3-Ingredient Homemade Dog Treat Recipe: Easy, Healthy, and Pup-Approved!
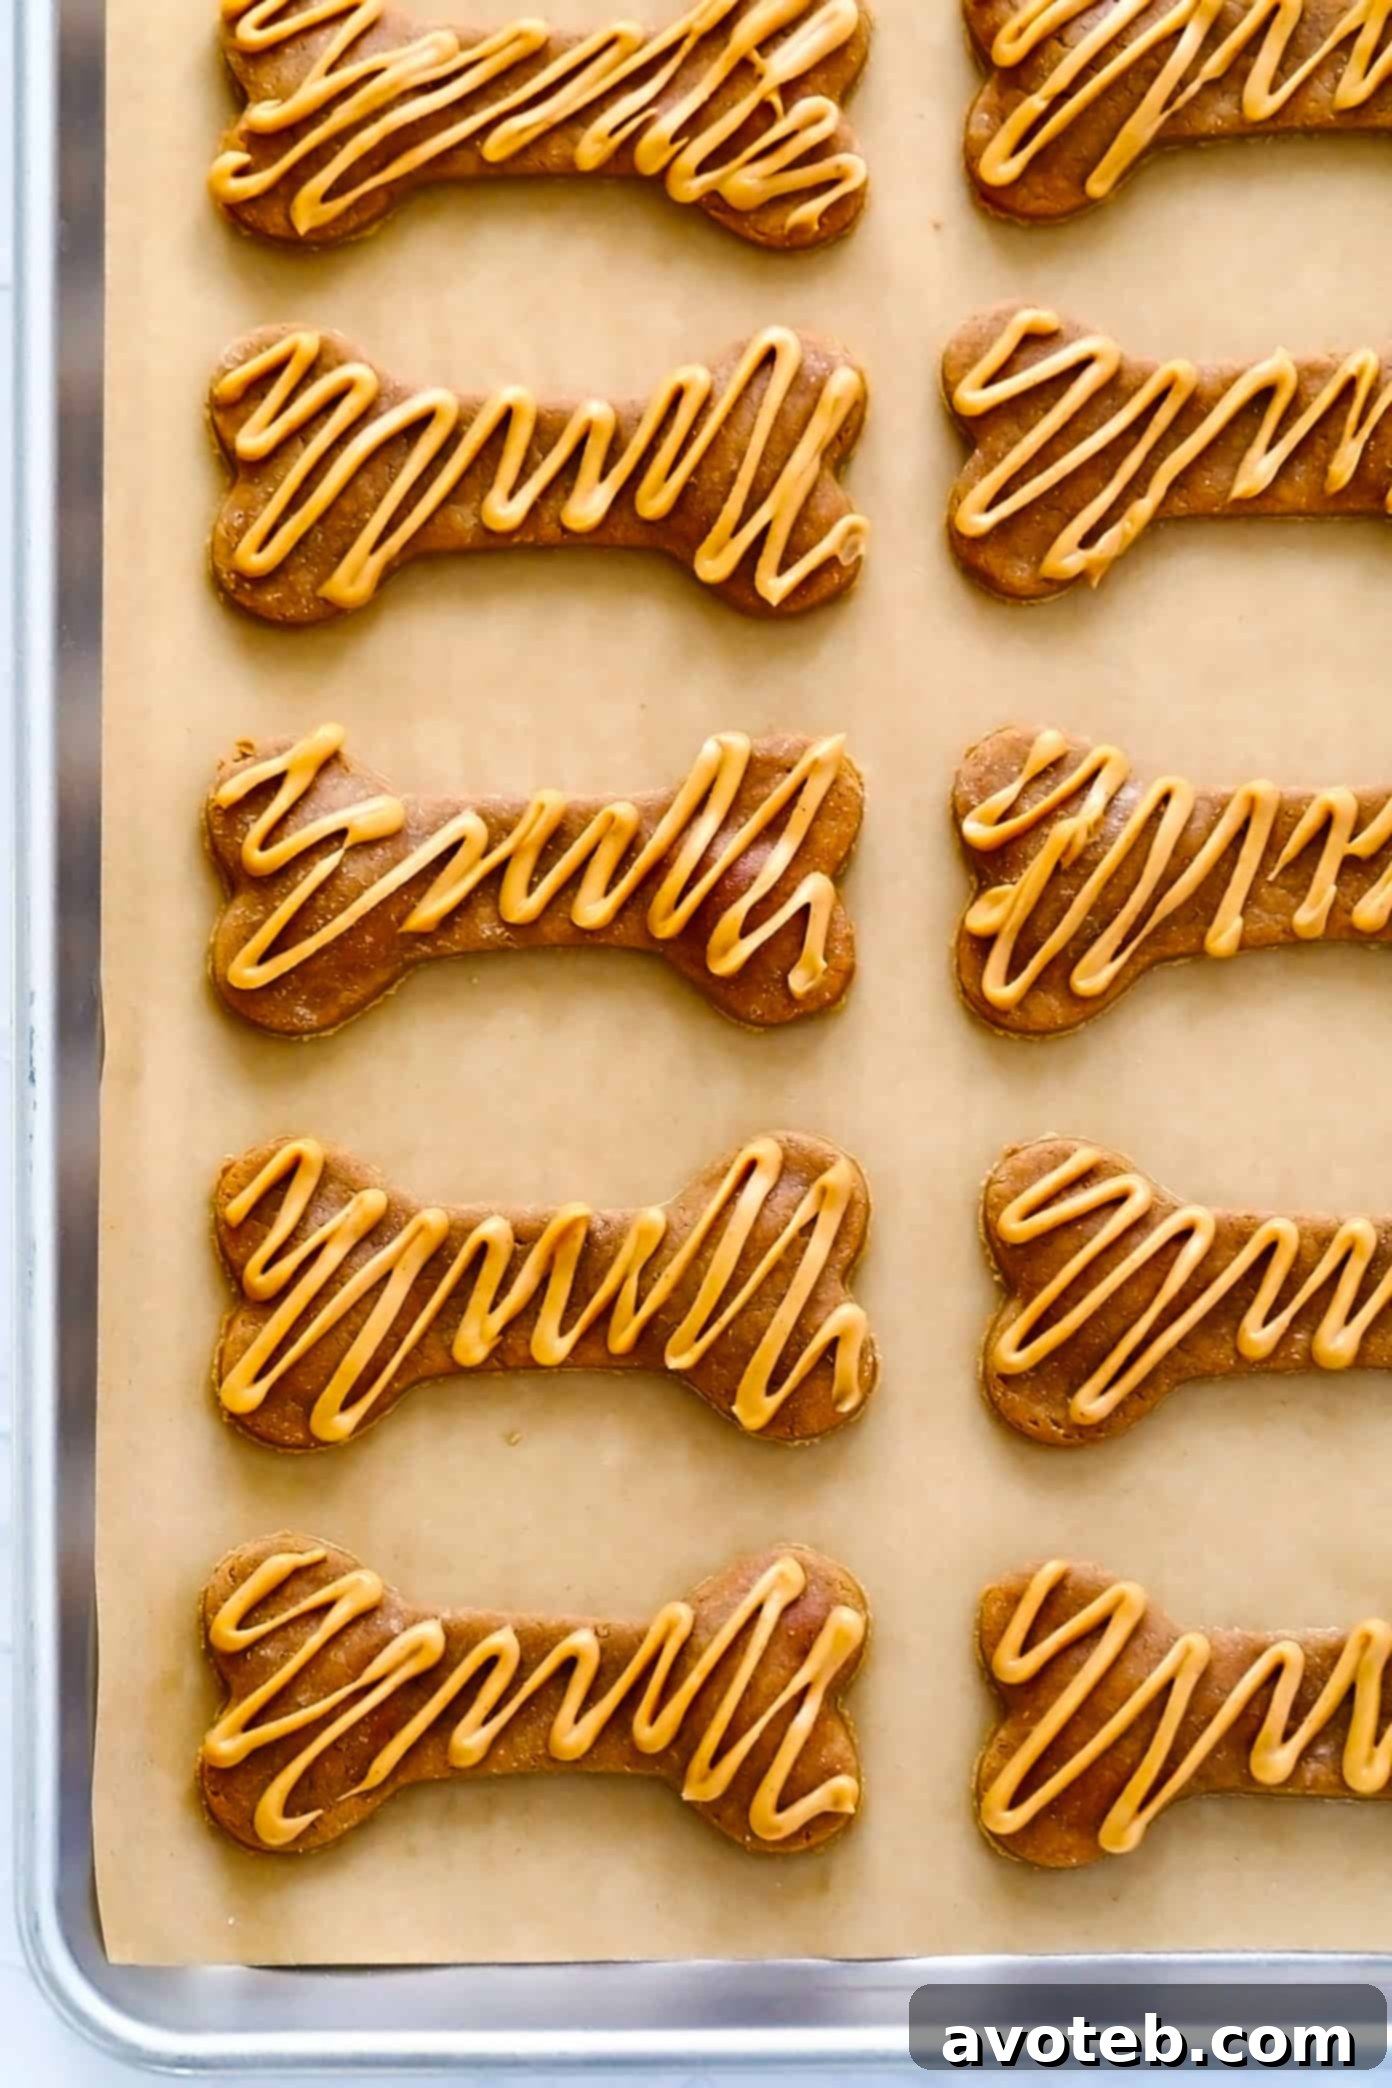
Every pet owner knows the joy of seeing their furry friend’s tail wag with excitement, especially when a treat is involved. This holiday season, or any time of year, don’t let your beloved canine companions feel left out of the delicious baking fun! Imagine crafting wholesome, safe, and irresistibly tasty treats right in your own kitchen with minimal effort and just three simple ingredients.
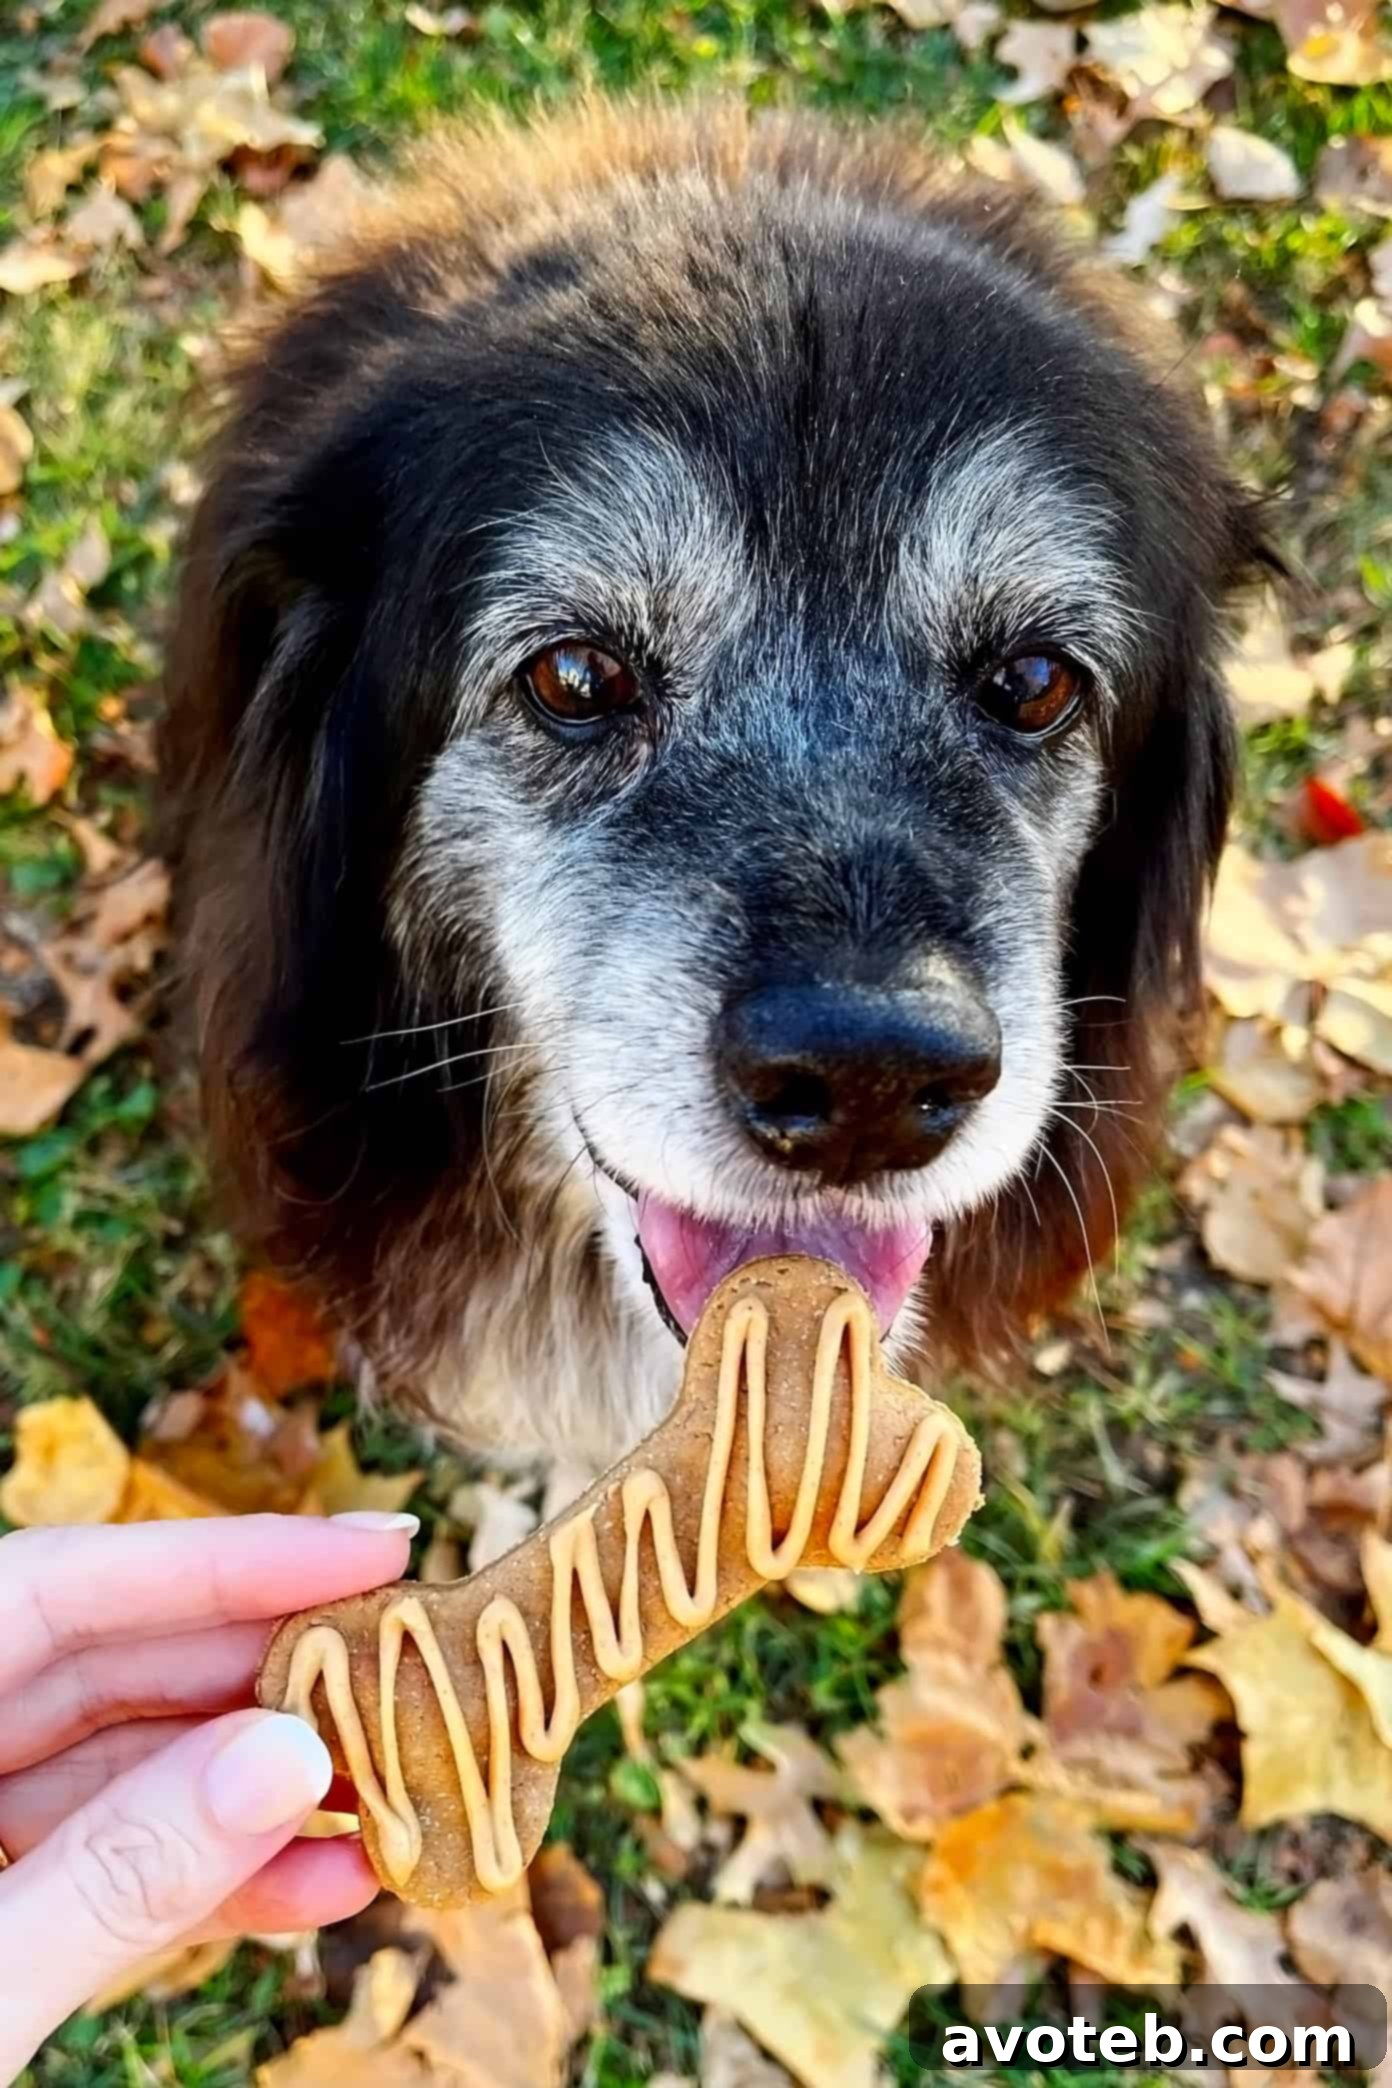
As we often find ourselves baking up a storm, the tantalizing aromas can be almost too much for our four-legged family members to bear. Our sweet elderly pup, Fiona, for example, is notorious for sniffing eagerly around the kitchen, her hopeful eyes fixed on every mixing bowl. This led us to develop the perfect solution: a batch of simple, pet-safe dog treats that are not only quick to whip up but also guaranteed to earn you endless puppy kisses and happy wags.
Why Choose Homemade Dog Treats? The Benefits of Baking for Your Best Friend
While store-bought dog treats are convenient, making your own comes with a wealth of benefits that prioritize your dog’s health and happiness. When you bake at home, you have complete control over every single ingredient, eliminating concerns about artificial preservatives, questionable fillers, or hidden sugars that can often be found in commercial options. This recipe, in particular, focuses on whole, natural foods that are recognized as safe and beneficial for dogs.
Beyond the health advantages, there’s an undeniable bond formed through the act of preparing food for your pet. It’s a small gesture that speaks volumes of your love and care. Plus, these homemade treats are incredibly cost-effective compared to gourmet pet store varieties, allowing you to spoil your pup more often without breaking the bank. You can also customize the size and shape to suit your dog’s breed and chewing preferences, ensuring every treat is just right.
Our Simple 3-Ingredient Philosophy: Safety, Simplicity, and Scrumptiousness
After thorough research into dog-friendly ingredients, we opted for a minimalist approach, focusing on maximum safety and flavor with just three basic, AKC-approved components: natural peanut butter, oat flour, and ripe bananas. This trio not only creates a wonderfully pliable dough but also results in a treat that’s packed with nutrients and a flavor dogs adore.
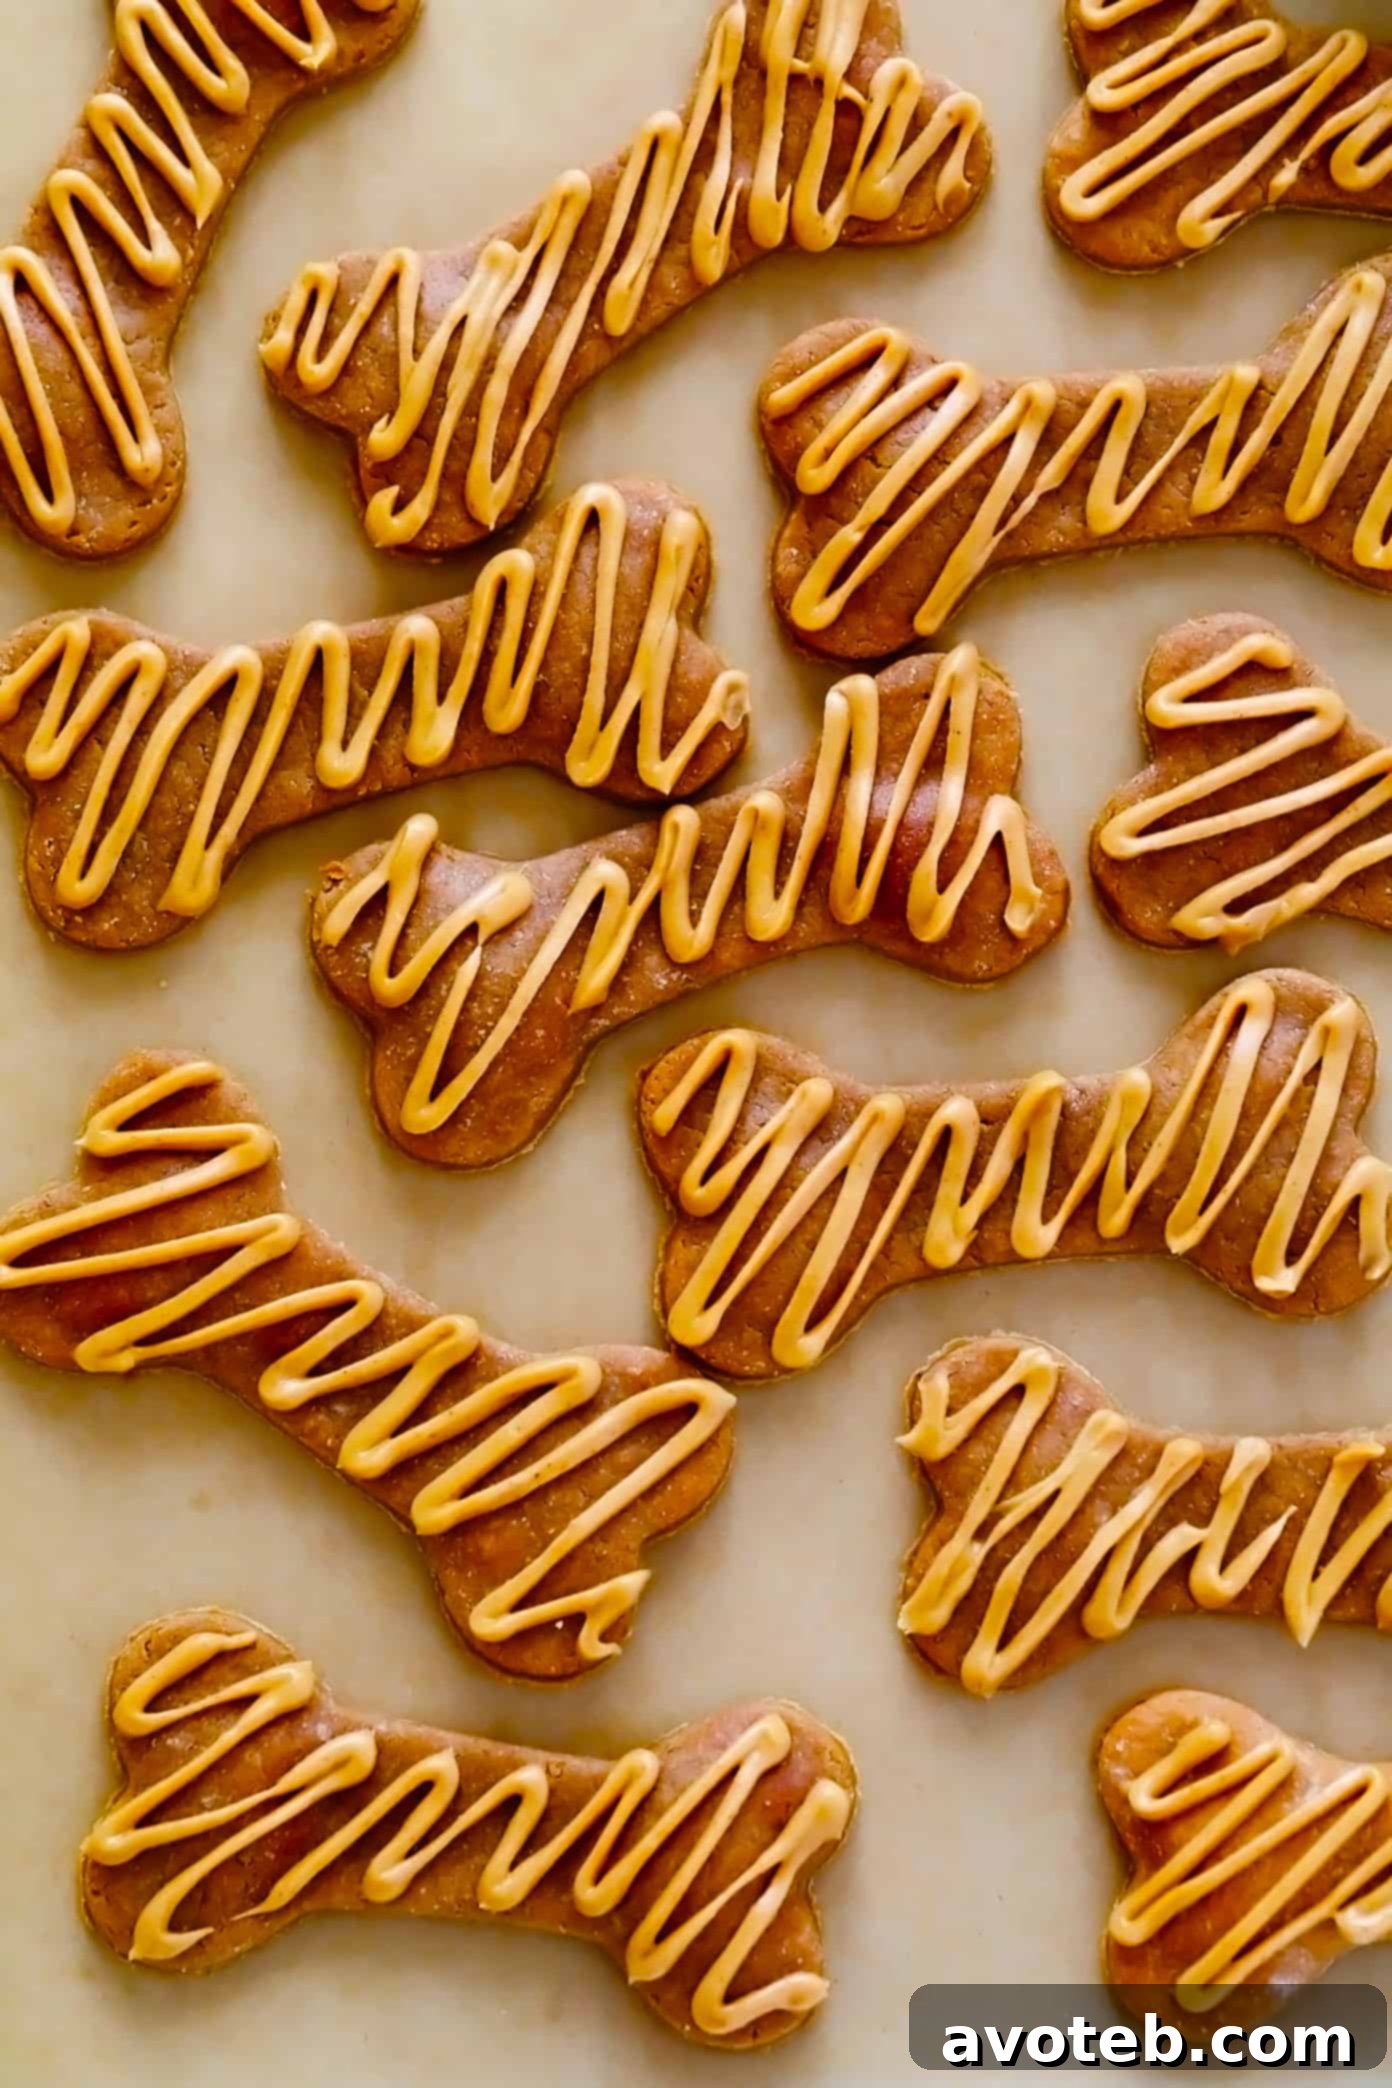
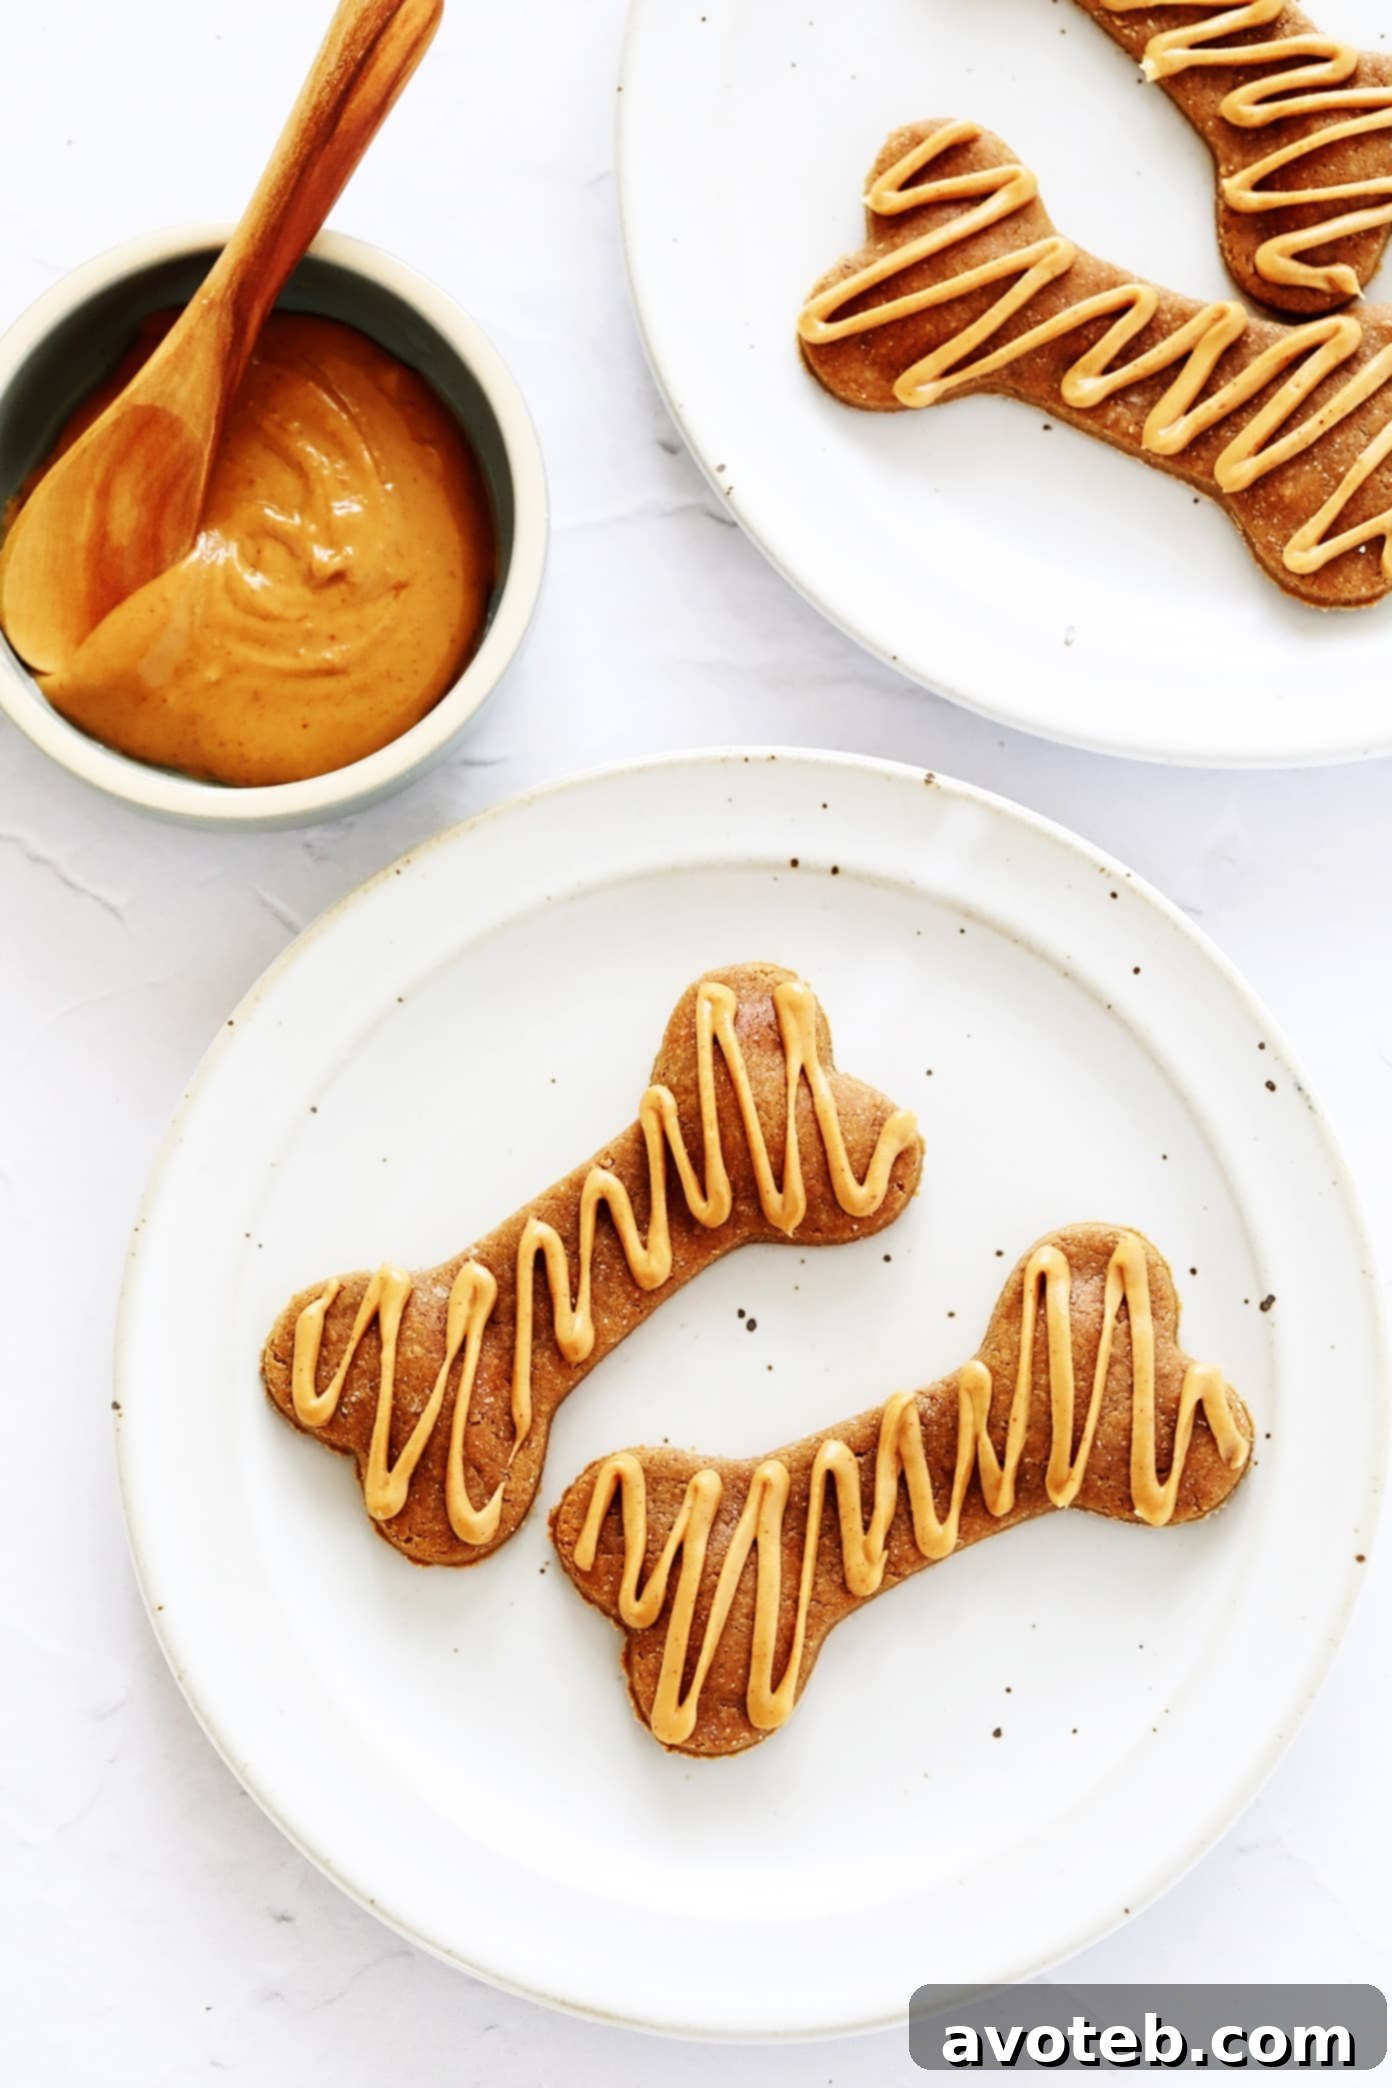
The process couldn’t be simpler: combine these three ingredients until you achieve a firm, rollable dough. Then, let your creativity shine! Cut out fun shapes like adorable dog bones, bake them until they’re perfectly crispy, and if you’re feeling extra indulgent, a little drizzle of additional peanut butter on top will make them utterly irresistible. Prepare for instant adoration from your furry companion!
We can personally attest to their success. Fiona was absolutely convinced she had won the lottery with these peanut butter banana cookies! Her joyful jumps, enthusiastic twirls, and tail wags at a million miles per hour each time she’s offered one are truly heartwarming. We’re confident your pup will be just as big a fan!
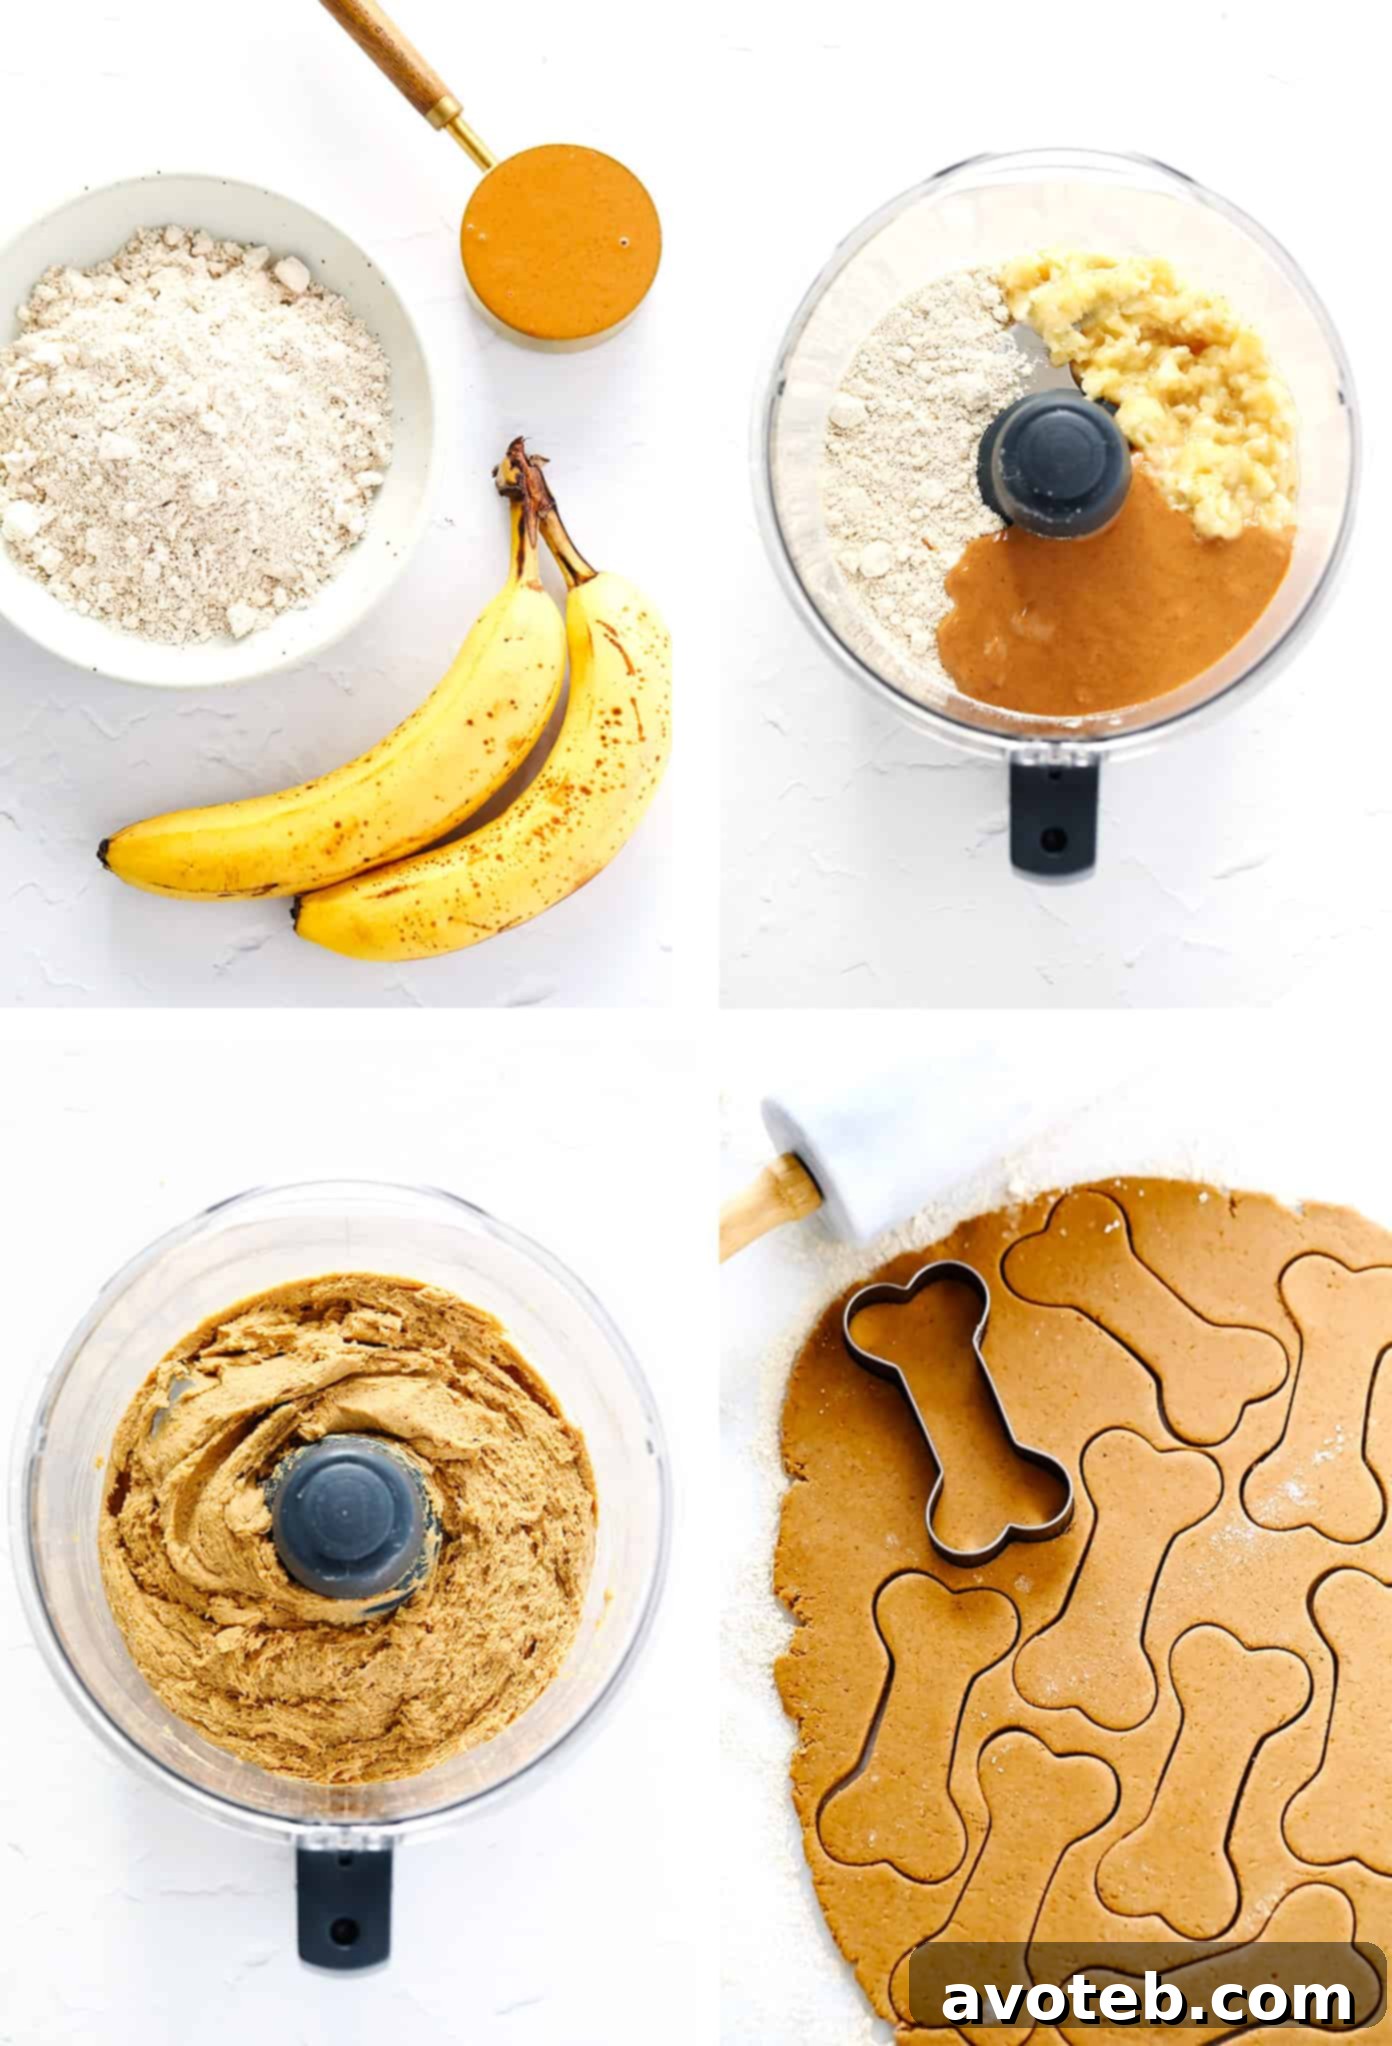
Homemade Dog Treat Recipe | Quick Video Guide
Watch our 1-minute video tutorial for a visual guide on how to prepare these delightful 3-ingredient dog treats. It’s easier than you think!
Decoding the Delicious Trio: Key Ingredients Explored
Understanding the role and benefits of each ingredient will help you appreciate the wholesome goodness of these treats. Here’s a closer look at the three stars of our recipe:
- Oat Flour: The Wholesome Base
This versatile flour forms the crucial structural base for our cookies, giving them a satisfying texture and shape. Oat flour is an excellent choice for dog treats because it’s naturally gluten-free, making it a gentle option for dogs with sensitivities. It’s also packed with dietary fiber, which aids in healthy digestion. You can easily purchase pre-made oat flour from most grocery stores or, for a more DIY approach, simply pulse old-fashioned rolled oats in a blender or food processor until they achieve a fine, flour-like consistency. Remember, if your dough feels a bit too sticky, don’t hesitate to add a little extra oat flour until it’s easy to handle. - Natural Peanut Butter: A Canine Favorite (with Crucial Safety Notes)
It’s no secret that dogs are absolutely crazy about peanut butter! Its rich flavor and creamy texture make it an irresistible ingredient. However, when selecting peanut butter for your furry friend, safety is paramount. You MUST use natural peanut butter made with 100% peanuts for this recipe. It is critically important to check the ingredient list for xylitol, an artificial sweetener that is highly toxic and can be deadly for dogs, even in small amounts. Always read labels carefully to ensure the peanut butter contains only peanuts, and perhaps a tiny bit of salt. Avoid any peanut butter with added sugars, artificial sweeteners, or excessive sodium. Your pup’s health depends on this important distinction. - Ripe Bananas: Sweetness and Nutrients
Bananas are a fantastic addition to dog treats, providing natural sweetness, essential nutrients, and a delightful texture. They are safe for dogs in moderation and offer a good source of potassium, vitamins C and B6, and fiber. The ripeness of your bananas will influence the moisture content and sweetness of the dough; well-ripened bananas will be softer and easier to mash, contributing more natural sugars and moisture. This helps bind the dough and adds a flavor profile that perfectly complements the peanut butter.
Step-by-Step Guide: Crafting Your Canine’s Favorite Cookies
Making these treats is a straightforward process, but a few extra tips can ensure your baking experience is smooth and successful. The full recipe with precise measurements is provided below, but here are some key considerations:
- Adjust the Ingredient Ratios as Needed: Not all peanut butters are created equal, and bananas can vary significantly in moisture content depending on their ripeness. Because of this, the dough’s consistency might differ slightly. If your dough seems too soft or excessively sticky to roll out easily, simply incorporate a bit more oat flour, a tablespoon at a time, until it reaches a firm, manageable texture. Conversely, if the dough appears too stiff or crumbly, a tiny splash of water (about a teaspoon) can help bring it together.
- Use Oat Flour for Rolling Out the Dough: When dusting your work surface to prevent sticking, it’s best to stick with oat flour. While some recipes might suggest all-purpose flour, it’s generally best to avoid it for dog treats, as some dogs can have sensitivities or allergies to wheat. Alternatively, for an even cleaner and flour-free rolling process, you can place the dough between two sheets of parchment paper. This method works wonderfully and ensures no extra flour is needed.
- Roll into Whatever Shapes You Like! The fun part about homemade treats is the ability to personalize them. We used adorable dog bone cookie cutters to create classic shapes, but don’t feel limited! Get creative with any cookie cutters you already own – stars, hearts, or even simple circles cut with the rim of a small glass will work perfectly. If you prefer a rustic look or don’t have cookie cutters, a pizza slicer can quickly cut the dough into neat rectangles or squares.
- Baking to Perfection: Keep a close eye on your treats as they bake. You’re looking for a lightly golden hue, which indicates they are properly cooked and will be delightfully crispy once cooled. Baking them until they are a bit firmer will also help with their shelf life. Once removed from the oven, transfer them to a wire rack immediately to allow air circulation, ensuring they cool completely and achieve that satisfying crunch.
- Store Safely for Lasting Freshness: Proper storage is key to keeping your homemade treats fresh and palatable for your pup. These cookies can be stored in an airtight container at room temperature for up to 5 days. For longer preservation, they freeze beautifully! Simply place them in a freezer-safe bag or container, and they’ll keep for up to 3 months. Thaw them at room temperature before serving.
Customization & Variations: Beyond the Basics
While this recipe is perfect in its simplicity, you can also consider small, dog-safe additions to introduce new flavors or nutrients, if you’re comfortable with adding to the “3-ingredient” core:
- Optional Add-ins: For an extra boost, consider mixing in a tablespoon or two of pumpkin puree (ensure it’s 100% pumpkin, not pie filling), finely grated carrots, a tiny sprinkle of ground flaxseed for omega-3s, or even a small amount of unsweetened applesauce. Always introduce new ingredients slowly and in small quantities to ensure your dog tolerates them well.
- Drizzle and Toppings: Beyond the optional peanut butter drizzle, you could consider a light topping of plain, unsweetened yogurt (ensure no xylitol!) or a very thin coating of dog-safe carob powder dissolved in a little water for a “chocolate” look.
- Varying Sizes: For smaller dogs, make mini treats; for larger breeds, bigger cookies might be more appropriate. Adjust baking time accordingly for very small or large treats.
Prioritizing Pet Safety: Important Considerations
The health and well-being of your pet should always be the top priority. We’ve meticulously chosen ingredients that are widely recognized as safe for dogs by reputable organizations like the American Kennel Club. However, we are not veterinary professionals. Every dog is unique, with individual dietary needs, sensitivities, or pre-existing health conditions.
Therefore, if you have any concerns whatsoever about introducing new foods to your pet, or if your dog has specific allergies or health issues, please consult your veterinarian before trying these (or any) homemade treats. It’s always best to err on the side of caution. We also recommend offering these treats in moderation – no more than one cookie per day, especially when first introducing them, to avoid any upset stomachs or over-indulgence. Enjoy spoiling your furry friend responsibly!
Homemade Dog Treats (3 Ingredients!)
Author: Ali
Prep Time: 15 mins
Cook Time: 30 mins
Total Time: 45 mins
Yield: 16 to 20 cookies 1x
Description
This 3-ingredient homemade dog treats recipe is quick and easy to make and cut into whatever shapes you love. It’s a healthy, simple, and safe way to spoil your beloved canine!
Ingredients
Scale
- 1 3/4 cup (160g) oat flour
- 1 cup mashed ripe bananas (about 2 medium bananas)
- 1/2 cup natural peanut butter (ensure no xylitol!), plus extra for drizzling if you’d like
Instructions
- Prep oven and baking sheet. Heat oven to 300°F (150°C). Line a baking sheet with parchment paper to prevent sticking.
- Mix the dough. Combine the oat flour, mashed ripe bananas, and natural peanut butter in a food processor. Pulse until the mixture is thoroughly combined and forms a firm, cohesive dough. If you don’t have a food processor, you can mix by hand in a large bowl.
- Roll and cut. Lightly dust a clean surface with extra oat flour. Roll the dough out to an even ¼-inch (about 6mm) thickness. Use your preferred cookie cutters (like dog bone shapes) to cut out the treats and carefully transfer them to the prepared baking sheet. Gather any dough scraps, re-roll, and cut out more treats until all the dough has been used.
- Bake. Bake for 25-30 minutes, or until the treats are lightly golden brown and firm to the touch. The baking time may vary slightly depending on the size and thickness of your cookies.
- Cool and serve. Remove the baking sheet from the oven and immediately transfer the hot cookies to a wire rack to cool completely to room temperature. This step is crucial for achieving a crispy texture. If desired, you can melt a little extra natural peanut butter and drizzle it over the cooled treats. Serve one to your happy dog and enjoy their delight!