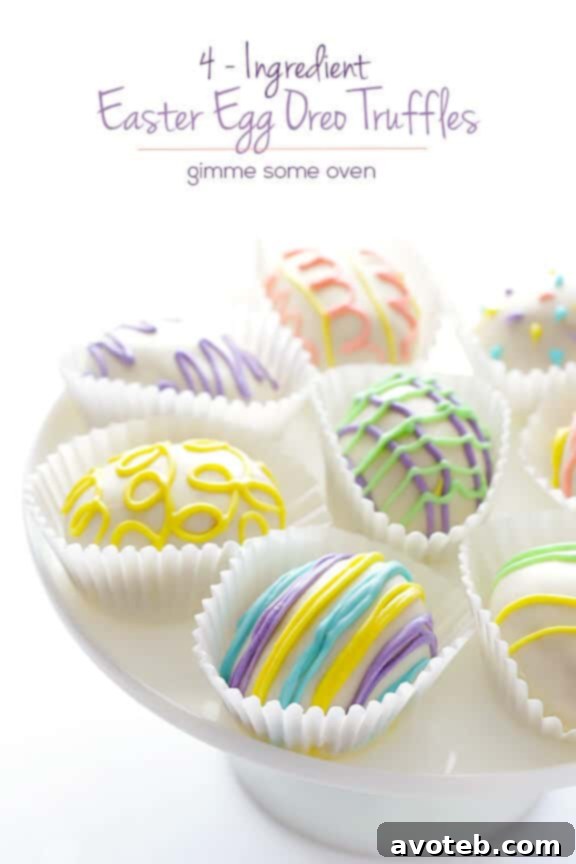
Golden Oreo Easter Egg Truffles: A Delightfully Simple 4-Ingredient Recipe
As the vibrant colors of spring emerge, there’s no better way to celebrate the joyous spirit of Easter than with homemade treats that are as delightful to look at as they are to eat. And when it comes to easy, festive, and utterly irresistible desserts, these 4-Ingredient Golden Oreo Easter Egg Truffles truly take the crown. Forget complicated baking; this no-bake wonder comes together with minimal effort, making it the perfect project for busy schedules or a fun activity to share with family.
You might remember the classic Oreo truffle recipe, a timeless favorite that never fails to impress. Today, we’re taking that beloved concept and giving it a sunny, golden twist! We’re diving into the delightful world of Golden Oreos, pairing their unique vanilla flavor with creamy goodness to create truffles that are not just simple but spectacularly fun. Get ready to transform just a few pantry staples into an array of beautiful, pastel-colored Easter egg treats that will be the highlight of your holiday spread.
The Irresistible Charm of Golden Oreo Truffles
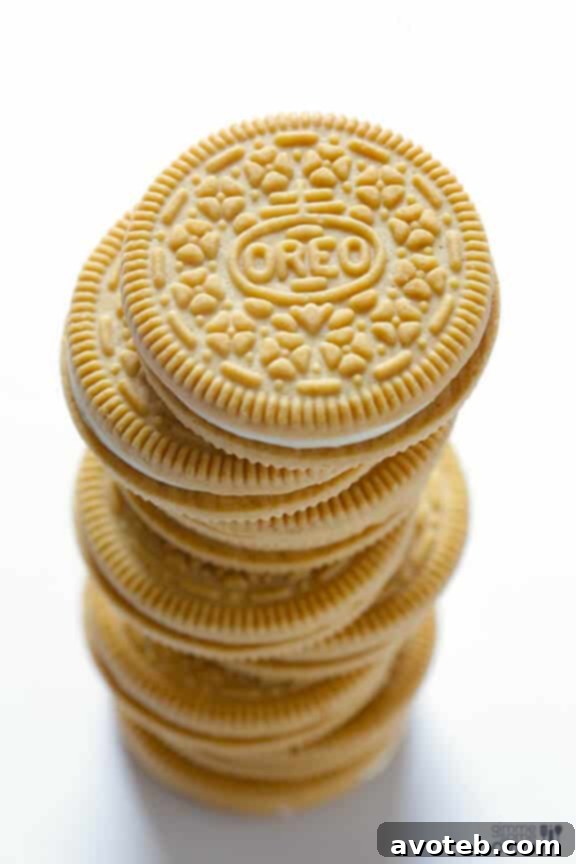
Why choose Golden Oreos, you ask? While the classic chocolate Oreo holds a special place in many hearts, the Golden Oreo offers a distinctly sweet, vanilla-forward flavor that is incredibly versatile and bright. This makes it an ideal canvas for spring and Easter themes, where lighter, sweeter notes often shine. The golden hue of the cookies also lends itself perfectly to creating a “golden egg” effect, especially when coated in white almond bark and adorned with soft pastel drizzles. It’s a subtle yet significant shift in flavor that many find even more appealing, offering a refreshing alternative to its chocolate counterpart.
Beyond their unique taste, these truffles embody everything we love about no-bake desserts: they require no oven, minimal cooking skills, and are incredibly forgiving. The process is straightforward, ensuring success even for novice confectioners. This makes them a fantastic option for last-minute party contributions or simply satisfying a sweet craving without the fuss.
Crafting Perfection with Just 4 Simple Ingredients
The magic of these Easter egg truffles lies in their astonishing simplicity. With just four core ingredients (plus a little food coloring for decoration), you’re well on your way to creating a batch of professional-looking, mouth-watering treats:
- Golden Oreos: The foundation of our truffles. These sweet vanilla cookies provide the perfect crumbly texture and delightful flavor.
- Cream Cheese: The binding agent that transforms crushed Oreos into a rich, pliable dough. Make sure it’s softened for effortless mixing.
- White Almond Bark: Our chosen coating. Almond bark melts smoothly and sets quickly, creating a crisp, appealing shell. While white chocolate chips can work, almond bark is more forgiving and easier to handle, especially for beginners.
- Gel Food Coloring: Essential for bringing those beautiful pastel Easter hues to life. Gel food coloring is concentrated and water-free, making it ideal for coloring melted chocolate without causing it to seize.
That’s it! These few items come together in a symphony of flavors and textures, proving that you don’t need a long list of exotic ingredients to create something truly special.
Step-by-Step Guide to Golden Oreo Easter Egg Truffles
Creating these truffles is a fun and engaging process. Follow these steps for a perfect batch every time:
Step 1: Preparing the Golden Oreo Base
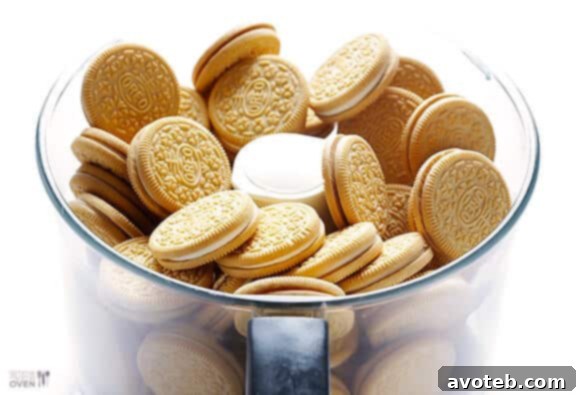
The journey begins with our star ingredient: the Golden Oreos. You’ll need one full package. For the best results, place all the cookies, cream filling and all, into a food processor. Pulse the cookies until they are finely crushed and resemble coarse crumbs. Consistency is key here; you want an even crumb, not large chunks, for a smooth truffle. If you don’t have a food processor, no worries! Simply place the cookies in a large, sturdy Ziploc bag, seal it, and use a rolling pin or a heavy object to crush them thoroughly until you achieve a similar fine crumb texture. This can be a satisfying way to relieve a little stress!
Once your Oreos are perfectly crushed, it’s time to introduce the cream cheese. Add one (8 oz.) brick of softened cream cheese to the food processor with the Oreo crumbs. The cream cheese should be at room temperature to ensure it blends smoothly and evenly. Pulse again until the mixture comes together, forming a smooth, uniform dough. You may need to stop and scrape down the sides of the food processor bowl once or twice to ensure everything is well incorporated. If mixing by hand, add the softened cream cheese to the crushed Oreos in a bowl and mix with a sturdy spoon or your hands until a cohesive dough forms. The resulting mixture should be firm enough to hold its shape but soft enough to mold.
Step 2: Shaping and Chilling the Truffle Eggs
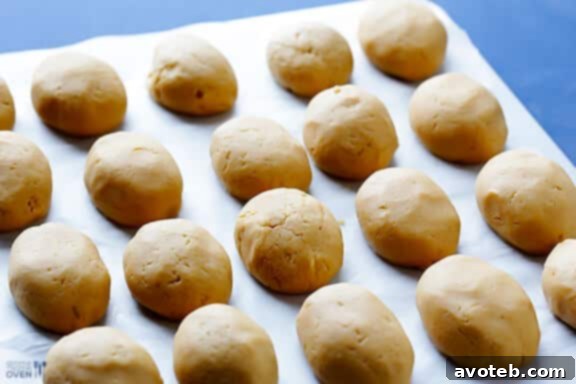
Now for the fun part: shaping! Using a 1/4-cup ice cream scoop (or simply using your hands for approximate portions), scoop out portions of the Oreo-cream cheese mixture. Roll each portion into a smooth ball, then gently pinch and shape it into a distinct egg form. Don’t worry about perfection; rustic charm is part of the appeal of homemade treats! If the mixture feels too sticky or soft to work with, pop it into the refrigerator or freezer for 10-15 minutes to firm up. This will make the shaping process much easier and cleaner.
Once all your truffle eggs are shaped, arrange them on a parchment-lined baking sheet. This prevents sticking and makes transfer easier. Place the baking sheet with the shaped truffles back into the refrigerator or freezer. They need to chill until they are completely hardened, which usually takes about 30 minutes in the freezer or an hour in the refrigerator. This hardening step is crucial, as it ensures the truffles maintain their shape and don’t melt when dipped into the warm almond bark.
Step 3: Dipping in White Almond Bark
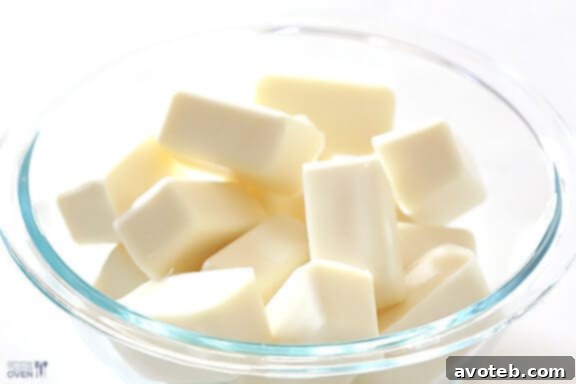
While your truffle eggs are chilling, prepare your white almond bark. Melt half of your pound of white almond bark in a microwave-safe bowl or a double boiler until it’s completely smooth and free of lumps. When using the microwave, heat in 30-second intervals, stirring well after each interval to prevent scorching. If the almond bark seems too thick for dipping, you can stir in a teaspoon or two of shortening or coconut oil to achieve a smoother, thinner consistency. This will help create a thinner, more even coating on your truffles.
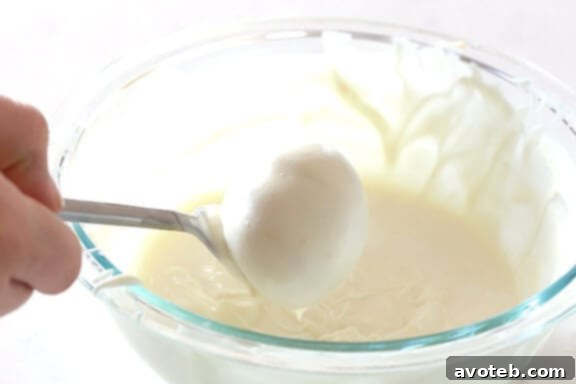
Once your truffles are firm and your almond bark is melted, it’s dipping time! Using a fork or a dipping tool, carefully submerge each chilled truffle egg into the melted almond bark until it’s fully coated. Lift the truffle, gently tapping the fork against the side of the bowl to allow any excess coating to drip off. This helps create a neat, even layer. Place the dipped truffles back onto the parchment-lined baking sheet. Repeat this process with all the remaining truffle eggs. After all the eggs are coated, return the baking sheet to the refrigerator or freezer for one final chill until the almond bark coating has completely hardened. This quick setting ensures a smooth, non-sticky surface for decorating.
Step 4: Decorating with Pastel Colors
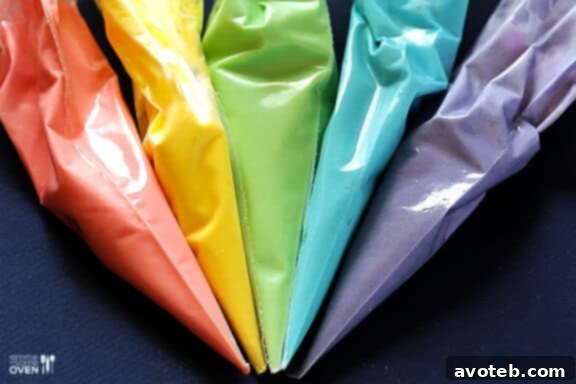
The final and most exciting step is decorating! Divide the remaining almond bark into several small bowls, one for each color of gel food coloring you plan to use. Melt each portion separately. Stir in a few drops of gel food coloring until you achieve your desired pastel shades. Remember, gel food coloring is highly concentrated, so start with a small amount and add more as needed. It’s crucial to use gel food coloring, as water-based liquid food colorings can cause melted chocolate or almond bark to seize and become unusable.
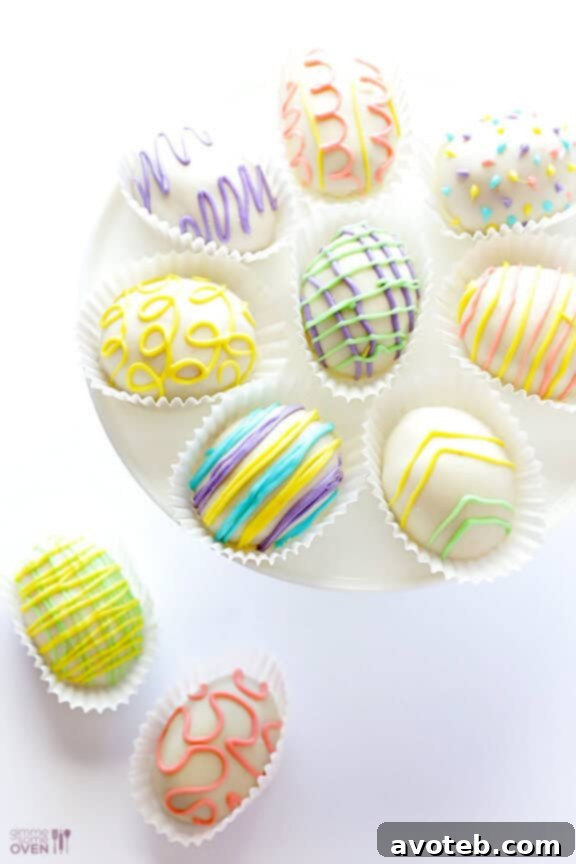
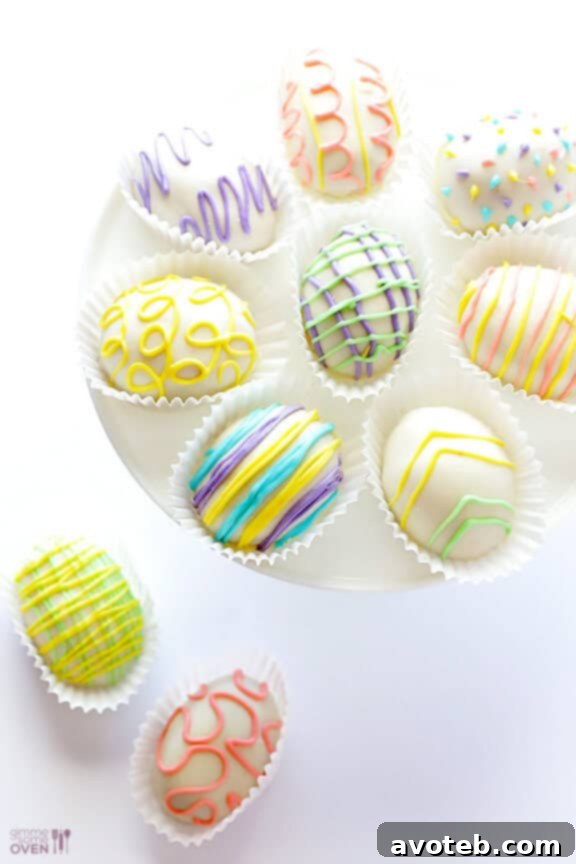
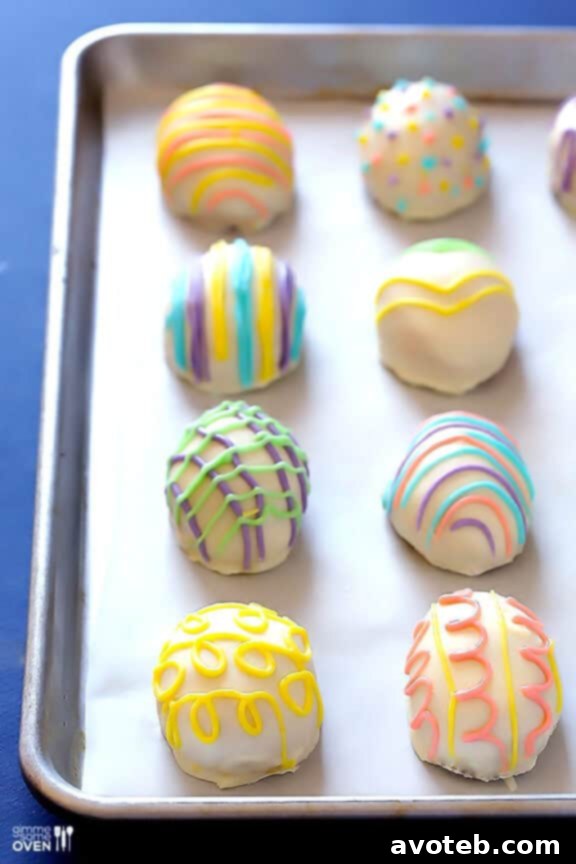
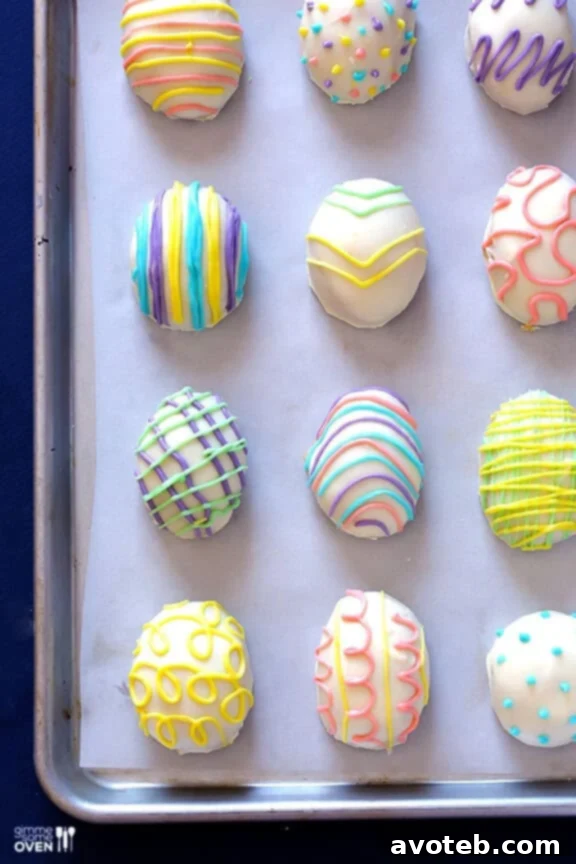
Now, let your creativity flow! You can simply drizzle the colored almond bark over the white-coated eggs using a fork, creating beautiful abstract patterns. For more intricate designs or greater control, transfer each colored almond bark into a pastry bag (or a sturdy Ziploc bag with a small corner snipped off). Pipe delicate lines, zigzags, dots, or any design that inspires you. Think stripes, swirls, or even small floral patterns. The possibilities are endless, and there’s no right or wrong way to decorate your Easter eggs. This is where the true “fun” of the recipe comes to life!
Tips for Success & Variations
- Softened Cream Cheese: This is non-negotiable for a smooth truffle base. Cold cream cheese will result in a lumpy mixture.
- Chill Thoroughly: Don’t rush the chilling steps. Well-chilled truffles are easier to shape, dip, and decorate, preventing them from falling apart or melting prematurely.
- Thinning Almond Bark: If your melted almond bark is too thick, add a small amount of neutral oil (like coconut oil or shortening) until it reaches a smooth, dippable consistency.
- Avoid Water: Be extremely careful to keep water away from your melted almond bark or chocolate, as even a tiny drop can cause it to seize and become grainy.
- Get Creative with Decor: Beyond drizzles, consider adding sprinkles, edible glitter, or small candies while the colored almond bark is still wet for extra sparkle.
- Flavor Variations: Experiment with different Oreo flavors! Mint Oreos, Peanut Butter Oreos, or even Lemon Oreos could make fantastic truffles for various occasions.
- Double the Batch: As the original recipe creator suggests, making a double batch is highly recommended. These treats disappear quickly!
Storage and Serving
These Golden Oreo Easter Egg Truffles are best served chilled or at room temperature. Store any leftovers in an airtight container in the refrigerator for up to one week. They can also be frozen for up to a month, making them an excellent make-ahead dessert for holiday planning. Simply thaw them in the refrigerator before serving.
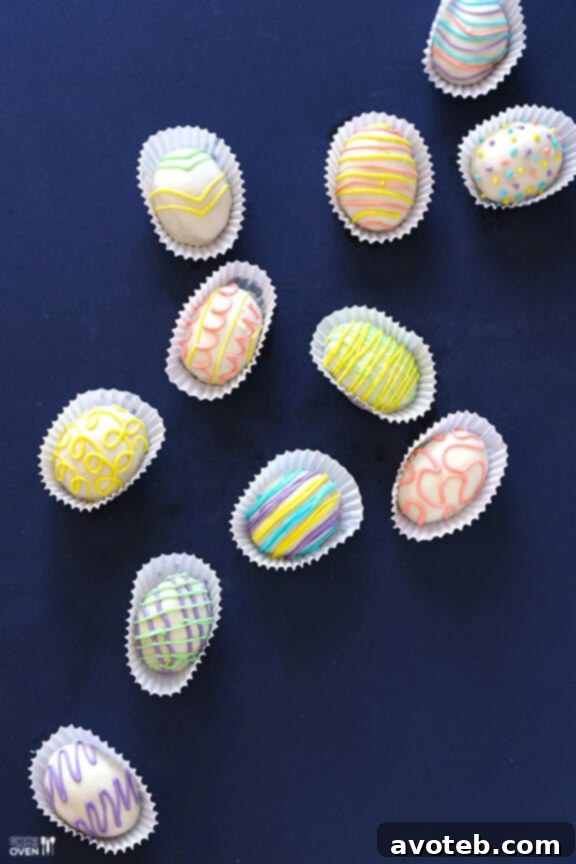
These truffles are not only a delicious treat but also a charming addition to any Easter basket, a lovely centerpiece for a brunch, or a thoughtful homemade gift for friends and family. Their vibrant colors and irresistible flavor are sure to bring smiles to everyone’s faces.
Have an absolute blast making these, friends! Embrace the mess, enjoy the process, and delight in the sweet rewards. Happy Easter!
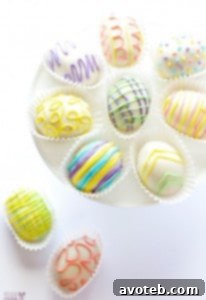
4-Ingredient Easter Egg (Golden) Oreo Truffles
- Prep Time: 30 minutes
- Total Time: 30 minutes
- Yield: About 10-12 eggs
Description
These 4-Ingredient Easter Egg (Golden) Oreo Truffles are so fun to make, and filled with that creamy Oreo truffle mixture we all love!
Ingredients
- 1 package Golden Oreos
- 1 (8 oz.) brick cream cheese, softened
- 1 lb. white almond bark, divided and melted
- Gel food coloring
Instructions
- Add the Oreos to a food processor, and pulse until evenly crumbled. Add the cream cheese and pulse until the mixture is smooth and well-blended, stopping to scrape down the sides of the food processor once or twice if needed.
- (If you don’t have a food processor, you can crush the Oreos in a large Ziploc bag, and then stir/mix in the cream cheese by hand.)
- Use a 1/4-cup ice cream scoop to portion the dough into 1/4-cup balls. Then roll by hand into egg shapes. Place the eggs on parchment-lined baking sheets, and chill in the refrigerator (or freezer) until hardened.
- Once the eggs have chilled, carefully heat half of the almond bark in a microwave or double-boiler until melted and smooth. (If the almond bark is too thick, add in a few teaspoons of shortening or coconut oil to thin.) Dip the egg in the melted almond bark, and roll around until it is evenly coated. Transfer the egg to another parchment-lined baking sheet and let cool. Repeat with remaining eggs. Then transfer to the refrigerator once more to cool until the chocolate has hardened.
- Divide the remaining almond bark into separate bowls (for however many colors you wish to use), then stir in your food coloring until the almond bark reaches your desired shade. Either drizzle the colored almond bark on the eggs with a fork or use a piping bag to pipe the almond bark on in your desired design.
- Serve immediately or refrigerate in a sealed container for up to 1 week.
Notes
(A double batch is highly recommended for photos or larger gatherings.)